This page is a walkthrough on how to complete the Banished Outpost, Ransom Keep. It’ll navigate you through the necessary steps to destroying the Four Silos and where to find all Ransom Keep Collectibles.
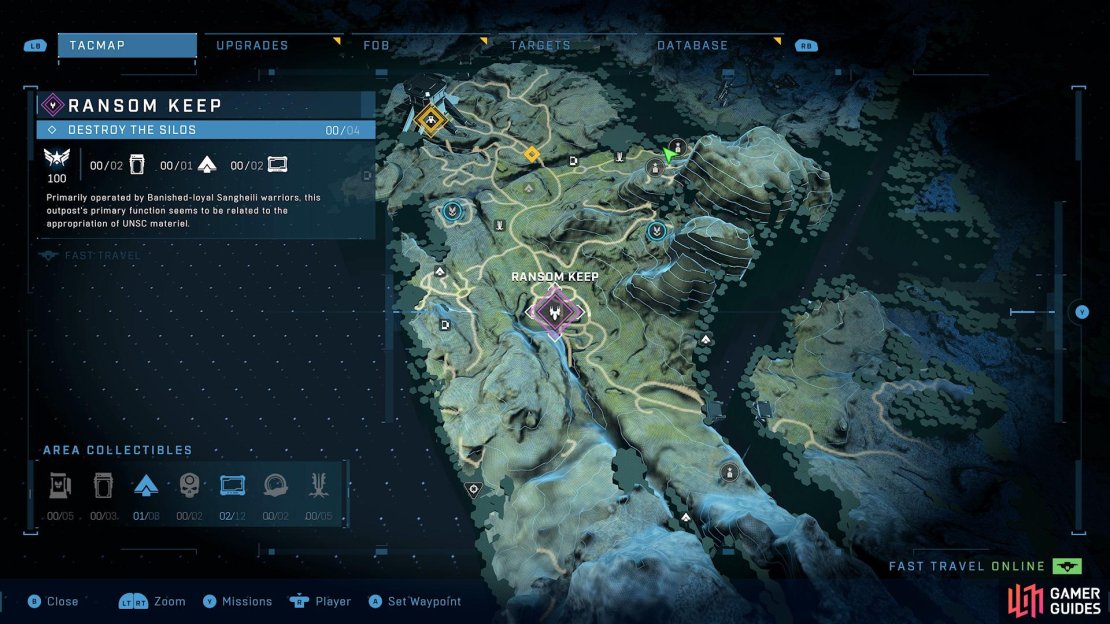
Head to this location on the map to find the Ransom Keep.
Prerequisite:
Begin the Main Mission: Recovery
Description
Primarily operated by Banished-loyal Sangheili warriors, this outpost’s primary function seems to be related to the appropriation of UNSC material.
How to Destroy the Four Silos
Once you’ve captured FOB Golf , Ransom Keep’s location will be revealed and can be found southeast. As you arrive at the Keep you’ll want to keep your distance and pick off the Grunts, Jackals and Elites with a long range weapon, such as a BR75. After the area is mostly cleared of all enemies, press down on the D-PAD and four control panels will show up in yellow. Interact with them and four silos will be raised from the ground.
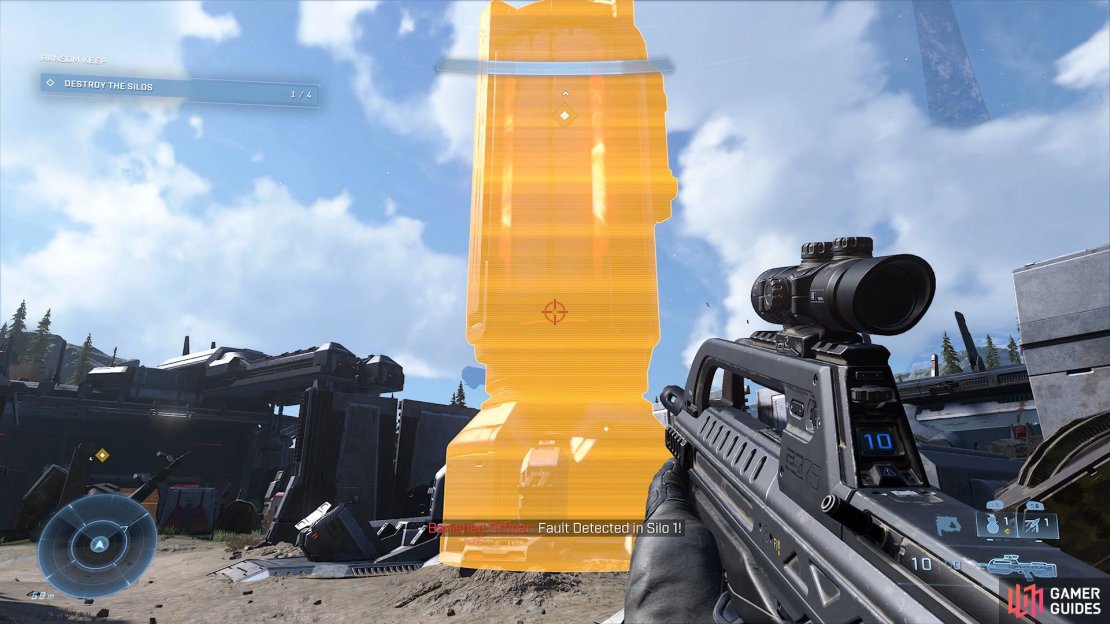
Shoot the weak spot of the Silo to destroy it.
You’ll now need to destroy the silos which can be done by simply hovering your reticle over it and then shoot when it changes from white to red, as this means you’re hovering over the weak spot. Alternatively, you can throw the nearby Plasma Coils at them.
How to Sabotage the Repair Bays
Following the destruction of the four silos you’ll need to sabotage two repair bays. However, before you do so head to the backend of the keep to find a building with a Scorpion which you can use to quickly take down the reinforcements. Once you’ve dealt with all the enemies, return to the building where you acquired the Scorpion Tank and activate your Scanner to highlight a small control panel which you’ll need to interact with to Sabotage one of the Repair Bays.
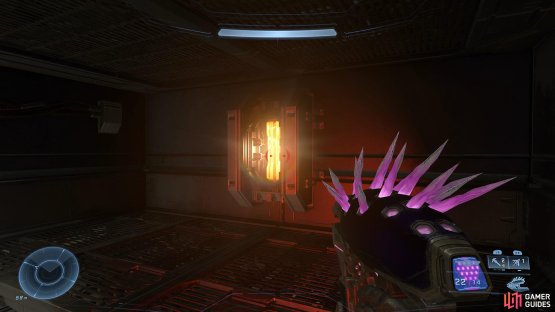
(1 of 2) Shoot the power core above the door to remove the energy barrier
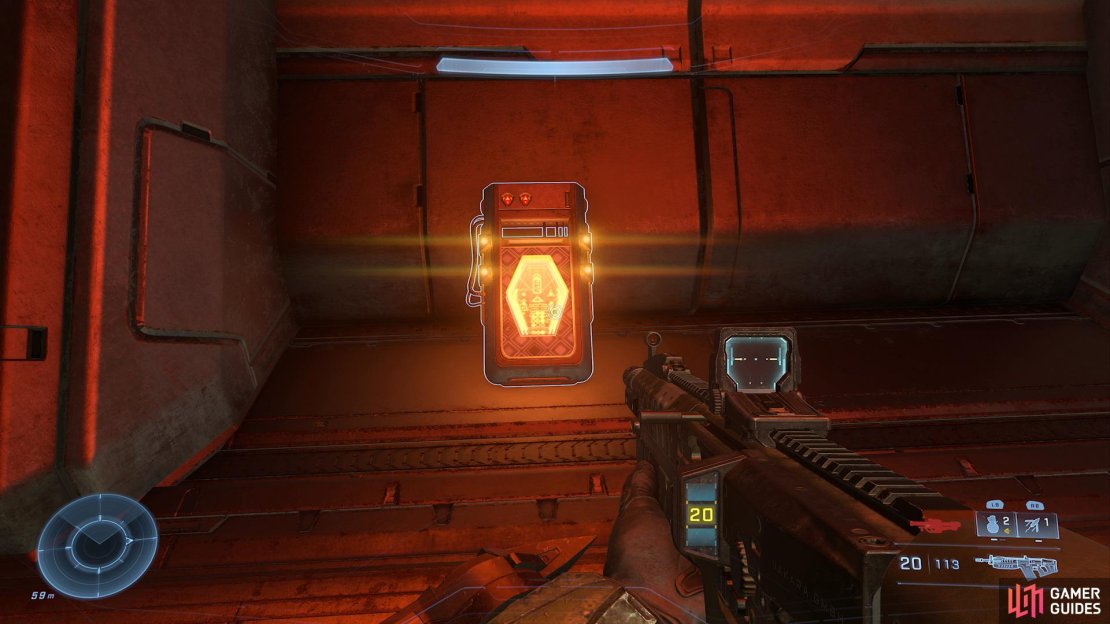
Shoot the power core above the door to remove the energy barrier (left), then interact with the control panel to sabotage the repair bay. (right)
To find the second Repair Bay you’ll want to enter another building on the east side of the Keep. Upon entering you’ll find out the door is blocked by an energy barrier, so shoot the power core above it to destroy it. Finally, enter the room ahead and interact with the control panel to sabotage the second Repair Bay and the outpost will be completed.
Ransom Keep Collectibles
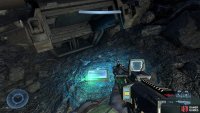
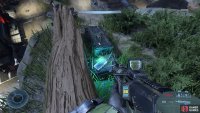
Once you’ve completed the Ransom Keep Outpost it is time to acquire the nearby collectibles. There are two Banished Audio Logs, two UNSC Audio Log, and One Spartan Core. Below you’ll find the locations of each available collectible to be found at Ransom Keep:
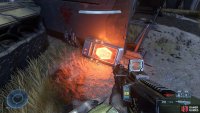
(1 of 5) The First Banished Audio Log can be found to the left of the entrance of the building.
| Collectible | Location |
|---|---|
| UNSC Audio Log #1 | Head to the eastern side of the Keep and follow the narrow path down to the end and you’ll find the UNSC Audio Log sitting underneath a crashed Warthog. |
| UNSC Audio Log #2 | Head to south of the Keep and Grappleshot up to the cliff and you’ll find the second UNSC Audio Log overlooking the area. |
| Spartan Core | Head to the east side of the Keep and you’ll find a Spartan Core sitting amongst UNSC Equipment. |
| Banished Audio Log #1 | Head to the east side of the Keep and you’ll find the first Banished Audio Log sitting up against several stacked tanks in the corner. |
| Banished Audio Log #2 | Enter the building to the east of the Keep and you’ll find the second Banished Audio Log sitting up against the wall to the left of the entrance. |




No Comments