
This page details how to complete the Pelican Down quest in the Halo Infinite campaign. Includes how to destroy the East, North, and West AA guns, where to find all the collectibles including Spartan audio logs, UNSC audio logs, Banished audio logs, Spartan Cores, and Mjolnir Locker. We’ll also cover how to defeat Tovarus and Hyperius. This quest begins immediately after Spire.
How to Complete Pelican Down
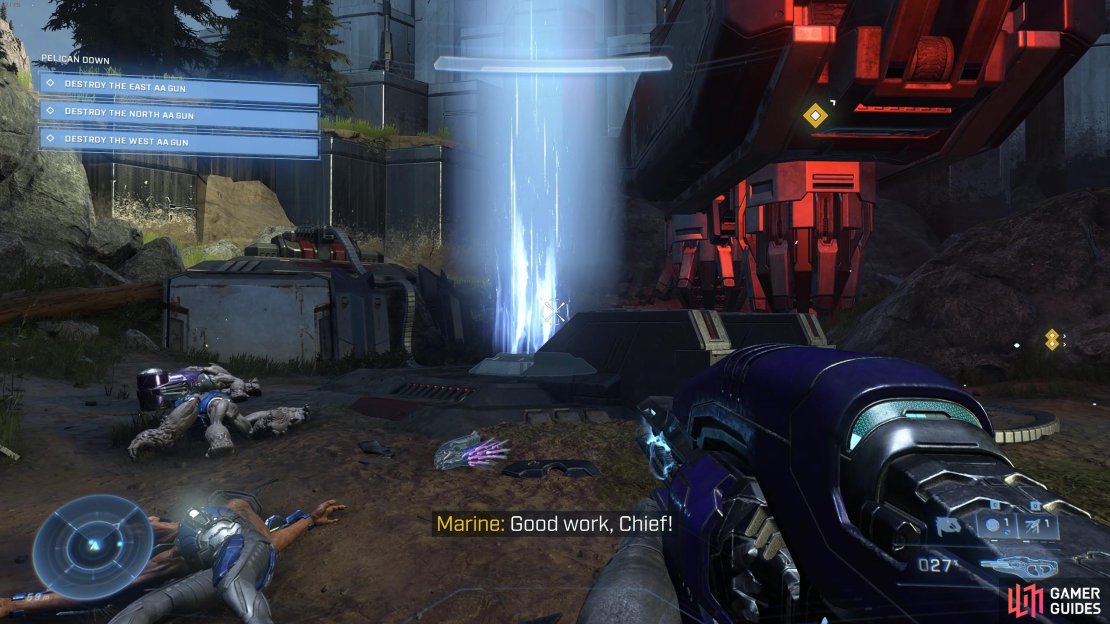
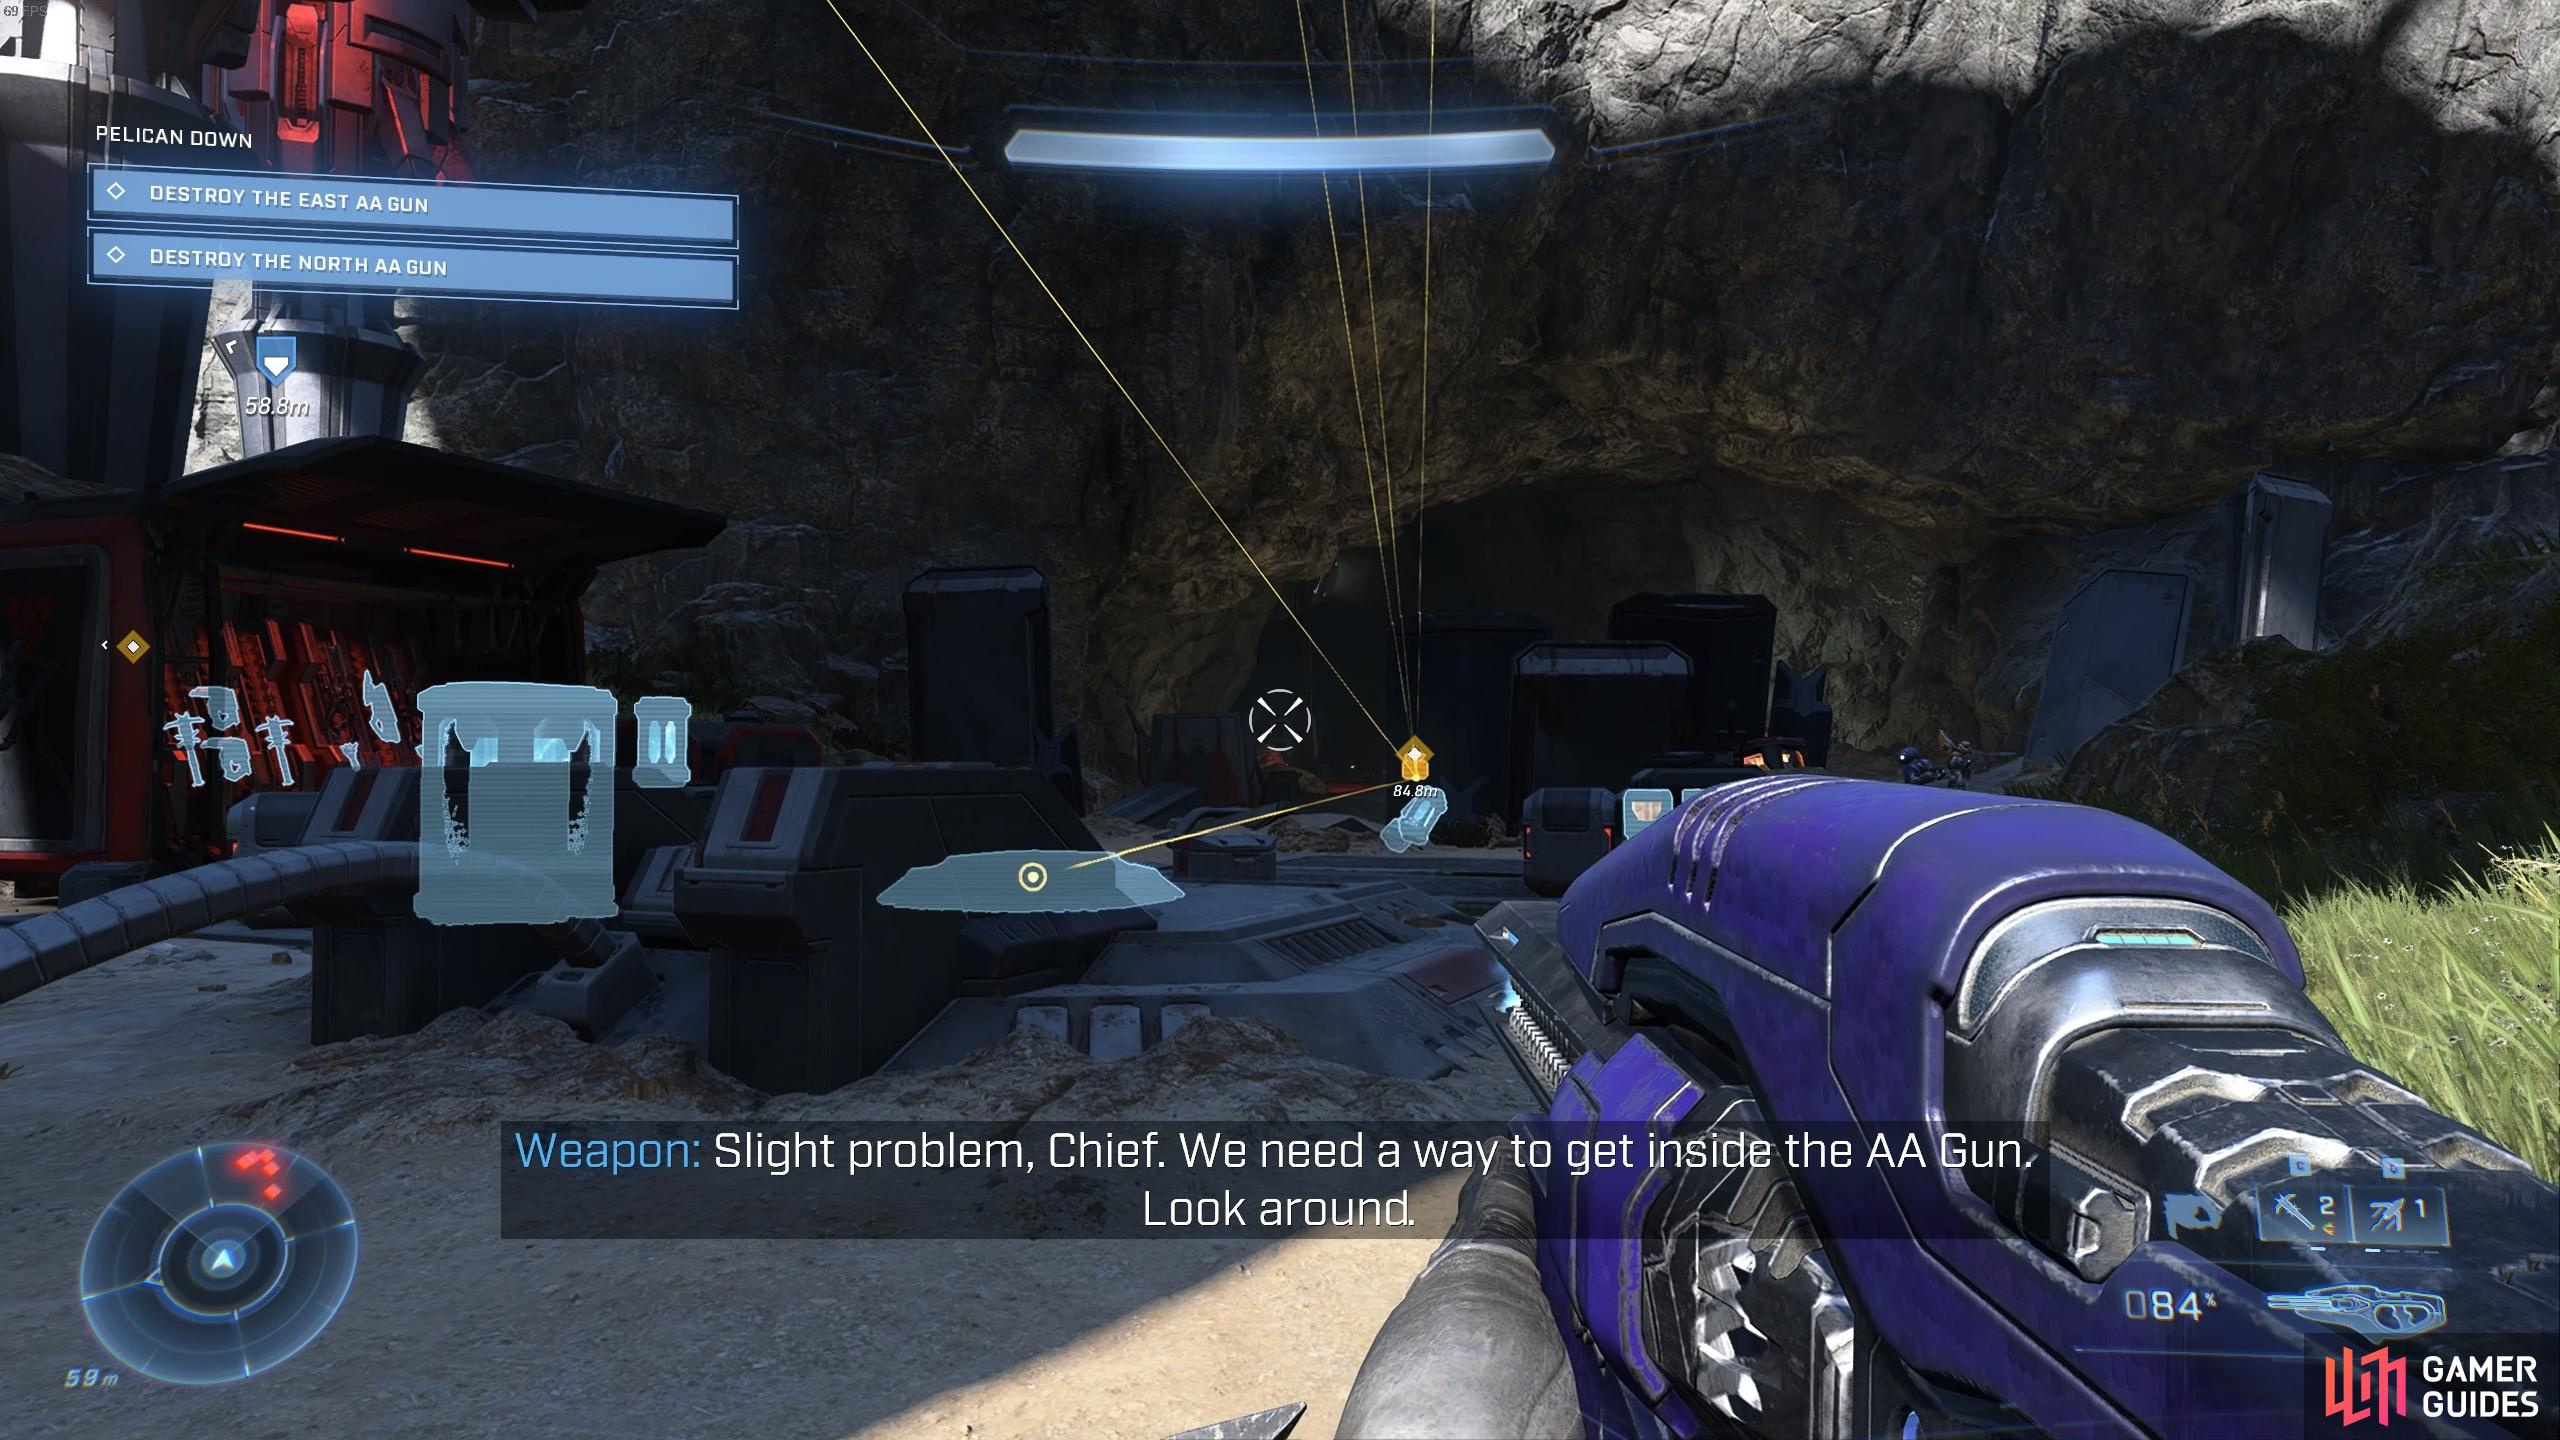
This is a multi-stage mission with three main initial objectives: destroy three AA guns. These are referred to as the East, North, and West AA guns, and the process for destroying each is slightly different since you’ll need to defeat different types of enemies at each gun location. Along the way you’ll find a total of 14 collectibles associated with the mission, so we’ll cover these as we encounter them between each AA gun. However, if you’d rather destroy the AA guns first and obtain the collectibles later, this is also possible. You’ll encounter numerous Brutes, Jackals, and Grunts in the areas around the AA guns and between them, so you’ll be fighting most of the time that you’re moving in this area. There are imprisoned Marines that can be found near each gun, so be sure to free these for some extra help in dealing with the masses of enemies.
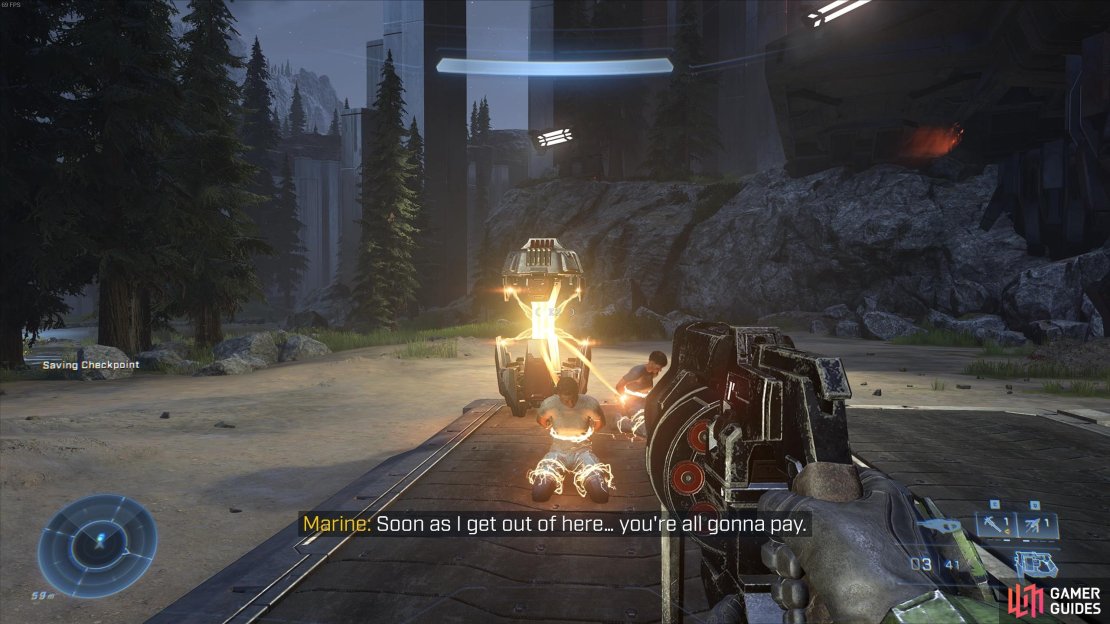
(1 of 4) You’ll find Marines that you can three near each AA gun.
The first thing we’ll do before heading to the West AA gun is obtain two collectibles in the marshy land near the Pelican.
Pelican Down Collectibles - Spartan Core 1
The first Spartan Core collectible can be found in the marshy land in the area where the Pelican crash landed. You’ll find it on top of a ruined ship, as shown in the gif below:
Pelican Down Collectibles - UNSC Audio Log 1
The first UNSC audio log that we’ll obtain can be found just a short way from the first Spartan Core, as shown in the gif below:
Pelican Down Collectibles - UNSC Audio Log 2
Before moving on to the West AA gun, there’s one more UNSC audio log to be found nearby, in another ruined ship as shown in the gif below:
Destroy the West AA Gun
Pelican Down Collectibles - Spartan Core 2
Once you’ve collected the first UNSC audio log, head towards the western AA gun until you reach the mechanical elevator. Before going up it, turn left to find a second Spartan Core, as shown below:
Pelican Down Collectibles - Banished Audio Log 1
After collecting the Spartan Core at the bottom of the elevator below the western AA gun, use the elevator to reach the top and take out the enemies up here. You’ll find some Marines who you can free to help you in the process, and not far from them you’ll find the first Banished audio log, as shown below:
Interact with the Terminal & Destroy the East AA Gun
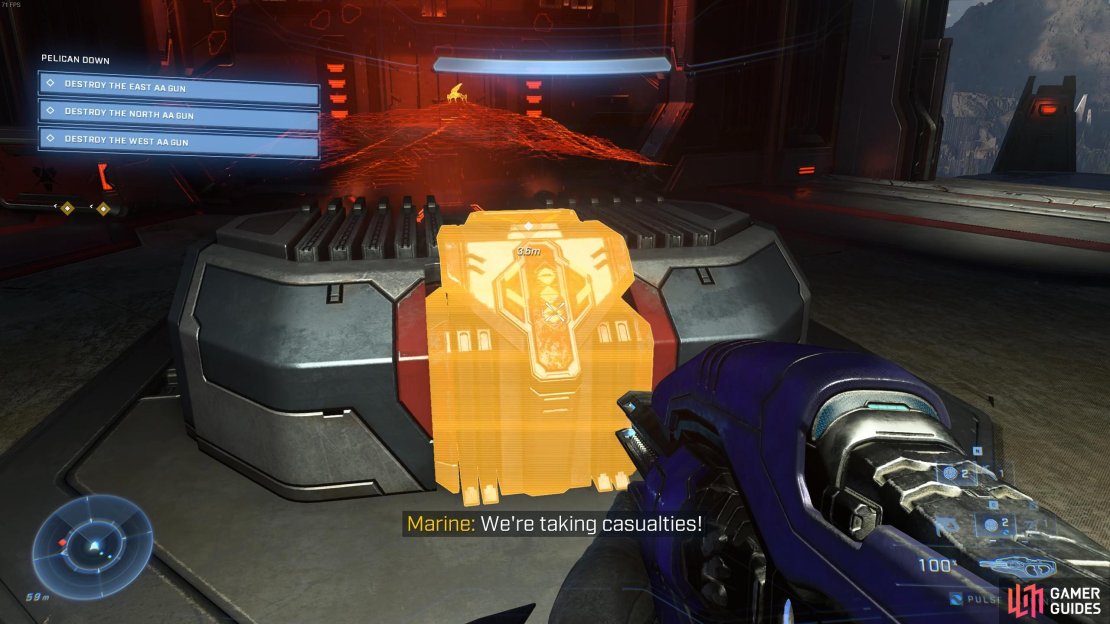
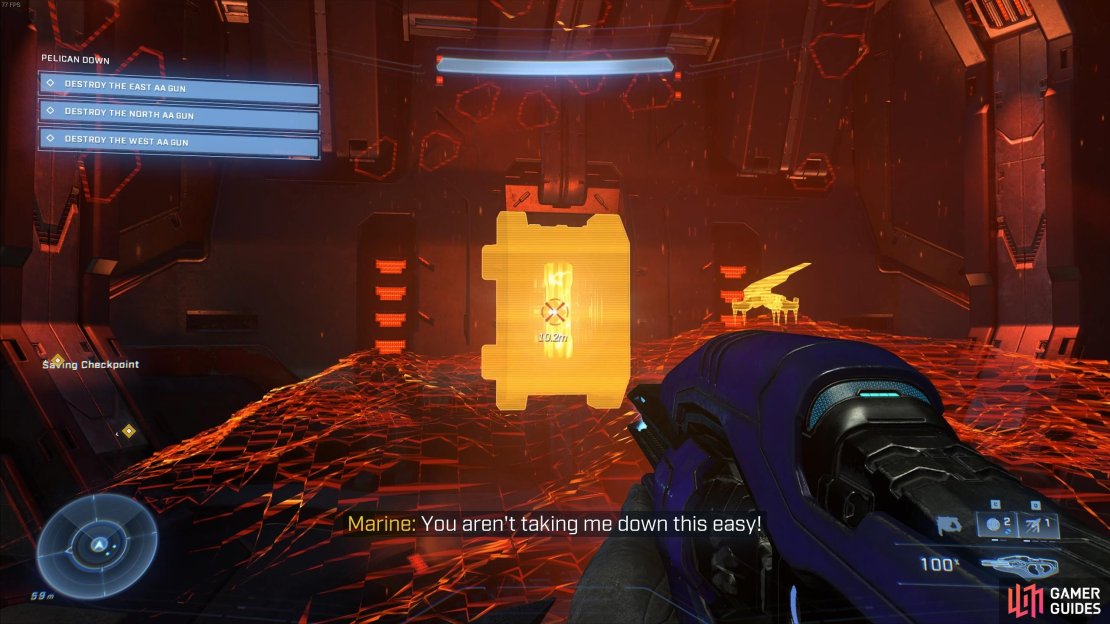
After collecting the first Banished audio log, finish off any remaining enemies in the area and then enter the control room of the West AA gun using the gravity lift beneath it. You’ll then need to interact with the terminal inside, triggering a cutscene with Escharum. After the scene, you’ll be able to shoot the cooling pylon which is now exposed, thereby causing an explosion which destroys the AA gun. Be sure to get out of the control room by jumping out of the exit before it explodes with you inside. When the AA gun explodes, you’ll unlock the One Down… achievement.
Pelican Down Collectibles - Mjolnir Armor Locker
Before you leave the area of the western AA gun, there’s one more collectible to find here in the form of a Mjolnir Armor Locker. It can be found on a nearby hill close to the gun, as shown in the gif below. It provides the Warmaster’s Prize Battle Rifle Coating.
Destroy the East AA Gun
Pelican Down Collectibles - UNSC Audio Log 3
With the West AA gun destroyed, we’ll move on to the East AA gun. Along the way you’ll find a UNSC audio log in the ruins of another ship, in the same marshy land that you found the first two:
Defeat the Hunters with the Gravity Hammer
Once you’ve obtained this third UNSC audio log, make your way up to the East AA gun. You’ll encounter more Brutes, Jackals, and Grunts up here, but you’ll also find two Hunters guarding a terminal beneath the gun. You’ll need to interact with the terminal to power the gravity lift in order to enter the gun control room, but you’ll need to deal with the two Hunters first. These are exactly the same types of enemies that you encountered during the Spire quest, so you should be familiar with how tough they are. The difference here is that you actually have access to a Gravity Hammer, which can be found in the cave behind the terminal. You should try to reach this as soon as possible, then use it by spamming melee attacks on both Hunters. So long as they’re close together, you should be able to stun both of them and inflict massive damage in a short space of time, killing both quickly.

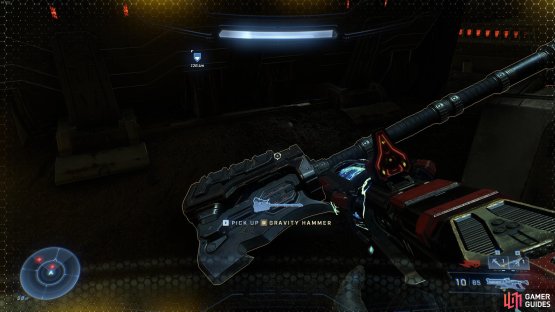
(1 of 2) You’ll find the Gravity Hammer in the cave behind the terminal of the East AA gun.
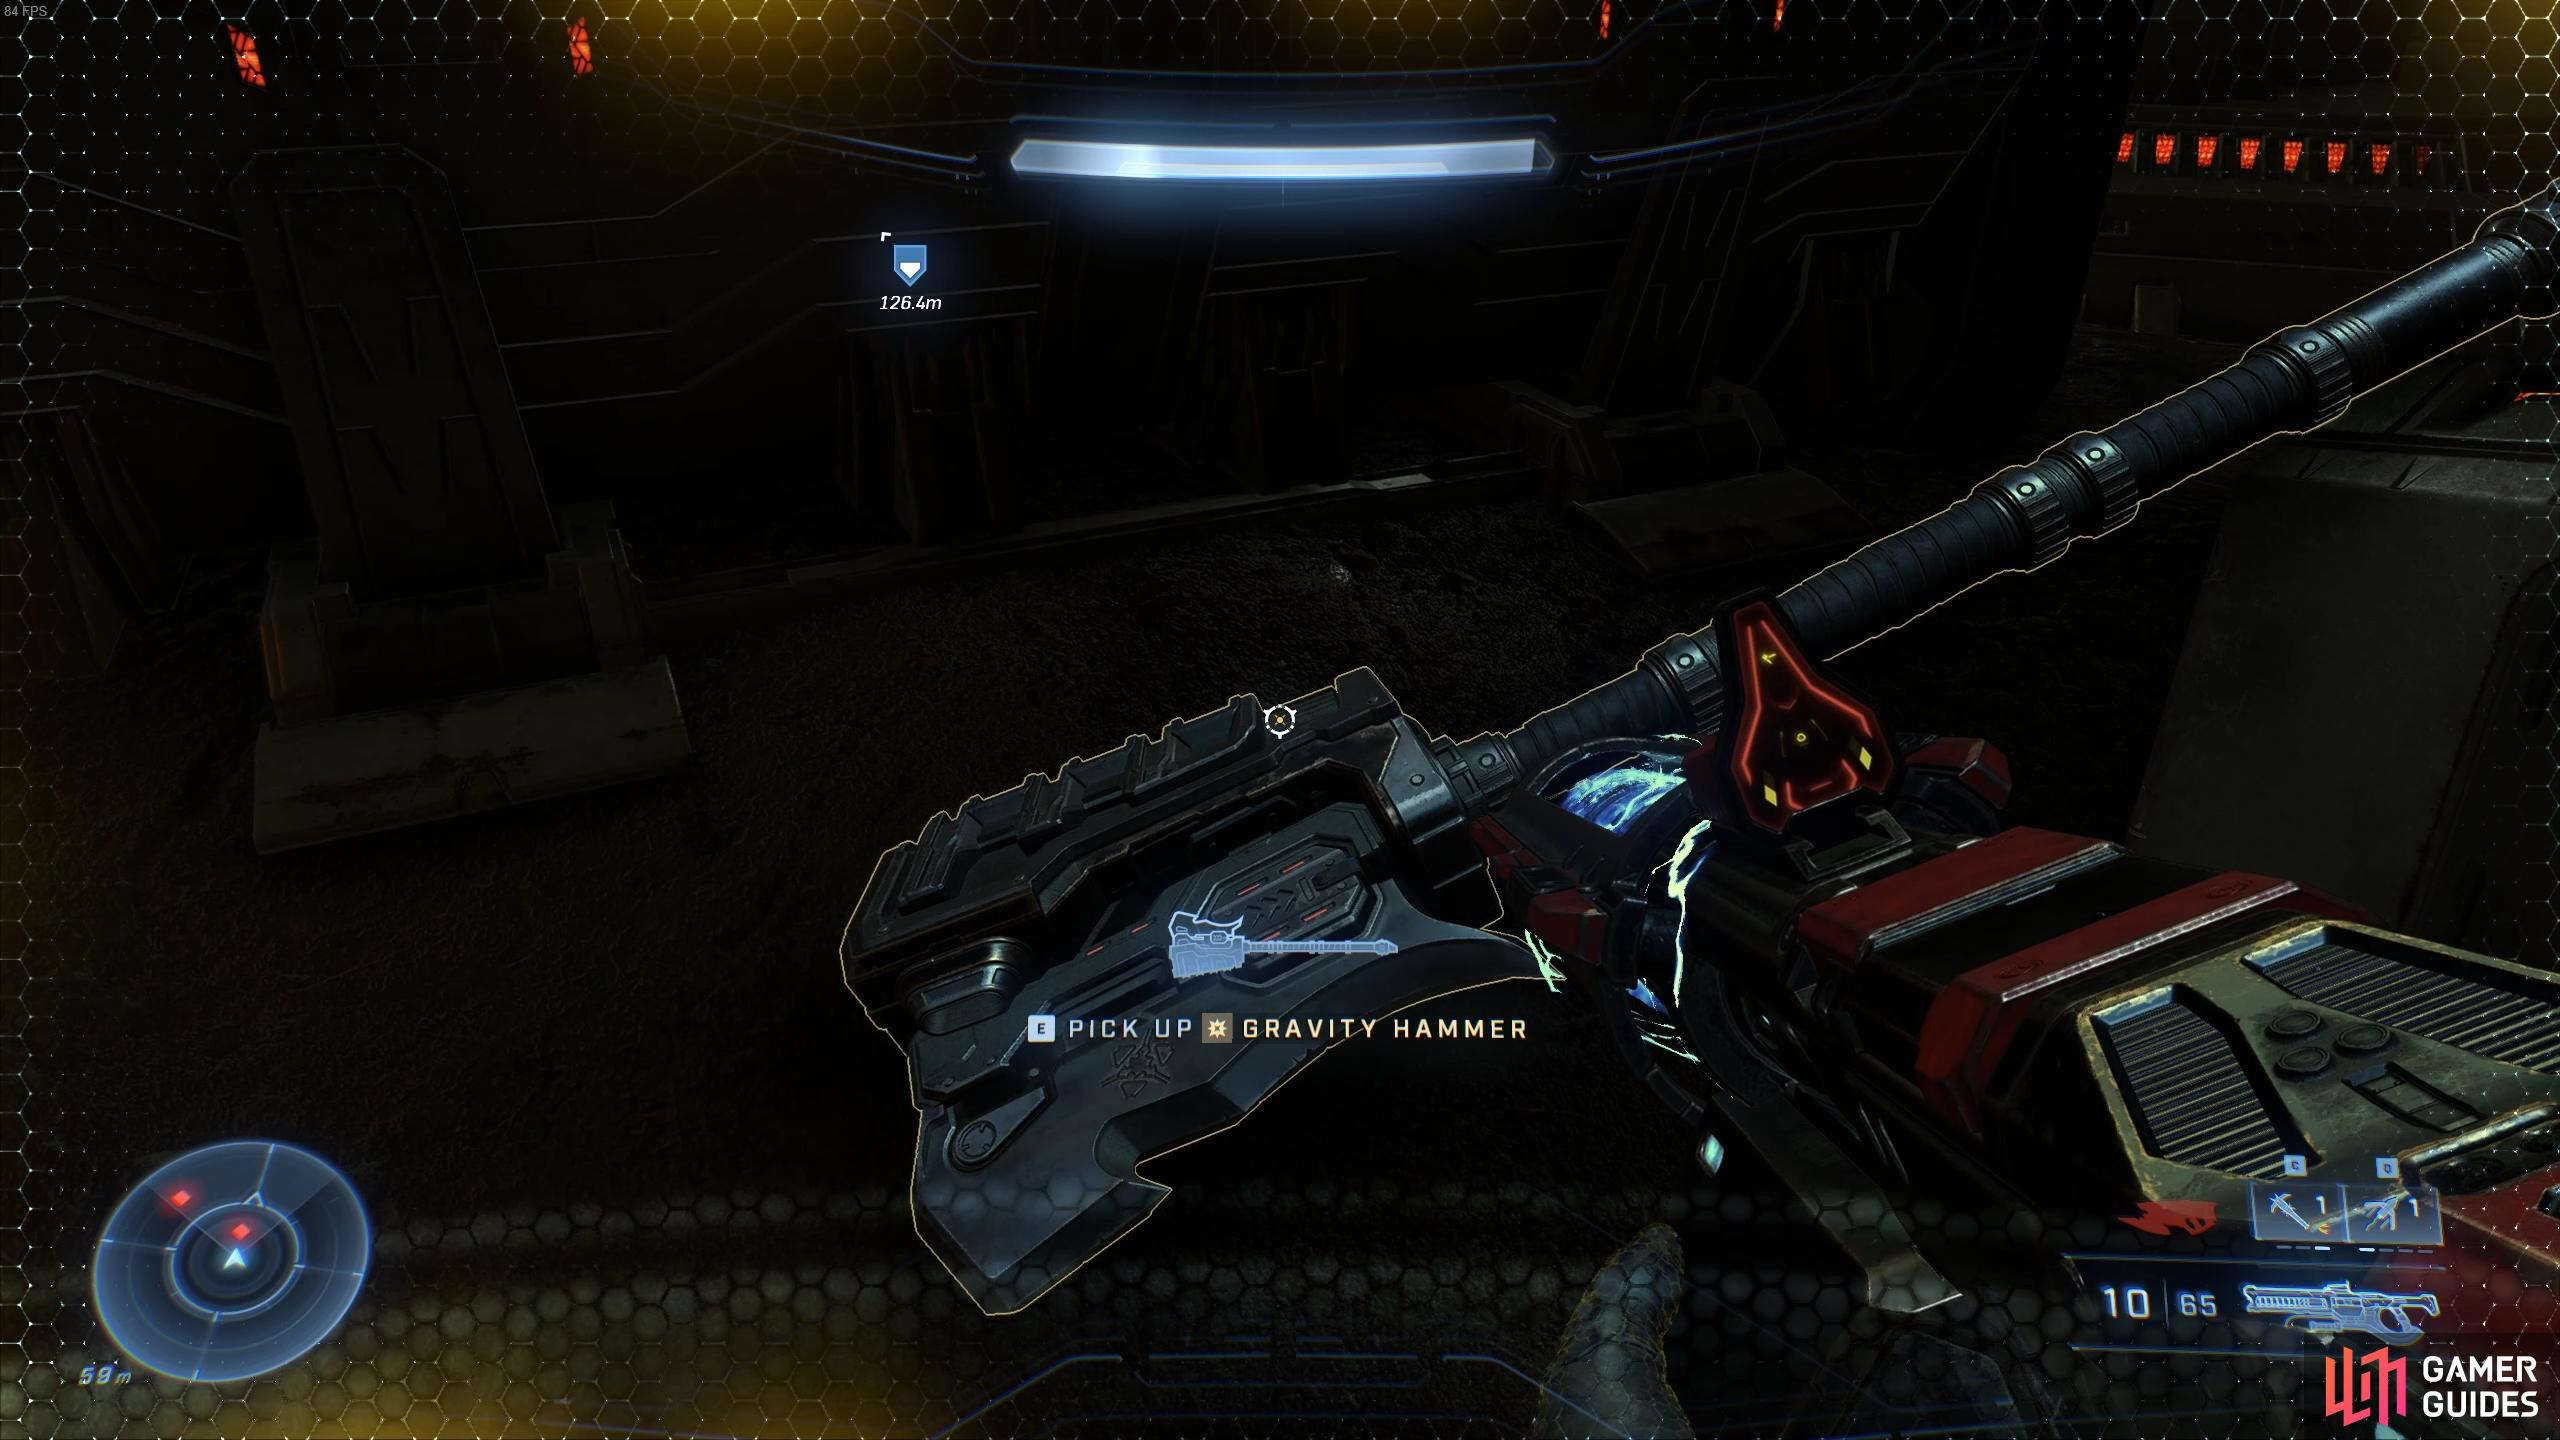
You’ll find the Gravity Hammer in the cave behind the terminal of the East AA gun. (left), Use the Gravity Hammer to kill the Hunters quickly. (right)
However, if you’re unable to get both Hunters in melee range at the same time, focus on killing one first, then take some cover as you regenerate your shield if necessary, and do the same with the other. If for any reason the Gravity Hammer isn’t working out for you, there’s plenty of space to kite and hide from the Hunters as you use other power weapons from a distance, plenty of which can be found nearby. The Ravager is particularly effective due to its massive damage output. You can also use grenades and blast coils to inflict damage from a distance. We’d recommend killing both Hunters before you attempt to go for the collectibles in this area.
After killing both Hunters, you can use the terminal in peace and do the same thing you did at the West tower to destroy the East AA gun. This time you’ll be contacted by the Spartan killer Hyperius, but he’s all words and no action for now.
Pelican Down Collectibles - Banished Audio Log 2
Once you’ve destroyed the East AA gun, you can obtain the nearby collectibles. We’ll start with a second Banished audio log which is located close to the gun, as shown below:
Pelican Down Collectibles - Spartan Core 3
Not far from the second Banished audio log you’ll find a third Spartan Core, located in a small cave beneath the East AA gun:
Pelican Down Collectibles - UNSC Audio Log 4
On the other side of the cave where you found the third Spartan Core, you’ll find a fourth UNSC audio log inside a downed ship, as shown below:
Destroy the North AA Gun
Pelican Down Collectibles - Banished Audio Log 3
There’s only the northern AA gun left to destroy, and four more collectibles located around it. We’ll start with a third Banished audio log, located near to the gun itself, as shown below:
Pelican Down Collectibles - Spartan Core 4
Not far from the third Banished audio log you’ll find a fourth Spartan Core. This one is very close to the terminal beneath the AA gun, as shown below:
Pelican Down Collectibles - Spartan Core 5
The fifth Spartan Core can be found on a hill overlooking the North AA gun, as shown below:
Pelican Down Collectibles - UNSC Audio Log 5
The final collectible is a fifth UNSC audio log, located on a hill just above where you found the fourth Spartan Core.
Activate the Gravity Lift and Destroy the North AA Gun
Now that you’ve obtained all the Pelican Down collectibles, you can clear the rest of the area and activate the gravity lift by interacting with the terminal. You can then enter the control room of the North AA gun and destroy it, thereby unlocking the Gun Runner achievement. There won’t be a scene with Escharum here as there was with the West and East AA guns. Instead, you’ll need to rush back down to the Pelican to face the two Spartan killers, Tovarus and Hyperius.
How to Defeat Tovarus and Hyperius
The fight with Tovarus and Hyperius will begin as soon as you reach their position in the marshy land beneath the AA guns that you’ve just destroyed. They’re both Elite Brute bosses, but they each have different combat specialties. Hyperius will begin the fight in a modified Brute Chopper, and he’ll be the first that you encounter as he moves swiftly towards you upon entering the area. You’ll need to avoid being run over by Hyperius at all costs, since you’ll die in one or two hits from the blades of the Chopper. The best way to avoid this is by hijacking the vehicle and throwing Hyperius out of it. You can do this by waiting for him to approach you before jumping out of the way and then entering the vehicle as he struggles to turn towards you, or you can shoot straight for him by using Grappleshot on the vehicle. However you do it, make removing Hyperius from his vehicle your primary goal once you’ve equipped yourself with powerful enough weapons to take him out quickly.
Speaking of powerful weapons, you find the Ravager to be incredibly useful here. It will inflict massive damage to both Hyperius and Tovarus, so try to get your hands on one as soon as possible. Thankfully you’ll find a few on the weapon racks in the marshy land around you, so look out for these by using AI Scan if necessary. The Ravager will make short work of Hyperius’ shield, and will eat through his health bar faster than most other weapons. It will also destroy his vehicle in just a few hits, which he’ll try to renter at some point during the fight if he gets the chance. If you’re able to destroy the vehicle while he’s close to it, he’ll suffer from the explosive damage too. As you’re working on Hyperius, Tovarus will remain in his original position, but he’ll still fire at you from afar. You’ll need to keep moving to avoid his incoming fire, or find a rock / structure to hide behind. Keep in mind that there will likely be a few Brutes, Jackals, and Grunts in the area too, so try not to get caught off guard by these.
Once you’ve dealt with Hyperius, his brother Tovarus will begin to actively pursue you, rather than firing at you from afar. Tovarus doesn’t have a modified Brute Chopper, but he does have a kind of jet pack which allows him to fly through the air while shooting at you. The Ravager will be just as effective at defeating Tovarus as it was with his brother, but Tovarus will be more difficult to hit as he moves through the air. To preserve ammunition, try to wait for Tovarus to land somewhere before you go all out with the Ravager. You can use a secondary weapon to maintain some fire as you wait for him to land. It shouldn’t be long before he lands in the ruins of one of the nearby ships, at which point you can pursue him and throw grenades, or focus fire while he’s in a confined space. Be sure to use the Grappleshot to reach him easily, or to quickly escape his fire if you’re exposed. Once you’ve killed Tovarus, you’ll unlock the Brothers Grim achievement.
No Comments