
This page details how to play the Strongholds game mode in Halo Infinite. Includes the basics of point scoring, how to play well with a team, how to be versatile by rotating between offence and defence of zones, and the differences between Quick Play and Ranked Arena.
Strongholds Match Conditions Overview
Quick Play Match Conditions
| No. of Players | Points to Win | Time Limit | Special Conditions |
|---|---|---|---|
| 4 vs 4 | 250 | No Time Limit | Start with MA40 AR automatic rifle, friendly fire off, radar on |
Ranked Arena Match Conditions
| No. of Players | Points to Win | Time Limit | Special Conditions |
|---|---|---|---|
| 4 vs 4 | 250 | No Time Limit | Start with BR75 precision rifle, friendly fire on, no radar |
Scoreboard Points for Strongholds
| Defend Zone | Capture Zone |
|---|---|
| 25 Points | 50 Points |
How to Win a Strongholds Match
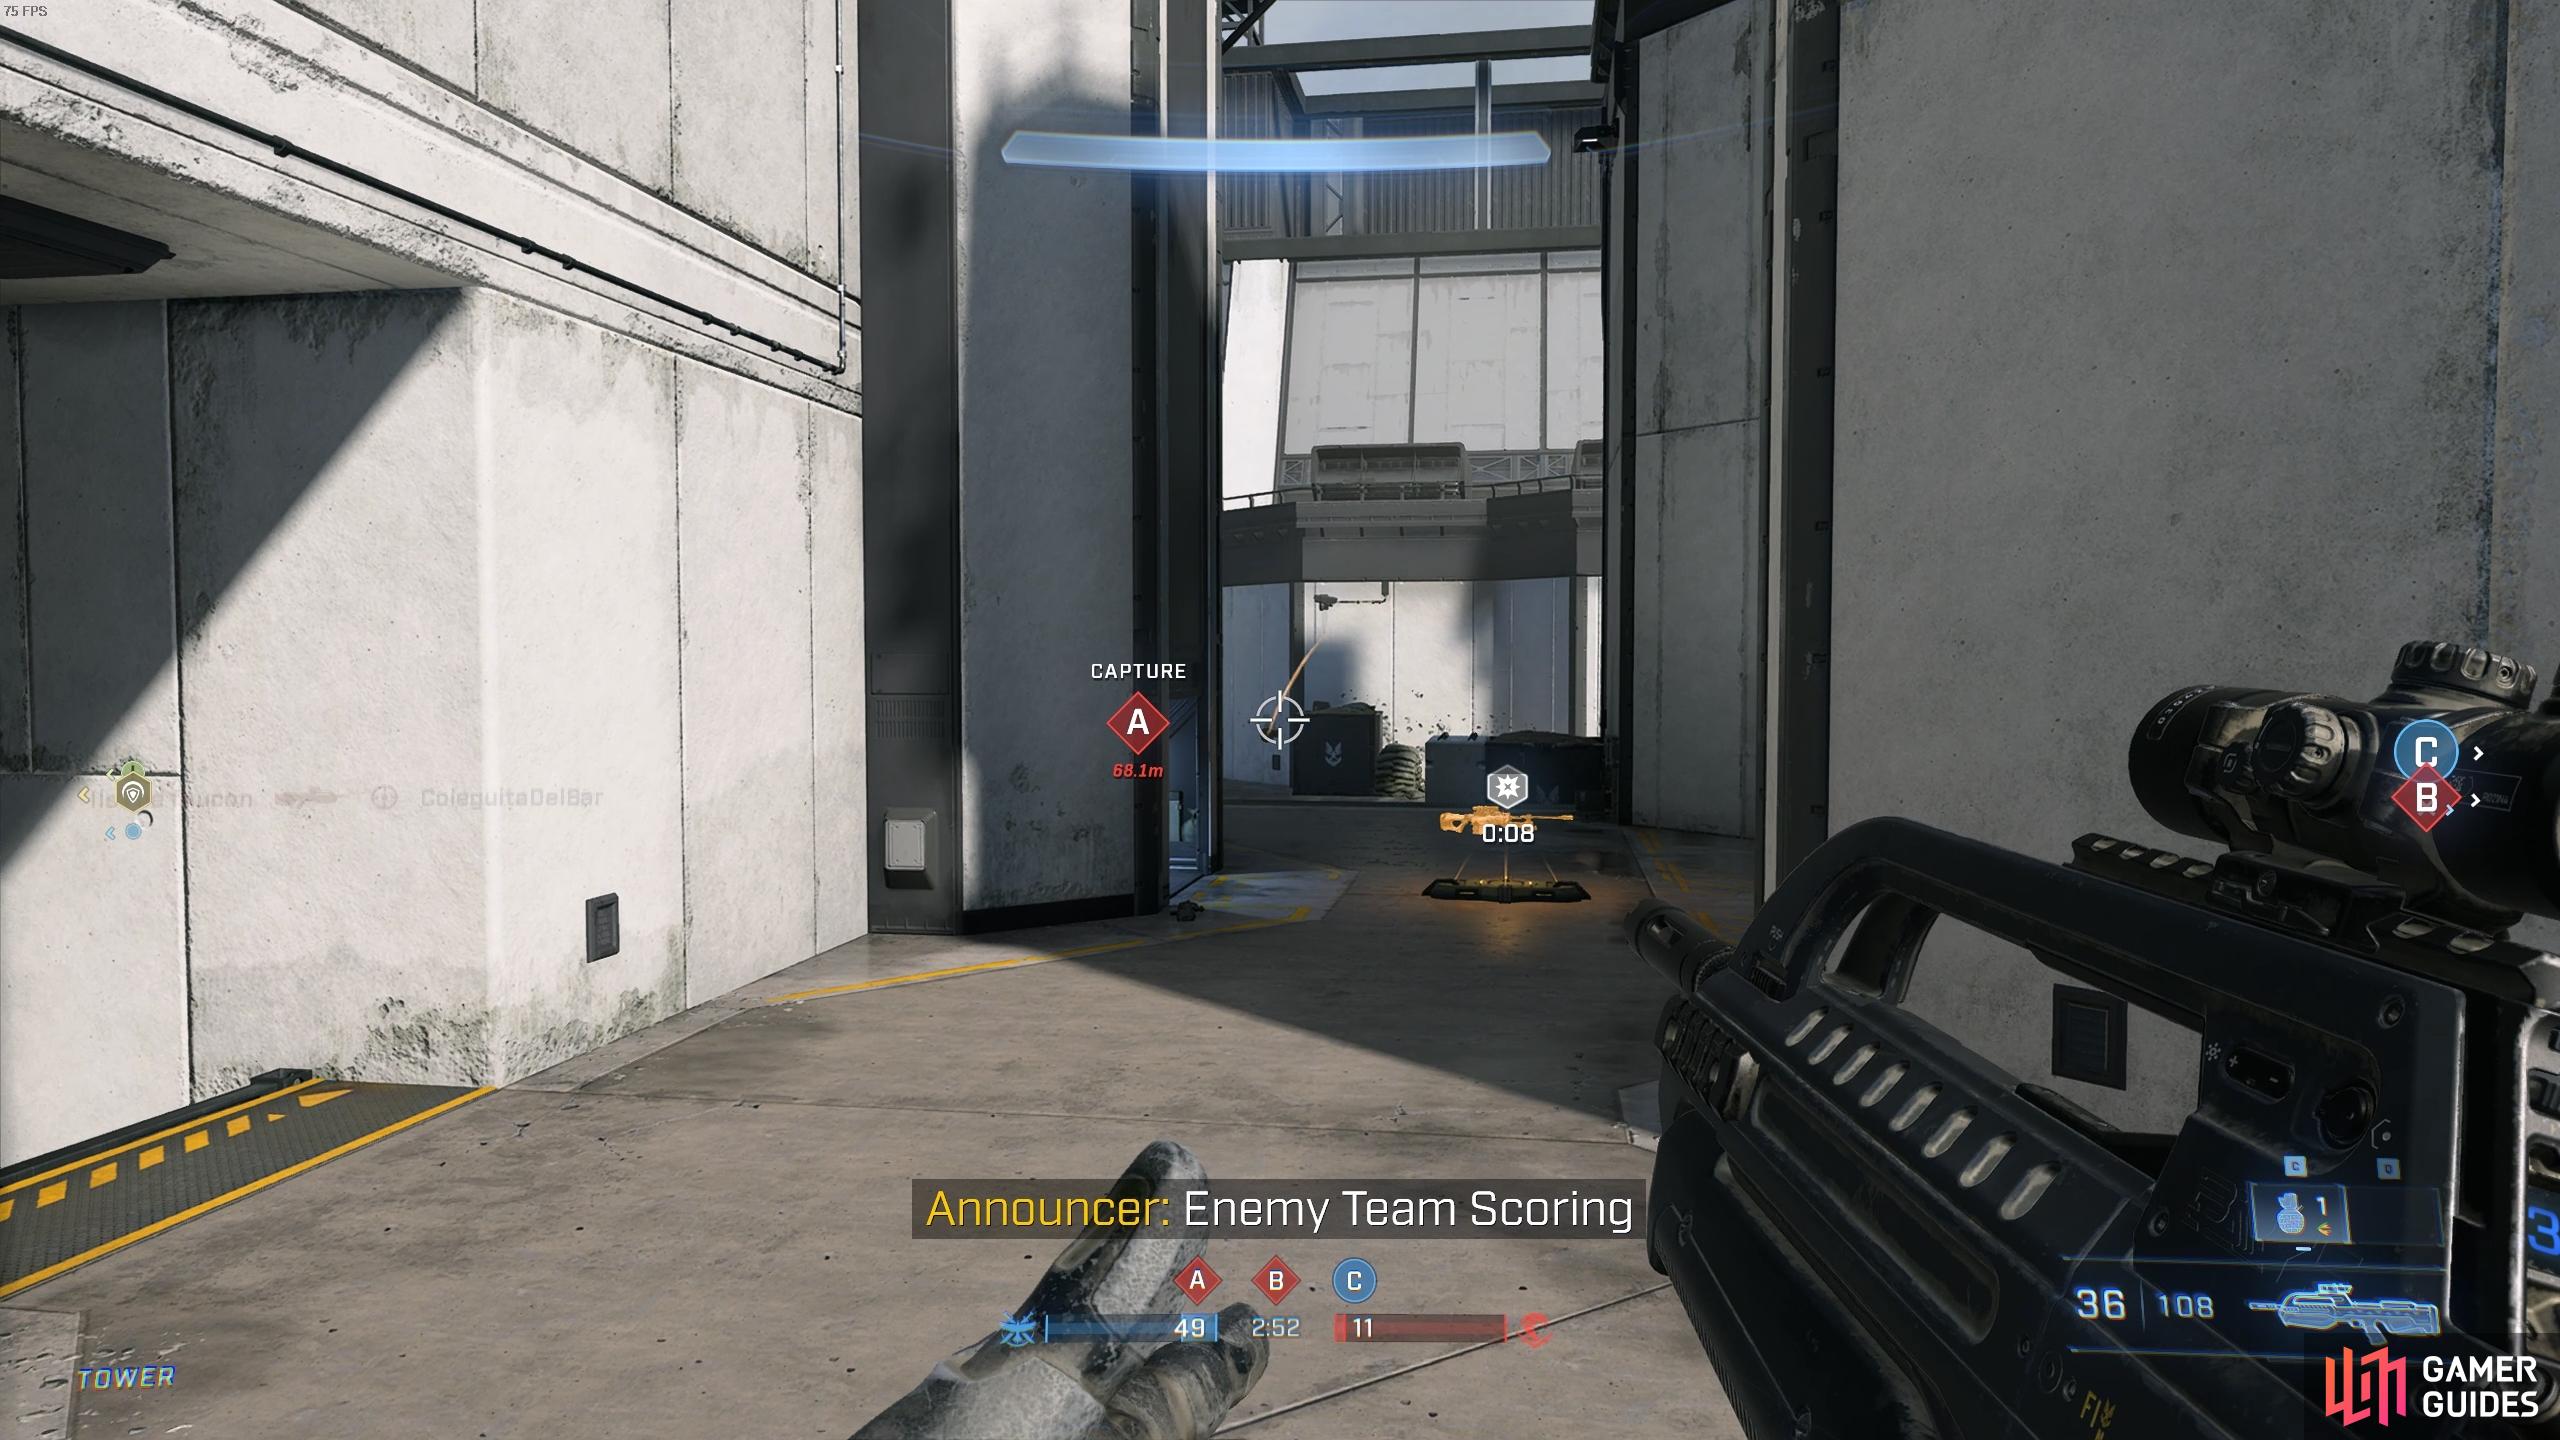
To win a Strongholds game, your team will need to score 250 points before the other team does. There are three Strongholds (or zones) on each map, labelled A, B, and C. If your team controls two out of three zones, you’ll earn 1 point per second for as long as you hold the zones. If your team controls all three zones at the same time, you’ll earn 2 points per second. However, if a zone is contested you won’t earn points from it. For example: if your team controls two zones and the other team controls one, you should be earning 1 point per second, but the point scoring will stop if an enemy moves within the zone, thereby contesting it. You’ll need to kill the enemy or force them away from the zone before it will begin ticking points for your team again.
Rotate Between Zones
It’s essential that you keep rotating between zones during a game of Strongholds. If your team remains on one zone with the aim of defending it, you practically handing the game to the opposing team by giving them free reign of the other two zones. It’s normal for zones to be captured and lost throughout the game in quick succession, so don’t be discouraged if you continuously find that the zone you just captured is taken again within just a few seconds. The important thing is to rotate between zones with at least one other team member. You’ll probably find it difficult to stick together as an entire team of four throughout the game, since you’ll need to be rotating around the map constantly to capture and defend zones.
If you’re part of an organised team with good voice communication, you can split your team into two groups. One way of doing this is to assign two people to focus on capturing zones, and the other two to focus on defence. You’ll find that either group won’t always be able to dedicate themselves to their assigned role, since you’ll need to adapt according to the situation, such as attacking a specific zone with all four members if that zone is being well defended by the other team in a way which gives them sight of two zones. However, having a basic understanding of which group should be doing what will provide some consistency and purpose throughout an otherwise chaotic game.
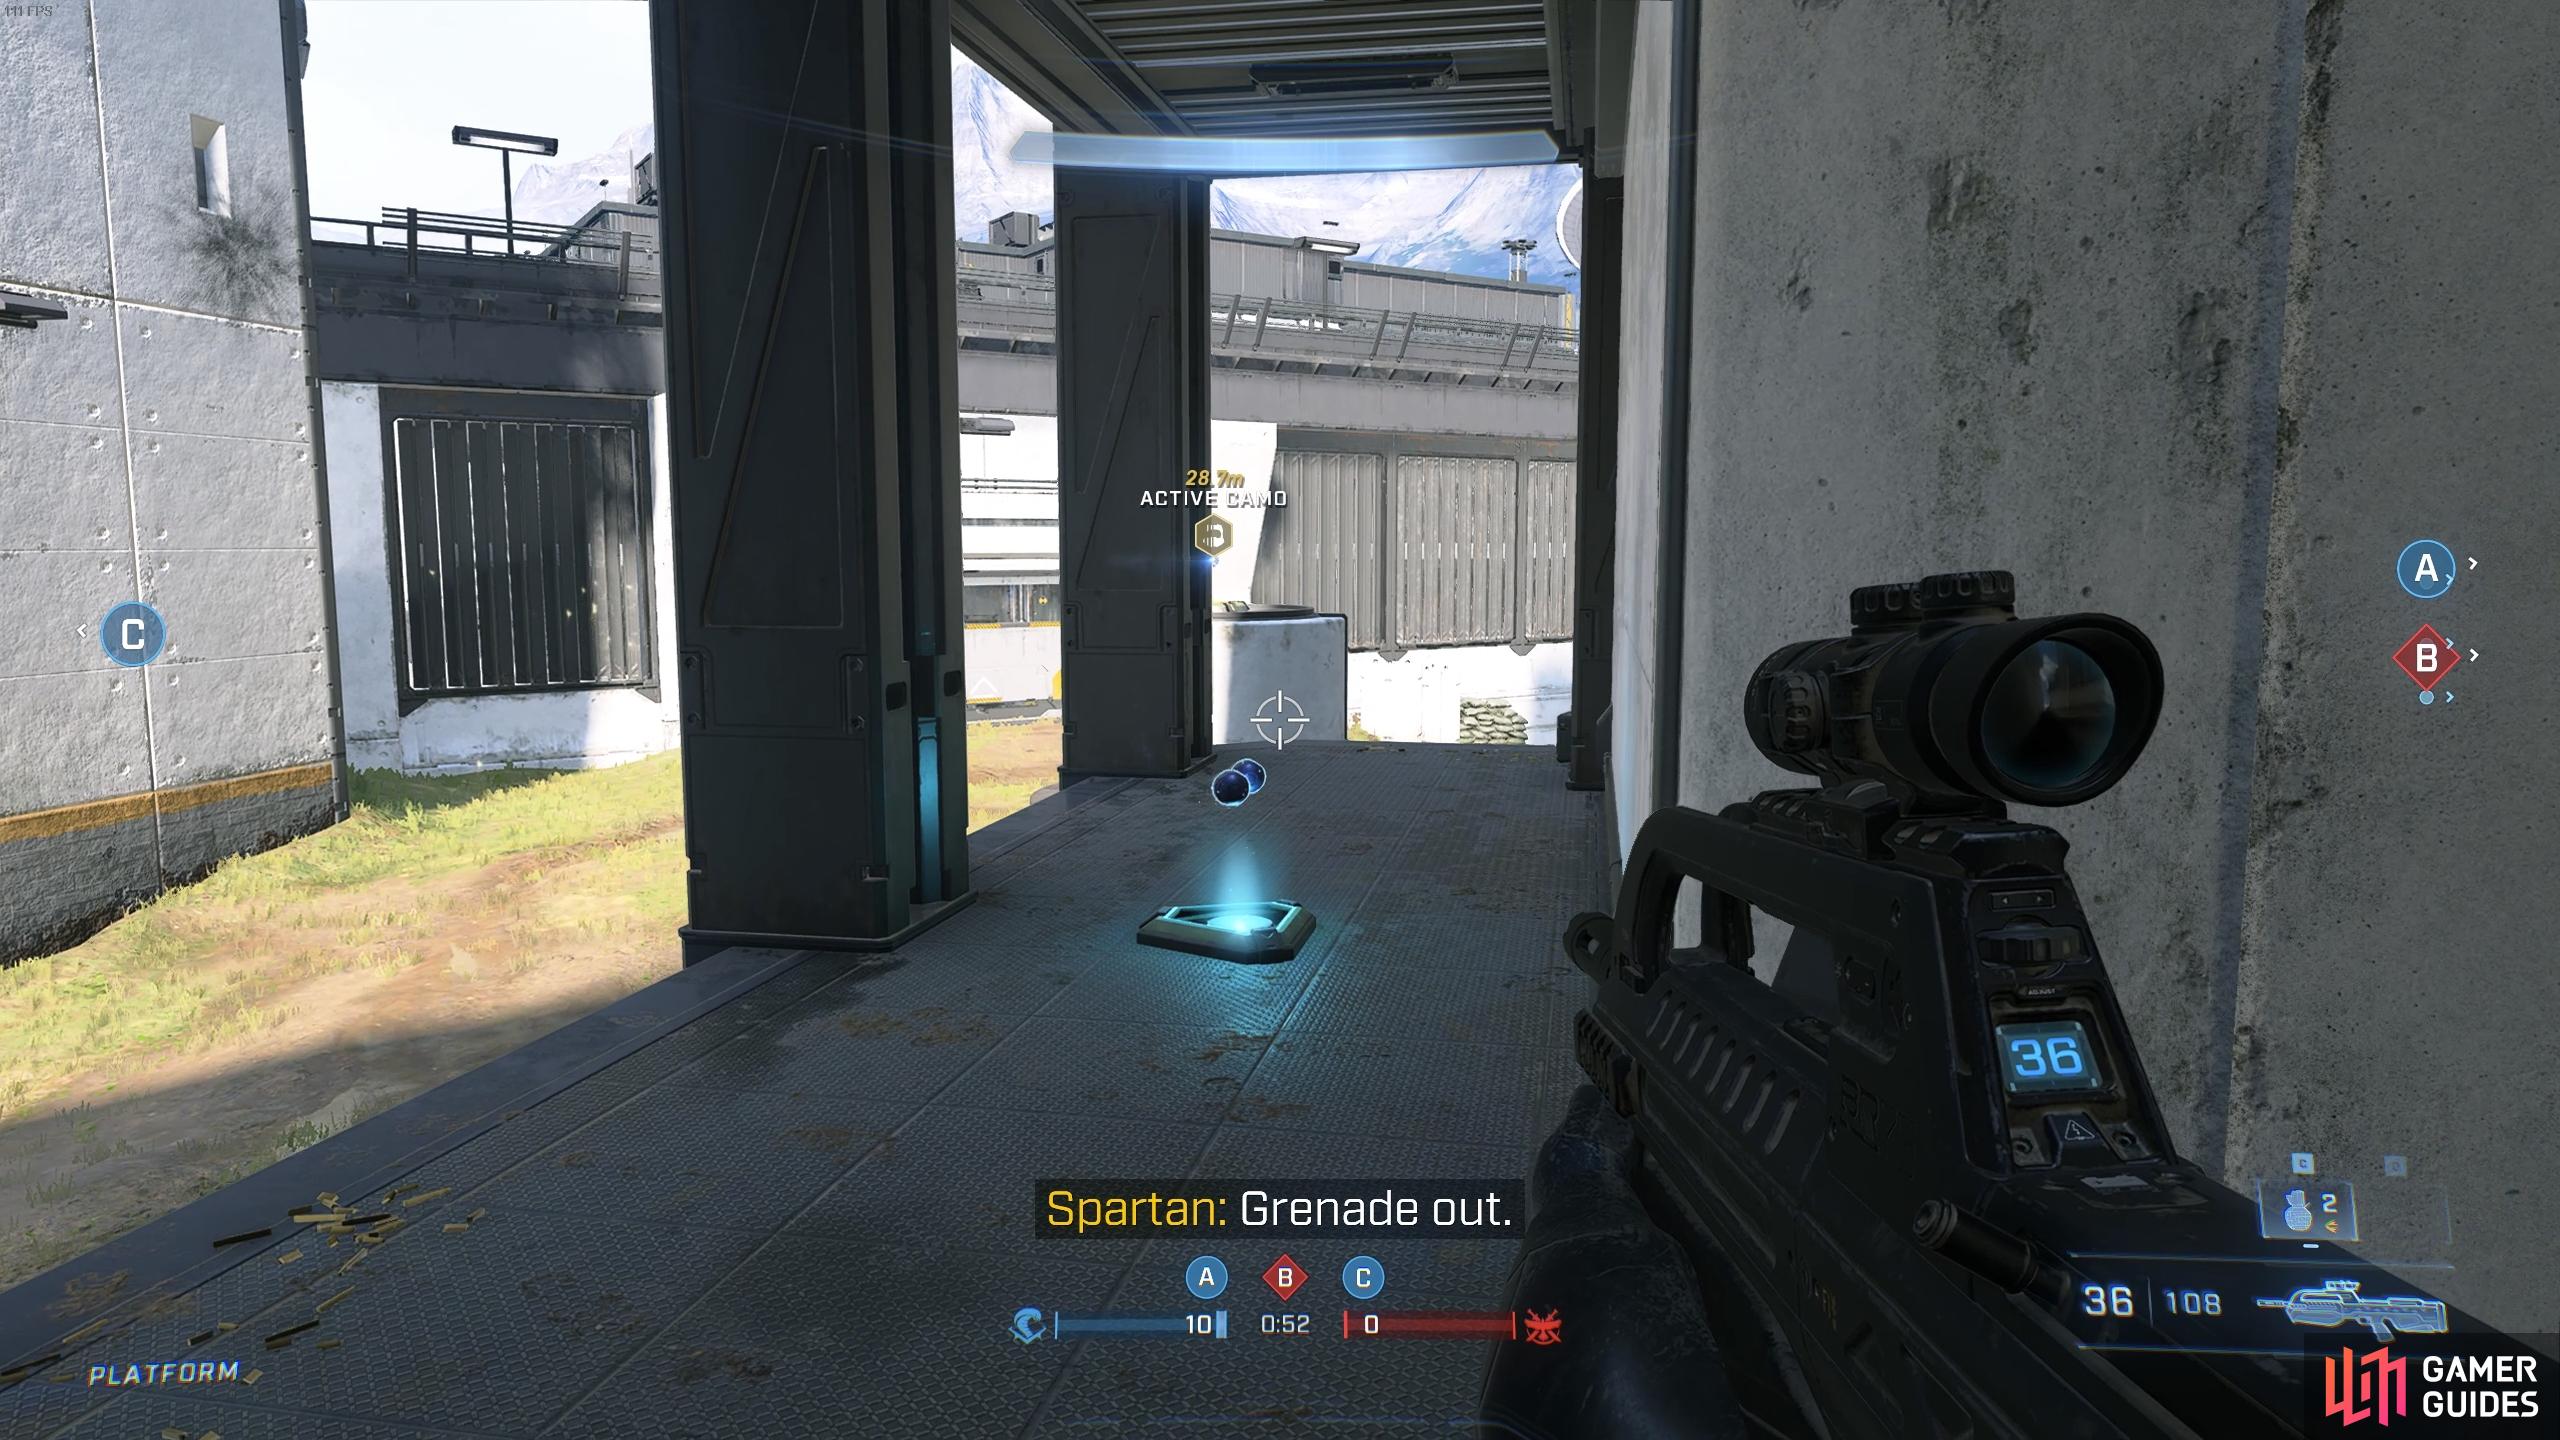
As you rotate between maps, make the most of the time by picking up grenades and power items.
Be sure to anticipate power item spawns just before they become available to ensure the enemy doesn’t get them first.
Use Map Features as Defensive Positions
On most maps you’ll find that two zones are much closer to each other than a third, or much easier to defend together than the outlier. A good example of this is on the Live Fire map, where you can defend zones A and B together much easier than stretching to C. This is because there are easy routes to hide behind map features between the two, whereas you’re more exposed on zone C. You’ll work better as a team when you become more familiar with the maps and know where the best places are to defend two zones at once, so keep this in mind as you explore a map. The more you know about the best places to defend zones on specific maps, the less rotating you’ll need to do, which reduces the risk of exposing yourself to the enemy and thereby handing them an advantage.
In addition to identifying which two zones on particular maps can be defended most effectively, you should think more about general map features such as vertical building supports and walls can be used. For example: if you’re in a tight spot while defending a zone and you need time to reload your weapon or recharge your shield, it’s worth running away from the zone for a brief moment while you do this, even if it means giving a few points to the enemy, since you can return much faster than you would if you were to die there. You might also have the opportunity to pick up a few extra grenades nearby, then use them to clear space on the zone or force the enemy away from it.
You’ll find it much easier to consistently defend two zones rather than constantly rotate between three, especially when they’re close together, as with zones A and B on the Live Fire map, as shown here:
Use Power Weapons & Equipment
As in every game mode, power weapons and power equipment can turn the tide of battle in your favour. The spawn points for these will be different for each map, but you can learn about each from our Maps section. You’ll find that most spawn points for power equipment are exposed in parts of the map where you can be seen from all angles, while power weapons are scattered around and usually found in more enclosed spaces. The more you learn about the map, the more prepared you’ll be to take these powerful items before your opponents. The Overshield can be particularly powerful in Strongholds, since it provides you with an extra layer of defence which you can rely on while defending a point. The same applies with the Drop Wall equipment.
In terms of more offensive power equipment, Active Camo can be incredibly useful. This will allow you to stay hidden as you approach a zone, giving you time to prepare an organised attack in the most effective way possible, such as timing well placed grenades or attacking from the shadows with a powerful melee weapon. In the same way, you can use the power to stay hidden near a point that you’ve already captured, allowing you to attack opponents by surprise and minimize the time that the zone will be contested for. The Repulsor is also useful as a defence item, allowing you to deflect powerful projectiles such as rockets, but also push enemies away from zones so that you can score more points for those extra few precious seconds in a close match.
No Comments