
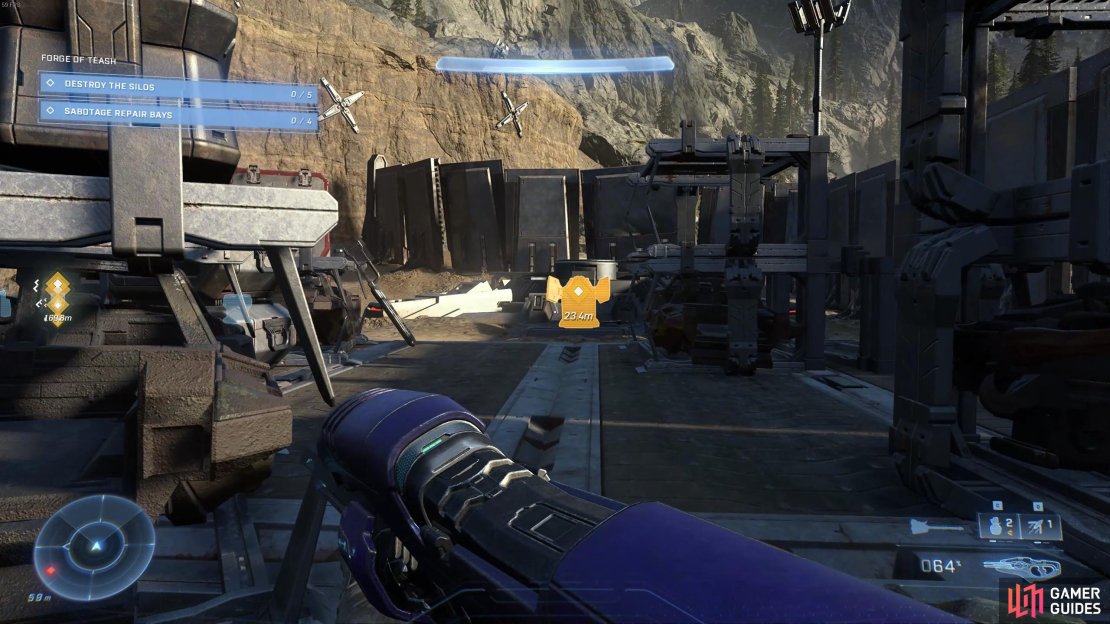
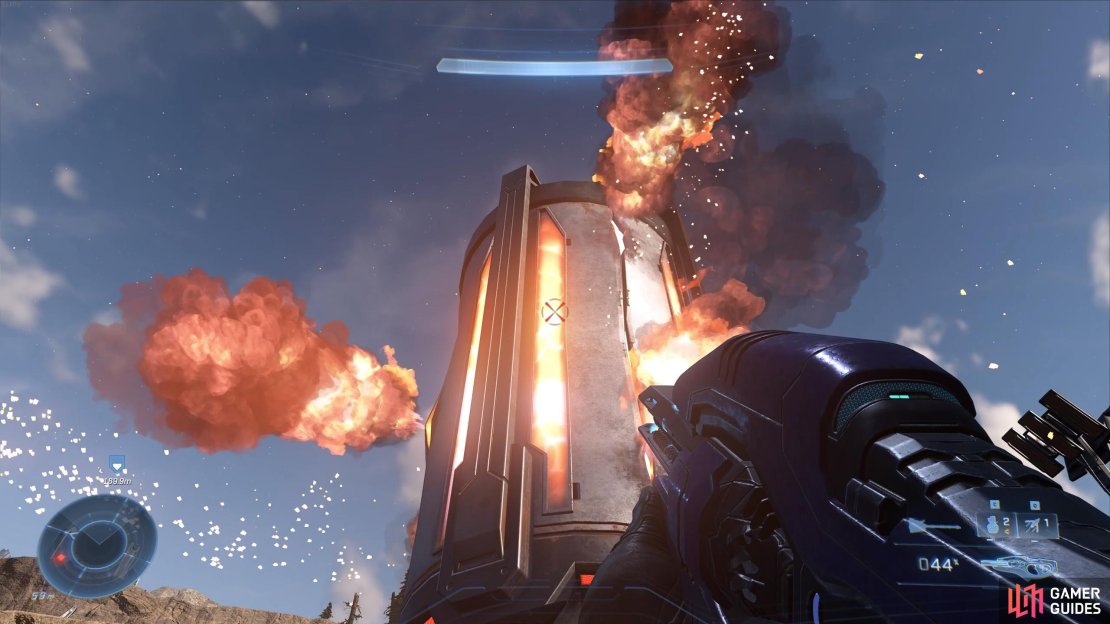
Destroy the Silos
There are five silos in total that you’ll need to destroy at the Forge of Teash. These are all exposed in the main grounds of the area, so you shouldn’t have any trouble locating them. However, you’ll need to defeat a number of elite Brutes, and some regular Jackals and Grunts. As you move from silo to silo, Banished reinforcements will arrive, dropped in from ships. These will almost always come in the form of elite Brutes, so you’ll need to be ready to take them out quickly. The whole area is fairly well defended, so be sure to make good use of the numerous blast coils that you’ll find lying around. A well placed shot or thrown blast coil can take out multiple enemies at once, and inflict massive damage to elites. Some of the elites will also drop Ravagers and CQS48 Bulldog shotguns, both of which are effective when it comes to killing numerous enemies quickly. You can either kill all the enemies in the area before you destroy the silos, or destroy each one as you come to it while fighting off enemies.
In terms of the process of destroying the silos, this should be familiar to you. All you need to do is interact with the terminal (use AI Scan to highlight them in the area), which will then reveal the silo and its cooling pylons. Shoot the cooling pylons until they explode, and your job is done.
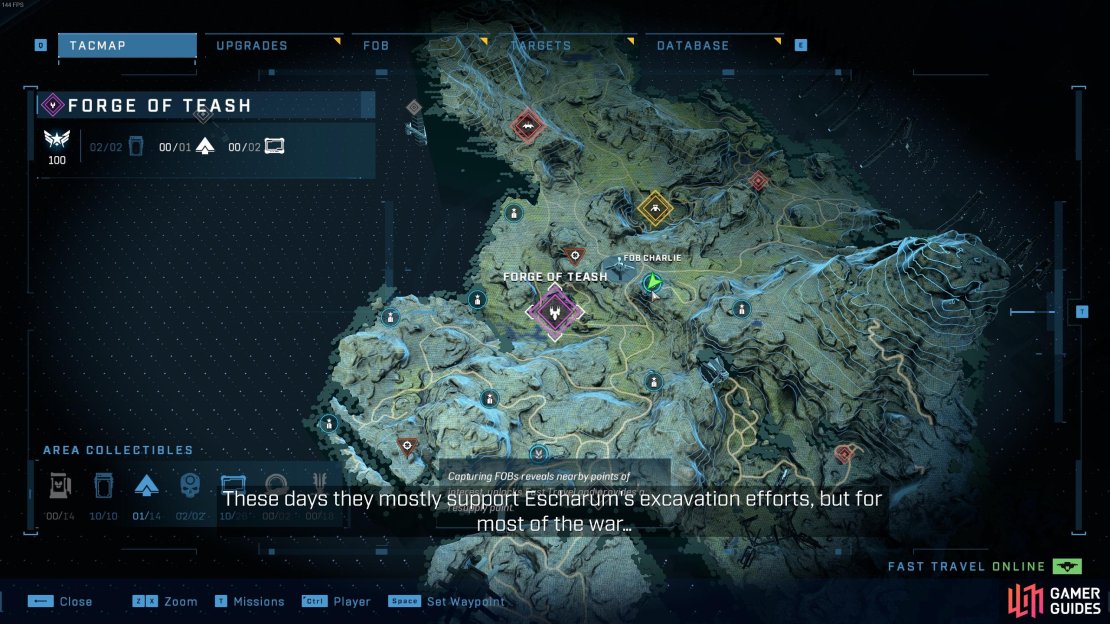
(1 of 3) The location of the Forge of Teash, southwest of Fob Charlie.
Sabotage Repair Bays
The repair bays can be found throughout the grounds of the Forge of Teash, but some of them are more hidden away than others. In particular, there are two which are more difficult to find. One of these can be accessed by going underground and using a small gravity lift to enter the interior of the structure where the repair bay is placed, and the other can be accessed after destroying a cooling pylon which is powering a protective barrier and blocking the entrance to a structure. Once you’ve cleared the area of all Banished enemies and completed the primary objectives, you can focus on obtaining the collectibles, shown in the gifs below.

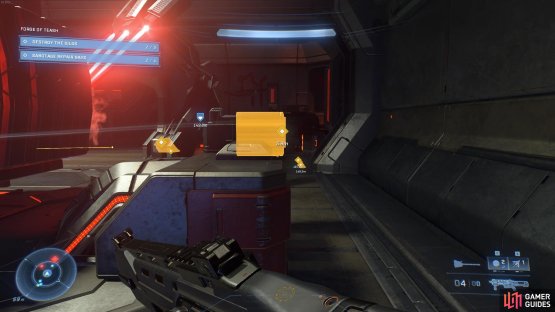
(1 of 2) Head down the ramp and turn left to access the small gravity lift leading to a repair bay.


Head down the ramp and turn left to access the small gravity lift leading to a repair bay. (left), Interact with the repair bay box to disable it. (right)
Forge of Teash Collectibles
Banished Audio Log 1
The first Banished audio log can be found inside a structure in the northeast of the grounds.
Banished Audio Log 2
The second Banished audio log can be found at the bottom of a ramp not far from where you found the first.
Spartan Core
The Spartan Core can be found on the second level of the largest structure near the centre of the grounds.
UNSC Audio Log 1
The first UNSC audio log can be found in a small cave system outside the grounds.
UNSC Audio Log 2
The second UNSC audio log can be found on the other side of the grounds from the first, as shown in the gif below.
No Comments