
This page details how to complete the Recovery quest, part of Halo Infinite campaign. Includes where to find collectibles at Fob Golf, Fob Foxtrot, and The Tower, including how to find the IWHBYD Skull on top of The Tower. This quest begins immediately after Outpost Tremonius.
How to Complete Recovery
Fob Golf & Fob Foxtrot Collectibles
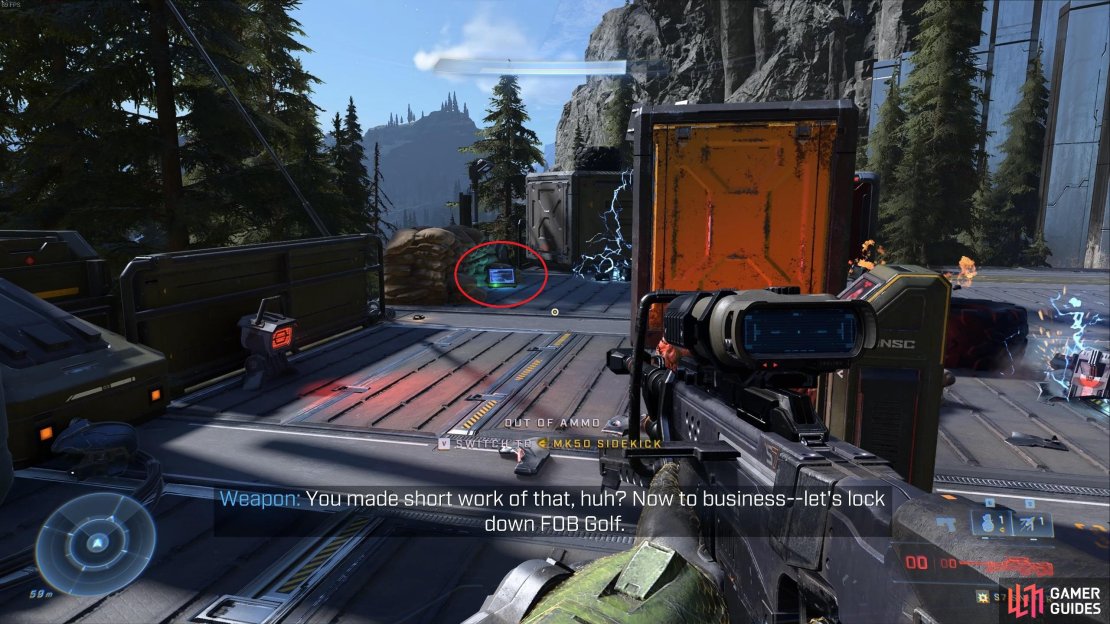
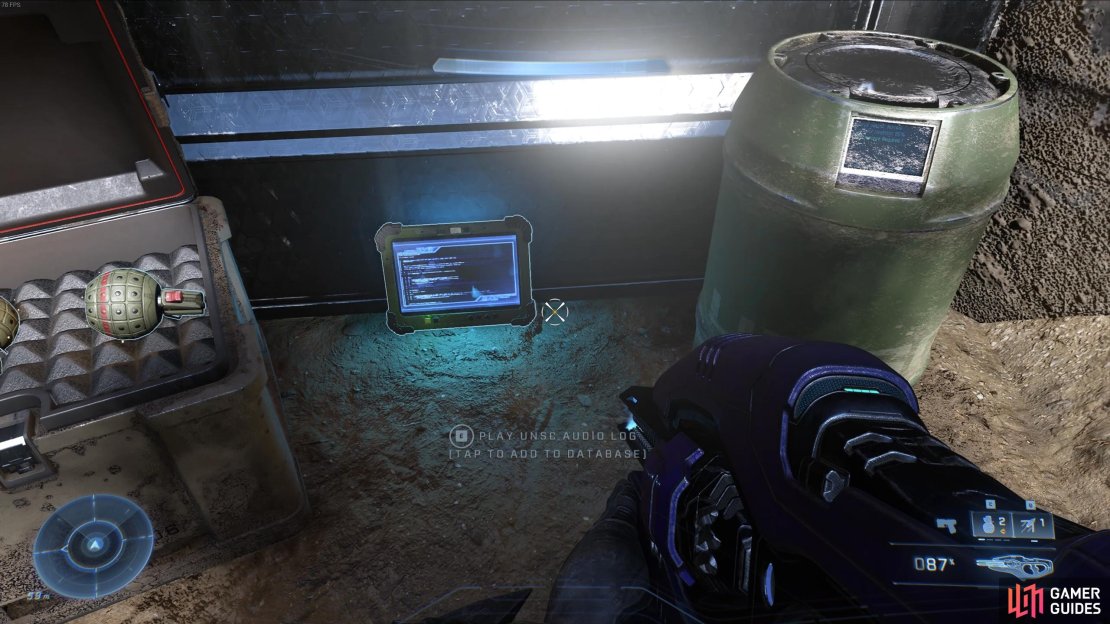
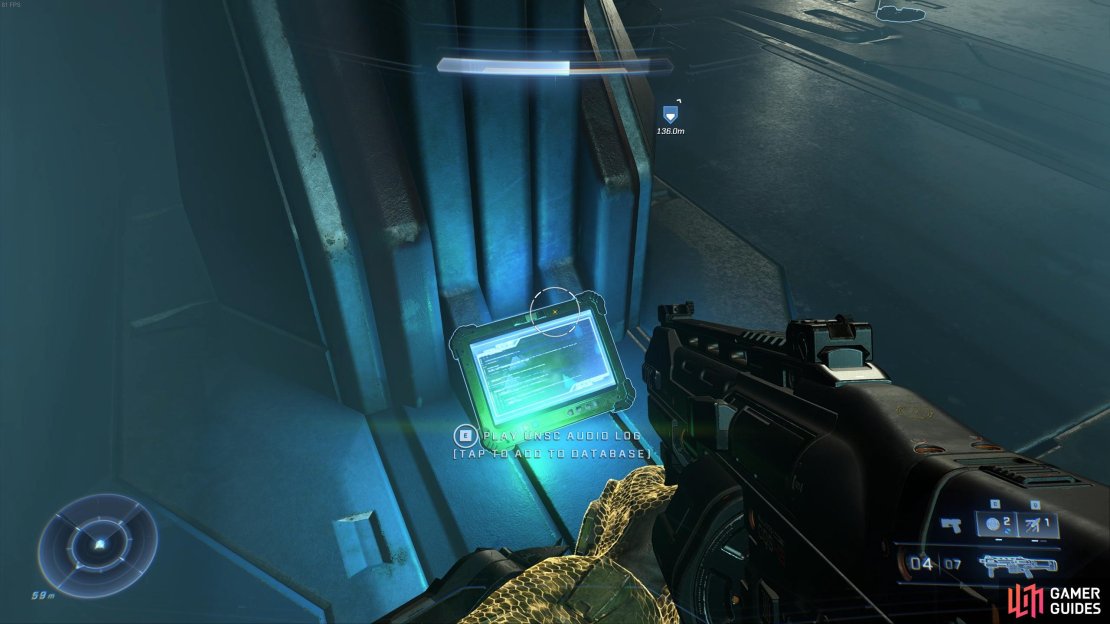
As you’re dropped off by Echo 216, you’ll find yourself directly above Fob Golf. This is a small outpost of the Banished, and you can capture it with the Weapon. You’ll need to kill all of the enemies at the outpost first, which includes some Grunts, Brutes, and Jackals. The standard set of enemies that you’ve encountered so far. However, once you’ve defeated them all and secured Fob Golf, be sure to loot the UNSC audio log on the main platform of the outpost, then look towards the trees from where you just dropped down to find another UNSC audio log between a fuel barrel and some grenades, as shown in the screenshot below. If you’re having trouble identifying this, use your AI Scan to highlight it in yellow. Capturing Fob Golf unlocks the Reclaimer achievement.
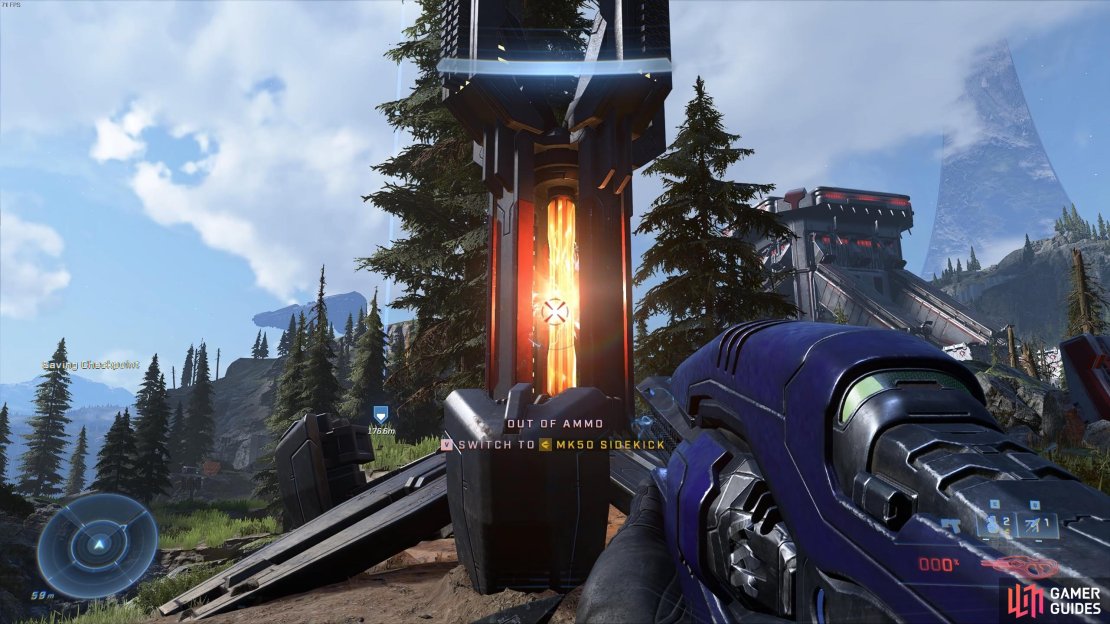
Now that you’ve secured Fob Golf, it’s time to move northwest and secure Fob Foxtrot. There are more collectibles in the surrounding area, but we’re focusing on the Recovery mission here. It’s possible to bypass both Fob Golf and Fob Foxtrot entirely, and head straight for The Tower, but since they’re on the way you might as well pick up these collectibles as you head over, especially since you can unlock a couple of achievements. As you approach Fob Foxtrot you should see a Banished Propaganda Tower glowing. You can destroy this to earn +10 Valor and unlock the Please Shut Up achievement. Now just continue on to Fob Foxtrot, loot the UNSC audio log, and secure the outpost with the Weapon.
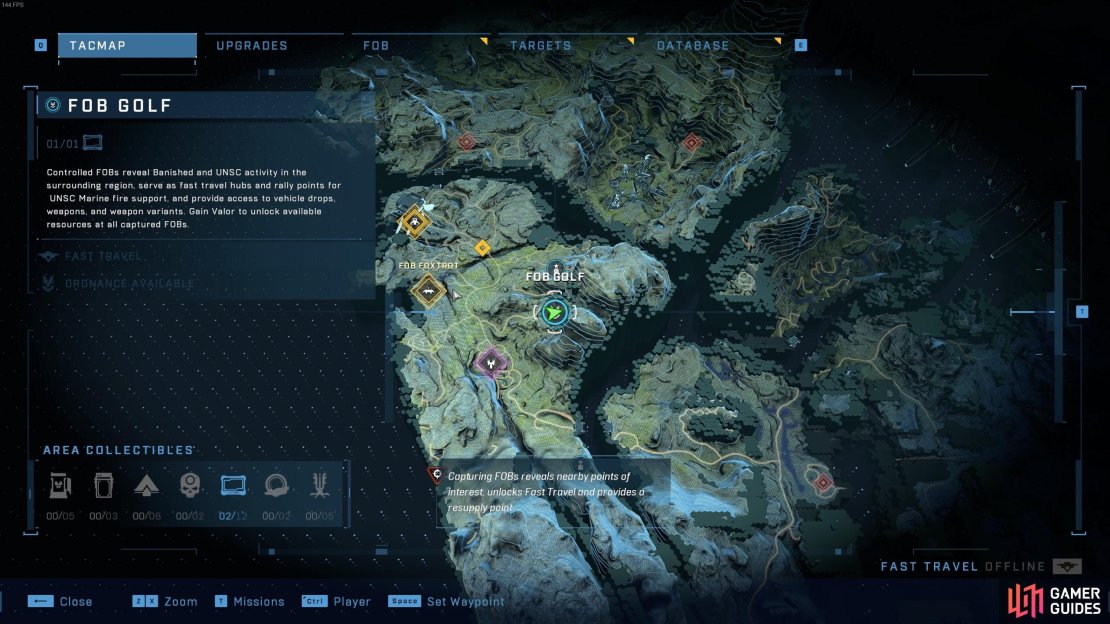
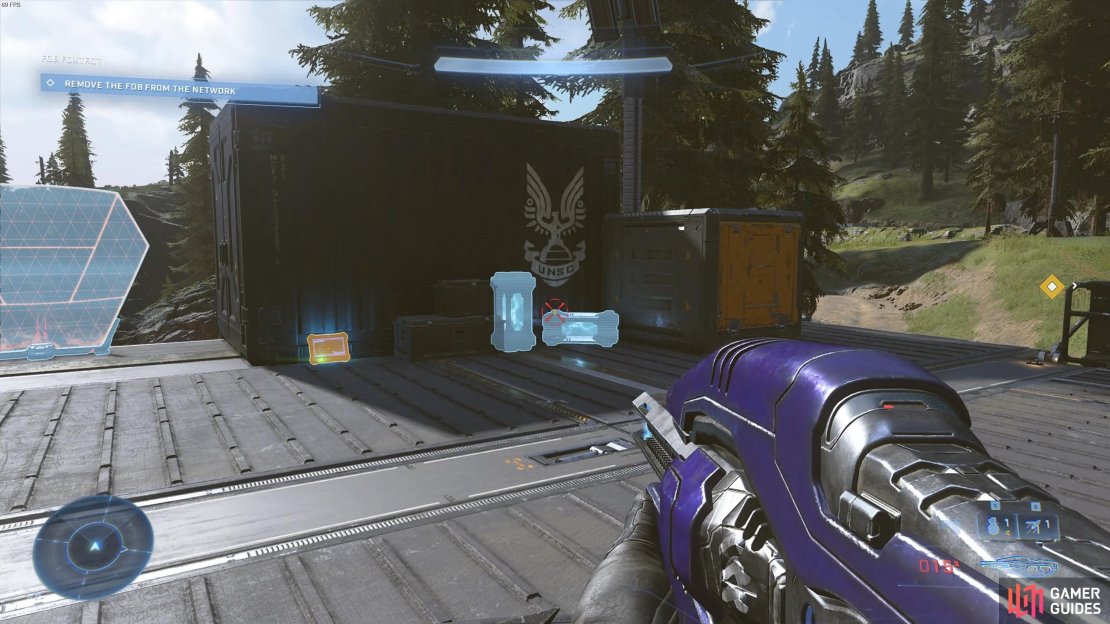
(1 of 5) You can secure Fob Golf and Fob Foxtrot on the way to the tower in the northwest.
You’ll find another UNSC audio log just north of Fob Foxtrot. You’ll find it in the canyon between Fob Foxtrot and The Tower, as shown in the gif below:
Recovery - The Tower Collectibles
The Tower Collectibles - Spartan Core 1
Once you’ve got the UNSC audio log, continue on to The Tower and infiltrate it from the ground up, using your Grappleshot to reach the first level. Here you’ll find numerous enemies including larger Brutes with stronger armor than those you’ve encountered so far, and some even with decent energy shields. You’ll need to clear the area of enemies as you infiltrate the first level outside of the main structure, using the gravity ramp to reach the area beneath the tower. If you’re feeling lost as to where you need to go, remember to use AI Scan to highlight objectives.
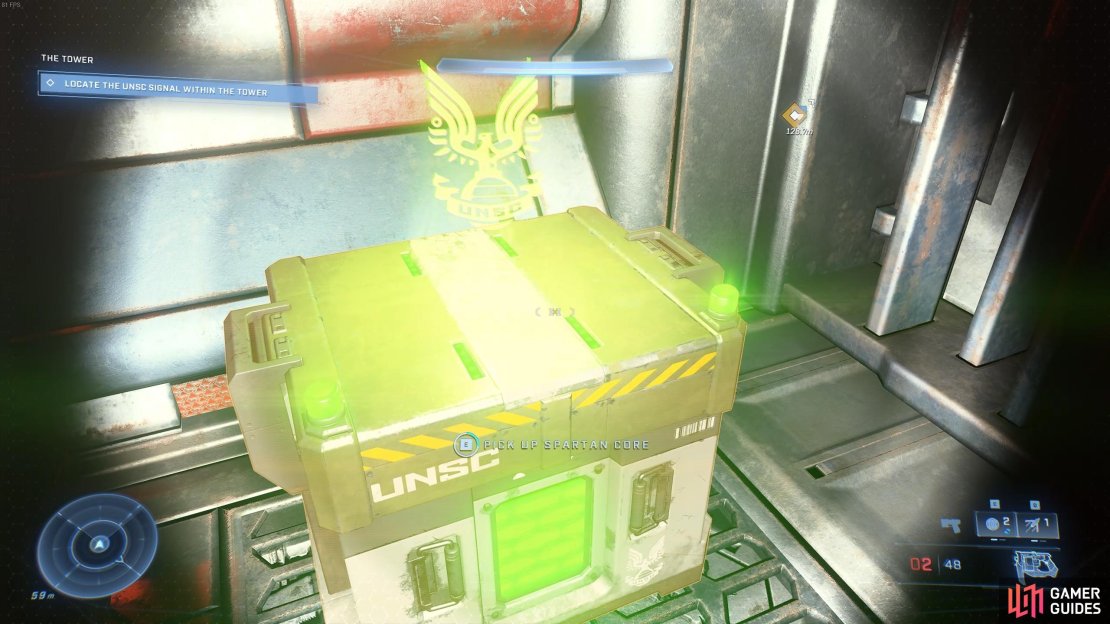
When you reach the gravity lift directly under the tower, a hologram of Chak ’Lok will appear in its place. This is a Brute who controls the tower. You’ll be seeing more of him later. For now, you’ll be able to find three collectibles down here. We’ll start with the Spartan Core. Clear the area of enemies and release the Marines who are tied to the energy prison next to the gravity lift for some assistance. Now look behind you and use the AI Scan to highlight the Spartan Core in one of the nearby structures, as shown below:
The Tower Collectibles - Banished Audio Log
The next collectible that we’ll go for beneath the tower outside is a Banished audio log. This is located in another structure not far from where you found the Spartan Core, as shown below:
The Tower Collectibles - Armor Locker
The final collectible beneath the tower outside is an Armor Locker, which provides the Midnight Griffin MKVII Armor. This again is not far from the others, but a bit further beneath the tower structure. See the below gif to find the exact location:
The Tower Collectibles - UNSC Audio Log
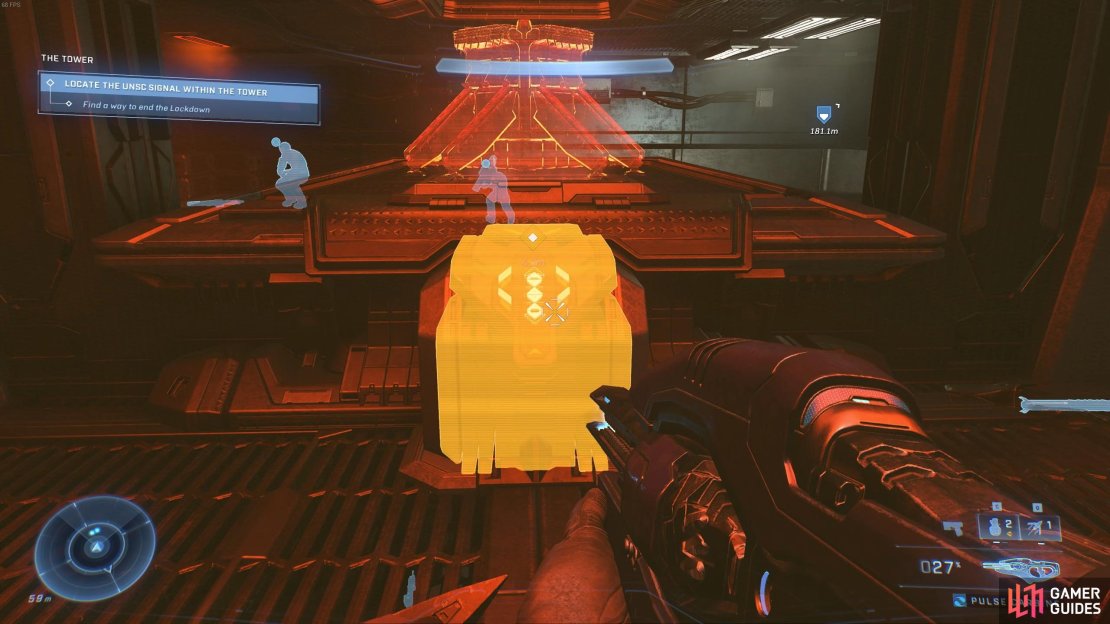
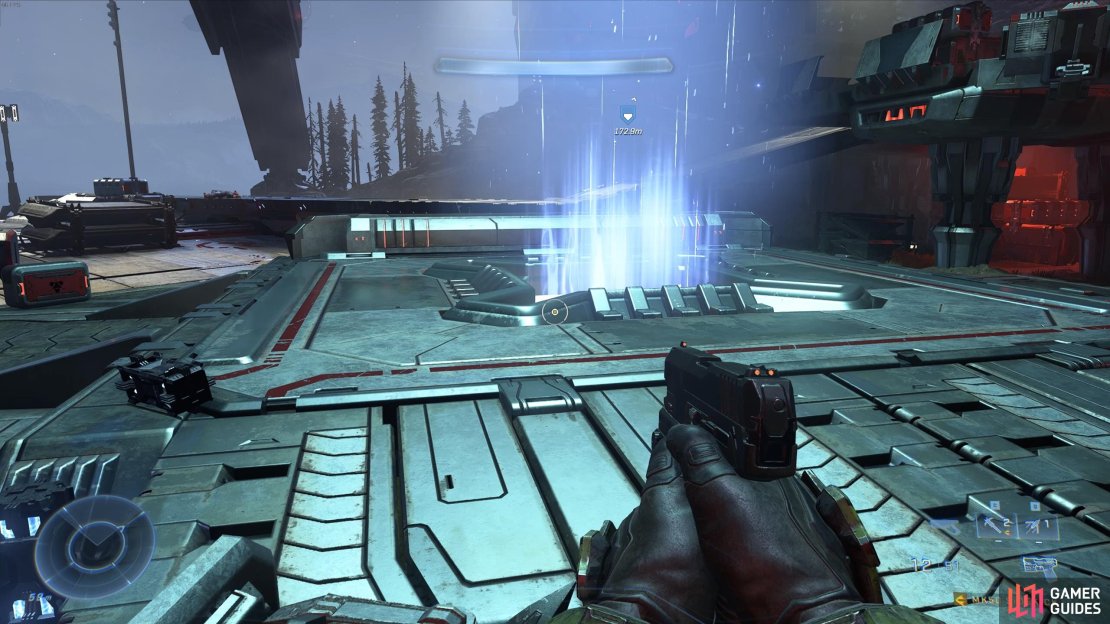
Now that you’ve obtained all the collectibles beneath the tower outside, it’s time to activate the gravity lift. To do this you need to end the lockdown of the facility by interacting with the terminal in the control room. Just use you AI Scan to highlight the terminal in yellow and with an objective marker. A brief cutscene will play, then you can make your way to the gravity lift and enter inside the tower.
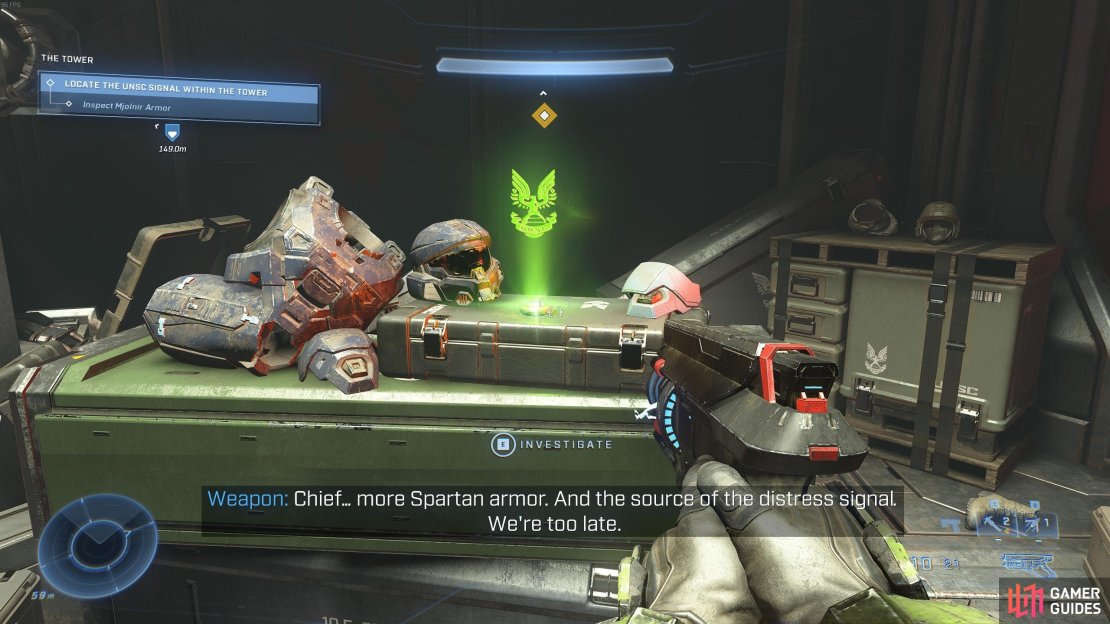
As soon as you enter the tower, you’ll see some Spartan armor which is also the source of the distress signal. Investigate the armor to acquire the Threat Sensor ability, which will be extremely useful in the fight ahead with Chak ’Lok. You’ll unlock the Visionary achievement once you obtain the Threat Sensor.
You’ll find the UNSC audio log as you continue deeper into the tower through the doorway and in the hallways. You’ll encounter a few enemies in here, so be ready. The hallways are essentially circular structures, so you shouldn’t get lost and it should be easy to locate the audio log by using the AI Scan to highlight it in yellow. It will also be beeping audibly, making it easier to find.
The Tower Collectibles - Spartan Core 2
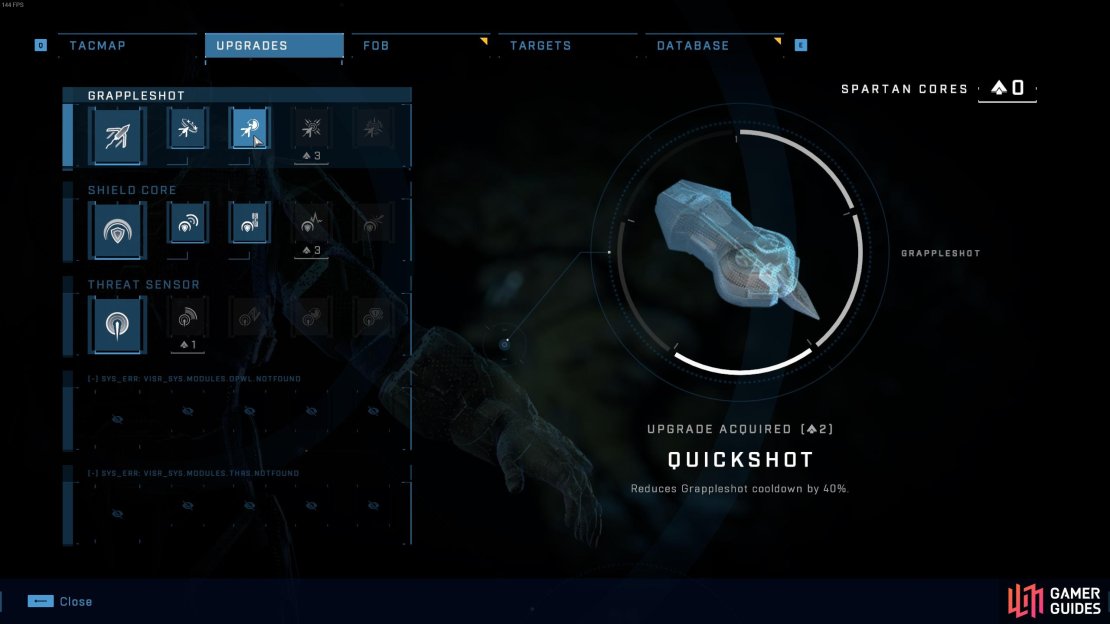
Now for the second Spartan Core. This is located on the next level up from the UNSC audio log. Just keeping moving up and kill all the enemies that you encounter. Once you’ve looted this Spartan Core, you should check whether you have enough cores to upgrade your Grappleshot at least twice to unlock the Quickshot upgrade. This reduces the Grappleshot cooldown by 40%, which will make reaching the IWHBYD Skull much easier later on. However, if you aren’t able to unlock this yet, you can always come back to the tower when you have. There are plenty of Spartan Cores to collect in the area surrounding the tower, with the nearest being at Ransom Keep, located south of the tower.
How to Defeat Chak ’Lok
Now that you’ve obtained all the collectibles in the tower (excluding the IWHBYD Skull) which is at the top of the tower), you can continue upward until you reach the torture room. Here you’ll encounter the Elite Brute named Chak ’Lok. This is a deadly boss who wields and Energy Sword and utilizes Active Camo. To ensure that you’re able to see Chak ’Lok most of the time during the fight, you’ll need to use the Threat Sensor to reveal his position when he’s in stealth. This will only work within a relatively small radius, but it’s enough to alert you to his presence as he approaches.
The main difficulty in fighting Chak ’Lok is the strength of his shield and the power of his attacks. To end the fight as quickly as possible, you’ll need to burn through the shield and avoid being caught by him in melee combat. The energy shield that he uses is incredibly strong, so you’ll need to use energy weapons to deplete it as fast as possible. Kinetic weapons will inflict damage to the shield, but nowhere near as much as other energy weapons. If you didn’t enter the fight with a decent energy weapon don’t worry; there are plenty on weapon racks on the edges of the torture room. One of the most effective is the Ravager. If you can pick this up quickly and begin a charged shot, you can shoot at Chak ’Lok as soon as he approaches, inflicting a significant amount of damage to his shield.
After the initial blast with the Ravager, you can fire more shots with its default fire mode to take out the rest of Chak ‘Lok’s shield. If he runs away from you, try using a few grenades to maintain damage, preventing him from regenerating the shield. When the shield is low, you can switch to kinetic energy weapons such as the CQS48 Bulldog Shotgun to inflict massive amounts of damage in a short space of time. You’ll find the shotgun and other weapons on the racks in the room too. So long as you stay close to your threat sensor, use energy weapons to destroy the shield and kinetic weapons to inflict damage to his health, the fight with Chak ’Lok should be fairly short. The main thing is to avoid too much melee combat with him, since his Energy Sword will make short work of you. If he gets too close, use a melee attack of your own to briefly stun him and then run around the room to regain some distance. Once you’ve defeated Chak ’Lok and left the tower, you’ll unlock the Fallen achievement.
The Tower Collectibles - IWHBYD Skull
The best time to collect the IWHBYD Skull is after you’ve defeated Chak ’Lok. This is because you’ll have access to a higher platform which is closer to the top of the tower, however you can still access the top of the tower later if you don’t want to do it yet, or if you still need to upgrade your Grappleshot with the Quickshot upgrade. It will take a total of 3 Spartan Cores to upgrade this, and you can always come back later if you don’t have enough yet. Assuming you have enough, you can begin to grapple the side of the tower and chain the grapple shots to lift you to the top of the tower. This can be a tricky thing to do, but with enough persistence you should be able to manage it. You’ll find the IWHBYD Skull at the centre of the top of the tower. See the gif below for a demonstration:
No Comments