
This page details how to complete the House of Reckoning quest in the Halo Infinite campaign. Includes where to find the UNSC and Banished audio log collectibles, how to survive Basic Training and Advanced Training, how to defeat Jega ’Rdomnai, and how to defeat Escharum. This quest begins immediately after The Road.
How to Complete House of Reckoning
House of Reckoning Collectibles - UNSC Audio Log
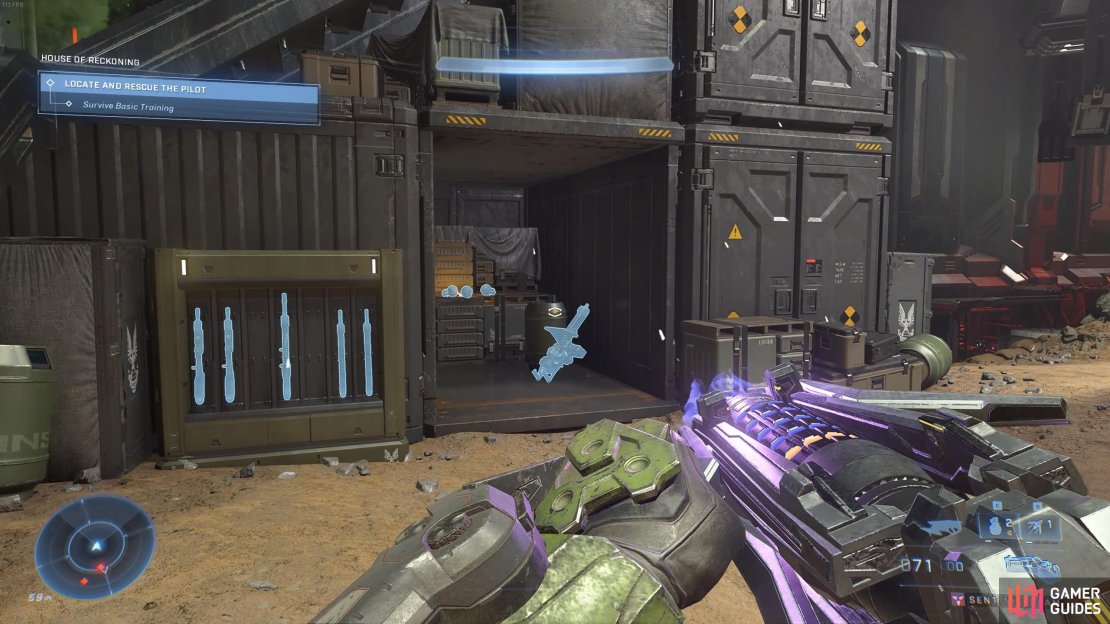
Now that you’re inside the House of Reckoning, you’ll unlock the Reckoning achievement. The first task you’ll face is to survive Basic Training, which Escharum has kindly prepared for you. There’s a UNSC audio log in this first room which you can pick up before the fighting starts, or you can wait until you’ve defeated all the enemies if you prefer. Just be sure not to miss it before you leave the room. The exact location is shown in the gif below:
Survive Basic Training
The Basic Training challenge that you’ll face in this room should be fairly easy. You’ll be attacked by waves of regular Brutes, Jackals, and Grunts primarily, but also some Elite Brutes. There are plenty of weapons and grenades in the surrounding area, so you shouldn’t have any trouble finding enough fire power to deal with the waves of enemies. In addition to the abundance of regular and power weapons, you’ll also find a M247 HMG (machine gun) which you can use to mow down enemies quickly. Don’t worry about preserving ammunition here, you’ll soon find yourself in another room with more weapons lying around everywhere.
Survive Advanced Training
Once you’re done with the basic training, make your way through to the next room, using AI Scan to identify the way forward if you’re lost. A series of recordings from Escharum will play, but you don’t need to wait for these to complete if you don’t want to. As soon as you enter the next training room, you’ll be challenged to surviving Advanced Training here. The enemies that you encounter in this room will generally be much stronger than those from the last, with slightly stronger Grunts, more advanced Jackals, and an increased number and variety of Elite Brutes. You’ll find a M247 HMG directly beneath the platform that you entered the room from here, but we’d recommend using it only at the beginning of the fight. The restriction to movement incurred by using it will make you vulnerable to attacks from elites if you hold on to it for too long.
One of the most challenging Elite Brutes that you’ll come across in this room are those who specialized in melee combat. They generally arrive in pairs, and they’ll chase you down relentlessly. You can identify them initially by heavy breathing as they stomp across the ground to reach you, so listen out for this and find some high ground to create distance between you as soon as possible. This will allow you to shoot them from above while avoiding their melee attacks, or you can use grenades if line of sight isn’t great. Alternatively, be ready for them with a powerful weapon such as the Ravager, Sentinel Beam, Cindershot, Heatwave, M41 SPNKR - Rocket Launcher, or CQS48 Bulldog - Shotgun, most of which can inflict excellent AoE (Area of Effect) damage if your aim is off due to being a bit panicky or in a rush. A few shots with any of these weapons will kill most Elite Brutes quickly. You can also make use of Blast Coils to inflict massive damage if you’re out of ammunition with any of the above power weapons.
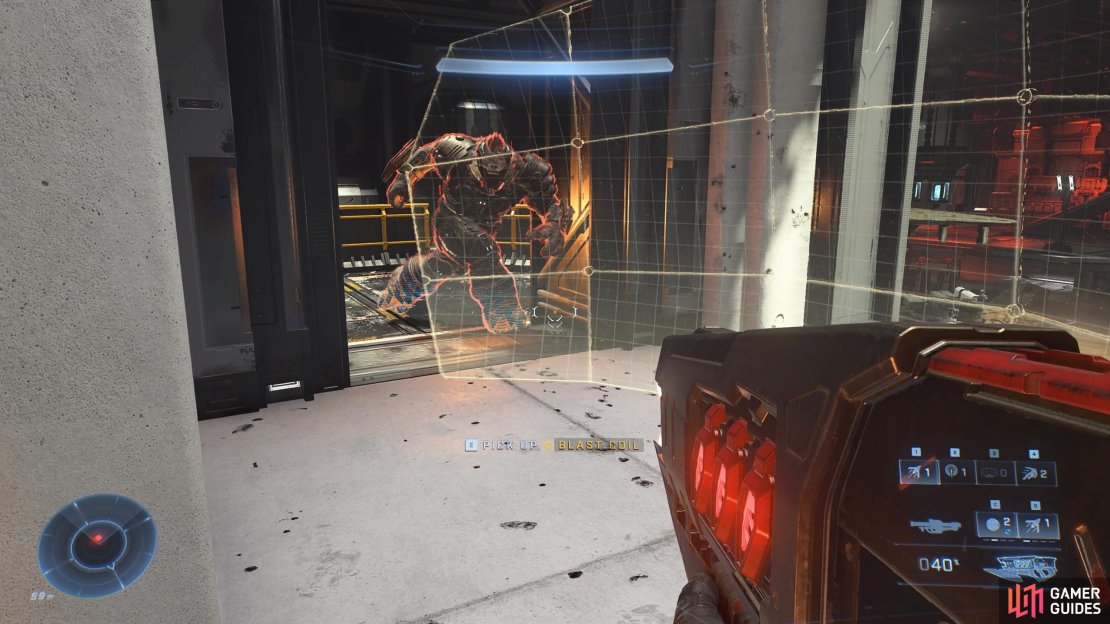
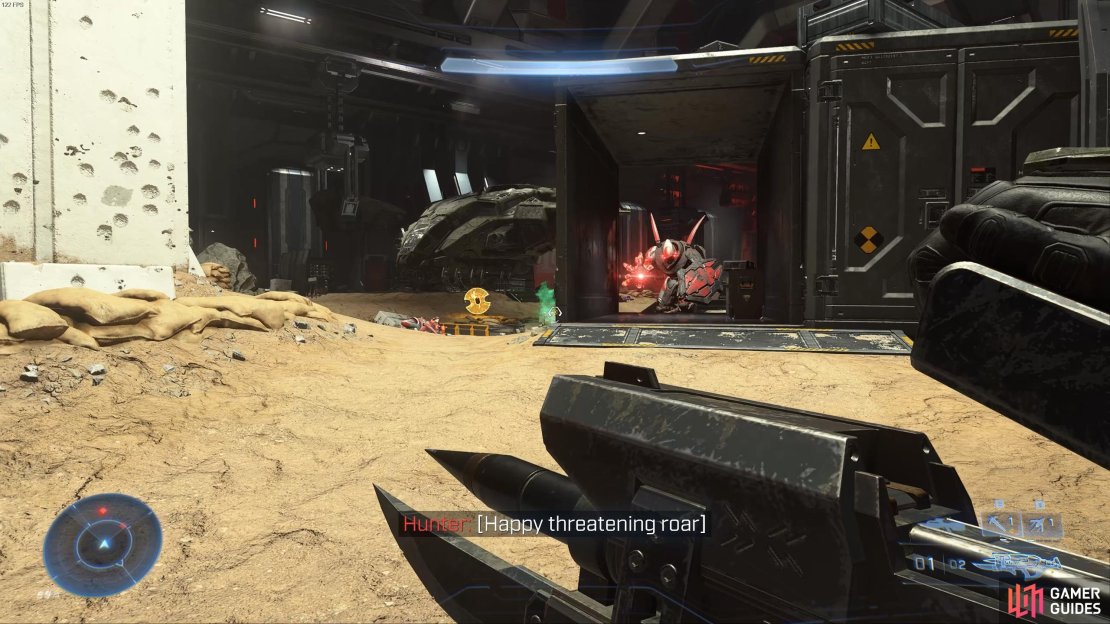
After you’ve killed the first few Elite Brutes during Advanced Training, two particularly powerful Hunters will appear, of the same type that you encountered during The Road. The only difference here is that you need to kill these two Hunters in order to progress with the mission. You’ll benefit from finding high ground again, and using map features to take cover frequently. The more you run, the more the Hunters will pursue you, so you’re better off finding a part of the room where you can muster a good defence, nearby weapon and grenades resupplies. Peeking in and out of view from the Hunters as you fire using power weapons is the most effective way to whittle their health down without them firing at you too much. The Hunters will constantly adjust their position based on where you’re positioned, but so long as you keep moving in the same general area by peeking in and out from points of cover, they will remain relatively stationary and you’ll have the opportunity to barrage them with grenades, blast coils, and other ammo.
(1 of 3) You’ll find powerful weapons placed around each training area.
House of Reckoning Collectibles - Banished Audio Log 1
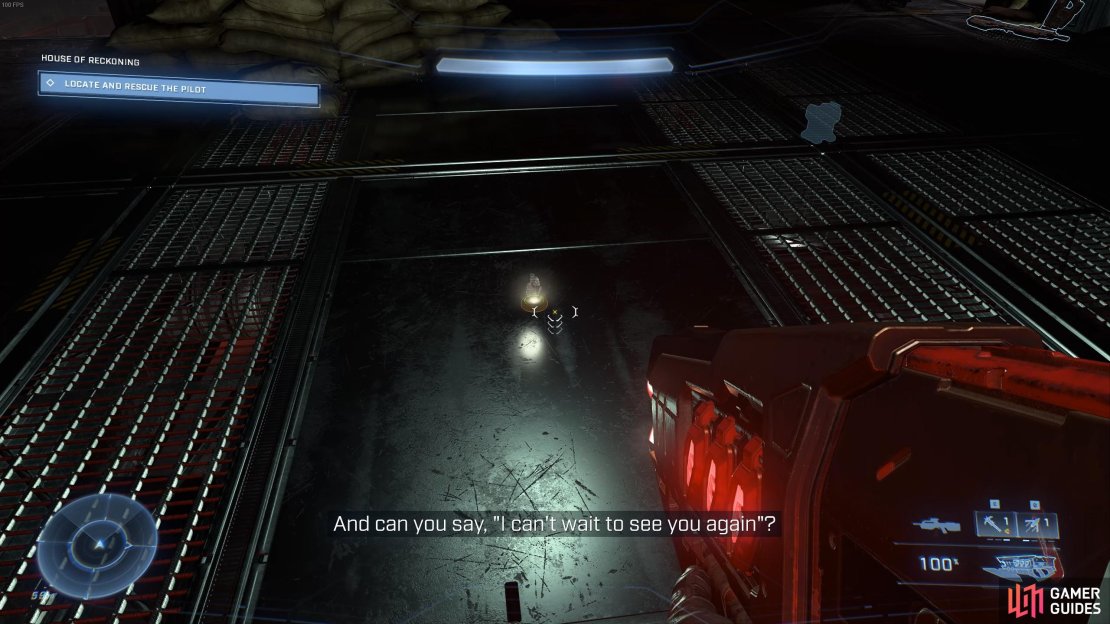
The first Banished audio log can be found in the room after the Advanced Training room, just before the boss fight with Jega ’Rdomnai, as shown below:
Boss Fight: Jega ’Rdomnai
The boss fight with Jega ’Rdomnai will begin after you’ve interacted with the device belonging to Echo 216, which displays a recording of his family. This is an intense fight which will require you to use the Threat Sensor to reveal Jega’s location while he’s in stealth, and to make use of the space available to escape his melee attacks. Jega wields two powerful melee weapons including a modified Energy Sword. If you allow Jega to hit you multiple times in a row, you’ll be dead in seconds. It’s important that if you’re hit, you create some distance between yourself and Jega either by sprinting or by using Grappleshot.
The main part of the fight will consist of you trying to deplete Jega’s energy shield. As with the fight with Chak ’Lok, once you’ve done this you’ll find it incredibly easy to eat through Jega’s health. The shield however is quite tough, so you’ll need to rely on decent power weapons to consistently inflict damage. If you don’t attack Jega for a long enough period, his shield will regenerate and you’ll have to start from scratch.
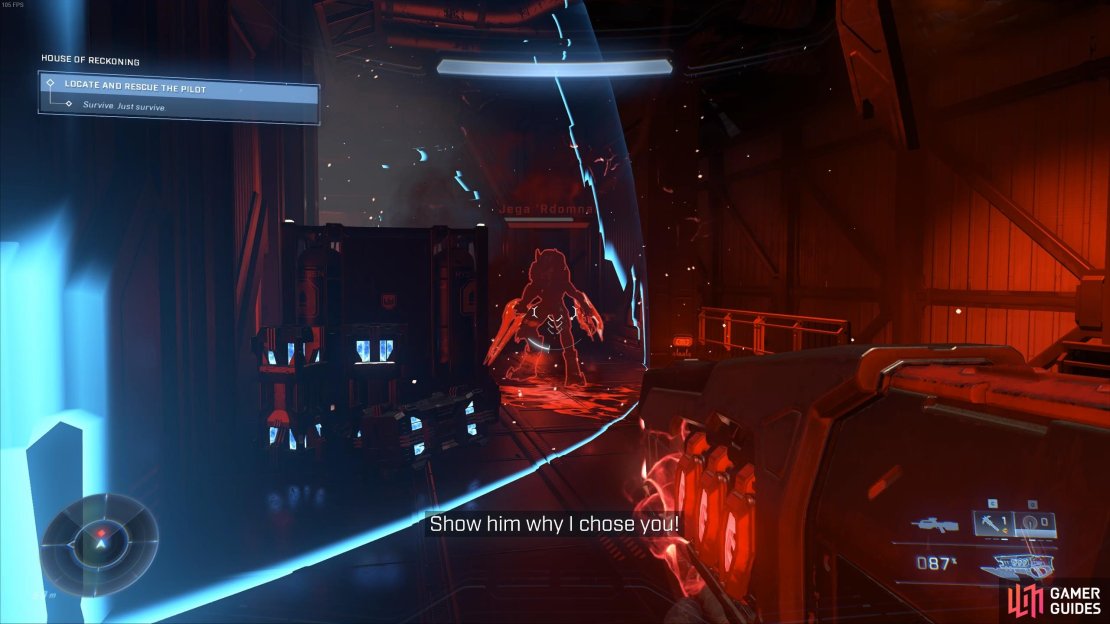

(1 of 3) Interact with the device to begin the fight with Jega.
There will be natural breaks in the combat as you try to escape melee range from Jega, or as you reload, so the best way to maintain damage on Jega and to potentially deplete his shield in one sustained attack, is by using one of the many blast coils which can be found in the area. The use of a blue blast coil has the added benefit of stunning Jega in place for a brief period, which gives you plenty of time to kill him without his shield. You can either pick one of these up and then throw it at Jega as he approaches, or you can wait for him to roam near to one, then shoot it to cause an explosion. As soon as Jega takes damage from the blast, inflict as much damage as possible with a power weapon such as the Ravager, or if you have a less powerful weapon be sure to aim for the head to inflict maximum damage. Once the shield is fully depleted, taking out Jega’s health bar should be a relatively easy task. Just don’t get too carried away by sustaining an attack if you’re already one hit away from death.
House of Reckoning Collectibles - Banished Audio Log 2
The second Banished audio log can be found in the room where Echo 216 is being kept, where you will also fight Escharum. You’ll find it behind Echo 216 just to the left of him, as shown in the gif below:
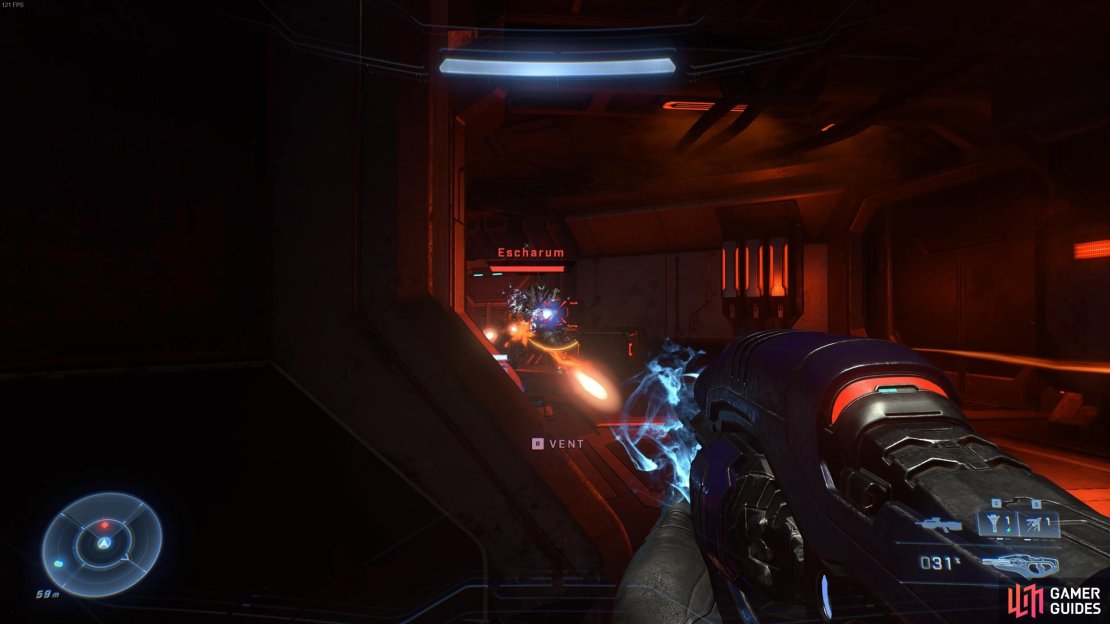
Boss Fight: Escharum
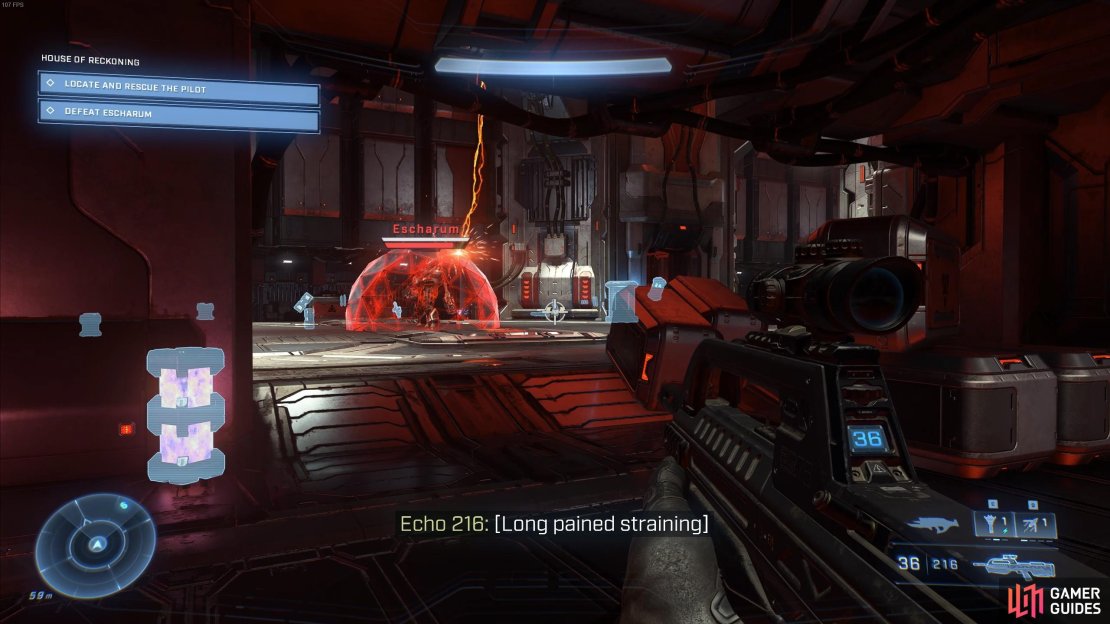
The final challenge in the House of Reckoning is a boss fight with Escharum. This can be broken down into two main phases. In the first phase Escharum will use a powerful cannon to attack you from a distance, and in the second phase he will use a modified hammer / axe which functions in much the same way as the regular Gravity Hammer. The first phase is by far the easiest, but you’ll need to do a few more things during the fight to ensure success. In particular, you’ll need to destroy a series of relays which power the connection between Escharum’s shield and the torture machine which Echo 216 is trapped in. These relays will become exposed whenever you deplete Escharum’s health enough for him to trigger a period where he has an energy shield. You’ll have a visual que for this in the form of the presence of the energy shield bar, but Escharum will also be surrounded by a red energy sphere, as shown in the screenshot below. In addition, either the Weapon or Master Chief will mention when a relay needs to be destroyed.
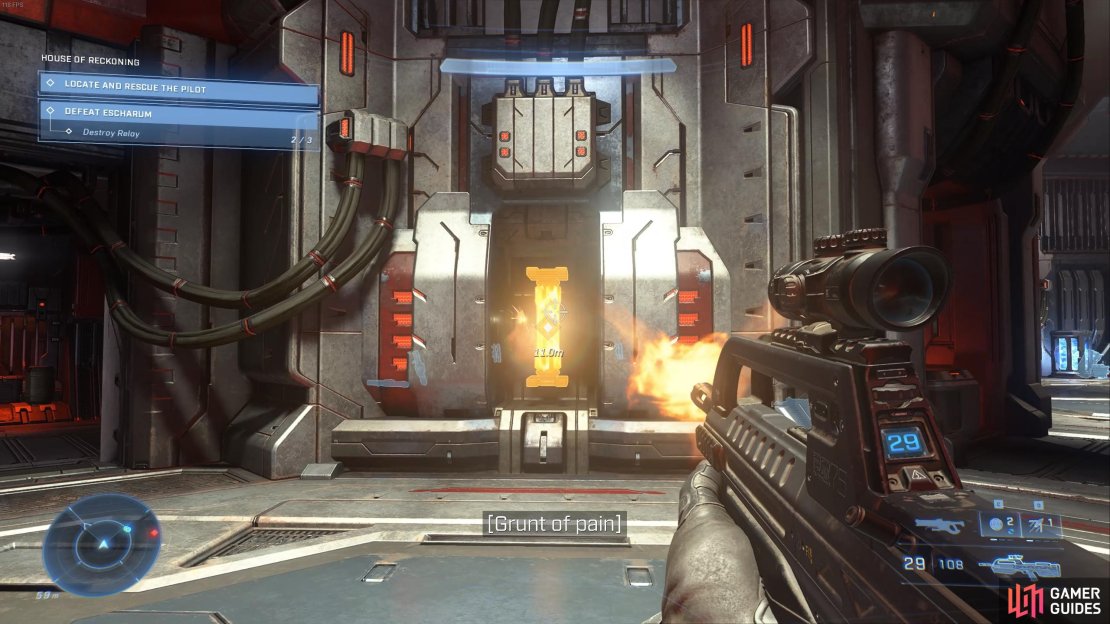
The relays that you need to destroy look almost exactly the same as cooling pylons, which you’ve encountered already during the story. All you need to do is shoot them a few times to destroy them and remove the energy shield from Escharum, allowing you to damage him directly again. During this phase of the fight it’s best that you don’t stand in one position for too long, although this may be necessary when destroying the relays. After this, continue to kite Escharum around the room, using the weapons from the racks nearby and grenades to damage him.
(1 of 3) You can kite Escharum around the room, picking up new weapons as you go.
There will be a total of four relays that you’ll need to destroy to remove Escharum’s shield, each one triggered after taking down his health to specific points. These are roughly 90%, 75%, 50%, and 40%. After the fourth and final relay has been destroyed the second phase of the fight will begin, and Escharum will now wield his melee weapon. He’ll also move much faster, which is a deadly combination since the melee weapon inflicts massive damage. This is the perfect time to use blast coils to bring down Escharum’s health as quickly as possible, while using Grappleshot to create some distance between yourself and Escharum to escape melee range. You can also use grenades to damage Escharum as you run from him. The most important thing here is to balance damage output with positioning. The last thing you want in this stage of the fight is to be caught off guard by a melee attack. Once you finally defeat Escharum you’ll unlock the Legends achievement, and you can pick up his melee weapon which will be useful during the next mission.
No Comments