
This page details how to complete the Conservatory quest in the Halo Infinite campaign. Includes where to find the Drop Wall and Thruster equipment, how to place the power seeds in the terminals, how to defeat the Elite Brutes and survive the Skimmer attack. This quest begins immediately after Excavation Site.

Conservatory, Halo Infinite.
How to Complete Conservatory
Enter the Conservatory and Examine the Spartan for the Drop Wall Equipment
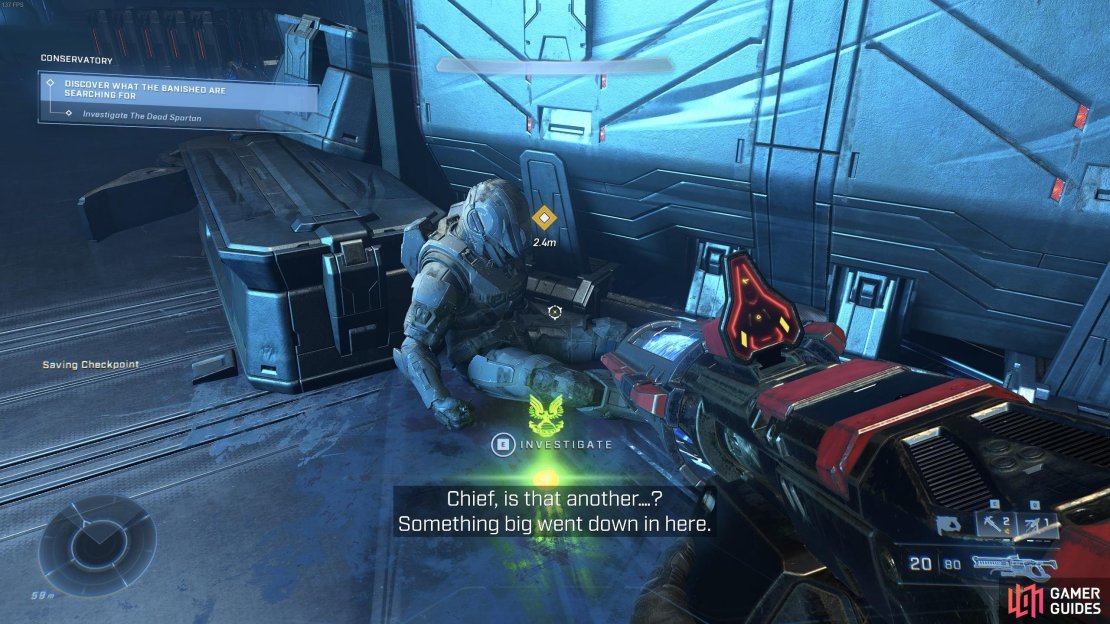
If you’re still at the excavation site immediately after finishing the previous main quest, you can jump down and enter the conservatory through the hole which the mining laser has created. If you’re having trouble locating it, just use AI Scan to highlight it in yellow. Once you’re inside the path will be fairly linear as you make your way through the halls. You’ll soon reach a terminal which you can interact with to trigger a brief loading screen and open the doors in front of it. Beyond this you’ll find a dead Spartan which you can investigate to obtain the Drop Wall equipment piece, thereby unlocking the Grab Some Cover achievement.
Place the Power Seeds in the Terminals
After examining the Spartan you’ll need to continue deeper into the Conservatory as you encounter more some Brutes, Grunts, and Jackals. The Pulse Carbine will be as effective as ever in terms of destroying energy shields quickly, but there’s plenty of other weapons scattered about if you’d rather switch things up. You’ll also find some blast coils in the rooms ahead which you can use by throwing them at groups of enemies or shooting at them to cause an explosion near them. Keeping moving through the rooms and taking out the enemies until you reach a large room with two terminals in it. Use AI Scan to highlight their location, then take the nearby power seeds (also highlighted in yellow by AI Scan) and place them in each terminal to power them up. You’ll trigger a small wave of enemies each time you place a power seed, so be ready for them.
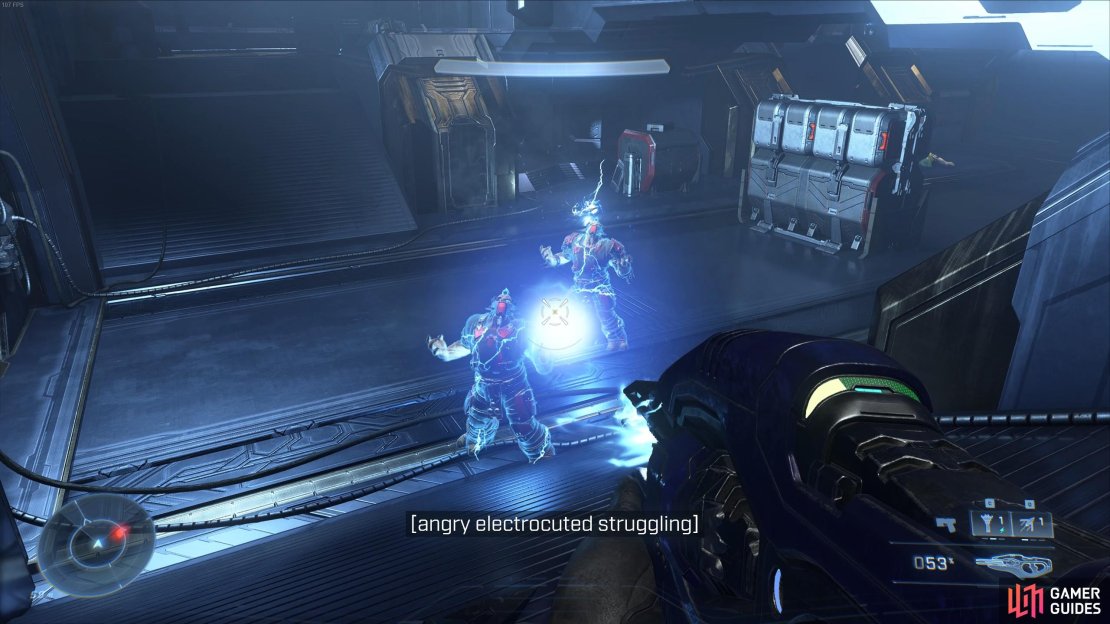
After placing the first power seed in a terminal you’ll be attacked by two Elite Brutes who specialize in melee combat. They have red armor and they’re much tougher than regular Brutes, but the main reason why they can be dangerous is that they’re incredibly fast. They will catch up to you every time if you try to run away, and once they do they’ll inflict massive damage in a short amount of time. It’s important that you deal with them head on, and an excellent way of doing this is by using Dynamo Grenades to stun the Brutes and root them in place. While they’re stuck and being slowly damaged over time by the grenade, you can attack them with other weapons or with melee attacks, but be ready for them once the energy stun wears off. Try to kill them as quickly as possible to avoid being chased by them. You can also use the Grappleshot to stun one of them in a pinch, but the stun won’t last as long as the grenade stun.
Kill the Elite Brutes with Energy Swords
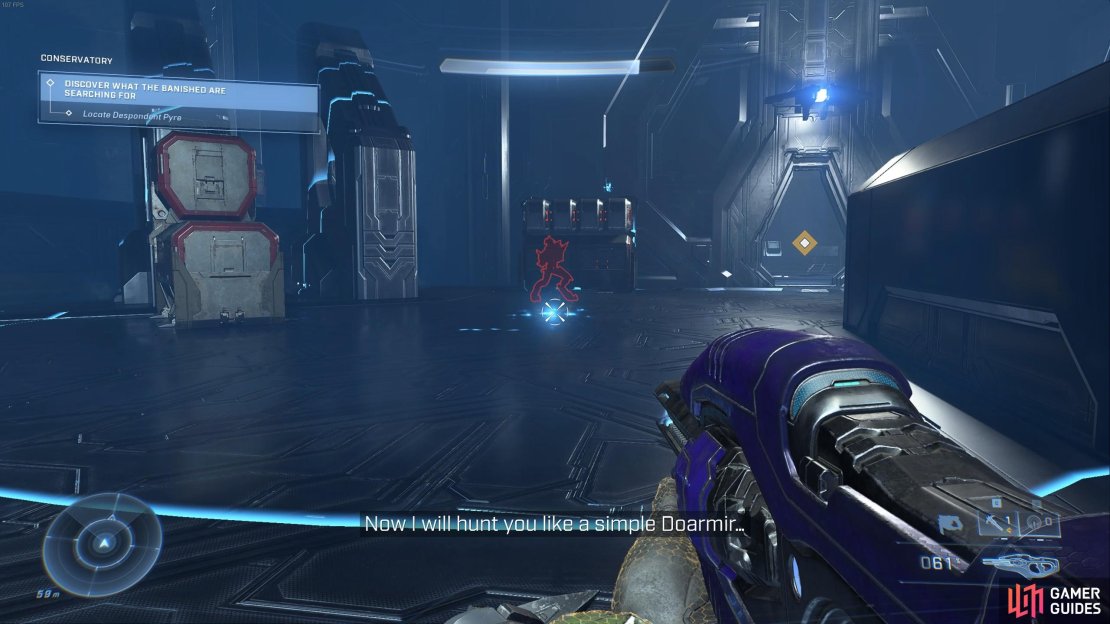
However you deal with the Elite Brutes, once they’re dead you can place the last power seed and progress deeper into the conservatory. This will lead to a room with three hallways and a terminal at the centre. Interact with the terminal to trigger a cutscene, then head through the newly opened door at the end of the hallway on your right. This leads to another room with more enemies, but nothing you haven’t seen before. However at the end of this room you’ll encounter an Elite Brute with golden armor. These are amongst the most powerful Elite Brutes. They wield an Energy Sword and they use Active Camo to hide from you, so be sure to use the Threat Sensor to reveal their position. So long as you’re aware of their location and you stay out of melee range, you should be able to take them out fairly easily with most weapons. After defeating this golden elite, you’ll drop down to find two more Elite Brutes of the same type, but with weakened armor. Use the Threat Sensor again and remain within its range to keep track of their location as you fire at them.


Survive the Skimmer Attack
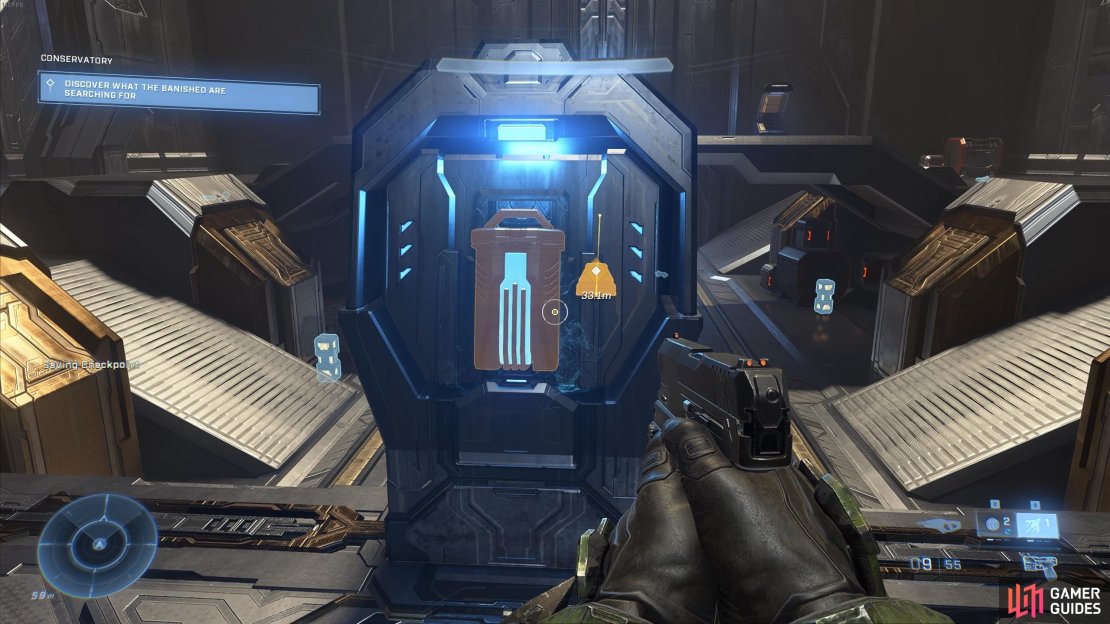
Once you’ve dealt with the Elite Brutes continue deeper into the conservatory to find more enemies. You’ll need to clear these rooms ahead as you listen to the Harbinger and the Despondent Pyre in the distance. Keep moving through the rooms as you go downwards, until you reach the central chamber of the conservatory. Here you’ll find a terminal in the centre of the room. You’ll need to cross the bridge and interact with this to trigger a cutscene. After this scene you’ll be attacked by a number of Skimmers - the new flying enemy type that you saw during one of the cutscenes. You’ll face three of these at first, but they will be reinforced with more as the Weapon tries to unlock a door to find a way out of the conservatory. Thankfully the Skimmers are incredibly weak, so they’ll die in just one hit from most weapons. However, they can inflict a lot of damage in a short space of time, so they’re a bit like glass cannons. Take them out as quickly as possible and use the features of the room to take cover if necessary.
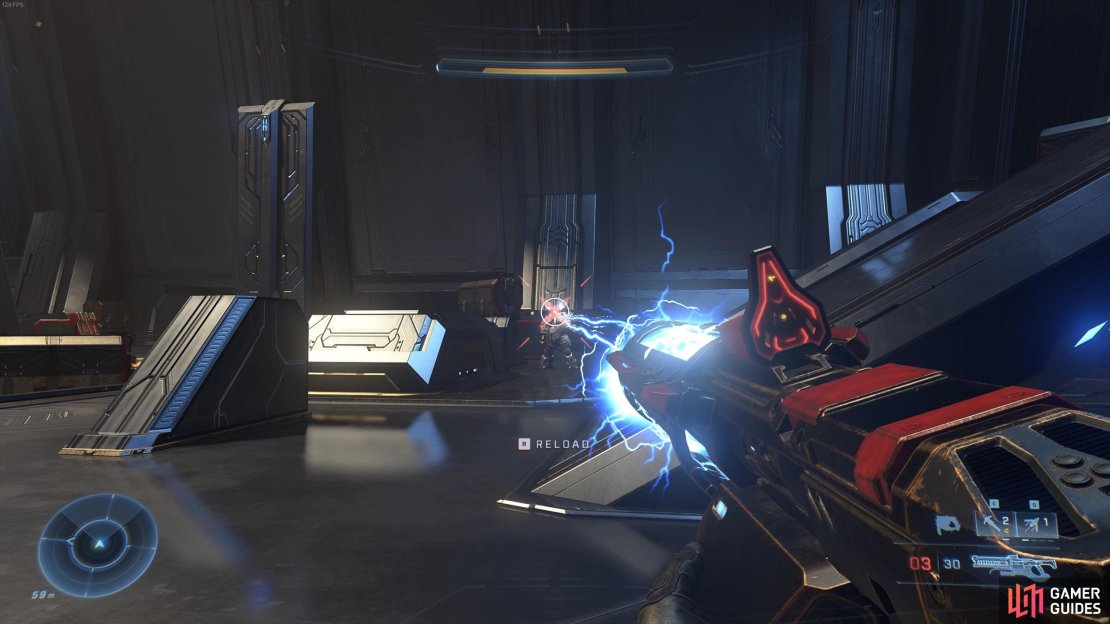
You’ll find a number of weapons available in the conservatory, including a Shock Rifle. This can be useful towards the end of the Skimmer attack, as more of them spawn in the same location. If you use the Shock Rifle while they’re all bunched together, the energy damage will arc and quickly kill or stun the Skimmers in a group. If you find yourself in a tricky spot or you’re being overwhelmed by numerous enemies, use the gravity ramps to fly to the other side of the room, giving you some time to recover. As the attack progresses you’ll encounter other types of enemies such as Elite Brutes and regular Grunts, so be ready to take them out. Focus on headshots to kill the Elite Brutes quickly.
Examine the Dead Spartan for the Thruster Equipment
Once you’ve killed enough of the waves, the Weapon will find a way out of the conservatory and request that you pick her up. Interact with the terminal to pick up the Weapon and then head through the door in front of you. The next room you encounter contains another dead Spartan, this one providing the Thruster equipment, which unlocks the Evasive Maneuvers achievement.
Defeat the Elite Brutes with Ravagers
Once you’ve examined the second dead Spartan, continue through the rooms until you reach a large one with two Elite Brutes in it. These are heavily armored and they both wield Ravagers, which can inflict massive damage in a short period of time. To defeat these Brutes, use the room features to take cover and aim for their heads as often as possible. You can also throw grenades when you can’t achieve good visuals, but the most important thing is to inflict enough damage to the head of the Brutes so that their helmets fall off, allowing yo to kill them in one shot to the head. Once you’ve killed these two Brutes, interact with the terminal to be taken back to the surface with the lift. A cutscene will be triggered here, during which you’ll meet the Harbinger, and the quest will end soon after.
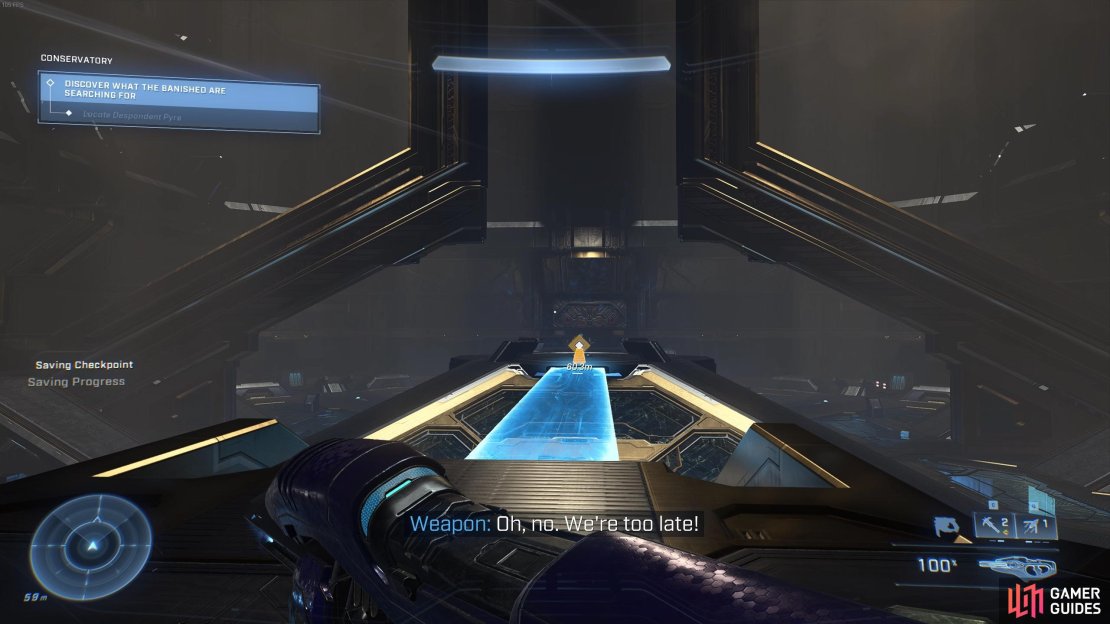
(1 of 3) Interact with the terminal at the centre of the conservatory to trigger a cutscene.
No Comments