
This page details how to complete the Outpost Tremonius campaign mission in Halo Infinite. Includes where to find all collectibles such as the three Spartan Cores, the Banished audio log, and the Mjolnir Armor Locker. This quest begins immediately after Foundation.

Outpost Tremonius, Halo Infinite.
How to Complete Outpost Tremonius
Outpost Tremonius Collectibles - Spartan Core 1
The very first thing you’ll encounter as you begin the Outpost Tremonius mission and exit the elevator is a Spartan Core. This will be directly in front of you from the elevator exit, so it’s nearly impossible to miss. When you acquire the Spartan Core you’ll be able to upgrade your shield Mjolnir Suit Upgrade that you acquired from the dead Spartan during Foundation. Alternatively you can upgrade your Grappleshot, the choice is yours. You’ll also unlock the Hidden Experience achievement after obtaining the Spartan Core.
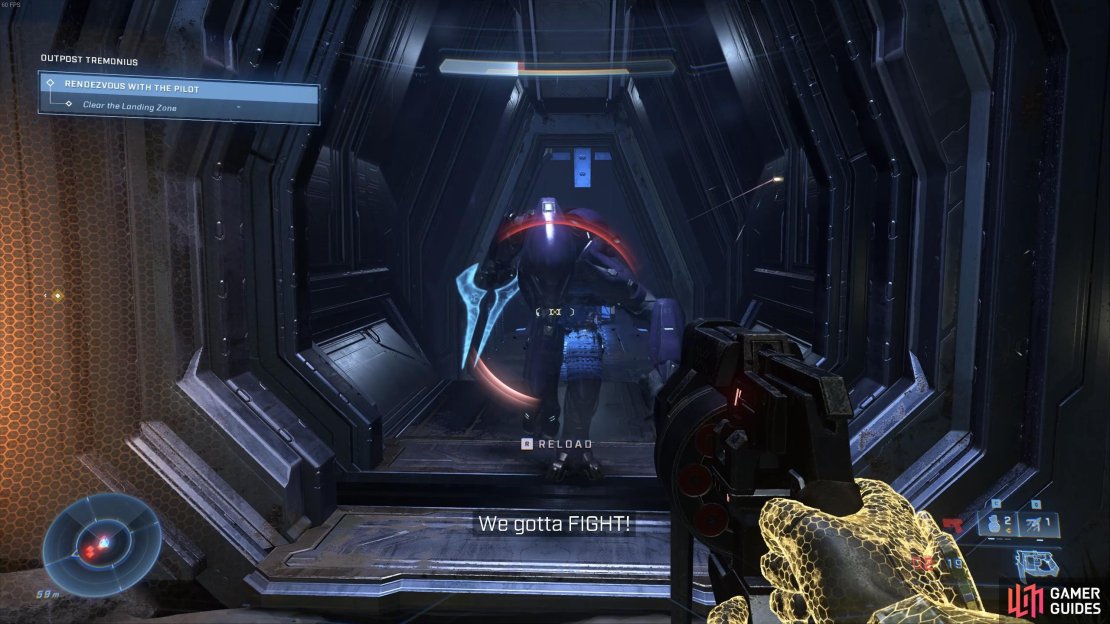
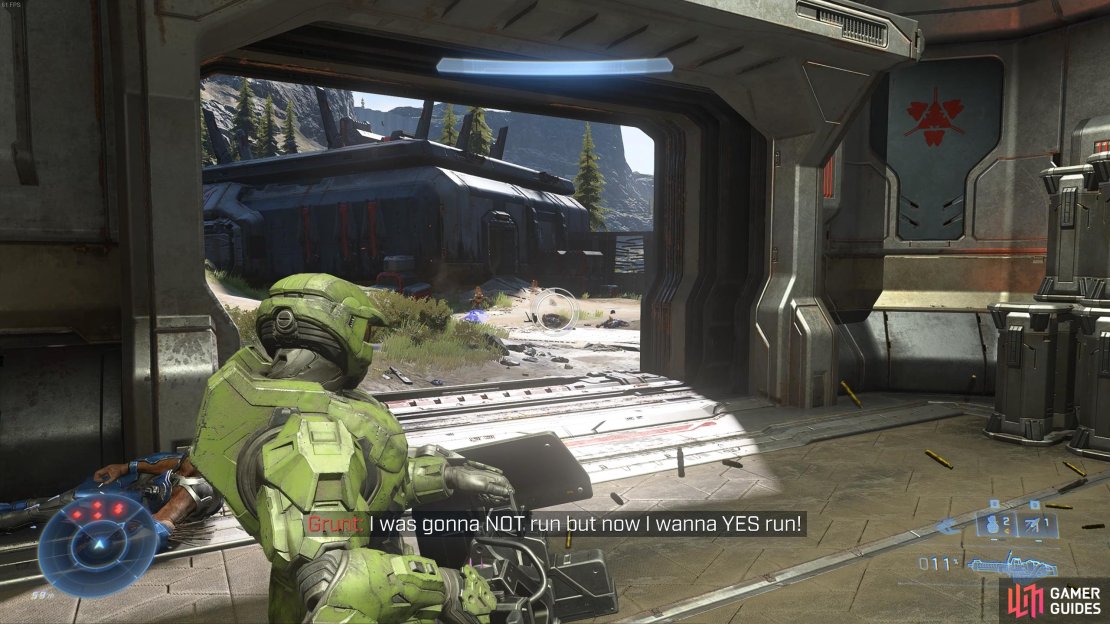
Once you’ve collected the Spartan Core, continue through the rooms ahead and kill the Grunts in the hallway. There will be a few Grunts sleeping on the floor, but you should kill them first anyway since they’ll attack you from behind later otherwise. After dealing with the Grunts you can interact with a terminal in the room ahead. This will trigger a cutscene during which the Brute War Chief, Escharum, speaks to Master Chief. When the scene is over, you’ll find yourself outside, looking at an overview of Outpost Tremonius. At this point you’ll unlock the Zeta achievement. Your task now is to clear the outpost of all enemies so that Echo 216 can land safely, but there are a few more collectibles to find here along the way.
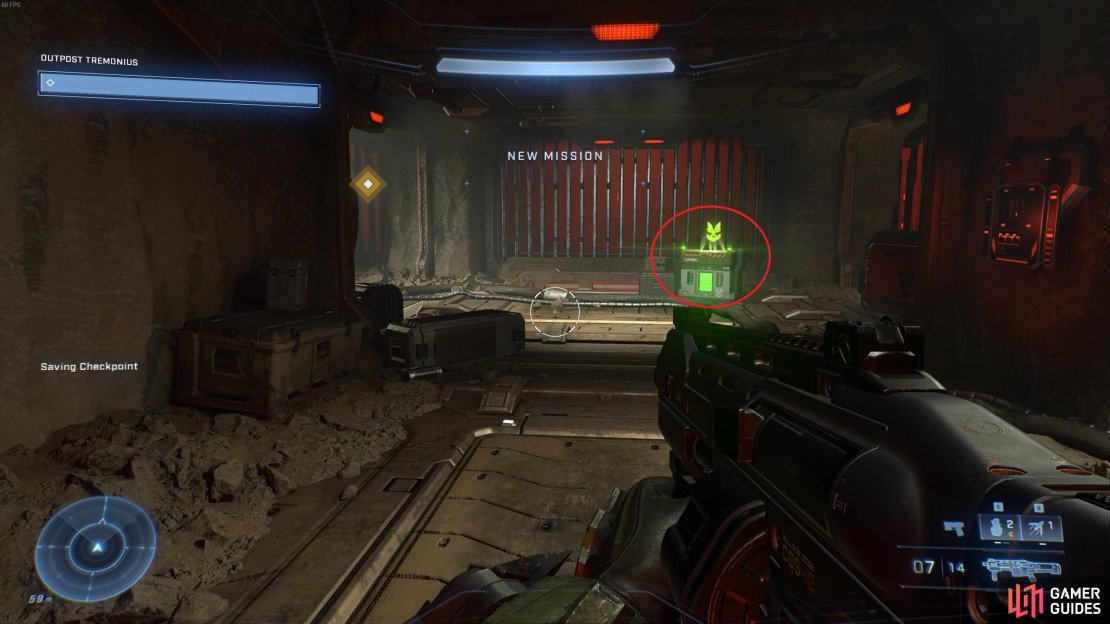

(1 of 5) The first Spartan Core is found at the top of the elevator just as you exit it.
Outpost Tremonius Collectibles - Spartan Core 2
Before you throw yourself into the heat of battle outside, turn right from where you stand and go behind the structure that you just exited. Here you’ll find a second Spartan Core on the ground, alongside a crate of weapons.
Take the time to upgrade your equipment if you have enough cores, then head up the hill to the left from where you found the Spartan Core. Note that this is an optional step, but you can get an Energy Sword from the cave up here if you manage to defeat the Elite Brute inside. This enemy wields the sword, but they also have Active Camo, making it a deadly combination.
The Elite Brute can easily defeat you in a few hits, so this will be a tough fight if you’re not prepared. Be sure to take out the Grunts which are sleeping outside the cave first, then throw a few grenades inside when the door opens. This should goad the Brute out, and he’ll come slashing. Take your highest damage weapon and shoot as many bullets into him as possible, using melee attacks if he gets too close. You don’t want to be within melee range for too long though, so use Grappleshot if you need to quickly get away. So long as you follow the principle of inflicting as much damage as possible as quickly as possible, the Elite Brute should die relatively easily. You can then pick up the sword and use it to take out some of the Grunts and Brutes in the main area of the outpost. Note that you can also find a Heatwave in the room where you triggered the Elite Brute.
Outpost Tremonius Collectibles - Spartan Core 3
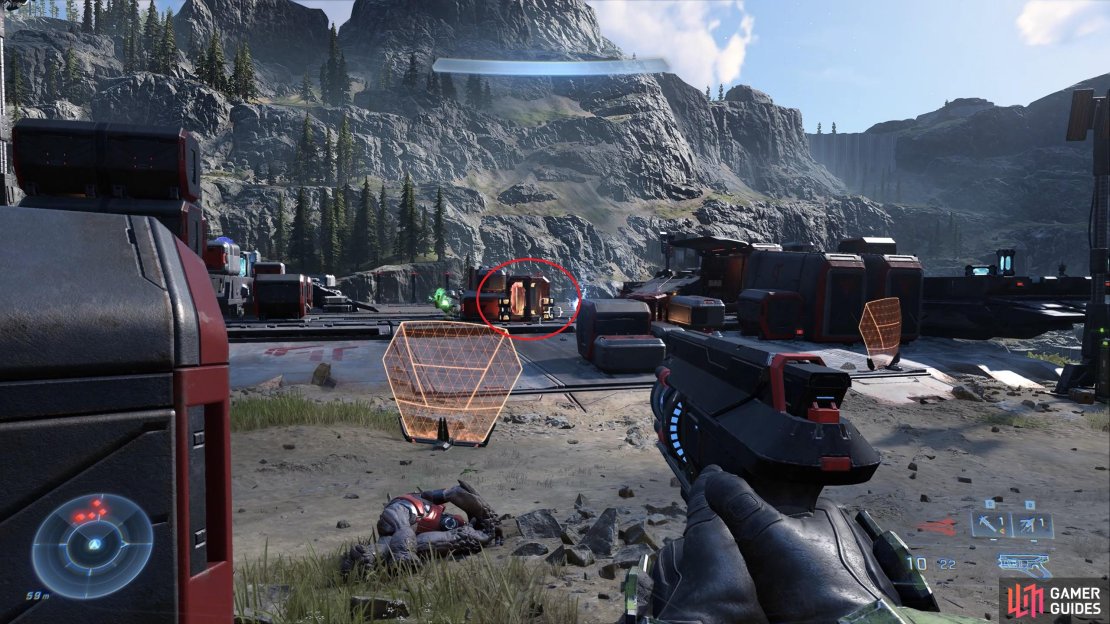
Now that you’ve defeated the Elite Brute and collected the second Spartan Core, you can enter the main area of the outpost and begin killing all the enemies in the area. There are numerous weapons around here to help you in that process such as machine guns and plasma weapons, but also special power weapons such as the M41 SPNKR and S7 Sniper Rifle. These can be very useful here, since there are a few enemies in the distance who you can destroy with one shot, triggering a chain explosion. You’ll find both of the weapons next to the third Spartan Core, which is located down the hill to the left of where you first entered the outpost, as shown in the gif below. If you can’t access these weapons before you trigger the enemies on the ledge, you’ll find a Stalker Rifle in the buildings throughout the outpost, which is a good alternative.
You can use either of these weapons to shoot at the explosive coils on the ledge above as you make your way towards the landing platform. Shooting any one of them will trigger a chain explosion, killing the Grunts on the ledge instantly, including the one operating the plasma cannon. You may need to take out a few Grunts and Brutes on the ground before you aim for the platform first if you want to avoid being shot in the back or from the side.
Outpost Tremonius Collectibles - Banished Audio Log
Once you’ve taken out the enemies on the ground floor and on the ledge, look to the area directly beneath the landing platform. Just to the right of this you’ll find a Banished audio log, surrounded by some cargo. Be sure to loot this before you go up towards the platform (but don’t worry if you missed it, it can be collected later!). If you’re not sure how to find the correct area for the audio log, check the gif below.
Outpost Tremonius Collectibles - Mjolnir Armor Locker
The last collectible that you can find at Outpost Tremonius is located at the top of the hill, near the landing platform. Before you can reach it safely, however, you’ll need to defeat some Banished reinforcements. Some of these will drop down from a ship, but others will rush out of the crack in the wall to your right. You can take out these enemies with a few grenades as they exit the crack, or alternatively you can use the nearby blast coils by throwing them, causing an explosion upon impact. You’ll find more blast coils stacked at the centre of the landing platform, so be sure to shoot at these or throw grenades at them to trigger an explosion and weaken or kill multiple enemies at once. There are a few Elite Brutes on the platform who inflict massive damage, so try to stay away from it for as long as possible, relying on ranged attacks and using the nearby cargo as cover.
After you’ve defeated all of the enemies on the landing platform, you can interact with the Armor Locker to obtain the Obelisk Stone MKVII Armor, which is the last collectible in this area. This also unlocks the Money in the Bank achievement. To complete the mission, interact with the terminal to deploy the Weapon and secure the landing zone.
No Comments