
This page details how to complete the Silent Auditorium quest in the Halo Infinite campaign. Includes how and where to find the Bandana Skull, how to defeat the two Hunters, and how to defeat the Harbinger.
How to Complete Silent Auditorium
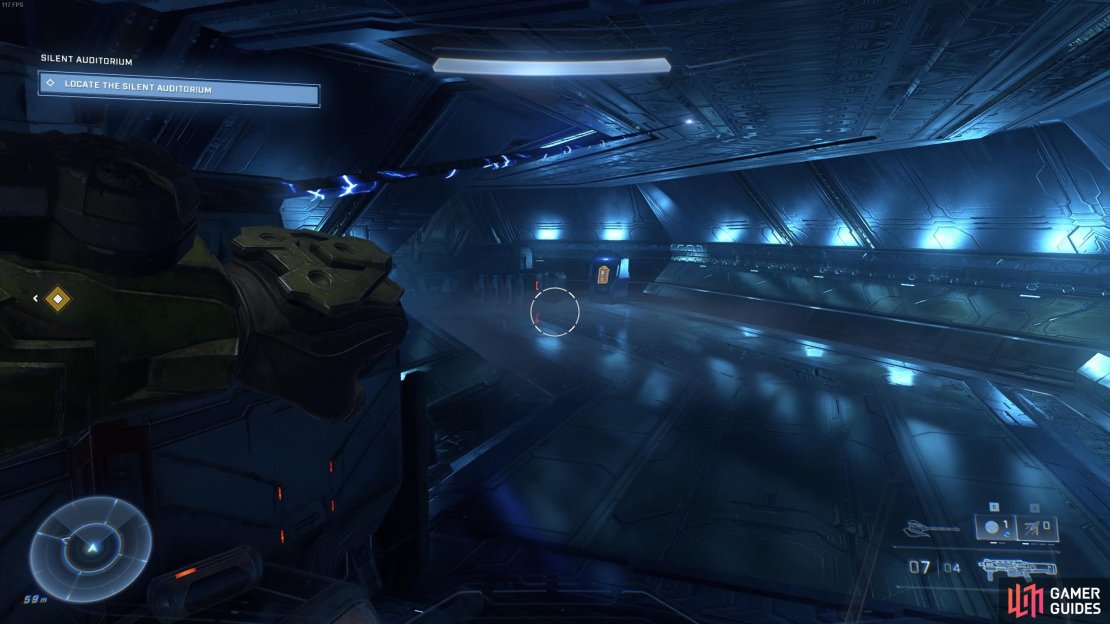
The mission begins with you being thrown into yet another fight filled with Banished Brutes, Jackals, and Grunts. There’s also two plasma cannons in the distance, so you’ll need to take these out by shooting through the shield barrier, then head shot the operator of the cannon. Ideally, you should destroy the cannons so that no other enemies begin to use them. The most dangerous enemies in this room are Elite Brutes, especially those wielding Energy Swords. You’ve encountered these before, and they’ll use Active Camo at some point during the fight. Remember to use Threat Sensor to expose their position so you’re not attacked in melee from the shadows. At the beginning of the fight you’ll find yourself close to some lower floor areas where you can crouch to take cover, but this won’t protect you from the most damaging AoE attacks. You may find it easier to push towards the left side of the room, where there are more weapon racks, grenade refills, and where you can still hide from the cannon behind pillars and get a decent visual on it to destroy it quickly.
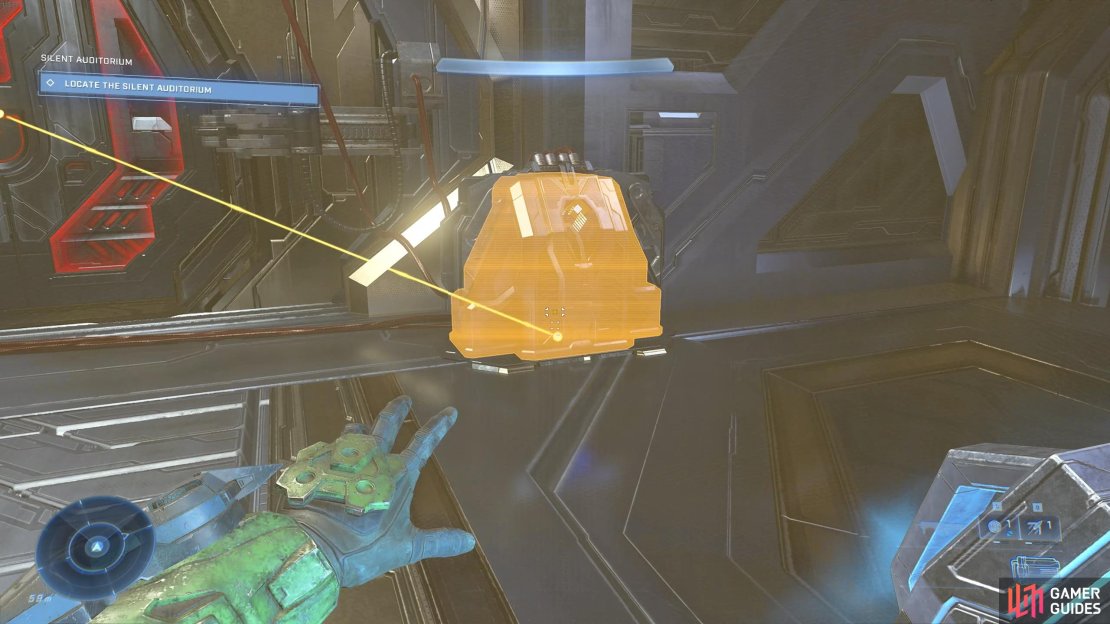
(1 of 3) You’ll find a power seed opposite the crucible next to the door.
How to Defeat the Hunters
Once you’ve dealt with the enemies in the first room, you’ll find yourself in a hallway with a crucible which powers the door nearby. You’ll need to take the power seed opposite the crucible and place it to open the door. Beyond this you’ll encounter some remnants of data from Cortana, after which you’ll enter a room with two powerful Hunters. These are tougher than regular hunters, and their weapons inflict more damage. However, the same principle applies when taking them down: use the most damaging power weapons available to you, and try to focus on one Hunter at a time to reduce the chances of being caught off guard by one later in the fight.
In a situation where you don’t have access to Escharum’s melee weapon, you’ll still find enough power weapons in the room to deal with the two Hunters. The Sentinel Beam can be found on the floor nearby, alongside ammo crates and a bunch of grenades. You’ll want to use these grenades as you kite the Hunters around the room to inflict extra damage. You’ll also find a Ravager on the nearby weapon rack, which will inflict massive damage to both Hunters. One of the most effective ways to target them consistently is by moving around a weapon rack or pillar. This should keep the Hunters interested in firing at you from a distance, rather than charge at you to locate your position. If you want to throw some extra damage into the mix, be sure to make use of the nearby blast coils. You can use Grappleshot to bring them into your hands from a distance, or just shoot them when the Hunters are near enough to one. The grapple is also useful for quickly escaping Hunters when they charge you, allowing you to grapple onto nearby pillars to swing across to the other side of the room.
Fight Through Rooms, Don’t Kill Sentinels!
After dealing with the two Hunters, interact with the terminal to unlock the door and go through the hallway. You’ll come across a split in the path, with one route taking you right and the other left. The route on the right leads you to a weapons room, where you can restock on power weapons and grenades including a Shock Rifle, Sentinel Beam, Cindershot, and Heatwave. The route on the left progresses with the mission, leading to more data from Cortana and more rooms with Banished enemies. If you want to be absolutely sure that you don’t kill any Sentinels in the rooms ahead, you can just run through them and beyond all the enemies present. However, you’ll need to use power equipment such as the Grappleshot and Thruster to avoid taking too much damage. If you do decide to fight the Banished in these rooms, try not to use weapons which inflict massive AoE (Area of Effect) damage such as the Heatwave or Cindershot, and limit your grenade use unless you’re absolutely certain that there are no Sentinels in the area. A single missfire or throw can result in the death of a Sentinel, given that they’re so weak.
Silent Auditorium Collectibles - Bandana Skull
Once you’ve fought through numerous rooms with Banished and the odd Sentinel (or ran through them to avoid killing Sentinels!), you’ll eventually encounter the Adjutant Resolution for a third time in the story, but this time it will be friendly and apologetic. Follow it through the rooms towards the Silent Auditorium, and when you reach a large room with a blue bridge and an elevator at the end of it, stop here and go through the door over the smaller blue bridge opposite the door from where you just entered. If you didn’t kill any Sentinels, this door will be active (glowing in blue light) and you’ll be able to enter the room to find the Bandana Skull inside.

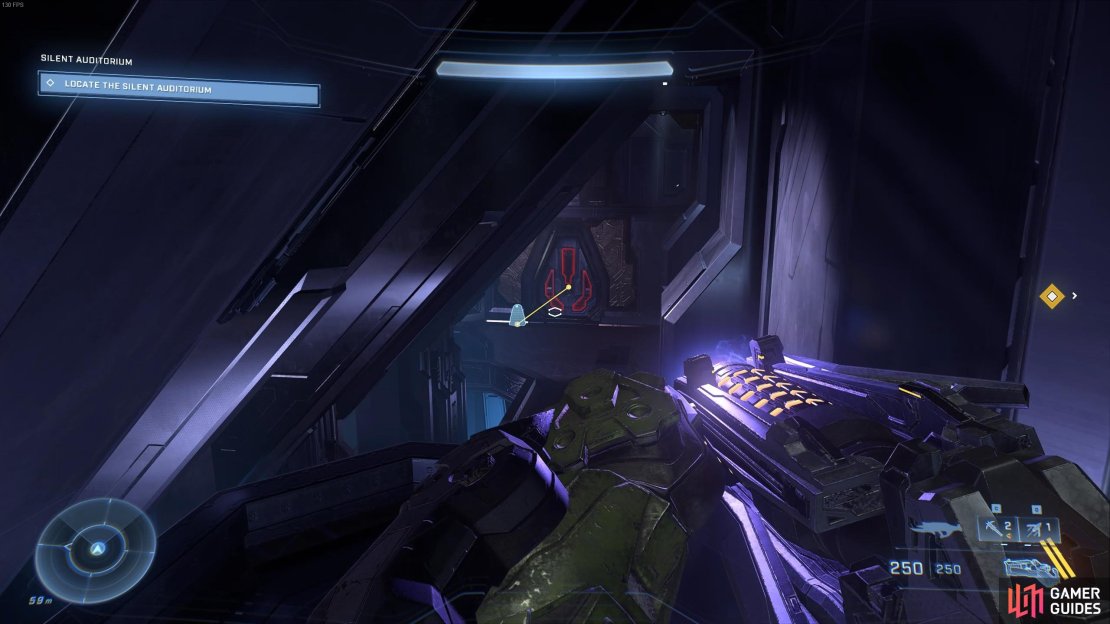
(1 of 2) If you killed any Sentinels along the way through this mission, the door leading to the room with the Bandana skull will be locked.


If you killed any Sentinels along the way through this mission, the door leading to the room with the Bandana skull will be locked. (left), Use the elevator to the Silent Auditorium once you’ve acquired the Bandana skull. (right)
Boss Fight: How to Defeat the Harbinger
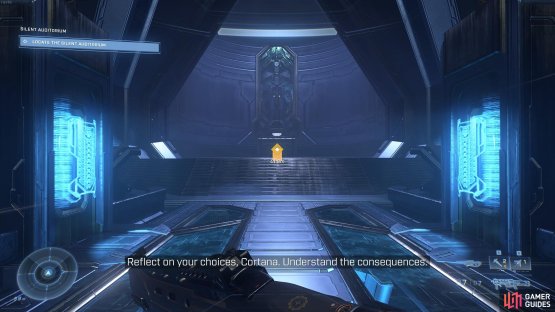
Now that you have the skull, use the elevator to reach the Silent Auditorium. A long cutscene will play here, after which you’ll find yourself facing the Harbinger in combat. The first phase of the fight will consist of numerous waves of Brutes, Jackals, Grunts, and Skimmers. You’ll need to fight these off before the Harbinger will enter the fight. Try not to use or destroy too many of the power coils at this early stage in the fight. They’ll be much more useful later on when you’re facing tougher enemies. When you’ve defeated the first wave of enemies, the Harbinger will attack. You’ll need to deplete her shield and then damage her slightly before she retreats again. The main combat techniques which characterize the fight with the Harbinger are her teleportation and energy ball skills. She will teleport frequently, so you’ll have a small window of opportunity to damage her each time she stops, making accuracy with a powerful weapon essential. However, at the same time she will conjure balls of energy which will then fly towards you and inflict massive damage upon impact. You’ll need to look out for these balls of energy and be ready to avoid them as soon as they’re summoned. They will appear as small blue lights at first, as shown in the screenshot below.


(1 of 2) Shoot the Harbinger from afar as you bring down her shield to get a good visual on when blue energy balls are conjured, circled here in red.
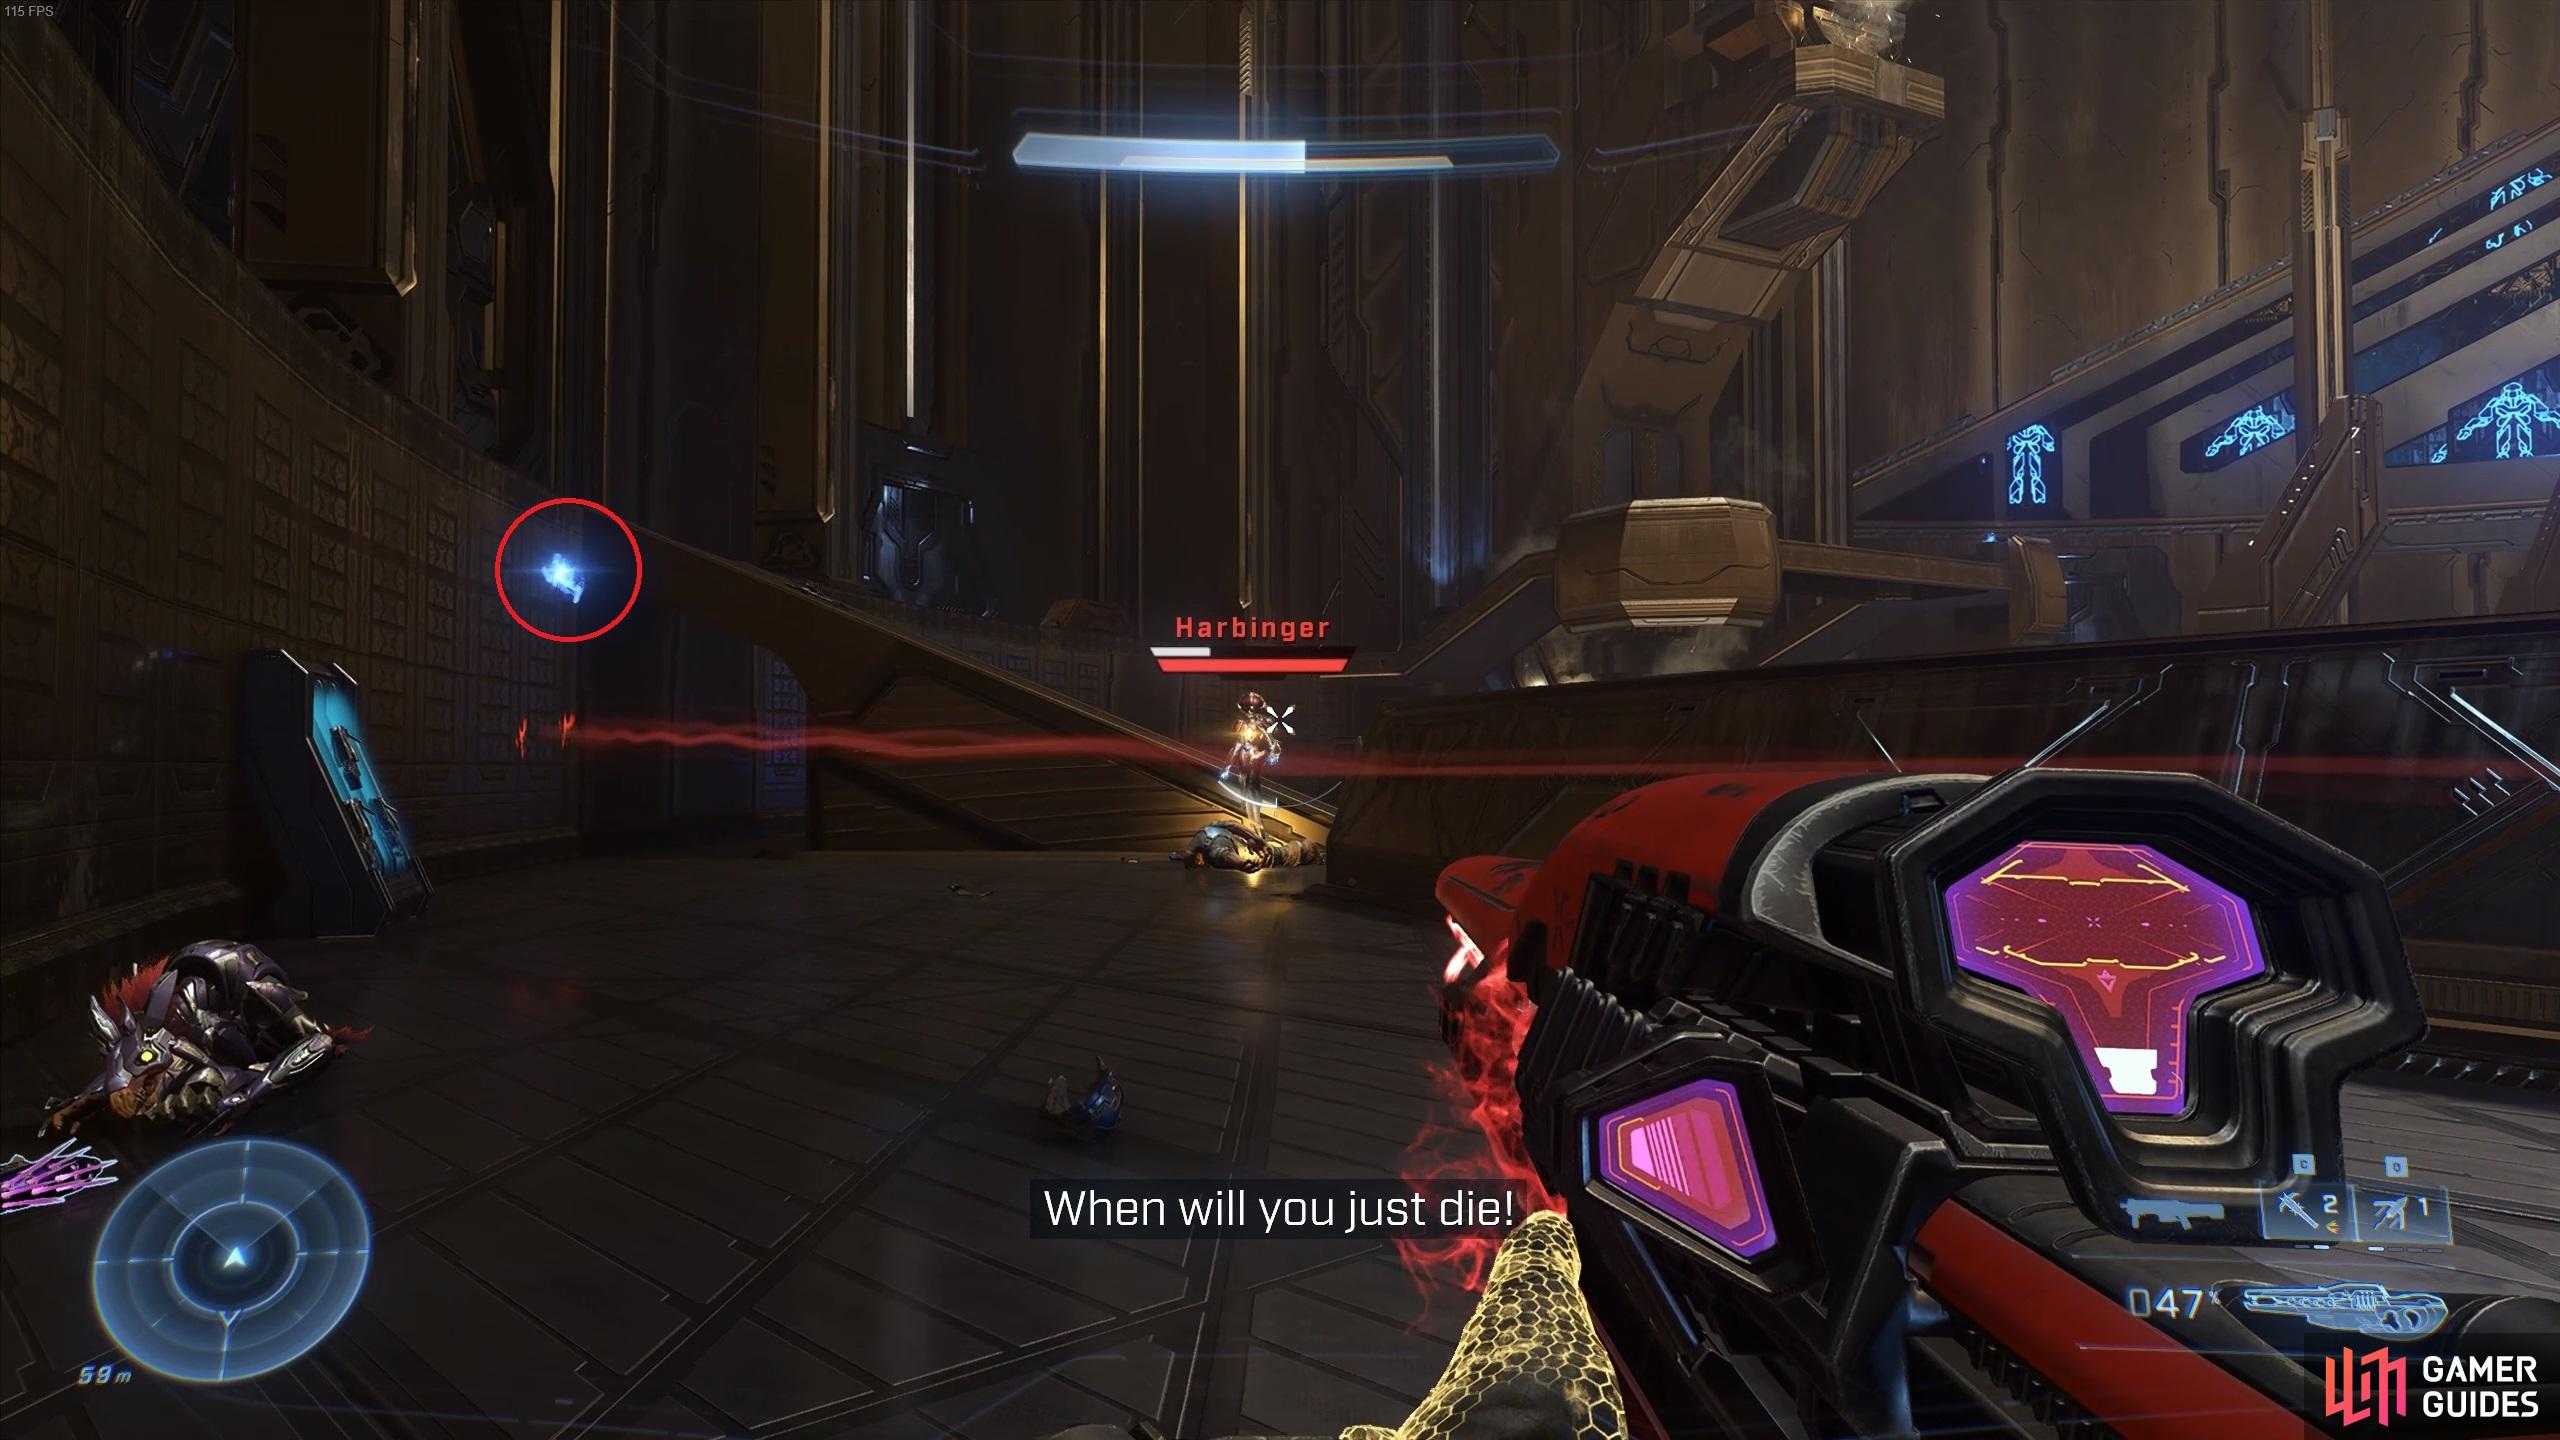
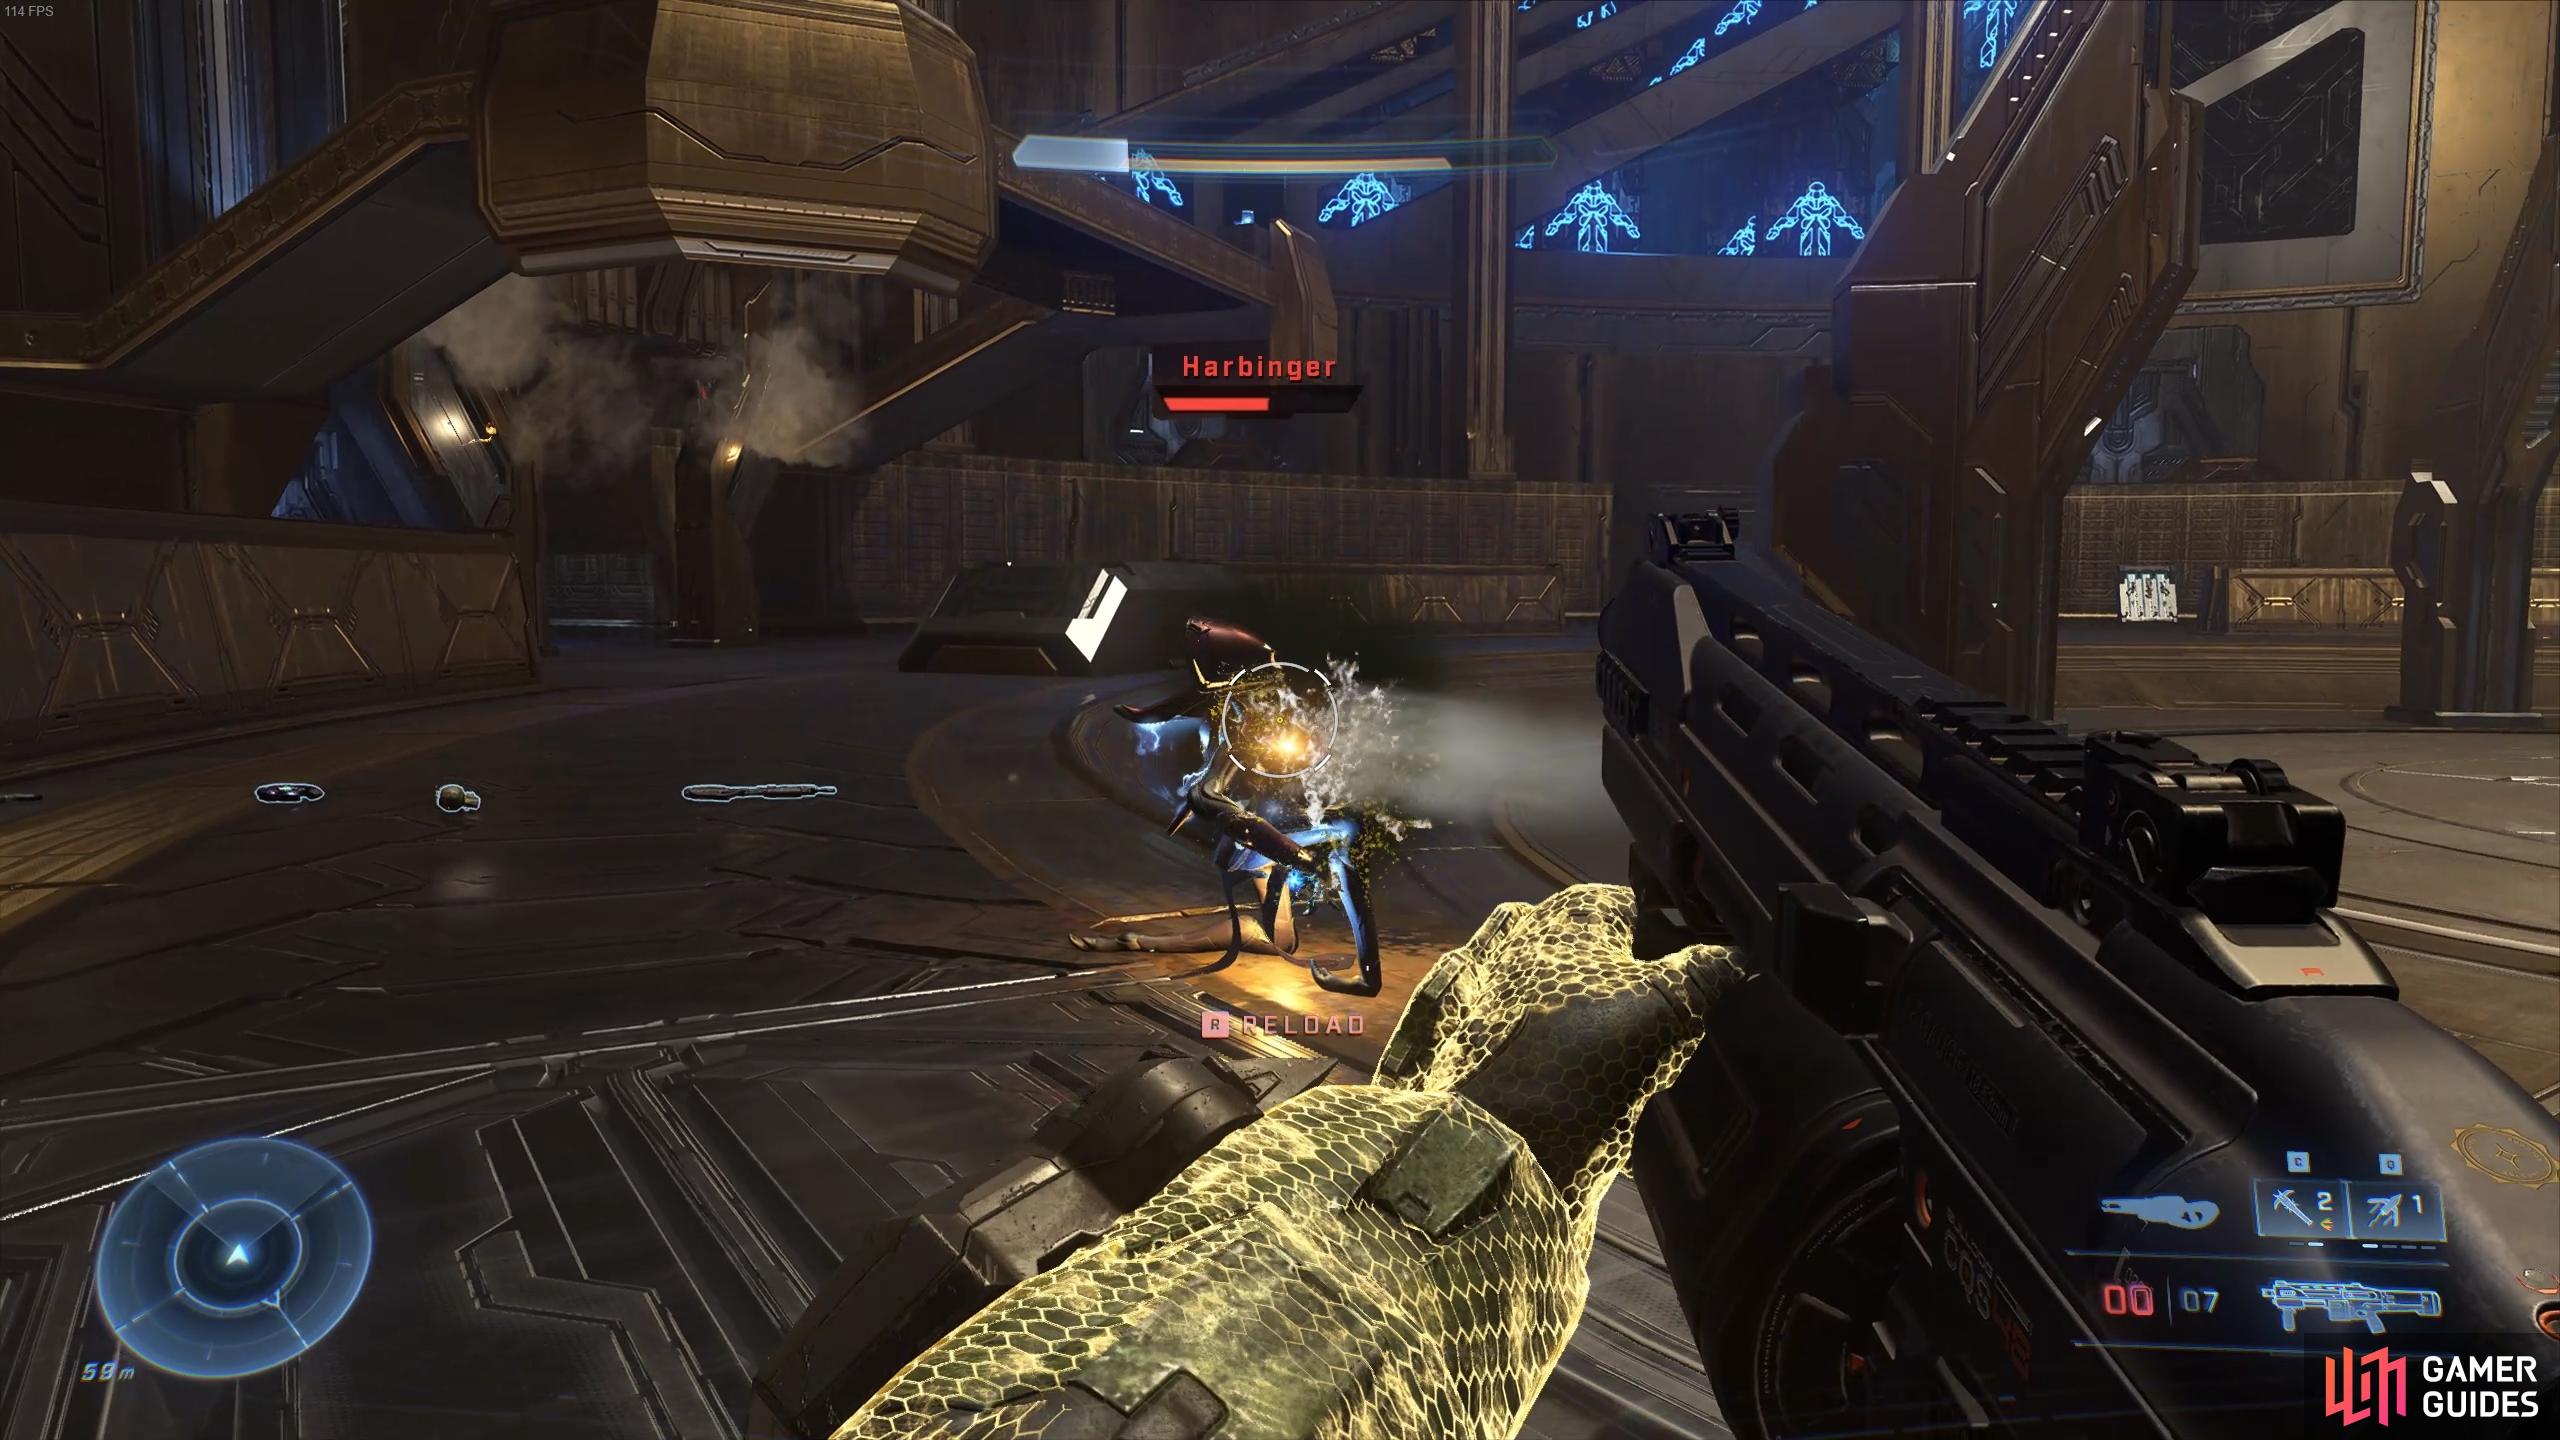
Shoot the Harbinger from afar as you bring down her shield to get a good visual on when blue energy balls are conjured, circled here in red. (left), When the Harbinger’s shield is depleted, you can shoot her once or twice to inflict damage to her health. (right)
Once you’ve damaged the Harbinger enough to deplete her shield, she’ll drop to her knees and become vulnerable to an attack on her health. This will inflict massive damage after one or two hits, but her health can’t be brought down more than 50% at this stage in the fight. She’ll then retreat and another wave of Brutes, Jackals, Grunts, and Skimmers will arrive. This second wave is similar to the first, only this time you’ll need to deal with a Brute Officer. Aim for the head to take them out quickly. Most of the other enemies can be killed in one or two shots with a powerful weapon. After defeating them, the Harbinger will enter the fight again and you’ll have to take down her shield while avoiding the energy balls. The random nature of her teleportation will always make this messy, but so long as you keep your distance so that you can anticipate her attacks, you should be fine.
The next wave after depleting the Harbinger’s shield for a second time will be more of the same, but this time you’ll be facing an Elite Brute with heavy armor and a devastating melee weapon. You’ll need to keep moving here to avoid being hit by the elite, so the Grappleshot is your best friend here too. Use it to grapple onto any structure to fling across the room and avoid melee combat with the elite, using any intermittent time to take out regular enemies or inflict damage to the elite. If you can manage headshots in the chaos, this will be the quickest way to bring the Elite Brute down. Otherwise, consider using a weapon with a lot of highly damaging AoE damage, such as the Cindershot. You’ll find one in the room if you don’t already have one. This weapon will also briefly stall the elite as it runs towards you, so it’s useful to stop it in its tracks if you’re caught off guard. This is also a perfect time to make use of those blast coils located around the room. Kite the elite towards them and then shoot them when it’s close enough, or do the same with a bunch of enemies if the timing is right.
After this third and final wave, all you need to do is deplete the Harbinger’s shield one last time, then finish her off while she’s down. You’ll unlock the Set a Fire in Your Heart and Too Many Goodbyes achievements after defeating her.
No Comments