
The Gunlance in Monster Hunter Wilds is a shield and lance weapon capable of firing explosive shells. What it lacks in maneuverability, it makes up in explosive power. In Wilds, it got a significant upgrade with new combos capable of devastating damage, slightly better maneuverability, and a powerful Focus Strike, Drake Augur. Read on to find out how to play the Gunlance, including all new combos, shell types, best armor skills, and advanced tips.
The Gunlance consists of a shield and lance, while also being capable of using explosive ammunition.
Table of Contents
If you want to jump to a specific section, click on the links below.
| Quickjump |
|---|
| Gunlance Mechanics |
| Weapon Gauge Explained |
| Basic Actions |
| Combos |
| Best Shelling Types |
| Advanced Tips |
| Best Equipment Skills |
Mechanics
Most weapons favor a singular damage type, however, the gunlance has two. Firstly, it can sever with it’s lance, and secondly, it does true damage from its shells. Meaning, the shells cannot be resisted by any monster, and they will deal the same amount of damage to enemies with harder shells, such as Gravios. Although the gunlance shares similarities with the Lance, as both have a shield and lance, the gunlance has a lot less maneuverability.
However, you can now close the distance quicker in Wilds by utilizing a combination of Shelling and Moving Widesweep as well as being able to use sidesteps in front of you while keeping your shield up. Finally, like the Lance, it’s possible to play a defensive counterattack playstyle, although it does favor being more offensive.
Weapon Gauge Explained
The gauge can be found in the top-left corner of the screen, underneath the weapon sharpness meter. At the start of the gauge, you’ll find two orange bullet icons. This represents your Wyvern’s Fire Gauge, of which you have two, and once used, you’ll need to recharge them before you can use them again. To the right, is your Wyrmstake Shot, which is used for the Wyrmstake Cannon. These are recharged after a reload. Finally, you have the shells, each one representing one bullet. The amount you see here will change depending on what shell type your weapon has access to.
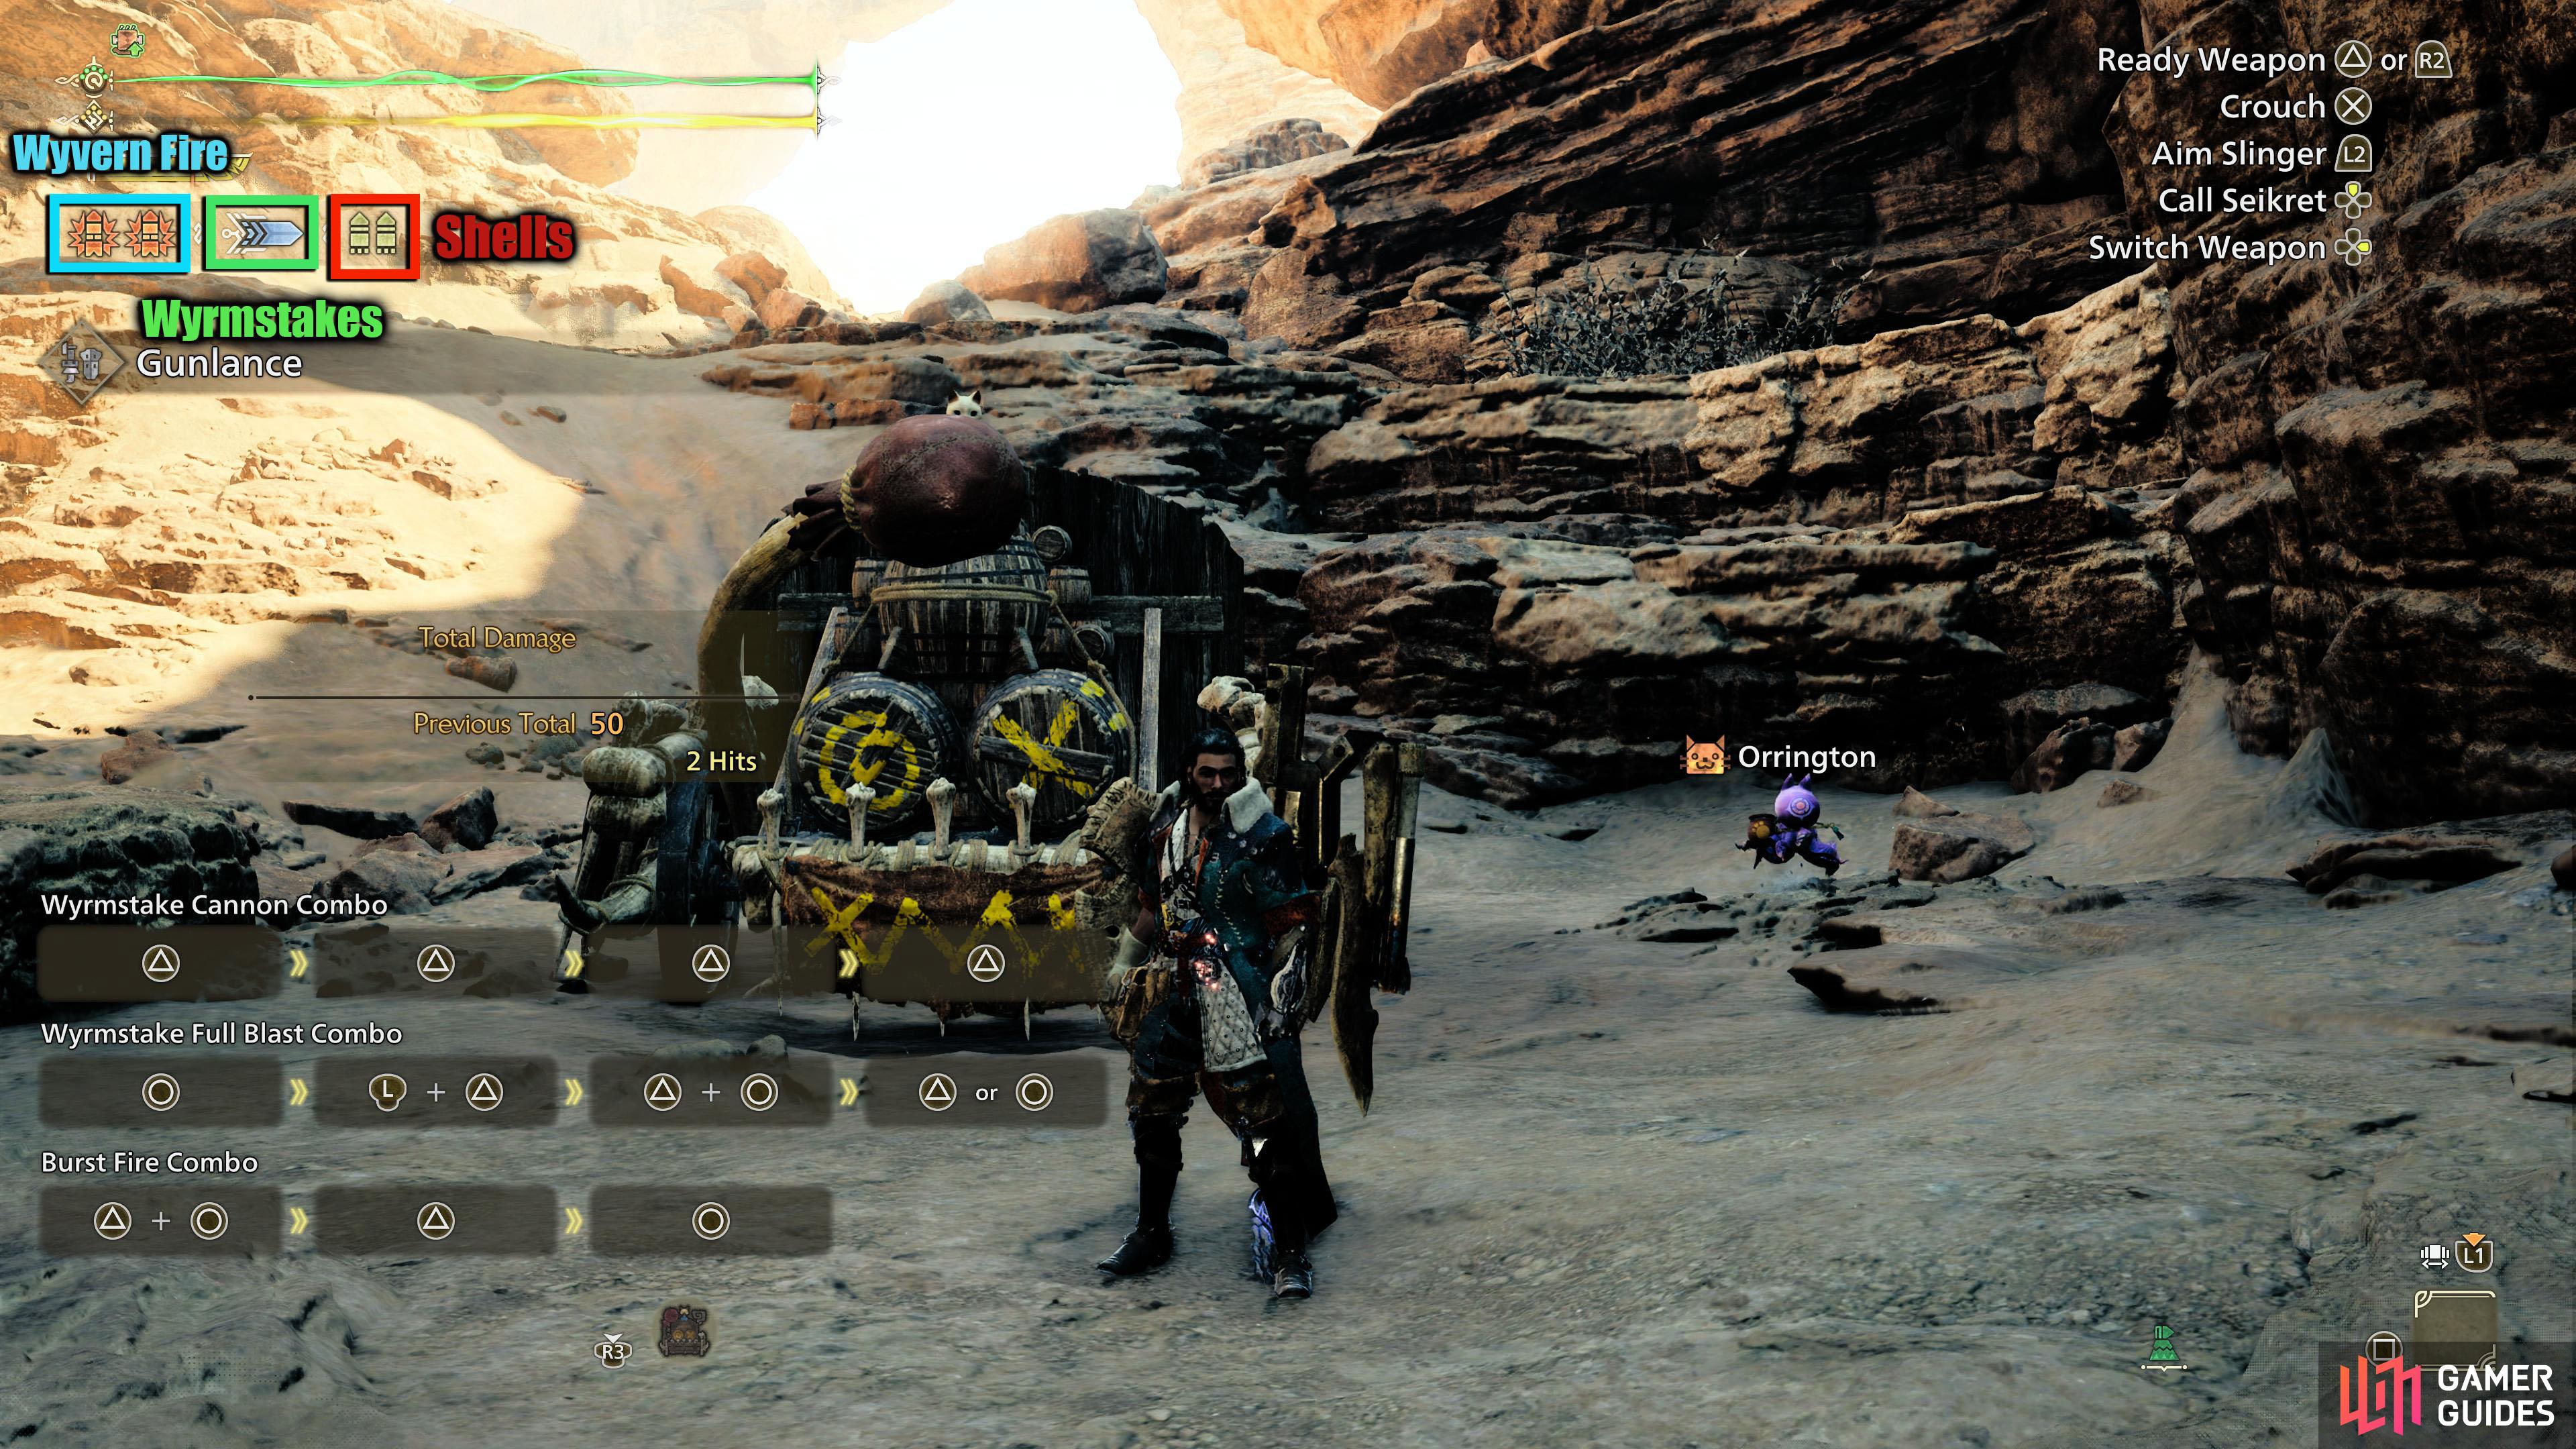
The Gauge has three parts, the Wyvern Fire, the Wyrmstake Cannon, and the Shells.
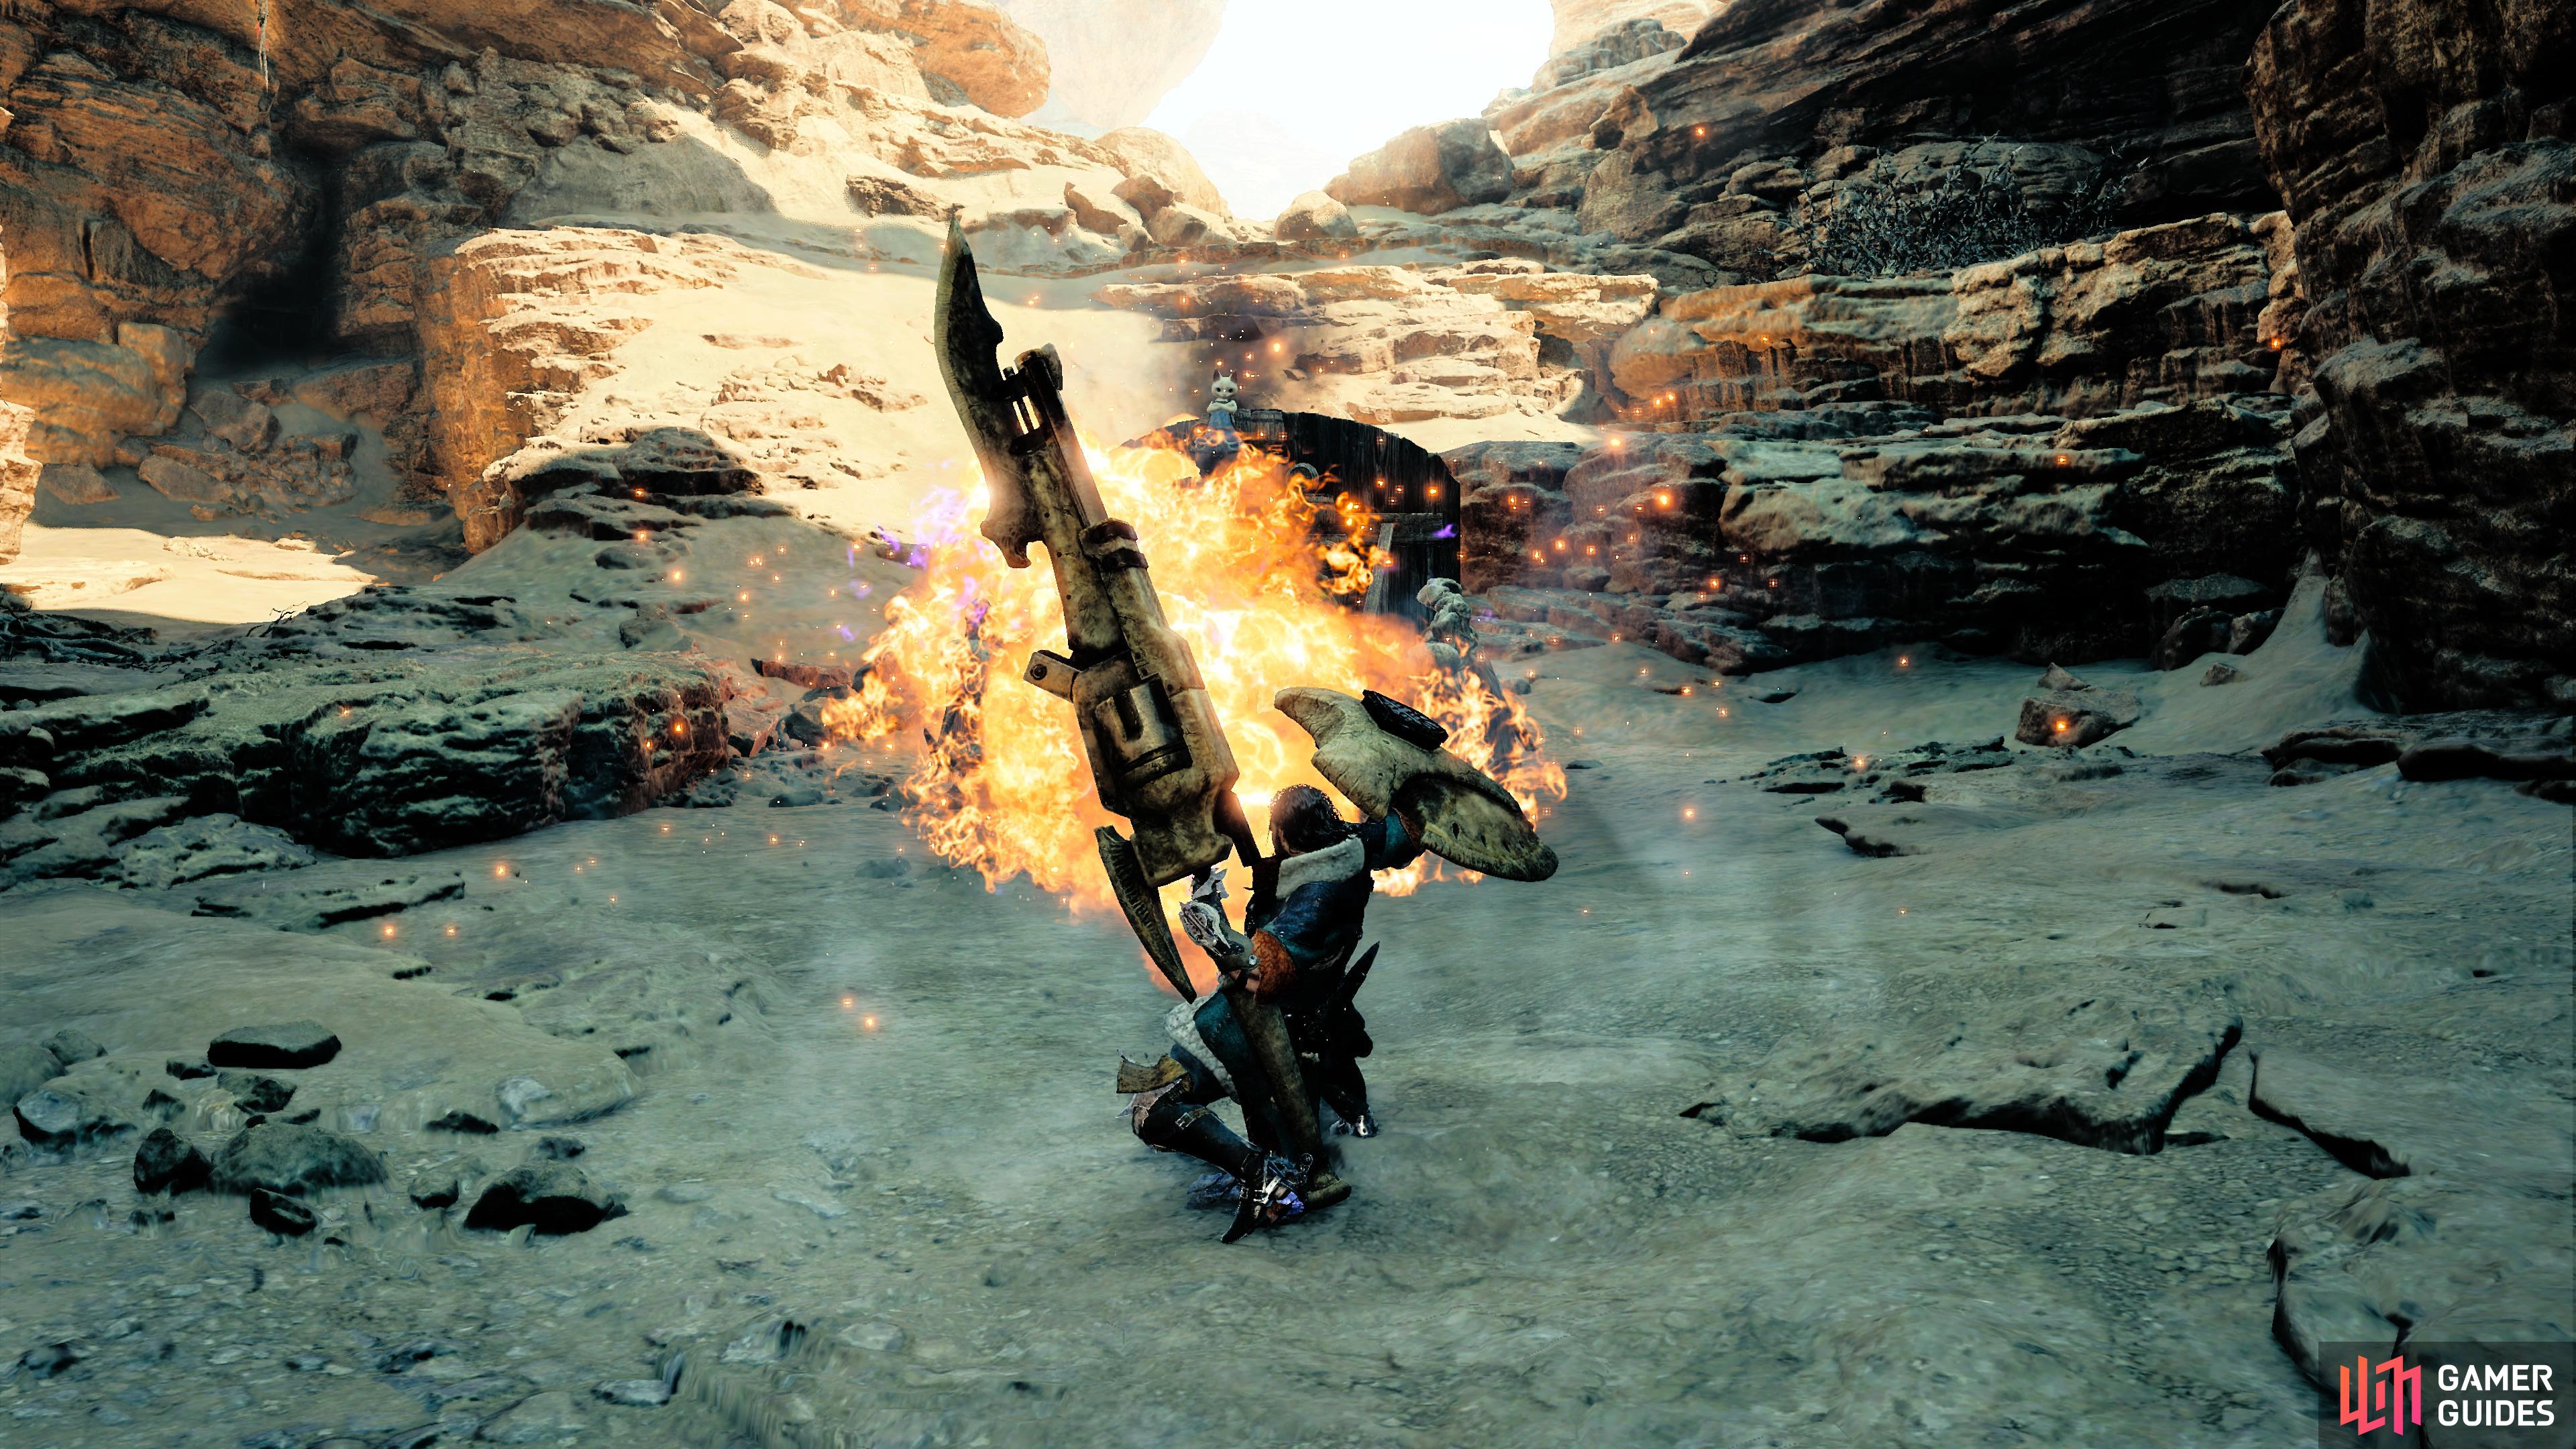
Wyvern Fire Gauge
Wyvern Fire is one of the strongest attacks for Gunlance, but it comes at a cost, the time it takes to charge. You will stand still and slowly charge the fire before unleashing a powerful barrage of shells at the monster. During this attack, you’re rooted in place and susceptible to the monster, who can cancel the attack. The best use of this skill is when a monster is knocked down, asleep, or contained by a trap. There are times when you’ll get a brief moment to use this attack, such as when a monster is exhausted (after being enraged) or during an attack which has a long animation. Finally, after using a Wyvern Fire, it’ll slowly recharge until you can use it again, which can be shortened by attacking with your shells.
Wyrmstake Shot
Wyrmstake Shot is used at the end of a combo. This deals significant damage, but not as much as Wyvern Fire, however, you can use these almost all the time (provided you have time to use the combo), and they come back after a reload, so you don’t have to wait around for them to recharge.
Shells
Shells in general don’t do a lot of damage, especially when they’re used singularly. However, they can’t be resisted, and when used in a burst-fire combo, or used between each lance strike, the damage builds up. Another great way to utilize your shells is to use Charged Shelling, which fires off all shells at once after a short charge. This is best used during downtimes in a fight when the monster is exhausted, downed, etc. As you won’t have the time to charge them up during a battle.
Basic Actions
Below, you’ll find what button to push to perform each basic action.
| Action | Playstation | Xbox | PC |
|---|---|---|---|
| Lateral Thrust |  |
 |
 |
| Lunging Upthrust |  + + |
 + + |
 + + |
| Shelling |  |
 |
 |
| Charged Shelling | (Hold) |
(Hold) |
(Hold) |
| Guard |  |
 |
 |
| Rising Slash | + |
+ |
+ |
| Guard Thrust | + |
+ |
+ |
| Reload / Quick Reload | + (During a combo for a Quick Reload) |
+ (During a combo for a Quick Reload) |
+ (During a combo for a Quick Reload) |
| Wyvern Fire | + + |
+ + |
+ + |
| Drake Auger (Focus Strike) |  + +  |
 + +  |
+  |
Shelling Widesweep
Perfect Guard
Combos
Below, you’ll find what button to push to perform each combo.
| Action | Playstation | Xbox | PC |
|---|---|---|---|
| Shelling Widesweep | > + |
> + |
+ |
| Lunging Upthrust Combo | + > + |
+ > + |
+ > + |
| Burst Fire | + > > |
+ > > |
+ > > |
| Wyrmstake Cannon Combo | > > > |
> > > |
+ + + |
| Wyrmstake Full Blast Combo | > + > + > or |
> + > + > or |
> + > + > or |
| Wyrmstake Full Blast Combo with Faster Wyvern Fire | > + > + > or > + + |
> + > + > or > + + |
> + > + > or > + + |
Burst Fire
Wyrmstake Full Multi Blast Combo
Wyrmstake Cannon
Best Shelling Types
There are three Shelling Types to choose from and each one does something different. These types are: Normal, Wide, and Long. Each weapon you craft will have a specifc Shelling Type and you can check this by looking underneath the sharpness stats on page 1 of the weapon information screen. Read below to understand what each type does.
| Shelling Type | Description |
|---|---|
| Normal | This shelling type has the most bullets in the chamber. Due to the more bullets it has access to, it excels at Burst Fire Combos, or the poke and shoot strategy where you’ll poke the monster with your lance and follow it up immediately with a bullet, which you repeat until you reload. |
| Wide | This shelling type has the least amount of bullets in the chamber. What it lacks in ammo it makes up for more powerful shelling and wider range that makes it great against wide monsters. |
| Long | This shelling type is in the middle between normal and wide in terms of bullets. It will always have more than wide, but less than normal. The strengths of the long type are it’s strong wyvern fire, and wyrmstake cannon. Furthermore, you can shell from a distance. |
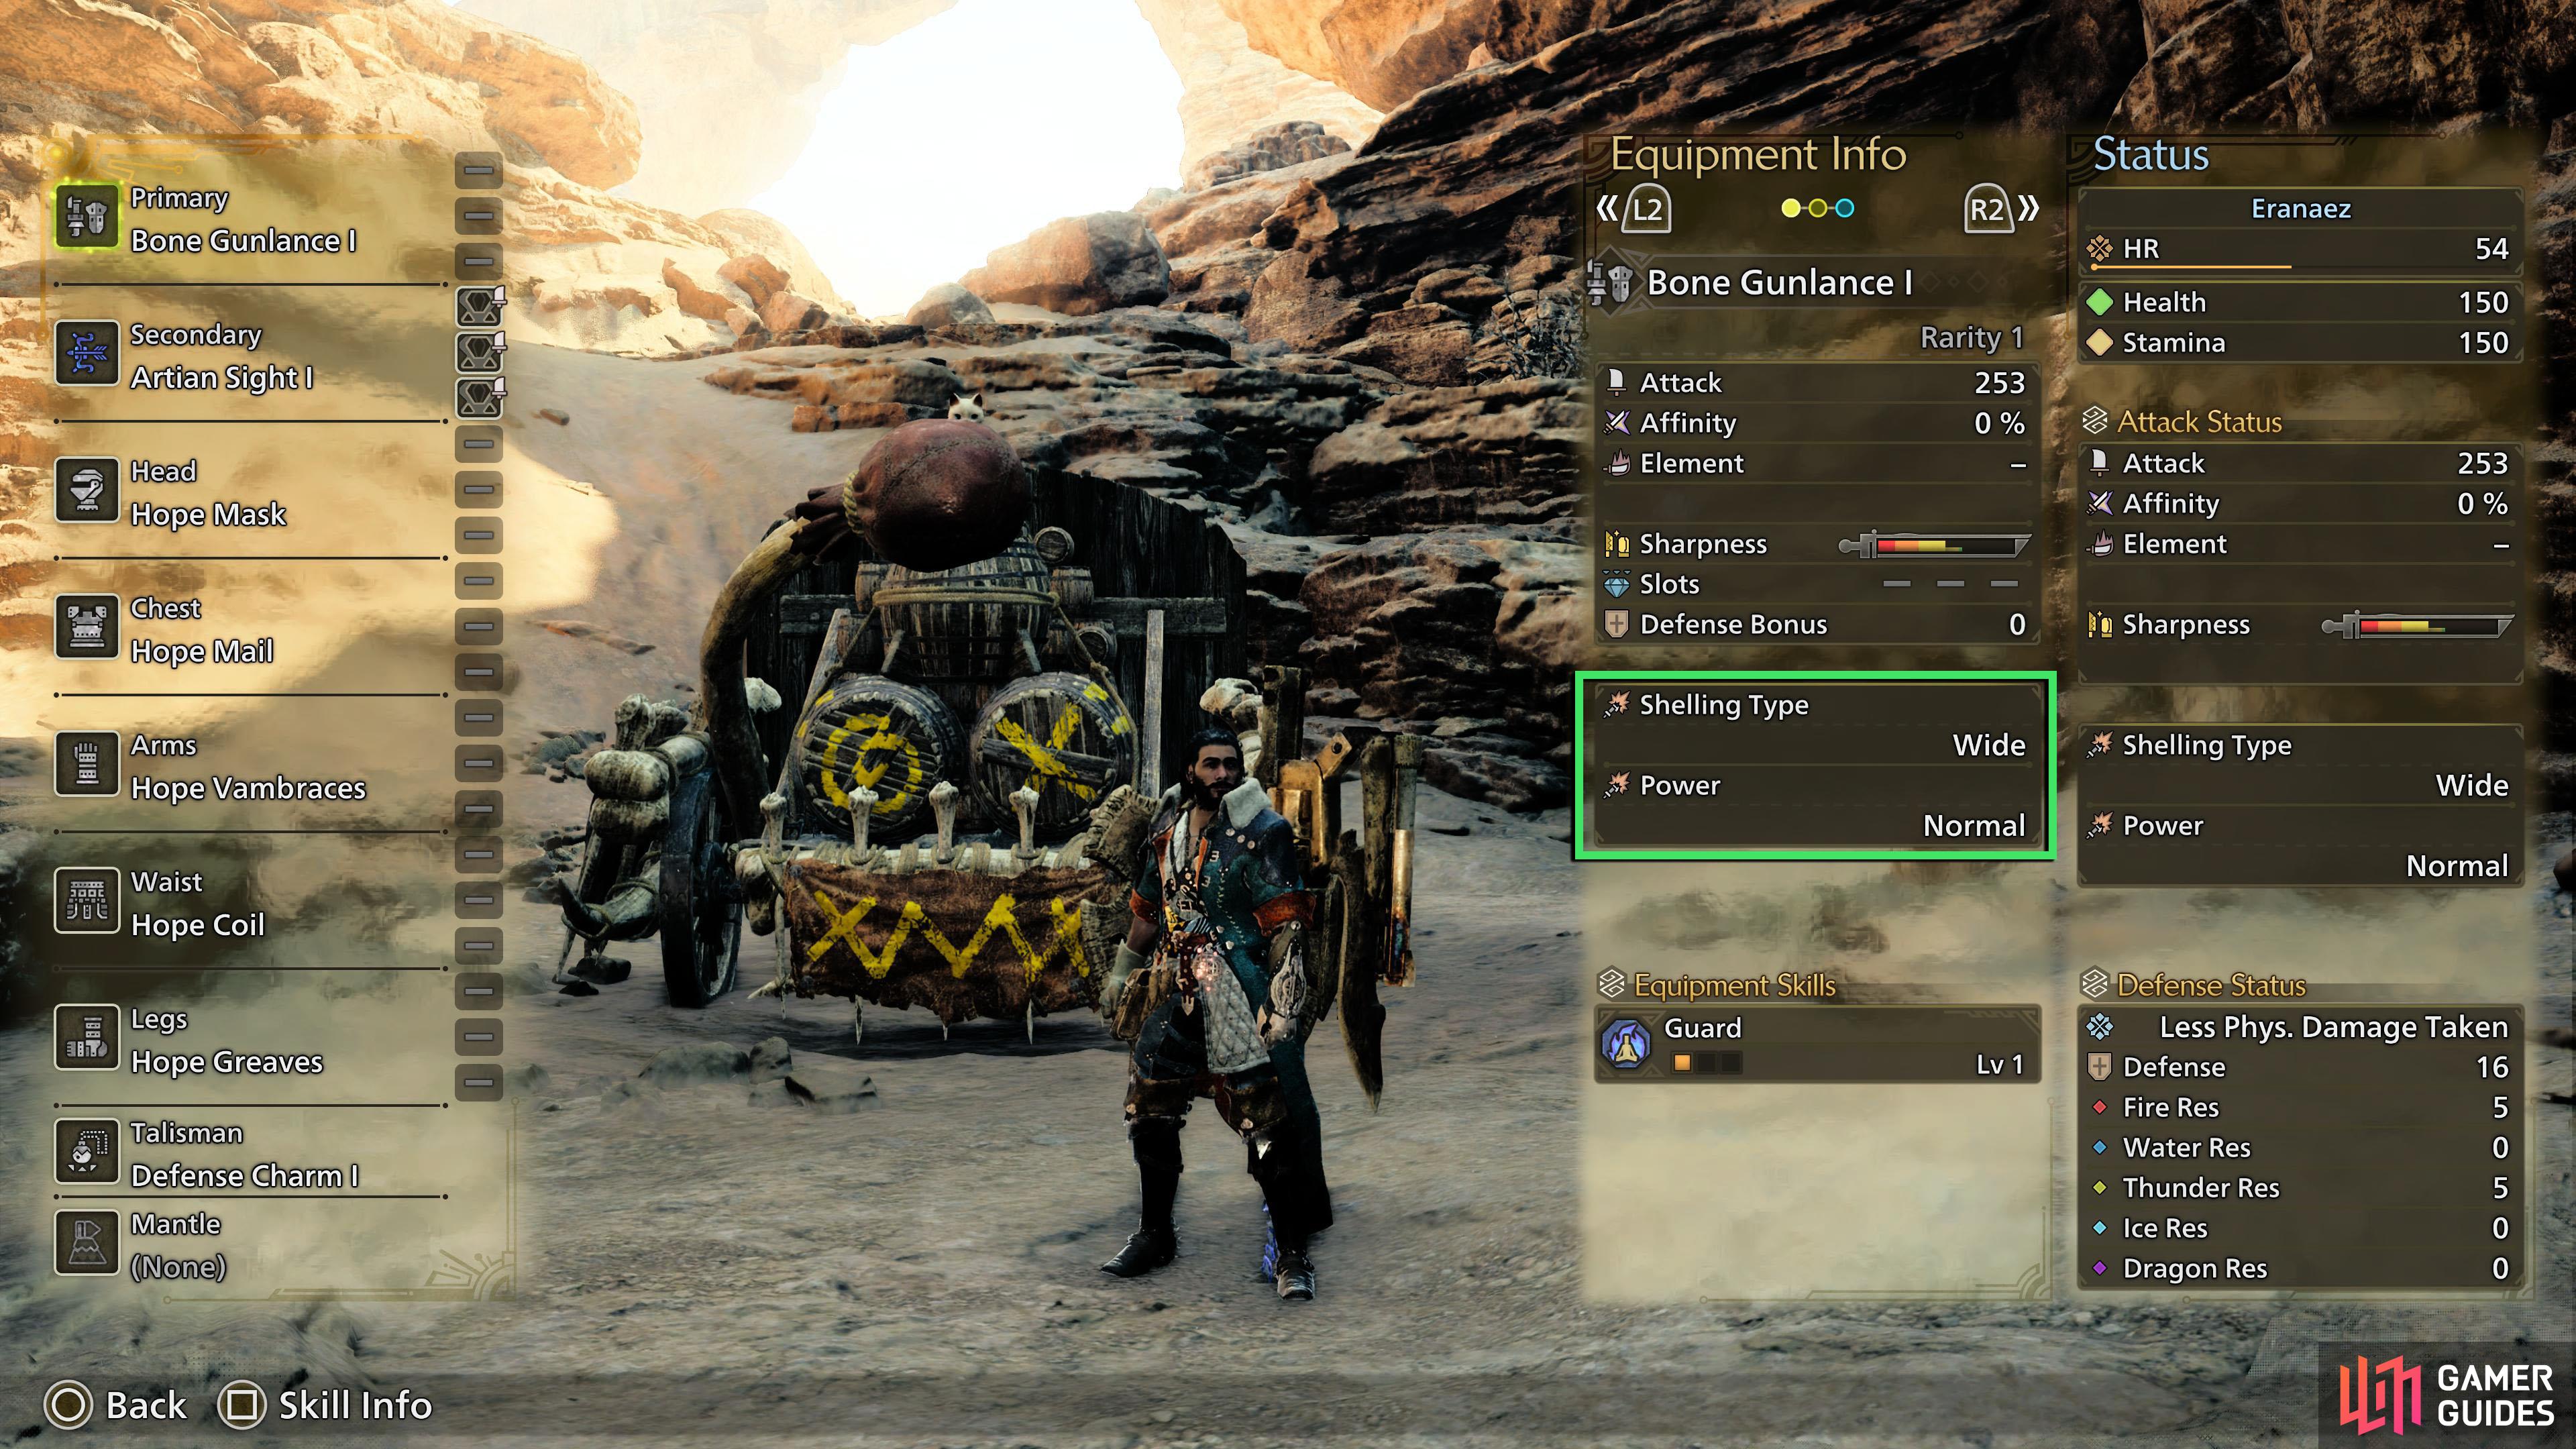
You can check what Shelling Type a weapon has in the Equipment Info screen.
Advanced Tips
Here are a few tips that you can use to enhance your Gunlance hunts.
Perfect Guard
Like all weapons that have a shield, you can perform a Perfect Guard if you time your Guard just as the monster’s attack in about to hit you. We recommend going into the training area, turning on the smash mode for the training dummy, and practice the timing of the guard. You’ll need this against the tougher monsters.
Perfect Reload
Similar to Perfect Guard is Perfect Reload. Instead of guarding, press the reload button just as the monster’s attack is about to connect to perform a Perfect Guard while also reloading your weapon.
Shelling Sidestep
You can now use your shelling to sidestep in any direction. This allows you to avoid attacks while still damaging the monster. Simply hold any direction in while using the Shelling attack.
Quickest Way to Charge Wyvern Fire
If you’ve played the Gunlance for a bit, you may be getting frustrated with how long it takes for Wyvern Fire to recharge. In Wilds, you can speed this up by attacking the monster. The more active you are, the quicker it comes back. However, this still takes too long, but there is a way to speed it up further, and this is called Charged Shelling. Hold the Shelling button in for a period of time to unleash multiple bullets at your foe. The more bullets you hit, the quicker the Wyvern Fire will recharged.
Gap Closing
It’s no secret that the Gunlance in one of the slower weapons in the game, there are ways to close the gap to the monster outside of slowly walking towards it. Simply, use the Shelling action ( | | ) and immediately follow it up with Lateral Upthrust ( + | + | + ) to perform a combo called Shelling Widesweep. This will close the distance a bit, and can be repeated until you run out of bullets. Another great thing about this gap closer is that it’s the beginning of the Wyrmstake Full Blast combo, meaning you can transition into the combo once you’ve closed the distance.
Speed Up Wyvern Fire Animation
There are a few ways that you can fire off Wyvern Fire more quickly. One method is to use it immediately after performing a Perfect Guard. You can use it at the end of either of the Wyrmstake Cannon and Wyrmstake Full Blast combos. Finally, using another Wyvern Fire immediately after using the first will increase the speed of the second.
Best Equipment Skills
Although we are still in the process of testing. The front-runners for armor skills and talismans so far are the same skills from the previous games such as Guard Up, Constitution, and Attack Boost. However, a new skill called Burst deserves a shout as it will increase your attack and elemental attack up after continuously hitting a monster five times in quick succession. For your weapons skills (each weapon has it’s own skills), Load Shells is fantastic as it’ll increase the amount of shells you can have. Offensive Guard if you use Perfect Guard frequently, and Guard, which reduces knockback and stamina depletion when guarding.
No Comments