
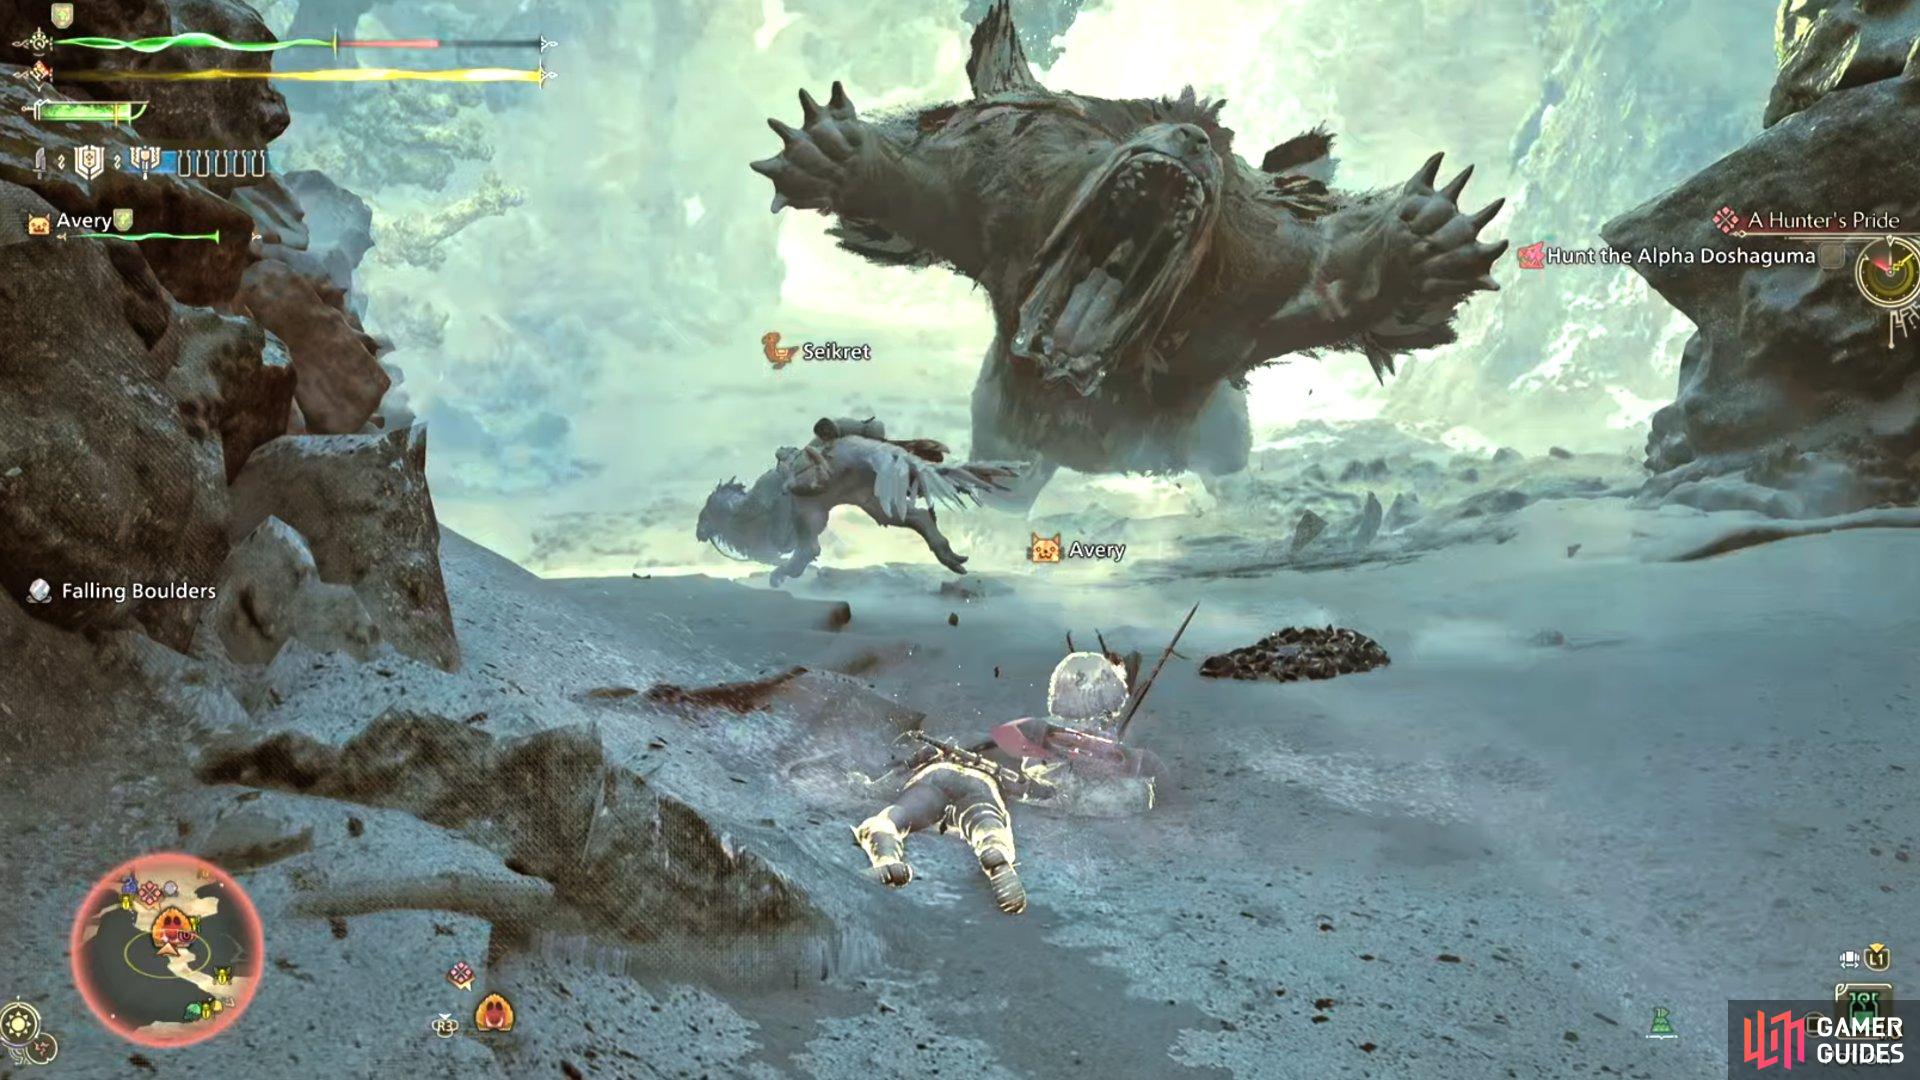
Found within the Scarlet Forest and Windward Plains in Monster Hunter Wilds, the Doshaguma is likely to be many players’ first major hurdle. While traveling in packs, the Alpha Doshaguma is a huge unstoppable force of aggression with some of the hardest hitting slams in the game. Additionally, his charges and follow-ups can wipe you out with just one combo. Later on, you can also fight it in the Ruins of Wyveria.
This guide takes you through the Doshaguma’s Ecology, its key weaknesses, the rewards in low and high rank, and some tips to defeat it.

The Doshaguma roams and dominates territory in the Scarlet Forest and Windward Plains.
Doshaguma Ecology
Fanged Beasts that are sometimes seen traveling in packs. Ruggedly built and extremely aggressive, Doshaguma won’t hesitate to throw everything they’ve got at enemies - even other small monsters. They have been known to take prey back to their dens, which sometimes leads to violent disputes.
| Type | Known Habitats | Smallest Size | Largest Size |
|---|---|---|---|
| Fanged Beast | Windward Plains, Scarlet Forest, Ruins of Wyveria | Investigating… | Investigating… |
In addition to hunting Doshaguma in the open Windward Plains, Scarlet Forest, and Ruins of Wyveria mapa, you can also accept the following quests to hunt one:
- Pinnacle of the Pack - 1 Star Assignment (Low Rank)
- Forest Outlaw - 1 Star Optional Quest (Low Rank)
- Doshaguma Hunt - 5 Star Optional Quest (High Rank)
- Doshaguma Investigation (High Rank)
- Tempered Doshaguma Investigation (High Rank)
There are several unlockable titles for the Doshaguma too:
- Doshaguma - Finish hunt 20
- Rampaging - Finish hunt 30
- Injured - Finish hunt 40
- Boss - Finish hunt 50
Doshaguma Weaknesses and Breakable Parts
The Doshaguma is particularly weak to Thunder and Fire elemental attacks. Additionally, all the status effects have the same effectiveness against the Doshaguma, two stars. The full breakdown is:
| Status Effect | Effectiveness |
|---|---|
| Poison | ** |
| Sleep | ** |
| Paralysis | ** |
| Blastblight | ** |
| Stun | ** |
| Exhaust | ** |
The higher the number of stars, the stronger and more effective the status effect is. Generally, Paralysis is the strongest effect in the game, so it is best to use that if you have it available on your equipment. Otherwise, Blastblight is also effective due to the Doshaguma’s fur.
You can also use a Shock Trap, Pitfall Trap, and Flash Pod to trap and blind the Doshaguma easily.
The key breakable part of a Doshaguma is its forelegs and tail hair. You can also target its belly as a weak point to deal even more damage. Targeting its legs and head are by far the most effective places to attack. The full breakdown is:
| Body Part | Cutting/Slashing Damage | Blunt Damage | Shot Damage | Fire | Water | Thunder | Ice | Dragon |
|---|---|---|---|---|---|---|---|---|
| Head | *** | *** | *** | ** | * | ** | * | * |
| Torso | ** | *** | ** | ** | * | * | * | * |
| Left Foreleg | *** | *** | *** | * | * | * | * | * |
| Right Foreleg | *** | *** | *** | * | * | * | * | * |
| Left Hind Leg | *** | ** | ** | * | * | * | * | * |
| Right Hind Leg | *** | ** | ** | * | * | * | * | * |
| Tail | ** | ** | ** | * | * | * | * | Ineffective |
Doshaguma Materials & Rewards
There are Six different rewards you can obtain from the Doshaguma in Low Rank and High Rank, either by carving its corpse, breaking its legs and tail, or as a mission reward at the end of a hunt:
| Material (Low Rank) | Frequency |
|---|---|
| Doshaguma Fur | **** |
| Doshaguma Claw | **** |
| BDoshaguma Hide | *** |
| Doshaguma Fang | ** |
| Doshaguma Certificate | * |
| Material (High Rank) | Frequency |
|---|---|
| Doshaguma Fur+ | **** |
| Doshaguma Claw+ | **** |
| BDoshaguma Hide+ | *** |
| Doshaguma Fang+ | ** |
| Doshaguma Certificate S | * |
| Beast Gem | * |
How to defeat Doshaguma
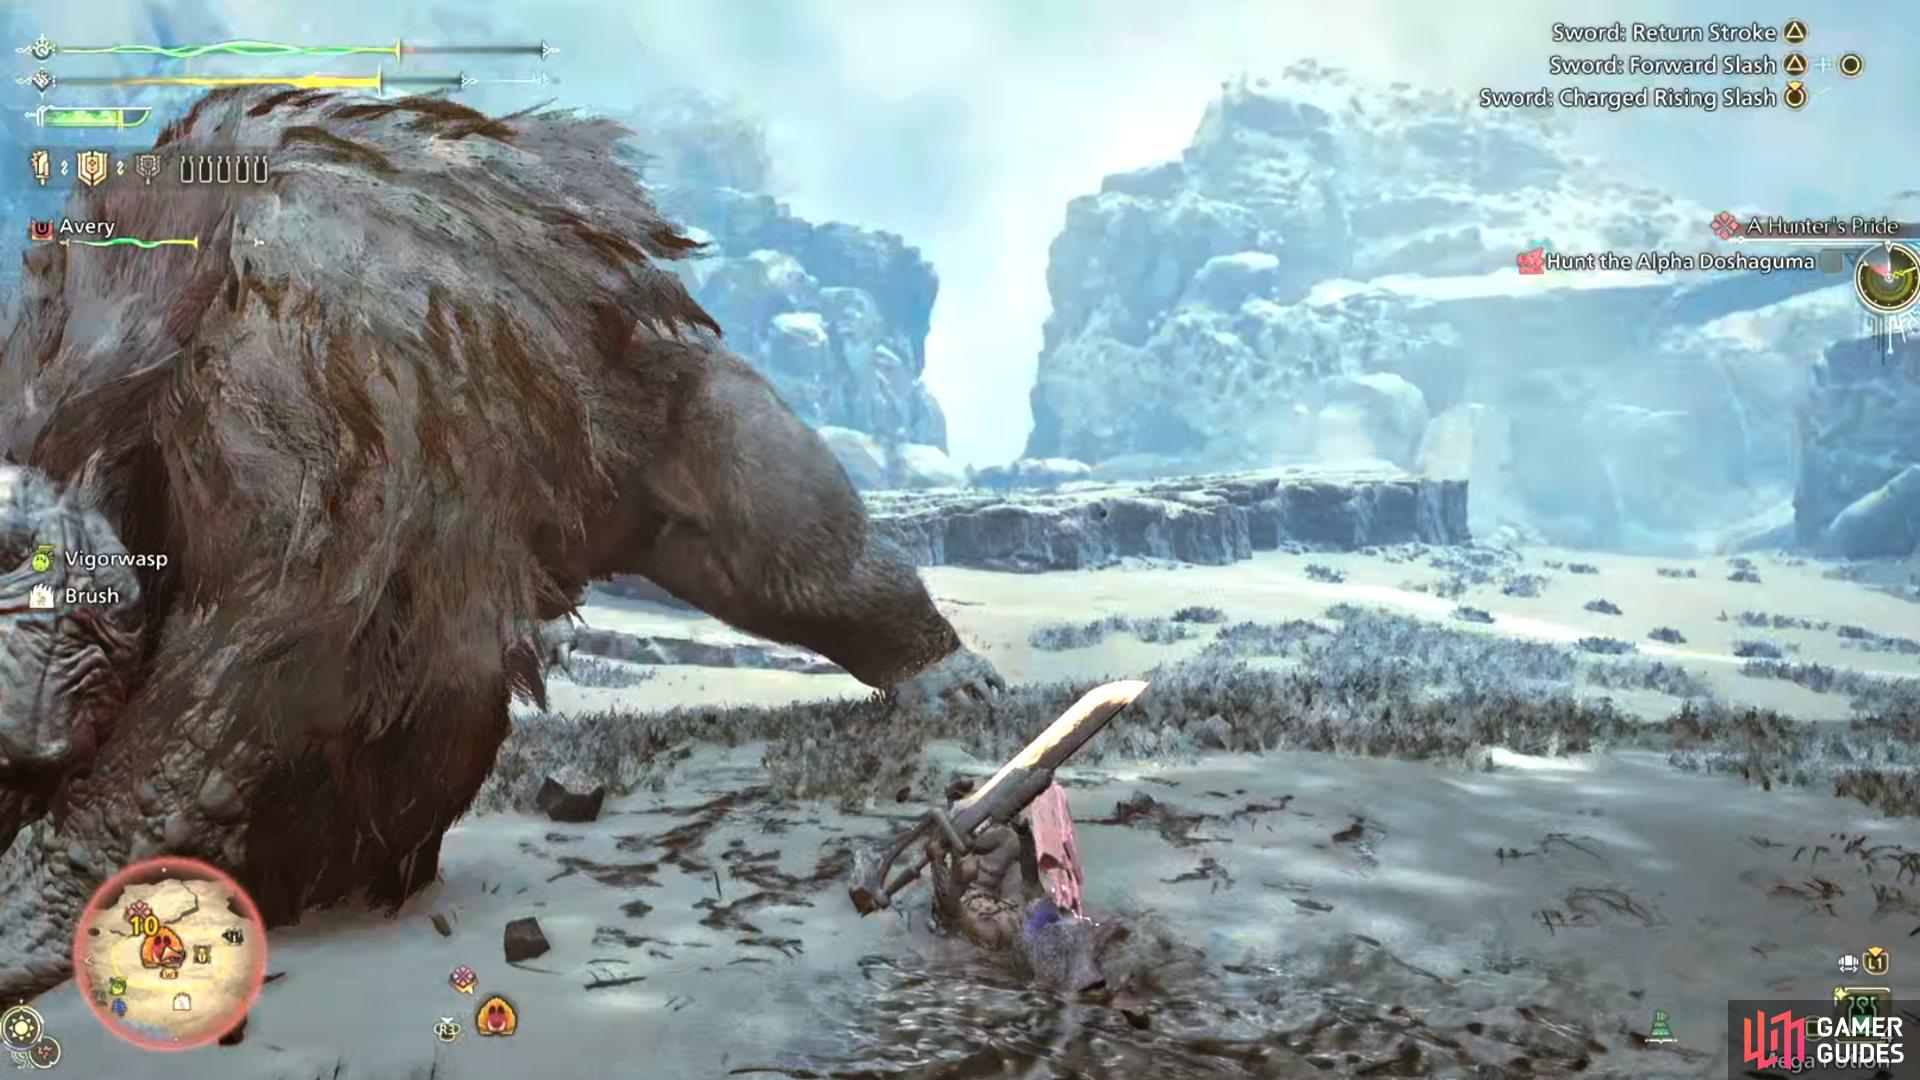
Doshaguma has a lot of slow, heavy attacks that can easily be countered with an Offset Attack or Block with good timing. There are a few in its moveset, but generally anytime it stands on its hind legs it will slam in front of it. You can either try to block or counter it with an offset attack.
But, generally, these attacks are easier to avoid by just running away from the monster or rolling towards its back on the side it is striking. So if it is slamming with its right leg, run towards its rear on the right hand side. The slam will simply go too far in front of the monster for you to be hit. You can also dodge these repeatedly by rolling several times in one direction as the attacks will land behind you.

Learn how and when to dodge the slams in order to be able to easily survive against the Doshaguma
Another slam attack to watch out for is when it stands on both of its legs and outstretches its front legs. This attack has far greater reach so you need to be at a distance from it. Additionally, the attack will crack open the ground upon impact doing extra damage. It is one of the Doshaguma’s most deadly attacks.
This grab can easily surprise you as it doesn’t have a long wind up.
The final regular slam attack is one where the Doshaguma stumbles forward for a few steps on its hind legs. This slam tracks you much better than the others and it is best to try to keep behind the monster directly to avoid it. It does a similar amount of damage to the lunging attack above.
Additionally, the Doshaguma does have some small head bits and swipes with its leg on either side. These are the main attacks it uses when it isn’t slamming and they can be avoided by simply dodging beyond its reach towards its rear.
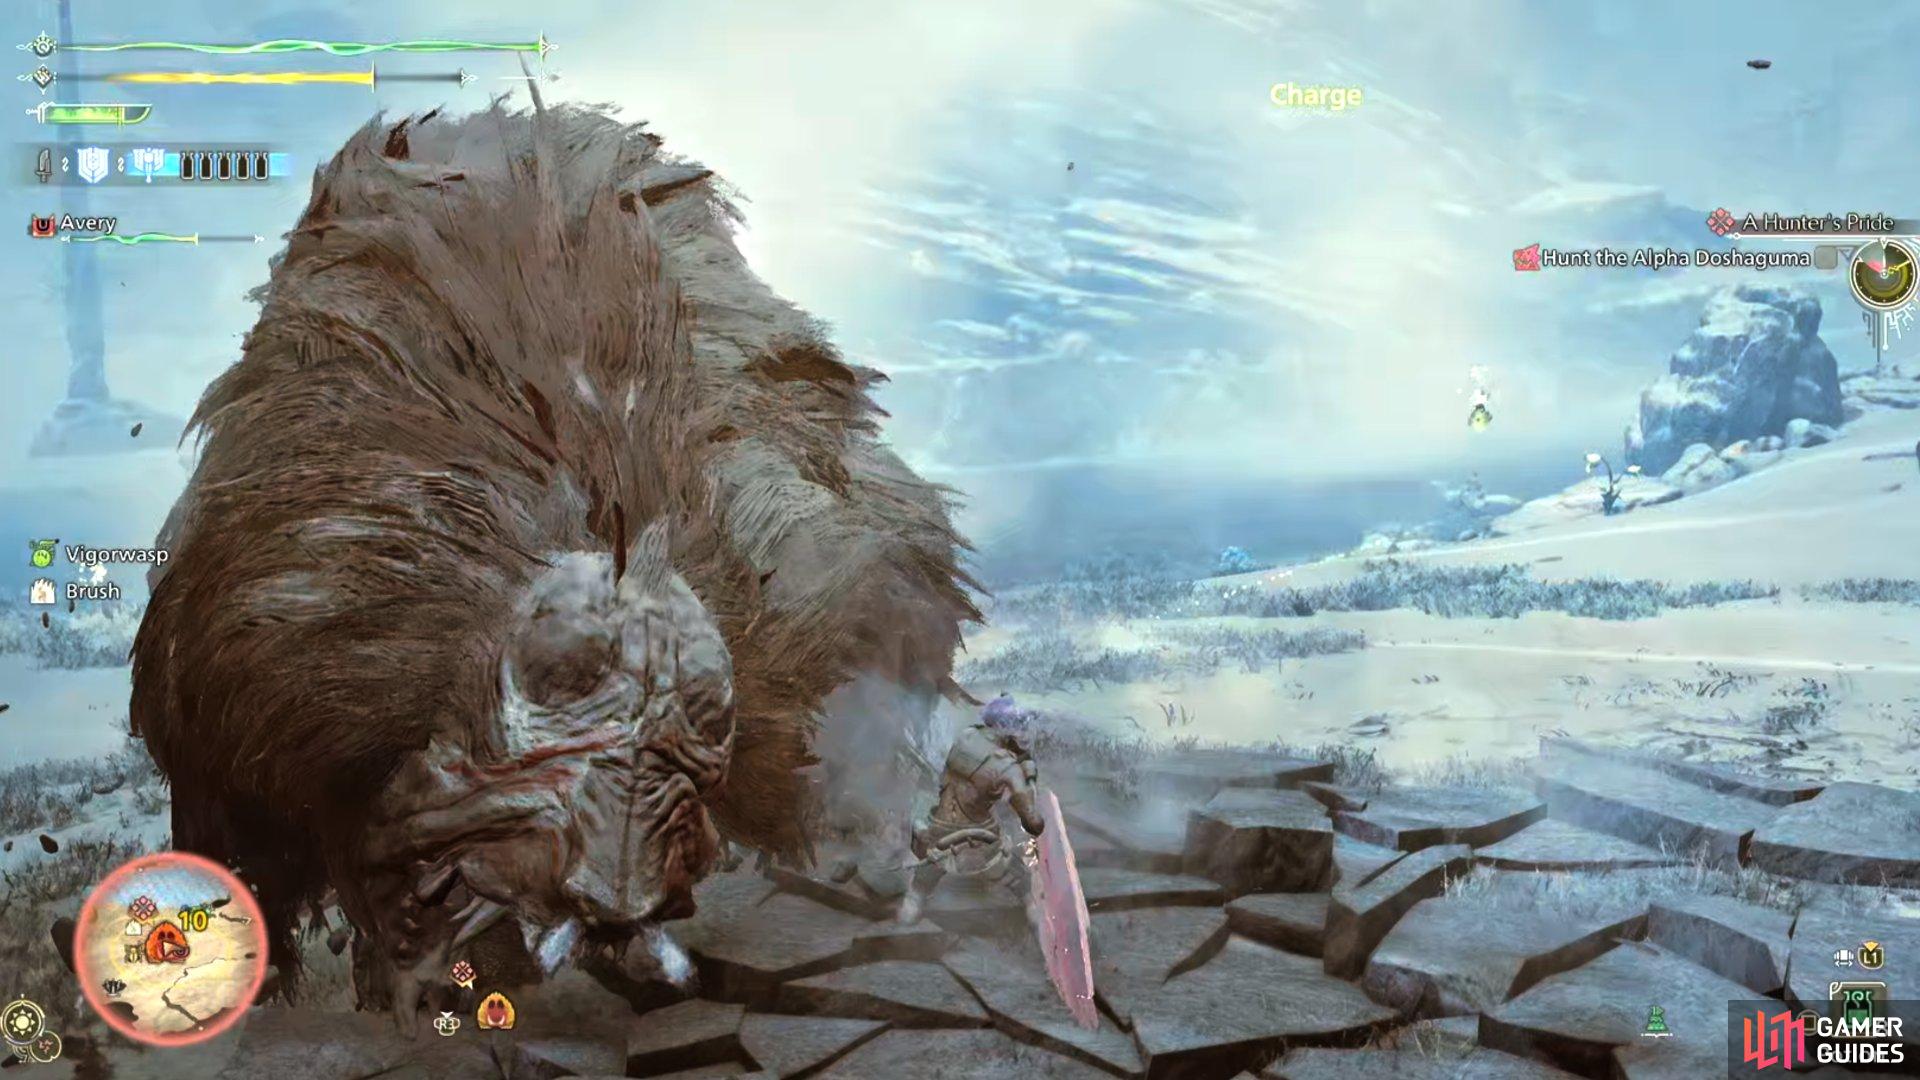
Doshaguma also has a nasty charge attack that can catch you off guard. This is shown when it quickly plants both front feet and darts to its left side. It will then charge you from your side laterally. The most effective way to dodge it is to try to roll forward and to the left, to tuck yourself around its body as it moves laterally, so you end up roughly where it started the attack.
This charge is one of the hardest to dodge of any monster in the game.
When it gets weak or exhausted, the Doshaguma can occasionally amplify its slams. This can happen to all of them and will be signified by the ground cracking across a large area. When it does this, the area where it slams will become a danger zone as it will follow the slam up with a large uppercut pulling up the ground from where it slammed. This is why you want to stay at its rear as you can avoid this.
You do not want to be in this cracked part of the ground.
Another attack it can do in this state is a short shuffle backwards, followed up by a large jumping bite attack. This will do a significant amount of damage and can kill you instantly even if you have only lost a bit of health. If you are already at a distance, avoid this by running away. Otherwise, rolling around the Doshaguma is the best strategy.
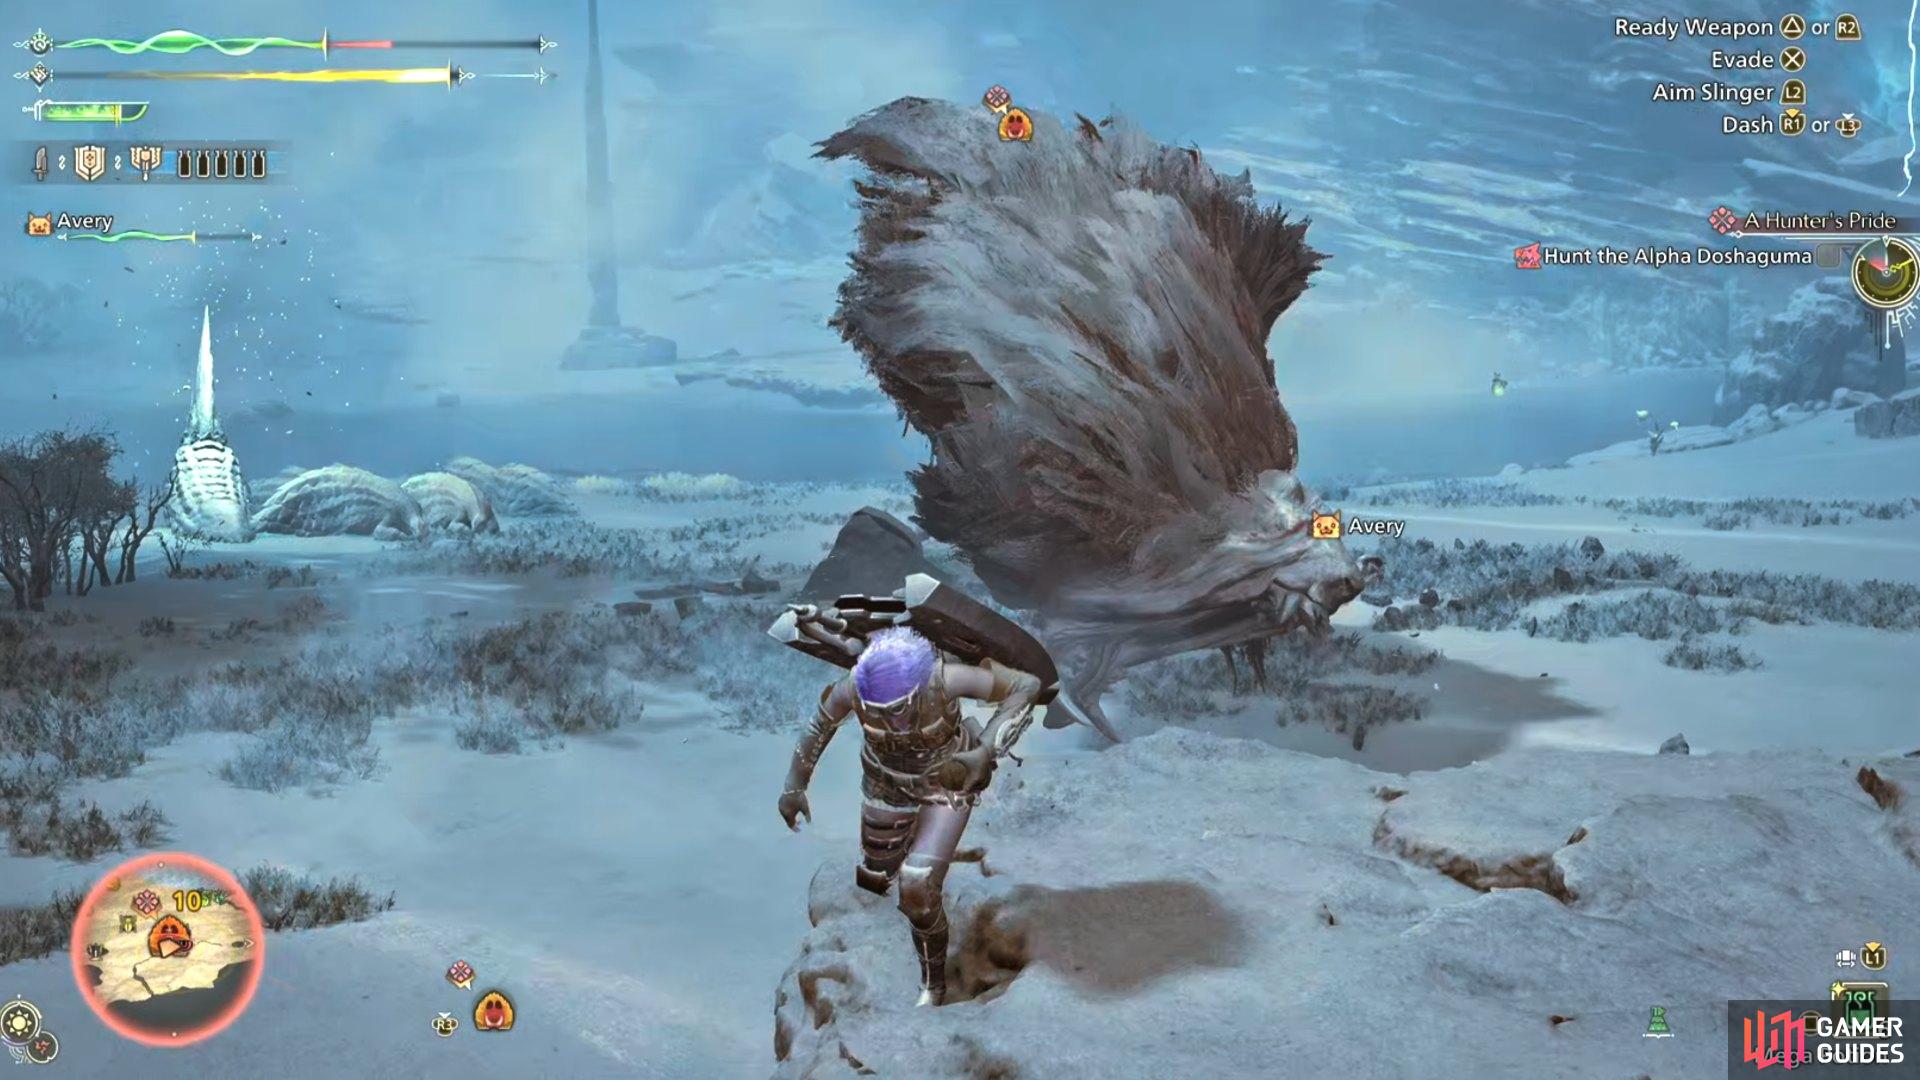
It is paramount to avoid this jumping bite attack as it can do a ton of damage instantly.
The next attack is another charge. This is telegraphed by the Doshaguma dragging its left claw along the ground, following it up with an uppercut. The safest way to dodge this is to roll towards the right of the Doshaguma’s body as it charges you so you can either avoid the attack or let it charge past you completely.
It also has a variant of this where it drags its face along the ground on its left side. This has less of a carry distance but does a bit more damage. It can once again be dodged in the same way or just running away because the Doshaguma doesn’t travel as far.
No Comments