
If you’re looking to try a variety of playstyles in Manor Lords’ early access launch, there are a few strong playstyles to attempt. Most of the builds will range from the developments you can get your hands on, with a build order to match and promote that playstyle. You’ll also need a generic opener to get you through the first year or two to raise your population and complete the small and medium settlement improvement tasks. With that said, here’s a closer look at the few starting strategies and build orders you can use in Manor Lords.
New Settlement Build Order
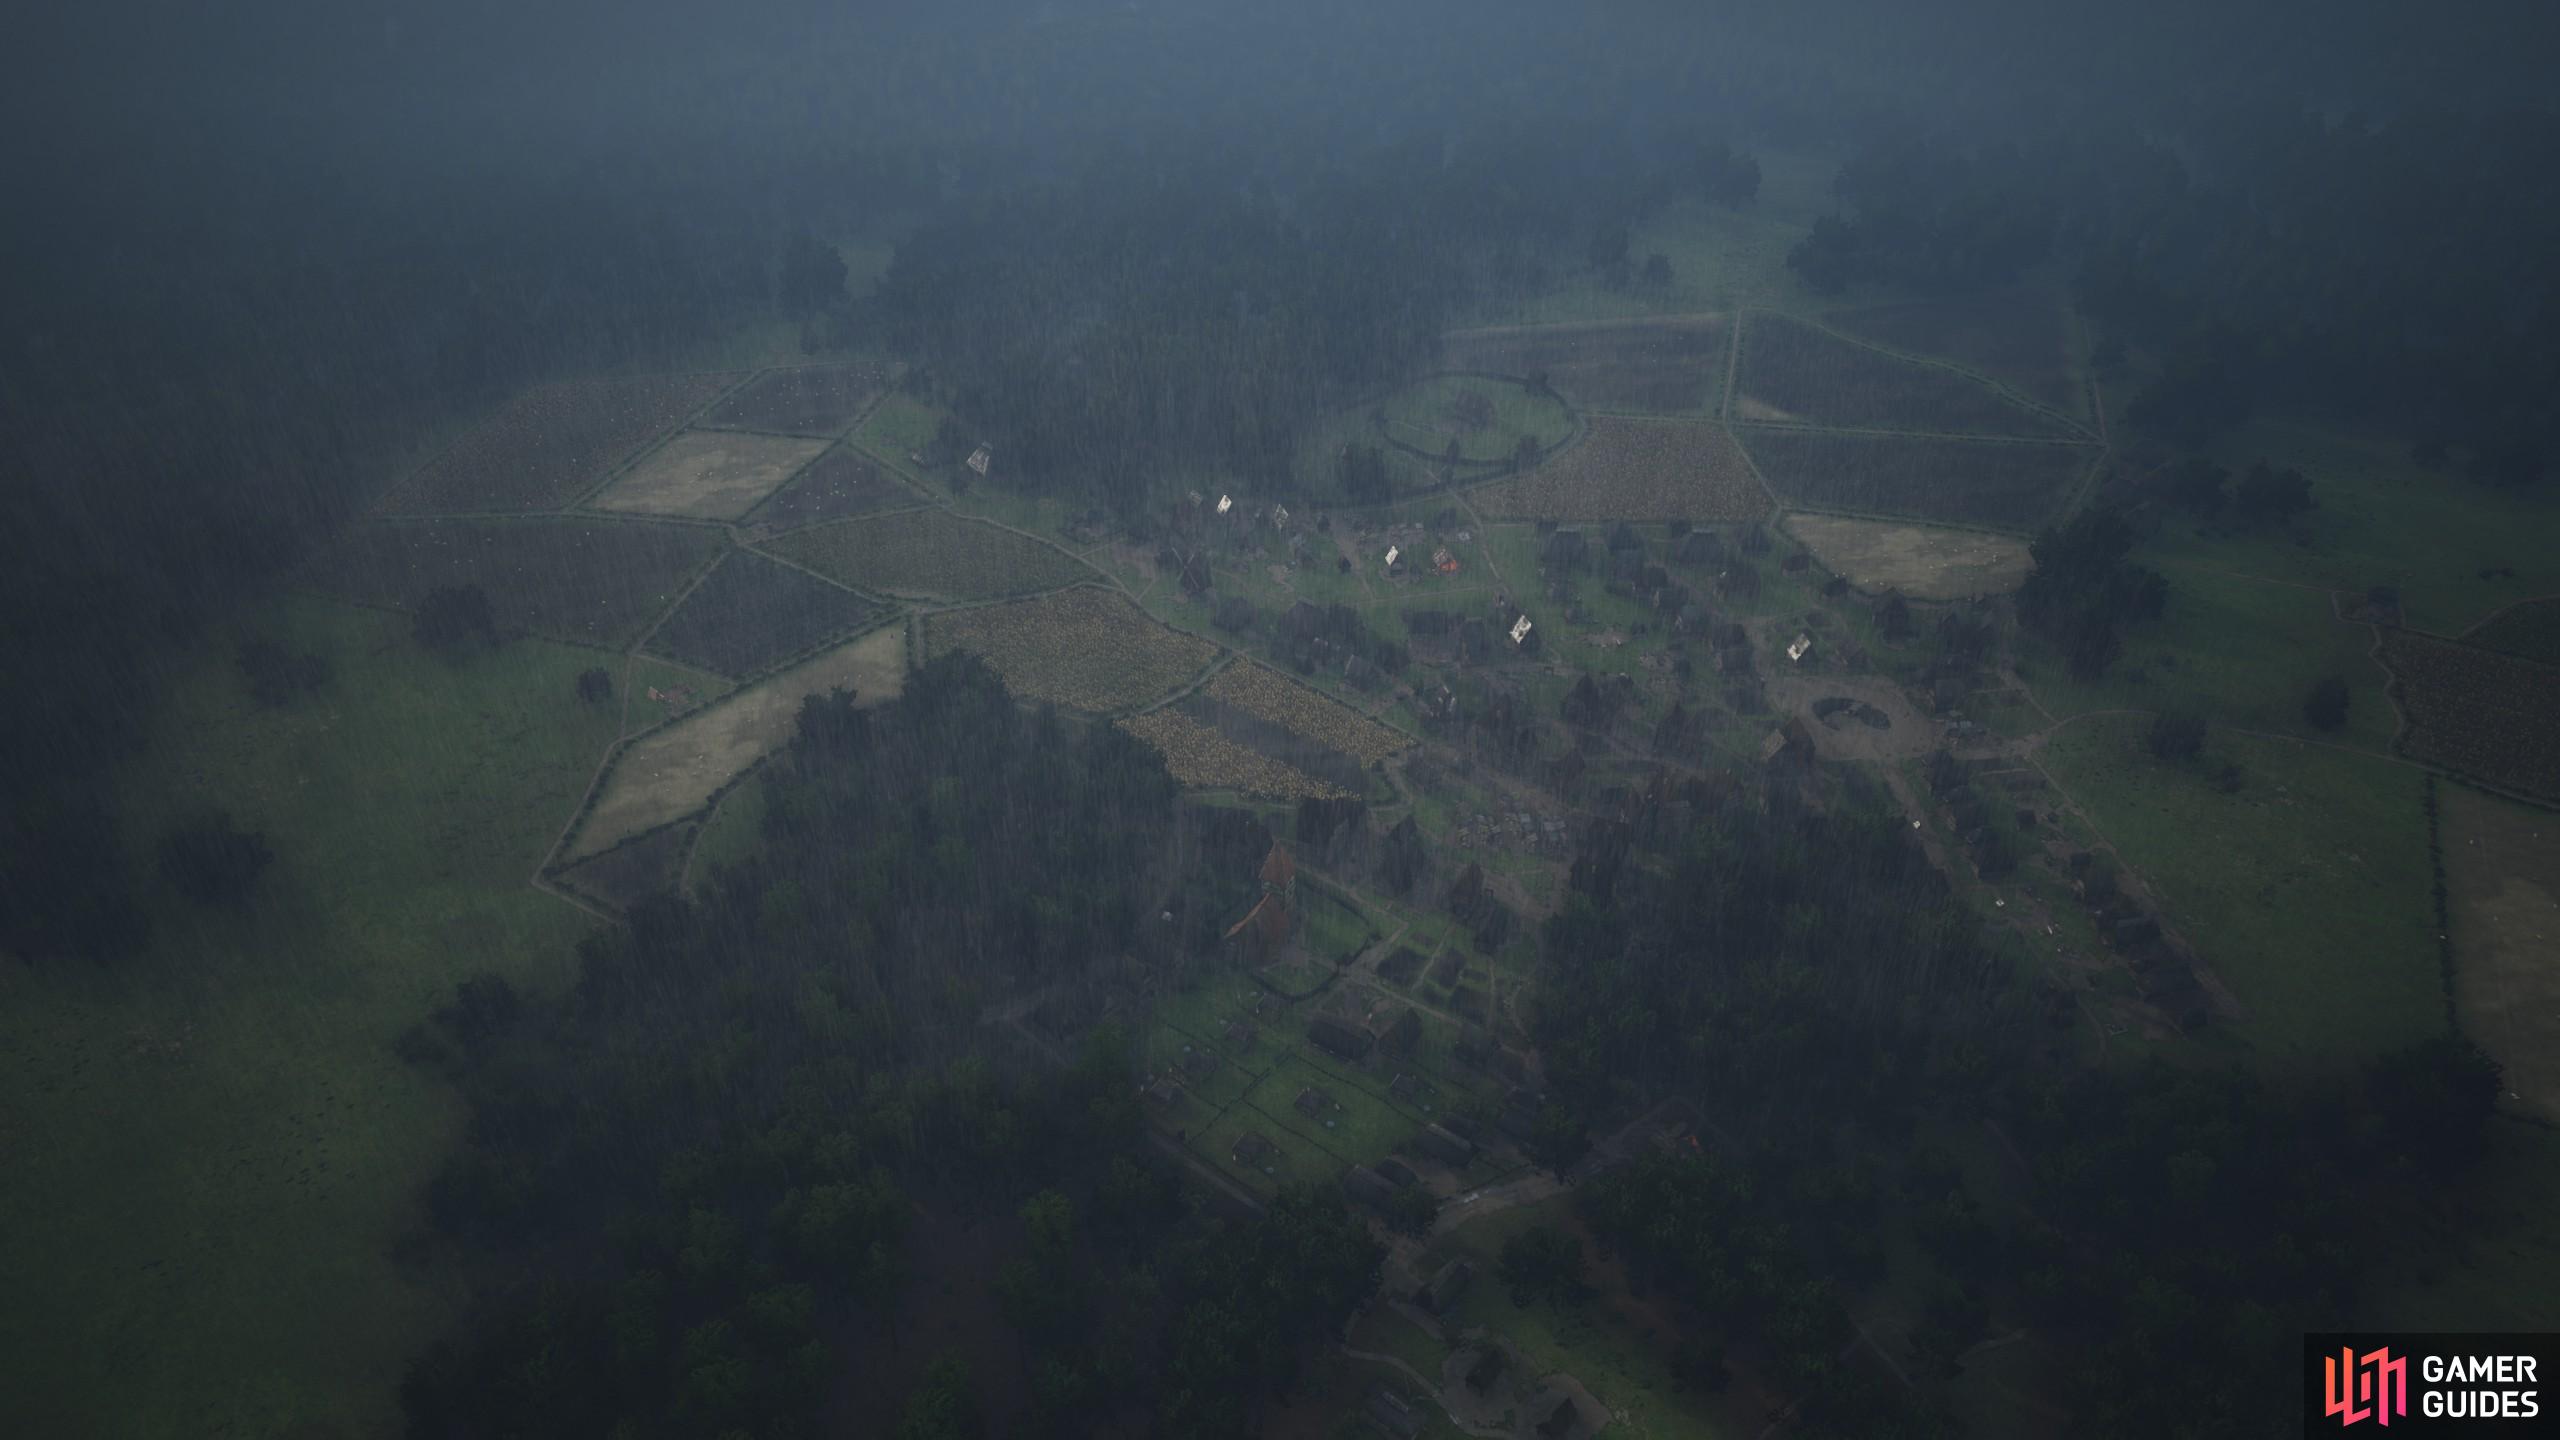
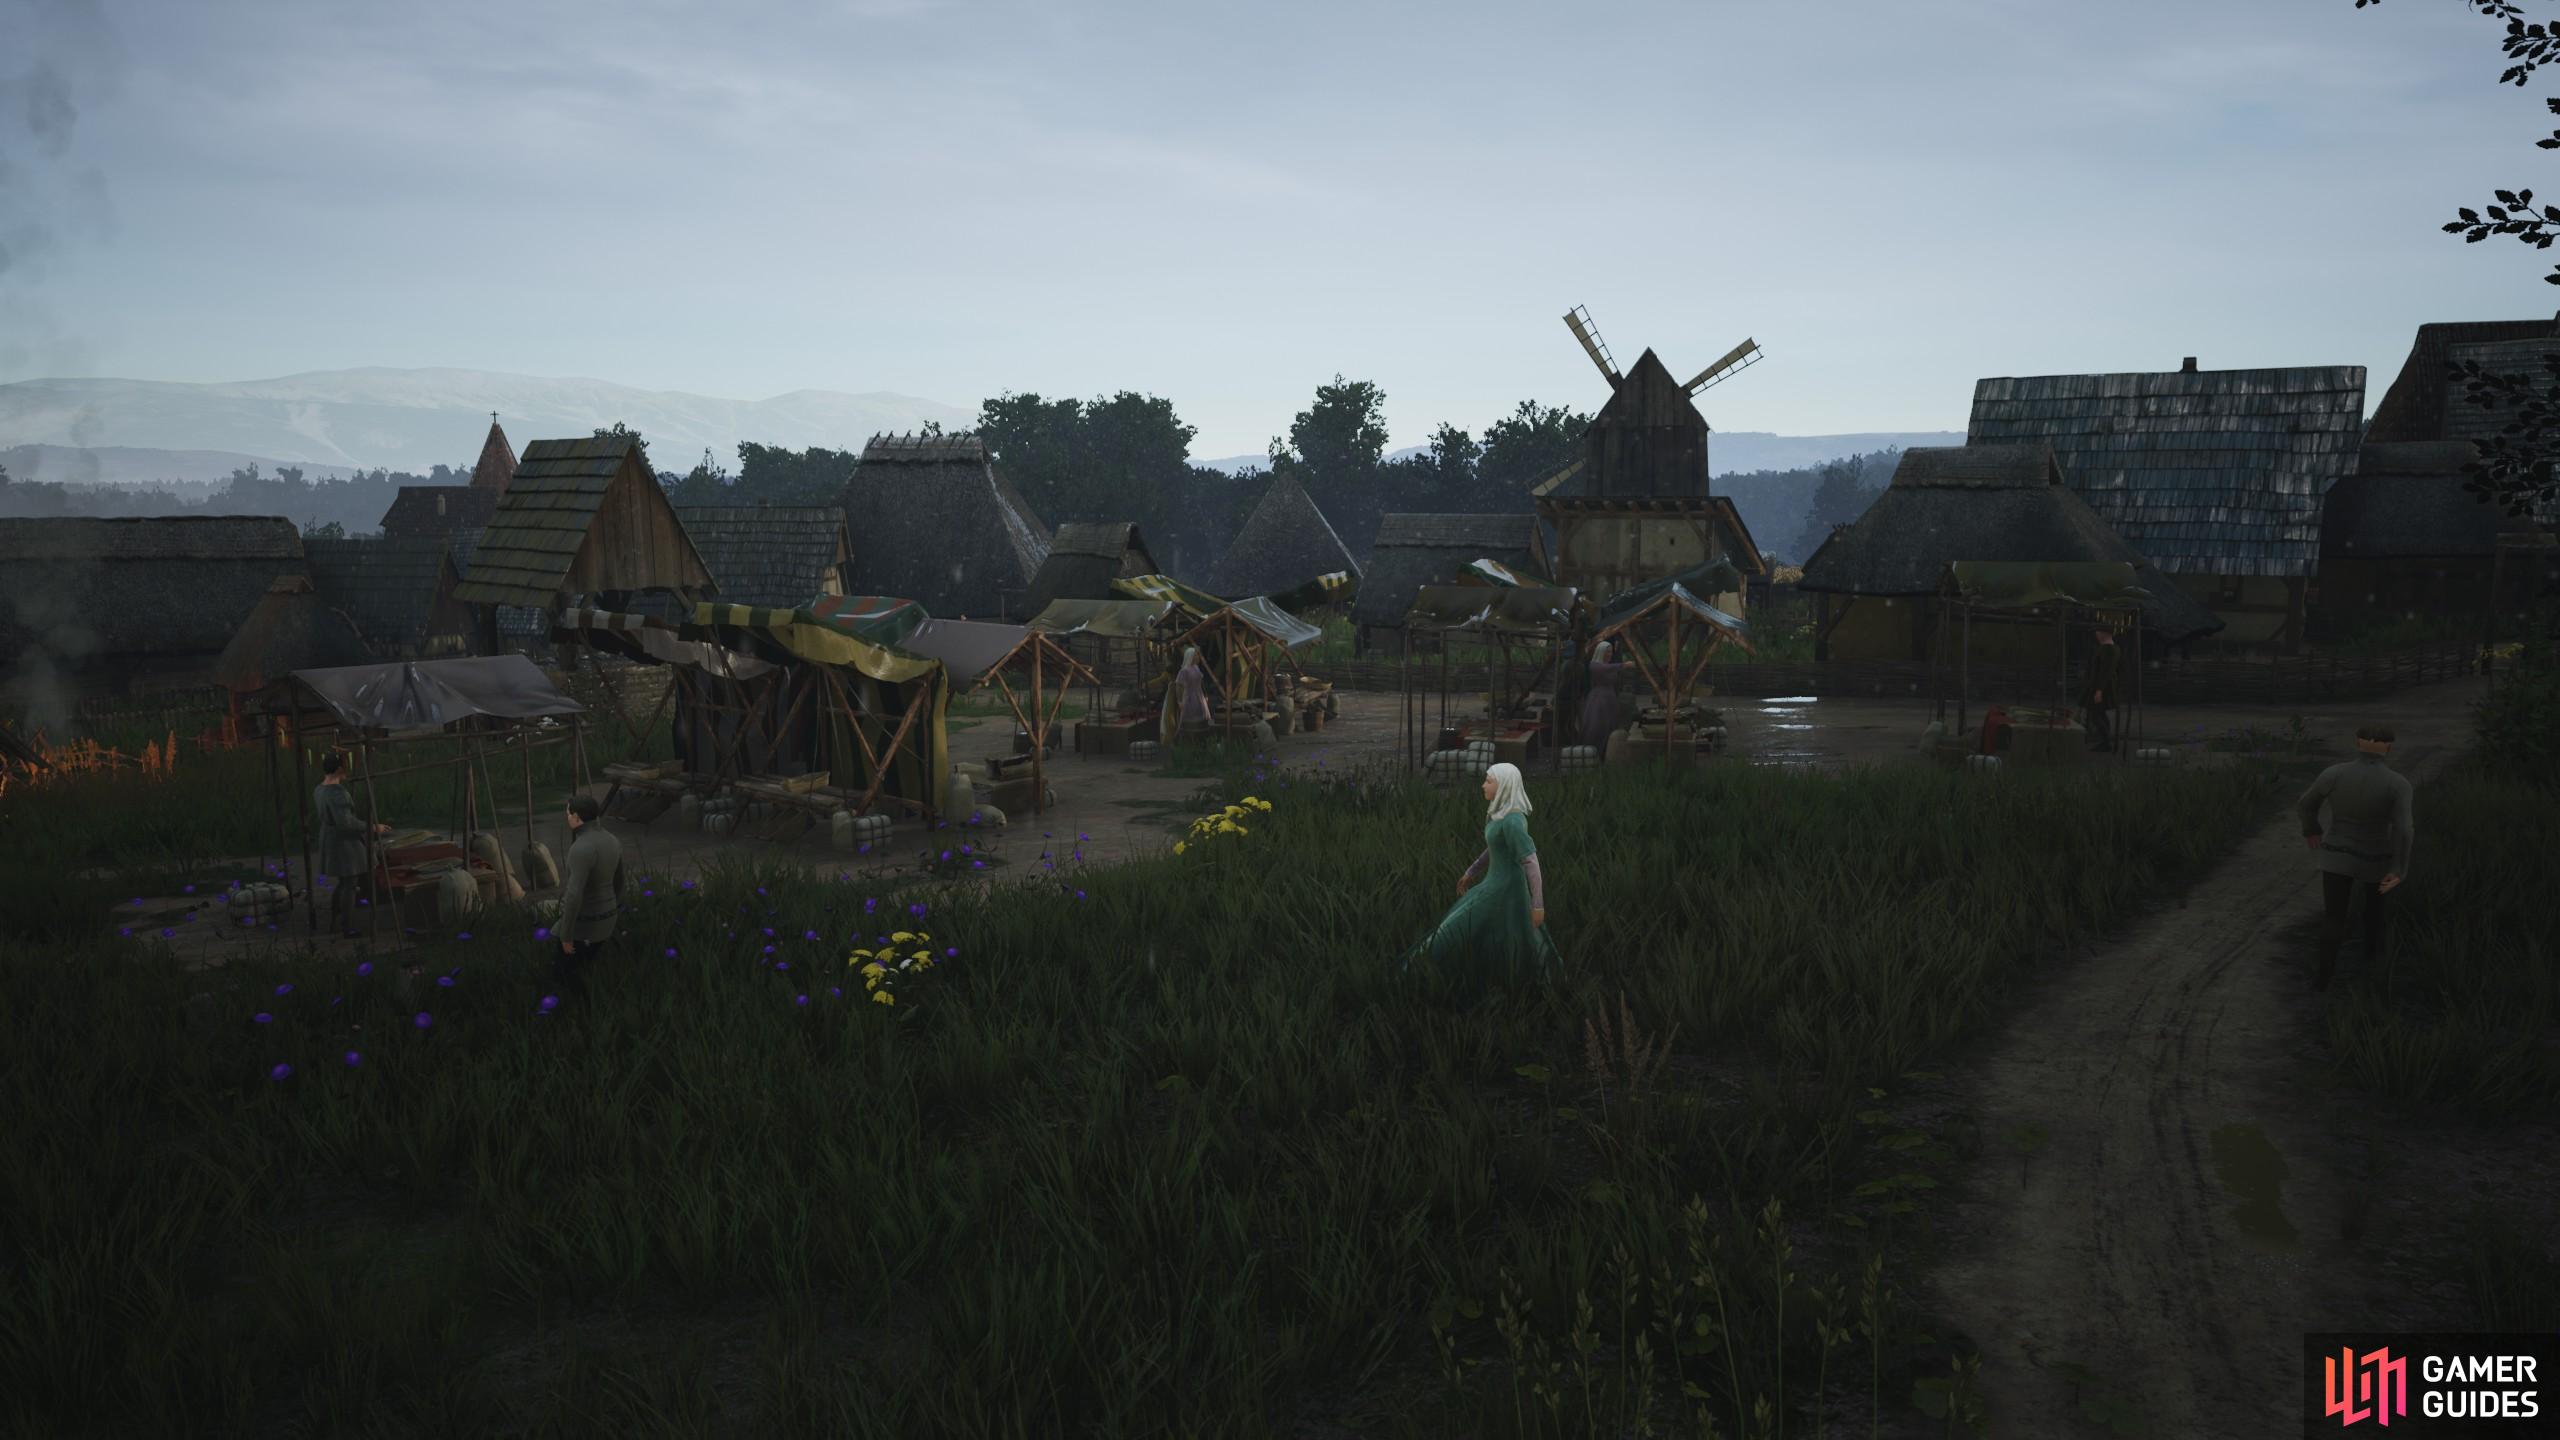
When you create a new save, you’ll only have a handful of basics with you. You need to build your basic economy and resource needs up before the first winter. A generic playthrough will need the following constructions and families managed as follows:
- Build a Logging Camp
- Build a Forager’s Hut
- Build a Hunter’s Camp
- Build a Woodcutter’s Lodge
- Assign families to work the four buildings, with the 5th managing the Oxen post.
- Start slowly building burgage plots as you accrue resources and when your approval rating is above 50%. Feel free to take the Ox worker off the post to start construction again.
- Build a Forester’s Hut when you get an extra family to start regrowing trees around logging and woodcutter sites.
- Continue building more burgage plots over time.
- Throw spare population from new houses into logistics like the warehouse, granary or ox post and an extra family woodcutters to better prepare fuel for winter
- Build a small marketplace near your burgage plots and storage buildings to prepare food and fuel stalls near residential buildings.
By the time you get around 8-9 families, winter will have arrived. You should have enough food from hunting and berry picking to survive the first winter, with the spare bread you get from starting the game. The other benefit of this is that the mixture of meats, berries and bread from gathering and game start should give your citizens a huge approval rating boost for being able to source three different meal sources. Better approval rating means better growth rates when you have spare burgage plots.
Note: This is a safe opener build you can run. If you’re looking for achievements or on the hardest difficulty you will likely need to run a different strategy involving farms straight away.
Farming Strategy in Manor Lords
If you want to have a large farming settlement, there are strategies to support large farming, growth, and income for it.
Farming playstyles and setups are all about growing large and sustainable populations. The core strengths of this build are:
- You’ll be able to generate lots of regional wealth through high population support in burgage plots.
- Effectively supply your industries with barley for ale and flax for armor and clothing.
- Your fields will be efficient fairly often due to sheep fallowing and fertilization recovery rates.
- You’ll easily feed your population, and send excess items to new settlements you begin when you spend your influence on buying other regions.
- You can generate a large population easily to support large-scale armies.
However, the weaknesses are:
- It is hard to sustain populations in the mid-game without bakery development unlocked.
- Becoming self-sufficient with barley growth to supply your tavern is a big grind.
- Approval rating dips when your population gets too big due to food variety limitations in the current early access build.
- Herbs are fairly hard to come by without trading to maintain your high population and their health needs.
If this sounds like a style for you, then read on about the key developments and build orders.
Farming Developments Explained
There are three key developments you need. When you raise a town’s settlement level up, you get one development point. You need to grow from a small village to a small town to complete the core of the build. These developments are:
- Heavy Plow
- Fertilization
- Sheep Breeding
- Bakeries - optional fourth
The Heavy Plow is a key research for making farming more efficient. You’ll need to create some more Hitching Posts to create more work animal places for when you buy Oxen. You’ll need one Oxen per farmhouse you build. Each Oxen will help plow and harvesting speeds greatly, so if you end up with many large fields, Oxen are a key part of the game.
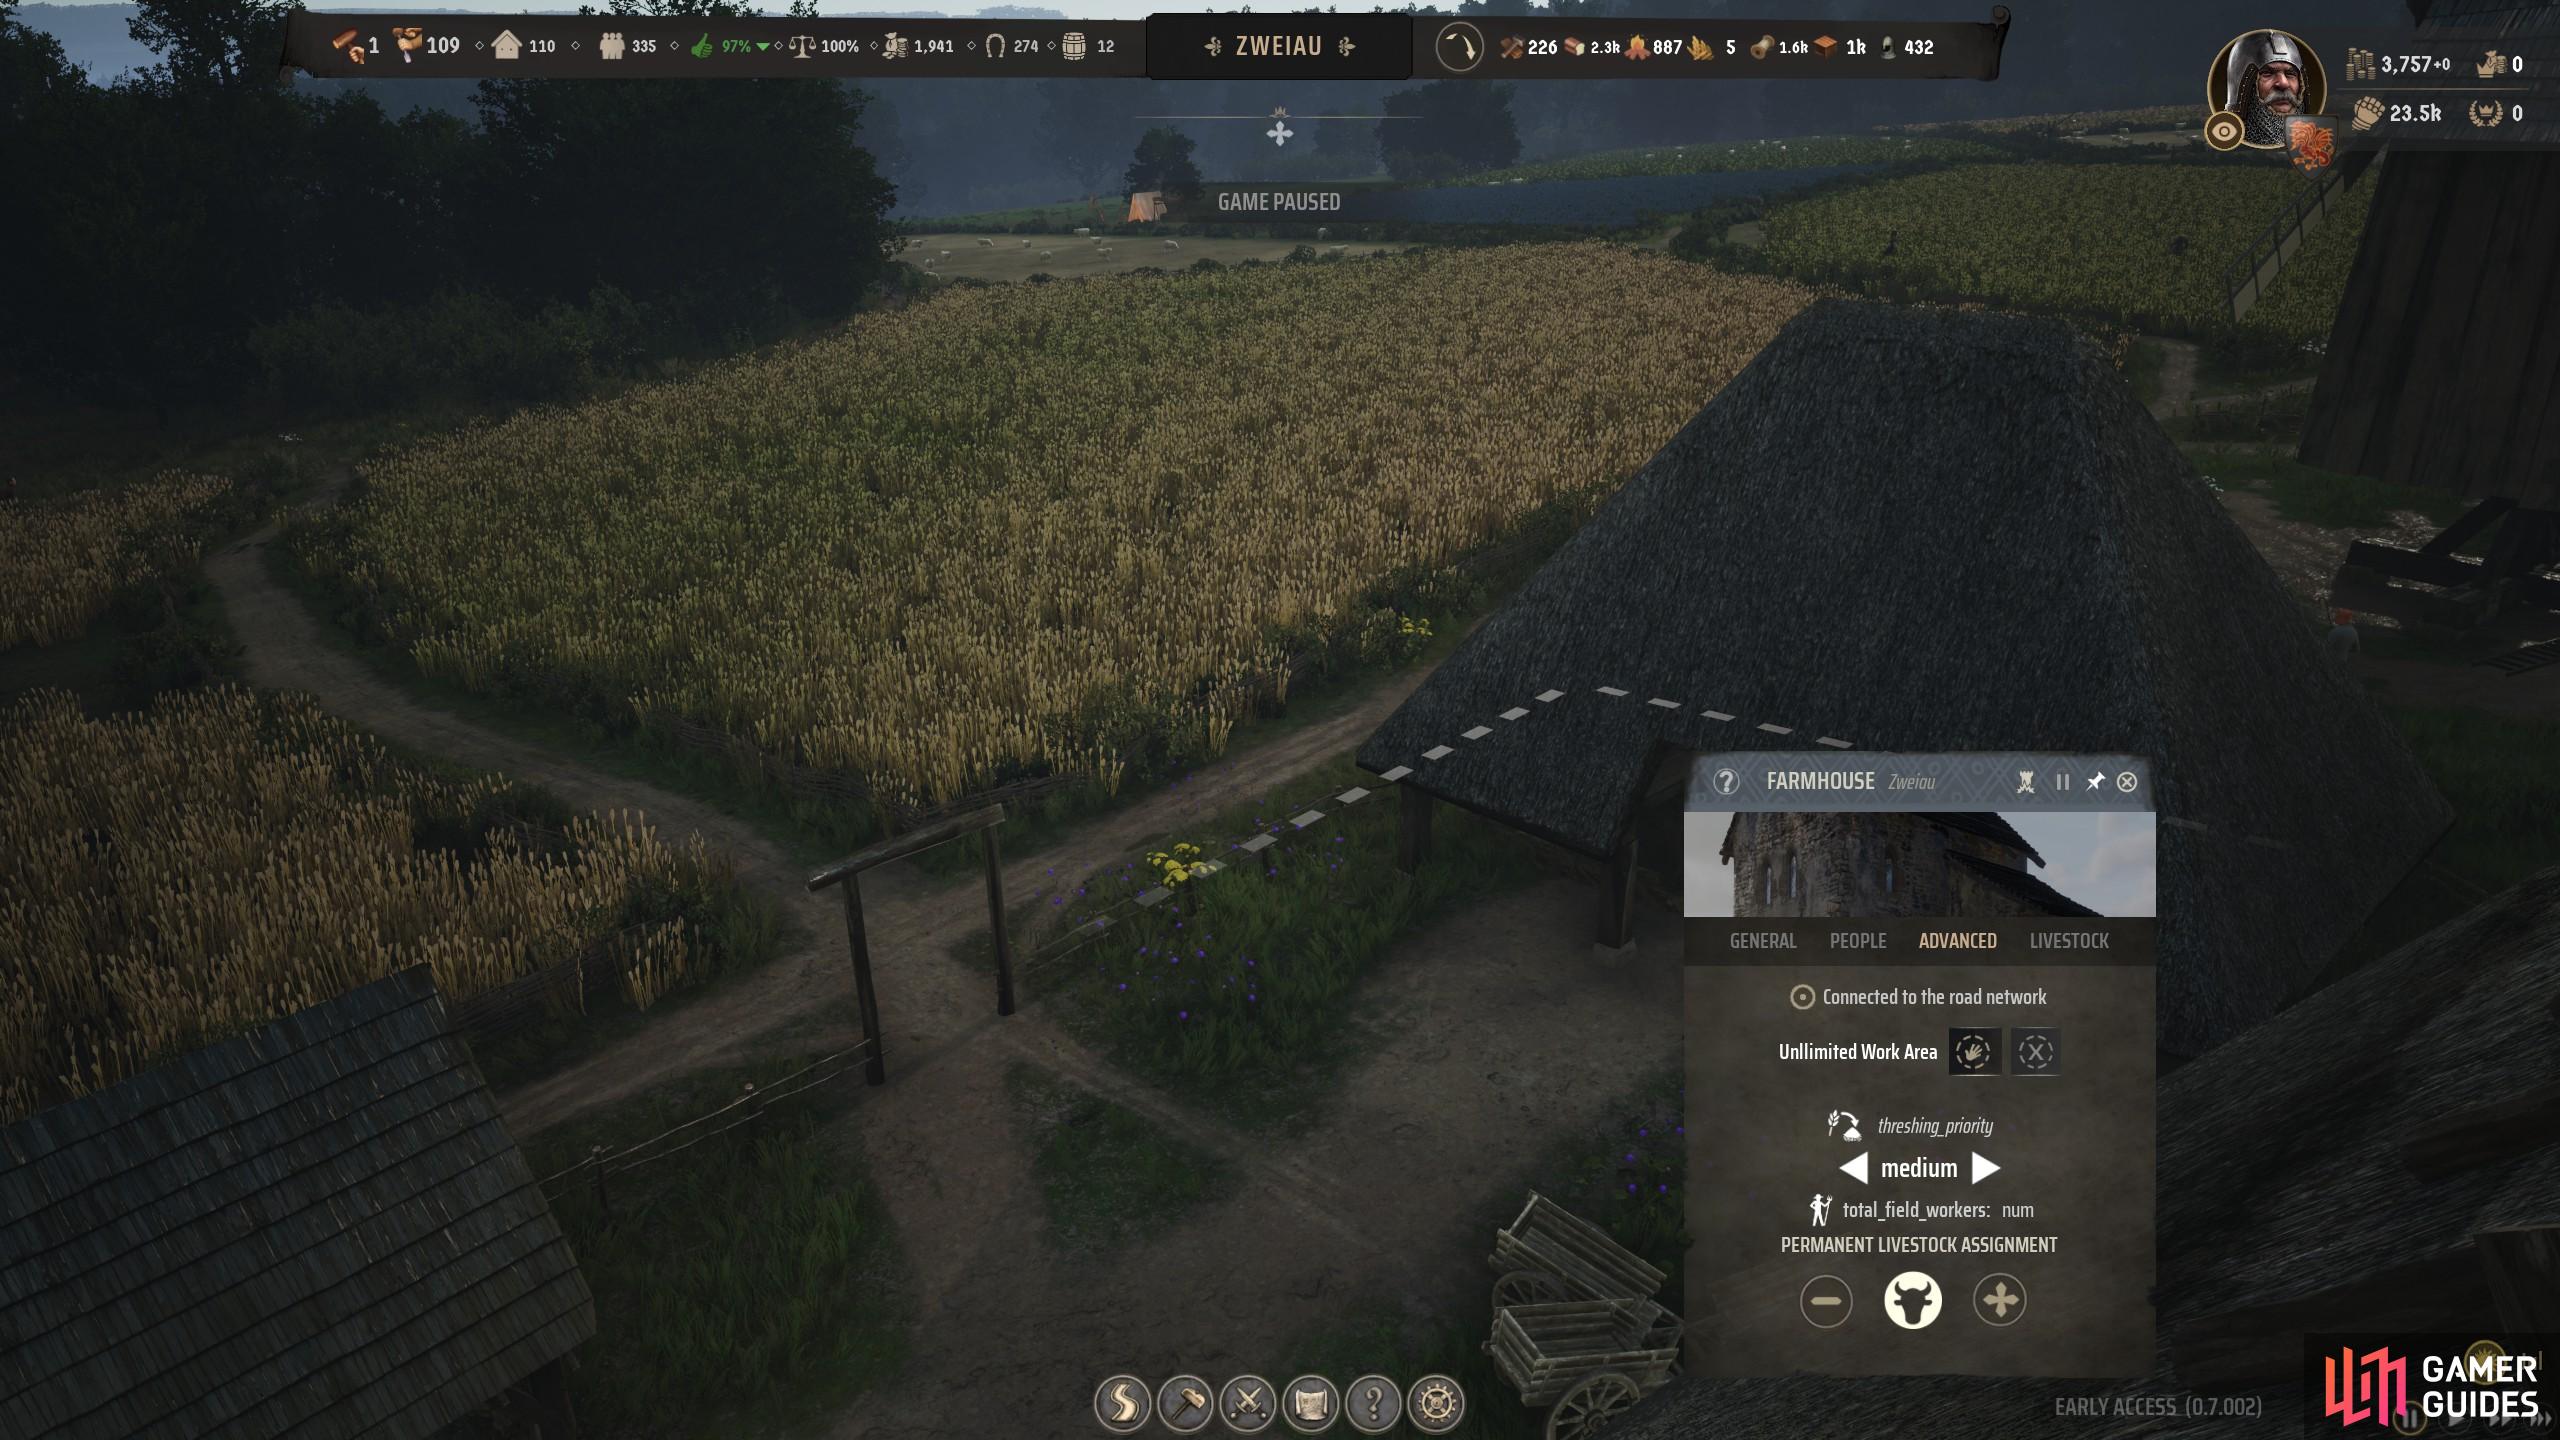
You absolutely need to put an Oxen in each farmhouse to assist with plowing and harvesting farming heavy playstyles and strategies.
If you’re doing a heavy farming playstyle you’ll need the Fertilization technology. This allows you to spend a few planks to turn your farm into a pasture. It will allow livestock to use the field as a pasture when the farm field is set to fallow mode. This greatly improves the fertilization rate of all crops on that spot, which is very much needed for large crop-growing playthroughs to support your populations and tradesmen.
The third one you should get is Sheep Breeding. Getting this in the early game when you don’t have much regional wealth is a waste of an early-game research. You want to get this when you can support a large population and get regional wealth each month through Burgage Plot wealth generation and trading surplus crops and goods from them at Trading Posts. You can then use your money to buy more sheep, and those sheep will very quickly reproduce. You can then sell livestock for some spare money, alongside generate a very large amount of wool and yarn for industries later down the line. Still buy sheep early on, as you’ll need them for wool to turn into yarn at weavers’ workshops for crafting items and selling surplus stock on.
When you reach small-town status, one of the best feeding developments is the Bakery. This allows a burgage plot to become an artisan baker, which is twice as efficient as the communal oven. When you can support large farms and lots of crop growth per year, the bakery will use all that Wheat to make a lot of bread. It makes twice as much as the communal oven, for example per family. You can very easily support a very large population using this technology, meaning more money through burgage plots, and through selling bread on at reading posts.
Farming Build Order
- Build a Farmhouse by February at the latest.
- Create two fields, one that’s good for emmer and another for flax. You need around 1 morgan sized field per family. A 2 family per 1 morgan size is even better for efficiency.
- Set two families to work the farmhouse and have them ready for growing season.
- Unlock the heavy plowing development and set an ox to work at the farmhouse in the advanced menu
- Purchase another Ox at the Hitching Post using starting regional wealth.
- Continue building spare Burgage Plots to increase population size by around two to three families.
- Build a Saw Mill near the logging camp, and have your one family start working on planks of wood.
- Build a wooden church for a huge approval rating spike and burgage plot needs.
- Continue building resources as normal and building burgage plots as and when possible to continue population growth for industry and artisan needs coming up.
- Upgrade Burgage Plots when you have spare resources.
- Create a Windmill ready for wheat harvest before September. Place a worker in there for a few months each year to turn wheat grains into flour. Typically around October-February.
- Create a Communal Oven, which turns flour into bread for food. Only occupy it seasonally around winter time when you have a stockpile of flour. Take population to of the oven and windmill when resources dry up and put them back in the worker pool.
- Create a Tailor artisan extension at one burgage plot when you harvest flax.
- Create a Bowyer extension to make war bows.
- Build another two burgage plots to replace the newly turned artisan workers.
- Maintain a steady supply of planks for the Bowyer
- Set your tailor artisan building to produce gambesons
- Create a Weaver’s Workshop from the industry menu and start turning flax into linen, and wool into yarn. See objective 21 for more context.
- Create an archer unit in the army panel. Males will now start collecting warbows and gambesons as they are produced to arm themselves.
- Assign more workers to the farmhouse and build more farms for emmer and flax growth
- Build a livestock trading post and buy 4 sheep to start passively gathering wool at a sheep farm building, requiring one family. You’ll buy a lot more when you get the Fertilization development to ramp up your fertilization and fallow needs.
- Ensure some spare population can work the storehouse and granary to improve logistics of your town
- Continue building population, getting more fields, hitting more burgage plot upgrade requirements, and snowballing your build from there.
- Create a trading post if you have not already.
- Build a Dye Workshop and start taking berries off the market for the use in creating clothes and cloaks at the artisan once you’re done with making gambesons for your people. Sell the excess stock at the marketplace.
- With upgraded burgage plots, create extensions for chickens, vegetables and goats to make passive resources and more food varieties for the marketplace. It’s an expensive part of the build order for needed varieties at marketplaces and other burgage plot requirements.
- Start growing barley, which can then be turned into malts at a malthouse, then malts turned into ale at artisan brewery buildings. You will only need 2 brewers with a smaller pop, one malt house worker and one tavern worker.
- Excess population can start mining Clay, and then turn them into roof tiles. Doing so prepares you for future level 3 upgrades. Take the population out of clay and roof tile work after accumulating about 130 rooftiles.
- Send more workers to the farms to stabilize food production. Once you get more food in than consumed, start working on even more barley.
- Start mass upgrading burgage plots with limited supply of ale and tavern to force level 3 burgage plots and level up the settlement.
- Unlock sheep breeding for huge fallow improvements.
- Buy around 40 sheep and fallow inefficient farms. Your sheep population should start snowballing out of hand, which is great for fallowing large farms in the future. You’ll get to 200 animal population in no time. These will fallow several large farms each year and restore fertilization levels incredibly quickly.
- Continue to farm to self sufficiency, and sell excess crops you are not using for money. Also start selling excess sheep off when you’re close to pasture limits for some more money. The same is said for excess wool and yarn that your tailor or weavers are struggling to get to.
- Use the money to import other goods you’re struggling to maintain, such as burgage plot foods, berries for dyes, and herbs.
- Maintain your high approval rating with level 3 burgage plots popping up around town.
- Unblock the Bakery as you reach a small town settlement level and become even more efficient with flour to bread crafting.
- Expand population, scaling food growth, barley growth and food extensions to ensure an increase in base supply.
The general idea of the build order here is to start prepping your settlement for basic needs. You will gradually add more citizens to your town to take on industries, increase yearly farming yields and build the basics for defense. You may need to adapt your build order slightly depending on logistics, resource stockpile issues you encounter, or for another reason we can’t really predict.
The key note here is that at the early stage of the build you’re gradually trying to feed your population as efficiently as possible at farms. You’ll also be growing flax to make gambesons for defense needs against bandits (presuming they are on) and producing bows for arming the citizens and selling the excess at trading posts later.
Placing families in Sheep Farms enables you to start steering sheep for wool, as well as herding them between pastures and fallow fields when appropriate. This is key to fallowing your fields and restoring fertilization.
When you get flax, you need a weaver’s workshop to make flax into linen, for your defense needs. You’ll also need this for future clothing needs at the marketplace to level up burgage plots even more.
Outside of this, everything else is passive industry improvements and resource gathering. Keep your population growing, ensure you have the right amount of resources to support them, and continue adding more farmworkers when you can to grow even more crops.
When you get to the point you need a Tavern, your farming build will go insane. Here, you need to start doing some math to work out how much barley you need to grow. Multiply your total population by 0.36 to project monthly ale consumption for the winter. You can then divide that by 13 to calculate how many Brewers you need in your Settlement. It also gives you an idea of how much barley you need a month, and therefore a year when you multiply that by 12. So, you now want to start creating large barley farms, and ramming your population into growing barley, with enough brewers to support that monthly consumption.
The aim now is to continue building up your wheat fields for food, ready to turn into bread for feeding your population. Get more workers into the farmhouse for food growth stockpiles. Then when you’re stable and have stockpiles, start building mass barley farms. You should have around 50 families for things to be stable for large crop growth and for barley requirements met. Remember to keep buying Oxen for each new farmhouse you build. Supply the tavern and start upgrading your burgage plots as soon as the tavern goes live. That gives you more wealth to start mass buying sheep, and trading for more dyes you need.
When you reach the small town level, you’ll now fly through the town requirements as you now only need planks, wealth, and spare lumber to upgrade everything. The church will also need stone but that’s not an issue. From here, accrue the burgage plots wealth, to buy goods you’re missing at trading posts, and continue with sheep population growth, farmhouse growth, and farmhouse workers. In a population of about 300, we have about 40 farmer families working, which is enough to sustain the barley needs for ale, along with food supply needs and flax for the weavers. You should also now have a solid clothing industry from all the flax and wool you get.
Trade Strategy
This build will focus on abusing the trading post to make huge profit and develop your settlement levels that way.
The Trade strategy operates very differently to the opening farming strategy, as you can focus more on buying drastically cheaper goods and selling for profit to sustain needs. The benefits of this build are:
- Two key trade developments you need to do it, meaning this strategy only needs a medium-sized village to get going, compared to the farming’s peak at the small-town level.
- You’ll make lots of good from trading posts, and not need high populations to generate wealth.
- Easier to trade for what you need due to dramatically cheaper prices.
- Easier to produce extremely higher-tier goods like plate armor due to spare developments.
However, it has some cons:
- Slower and more automated playstyle.
- Farming fertilization is dramatically slower.
With that said here’s a closer look at the build and its needs to get going.
Trade Build Order and Research Needs
The first development needed is Trade Logistics, then followed by better deals. Trade lowers the price of all trade routes to 25 wealth, with Better Deals reducing all prices of materials by ten. This makes it incredibly easy to buy base goods for cheap, and then convert them into high-grade materials for town supply for profit. There’s quite a bit of flexibility on what you can make with your industries.
Be warned that this build does have the mechanic of an oversupply of goods in the market. This massively nerfs the prices of certain items on the marketplace, meaning you will need to diversify stocks from time to time. It does make it hard to write an in-depth build order. So, we’ll start off with the basics, and you can divert as needed with a few different ideas to get you going.
- Build a farmhouse around February time, and prepare three families to work a 2-morgan-sized farm for wheat.
- Continue building burgage plots over time to get around 15-20 families.
- Continue collecting basic materials as you were with your first year and prepare for harvest.
- Add more population to logistics.
- Build a wooden church for approval rating improvements.
- Create a trading post and assign one family to it.
- Assign an Oxen to work the trading post in the advanced tab to speed up supply.
- Sell excess wood you’ve been gathering for some extra pocket money.
- Upgrade burgage plots as appropriate.
- Build a bowyer extension at a burgage plot to produce war bows for archer units required for basic defense.
- Keep a steady supply of planks for warbows, and sell the rest for profit.
- Identify any market surplus issues and avoid trading them.
- Start building any industry building and any related Artisan extensions to start producing refined goods. Sell excess goods to traders and keep some for your marketplace needs. You should sell every three of four items you make to maintain profit margins and approval rating needs.
- Use profits to purchase the goods you need to advance burgage plots.
- Create more extensions for veg, eggs, goats for more food variety on the market to lower costs.
- Use spare hide from hunting and goat sheds to create leather for your market stall needs. You can also create shoes at cobblers to hit the other requirement from clothing stalls for your burgage plot level up requirements. You’ll make shoes using this strategy, rather than cloaks or clothes.
- Place spare and excess population into other basic like farms and other gathering roles to increase stock and self-sufficiency. This helps you build your capital reserve for later expansion.
- Other spare families go towards the clay mine to gather clay and turn it into roof tiles for upgrading church and burgage plot level 3 needs. Gather about 130 roof tiles for the future and abandon this industry for the time being.
- Build a tavern and start supplying your citizens to reach the level 3 burgage plot needs to advance your settlement.
- Allocate spare development points to technologies that support your preferred industries or self-sufficient needs.
When it comes to industries you can look to for profit, there are many opportunities. Examples of industries to look into are as follows:
- Blacksmithing
- Import iron and convert it into tools, swords or polearms. You can also create footman units if you want to.
- Creating three different items out of iron is incredibly favorable for any market slumps that occur.
- Armoursmithing
- Import iron and create basic helmets for troops and sell to the marketplace.
- Perhaps you can use any spare developments to get the one or both advanced armor smithing developments. You’ll make better amor like scale or plate armor to upgrade your troops or sell for major profit.
- Brewery
- You can then convert one barley into one malt at the Malthouse industry building, and then one malt into ale. Supply your tavern or create a 4x profit margin for yourself.
- Tailor
- Build a tailor extension at a burgage plot, and then buy both wool and flax. Process them at Weaver’s Workshop industry building for asset flipping.
- You can even buy or make your own dye to turn into clothes and cloaks to sell for even more profit.
- Shoes
- Get hide from your goat sheds, hunting camps, or from the trading post.
- Turn them into leather for clothing materials, and create a Cobbler extension to create shoes from leather.
- Creating shoes and leather target both clothing market stall needs, and can be sold for profit with excess stock of both items.
While making money, don’t forget to buy the basics your people need to improve their quality of life. You will need multiple food sources, at least one source of clothing material, and one source of clothing items to maintain burgage plot happiness. You should be growing flax at a minimum to maintain the basic clothing supply. Any spare housing extension you can make will do nicely for getting chicken eggs, goats for meat and hide, and vegetables for some food variety outside of bread from wheat farms.
Letting some items enter your marketplace that you make from purchased raw materials will help your burgage plot advance and the town’s approval rating increase.
Making Money
The other thing about this strategy is that you can adapt it to the settlement’s rich deposits. If you have a rich clay farm, you can make more roof tiles for profit by getting the deeper mine technology. If you have lots of Iron, you can spend development for creating advanced armor smithing to get Mail and Plate armor crafts from Iron, along with deeper mines. If you have lots of berries, try getting the Forest Management Development so you can double up berries, which means doubling up on herbs and dye making for industries and trade. All of which help keep import costs down and profits up, which you can use for other necessities or ambitions.
When you get to the level 2/3 burgage plot requirements, you will need an active tavern. Multiply your total population by 0.36 to project monthly ale consumption for the winter. You can then divide that by 13 to calculate how many Brewers you need in your Settlement. It also gives you an idea of how much barley you need a month, and therefore a year when you multiply that by 12. Start growing some barley on the side, and set the trading post to the stockpile surplus value to whatever the formulae comes to for your settlement. You can now produce that much ale to supply your citizens fairly cheaply. With barley costing around 2 with this build, you will likely need around 800 Regional Wealth a year to purchase the barley you need to feed your smaller town population with Ale. That’s daily cheap considering the burgage pot wealth you’ll make and trade flipping you’ll do.
Remember to assign more workers to the farmhouse and grow more barley and more wheat over time to reduce import costs of basic ale and food consumption. Considering you don’t have farming tech, try and assign 2 families per 1 morgan size field to ensure you’re covering the basic wheat growth, flax growth and barley growth for basic industries and needs. All other populations stay in artisan buildings, industry crafting, or logistics and trading post stockpile management.
No Comments