
On this page you can find all the details needed to defeat Zodiark, the first trial in the Endwalkers expansion of FFXIV. Details on the mechanics along with how to tank and heal.
Zodiark is the first trial in the Endwalker expanison.
Phase One Mechanics
Kokytos
As soon as the battle starts. Zodiark will cast Kokytos. This is a raid wide attack that reduces everyone’s HP to 1, and requires healing as soon as possible. As a healer, you’ll want to throw an area of effect (AoE) healing spell (Medica II, Aspected Helios etc.) on everyone before the battle starts.
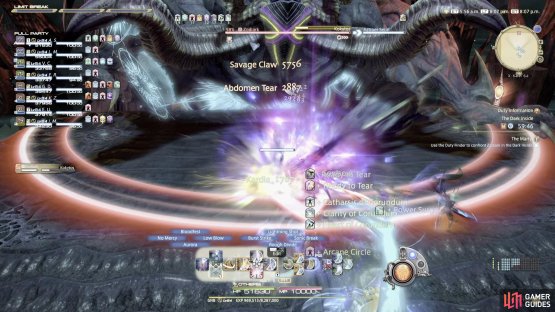

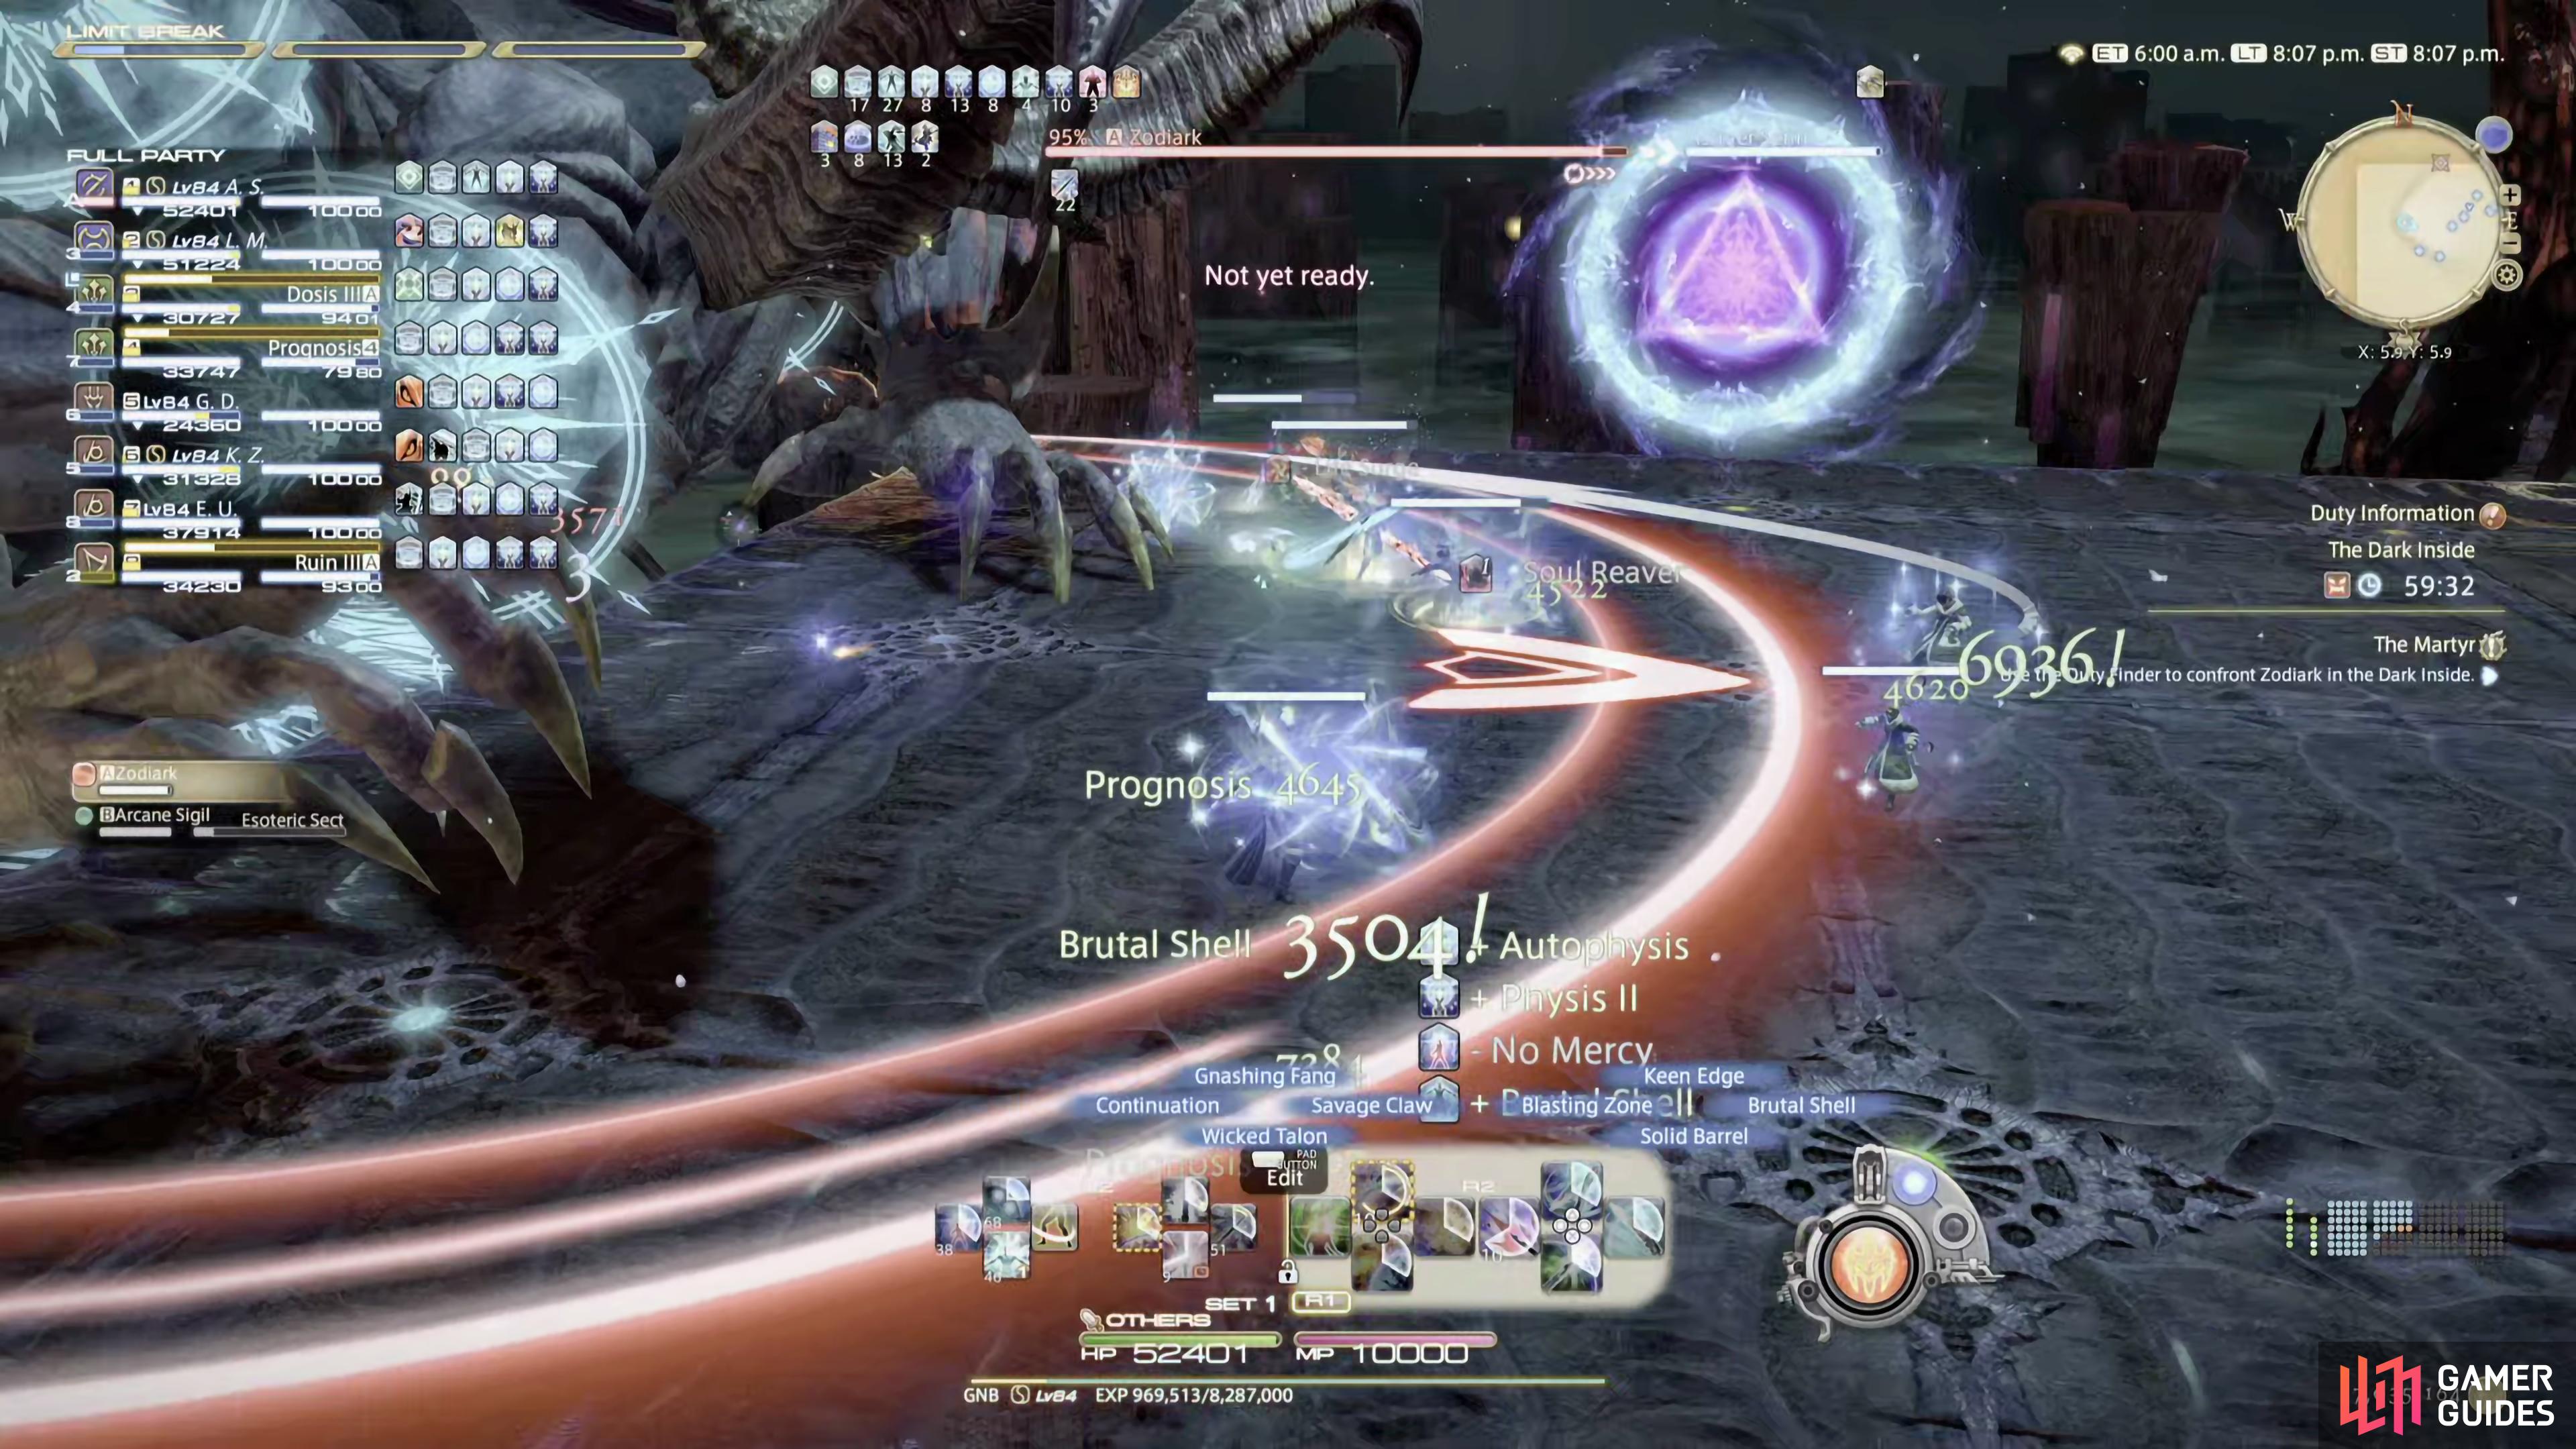
(1 of 2) Zodiark will cast Kokytos as soon as the battle starts
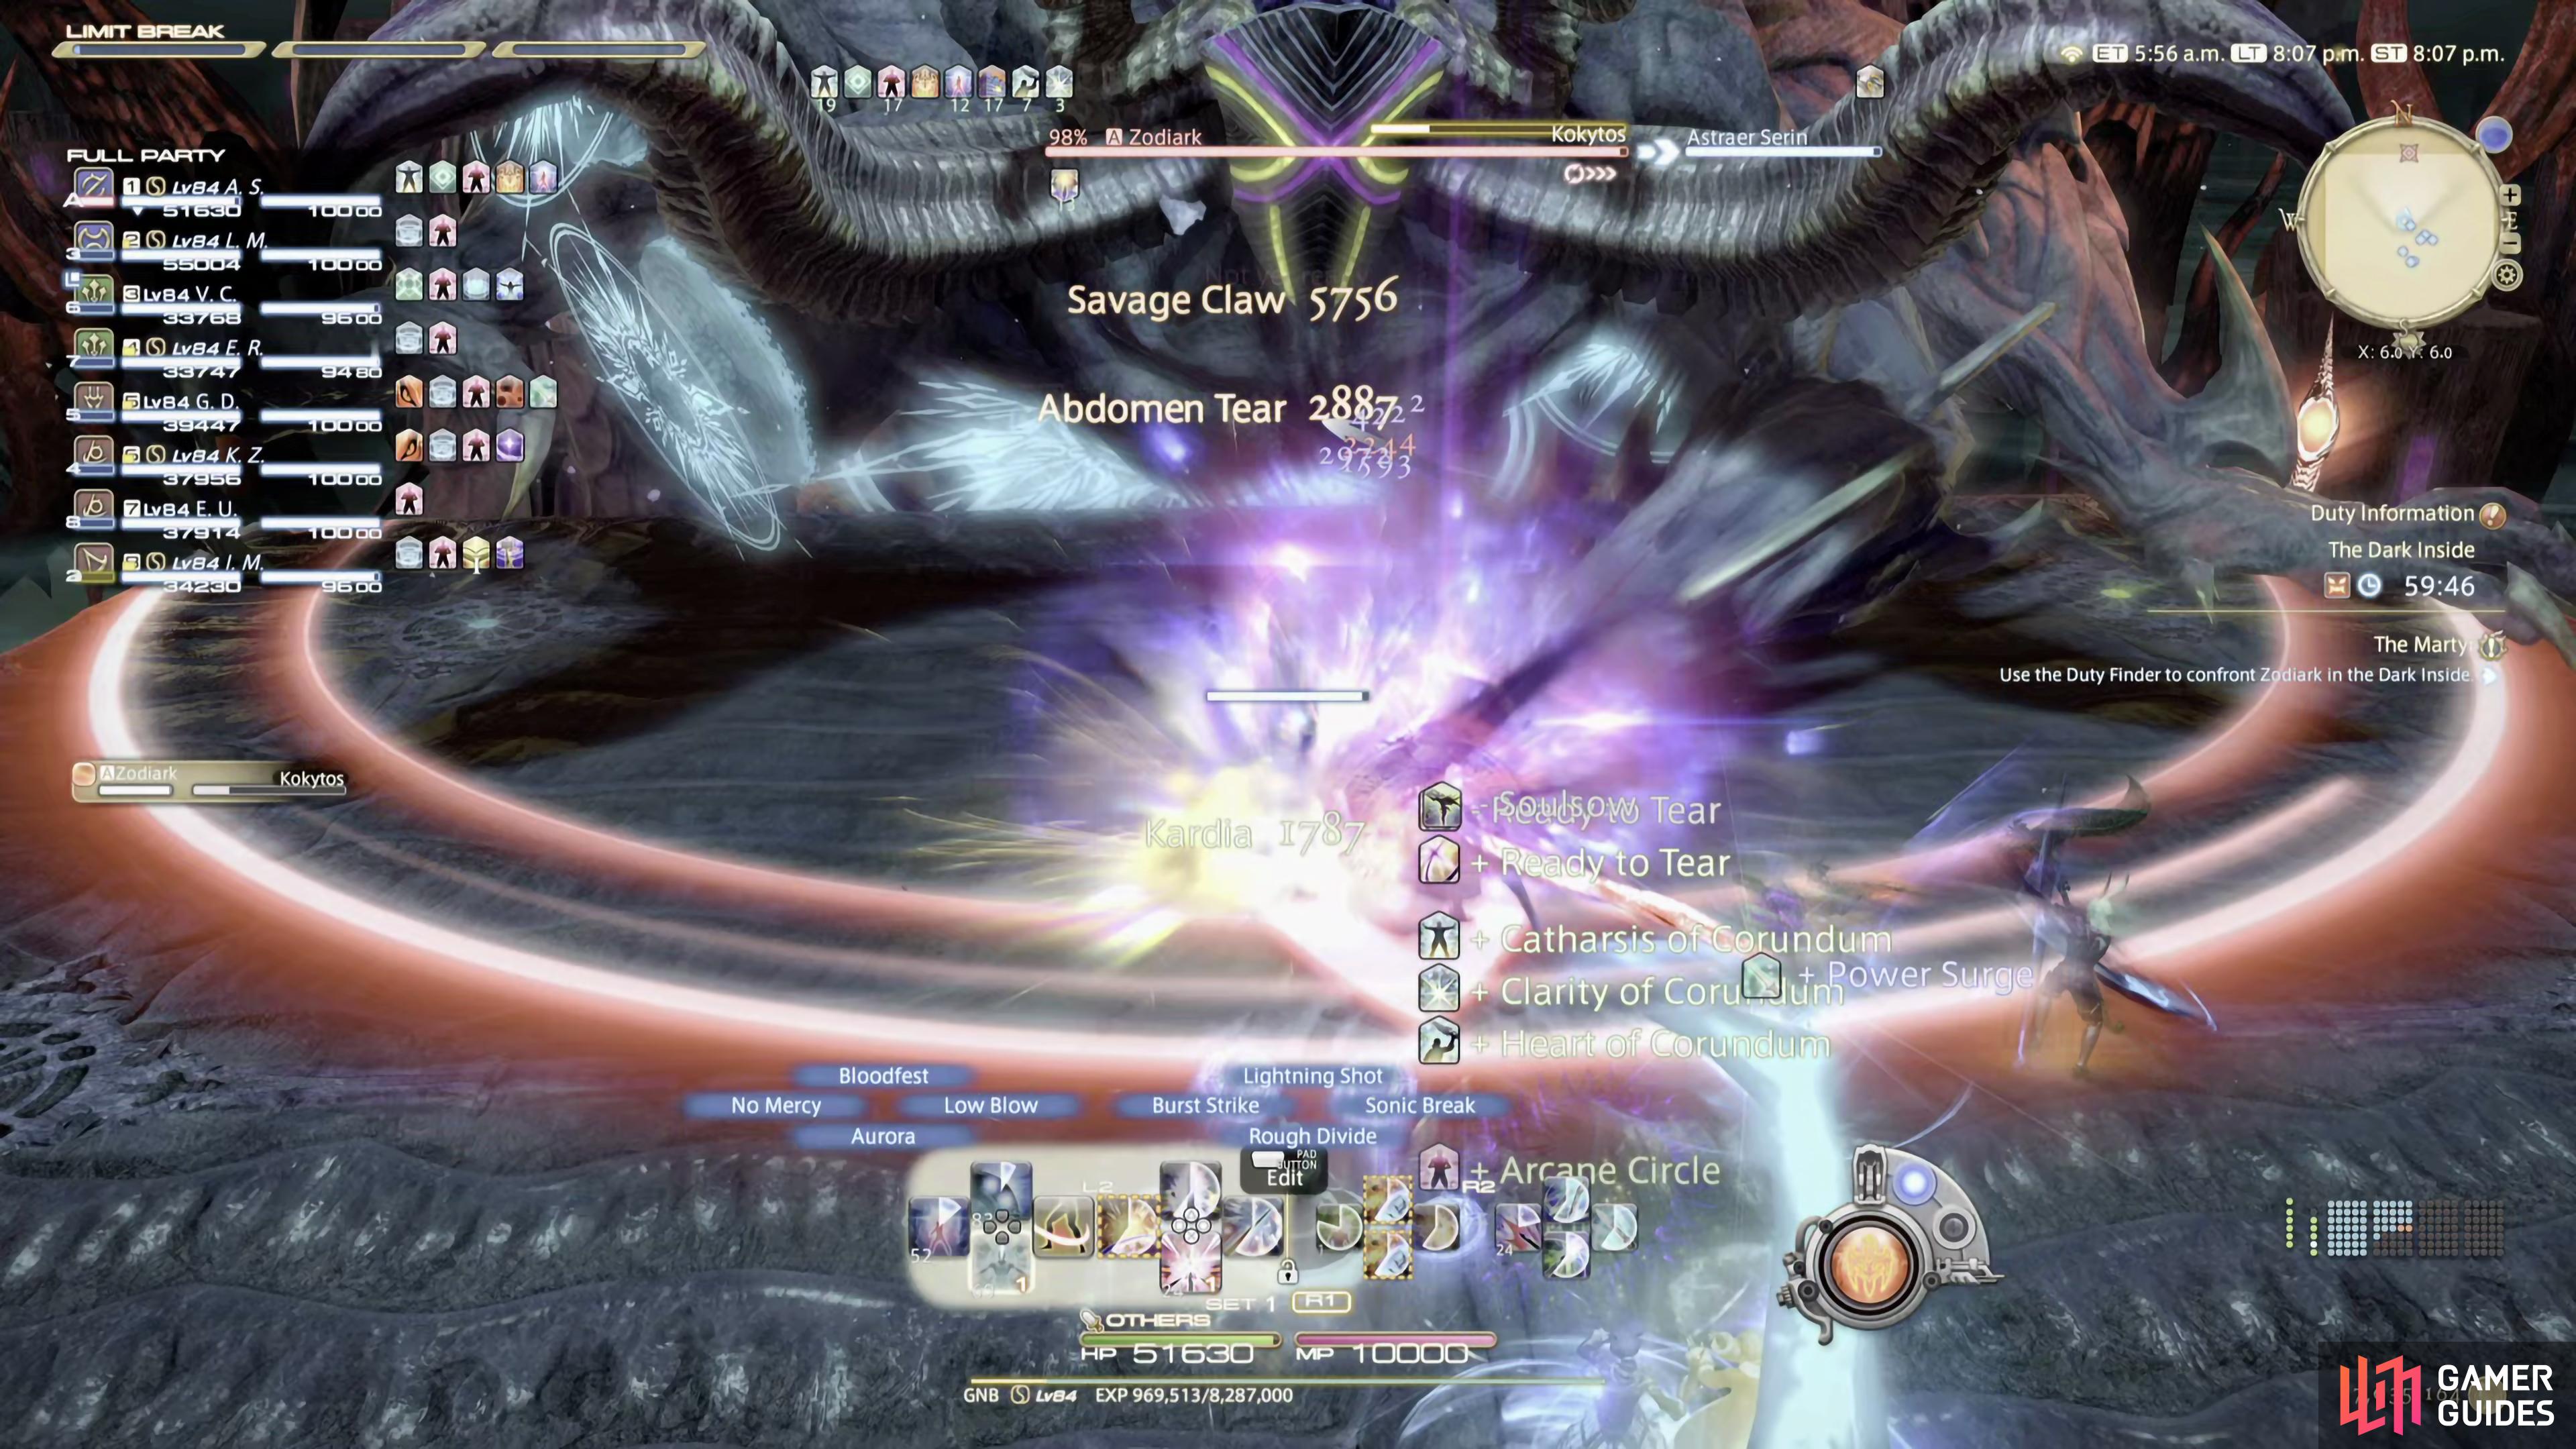
Zodiark will cast Kokytos as soon as the battle starts (left), reducing the whole party to 1 HP. (right)
Exoterikos
There are two different symbols, a triangle, and a square at the side of the arena. Zodiark will shoot a purple beam towards the symbol, which’ll determine what spell gets cast.
- Esoteric Sect (Triangle)
If the beam connects with the triangle symbol, it’ll cast Esoteric Sect. This will send out a cone like AoE from the symbol, covering a large area of the arena. Run towards Zodiark, and to the front corner of where the symbol is. If the symbol is on the right, run to the front right corner, if it’s on the left, run to the front left corner.

(1 of 2) Exoterikos has two different versions. If the symbol has a triangle in its center
Exoterikos has two different versions. If the symbol has a triangle in its center (left), it’ll cast a wide cone AoE from it, covering most of the arena. (right)
- Esoteric Dyad (Square)
If the beam connects with the square symbol, it’ll cast Esoteric Dyad. This will make the AoE cover half of the arena. Simply run to the opposite side to where the square symbol is.
Note. These attacks are color coded. The purple beam with a blue and purple rune indicates it’ll be a triangle symbol, whilst the square symbol will be indicated with a reddish/pink beam and rune.


(1 of 2) If the symbol is a square…
If the symbol is a square… (left), it’ll cover almost half of the arena that the symbol is on. (right)
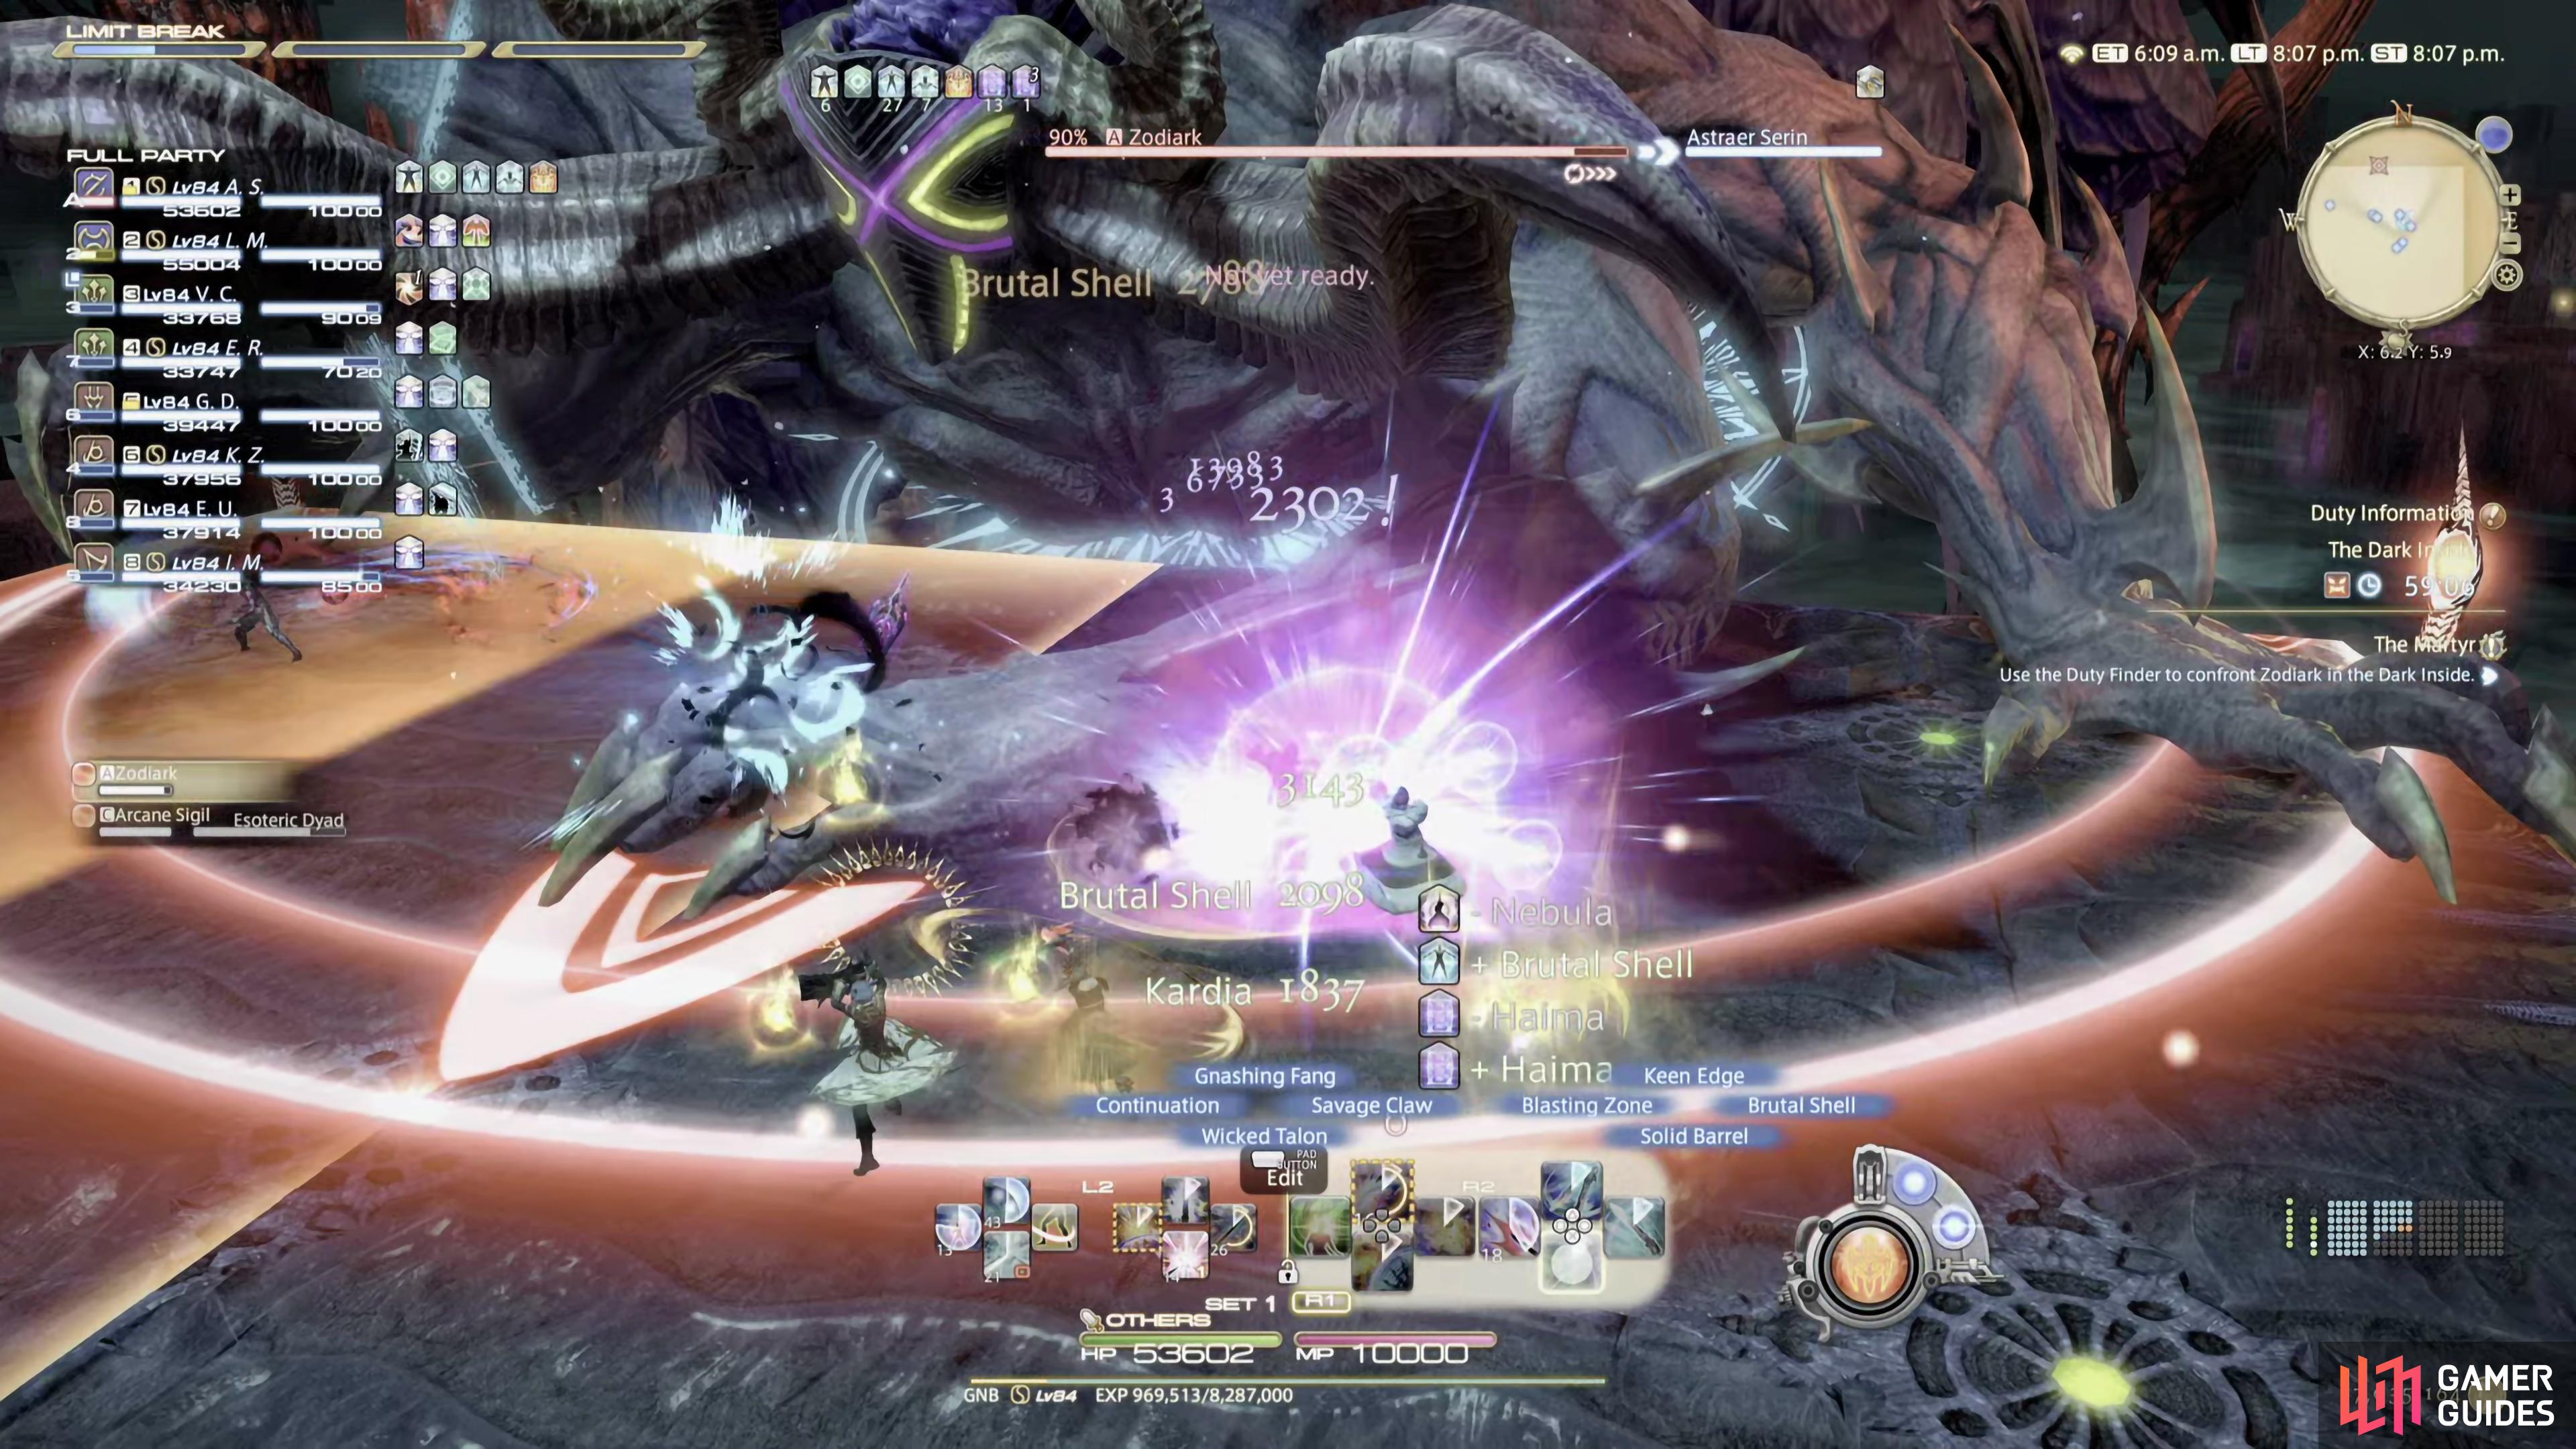
Ania
Ania is Zodiarks tank buster. This is indicated by a red downward arrow above the main tank’s head, and a circular red line swirling around them. Like most tank busters, this does a moderate amount of damage. As the tank receives this attack, make sure to use one of your defensive cooldowns to mitigate some damage. As a healer, throw a shield on the tank to further mitigate the damage or be ready to heal them.
Ania is a tank buster, indicated by the new tank buster graphic.
Paradeigma
This is a summon spell. Zodiark will summon one of two possible summons in pairs. This will change what you’ll need to do to avoid it.
- Behemoths
If you see the Behemoths, they’ll cast a circular AoE underneath them. This will cover two quadrants of the arena. As long as you’re not standing in-between the two Behemoths, you’ll be safe.
- Snakes
If you see two snakes, they’ll each cast a line AoE. This covers a thick line of the arena from the way they’re facing to the edge of the arena. For this attack, as long as you are in the middle of the two snakes, or either side of them, you’ll be safe.
Phlegeton
This is a relatively easy attack to avoid…unless you’re a Black Mage. Zodiark will cast three waves of small circular AoEs underneath you. These will follow you around, so make sure to stay on the move, and away from other players if you can help it. You can just run in a small circle, providing no-one is near you.
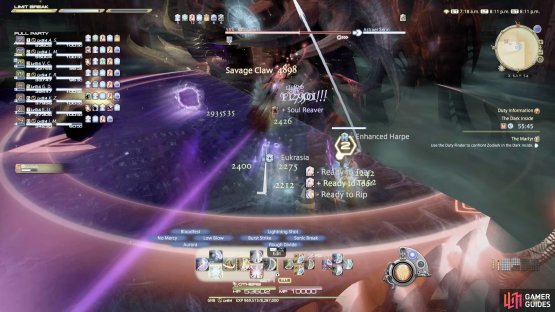
Styx
This is one of Zodiark’s harder hitting attacks. Similar to Akh Morn in the past. Someone will receive a stack marker above their head. The whole party will need to stack on each other to share the damage.
This attack will hit 5 times, and the entire party needs to stay together for every hit. Even with everyone stacked up, this attack still hits hard so as a healer, be ready to heal through it, and as a tank use one of your defensive cooldowns.
It appears to always happen at 80% HP, and normally after it casts Phlegeton.
Complete Control
At 70% HP, Zodiark will stun all players and transform, starting Phase Two.
Phase Two Mechanics
Phase Two will have all the same mechanics from Phase One, but it’ll mix it up with new mechanics.
Astral Flow
As soon as the second phase starts. Zodiark will cast Paradeigma and summon two Behemoths. As soon as they have been cast, you’ll be fettered, and it’ll cast Astral Flow. You may notice arrows around the arena pointing a certain direction.
This is the direction that the Arena will rotate by 90°. What you want to do is stand in a position where, after the rotation, you won’t be placed in harm’s way, which in this case is the Behemoths AoEs. Once the rotation is over, the AoEs will go off, dealing moderate damage to anyone unfortunate enough to be caught in them.
From this point forward, Zodiark will follow Paradeigma with an Astral Flow. This can be with either the Behemoths or the Snakes summoned.
Adikia
When you see Zodiark casting Adikia, he’ll slam down both fists into the middle of the arena. This AoE will cover two semicircles either side in the middle. Front liners (Tanks, Melee DPS) should stand in front of Zodiark whilst the back liners (Healers, Ranged DPS) should stand at the opposite end of Zodiark as the northern and southern edges of the arena are the only safe spots.

(1 of 2) When Zodiark casts Adikia, it’ll slam its fists at the middle sides of the arena


When Zodiark casts Adikia, it’ll slam its fists at the middle sides of the arena (left), run to either the northern or southern edge to avoid it. (right)
Triple Esoteric Ray
Triple Esoteric Ray will be three green circular symbols that appear in front of Zodiark. These will shoot beams of energy across the arena. Watch what order they appear in, and stand in front of the one that appears last.
As soon as the animation has shot the beam, you’re safe to stand in front of it, as the attack doesn’t linger. There are two sequences for this attack, either the center will be safe, and the left and right symbols will go off or, the left and right will be safe, and the center will go off first.
Algedon
Zodiark will head to one of the corners of the arena and cast Algedon then attack diagonally to the opposite corner that he is facing. This AoE will cover 90% of the arena, so when you see this, run towards Zodiark, and stand in the corner to his side.
(1 of 2) Algedon is a wide cone from the corner of the arena


Algedon is a wide cone from the corner of the arena (left), to avoid it, run to the opposite corner from Zodiark. (right)
Phase 3 Mechanics
Phase 3 will have all the mechanics of the previous phases, but this time it’ll combine some of it’s attacks, and introduce a couple of new ones.
Astral Eclipse
Phase 3 will start when Zodiark will leave the arena during the transition. This is the attack that will wipe most uninformed parties. Zodiark will fly away and tether a set of stars that will fall onto the area. It’ll summon three sets of stars which land in predesignated locations.
To find out where they will land beforehand, look to where Zodiark tethers, and in the sky, you’ll see a pattern. The stars on the pattern are where the Stars will fall on the arena from the direction the stars are at. It’s best to visualize the arena as a 3x3 grid, so three squares across, and three squares down.
If the stars hit you, you’ll most likely die, so make sure you are standing in the safe spots. Zodiark has three patterns to choose from, which is shown in the table below. The O’s are indicated as the safe spot, whilst the X’s are where the stars will land.
| Pattern 1 | Pattern 2 | Pattern 3 |
|---|---|---|
| O O X | X O X | O X O |
| X X X | O O O | X X X |
| X O O | X O X | O X O |
To sum it up. When you see Zodiark tether the stars, look at what set of stars it is tethering to, turn your camera, so the pattern in the sky is in front of you. This will be the front of the arena for this set of stars. For example, If Zodiark uses pattern 1, you’d want to stand in either the front left, front middle, back middle, or the back right squares. Rotate your camera for every set of stars to understand where they will land.
Trimorphos Exoterikos
This will cast Exoterikos three times in quick succession, so you’ll have to be on your toes to avoid it. Staying near to Zodiark, and slightly adjusting your position, seems to be the easiest way to avoid them.
Combined attacks
Throughout the third phase, Zodiark will combine a couple of his other phase’s attacks into one move.
-
Adikia is combined with Esoteric Dyad - Stand at either the northern or southern edges of the arena.
-
Triple Esoteric Ray is combined with an Esoterikos - If Esoterikos is a triangle, stand in the corner next to Zodiark, and move if/when the Triple Esoteric Ray shoots off where you’re standing. If it’s the Square, you can do a similar thing, but you don’t have to be so close to Zodiark.
Strategy
I bet you didn’t think this fight would happen so soon! At first, it can be quite chaotic until you learn its patterns. The first phase is pretty straight forward. Heal up from Kokytos which will reduce you to 1 HP, use your defensive cooldown on the tankbuster Ania if you’re the receiving tank, heal and/or shield the tank before/after it.
Paradeigma will cast one pair of either Behemoths or Snakes. If Behemoths, avoid the circular AoE under them by standing at a distance to them, and never in the middle of them unless you’re really far away. If it’s the Snakes, make sure not to stand in front of where they’re facing, as each one will shoot a line AoE in front of them. Stand either in the middle of the two snakes or either side of them, but make sure you’re not right next to them.
It can be tough to handle if the party isn’t doing their jobs properly. Everyone needs to stack up as Zodiark performs five attacks in quick succession onto the party for high damage. Tanks will need to use defensive cooldowns, and Healers should heal through the attacks, it doesn’t hurt for the DPS to use any defensive cooldowns that they may have either. Note that Styx always appears to happen at 80% health, and normally always follows after a Phlegeton.
Phlegeton is three waves of small AoE underneath you, and it follows you around the arena. Make sure to stay on the move to avoid these, and if at all possible, stay away from the other party members. Running in a small circle can help avoid these.
Finally, for Phase 1, it’ll cast Exoterikos. This attack shoots either a purple or reddish pink beam from Zodiark towards a symbol at the side of the arena. The purple beam represents a triangle symbol, whilst the reddish pink beam represents the square symbol. Depending on what the symbol is, it determines what type of Exoterikos it does. The triangle will cover a wide cone AoE across the arena, making the front corner to the side of Zodiark the safe spot. The square symbol will cover half of the arena that the symbol is on, which means you can stand anywhere on the opposite side.
The second phase gets a bit tougher, and Zodiark will have a few new attacks. Zodiark will immediately cast Paradeigma which summons either the Behemoths or the Snakes, then it’ll cast Astral Flow. If you look around the arena, you’ll notice some arrows outside of it. This indicates what way the arena will rotate by 90°. You’ll be fettered, then the arena will rotate, aiming to place you into the summoned AoEs. When the move goes off, try to calculate where you’ll land when it rotates.
Throughout the Phase, Zodiark will cast Algedon, it’ll slam both of its fists into the middle sides of the arena. It’ll leave behind two semicircle AoEs at either side of the arena. When this happens, run either to the northern or southern edge of the arena to avoid the attack.
Zodiark can cast Triple Esoteric Ray at certain points during the battle. This attack will place three green symbols, one at a time, in front of Zodiark, then shoot a beam in a straight line across the arena. This attack has two sequences, either the center symbol will fire off first, followed by the left and right symbol or the left and right will fire off first followed by the center symbol. The easiest way to dodge this is by standing in front of the last symbol to appear then as soon as the first symbol goes off, stand in front of it. As soon as you see the animation go off, you’ll be safe to stand there, as the attack doesn’t linger.
Phase 3 stars when you go into a transition around 50-55% HP, and cast Astral Eclipse. Zodiark will leave the arena to fly off, moving in a counter-clockwise direction around the arena, then it’ll tether to the stars in the sky before crashing them down onto you in a predesignated area. It’ll do this three times, and he’ll tether to a different set of stars each time. To avoid this, look into the sky where it tethered, and you’ll see a pattern. Think of the arena as a 3x3 grid, and it’ll show you where the stars will land for that set of stars. It has three patterns to choose from which you can see in the table above. For every set of stars, look at the pattern above to determine where you should stand.
Another new attack that Zodiark has available in phase 3 is Trimorphos Exoterikos. This will place three symbols around each side of the arena (not where Zodiark is) then shoot off three lasers in succession. These will go off in the order the symbols appear. This works the same way as the normal Exoterikos attack, but you’ll have to deal with them in quick succession. Zodiark will continue to mix up all of these attacks until the end of the battle, so make sure you’re ready to move in a moment’s notice. Note that Zodiark also combines some of its attacks in the third phase, which has been mentioned under the attack section above.
How to Tank
Zodiark is a very tough Trial, especially for the first story one in a new expansion. There are no Tank swaps to deal with, and you’ll find no adds, so one Tank can manage all the duties on their own. Your most important role is ensuring you survive the mechanics yourself, as you can’t position Zodiark. When it comes to using your defensive cooldowns, save your strongest for both the Tankbuster (Ania) and the stack marker, Styx. These both hit hard and the better you can mitigate the damage, the better for your Healers.
How to Heal
Zodiark is a pretty difficult Trial to heal, as there’s not only a lot of heavy hitting attacks, but you’ll be distracted trying to dodge the mechanic yourself. To begin you’ll want to keep up Regen and Shields throughout the battle, then group heal for his Raid Wide Attacks, such as Kokytos. Obviously this being a fairly tough Trial that has a lot of mechanic’s to avoid, so you’ll want to constantly be ready to group heal, as there’s a good chance people may get hit.
Throughout the battle Zodiark will perform Ania which is a Tank buster, so be ready to shield up the Tank and heal up to avoid their HP dropping too much. Finally, Zodiark will use Styx which will place a stack marker on someone, then you’ll need to use group heals to keep everyone’s HP topped up.
Zodiark Rewards
| Icon | Name | Type |
|---|---|---|
 |
Zodiark Card | Card |
No Comments