
On this page you can find all the details needed to defeat The Big Cheese, the final boss in the Level 90 Dungeon, Smileton in Final Fantasy XIV Endwalker (FFXIV). Details on the mechanics along with how to tank and heal.
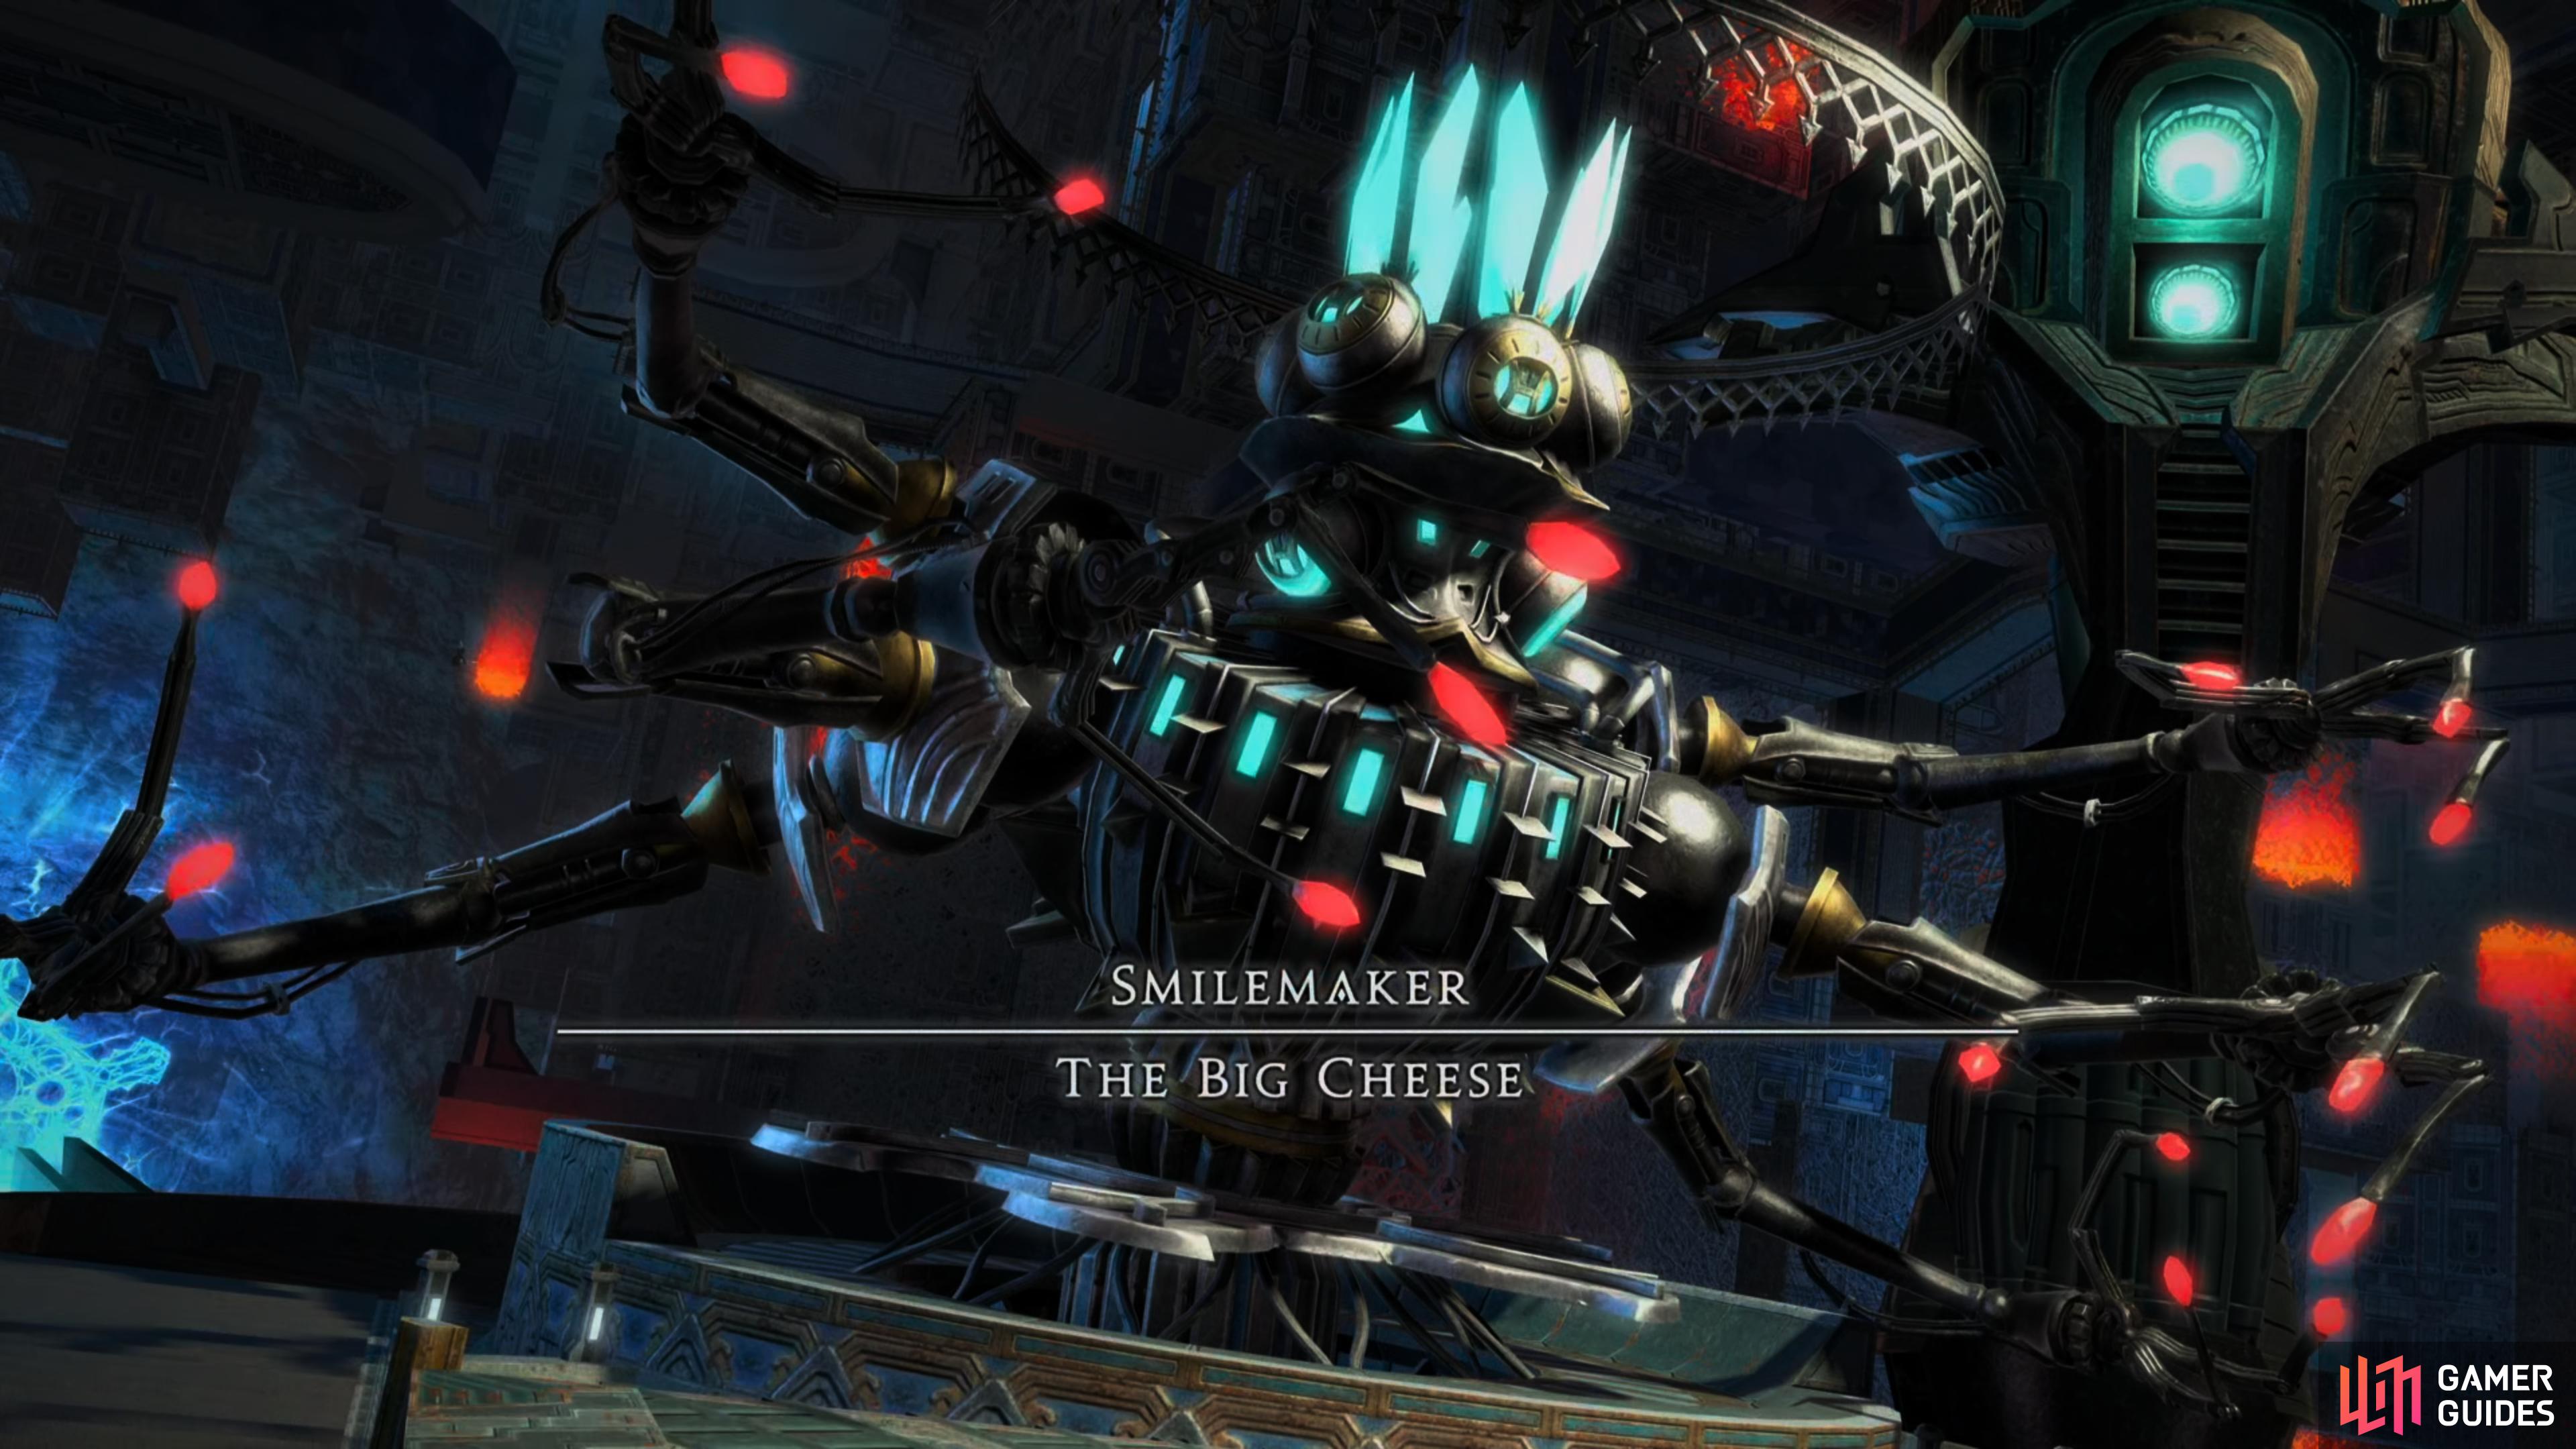
The Big Cheese is the final boss in the Smileton Dungeon.
Mechanics
Explosive Distribution
The Big Cheese will place explosives on both the west and east conveyor belts. Pay attention to the arrows on them, a single arrow indicates the bomb will stay in the upper half close to the boss while multiple arrows indicate that it will move to the lower half. The explosion will create an AoE in that quadrant, so position yourself in the upper or lower quadrant that is safe. Other mechanics will be mixed with this later in the battle.
Piercing Missile
This is a Tankbuster that deals heavy damage only, Shield up and use defensive cooldowns to mitigate it.
Dispense Explosives
The Big Cheese will create two mines in random locations, these will explode if a player walks towards its radius so avoid it until they explode when it uses Explosive Power.
Left/Right Disassembler
This will shoot a line-AoE from the bosses left or right arm so pay attention to which side it is and remember that this is from the boss’s viewpoint, not the players. This is usually used alongside Explosive Distribution.
Electric Arc
This is a simple stack marker, all players should group up to spread the damage out.
Leveling Missile
The Big Cheese will target all players with a circle-AoE, spread out to avoid stacking the damage.
Violent Discharge
This is a group-wide attack that deals moderate damage to all party members. Simply heal up and use Shields to mitigate.
Strategy
The Big Cheese can be a challenging boss battle if you don’t understand it’s main mechanics, especially in the later stages of the battle once it starts combining them and it gets a bit more hectic. Once the battle begins, The Big Cheese will begin with its main mechanics, Explosives Distribution. Take a look at the sides of the arena to spot conveyor belts, The Big Cheese will place an explosive on each of these.
These explosives will explode in two of the four quadrants of the arena, so you’ll need to ensure you’re standing in the correct location. The arrows will tell you where these explosives will move, a single arrow will indicate that they’ll stay in the upper half, while multiple arrows will indicate that they will move to the lower half. With this in mind, move to the quadrant that is safe (there will be two safe quadrants to begin with). If you are struck by the attack, you’ll suffer damage along with a stack of Vulnerability.
The Big Cheese will follow this up with Piercing Missile, a Tankbuster which will hit a lot harder if you gained a stack of Vulnerability from failing the last mechanic. It will use Dispense Explosives following this, placing two mines in random locations on the arena, these will explode if you set foot anywhere near them so keep away. After a short amount of time, The Big Cheese will use Explosive Power to detonate them himself, making the arena safe again. If you do get caught in the blast, not only will you take damage, but you’ll suffer Paralysis so be sure to have the Healer Esuna it as soon as possible.
To make matters more complicated, The Big Cheese will use Explosives Distribution again while the mines are out, limiting the safe spots for where you can stand. You can expect this for the rest of the battle, as it uses mechanics together to keep you on the move at all times and limit where the safe spots are. The next time that it uses Explosives Distribution, it will use either Left or Right Disassembler, this will fire a line-AoE out from it’s respective arm so ensure you’re standing in the quadrant on the opposite side.
Following this round of Explosive Distributions, The Big Cheese will use two group-wide attacks, Electric Arc, which is a stack marker, and Leveling Missile which targets all players with a circular-AoE so be sure to spread out. You’ll also start seeing the group-wide Violent Discharge at this point, and how hard it hits will depend on how many stacks of Vulnerability you have from failing Explosives Distribution.
All in all, The Big Cheese isn’t too bad so long as you fully understand where the safe spots are to stand. The real challenge comes when it’s under 40% HP as you’ll be facing many mechanics at once and limiting the safe spots, especially once it starts using a Left or Right Disassembler alongside both Explosives Distribution and Dispense Explosives.
How to Tank
There’s not too much to note when it comes to tanking The Big Cheese, most of its attacks outside of Piercing Missile, the Tankbuster, are focused on the entire group and you can avoid damage outside of auto-attacks by performing the mechanics correctly. Additionally, there are no positional requirements in this battle as you can’t move The Big Cheese from its starting position.
How to Tank
There’s no real burst damage spikes to worry about in this battle, a lot of it is about avoiding mechanics so if everyone is doing their job, you’ll only have to worry about the damage from Violent Discharge and the Tankbuster, Piercing Missile. It’s more important that you avoid the mechanics and pay attention to anyone that may have stacks of Vulnerability, as Violent Discharge can really hurt at that point. Likewise, be on the lookout for any players that are struck by the mines and get ready to use Esuna to remove Paralysis.
No Comments