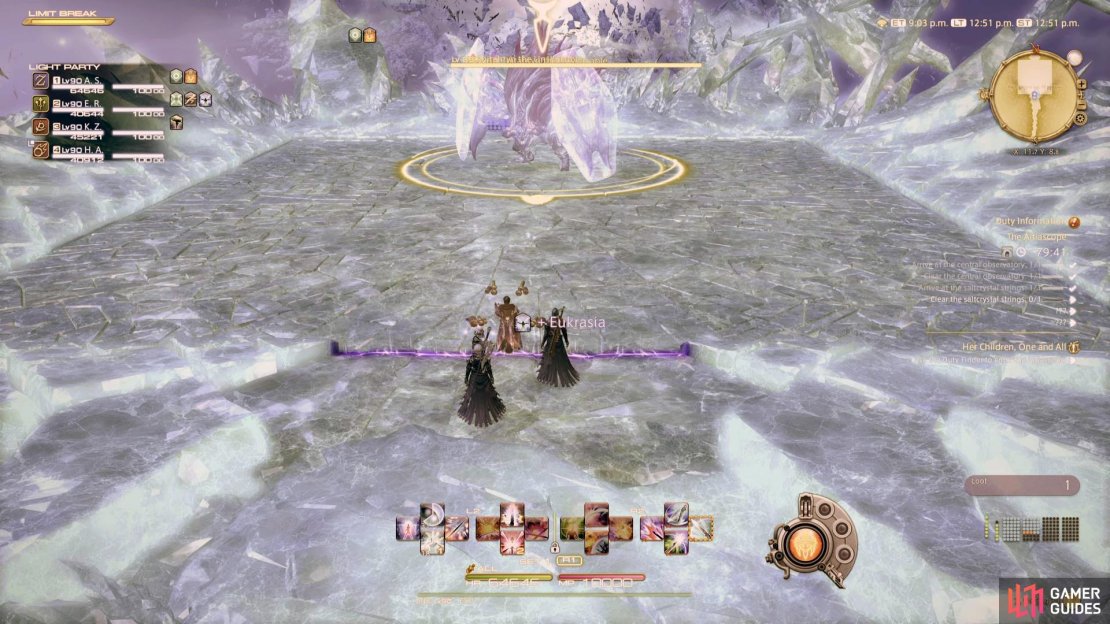
On this page you can find all the details needed to defeat Rhitahtyn the Unshakable, the second boss in the Level 89 Dungeon, The Aitiascope in Final Fantasy XIV Endwalker (FFXIV). Details on the mechanics along with how to tank and heal.
Rhitahtyn is the second boss of The Aitiascope.
Mechanics
Tartarean Impact
This is a group-wide attack that deals moderate damage to all party members. Simply heal up and use Shields to mitigate.
Tartarean Spark
Rhitahtyn will turn to face a random player and use a line-AoE on them, simply look to see who is targeted and move out of the way.
Vexillatio
Rhitahtyn will dash to the north side of the arena and use an AoE on the left and right side of the arena, raising the ground and dealing damage to anyone who is standing there, run into the middle lane to avoid this.
Shield Skewer
Rhitahtyn will prepare an AoE down the center lane, pay attention to the four crystal formations on the sides of the arena. These will all have a cast bar and when it depletes, will explode giving you a safe spot to stand. These will all drain at different speeds so you’ll need to determine which one will detonate first and then get into the crevice to avoid Shield Skewer. He will later use Shrapnel Shell during this attack.
Anvil of Tartarus
This is a Tankbuster that deals heavy damage only, Shield up and use defensive cooldowns to mitigate it.
Shrapnel Shell
Rhitahtyn will fire rockets into the air which spawns two targeting markers on the ground that slowly move towards two corners. These will then spawn additional shots around that particular marker so move to the safe corners to avoid this attack.
Strategy
Rhitahtyn has only one main mechanic you need to concern yourself in this battle, once you understand that, he should be the easiest boss of the dungeon. He’ll always begin the battle with Tartarean Impact, this is a simple group-wide AoE that should already be mitigated from the Shields/Regen pre-battle. He’ll follow this up with Tartarean Spark where he’ll target a random party member before letting off a line-AoE at that direction, simply move to the side of this to avoid it.
This will then begin the next phase of the battle as Rhitahtyn dashes to the north of the arena and targets the left and right side of the arena. Ensure the party is standing in the middle lane to avoid the AoEs and the land will raise, trapping you in the center lane. He’ll then begin casting Shield Skewer, targeting the entire central lane and should you be struck by it, you’ll take heavy damage and gain a Vulnerability stack. Instead, look to each side to find four crystal formations with cast bars that will begin to deplete at different speeds. Once depleted, they will explode, creating a safe crevice for you to stand in to avoid Shield Skewer so look at all four to determine which ones will explode first and get to safety.
Rhitahtyn will return to the center of the arena following the attack and use Anvil of Tartarus, a Tankbuster, on the Tank so be ready with your defensive cooldowns to mitigate it. Shrapnel Shell will follow this as he shoots rockets into the air and two targeting markers will appear on the ground. These will slowly move towards and corner and will then explode in multiple circle AoEs around it so move to one of the safe corners to avoid it.
The next time he uses Shield Skewer, he will use Shrapnel Shell too and these will move out two of the crystal formations, meaning you’ll have to be extra careful. There will always be one formation that has no targeting marker and will explode fast enough to hide from Shield Skewer. The rest of the battle will play out in this manner, so long as you can avoid Shield Skewer, Rhitahtyn is a pushover.
How to Tank
As always, ensure you always have a defensive cooldown for the Tankbuster, Anvil of Tartarus, then pay attention to making sure you avoid the mechanics. In terms of Tank specific duties, Rhitahtyn is probably the easiest boss in Endwalker to deal with. Shield Skewer is his main threat and once you understand how to avoid it and get to safety, the rest of the battle is simple.
How to Heal
In terms of healing, this isn’t too taxing as a Healer, instead, your main priority is to ensure you survive the mechanics that are thrown at you. Your main threat here is Shield Skewer, if you don’t get to safety in time, odds are it will outright KO you, especially during the later parts of the battle where he uses Shrapnel Shell alongside it. As the whole party can move to the same safe spot, you can easily follow the rest of the group to ensure you stay safe and heal through his other AoEs.

No Comments