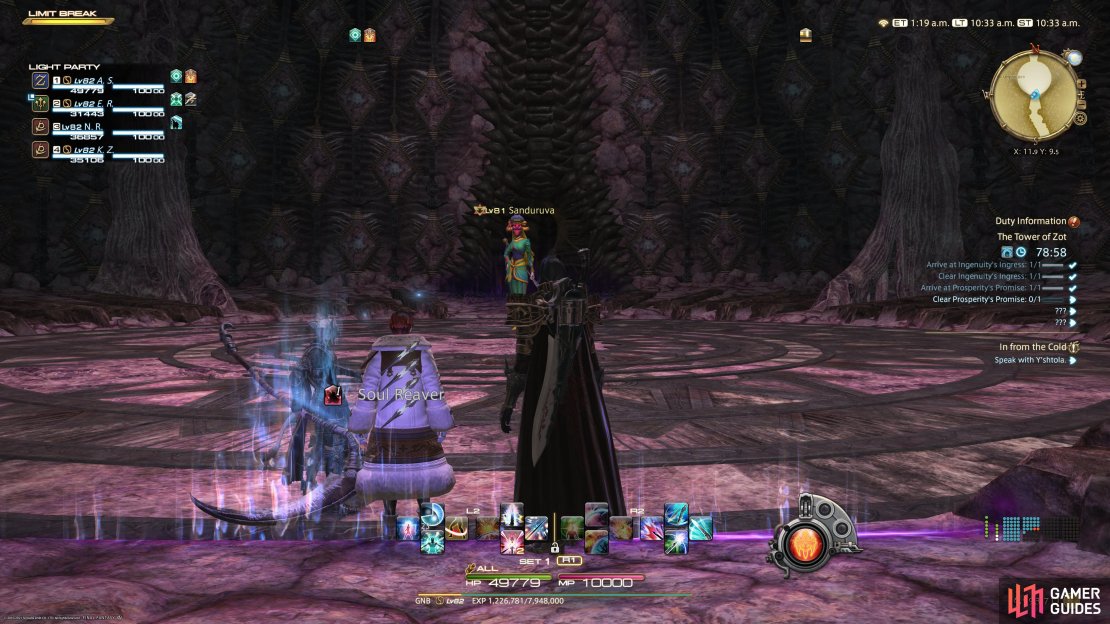
On this page you can find all the details needed to defeat Sanduruva, the second boss in the Level 81 Dungeon, The Tower of Zot in Final Fantasy XIV Endwalker. Details on the mechanics along with how to tank and heal.
Sanduruva is the second boss in the Tower of Zot.
Mechanics
Isitva Siddhi
This is a tankbuster that deals high damage although there is no debuff this time. The Tank should ensure he has control of Minduruva and use a defensive cooldown to soak up the damage.
Prapti Siddhi
Four line-AoEs (area of effect) targeted at each party member, one after the other. Simply keep away from other party members and step to side to avoid this attack.
Manusya Berserk
Sanduruva will conjure 5 Orbs around the arena in a circular pattern, these will all then explode shortly after. You’ll notice a gap in the formation, run to that location and hug the edge of the arena to avoid the explosions.
Explosive Force
Sanduruva will use this following her Manusya Berserk, ensure you’re standing at the edge of the arena where the gap is to avoid it. If you are caught in the explosion, you’ll lose control of your character as they run to melee range to attack Sanduruva, leaving you open to the next attack.
Prakamya Siddhi
This is an AoE around Sanduruva as she leaps into the air like a Dragoon and comes crashing down. Simply move away from her, there is plenty of time and is arguably her easiest attack to avoid. This becomes more problematic if you were hit by the orbs as you won’t be able to avoid this attack, at which point the Healer should be ready to heal all the damage.
Manusya Stop
Sanduruva will cast Stop on all party members, freezing them in place for 8 seconds (this occurs one after the other). During this time, she will aim a Prapti Siddhi that cannot be avoided so the Healer should be ready to recover the damage.
Manusya Confuse
Sanduruva will conjure 5 clones (in addition to herself) that form a circular pattern. Look carefully for one who is not using any emotes (or has a debuff you placed on her) and rush over to her, standing on the edge. She will shortly use Explosive Force again, causing explosions around all clones except the one that was not moving. If you don’t go there in advance, you won’t make it in time before the explosion.
Strategy
Sanduruva is a far easier battle than the first one against Minduruva, she’s a lot slower and her attacks are much easier to read. She’ll always begin the battle with Isitva Siddhi, a tankbuster and this one is a lot more manageable than Minduruva’s as you won’t have to deal with a debuff after, just simply mitigate and heal up after. She’ll follow this up by using Prapti Siddhi on each party member, so long as you’re not standing on another party member, you have plenty of time to simply step out of the way of this line-AoE.
She’ll then transition into her main mechanic by using Manusya Berserk by conjuring five orbs around the arena in a circular pattern. If you look carefully, you’ll see there’s a gap in this formation and you’ll want to dash over to this position and hug the wall to avoid the explosion that follows. Get struck by this, and you’ll lose control and be stuck in melee range, leaving you open to Prakamya Siddhi straight after.
Once she begins using Manusya Stop, you can’t avoid the debuff so you’ll have to eat the Prapti Siddhi if you’re frozen in place. This doesn’t deal too much damage thankfully and can be easily healed through following the attack. It can get a little hectic once she uses Manusya Confuse as you’ll see 6 copies of Sanduruva along with health bars. Do not mistake this for a DPS check, instead look for one of them not emoting and rush over to the location, hugging the wall again. She will soon cause the others to explode, and the only safe location is here.
Sanduruva will repeat the skills from Manusya Stop for the rest of the battle at this point. So long as you know where to stand for Manusya Berserk and Confuse, Sanduruva is a simple second boss for the Tower of Zot.
How to Tank
Sanduruva is a lot easier to Tank than her sister, it doesn’t require much control of the boss from the Tank. The main thing to lookout for is ensuring you have a defensive cooldown ready for her tankbuster, Isitva Siddhi. Aside from this, you’ll need to make sure you remember the right positioning for Manusya Berserk and Confuse and you should have no troubles tanking her.
How to Heal
Sanduruva is less of a challenge to heal compared to Minduruva, as it’s less chaotic, but you’ll still want to make sure you shield the tank for her Tankbuster, Isitva Siddhi, as it’ll prevent the tank from taking too much damage. Finally, make sure to perform a group regen for Manusya Stop, as she will attack each member of the party, so the Regen should out heal her damage.

No Comments