
On this page you can find all the details needed to defeat Barnabas, the first boss in the Level 83 Dungeon, The Tower of Babil in Final Fantasy XIV Endwalker (FFXIV). Details on the mechanics along with how to tank and heal.
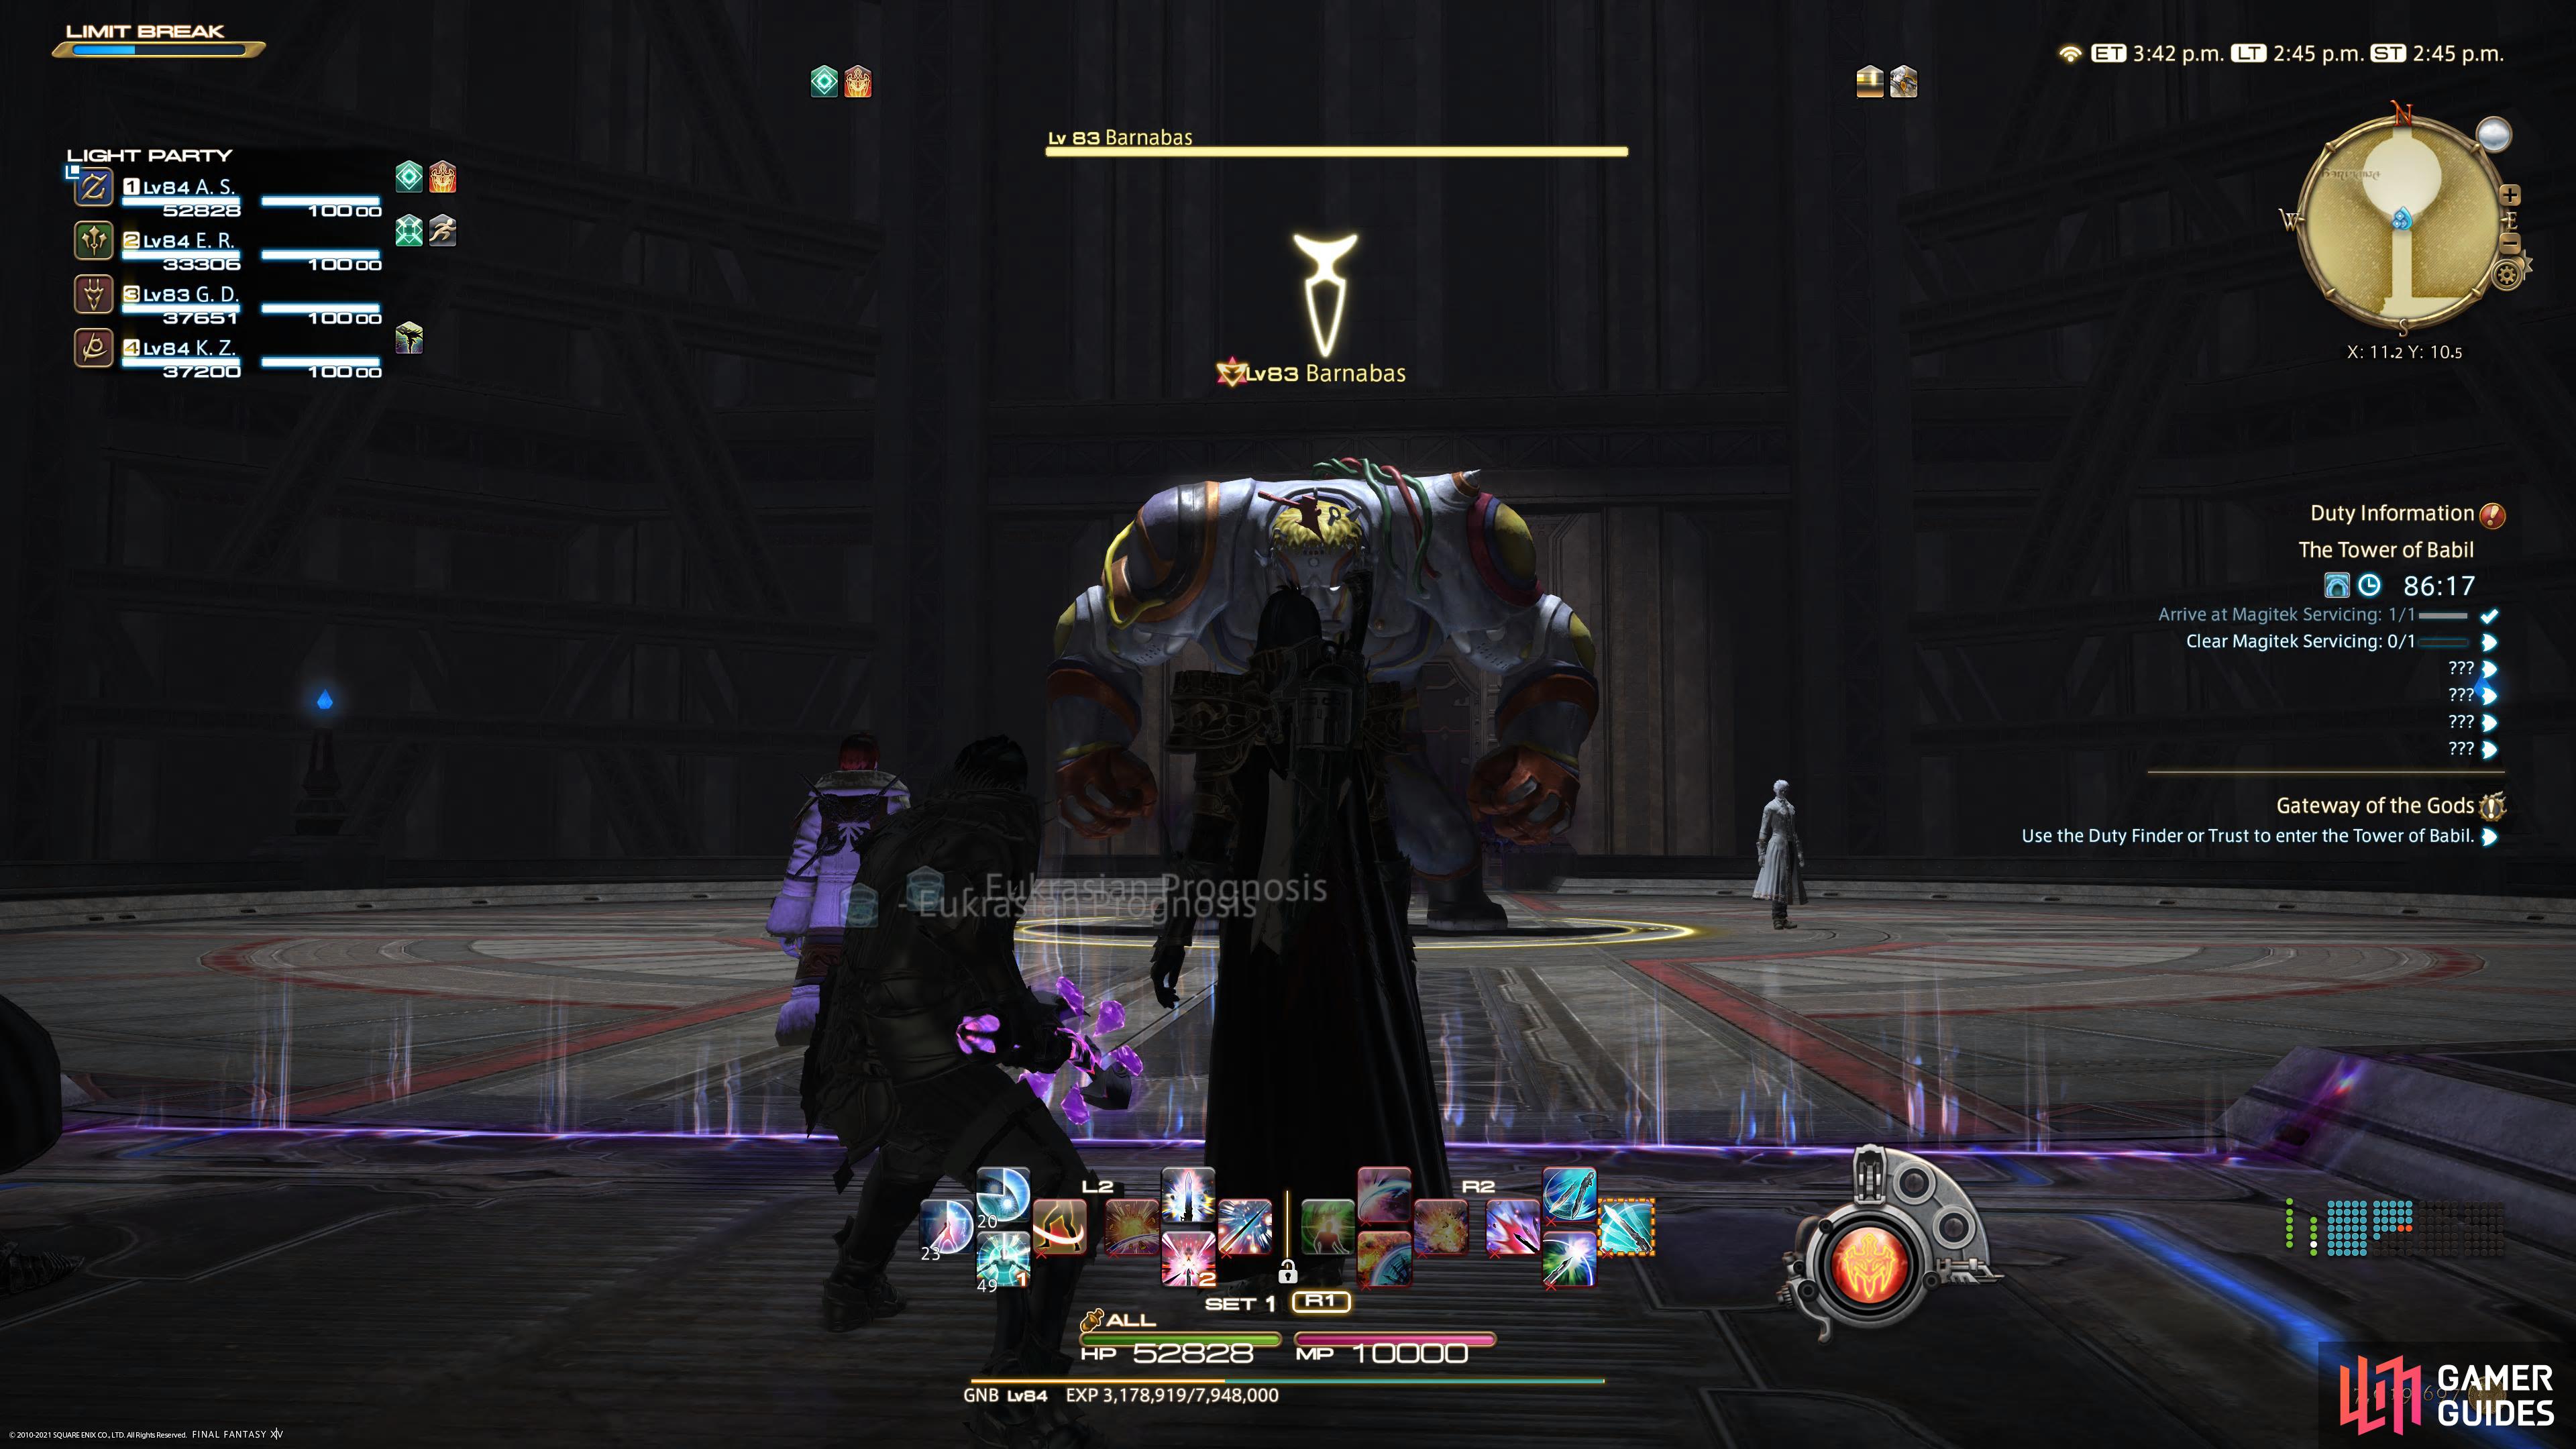
Barnabas is the first boss of the Tower of Babil.
Mechanics
Ground and Pound
Barnabas will direct a shockwave along a line AoE, the marker won’t appear until he’s almost finished casting, so you need to look for the cast bar and pay attention to where he’s facing to avoid the blast. You won’t have time to react if you wait for the marker to appear.
Dynamic Pound
Barnabas will walk to the edge of the arena and direct a line AoE across the middle of the arena, this will have a Polarity marker (+/-) on it. At the same time, all party members will receive the effect. If your marker is opposite to the Barnabas, you’ll be pulled towards the blast whereas if it’s the same, you’ll be pushed back. With this in mind, position yourself so you’re not dragged into the AoE (that appears after your movement so don’t run back into it) or pushed back into the electric field.
Shocking Force
This is a simple stacking marker; all players should stack on the targeted player (which is selected at random) to split the damage and then heal up after.
Dynamic Scrapline
This is similar to Dynamic Pound only that the Polarity will be around Barnabas himself in the center of the arena. Make sure you position yourself accordingly so that you’re not pushed/pulled into the AoE (which fires off shortly after the pushback) or the electric field. If you’re receiving the pushback, you’ll need to stand in the original AoE marker to avoid being pushed back into the electric field.
Thundercall
Barnabas will conjure four Thunder Orbs that will be placed in the four corners of the room. These will then cause a circular explosion around themselves once he finishes casting Rolling Scrapline.
Rolling Scrapline
This is the second part to Thundercall as Baranabas, he will cast a circular AoE around him, making this part of the arena off-limits. With this in mind with Thundercall, you must stand at the edge of the arena in between two Orbs to avoid any damage.
Strategy
How you fare with Barnabas will all come down to your experience and understanding of the Polarity (+/-) marker, as his two most important attacks revolve around it. Barnabas will always begin the battle with Ground and Pound, this will be targeted at a random party member and you’ll need to pay attention to the way he’s facing and move before you see the marker. If you wait for the marker, it’s already too late and you’ll be pushed back into the electric field. He can use this attack up to three times in a row, so all party members should be alert here.
Once you see Barnabas walk through the electric field towards the edge of the arena, you’ll notice a marker along the center of the arena, pay attention to the sign on it. Every party member will be given a sign here and you’ll need to arrange your positioning based on your given sign. If the sign is the same, you’ll be pulled towards the center so stand at the edge of the arena to avoid being pulled into it, the attack itself won’t happen until after the movement phase. If you have the same marker as the AoE, you’re going to be pushed back so stand in the middle of the arena to avoid being pushed into the electric field.
The second Polarity attack is Dynamic Scrapline, and this has the same principles as the previous attack, only this time Barnabas will be in the center of the arena, limiting your options. If you have the same marker this time, stand where the AoE marker is, the pushback will push you out of it but still on the arena. If you have a different one, stand on the edge to avoid being pulled into the AoE. Between these attacks, Barnabas will use Shocking Force to place a stack marker on a random party member, stand together and use defensive cooldowns and Shields to mitigate the damage before healing up after.
The final trick up Barnabas’ sleeve is the Thundercall > Rolling Scrapline combo. He’ll begin by placing four Orbs in the corner, these will all explode in around themselves once Rolling Scrapline has finished casting. This is easier than it looks to avoid, simply find two Orbs, and place yourself at the back of the arena in the middle of the two and you’ll avoid all the attacks. Following this, Barnabas will repeat the steps above, so long as everyone understands how the Polarity markers work, you should have little issue in dealing with him.
How to Tank
There are no real specific tasks for Tanks (outside the general duty of tanking) in this Boss, all his mechanics revolve around the whole party. You’ll want to make sure you pay attention to where he’s facing to avoid Ground Pound, otherwise the battle relies on ensuring you survive the Polarity markers and don’t gain too many stacks of Vulnerability.
How to Heal
Barnabas is a relatively straightforward boss to heal once you have a good understanding on how the mechanics work. There aren’t any Tank Busters that you need to save your strongest potency heals for. Keep up Regen on everyone throughout the fight and be ready to AoE heal for when he performs Shocking Force which places a stack marker on a single person that’ll require the whole party to soak up the damage.
No Comments