
On this page you can find all the details needed to defeat Erichthonios, the first boss in the Pandaemonium Normal Raid in Asphodelos: The First Circle in Final Fantasy XIV Endwalker (FFXIV). Details on the mechanics along with how to tank and heal.
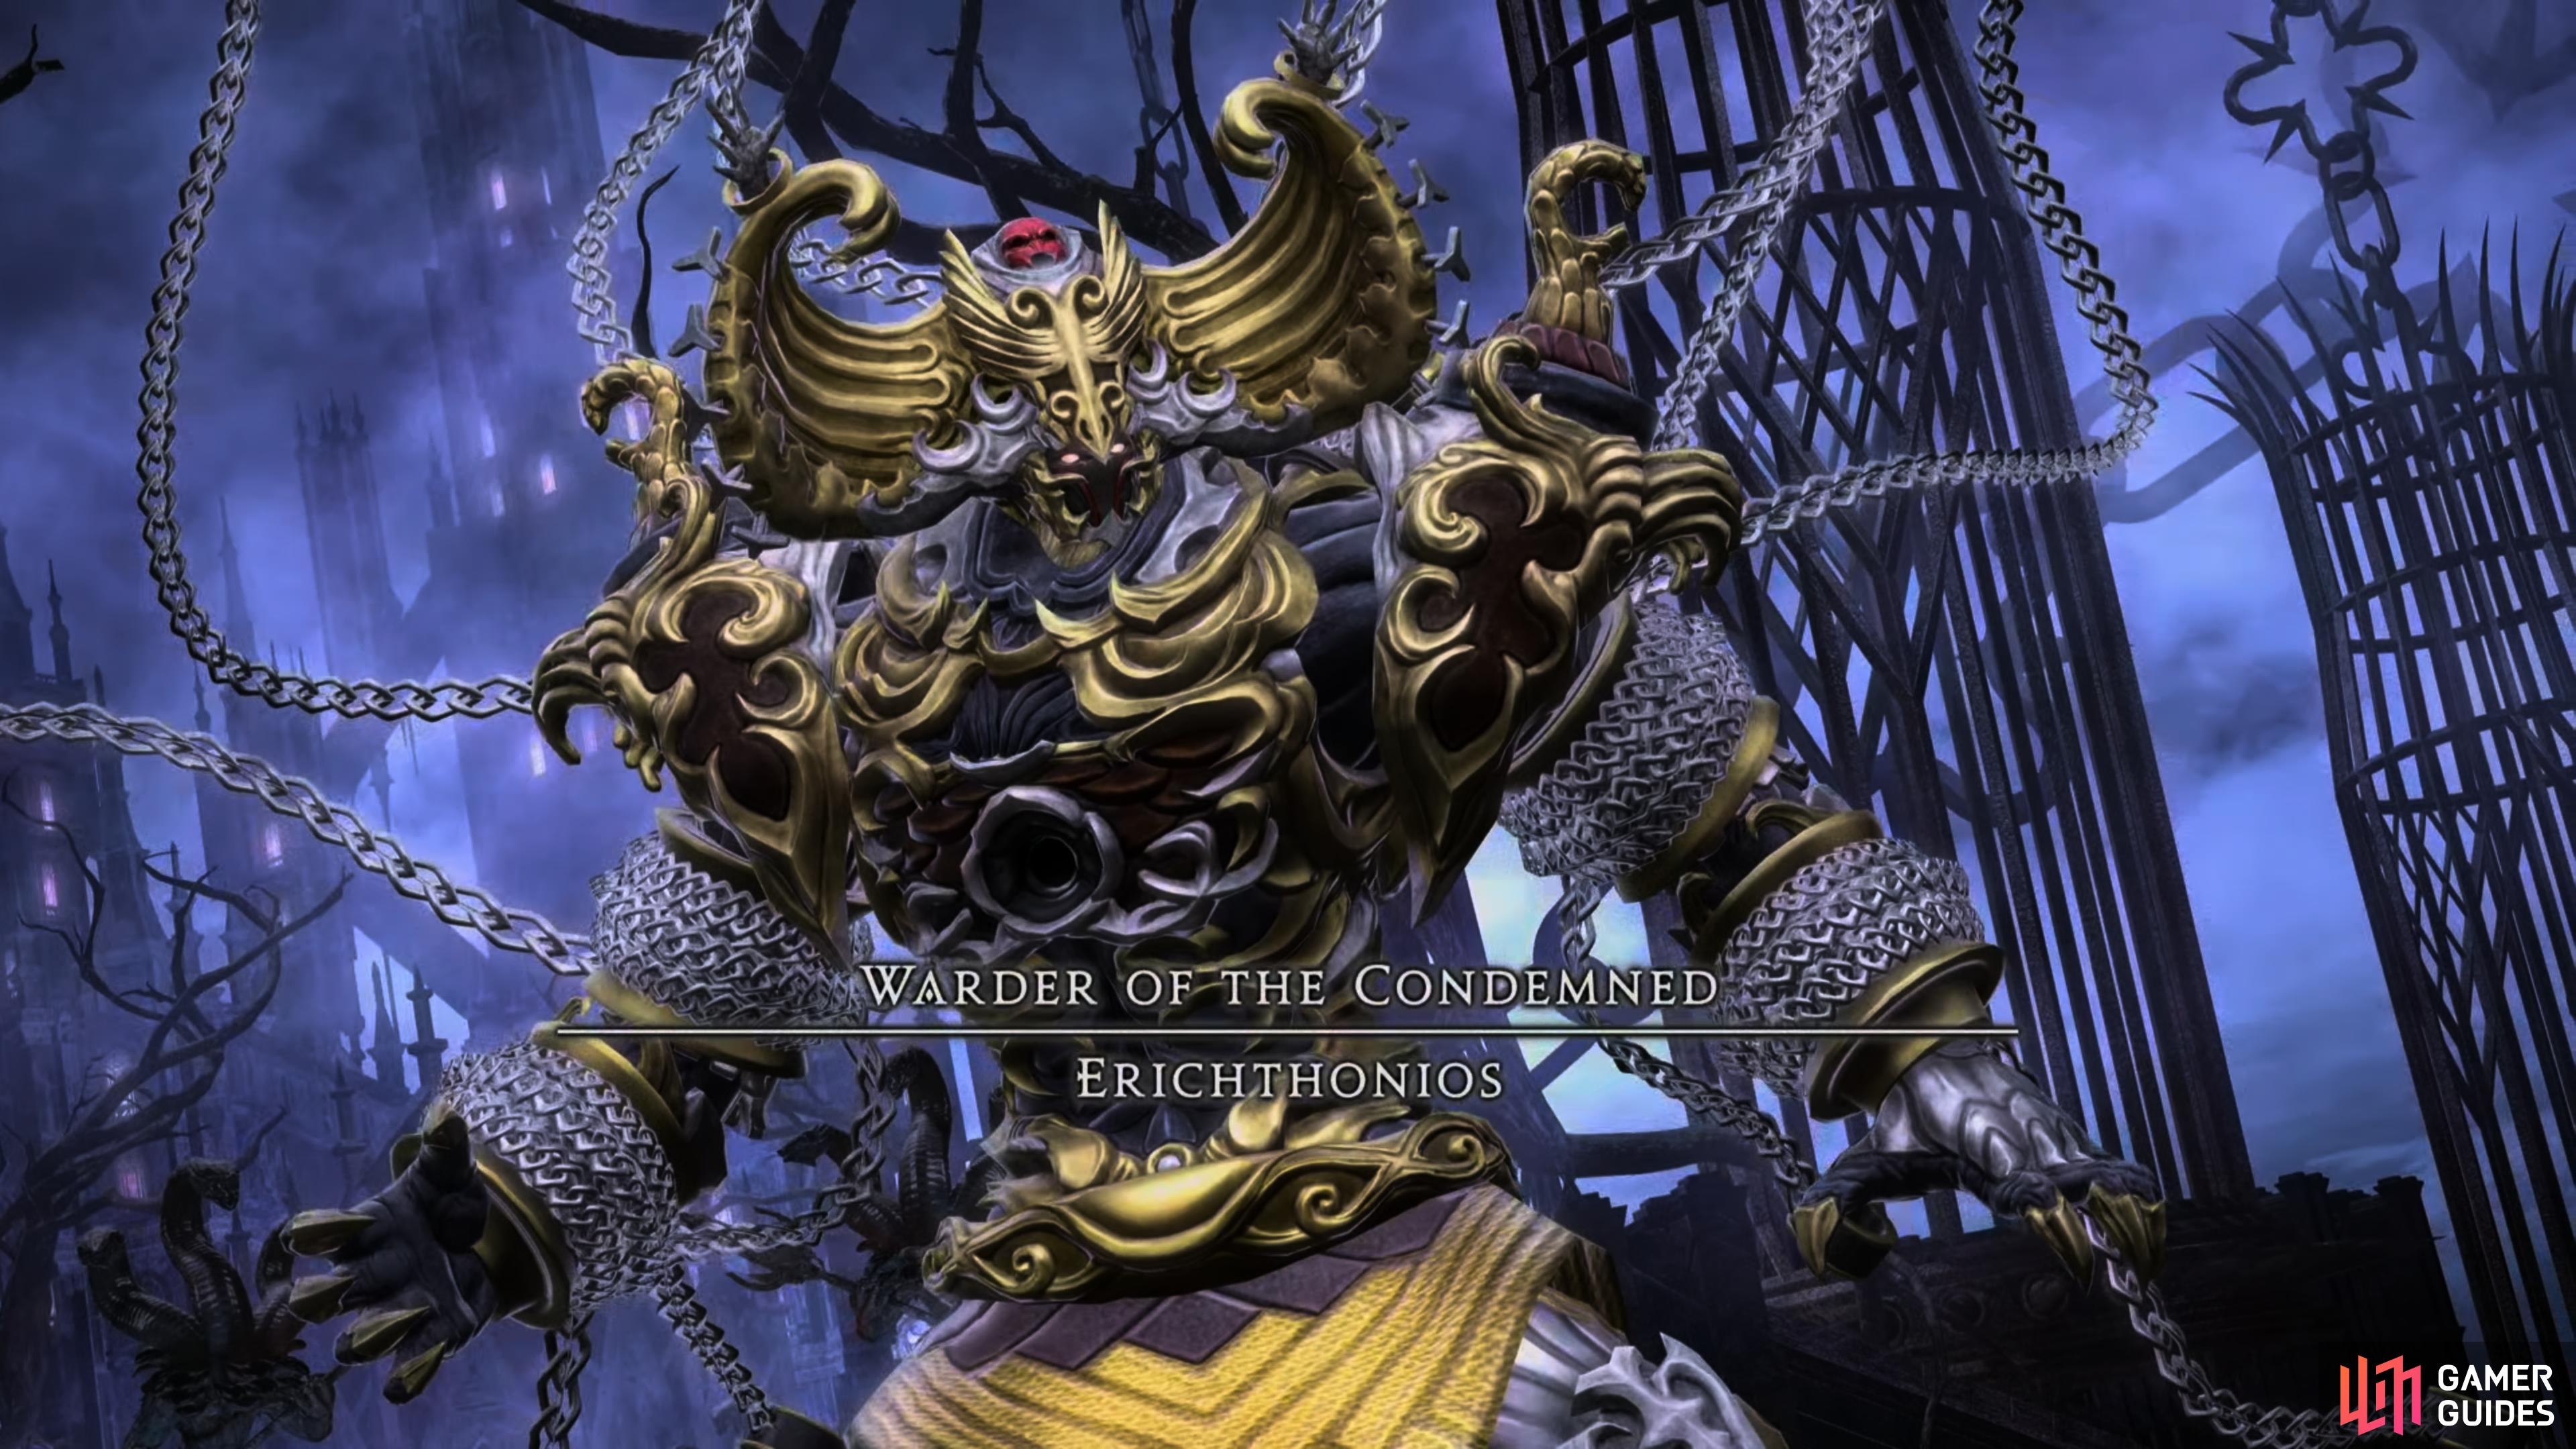
Erichthonios is the first boss of the Pandaemonium Raid.
Mechanics
Gaoler’s Flail
Erichthonios will swing the flail on either his left or right arm before cleaving that side of the arena. Pay attention to which arm is swinging and run to the other side. He will use this mechanic twice, one for each arm so be prepared to run to the other side after avoiding the first flail.
Warder’s Wrath
This is a raid-wide attack that deals moderate damage to all party members. Simply heal up and use Shields to mitigate.
Pitiless Flail
Erichthonios will target a random party member with a line-AoE that follows them. The targeted player needs to run away from the rest of the group to prevent them from being hit by the AoE. A raid stack will follow this line-AoE so all other players must group up to split the damage. This AoE will perform a knockback on the targeted player so make sure you’re far enough away from the edge to prevent being knocked outside the arena.
Heavy Hand
This is a Tankbuster that deals heavy damage only, Shield up and use defensive cooldowns to mitigate it.
Intemperance and Intemperate Torment
Erichthonios will mark each player with a fire or ice stack before marking the arena into four quadrants. In each quadrant will be a stack of three blue and red cubes. These indicate a fire or ice debuff and you’ll need to run to a quadrant that has your opposite color (for example run to blue if you have a fire debuff). Once eh casts Intemperate Torment, the cubes will begin to drop one after the other and grant you the debuff (the bottom cube of each stack, then the middle, then the top), destroying the current cube in the process. Pay attention to your colored debuff and move around the room to make sure you get hit with the correct ones.
Shining Cells and Aetherchain
Erichthonios will split the arena into fire and ice spots before casting Aetherchain. Pay attention to the elements that swirl around him, they’ll either be fire orbs or ice orbs, this indicates which part of the floor will explode so stand on the opposite color.
Aetherflail
After the first two explosions during Shining Cells, he will start using Aetherflail. This is the same mechanic as Gaoler’s Flail, only you must perform it while standing on the correct floor color to avoid Aetherchain at the same time.
Slam Shut
He will use this after the Shining Cells phase. This is a raid-wide attack that deals moderate damage to all party members. Simply heal up and use Shields to mitigate.
Strategy
Erichthonios is a moderate challenge for the first raid boss of the Pandaemonium series. You’ll need to understand the Shining Cells phase if you want to navigate this without failure. To begin with, Erichthonios will always start the battle with two casts of Gaoler’s Flail, this is a cleave on the side of the arena that his flail is swinging at. Simply run to the opposite side before running over to the other side for the second cast.
Healers should prepare for a Warder’s Wrath following this, a raid-wide AoE that they should use Shields/Regen to help recover. He’ll then target a random party member with a line-AoE that will track them, the player needs to point this away from the rest of the party and stand at close to moderate range to avoid being knocked out of the arena. It’s a sensible idea for healers to shield the targeted player, especially if they have any Vulnerability stacks on them. The rest of the party should be alert to group up for the raid stack that follows the line-AoE.
Erichthonios will use Heavy Hand at intervals on the current main Tank, this is a Tankbuster that can be simply Shield and use defensive cooldowns to mitigate. You’ll be introduced to the Intemperance mechanic following the first Tankbuster. The arena will be split into four quadrants with each having a stack of three cubes that are either red or blue, at the same time, all players will receive a fire or ice debuff. Pay attention to your debuff, and then run to the quadrant that has a cube of the opposite color on the bottom. Erichthonios will then use Intemperate Torment to cause the cubes to begin falling to the ground, starting with the lowest. With this in mind, you’ll need to move around the arena to ensure you swap your debuff with each cube drop. He’ll end this phase with another Warder’s Wrath before using Heavy Hand on the Tank again.
He’ll begin his deadliest phase following this, using Shining Cells to alter the arena into fire and ice panels. Shortly after the floor shifts, he’ll begin casting Aetherchain, pay attention to the color of the orbs that swirl around him to see which floor panels will explode and move to the correct ones. He’ll always do the opposite of the first color the first time before then using Aetherflail, this is the same mechanic as Gaoler’s Flail combined with Aetherchain so ensure you’re on both the correct side of the arena along with that correct color to avoid both attacks. He’ll use a Pitiless Flail, then an Aetherflail a final time before ending this phase with Slam Shut, a raid-wide AoE that will deal moderate damage, Healers may find this one difficult to heal if players have been hit my multiple stacks of Vulnerability during this phase.
Erichthonios will launch straight into Intemperance following this, with the main difference being that he will add Gaoler’s Flail after the second cube has dropped, so you’ll need to pay attention on where he’s swinging while collecting the correct debuff. Erichthonios will cycle between these two phases for the rest of the battle until his defeat, with no new variations added to the mechanics.
How to Tank
As far as Raids go, this first battle isn’t too complex for Tanks. You’ll have a single Tankbuster, Heavy Hand, to deal with and the possibility of Pitiless Flail targeted at you so be sure to point it away from the rest of the party. The rest of the encounter are all party mechanics so ensure you complete them properly to avoid gaining stacks of Vulnerability and increasing the stress on your Healers.
How to Heal
In terms of healing, this isn’t too taxing as a Healer, instead, your main priority is to ensure you survive the mechanics that are thrown at you. You’ll need to pay attention to Pitiless Flail, if you are the targeted member, move away from the rest of the party, if it’s another, consider using a Shield to help soak some of the damage, especially if the target has a Vulnerability stack. Likewise, how much healing is needed for the raid-wide attacks will be determined on how many stacks the party has gained during the Shining Cells phase so plan accordingly.
No Comments