
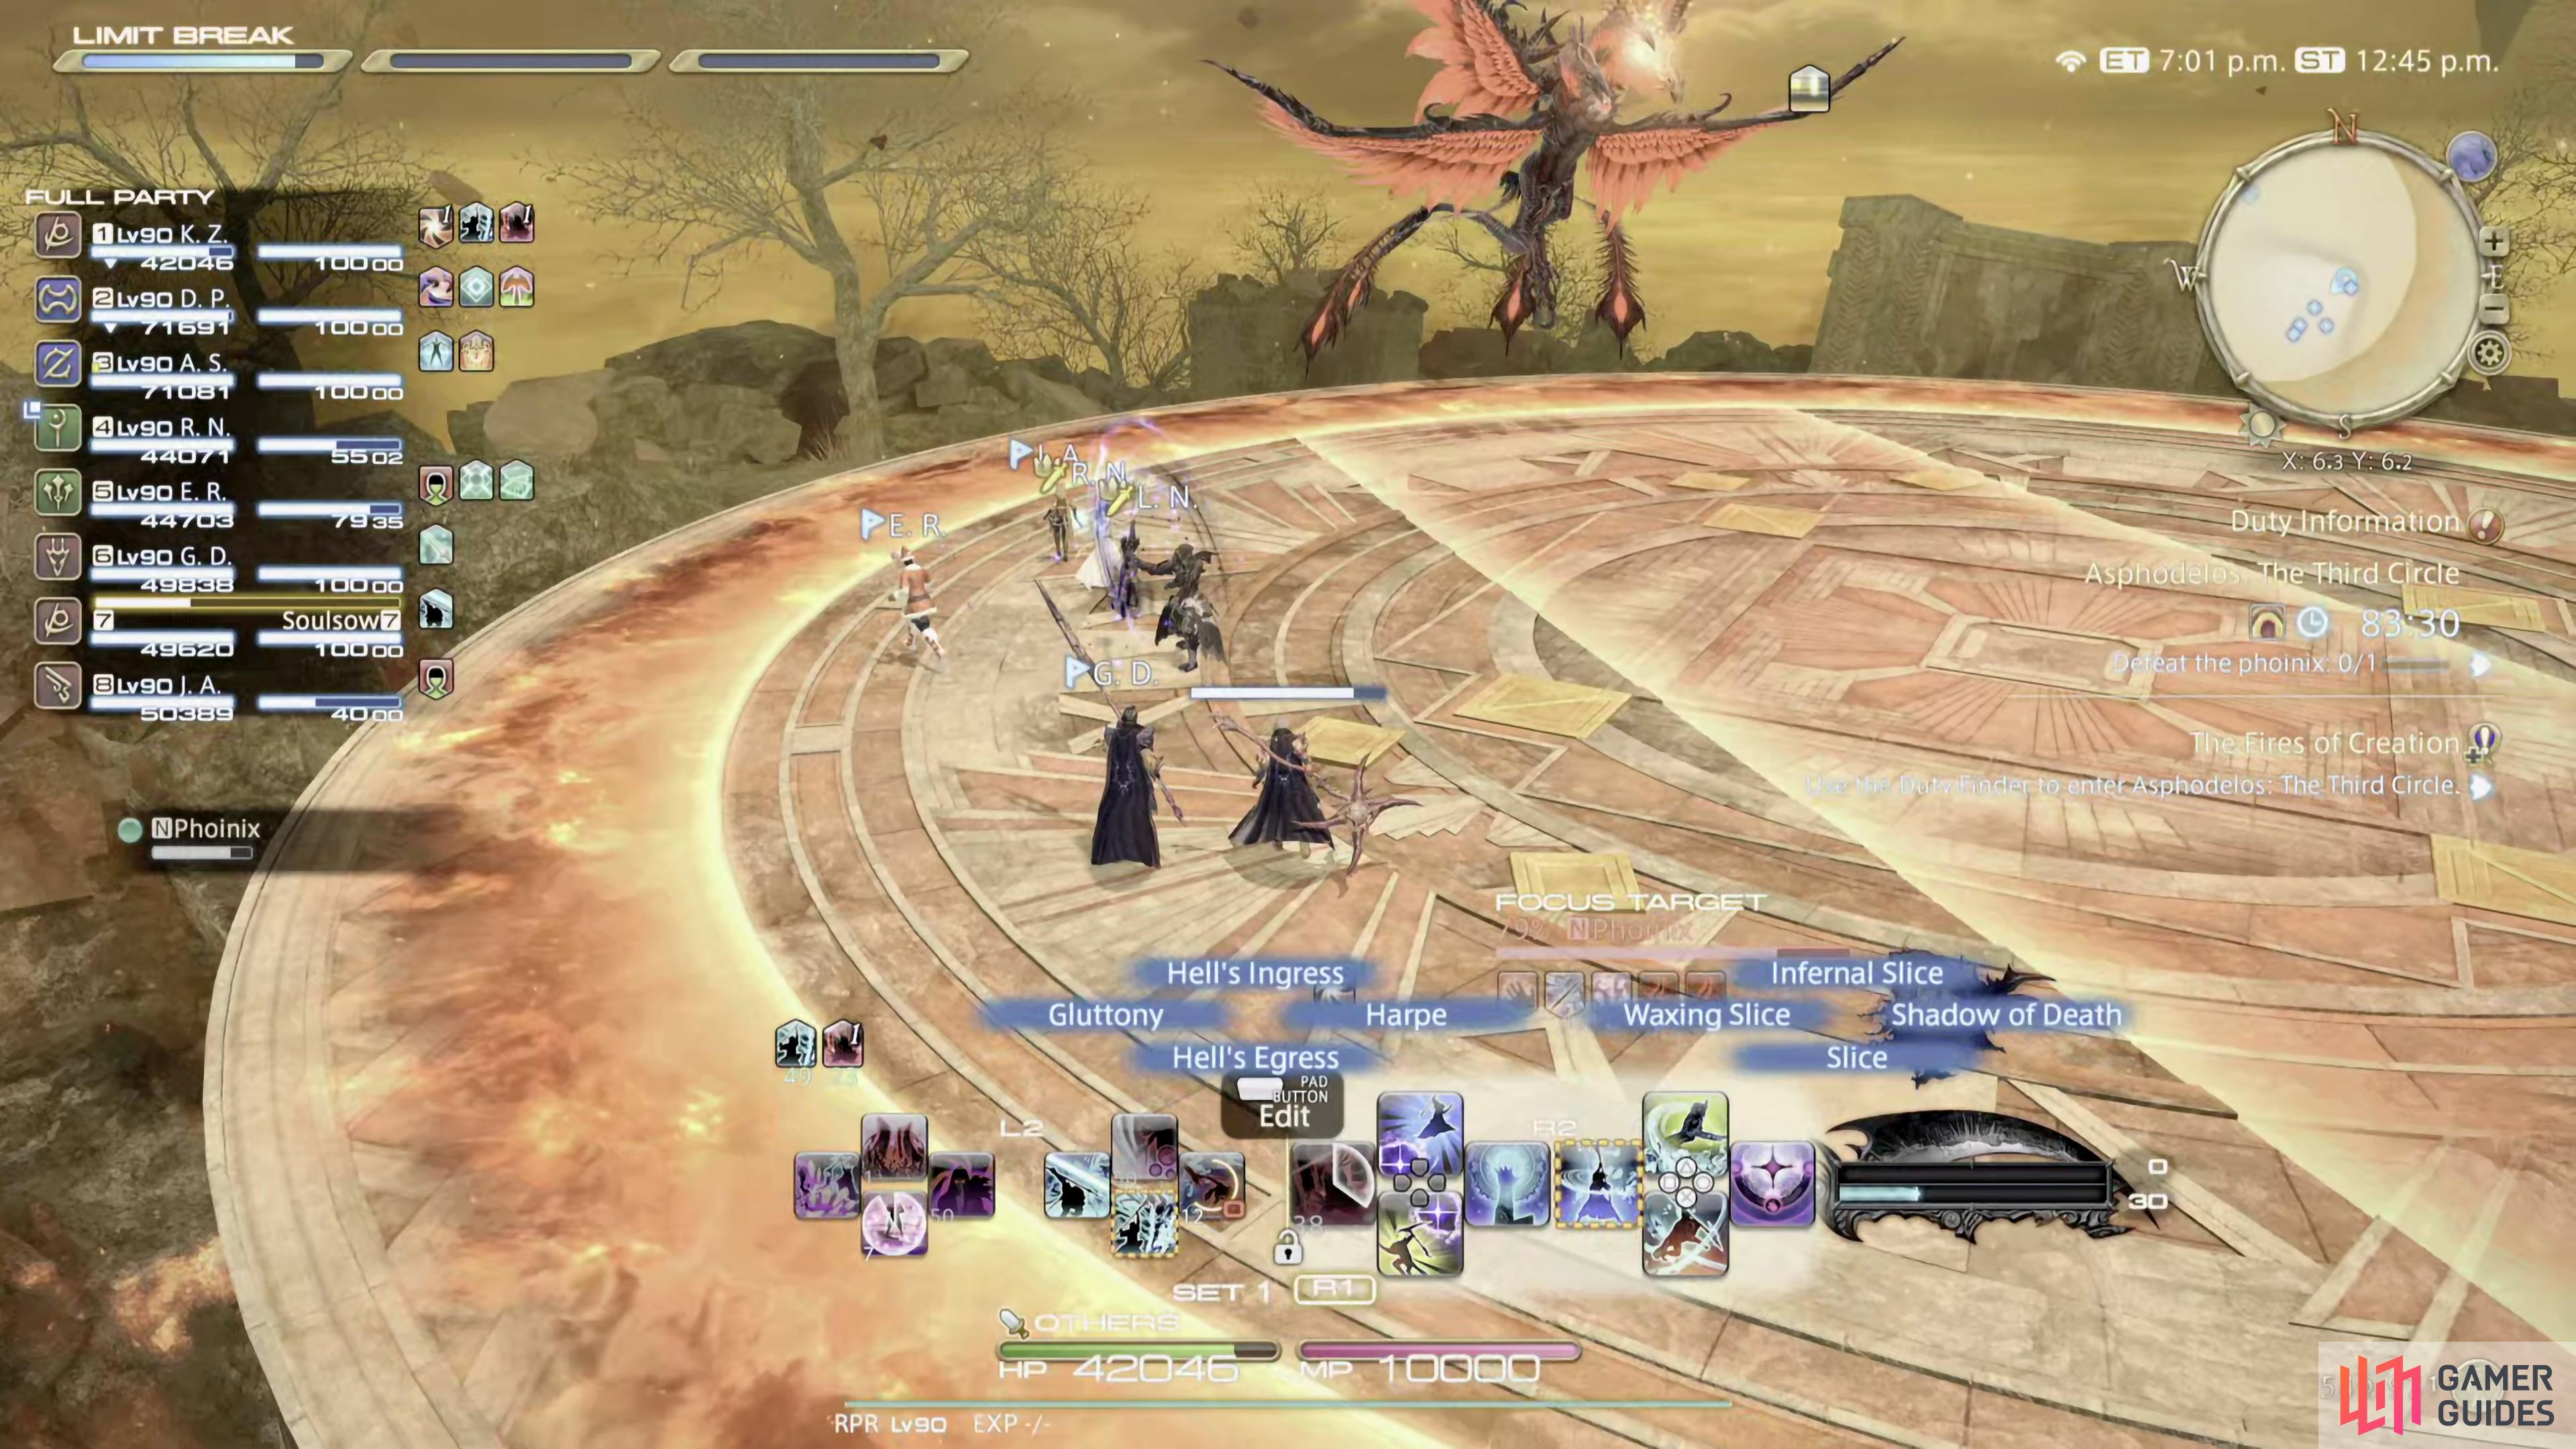
On this page you can find all the details needed to defeat The Phoinix, the third boss in the Asphodelos: The Third Circle in the Pandaemonium raid for the Endwalker expansion of FFXIV. Details on the mechanics along with how to tank and heal.
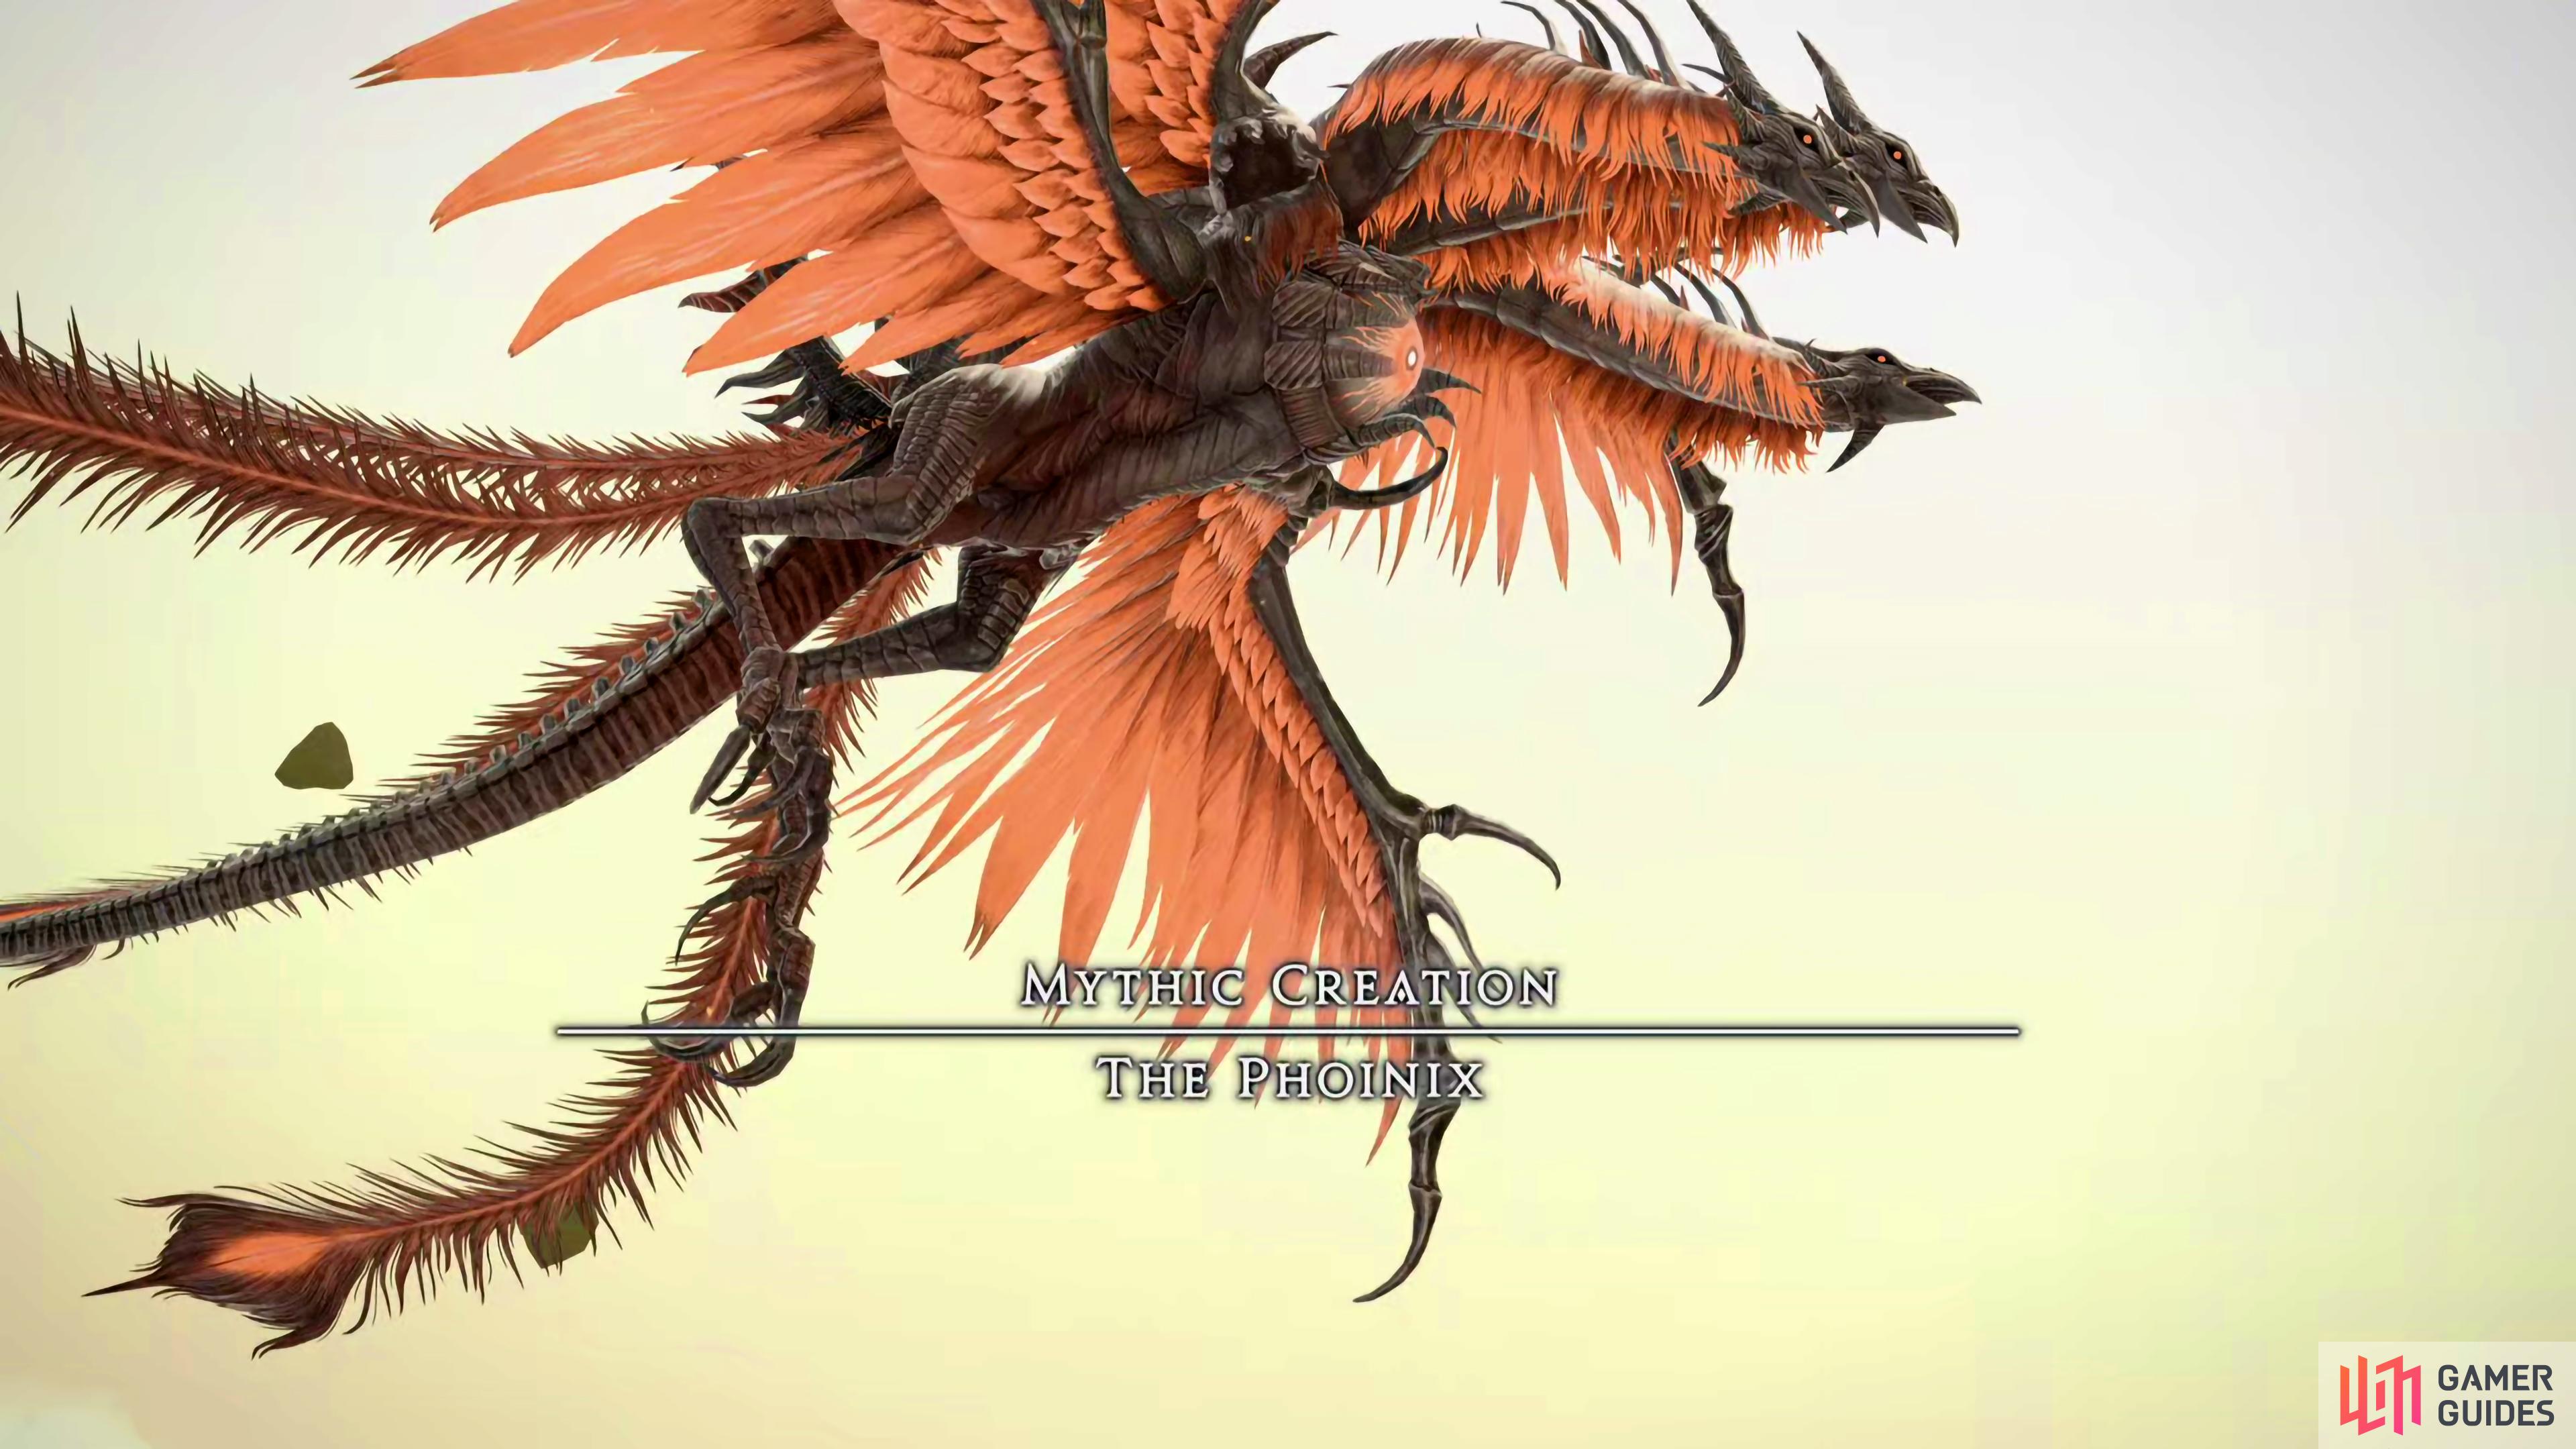
Phoinix is the third boss of the Pandaemonium Raid in the Endwalker expansion.
Phase One Mechanics
This phase consists mainly of the Experimental Fireplume and Darkened Fire mechanics.
Experimental Fireplume
Phoinix will cast one of two possible mechanics:
- If Phoinix has a large fire orb on him, it’ll do an instant large AoE around itself. Run near to the edge of the arena as soon as you see the fire orb. If you’re hit by this, you’ll lose approximately 50% health as well as one vulnerability stack.
- If Phoinix has several smaller fire orbs around itself, it’ll cast multiple AoEs around the arena. The first two AoEs will appear either side of it, then the rest will go around the arena before the last one, which will appear around Phoinix itself. To avoid this, run into the center, underneath Phoinix, but be ready to run out for the last AoE.
Scorched Exaltation
This is quite a potent raid-wide AoE. As a pure healer, make sure to pre-cast Medica II or Aspected Helios, whilst the Shield healers should pre-cast their shields to help mitigate the damage. If you have any defensive cooldowns, you may want to use one, especially if you aren’t at full health.
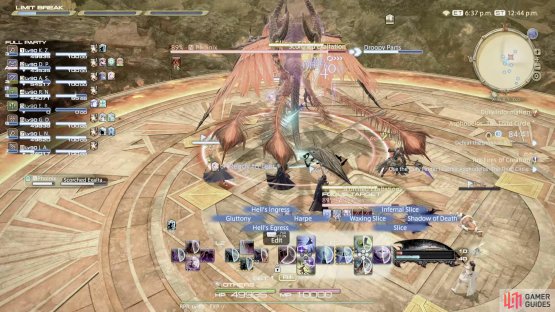

(1 of 2) Scorched Exaltation is a raid-wide AoE that deals major damage.
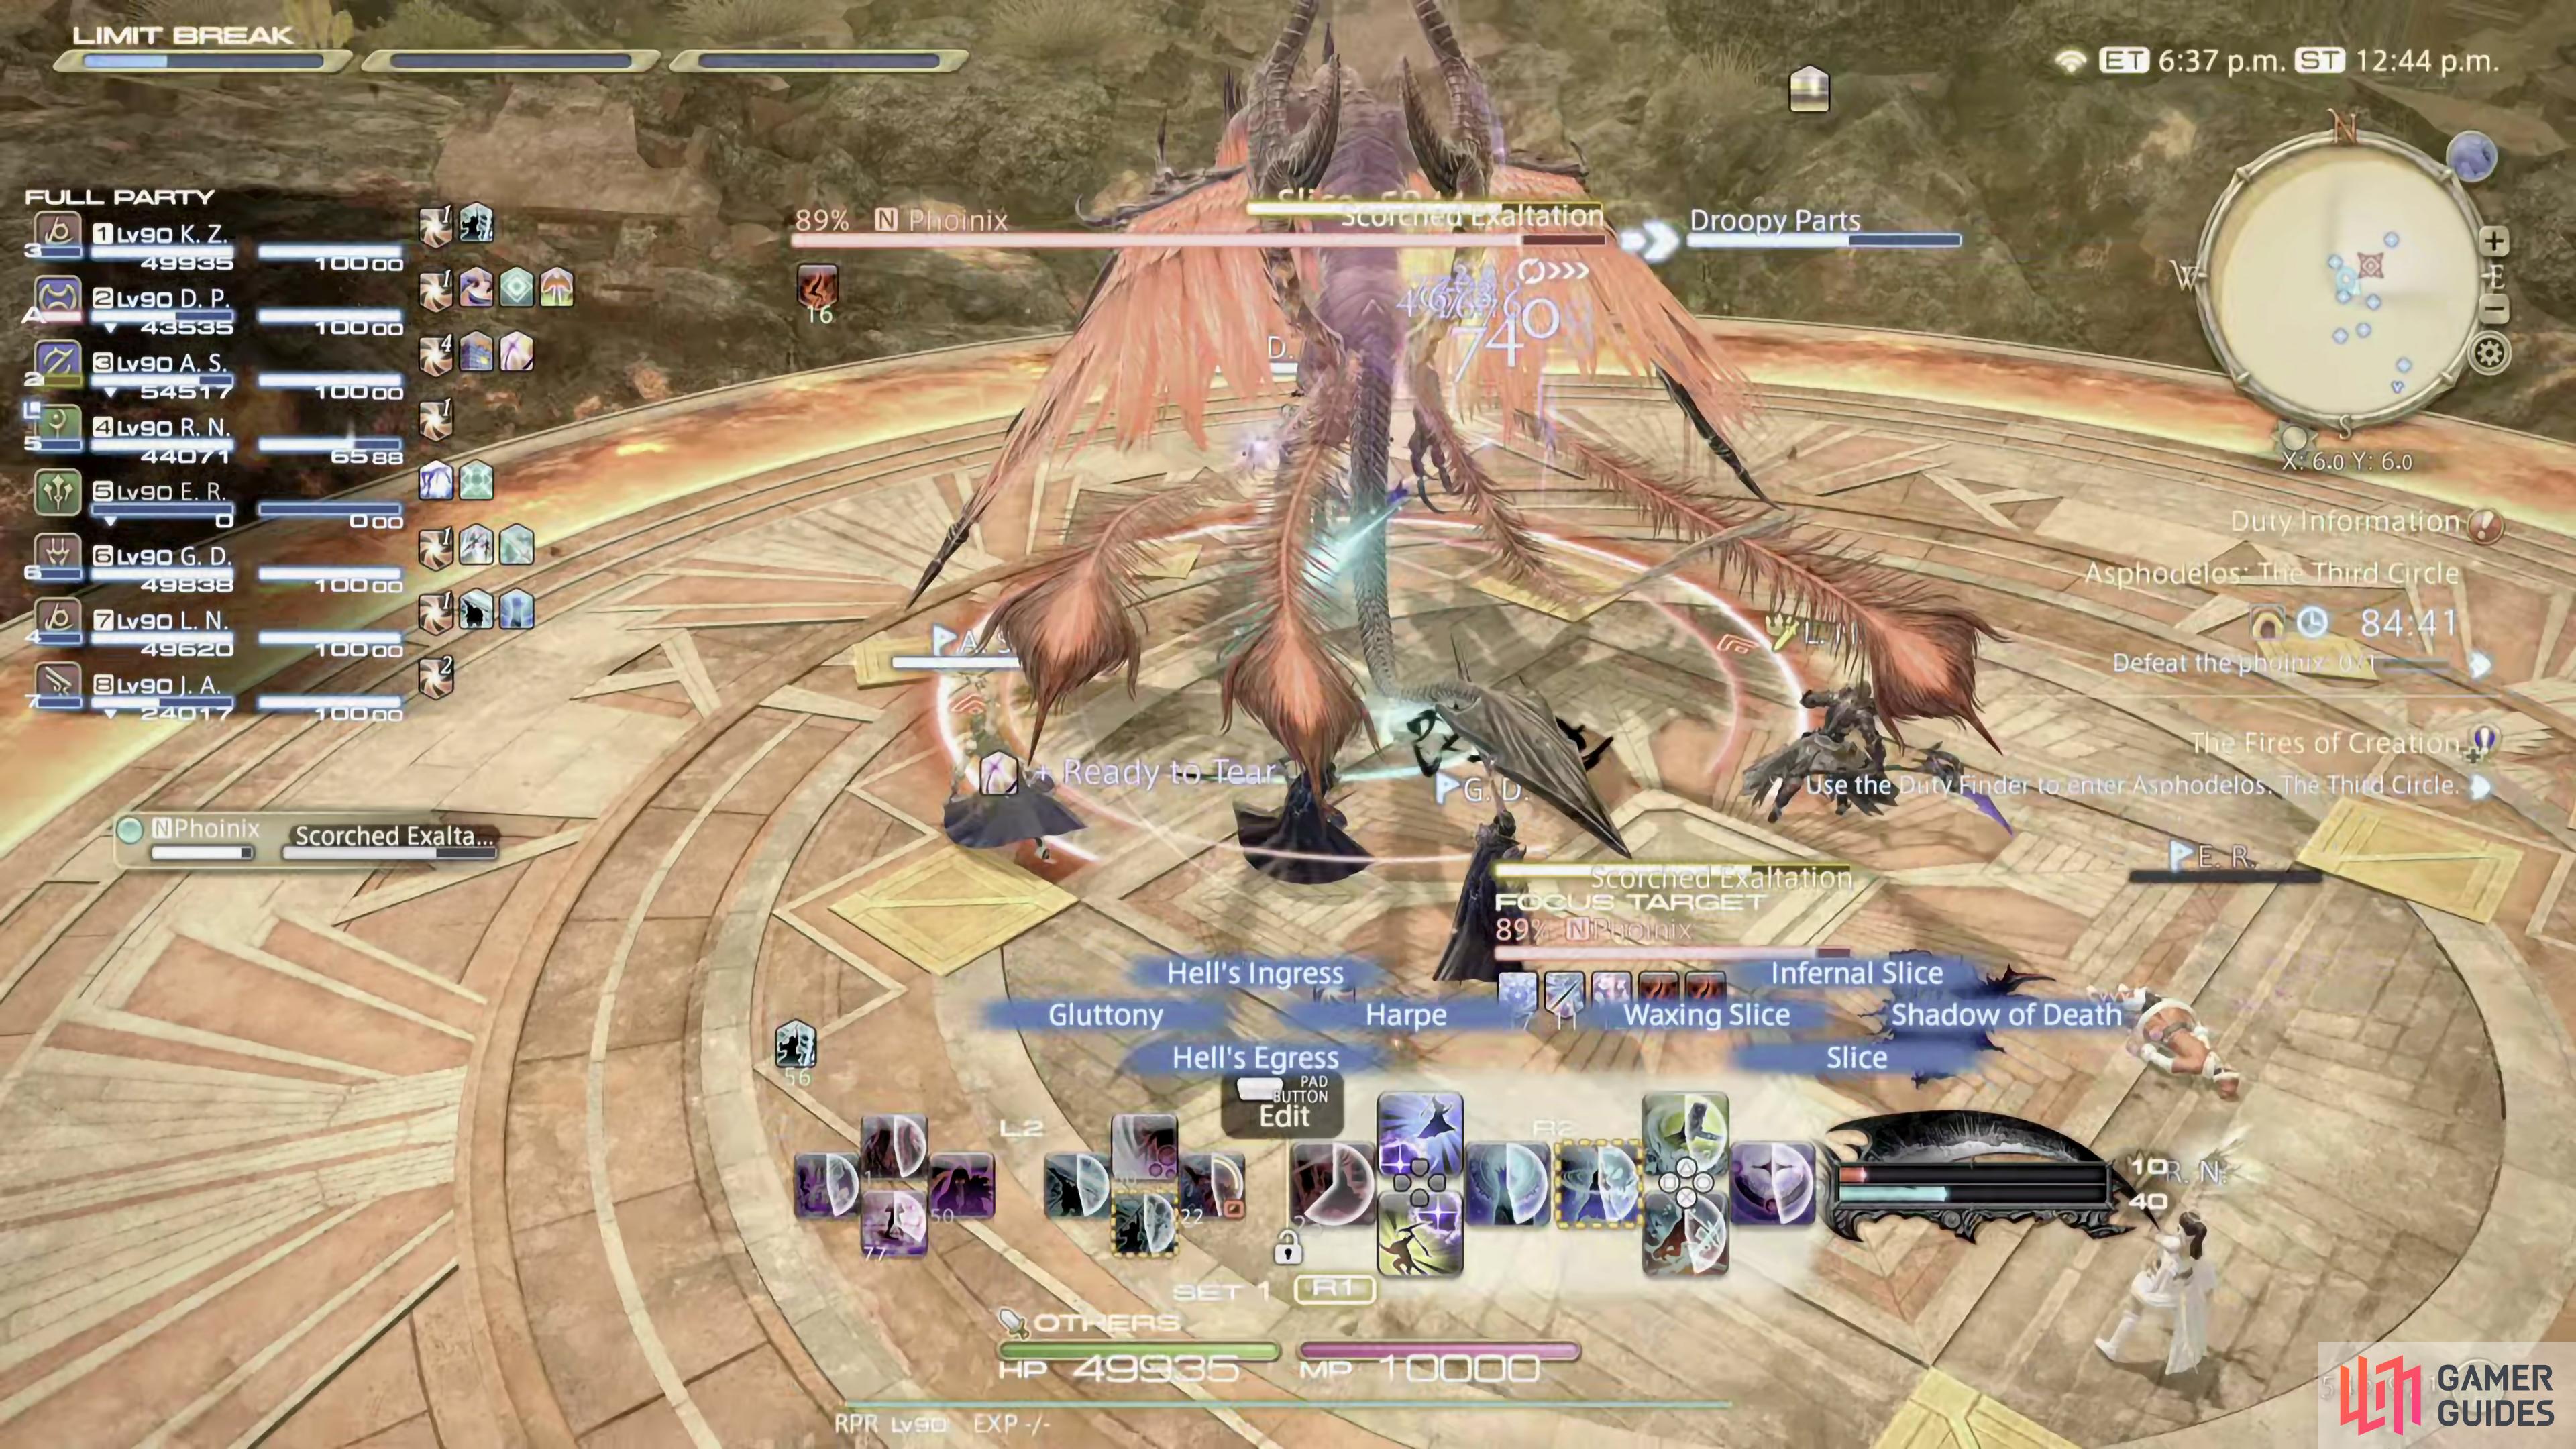
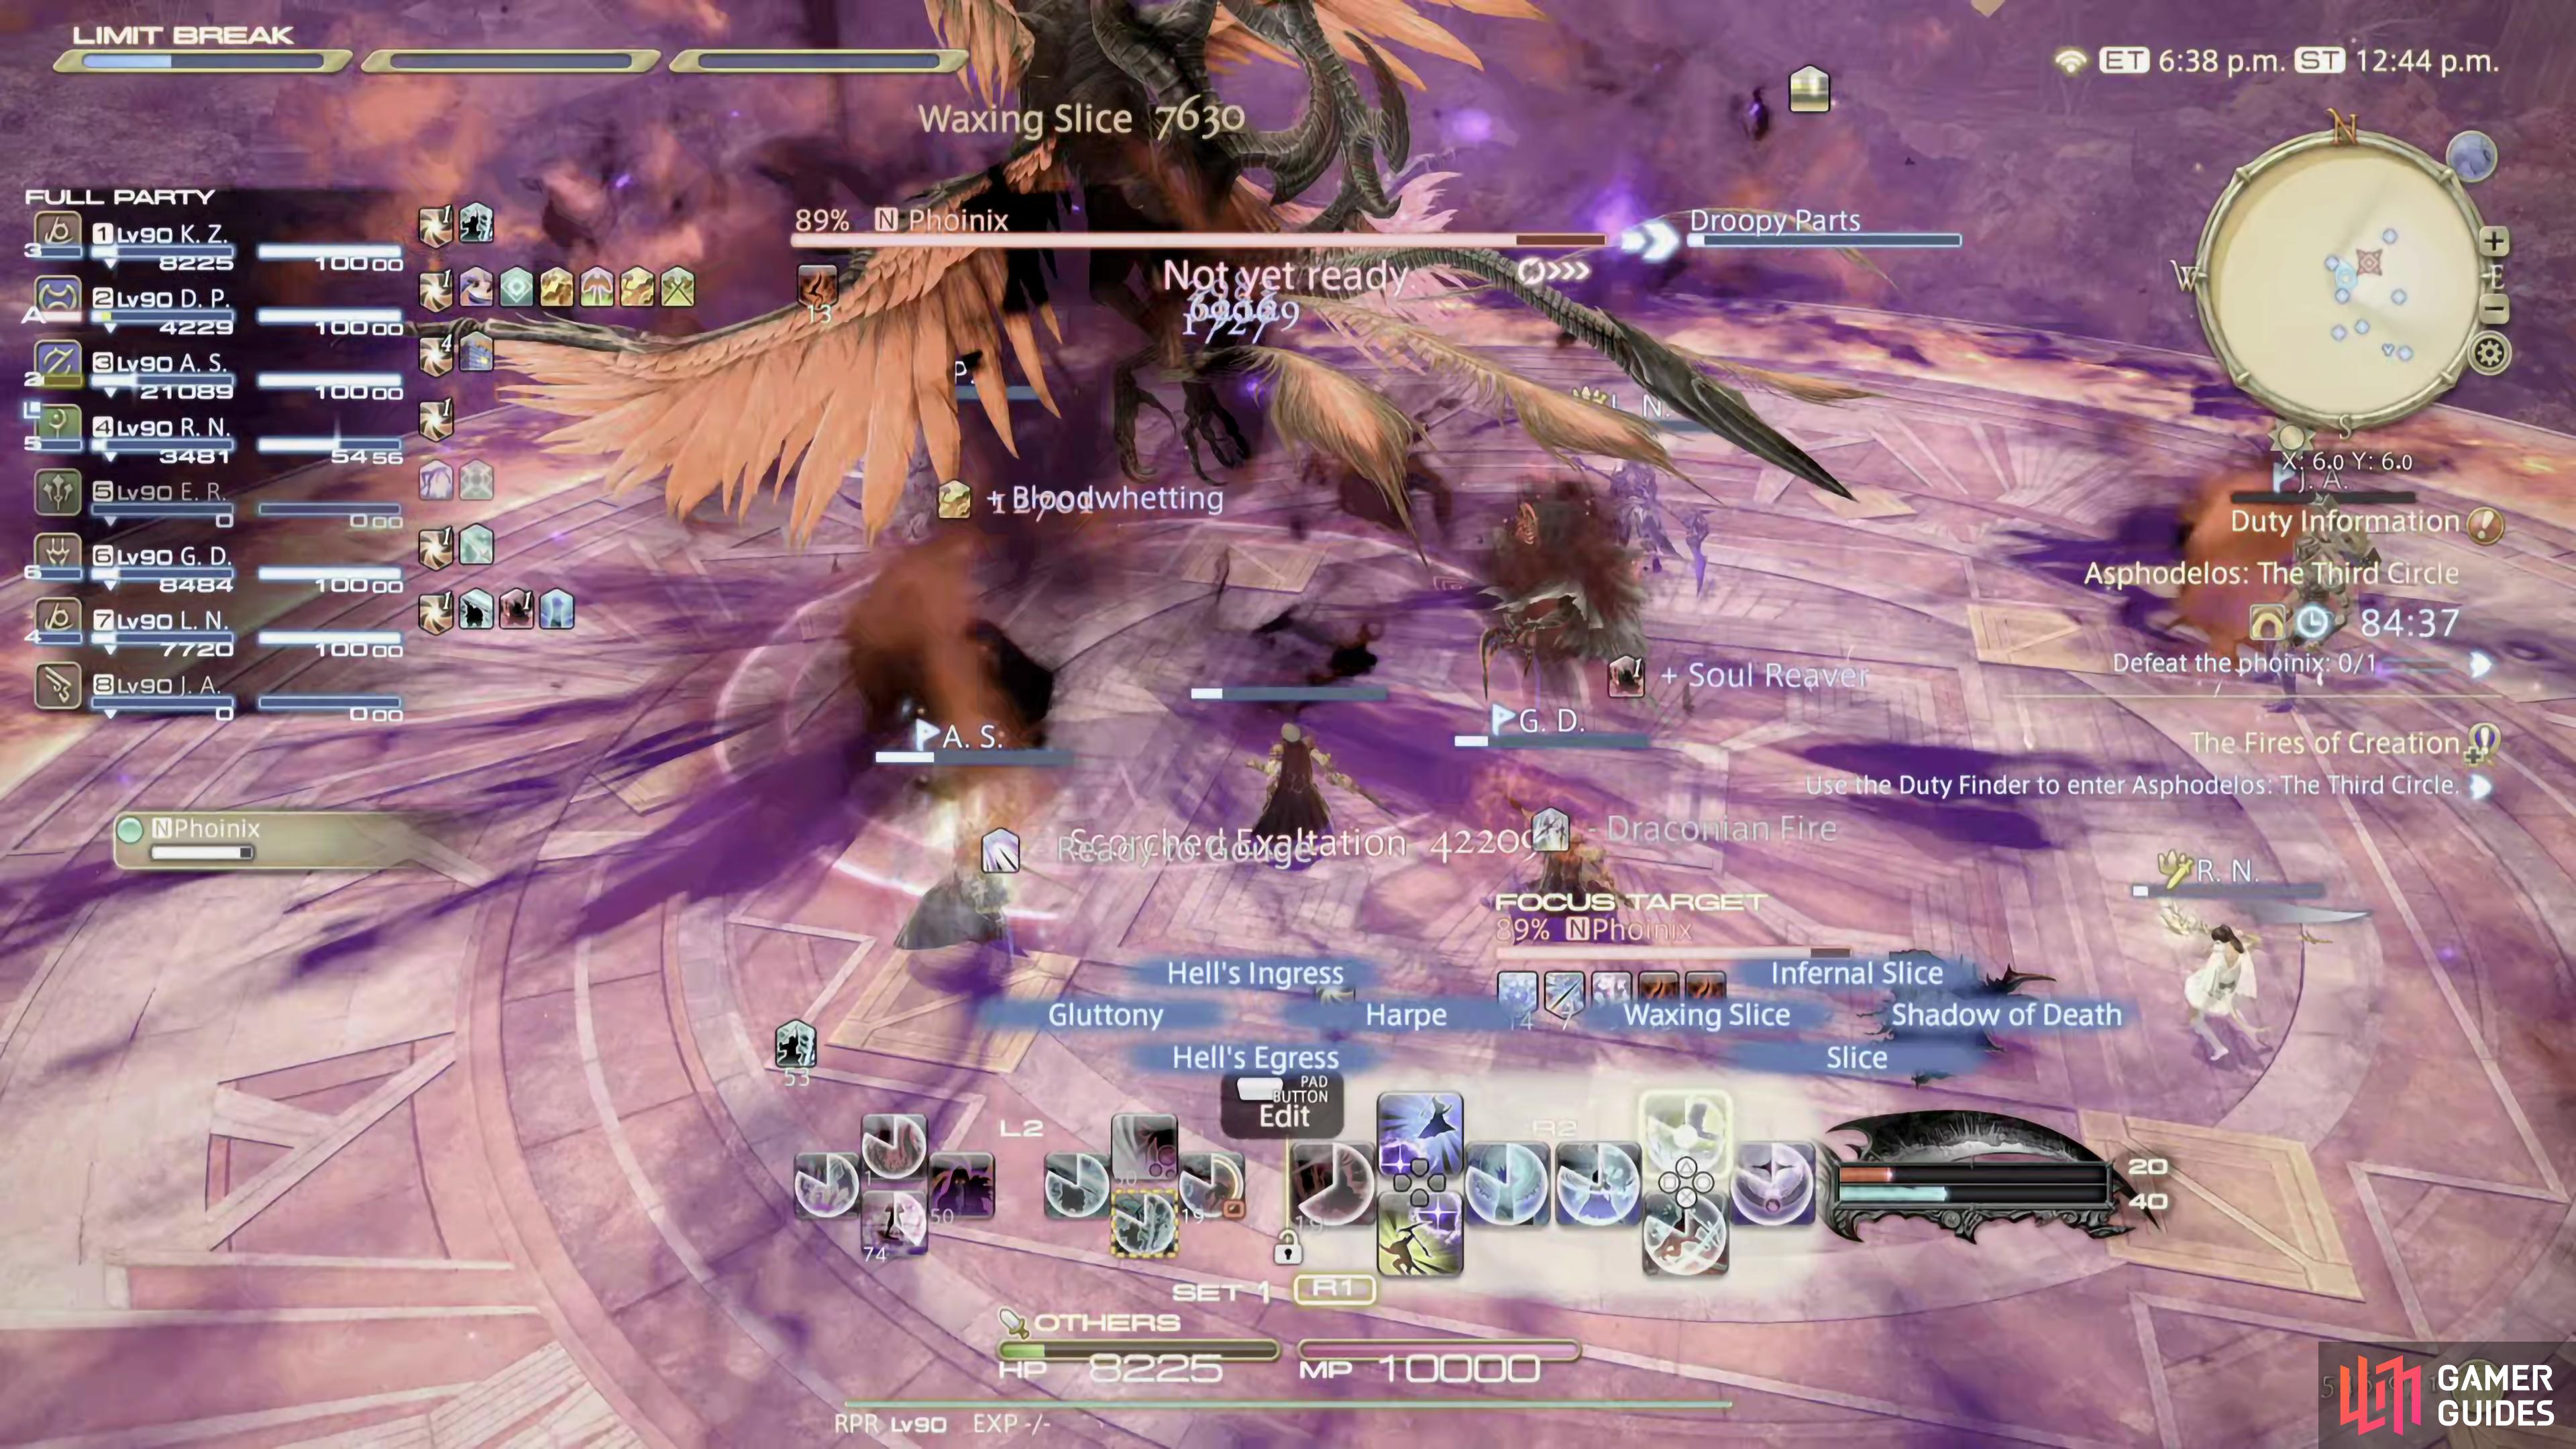
Scorched Exaltation is a raid-wide AoE that deals major damage. (left), make sure the party have sufficient health to take the hit. (right)
Heat of Condemnation
Phoinix will target both tanks with a tankbuster. Both tanks should get away from each other as this will be a small AoE around each tank.
(1 of 2) Heat of Condemnation is a tankbuster on each tank

Heat of Condemnation is a tankbuster on each tank (left), as the tanks, make sure to separate from each other as it’ll cast an AoE around you. (right)
Darkened Fire and Brightened Fire
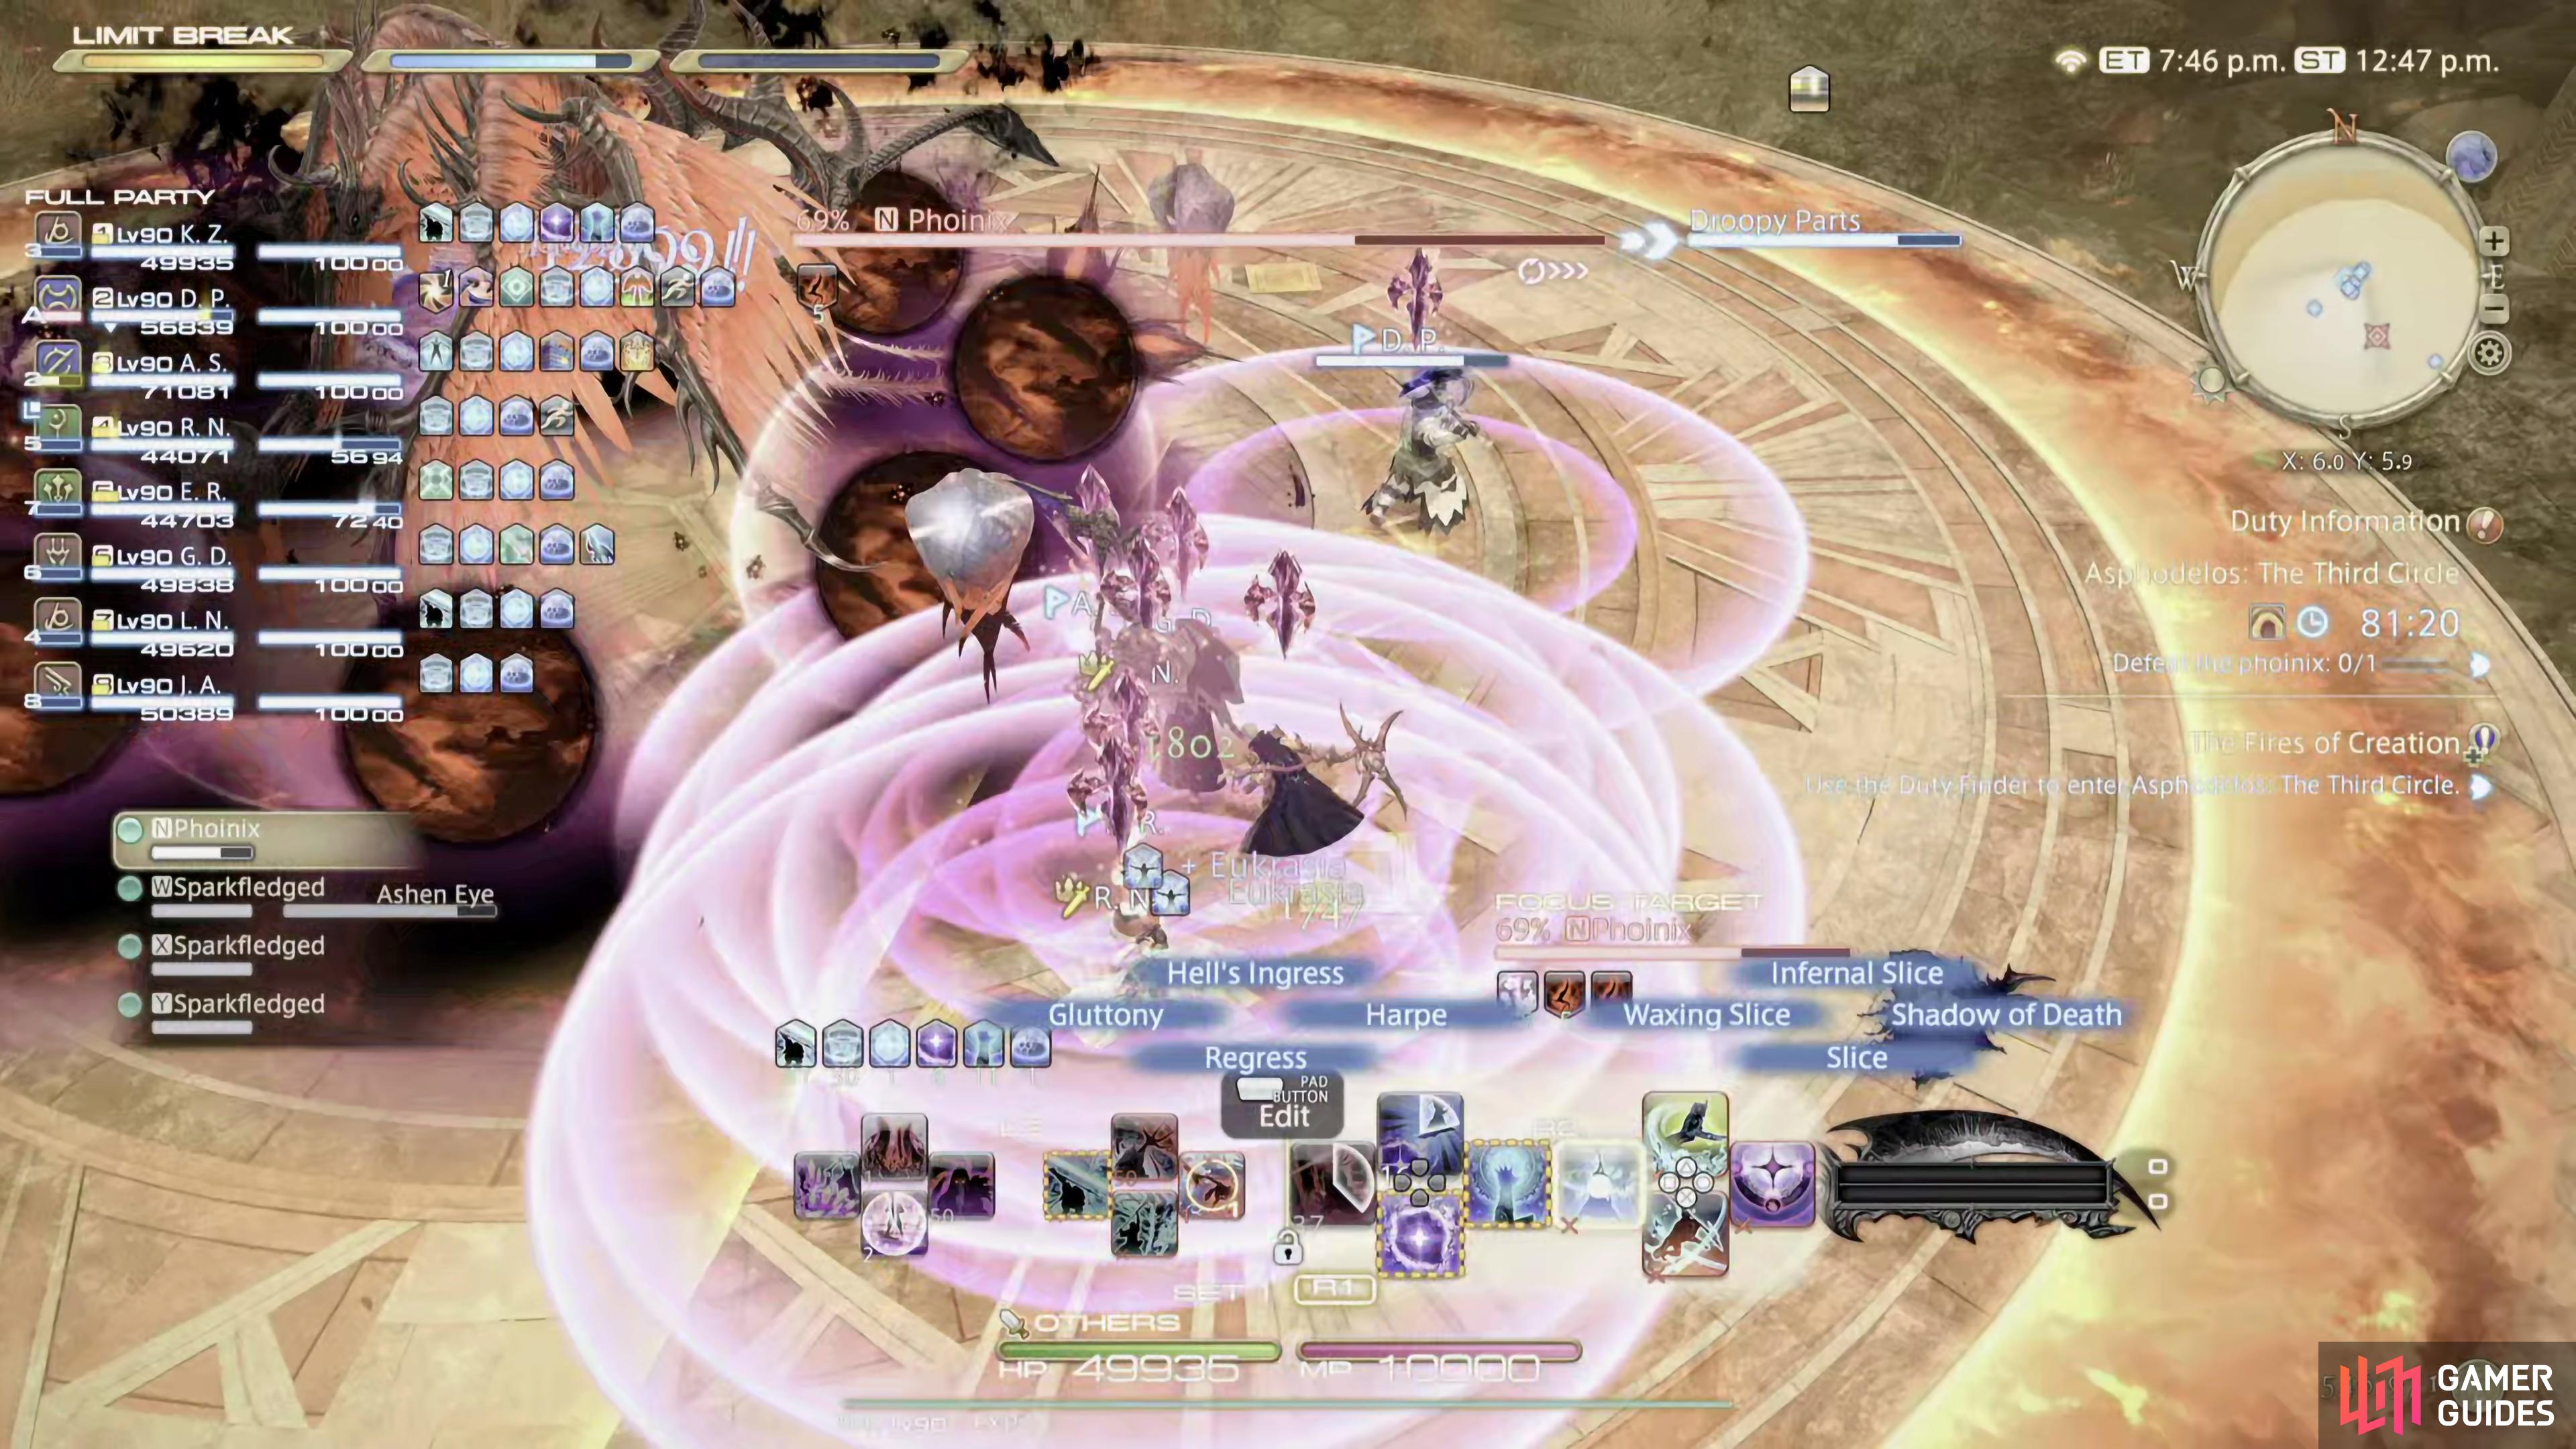
The Phoinix will summon four Darkened Fire’s around the center of the arena. It’ll then place black markers on four party members. Each targeted player will want to go to a seperate Darkened Fire, whilst the rest of the party will need to get away from them. It’ll then cast Brightened fire on each player with a marker, whilst the sparkfledged will cast Darkened Blaze.
Right/Left Cinderwing
Phoinix will do an AoE on half the arena, corresponding with the name of the attack. If it’s Right Cinderwing, stand on its left side, if it’s Left Cinderwing, stand on its right side.

(1 of 2) If Phoinix casts Right Cinderwing, stand on its left side


If Phoinix casts Right Cinderwing, stand on its left side (left), If it casts Left Cinderwing, stand on its right side. (right)
Trail of Condemnation and Flare of Condemnation
Throughout the battle, Phoinix will become untargetable, and fly out to the edge of the arena. After a few seconds, it’ll fly across the arena whilst breathing fire down in a line AoE. Move either side of the AoE to avoid it. Sometimes, during this attack, Phoinix will cast Flare of Condemnation on each party member, and they’ll have a purple circle AoE marker above their heads. Spread out to avoid stacking the damage.
Phoinix will fly past the arena, breathing fire upon the ground in a line AoE.
Phase Two Mechanics
Phase Two will be an add phase with Sunbirds whilst Phoinix charges up its Phoinix Fire gauge. If it gets to 100%, the party will wipe.
Sunbirds
At first, you’ll have two Sunbirds spawn. Each tank will need to grab one, and take them to the opposite side of the arena whilst the DPS burn them down. The Sunbirds will occasionaly cast Fore Carve or Rear Carve, sometimes they’ll both cast the same one. If it’s Fore Carve, it’ll do a cleave attack in front of itself. If it’s Rear Carve, the Sunbird will do a cleave behind itself.
Once the first two have been defeated, they’ll leave behind two light circles, and another two will spawn. This time, the tanks will want to take each Sunbird to the opposite side of the arena again, but this time, take them where there isn’t a light circle. This will leave a safe spot in the center of the arena, where Phoinix is. Burn down the adds again, then run to the center, and buff up for Phoinix’s ultimate attack Dead Rebirth.
Blazing Rain
Throughout the phase, Phoinix will rain down fire, which does minimal raid-wide damage. This can be negated by an AoE regen heal like Medica II.
Phase 3 Mechanics
Phase 3 will introduce some new mechanics.
Fledgling Flight
Phoinix will place large AoEs in each quadrant of the platform, covering the entire arena. These will go off in the order that the Sparkfledged were placed. To avoid this, stand on the last placed Sparkfledged, then run into the safe spot after Phoinix has set the first AoE off.
Experimental Charplume
Every party member will be targeted with an AoE, simply spread from the rest of the party to avoid overlapping, and causing more damage.
Experimental_Charplume will place markers above each party member, separate, to lessen the damage it does.
Devouring Brand
This attack will send lines of fire across the arena before finally meeting in the middle to create a plus shape (+). You’ll want at least one party member in each quadrant, as Phoinix will cast a Darkened Fire after the attack. However, this won’t happen the first time you see the attack. Sometimes Phoinix may cast Searing Breeze after it.
Searing Breeze
Phoinix will cast several medium-sized AoEs around the arena. Stay on the move to avoid it. If it casts it during Devouring Brand, it’ll cast it in two of the quadrants, just as the attack is about to finish. Simply run towards the center as soon as Devouring Brand ends.

(1 of 2) Searing Breeze will cast multiple AoEs all around the arena

Searing Breeze will cast multiple AoEs all around the arena (left), keep moving to avoid taking damage. (right)
Strategy
The first phase will be a combination of Experimental Fireplumes, Darkened Fire, and Cinderwings with the odd raid AoE (Scorched Exaltation), and tank buster (Heat of Condemnation).
For the Experimental Fireplume mechanic, look at Phoinix, and if it has one large fire orb on/around it, run to the edge of the arena to avoid the instant large AoE around itself. If it has several small fire orbs, AoEs will drop from both the east and west of the arena and go clockwise with a final AoE going off around Phoinix. The easiest way to avoid the smaller orbs is to run towards the center, and run clockwise whilst making micro adjustments to avoid the AoEs, then run out to avoid the final AoE.
The Cinderwings are a simple enough mechanic to avoid, if you see Right Cinderwing, stand on Phoinix’s left side, and vice versa for Left Cinderwing. When Phoinix casts Darkened Fire, four Sparkfledged totems will drop in the center of the arena. This will place four markers on four party members, then Phoinix will cast Brightened Flame, which will attack each marked party member one at a time. The four marke players will need to stand at a different Sparkfledged totem to mitigate the damage, whilst the rest of the party stays away from them.
If you see Phoinix cast Scorched Exaltation, you’ll have raid-wide damage incoming. This attack hits pretty hard, so make sure the party’s health is topped up. Other than that, Phoinix will do the occasional tank buster Heat of Condemnation on both tanks. This will cast an AoE around each tank, so make sure they stay seperated from each other.
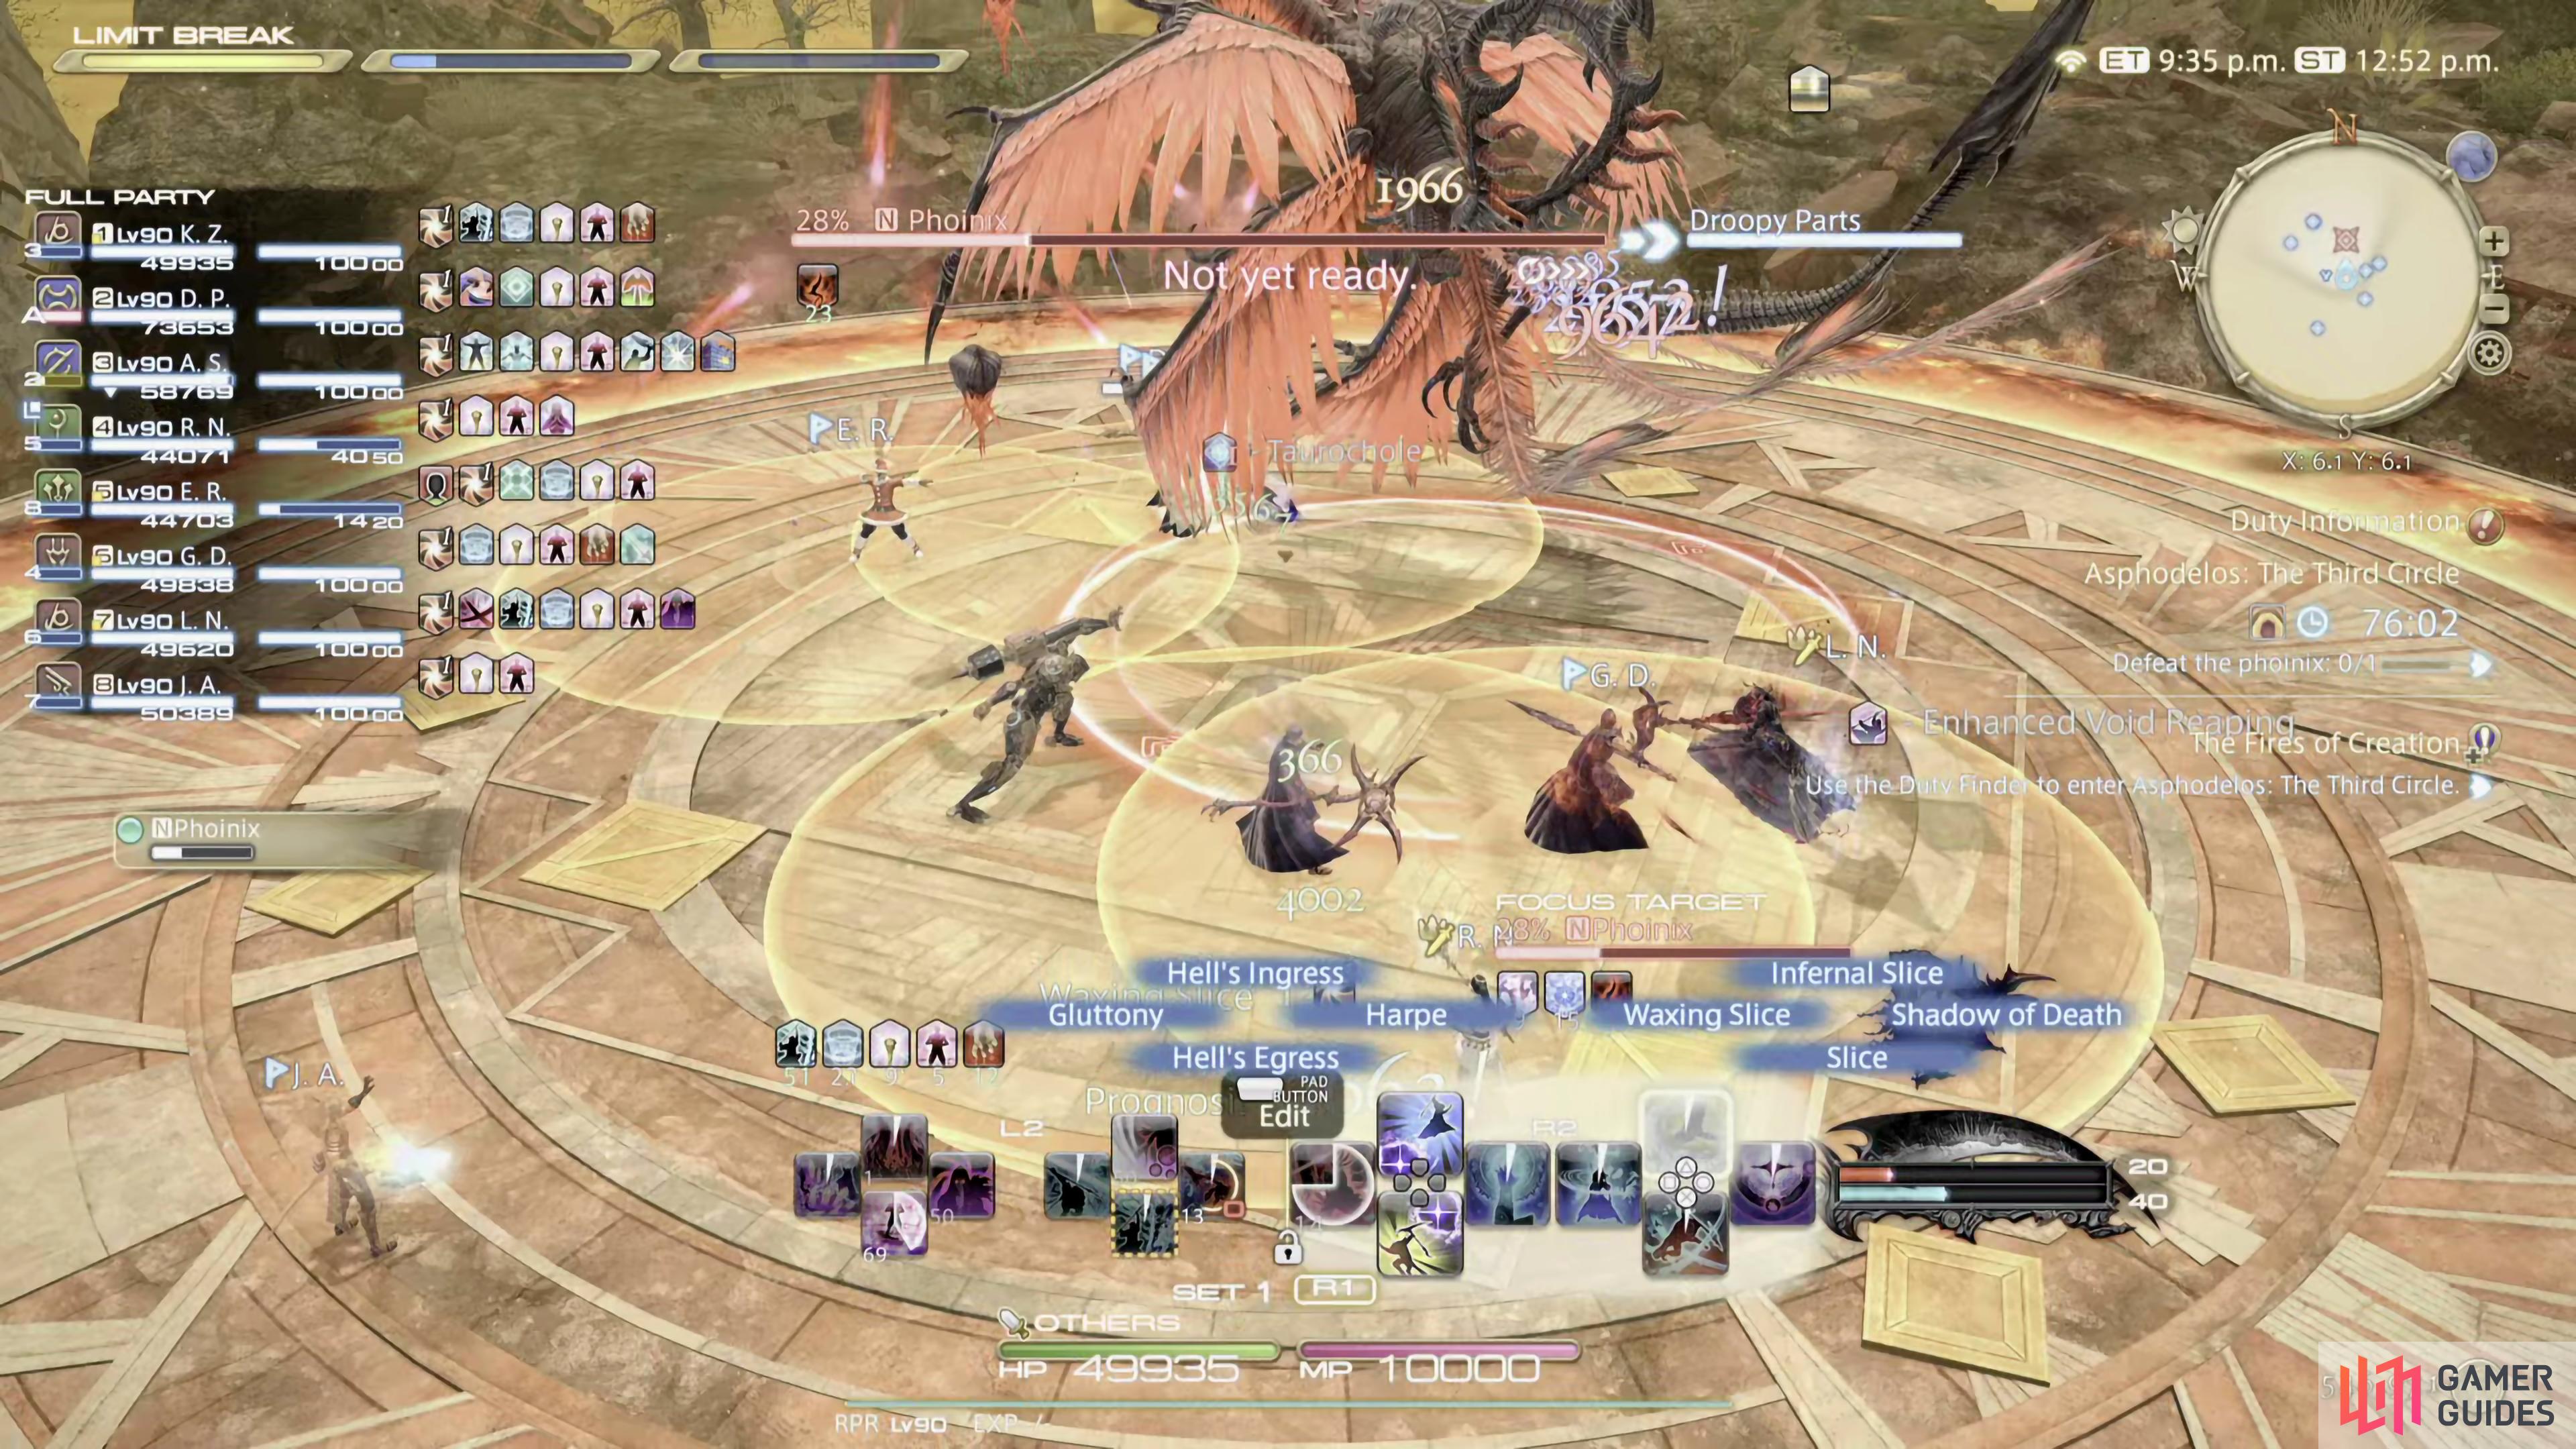
At around 75-80% HP, Phoinix will leave the arena and then cast Trail of Condemnation. This is a dive bomb from the side of the arena in a straight line across the arena. Stand either side of it to avoid the attack. When that attack is completed, phase 2 will start.
When phase 2 starts, you’ll notice that it’s an add phase when you see the Phoinix Fire gauge. If that reaches 100, the party will wipe. The best way to deal with this is for each tank to grab a Sunbird, and take them to the opposite side of the arena, then DPS them down. The Sunbirds will cast either a front (Fore Carve) or a rear (Rear Carve) cleave, so be mindful of where you’re standing. Once they’ve been defeated, they’ll drop a light circle where they were killed, and two more will spawn.
This time, each tank should take a Sunbird each into the empty spaces opposite of each other, as this will create a safe zone under Phoinix. When all Sunbirds are down, run into the safe spot, and be prepared for a raid-wide AoE (Flames of Undeath) followed by its ultimate Dead Rebirth. It’s worth noting that throughout the phase, Phoinix will rain down Blazing Rain, which is minimal raid-wide damage that a simple Medica II will negate.
After it’s ultimate, phase 3 will begin and Phoinix will be joined with its untargetable Sparkfledged and some new attacks.
The first attack to watch out for is Fledgling Flight. This will place four Sparkfledged at each cardinal (N, E, S, W) direction of the arena. These will have a cone going from them towards Phoinix in the center. These will go off in the order that they spawned, so stand on the last Sparkfledged and wait for the first one to go off, then run into the safe spot where the first Sparkfledged was.
Another possibly dangerous attack is Devouring Brand. This will have four AoEs at each cardinal direction which produces a line of fire that meet up in the middle of the arena creating a plus (+) shape. The first time it goes off, you can just wait in the safe spots which are the intercardinal (NE, SE, NW, SW) areas of the arena. When Phoinix does it in the future, it will be accompanied by another mechanic, most likely Darkened Fire, so you’ll want at least one party member in each intercardinal area. Sometimes it’ll cast Searing Breeze at the end of it, which drops large circular AoEs under each party member, so be ready to run away. Phoinix can cast Searing Breeze outside this mechanic.
The only other attacks to watch out for are, Experimental Charplume which places purple circular markers over every party member, which you don’t want to overlap with other players, and Flare of Condemnation which is the same thing, but it only happens when Phoinix charges across the battlefield with Trail of Condemnation.
Phoinix will rotate through these attacks as well as some other phases attacks, sometimes combining them for the rest of the battle. Before you know it, Phoinix will be defeated, and you can progress on to the final boss of the tier.
How to Tank
There are some mechanics in this Raid that involves the Tanks performing correctly. The first is Heat of Condemnation, this is a Tankbuster on each Tank that will explode in an AoE around each, both Tanks should ensure they move away from each other and the rest of the Raid. The second, and most important mechanic, is the Sunbirds phase. Each Tank needs to pick up one of the adds and tank them away from the other so their circles don’t touch. This is done by tanking one south and one north. A second set of birds will spawn after these, you can tank these to the east and west before dashing into the center to group up with the Raid for heals.
How to Heal
Phoinix is a fairly challenging battle to heal as there’s a few heavy attacks being thrown onto the party along with a couple Tank Busters.Throughout the fight you’ll want to throw in the odd group heal and make sure everyone has Regen, but there is a few attacks you should be especially aware of. Scorched Exaltation is a powerful AoE so both Healers should be ready to perform group heals to top up the party.
Following this you’ll notice a double Tank Buster, Head of Condemnation. Here you’ll want to use your single target heals on both of them after the attack to top their health up. However, if the tanks don’t split up you’ll need to use your strongest group heal, as they’ll take a large chunk of damage. Finally, be ready to use group heals during Experimental Charplume, as this is an attack players cannot avoid.
Phoinix Rewards
You can find all the rewards for Phoinix here.
No Comments