
On this page you can find all the details needed to defeat Hydaelyn, the second trial in the Endwalkers expansion of FFXIV. Details on the mechanics along with how to tank and heal.
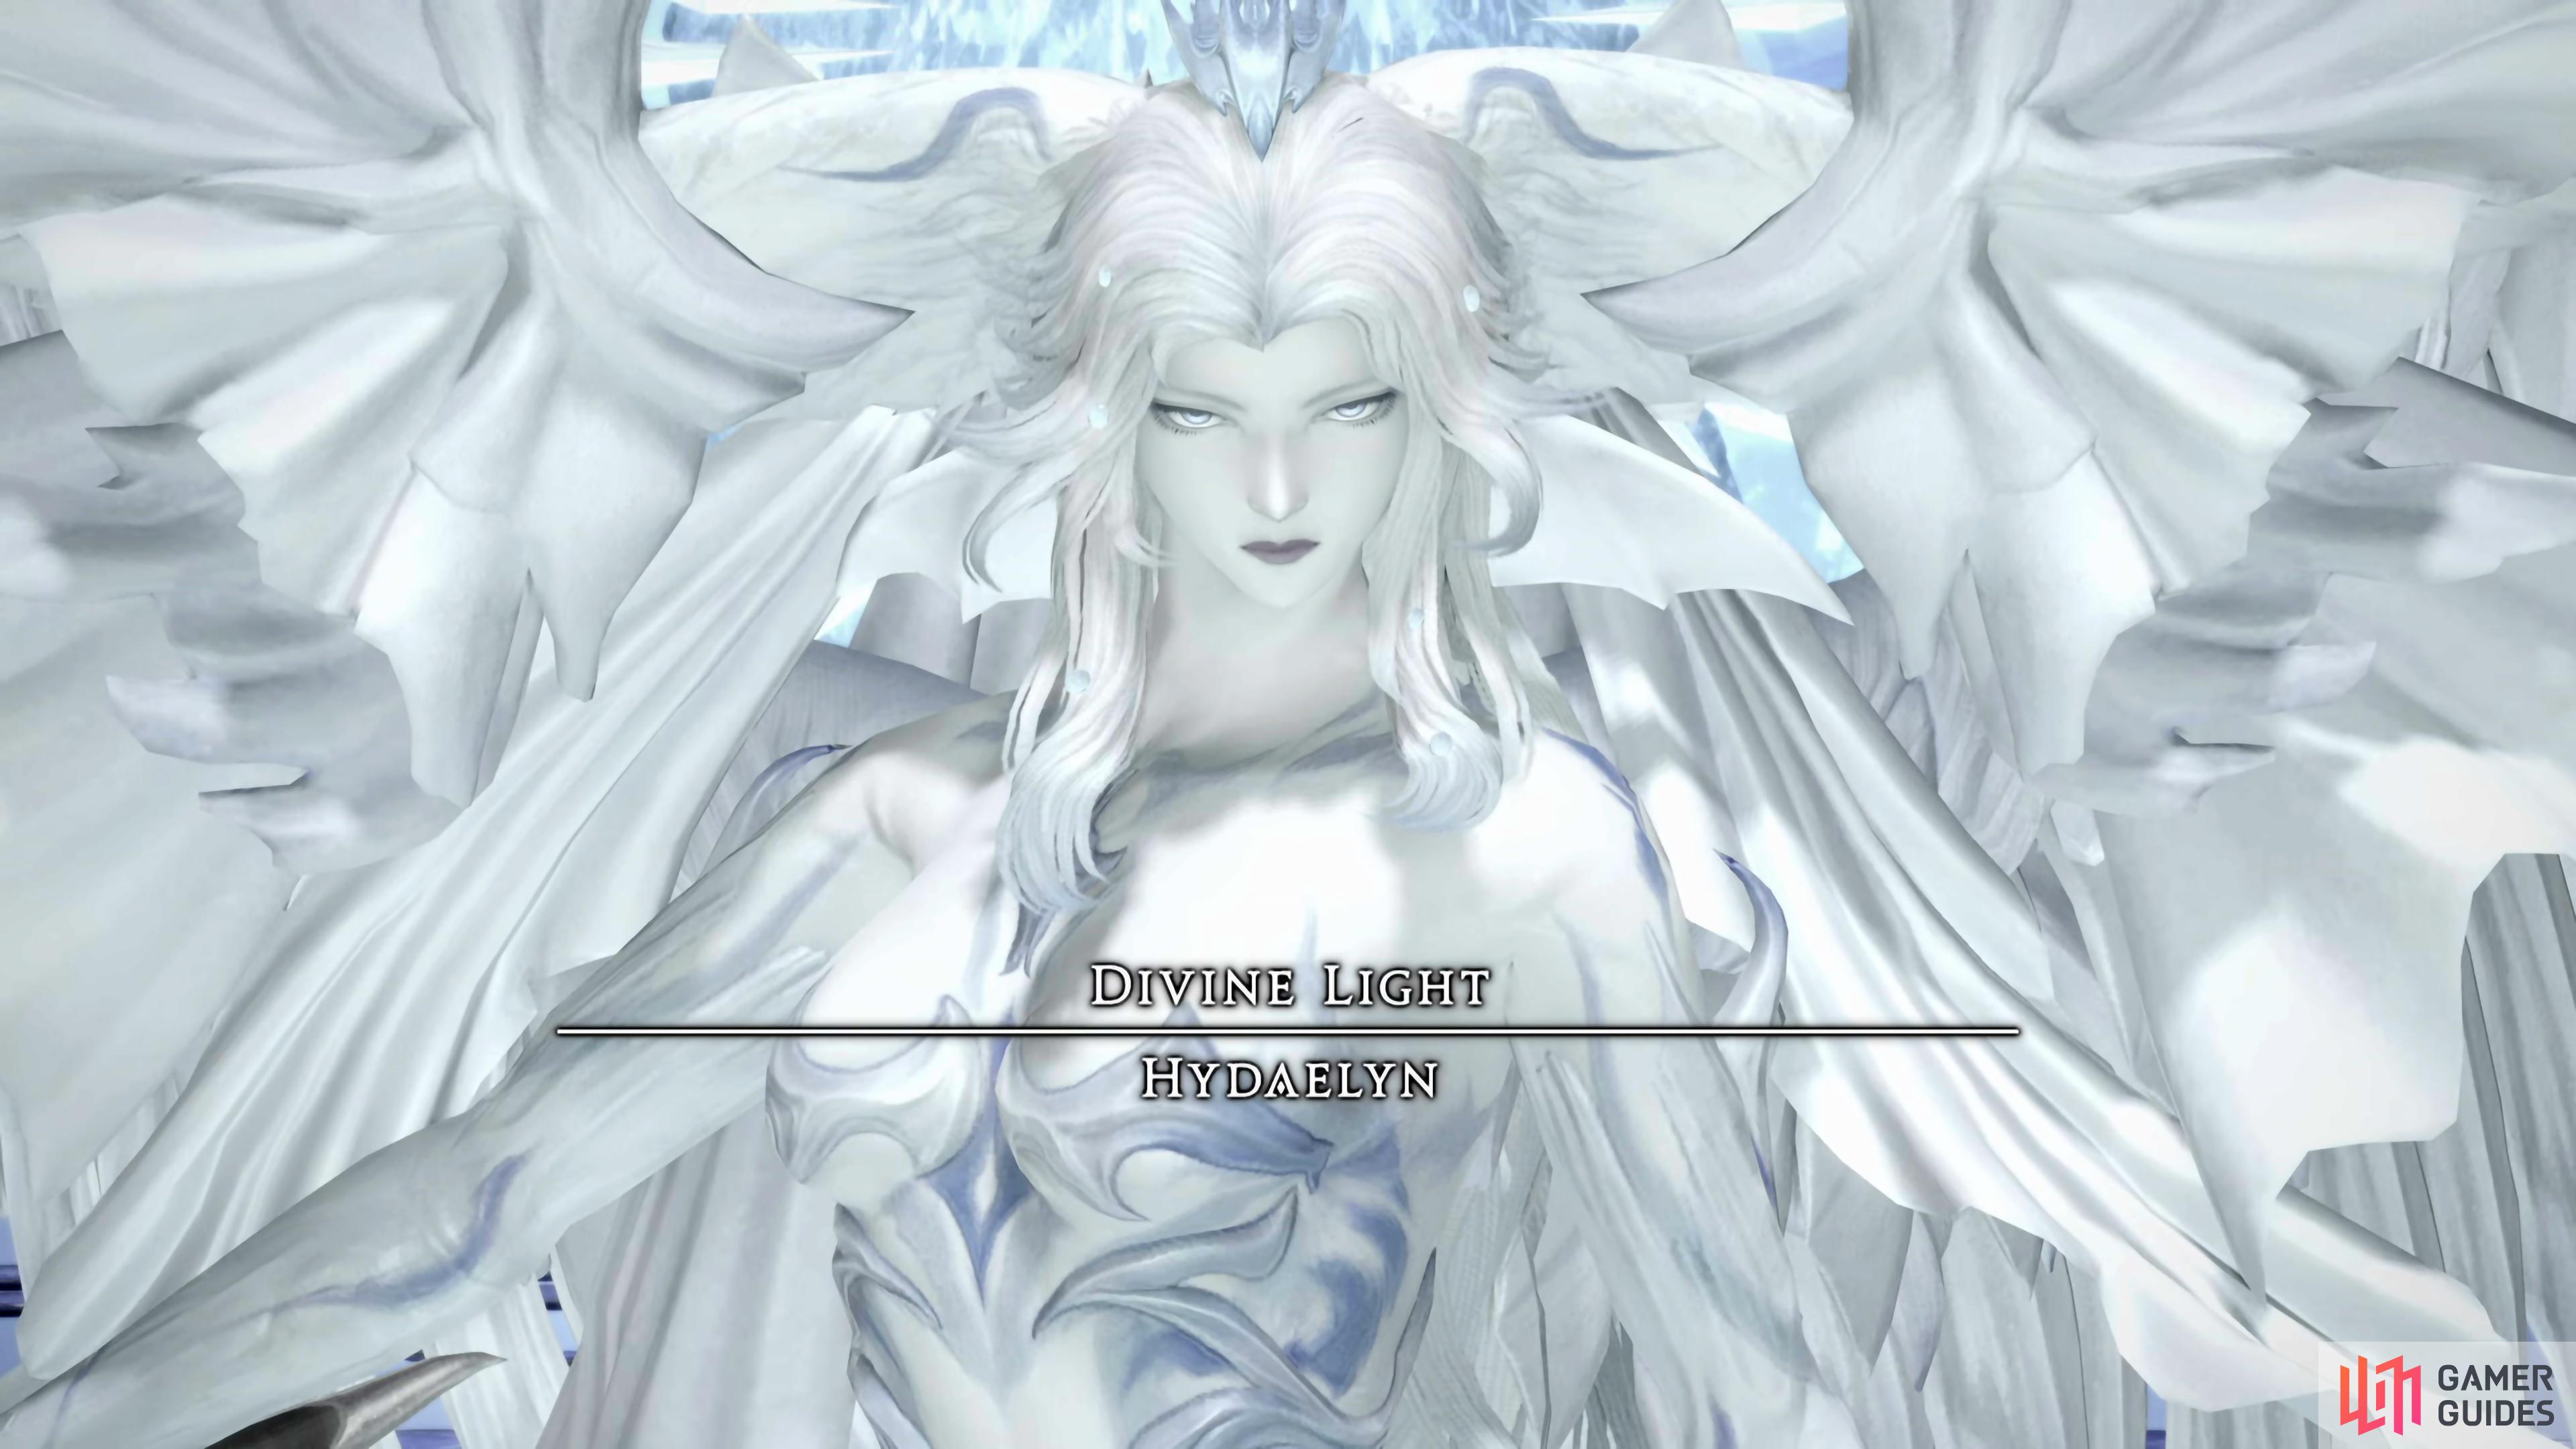
Hydaelyn is the second trial in the Endwalker expanison.
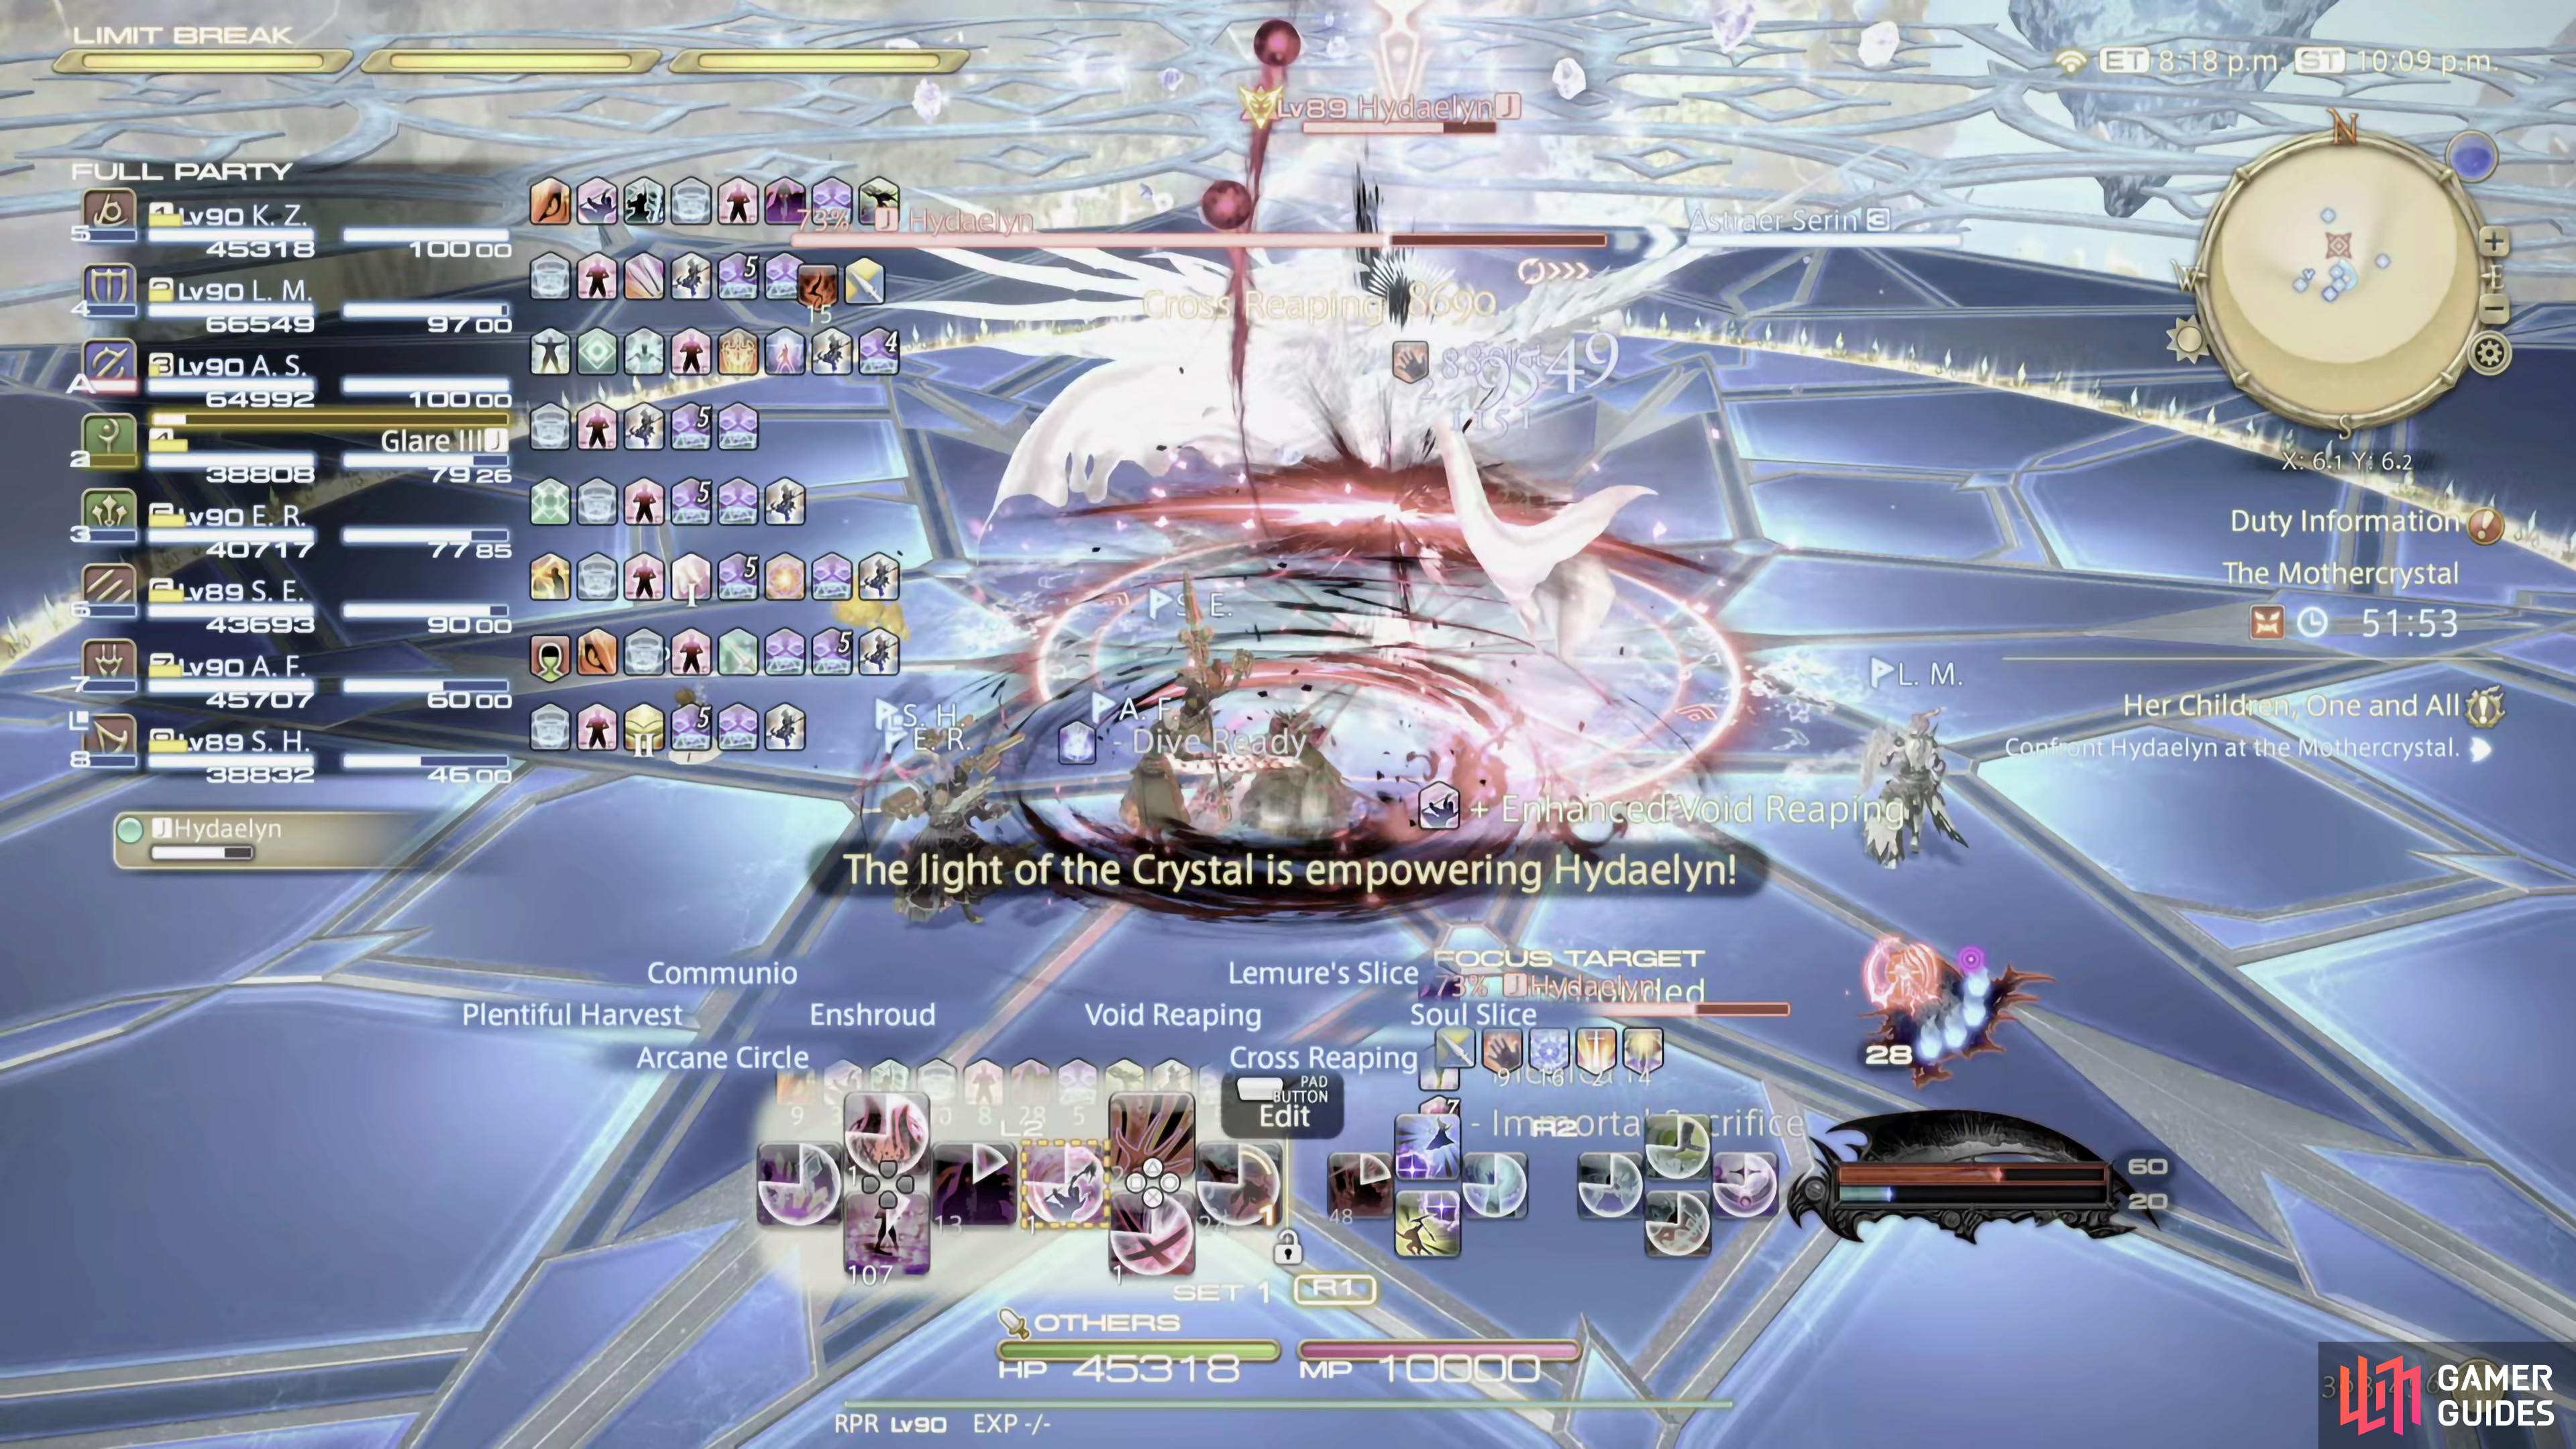
Phase One Mechanics
Majority of the first phase is with the Dawn’s Mantle mechanic. Remember, red = run in, green = run away, and blue = run away diagonally. Other than that, there’ll be a couple of raid-wide AoEs, and tank busters.
Heroes’s Radiance
As soon as the battle starts. Hydaelyn may cast Heroes’s Radiance. This is a raid wide attack that deals moderate damage. Precasting Medica II or its equivalent before the battle starts can keep the party healthy if she does it.

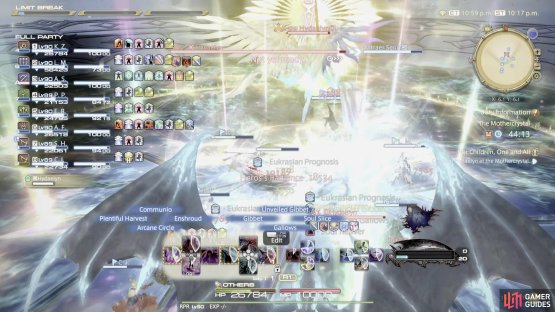
(1 of 2) When you see Hydaelyn cast Hero’s Radiance
When you see Hydaelyn cast Hero’s Radiance (left), be prepared to heal a raid-wide AoE. (right)
Magos’s Radiance
This is another raid-wide AoE. Heal through it like normal.
(1 of 2) Magos’s Radiance is another room-wide AoE.


Magos’s Radiance is another room-wide AoE. (left), so make sure the party is healed up for it. (right)
Dawn Mantle
Hydaelyn will change her weapon, which will determine what mechanic follows.
- Dragoon Lance - This is indicated with a green icon. Hydaelyn will cast a large AoE underneath her. As soon as you see the green icon, run far away from her to avoid being hit by the AoE.
- Dancer Chakrams - This is indicated with a red icon. Hydaelyn will cast a large donut AoE. To avoid this, run right underneath her. Later on, she’ll cast Crystallize with this, which can put either a Stack marker, or AoE circles above the players. When this happens, go in like normal, then run straight out after, making sure not to overlap with the other party members.
- Paladin Sword - This is indicated with a blue icon. Hydaelyn will cast a thick plus (+) shaped AoE in the direction of the cardinals (N, E, S, W). Run into an intercardinal (NE, NW, SE, SW) direction to avoid this. The AoE hitbox is quite wide (same width as Hydaelyn) so make sure to be out of melee range.
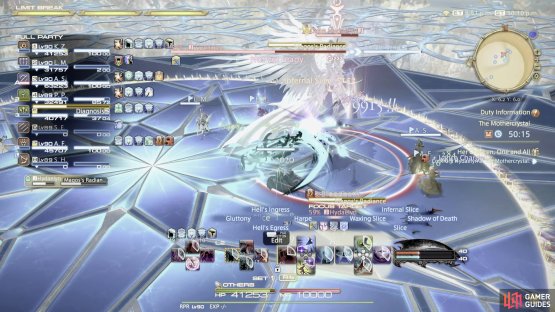
Mousa’s Scorn
Mousa’s Scorn is Hydaelyns tank buster. This has to be shared with the off-tank, using their defensive cooldowns to mitigate the damage.


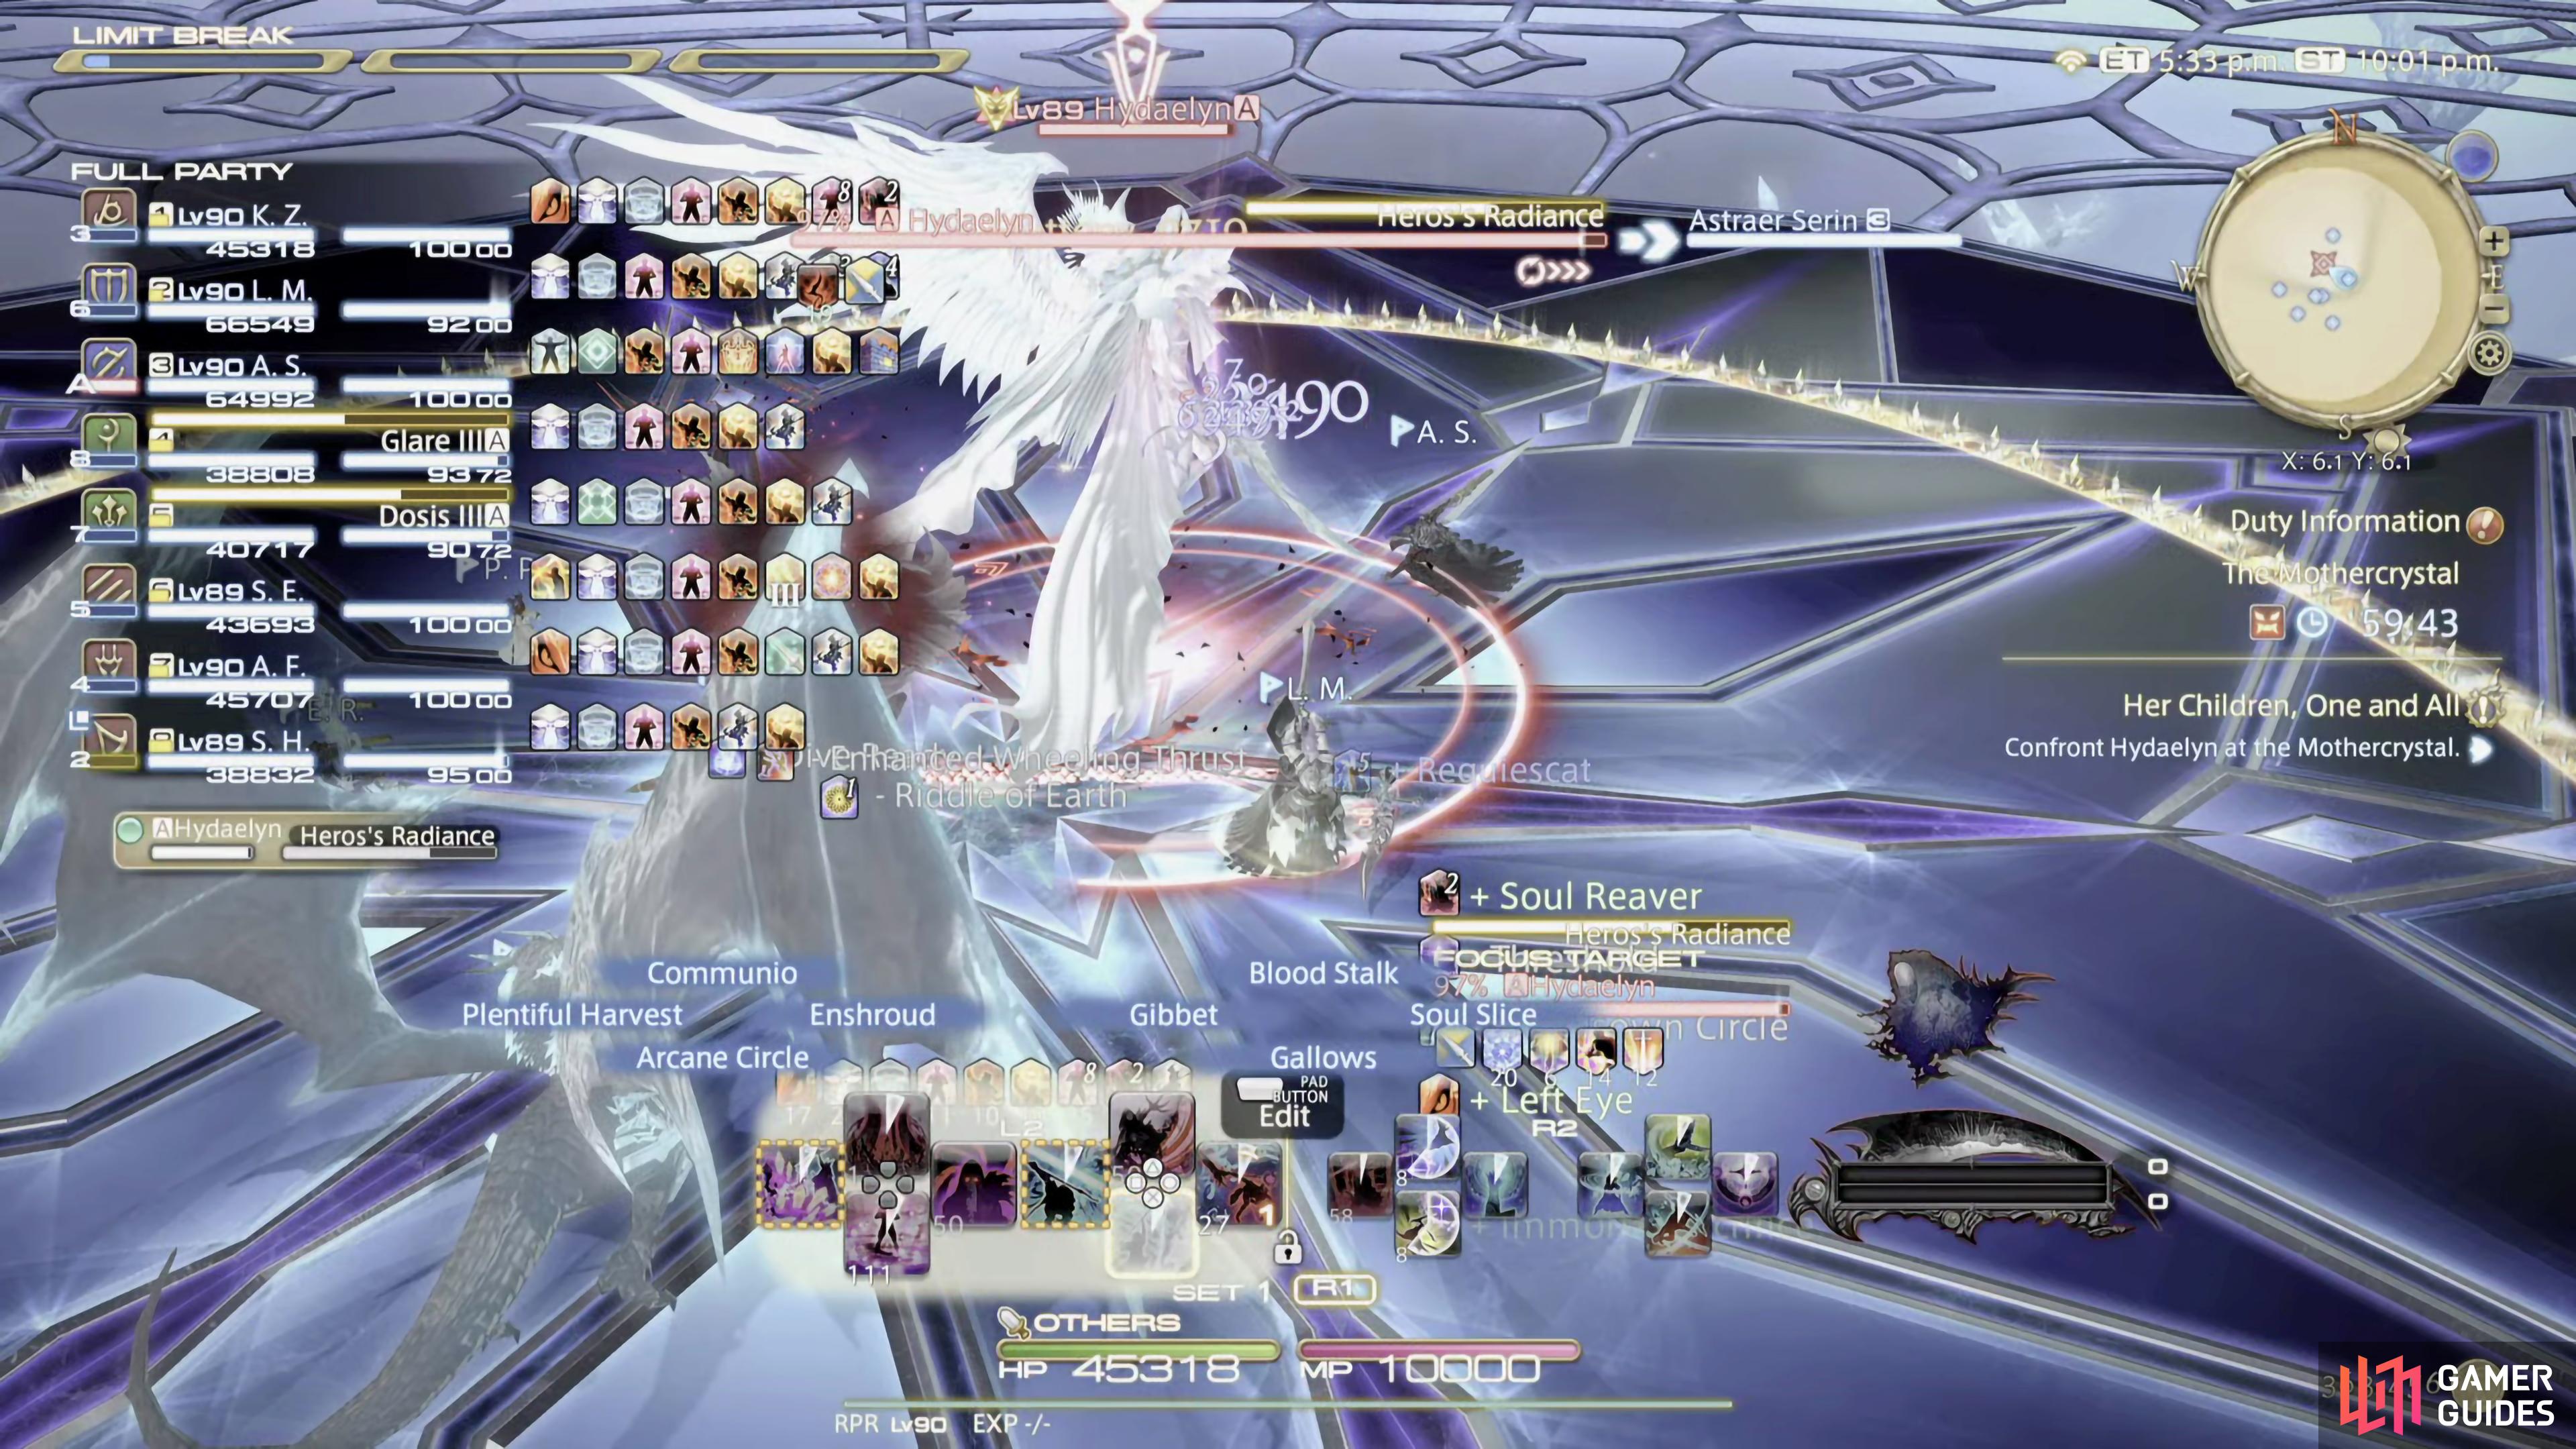
(1 of 2) Mousa’s Scorn is a tank buster which needs to be shared with the off-tank
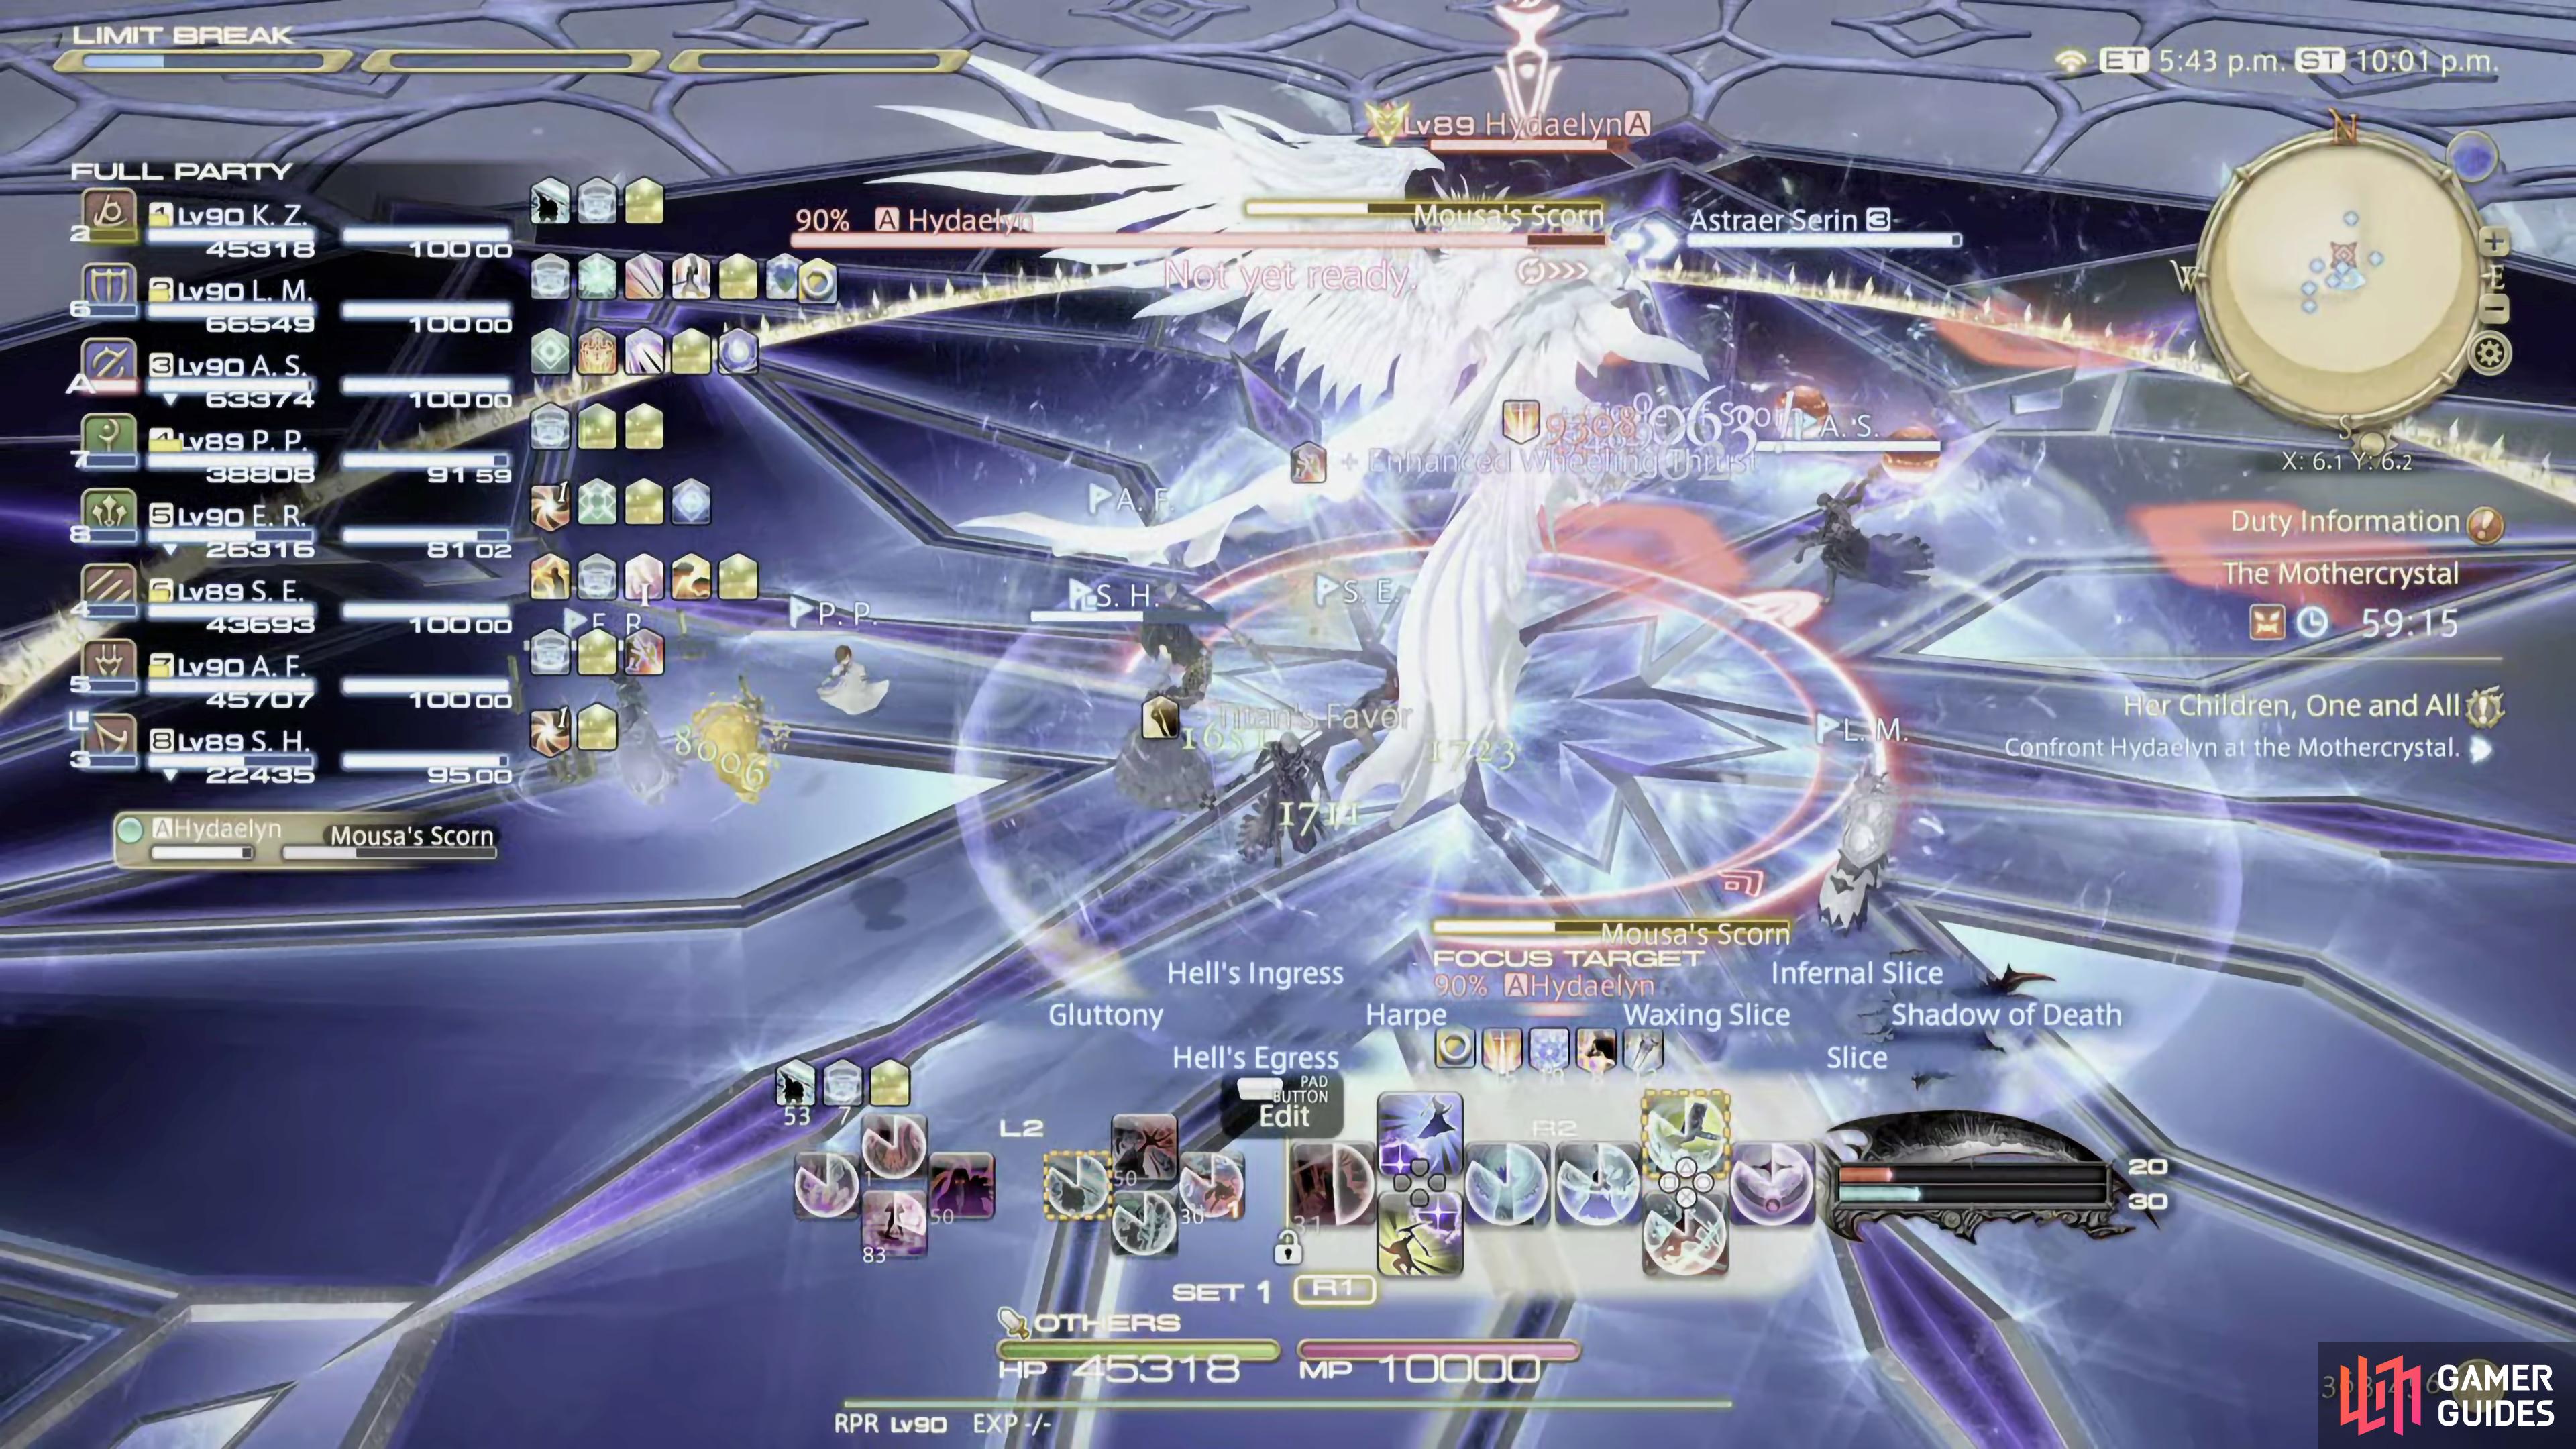

Mousa’s Scorn is a tank buster which needs to be shared with the off-tank (left), you can tell this because the marker has two small red orbs rotating around each other. (right)
Heroes’s Sundering
Another tank buster, but this one has a cleave in a cone-shaped AoE. Naturally, only the tank should get hit by this.

(1 of 2) Heros’s Sundering is a cleaving tank buster
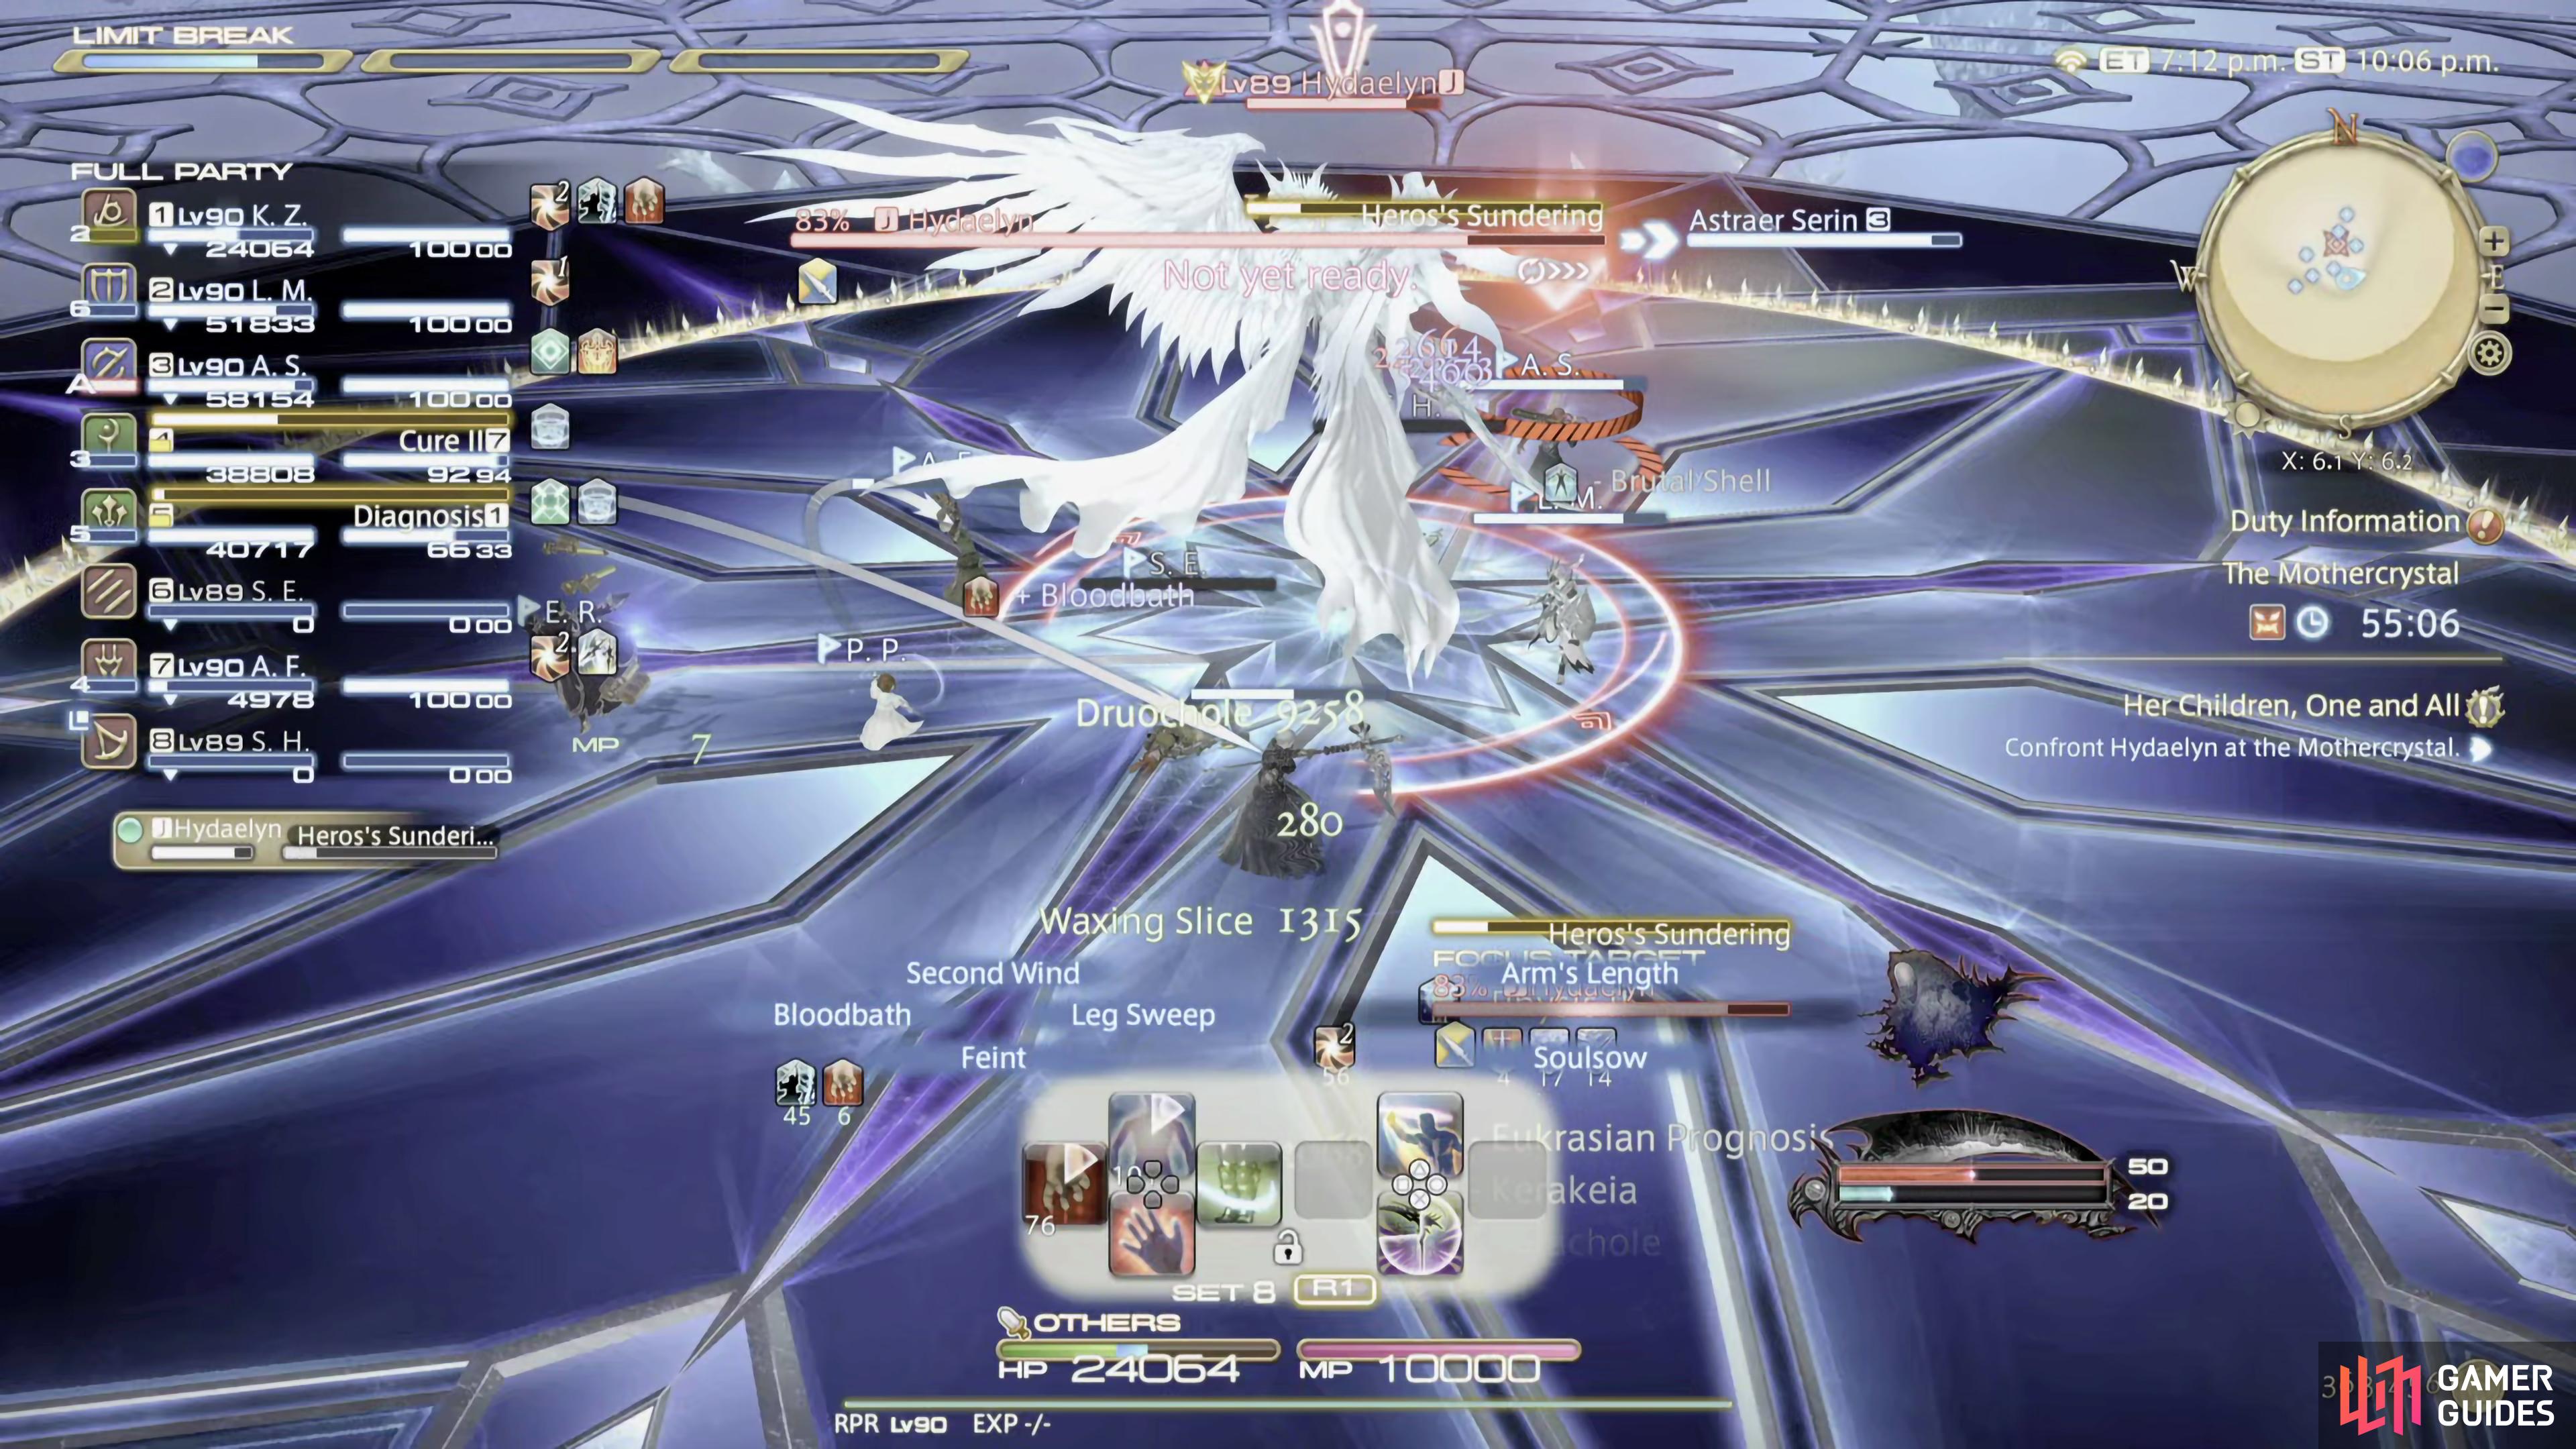

Heros’s Sundering is a cleaving tank buster (left), with a wide cone AoE. (right)
Phase 2 Mechanics
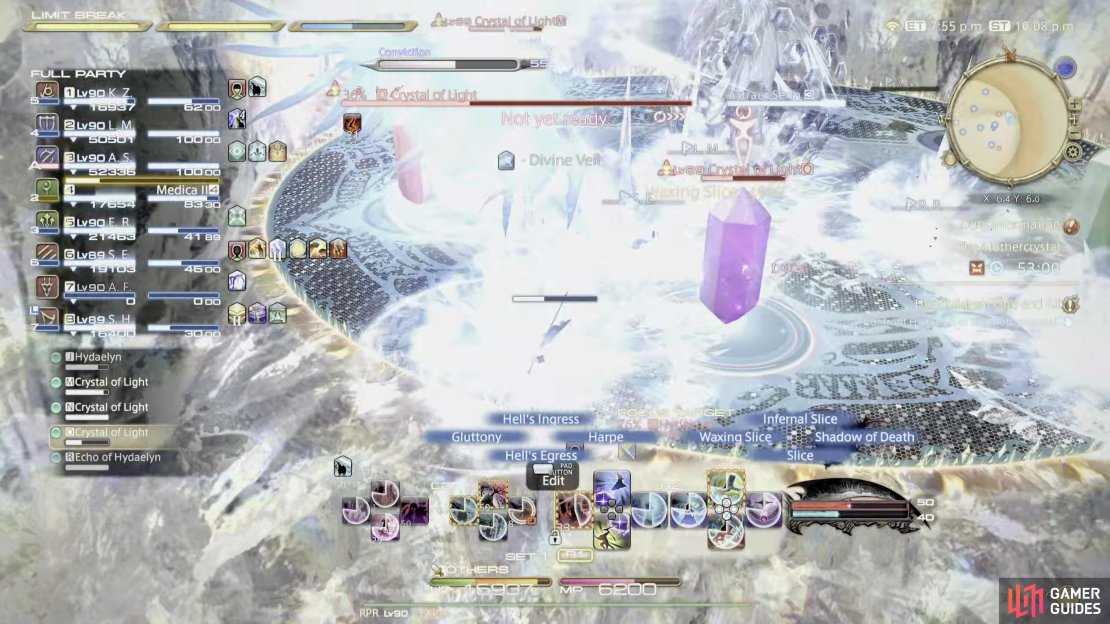
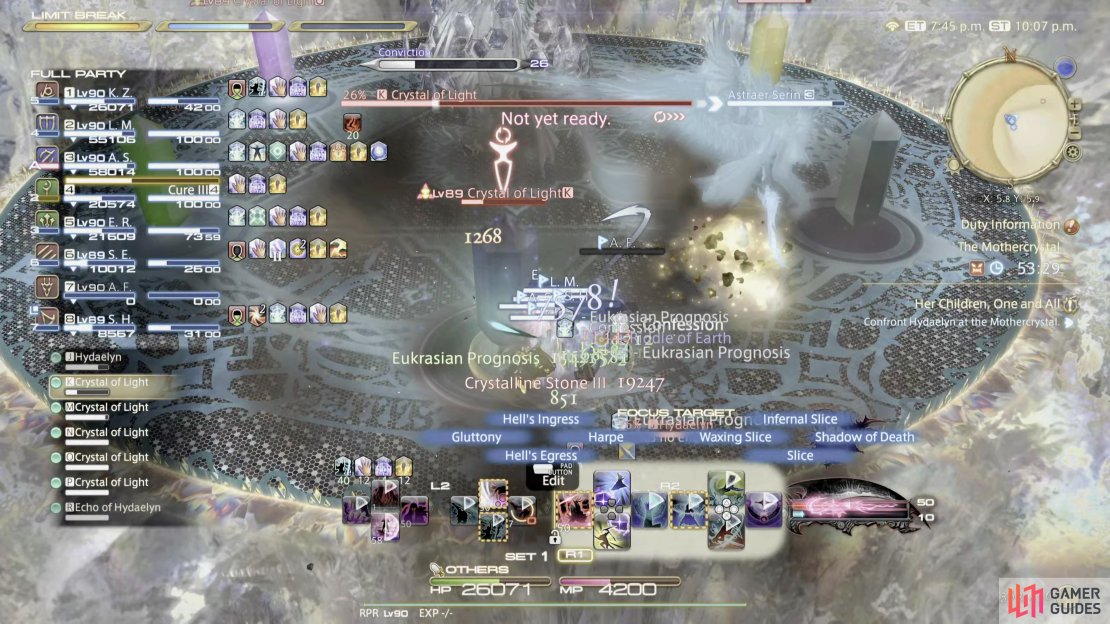
This phase will send the party to a rainbow-colored platform with six crystals around the arena. This is a DPS add phase where you’ll have to kill six crystals of light before the Conviction bar fills up, if the bar reaches 100, the party will wipe. Whilst you’re attacking the crystals, Hydaelyn will cast a few different attacks to slow you down.
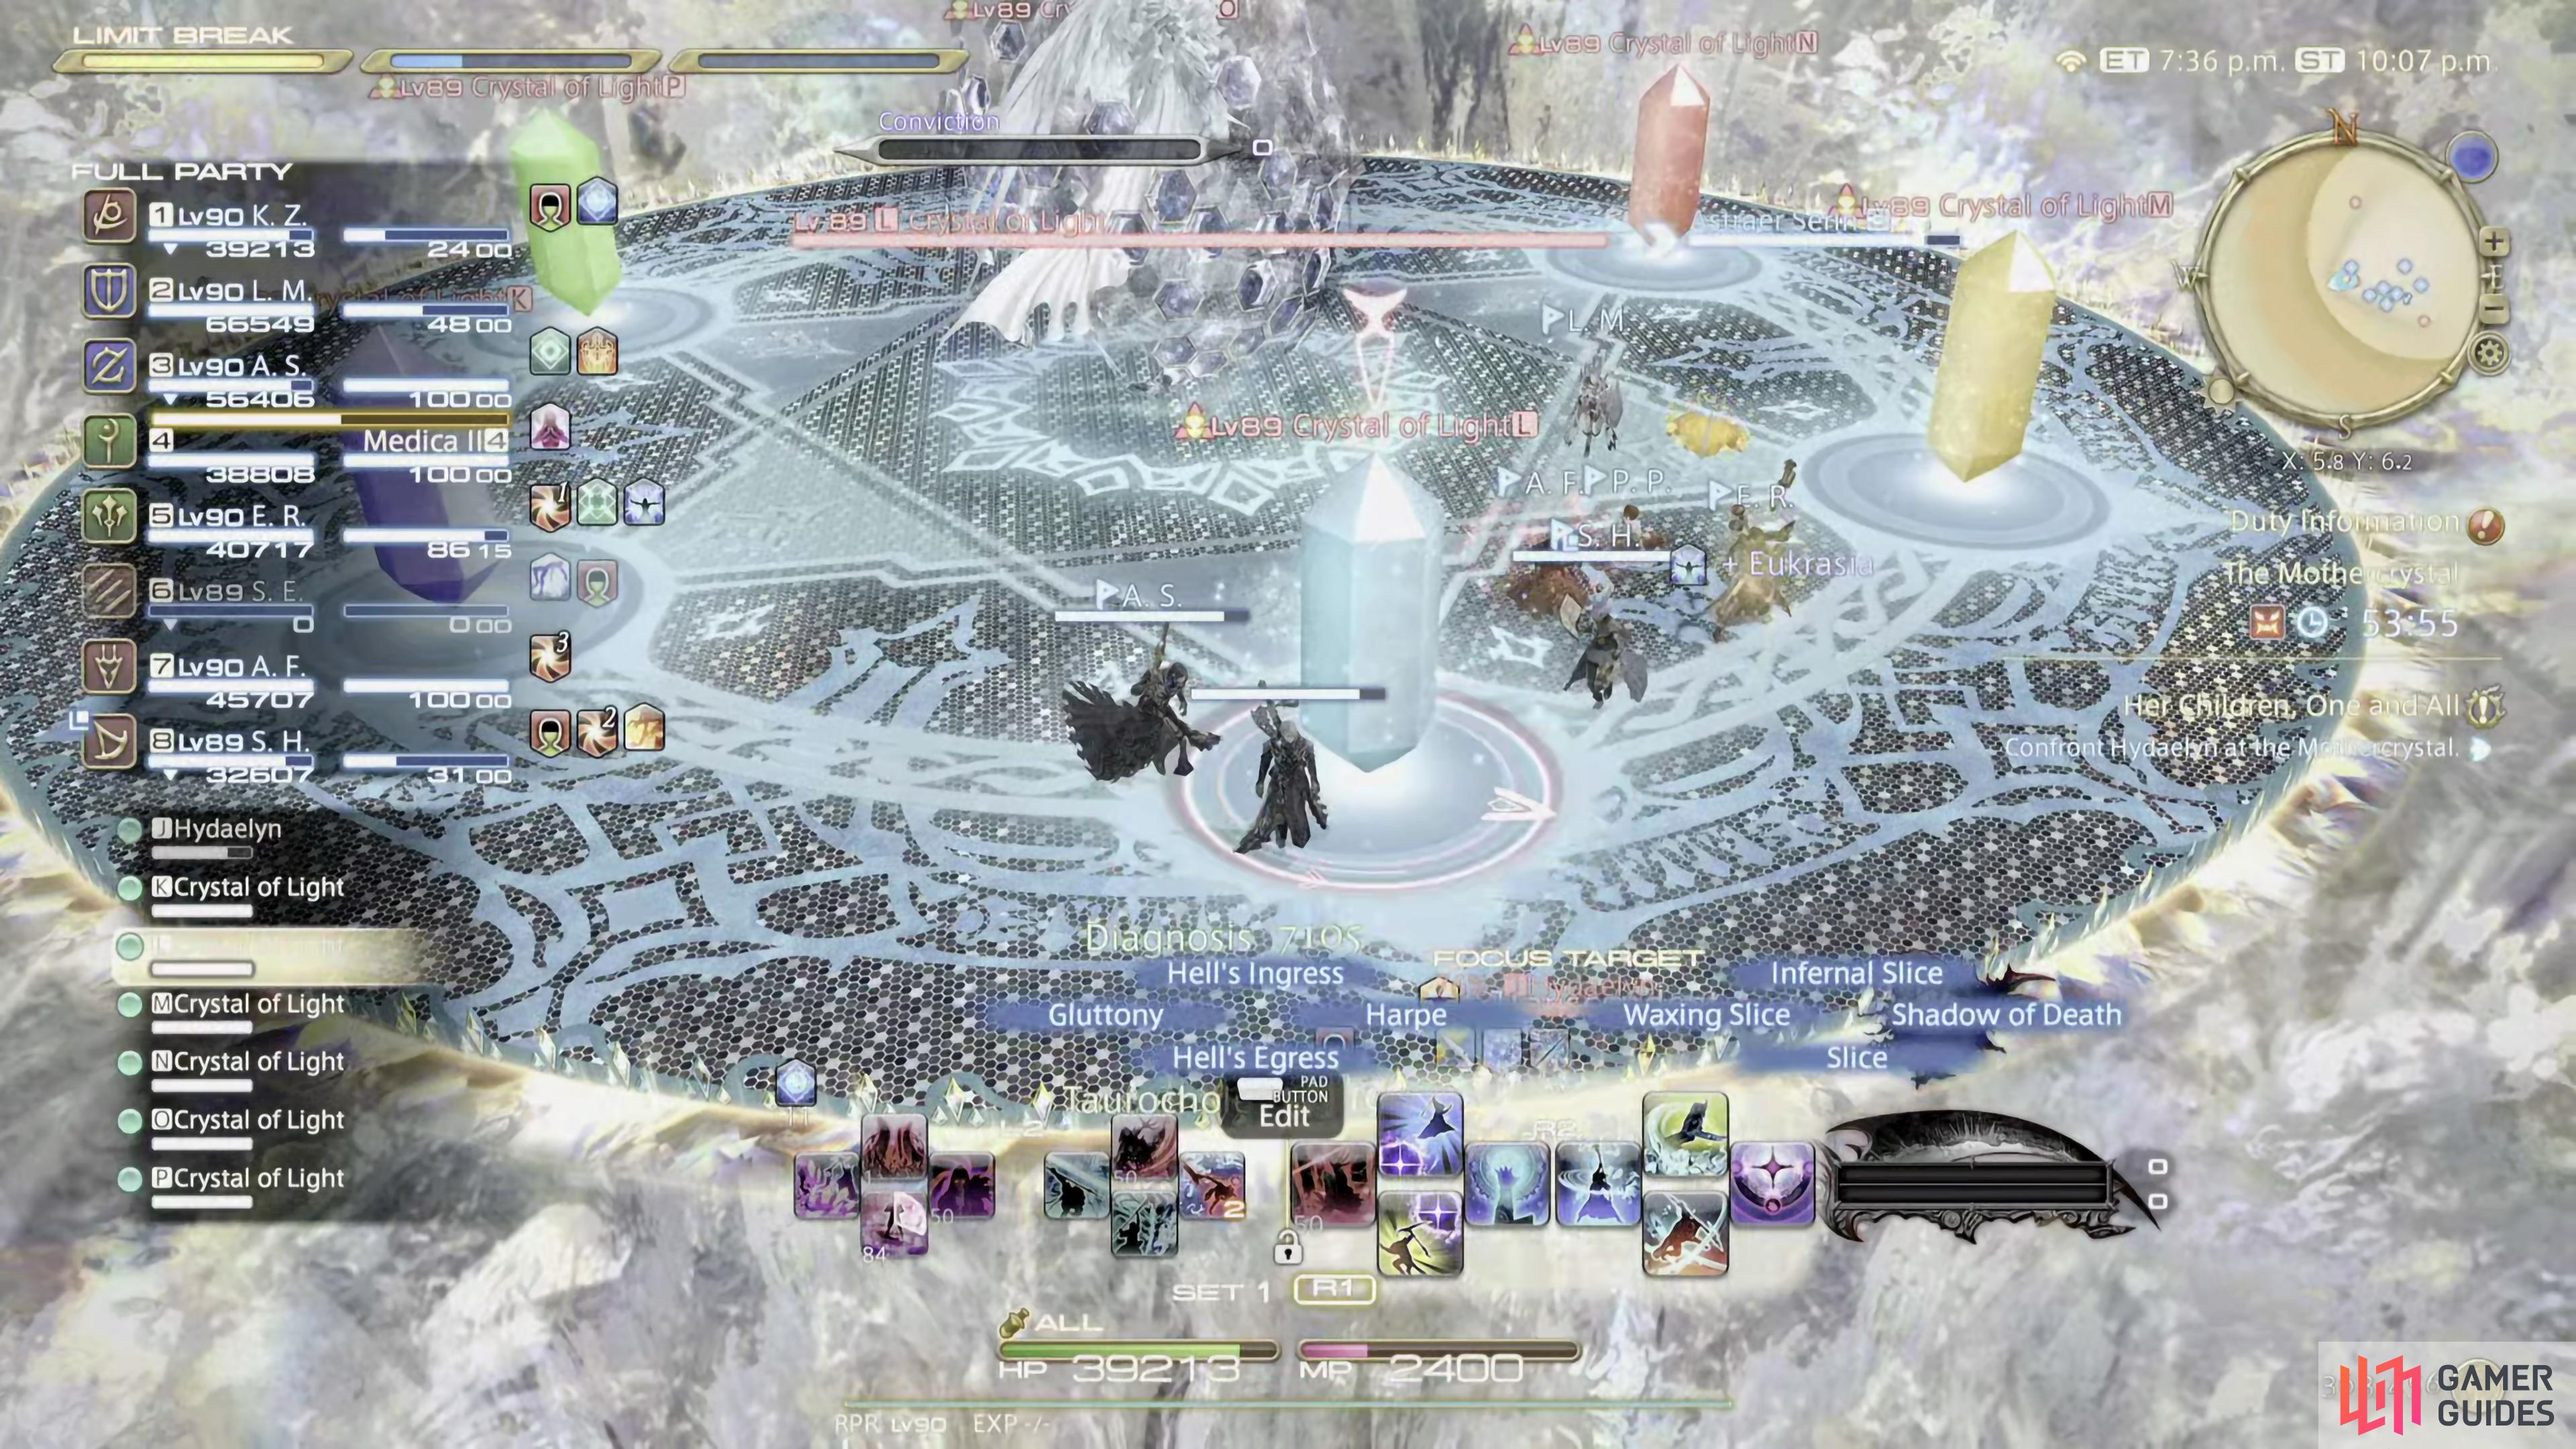
Phase 2 begins when Hydaelyn summons six crystals in the arena. All of the crystals need to be destroyed before her Conviction gauge reaches 100.
Hydaelyn’s Ray
This attack is a proximity line AoE down the center of the arena. The further you’re away from the center of it, the less damage you’ll take. You may have to attack a different crystal if the line happens to be near the crystal you’re attacking.
Crystalline Blizzard III
This will put orange markers on the entire party, which will then drop small AoE circles on the player. Stay away from other players to avoid major damage.
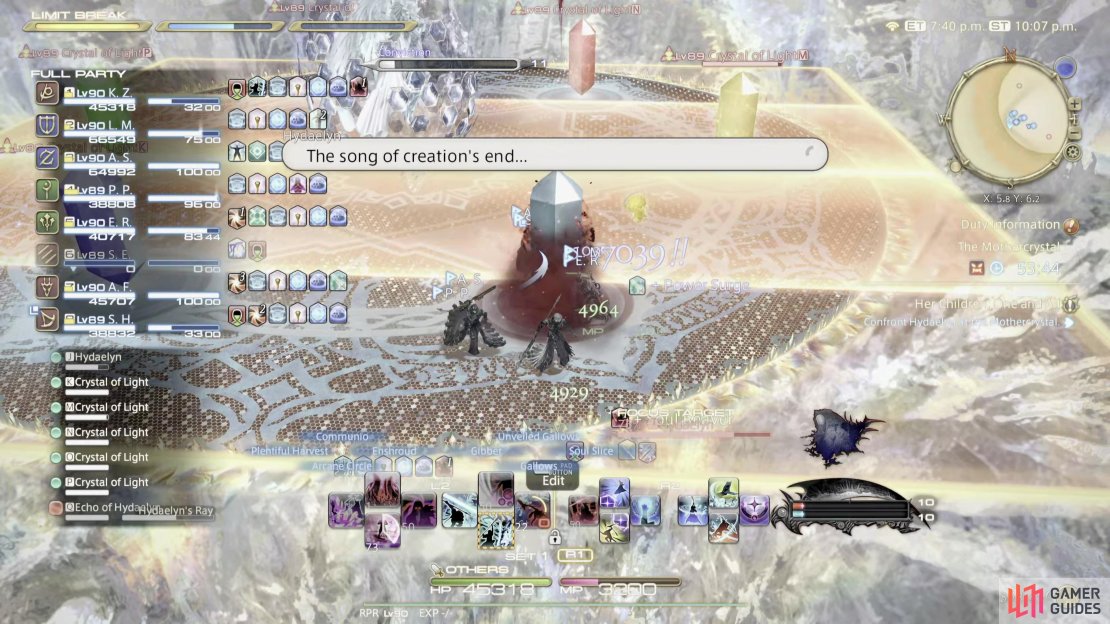
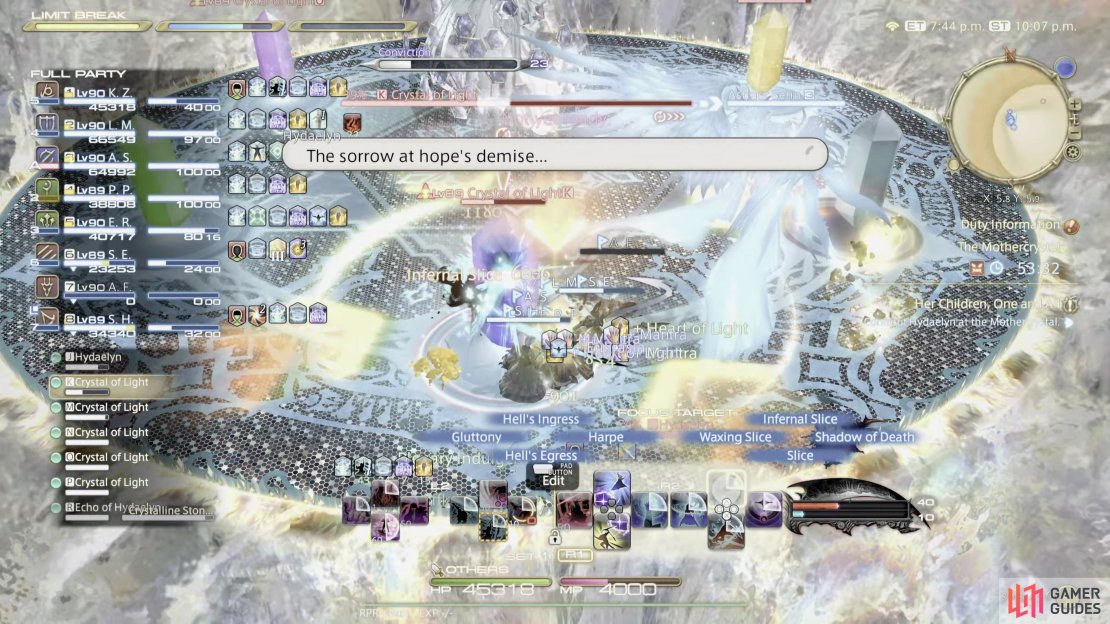
(1 of 5) When you see Hydaelyn’s Ray attack, get close to the edge of the arena to mitigate the damage.
Crystalline Stone III
This is your traditional stack marker. Stack the party on the marker to share the damage.
Exodus
This is raid-wide AoE that will happen when either the Conviction gauge reaches 100 (which will result in a wipe) or when all the crystals have been destroyed. The higher the number in the gauge, the more damage it’ll do. Heal/mitigate through it, and you’ll transition into phase 3.
Phase 3 Mechanics
Hydaelyn will continue to use the previous mechanics, but she’ll have access to a few new attacks.
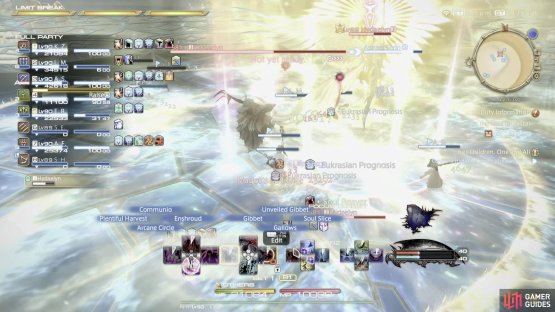
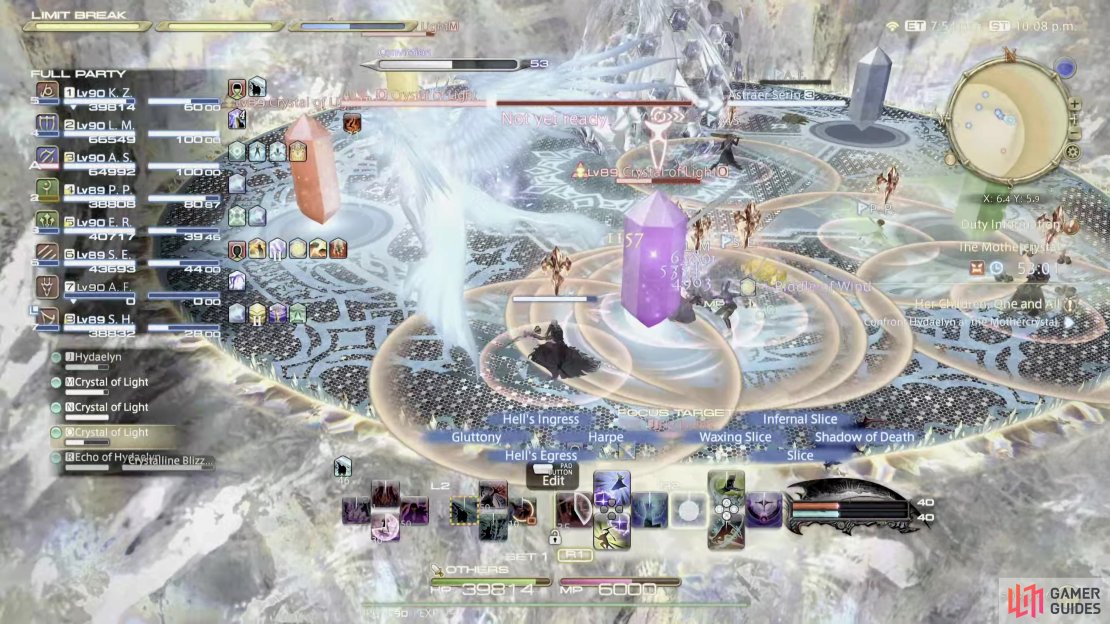
Crystallize
Hydaelyn will add a new mechanic that goes off after her next Dawn Mantle. This is determined by what crystal she absorbs. The mechanic will either be Crystalline Blizzard III which adds markers over every party member or Crystalline Stone III which will add a stack marker to a random person.


(1 of 2) Crystallize will add either a Crystalline Blizzard III or a Stone III to the next Dawn’s Mantle mechanic.
Crystallize will add either a Crystalline Blizzard III or a Stone III to the next Dawn’s Mantle mechanic. (left), Here, you can see shards of ice above her, which means she’ll be casting Crystalline Blizzard III. (right)
Parhelion
This will fire out three sets of chakrams which will generate line AoEs originating from Hydaelyn which explodes in the order that they are spawned. You can avoid this by staying between them. Straight after this attack, Hydaelyn will cast Subparhelion.
Subparhelion
This attack causes the same chakrams from Parhelion to go back across the center of the room. Like Parhelion, it’ll explode in the order it’s spawned. Stand on the last set of chakrams until the first set goes off, then run into the safe spot.
Parhelic Circle
Hydaelyn will cast down a snowflake like shape in the center of the arena, which reaches across the entire arena. After a while, orbs with a medium size AoE will appear, and instantly go off. To avoid this, stand near the edge of the arena, in-between the smaller lines.
Radiant Halo
Radiant Halo is a room-wide AoE which needs to be healed through.


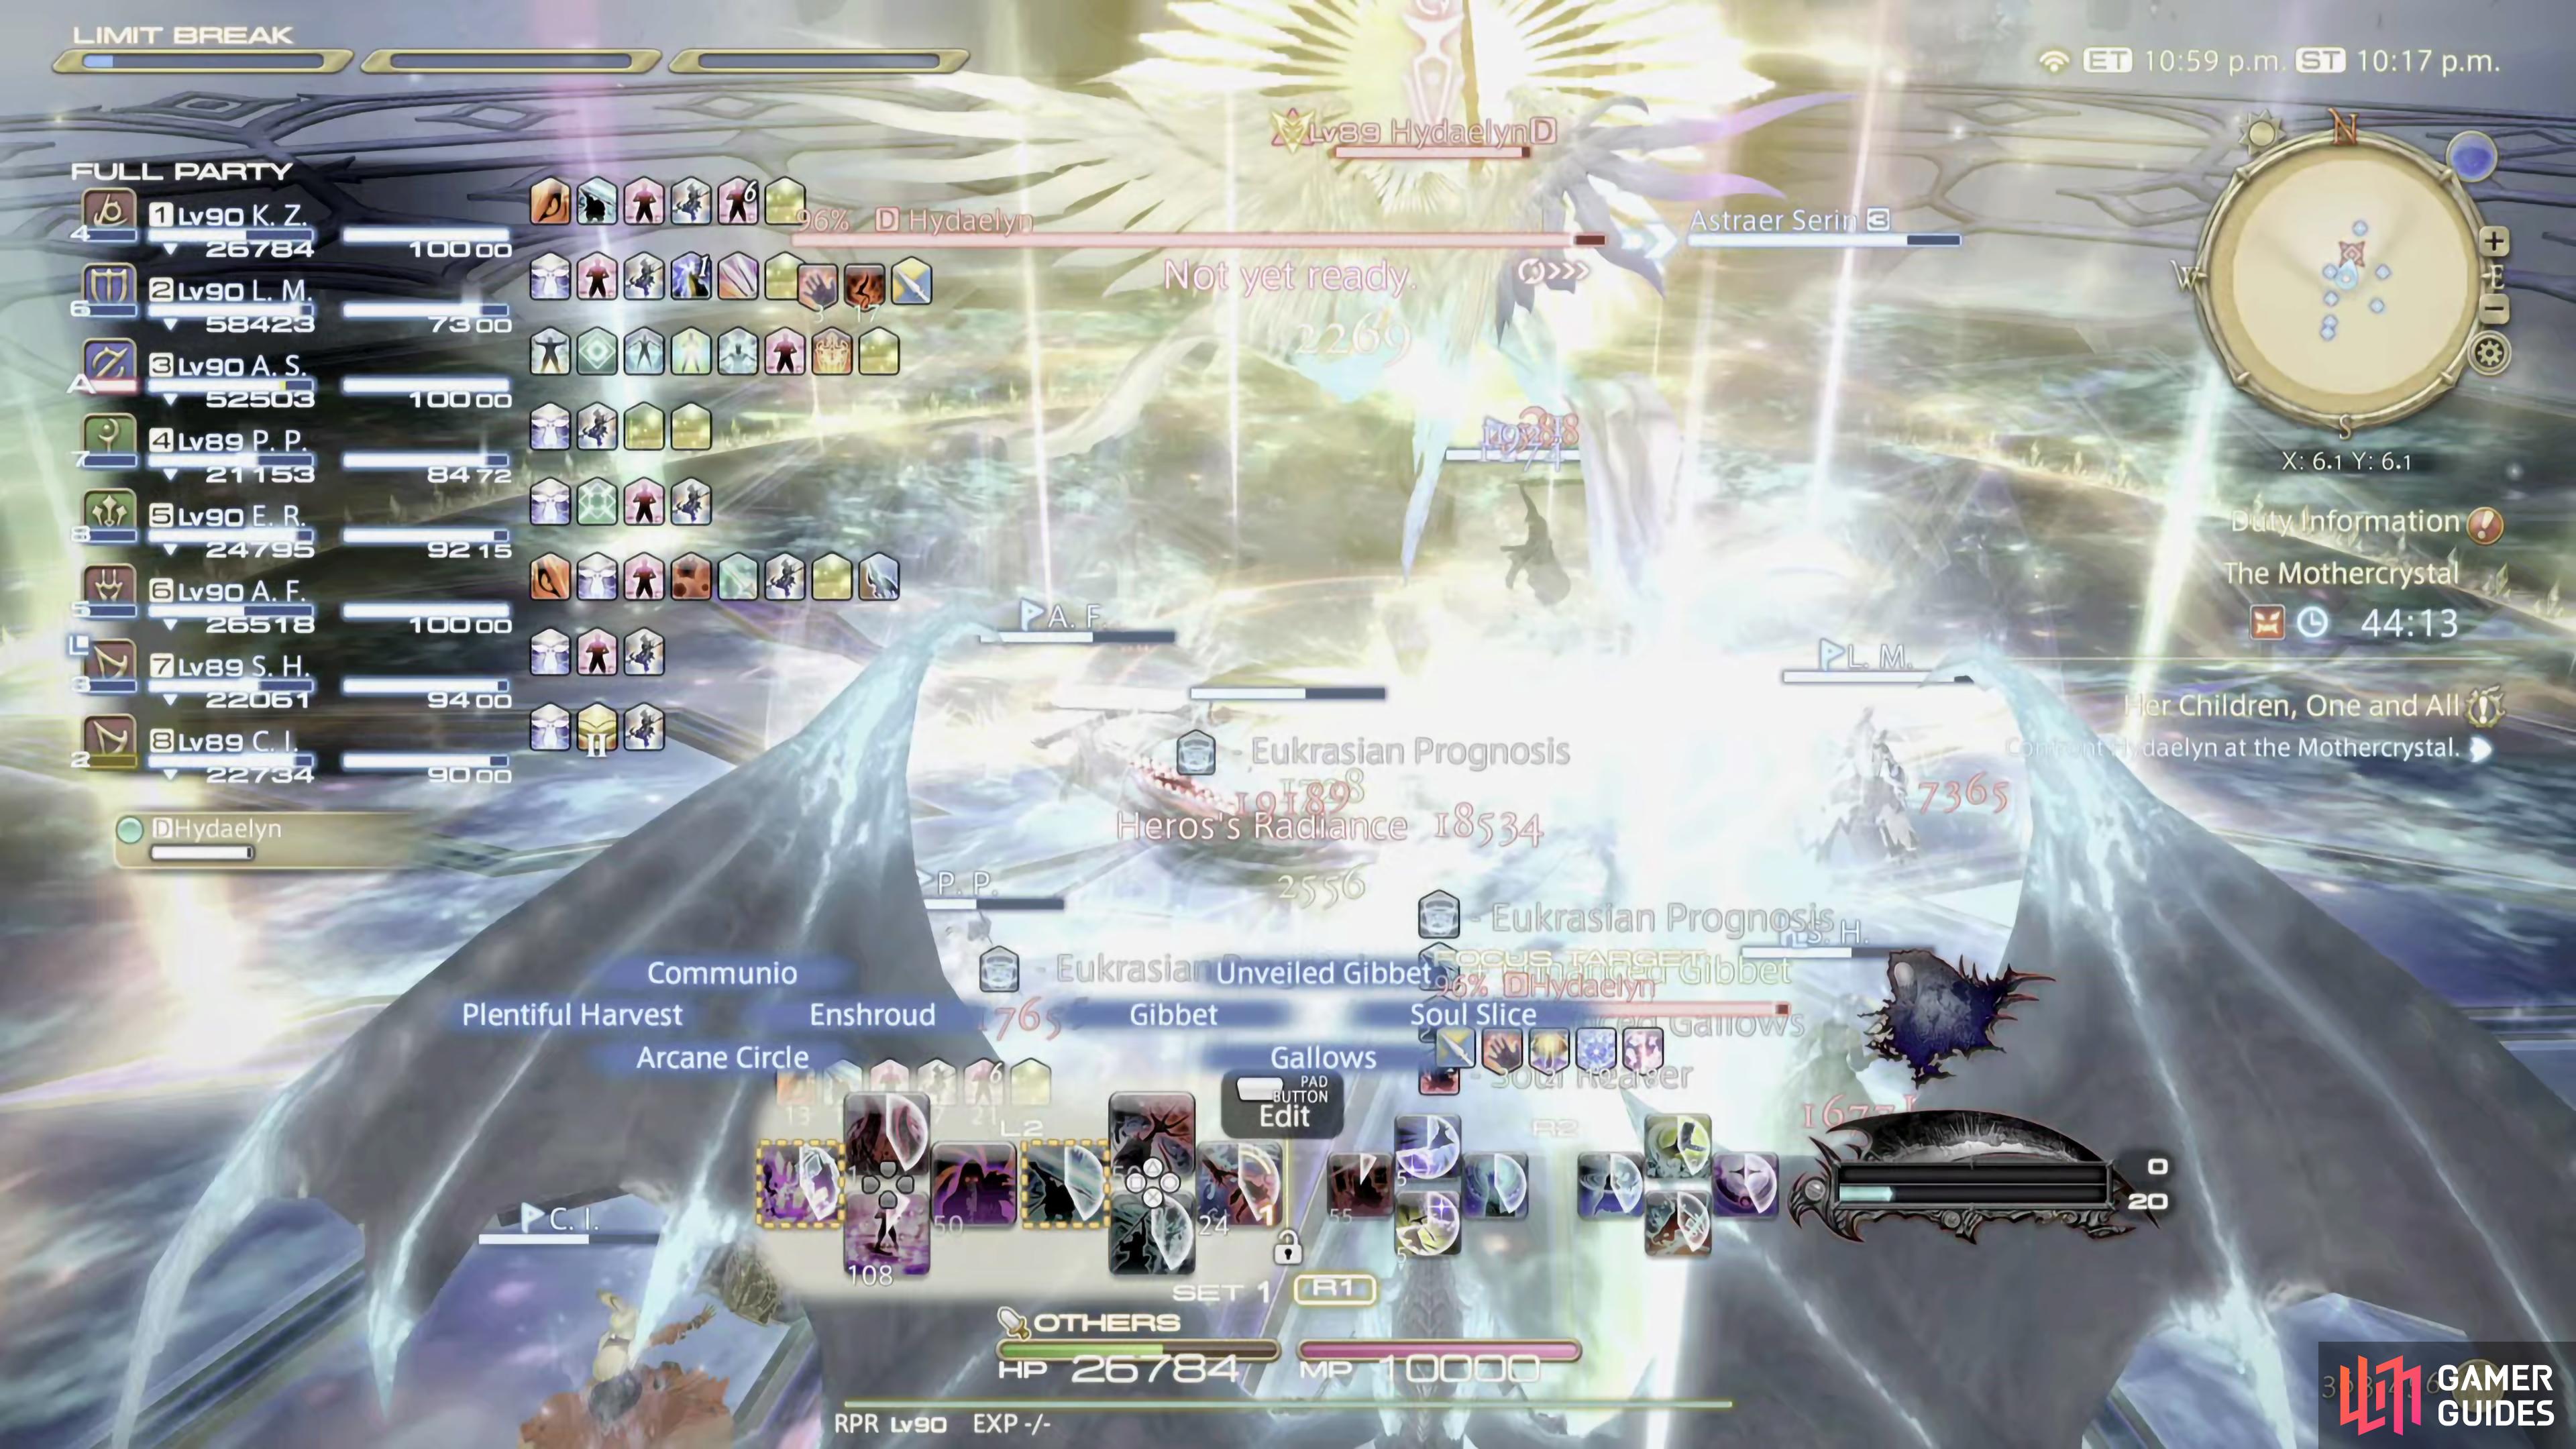
(1 of 2) Radiant Halo is another room-wide AoE


Radiant Halo is another room-wide AoE (left), so make sure the party has enough health to take the hit. (right)
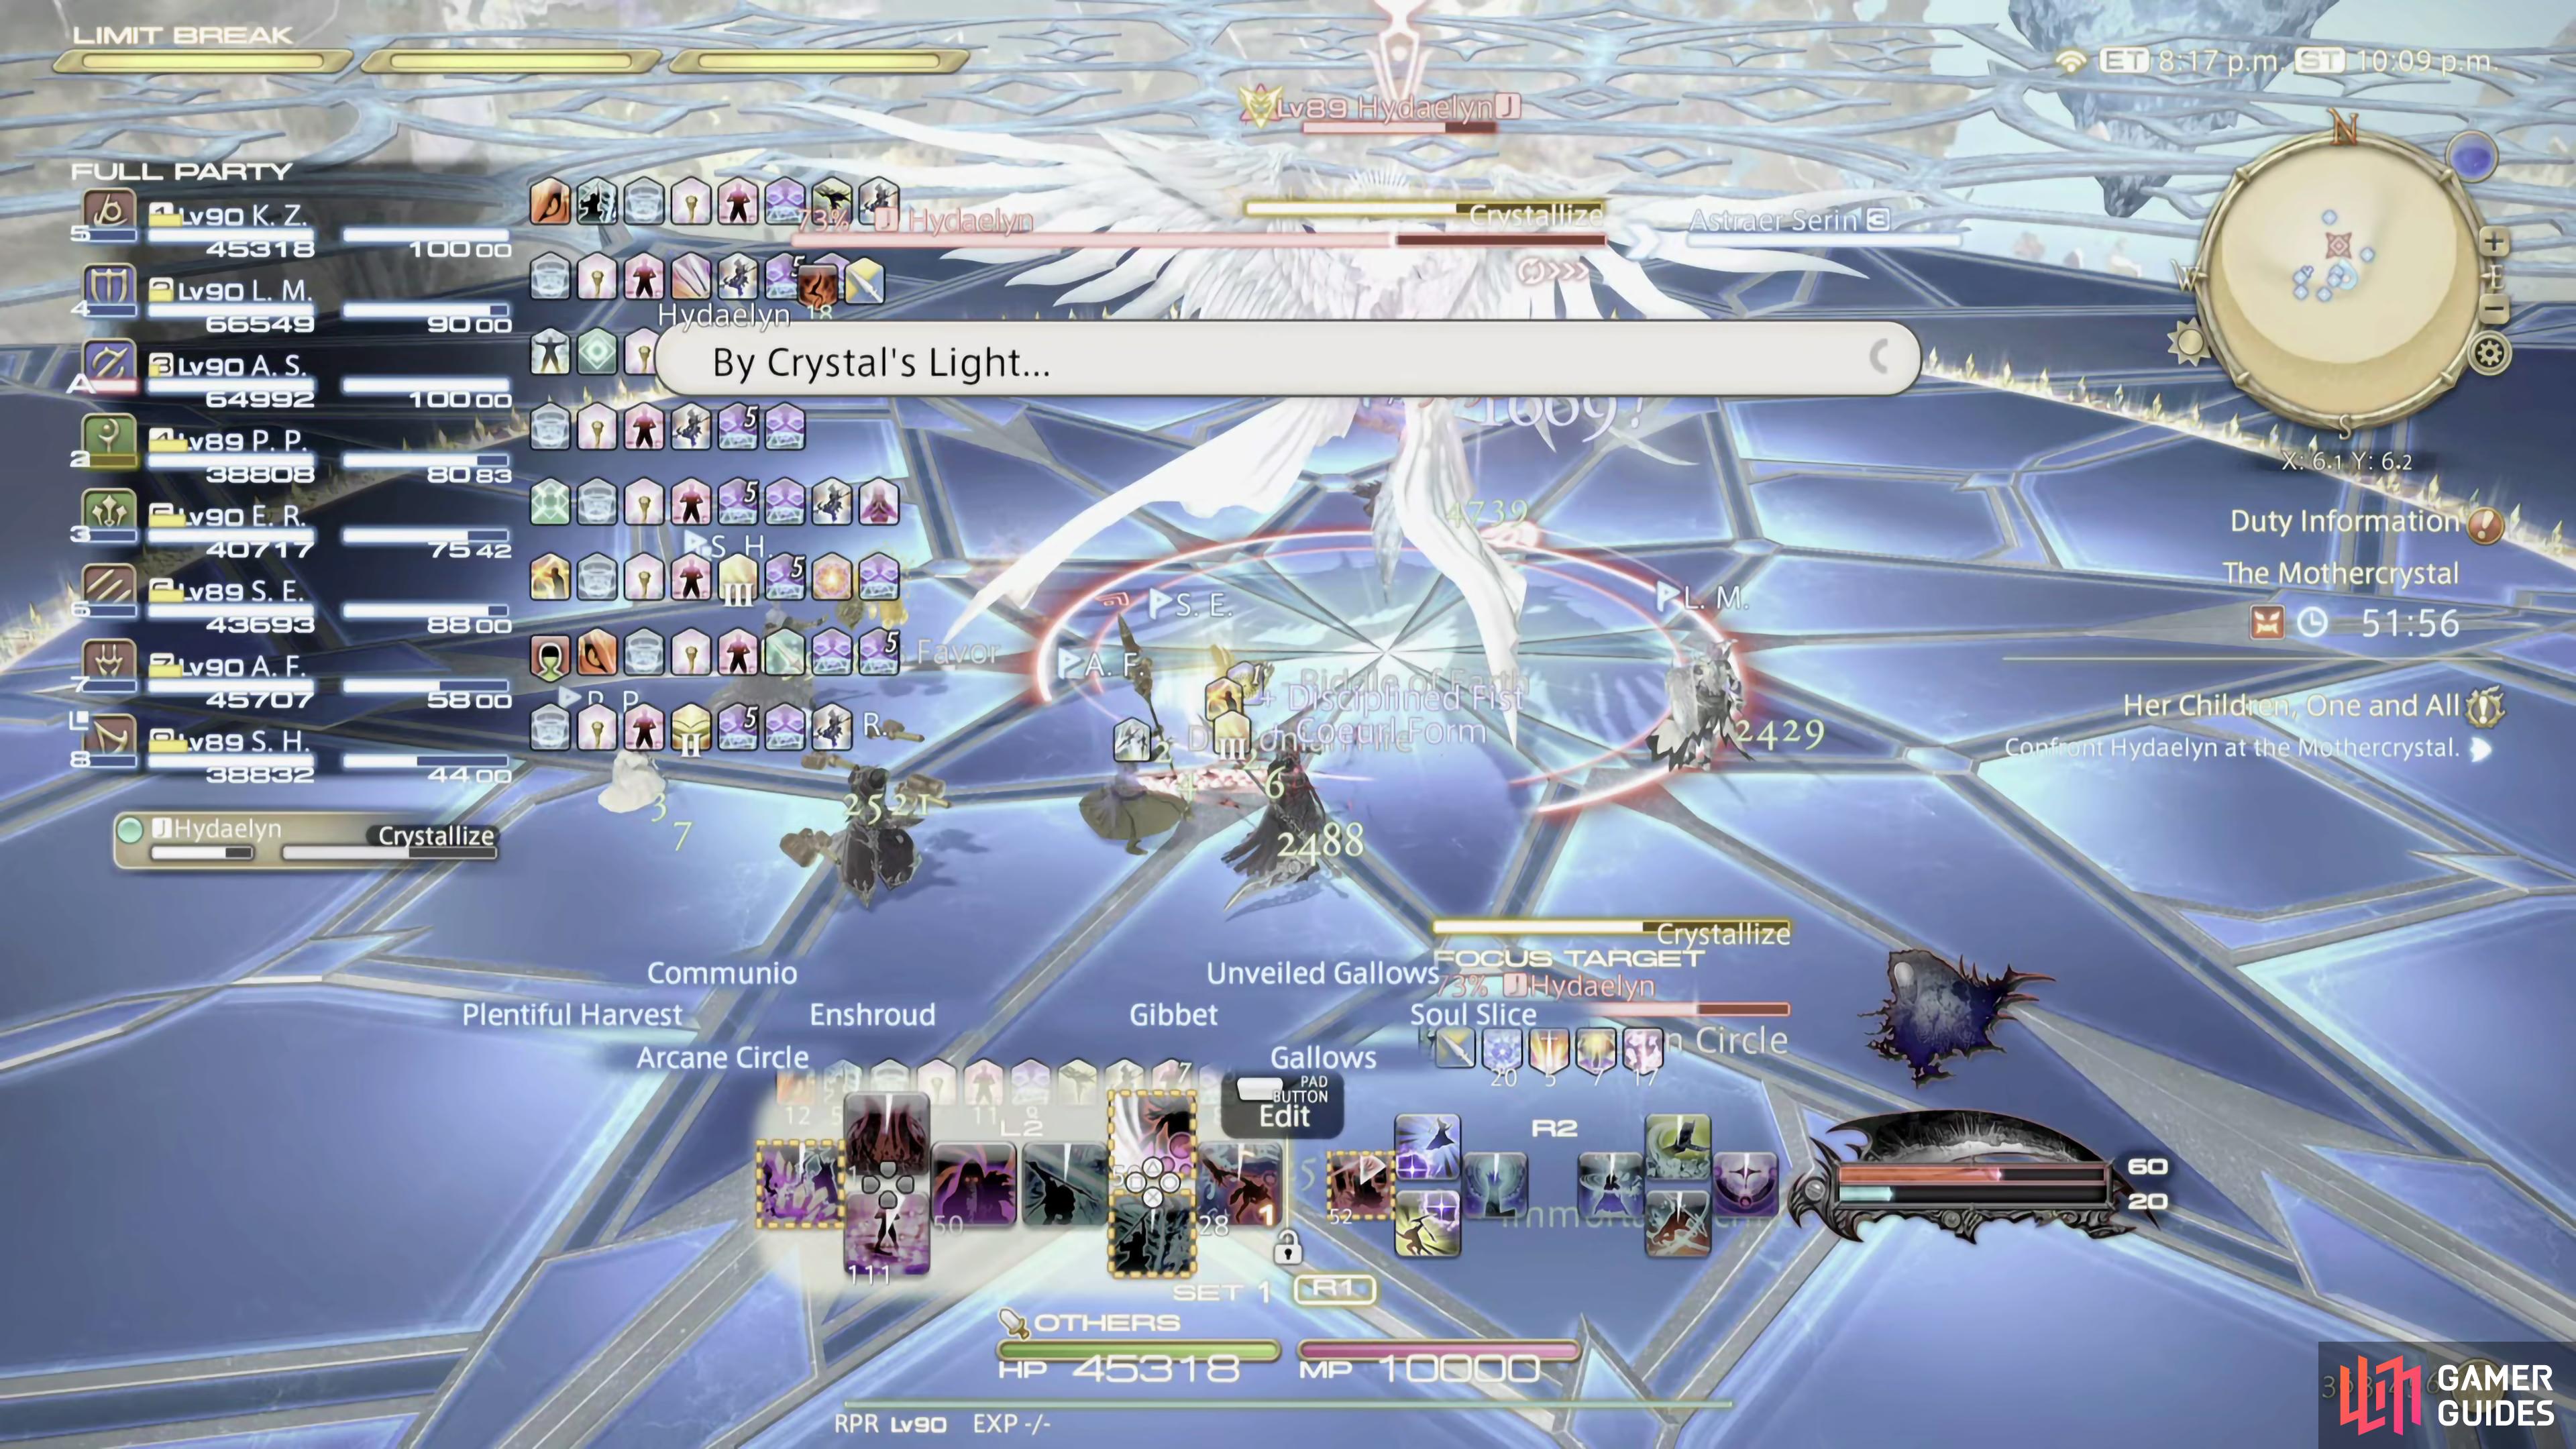
Phase 4 Mechanics
This phase will mainly be Lightwave, but she will do the other mechanics from the previous phases too, so stay on your toes.
Lightwave
Hydaelyn will cast four large waves of light around the arena that start to close in, and slowly move across the arena. As two of the waves will move after the first two, you’ll have time to find the widest gap to run through, then run towards the edge of the arena. As the waves start closing in on you, slowly move around the arena to avoid getting hit by them whilst still dealing damage to the boss.
Echoes
Another stack marker, but this one hits 5 times, so the party needs to stack for all 5 hits before repositioning. This attack appears to go off during Lightwave.
Strategy
At first, it can be quite chaotic until you learn her patterns. For the first phase, Hydaelyn will start the battle off with Heroes’s Radiance which is a room-wide AoE. Heal it up with a Medica II or the equivalent if you’re playing a different healer. Throughout this phase, Hydaelyn will cast Dawn’s Mantle. This will change her weapon to either Chakrams (red icon), a Dragoon Lance (green icon), or a Paladin Sword (blue icon).
This indicates what mechanic will follow. If you see the red icon, run in, under Hydaelyn. The green icon will result in a large AoE around her, so quickly run as far away as possible. Finally, the blue icon will be a plus-shaped (+) AoE with a wide hit box which heads in all cardinal directions (N, E, S, W). As soon as you see the blue icon, run in an intercardinal (NE, NW, SE, SW) direction, and make sure to stay out of melee range as you’ll still get hit by the attack if you’re too close.
The tanks will have to deal with Mousa’s Scorn which is indicated with a red stack marker with two red orbs circling. This is a tank buster that needs to be shared with the off-tank. So make sure you both have a defensive cooldown ready. Providing this is handled correctly, the healers can just top them off when you have a spare second, as at best it’ll only deal approximately a quarter off their health. Hydaelyn also has another tank buster called Heroes’s Sundering. This is a cone-wide AoE, so as the off-tank, be sure to move to the side to avoid it.
At around 70% HP, Hydaelyn will shout out “Crystals of Light to me!” which initates phase 2. This will change the arena, and she’ll summon six different colored crystals around the arena. This is a DPS check, and all the crystals need to be destroyed before her conviction gauge fill up to 100, if it does, the party will wipe.
Throughout this phase, Hydaelyn will constantly cast attacks on the party to slow you down. The order of the crystals doesn’t matter, but the party should focus on one at a time to bring them down quicker. As you’re attacking the crystal, Hydaelyn will cast one of Hydaelyn’s Ray, Crystalline Stone III, or Crystalline Blizzard III.
Hydaelyn’s Ray is a wide proximity line AoE. This attack does more damage the nearer to its center, so when you see this, go as close to the arena’s edge to lessen its impact. Crystalline Stone III will give a random party member a stack marker. If you have the marker, try to run near the crystal the party is currently fighting, and stack up there, so you can continue attacking the crystal. Finally, Crystalline Blizzard III will put orange markers on every party member, which’ll drop Blizzard III’s on top of them. The best way to deal with this attack is to spread out, so you’re not overlapping your AoE on top of a party member, and attack a different crystal until it’s gone. When all six crystals have been destroyed, Hydaelyn will cast her ultimate attack, Exodus. Like most ultimate attacks, heal/shield through it, and you’ll begin phase 3.
In phase 3, Hydaelyn will start combining some of her attacks through Crystallize. This ability allows her to add a mechanic to the next Dawn’s Mantle attack. She’ll cast it early, and it may be awhile before she does her next Dawn’s Mantle, so remember if she cast it. The mechanic she adds will be determined by what crystal she absorbs.
Another attack that Hydaelyn uses is Parhelion. This will summon white chakrams on the edge of the arena, and each chakram will fire out three line AoEs each. Stand in-between the AoEs to avoid it. Straight after this attack, she will cast Subparhelion. This is similar to the previous attacks, but it’ll summon more chakrams covering the entire arena. What you want to do is stand on the last one that goes off, then when the first one fires, run into its position.
At some point in the third phase, Hydaelyn will cast Parhelic Circle, this will have a big orb in the center with green lines emanating from it like a snowflake. Head to the edge of the arena, in-between the green lines, to avoid the instant AoEs from the smaller orbs that spawn.
In phase 4, Hydaely will add Lightwave to her arsenal, which will appear frequently throughout this phase. This can be difficult to dodge if you don’t know what you’re doing. Hydaelyn will summon four waves of light around the arena that close into the center before slowly moving around the arena. Thankfully, two of the waves will move first, with the next two following shortly after. This gives you enough time to run through the gap it creates to the edge of the arena. When you’re there, slowly move and attack the boss whilst these waves move around the platform.
During this attack, Hydaelyn will cast Echoes. This will put a random stack marker on a party member, then she’ll follow it up with five attacks. The party should stay stacked for the entire five attacks before moving. Healers should keep the parties HP up during this.
Hydaelyn will mix these attacks up from time to time so pay attention to what comes next, she’ll also throw in some raid-wide AoEs like Radiant Halo or Magos’s Radiance so be prepared for them. After a long-drawn-out battle, you’ll defeat her, and progress the story.
How to Tank
This Trial has far more Tank specific tasks than the Zodiark one and as such, you’ll need to be alert at all times. To begin with, the Tankbuster Heros’s Sundering, is a cleave, this means you’ll want to ensure that you position Hydaelyn away from the rest of the party to avoid hitting them with it. The second main mechanic for Tanks is Mousa’s Scorn, this is Tankbuster Stack, this should be shared by both Tanks using their defensive cooldown. Outside of this, when you reach Phase 4 and she starts using Lightweave, the main Tank will need to ensure they correctly move out of the paths of the incoming waves of light, Hydaelyn will follow for a short while before retreating to the center again so you’ll want to drag your party with you.
How to Heal
Hydaelyn is a fairly difficult Trial to heal and especically for those still trying to get to grips with Sage. During Phase One she’ll perform Heroes’s Radiance and Magos’s Radiance which is a Raid Wide Attack that you’ll want to group heal along with Regen to counter the damage. Following this she’ll perform Mousa’s Scorn and Heroes’s Sundering which are Tank Busters, so be ready to shield up the Tank and get ready to group heal.
Phase Two and Three feature several mechanic’s that if done incorrectly can deal lots of damage, so have Regen on everyone and perform group heals to help keep everyone’s HP topped up.
Hydaelyn Rewards
| Icon | Name | Type |
|---|---|---|
 |
Hydaelyn Card | Triple Triad Card |
No Comments