You’ll pick up this quest in Chapter 14 after hearing Kyrie’s speech in the Sector 5 Slums. Leave the Sector 5 Slums to the north and you’ll spot one of Chocobo Sam’s drivers in a bit of a bind. Offer to help him track down the three missing birds and he’ll throw in a bonus for you, this will also unlock the Fast Travel system in Final Fantasy VII Remake, allowing you to get around the Slums easier.
There are three to track down and you can tackle this quest in any order, below is our suggested order:
Chocobo #1
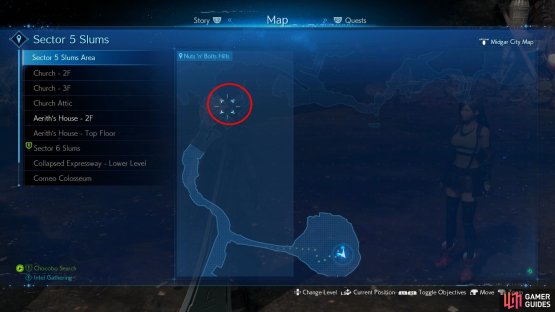
Your first bird is relatively close to your current location, take the northern path out of the Slums and head northeast, past the Cemetery and you will reach the Nuts ‘n’ Bolts Hills area where you’ll immediately spot the missing bird. Before you can rush to its rescue however, you’ll have to deal with a Rust Drake!
(1 of 2) Make your way here to find the first Chocobo
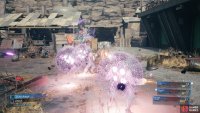
Make your way here to find the first Chocobo (left), beware of the Rust Drake’s Gravity spell which can easily put you into Critical HP. (right)
| Enemy | Weaknesses | Notable Loot |
|---|---|---|
| Rust Drake | Ice/Wind | -- |
Hopefully you have some Ice or Wind materia set to your characters as you’ll be able to make this fight much easier if so. To begin with, the Rust Drake is actually rather resistant to Magic but you’ll soon spot it glow with darkness as it attempts to cast Gravity on the party. This is your cue to hurl Ice and Wind spells at it to try and Stagger it before it can get it off. Outside of this, the Rust Drake isn’t too difficult compared to the Lesser and Cerulean Drakes you’ve already defeated before. It can help to control Barret here and make use of both Overcharge and Maximum Fury to keep up the constant damage.
Pay special attention to Black Hole that will pull you in, this can cause your characters to cluster up and take major damage from it’s Fire Breath. What’s more, keep your HP up when it begins casting Gravity, the spell will put you into critical HP. Once the Rust Drake is defeated, return to the Chocobo and hand over some Gysahl Greens.
Chocobo #2
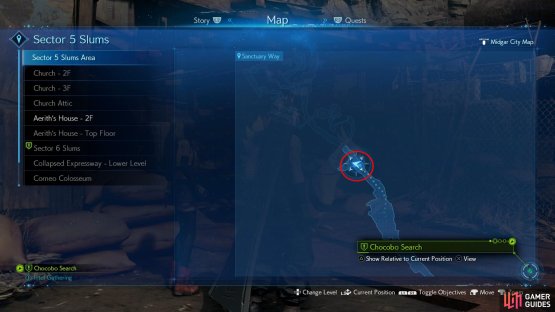
(1 of 2) Make your way over to Sanctuary Way
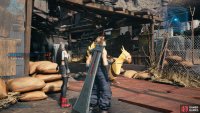
Make your way over to Sanctuary Way (left), to locate the second Chocobo without a battle. (right)
The next Chocobo is the easiest of the bunch, head east from the previous Chocobo and board a Chocobo for the Sector 5 Undercity Station. Once you arrive, head northwest to reach Sanctuary Way and continue to head north to find the stricken bird nearby where Cloud and Aeirth dropped down from the rooftops. Hand over the Gysahl Greens to send it back to the driver without any hassle.
Chocobo #3
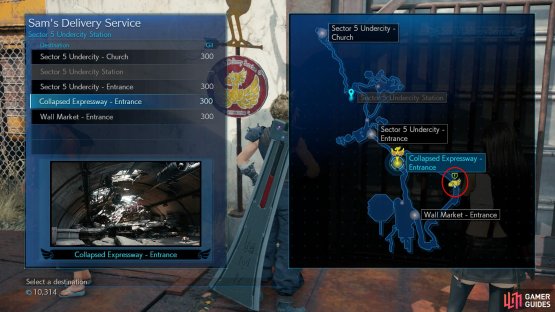
To locate the final Chocobo, return to a Chocobo Post and fast travel to the Collapsed Expressway - Entrance stop. From here, head inside to the east and follow the path all the way to the south of the Old Bypass to find the last Chocobo. Upon interacting with it however, you’ll be attacked by another fiend.
| Enemy | Weaknesses | Notable Loot |
|---|---|---|
| Trypapolis | -- | -- |
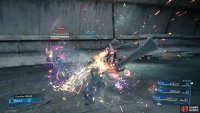
The Trypapolis are a subspecies of the Varghidpolis’ you’ve been fighting in this area already. These creatures are surprisingly resistant to most attacks and with the Dance ability, will clone themselves leaving you with the prospect of dealing with them before returning to the original Typapolis.
(1 of 2) Make your way to the Collapsed Expressway and head south
Make your way to the Collapsed Expressway and head south (left), the Trypapolis will clone themselves when attacked using the Dance ability. (right)
There’s not too much you can do with regards to dealing damage due to resistances so stick with your most powerful attacks here. Both Cloud’s Triple Slash and Barret’s Maximum Fury abilities are useful here for really dishing out the damage. Upon defeating them, return to the Chocobo to feed it another Gysahl Green and then when given the choice, return to Sam to report the quest and obtain Sam’s Delivery Lifetime Pass as a reward. This will allow you to use the Chocobo service for free and you’ll also have unlocked all possible routes as a result of completing the quest.






No Comments