

Flying Through the Night
At the end of last chapter, the protagonists acquired some wheels to facilitate their escape. Cloud, being the special boy that he is, naturally had to go for a new bike instead of just getting in the van with everybody else, and that can only mean one thing… another motorcycle segment.
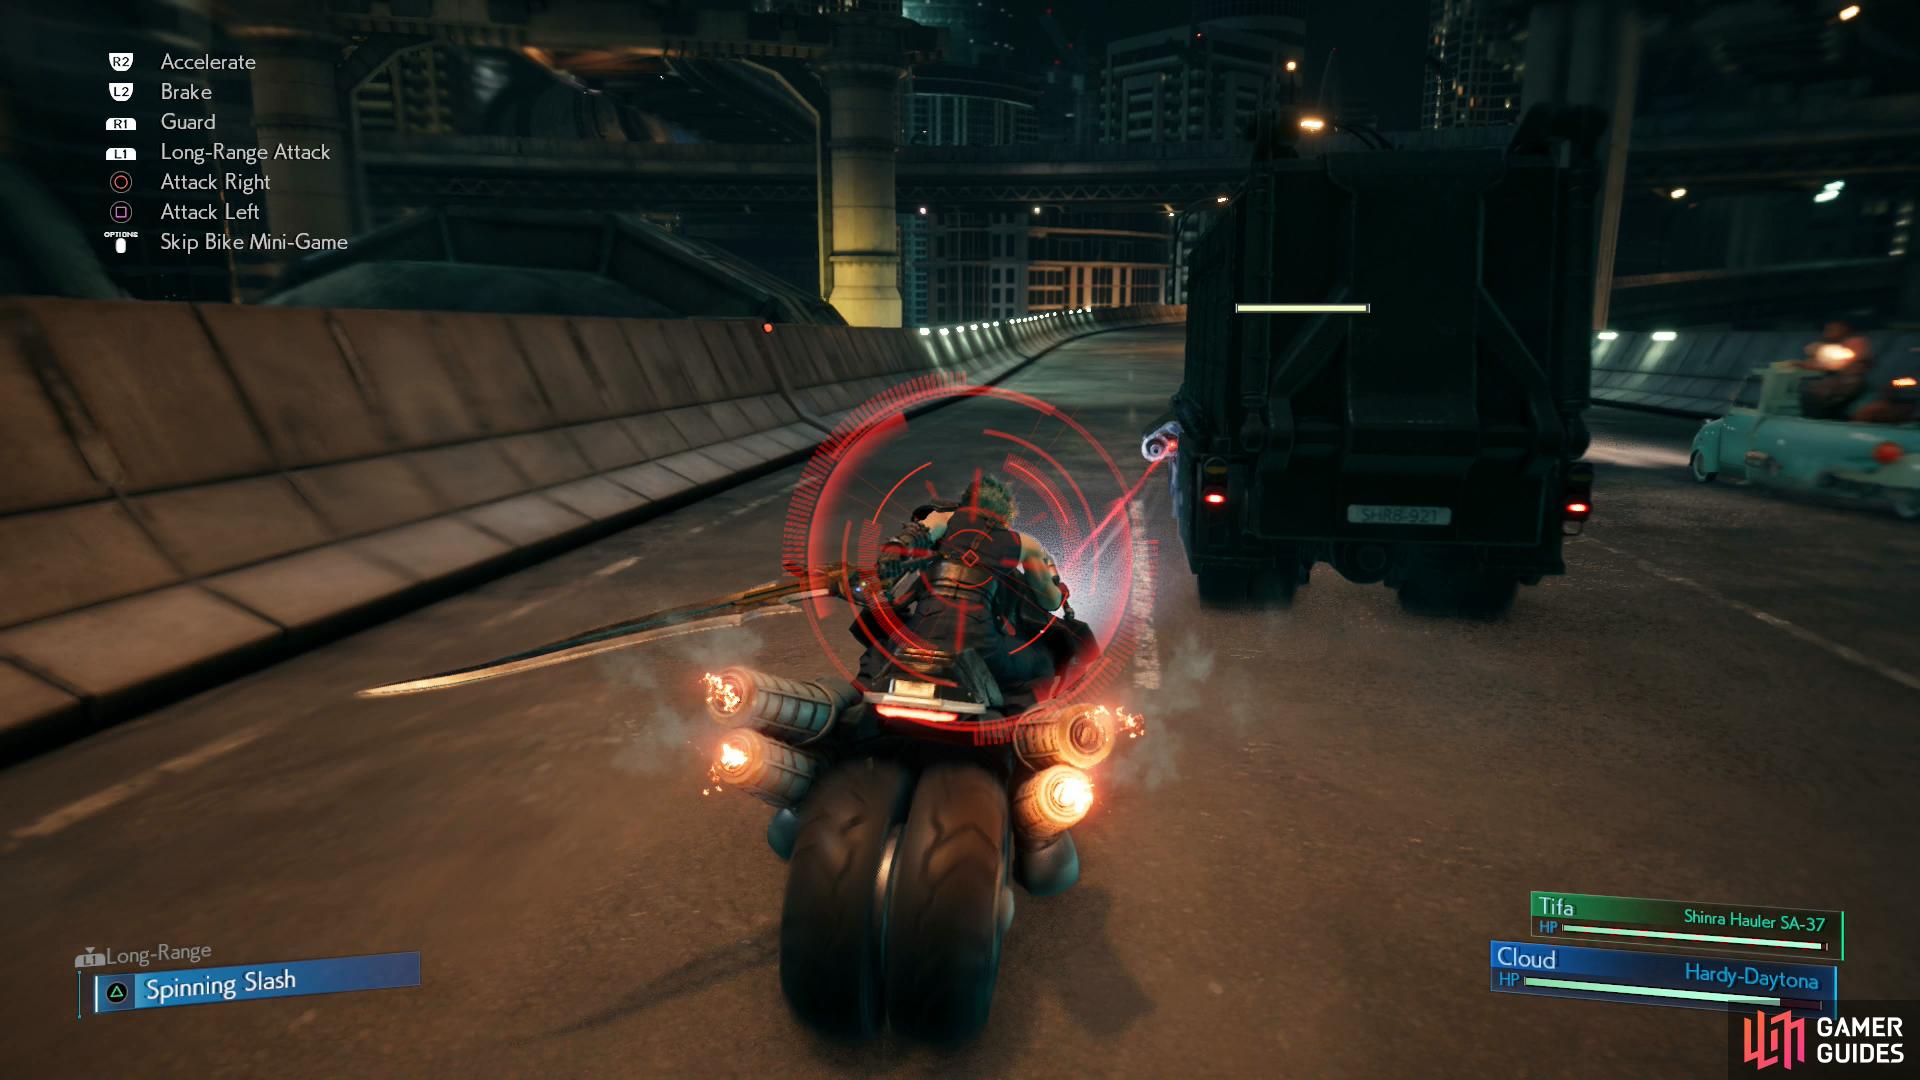
| Command | Input | Description |
|---|---|---|
| Move | Right Analog | Moves the bike left and right. You’ll need this to catch foes and dodge attacks. |
| Accelerate | R2 | Increase your speed - you’ll need this to catch up to enemies ahead of you. |
| Brake | L2 | Reduce your speed - reach enemies behind you, also useful as an evasive maneuver. |
| Guard | R1 | Block light attacks. |
| Long-Range Attack | L1 | Doesn’t seem to do anything on its own, press L1 + TRIANGLE to perform a “Sharp Gust” ranged attack. Useful for taking out Drones. |
| Attack Right | CIRCLE | Attack to the right. |
| Attack Left | SQUARE | Attack to the left. |
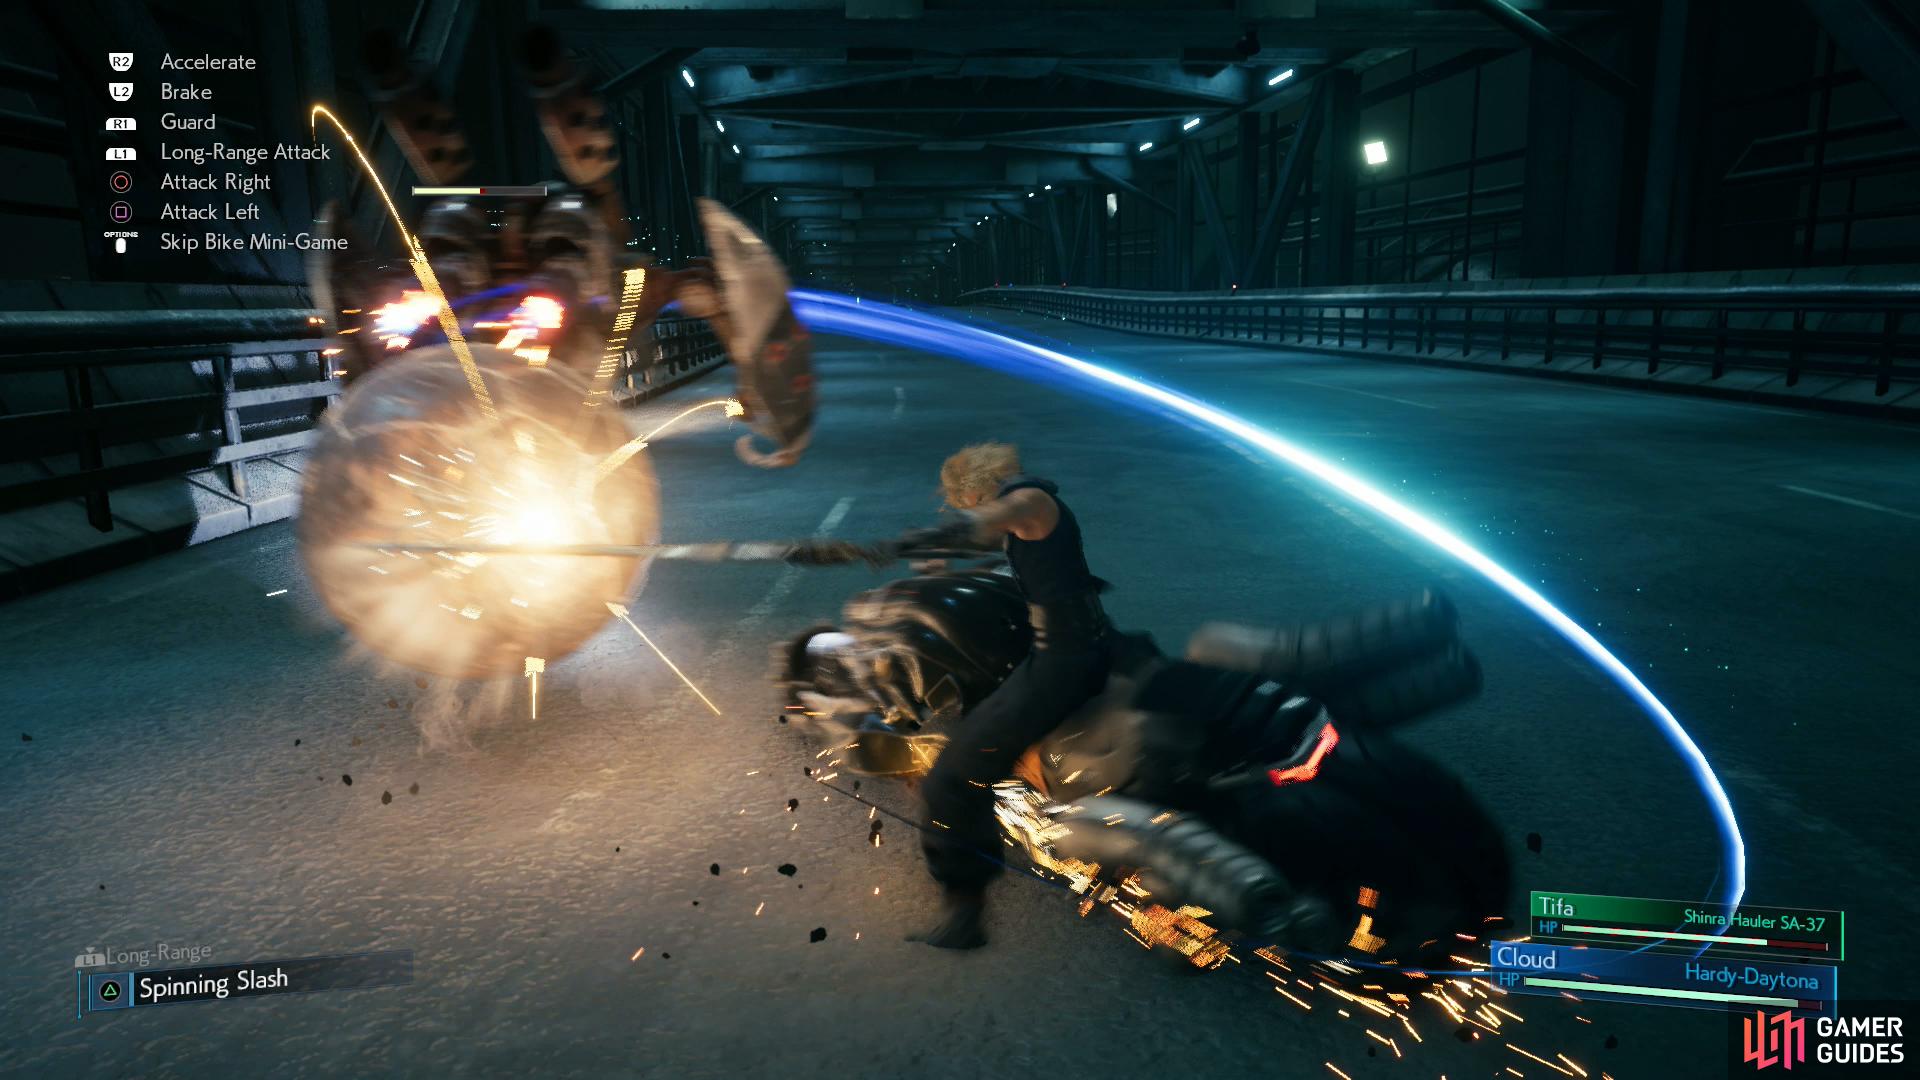
| Spinning Slash | TRIANGLE | Spinning AoE attack. Heavy damage. Use it to take out multiple enemies at once. |
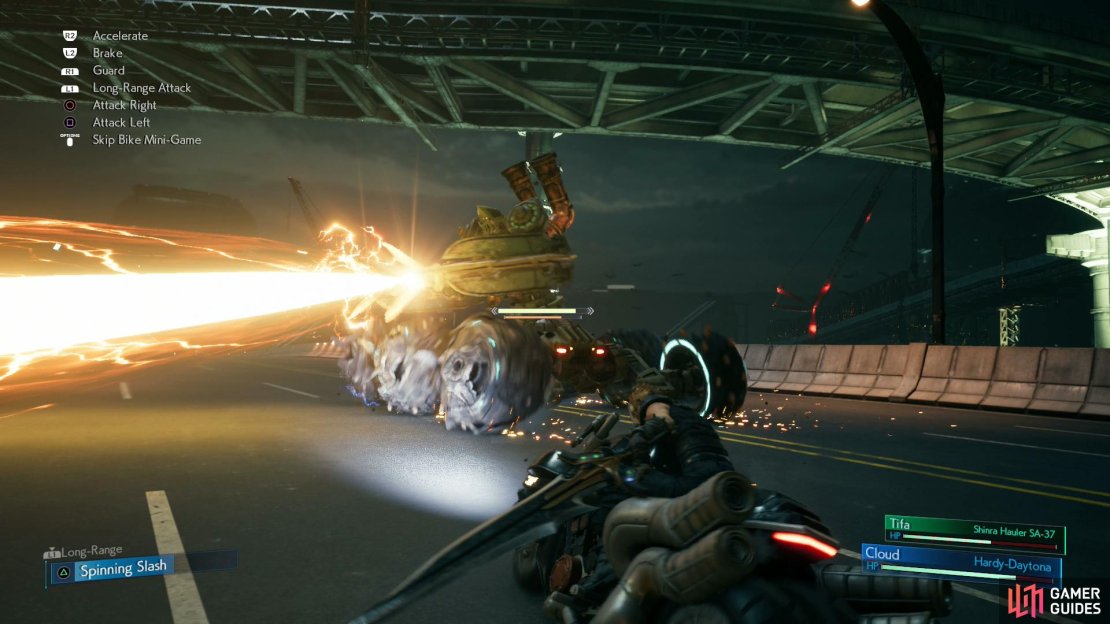
This one functions very similarly to the one in Chapter 4: enemies will spawn in waves and you’ll need to cut them down. To do this you’ll use the [SQUARE] buttons to attack left, the [CIRCLE] button to attack right, [TRIANGLE] to perform Cloud’s powerful “Spinning Slash” attacks (it has a cooldown, so while you definitely should abuse it, you should do so wisely) and [L1] + [TRIANGLE] to perform Cloud’s long-ranged attack (also consumes the “Spinning Slash” gauge). Defensively you can of course move from side to side with [LEFT ANALOG], guard with the [R1] button, and accelerate/decelerate with the [R2]/[L2] buttons.
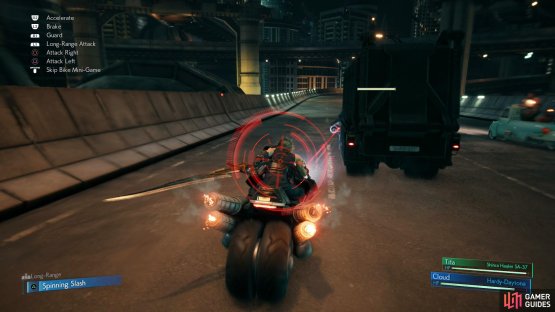
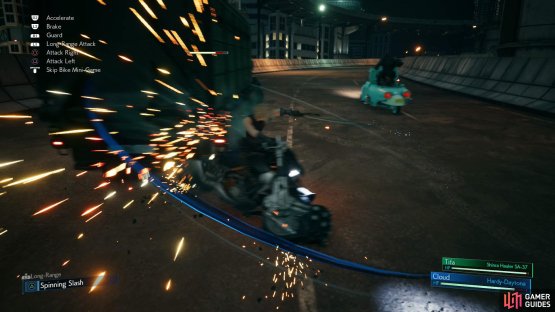
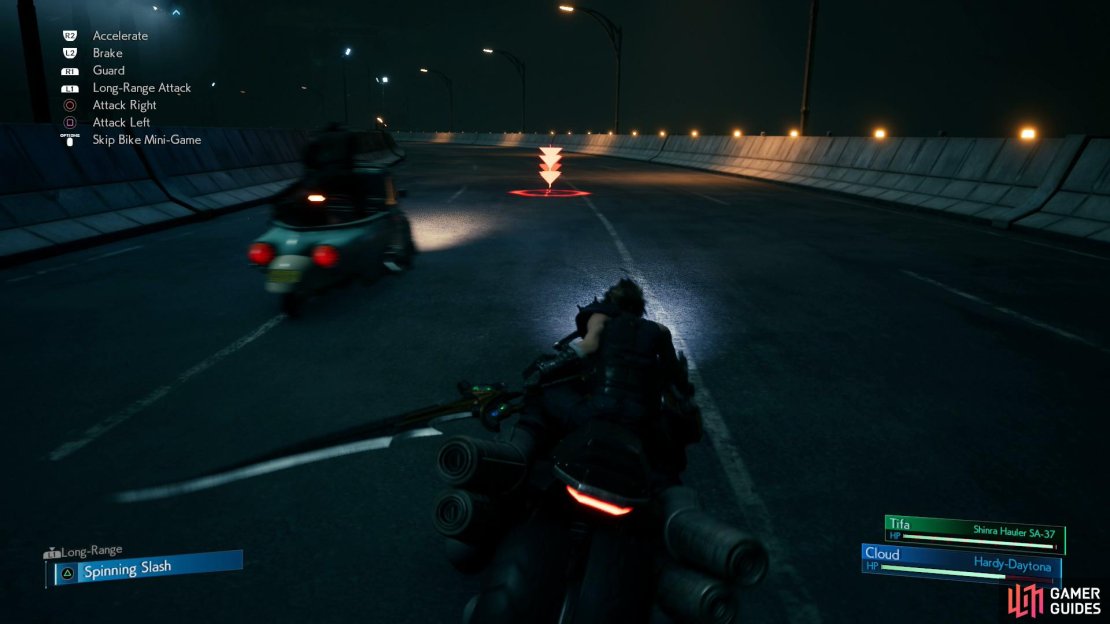
(1 of 2) When you see a reticle, move to the opposite side of the truck to avoid damage.

When you see a reticle, move to the opposite side of the truck to avoid damage. (left), Use your “Spinning Slash” to deal significant damage quickly. (right)
Your first group of foes will include some Shinra Troopers, who can be easily brought down with several sword slashes, just catch up to them and eliminate them. Next up you’ll have to fend off a truck full of troopers - they’ll periodically aim at you from one side of the vehicle of another, as indicated by the aiming reticle. When you see the reticle appear, shift to the opposite side of the truck to avoid being hit by a barrage of gunfire. Try to catch up to the truck and attack it, using your “Spinning Slash” attack whenever possible and be sure to dispatch more Shinra Troopers on motorcycles when they appear.

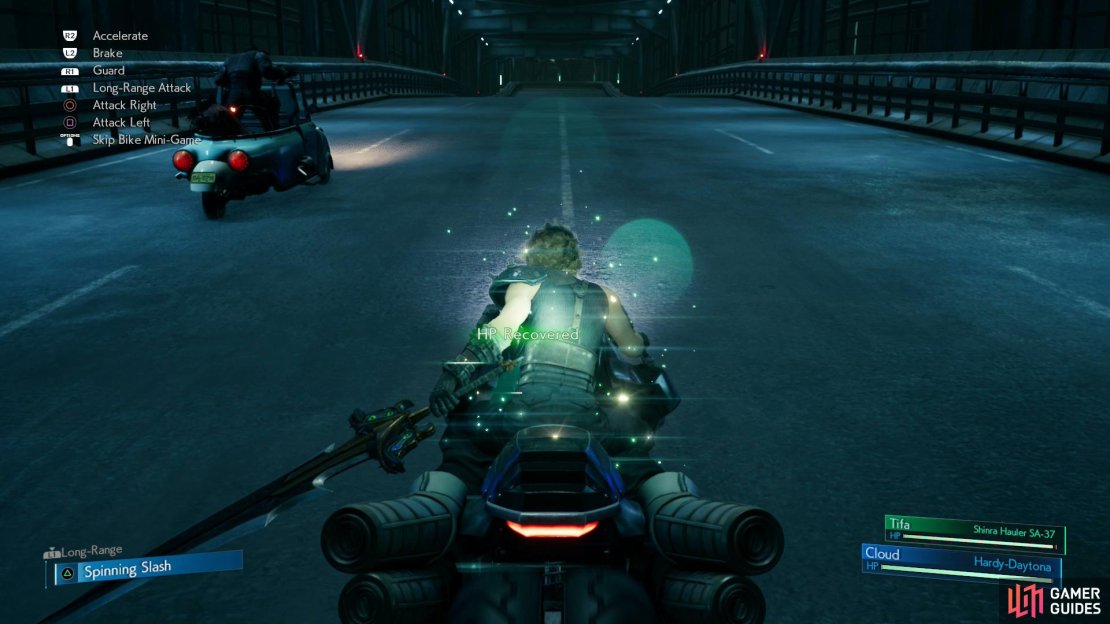
(1 of 3) Note the helicopter reticle,
After the truck is dispatched you’ll be pestered by a helicopter, which will attack the road ahead of you rather than target you directly - move out of the way of the fire patches it leaves on the road to avoid taking damage, after which you should be healed by Red XIII.
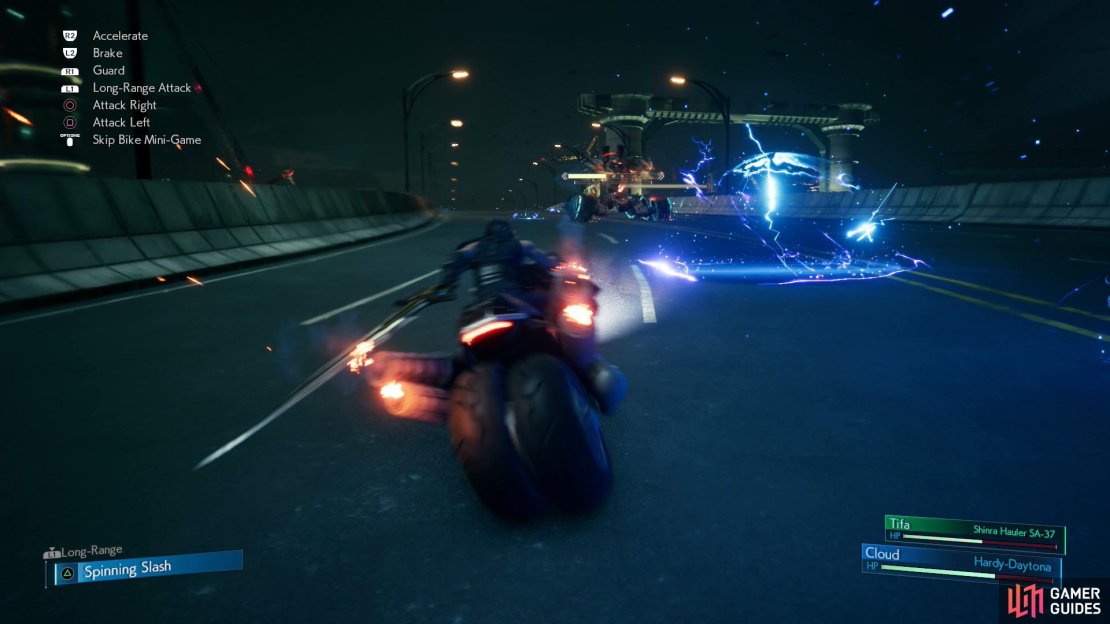
Next up are some drones (Slug-Rays?) that, while being small, nuisance targets, are destroyed rather easily. If you see them target you via a reticle, block their upcoming shot, and if you see them surround themselves in electricity, get away from them. Otherwise, just accelerate to catch them and cut them down, or use your ranged attack to take them down - it’s really the only time that ability is terribly useful.
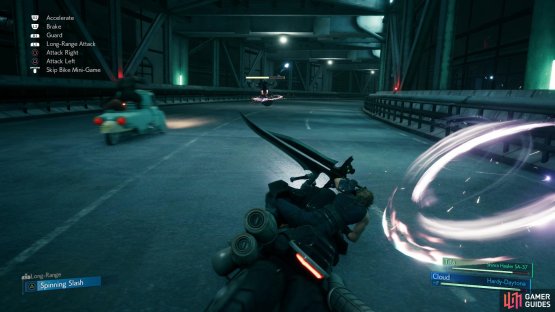

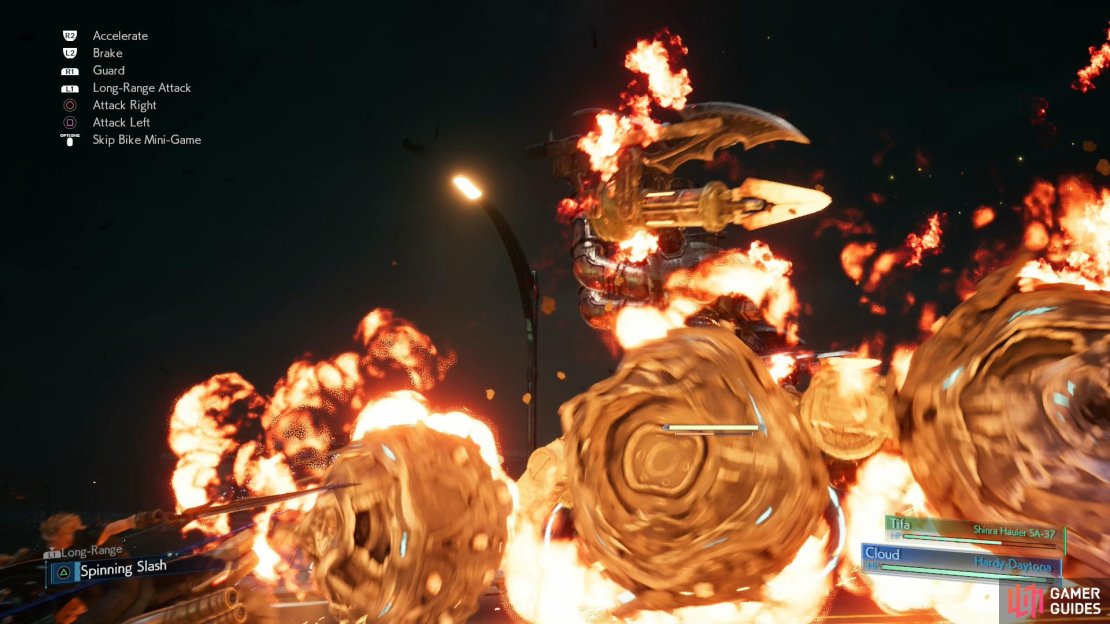
(1 of 2) Dodge the M.O.T.H. Unit’s blade attacks.
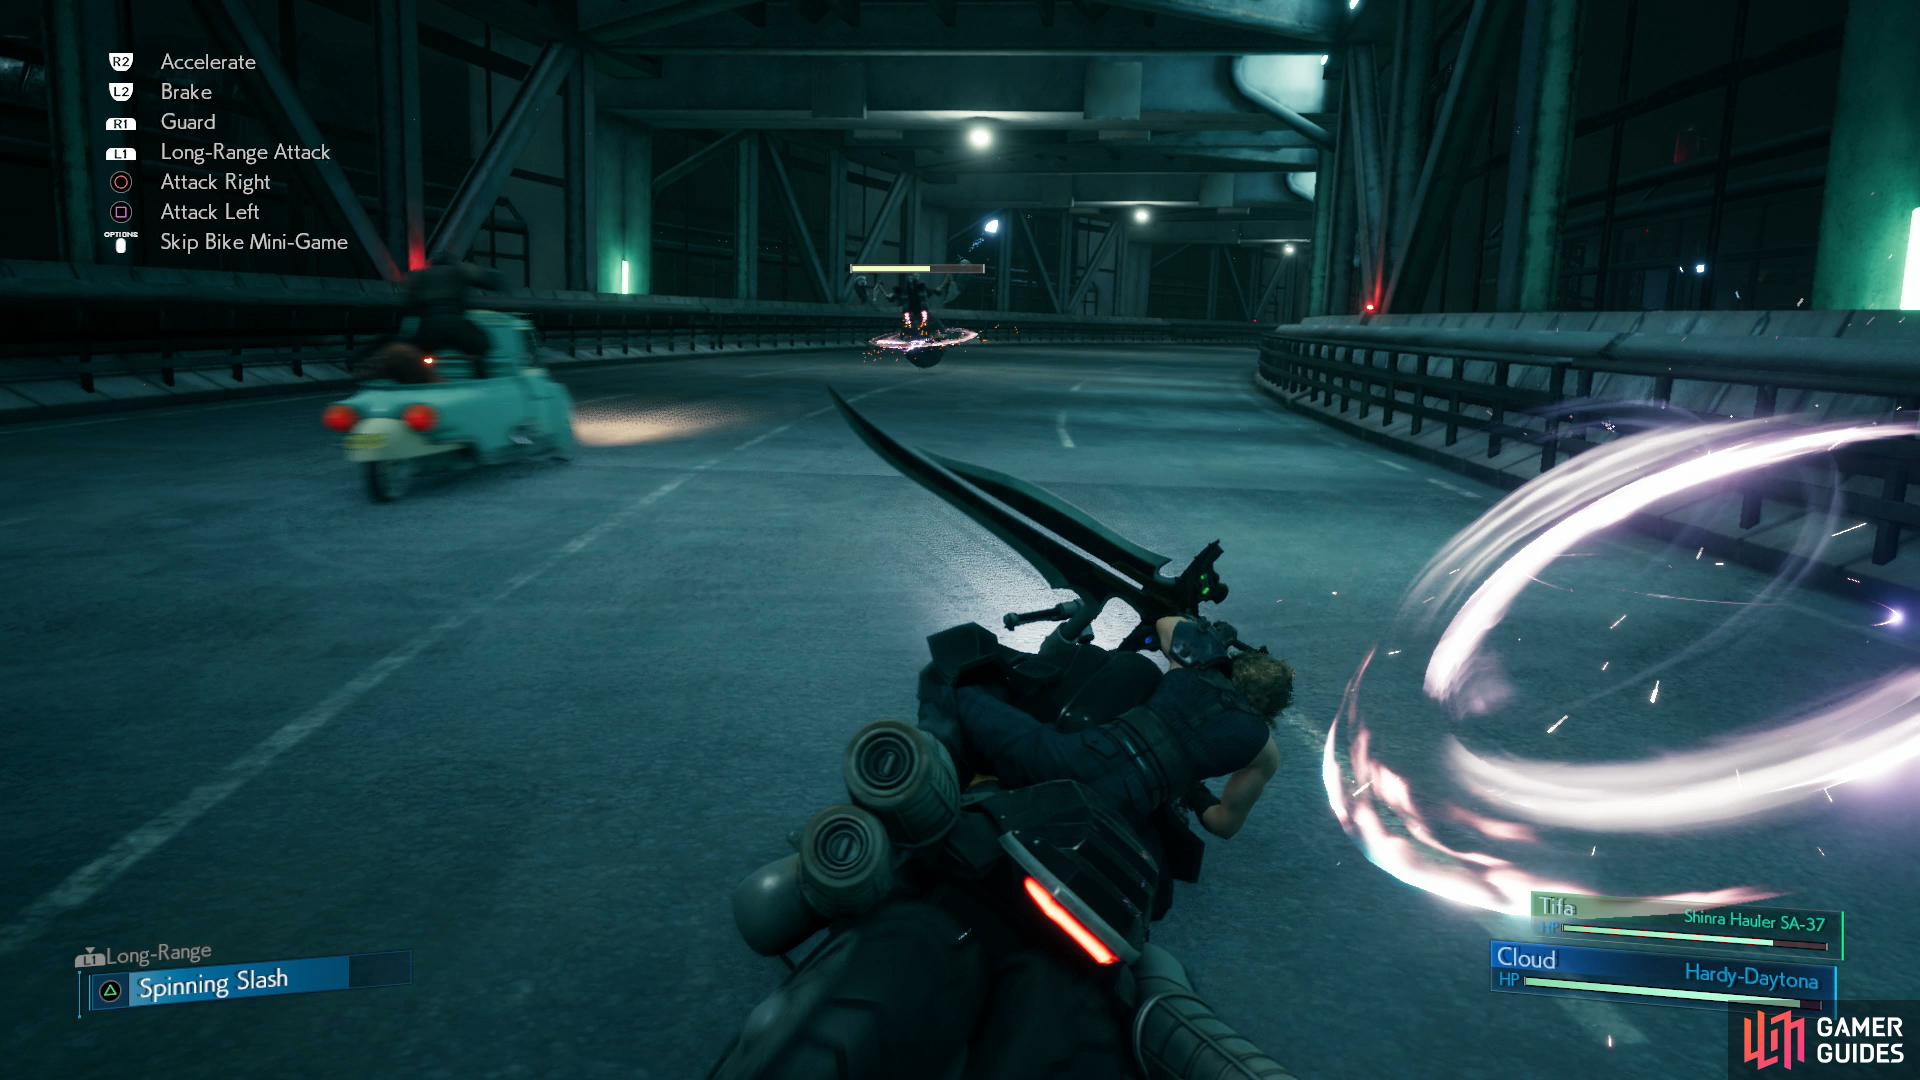
Dodge the M.O.T.H. Unit’s blade attacks. (left), When it comes in melee range, block its attack and counter with offense of your own. (right)
Dispatch the drones and a M.O.T.H. Unit will arrive. When it pulls ahead, be wary as it’ll unleash a series of blade attacks. Maneuver around them when you can, block when you can’t, and when it drops back, attack it. When you see it deploy some blades from its lower orb, block the attack, not just to mitigate damage, but also to stun it for a moment, which is a fine time to unleash your “Spinning Slash” attack to deal significant damage. Repeat until the M.O.T.H. Unit is almost destroyed, at which point it’ll be joined by a drone. Take the drone out so you can focus on finishing off the M.O.T.H. Unit.
Red XIII will heal you, and after some more deus-ex-machina you’ll need to dispatch two SOLDIERs on bikes while dodging the attacks of the helicopter. Focus on the latter primarily, as the helicopter blasts can deal more damage than the SOLDIERs are likely to (although the SOLDIERs can box you in, resulting in helicopter hits you otherwise wouldn’t take) and use your “Spinning Slash” whenever possible to damage the SOLDIERs. Defeat them and you’ll get healed by Red XIII once again, after which the the final highway challenger will appear…

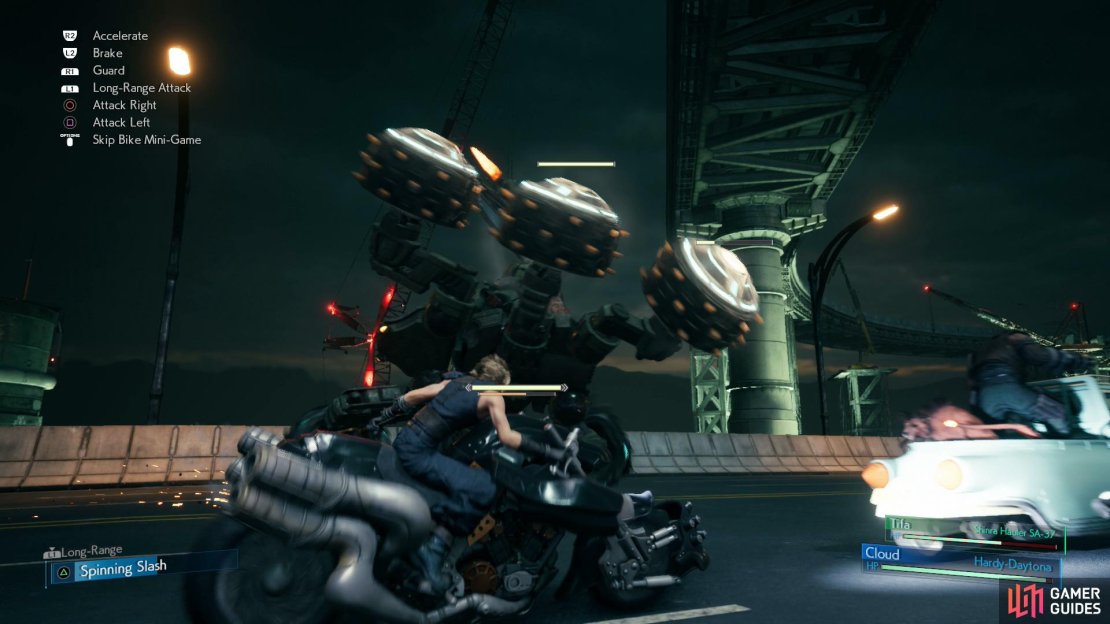
(1 of 3) Destroy Motor Ball’s wheels,
Boss: Motor Ball
Motor Ball! A returning boss from the original game. It’ll pester you with machinegun fire if you keep your distance, and there’s no good reason to do so. Instead, accelerate to catch up to it and attack the three wheels on either side of the boss - one proper “Spinning Slash” should take out all three wheels on one side of the boss, but regular attacks will suffice, too. When pressured, Motor Ball will lift the wheels facing you before slamming them down. There’s quite a delay between the raise and the slam, so merely decelerate or steer away, as the situation warrants. Destroy all six wheels to Stagger Motor Ball, at which point you can dish out significant damage with physical attacks and perhaps another “Spinning Slash”. When Motor Ball recovers from stagger it’ll charge up and unleash a 360-degree fire attack, so give yourself some distance.
After Staggering Motor Ball once, repeat the process, this time being wary of a beam it’ll shoot sideways if you pressure it - this beam can deal immense damage, so be sure to drop back if you see it charging. After Staggering it a second time Motor Ball will drive forward and shoot out orbs of electricity which cling to the road. Dodge them while accelerating to catch back up, then repeat the process above again. After the third Stagger, Motor Ball will discharge the odd fireball directly behind it as it launches its persistent lightning globes.
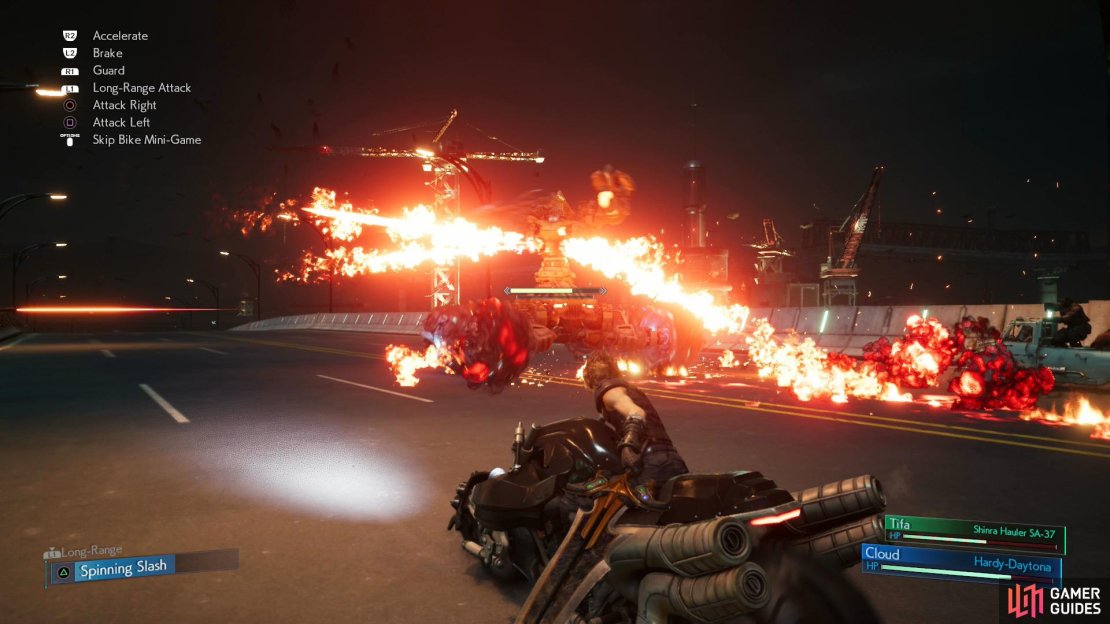
(1 of 3) After recovering from Stagger, Motor Ball will use a 360 degree fire attack.
Keep up the pressure and Motor Ball will succumb, hopefully around the fourth or fifth Stagger. The damage you deal at first doesn’t seem very significant, but unlike almost every other foe in the game, Motor Ball keeps its Stagger % damage between bouts of Stagger, so the damage you’ll inflict each Stagger period will increase dramatically.
The Turning Point
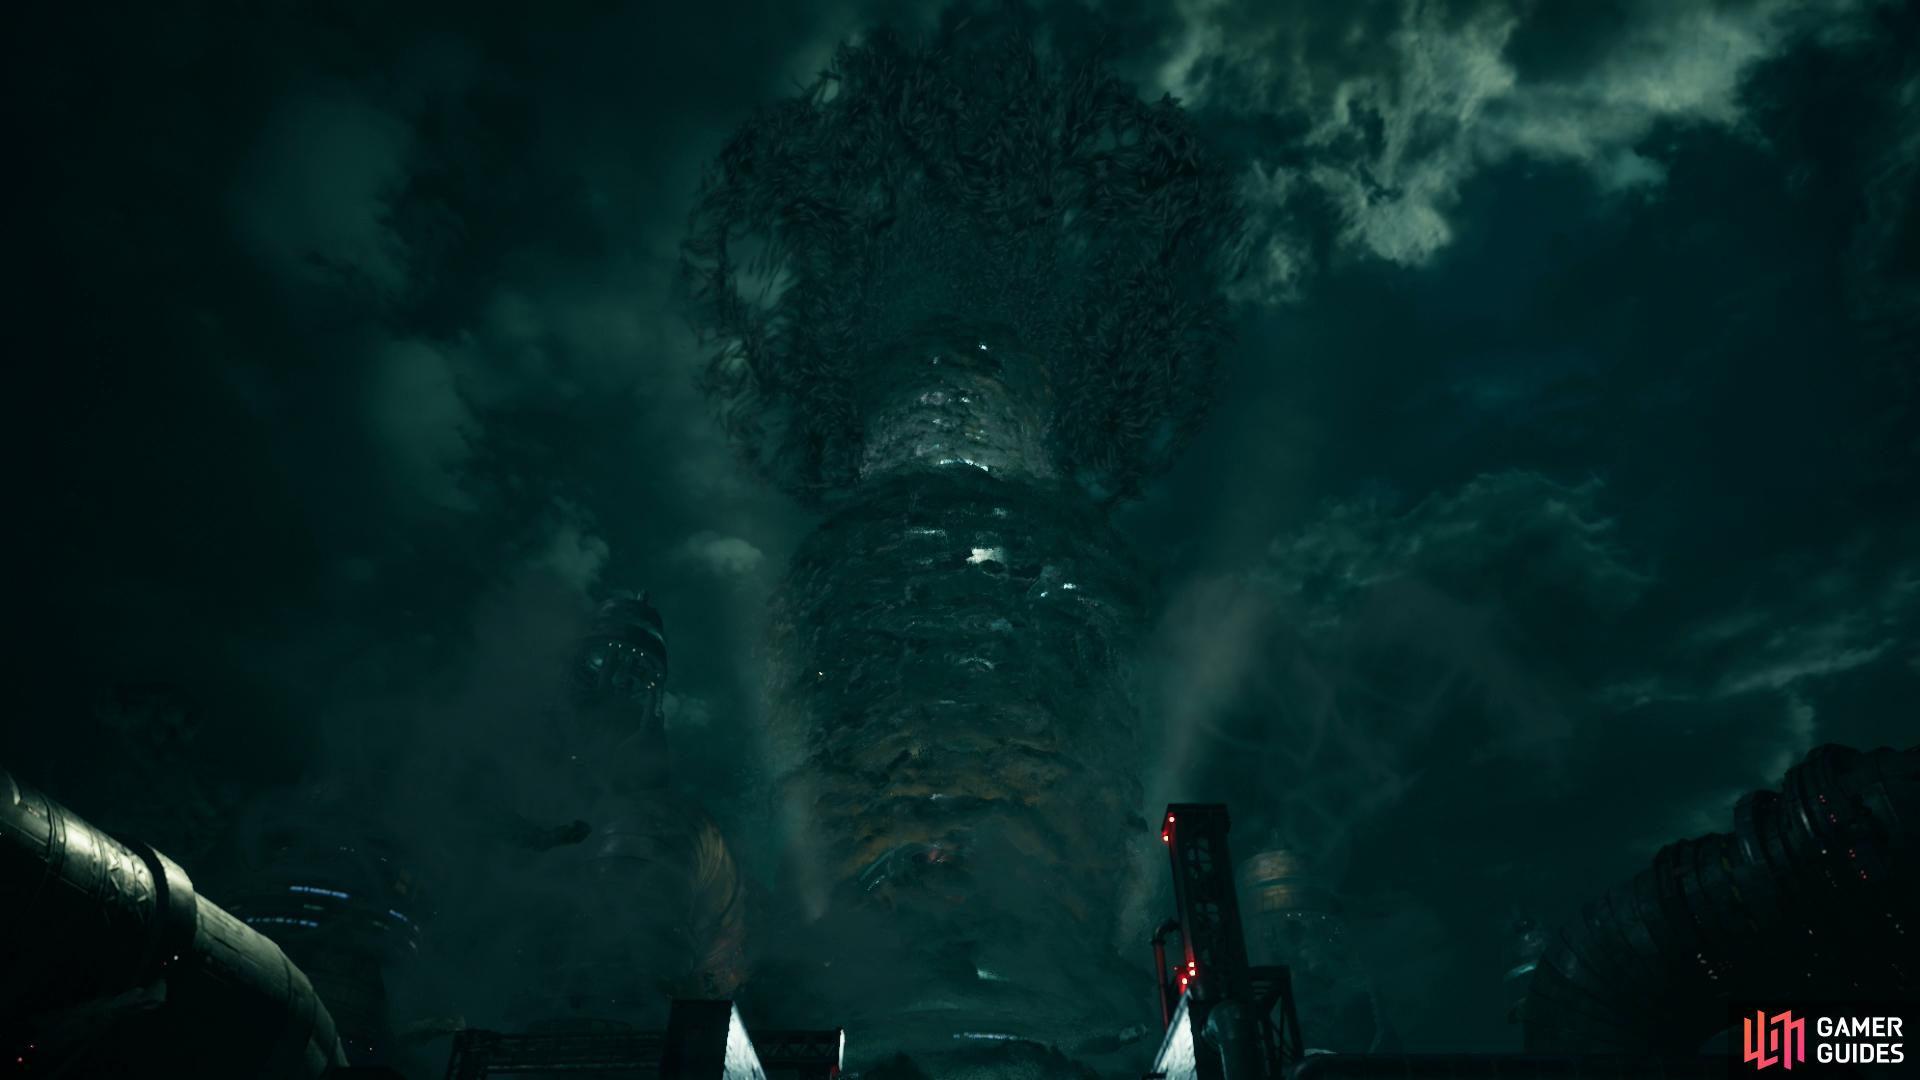
Defeat Motor Ball and you’ll find yourself at the end of the highway. Venture west to find a rest bench and a vending machine - the last two in the game. Buy your last round of discounted restoratives - 3x Mega-Potions (300 Gil), 2x Ethers (100 Gil) and 2x Phoenix Downs (100 Gil), as well as an Elixir (1,000 Gil) - if you wish, then continue to encounter… Him. After some length scenes you’ll find yourself standing in front of a portal torn in the very fabric of reality. You can still backtrack to go buy items from the vending machine, should you need to, but otherwise all that’s left to do is press on and challenge fate.
Consider managing your equipment here. Status effects won’t play a large part in the upcoming fights, so you can dispense with Warding Materia and debilitation blocking accessories in favor of Championship Belts and the Circlet. Everybody should have Healing Materia and Revive Materia, HP Up to boost your HP and we kept a Magic Up on Cloud and Aerith, the latter of which continues to be indispensable as a healer - Curaga + Magnify is just too good not to abuse. Equip Fire + Elemental on Cloud’s armor and Lightning + Elemental on Tifa’s armor. It’s not fool-proof, as the enemies you’ll be facing tend to have access to a variety of elemental attacks, but it can mitigate/negate/absorb some damage. Do not equip elemental materia on your weapons. Offensive elemental magic is… fine. We favor Fire or Lightning because they’re more reliable, not because they’ll confer any distinctive affinity advantage. ATB Stagger Materia on Cloud and Tifa also isn’t a bad idea.
Boss: Whisper Harbinger, Whisper Rubrum, Whisper Viridi, Whisper Croceo and Whisper Bahamut
| Enemy | Weaknesses | Notable Loot |
|---|---|---|
| Whisper Harbinger | -- | -- |
| Whisper Rubrum | -- | -- |
| Whisper Viridi | -- | -- |
| Whisper Croceo | -- | -- |
| Whisper Bahamut | -- | -- |
Phase 1 - Running Battles with Whispers
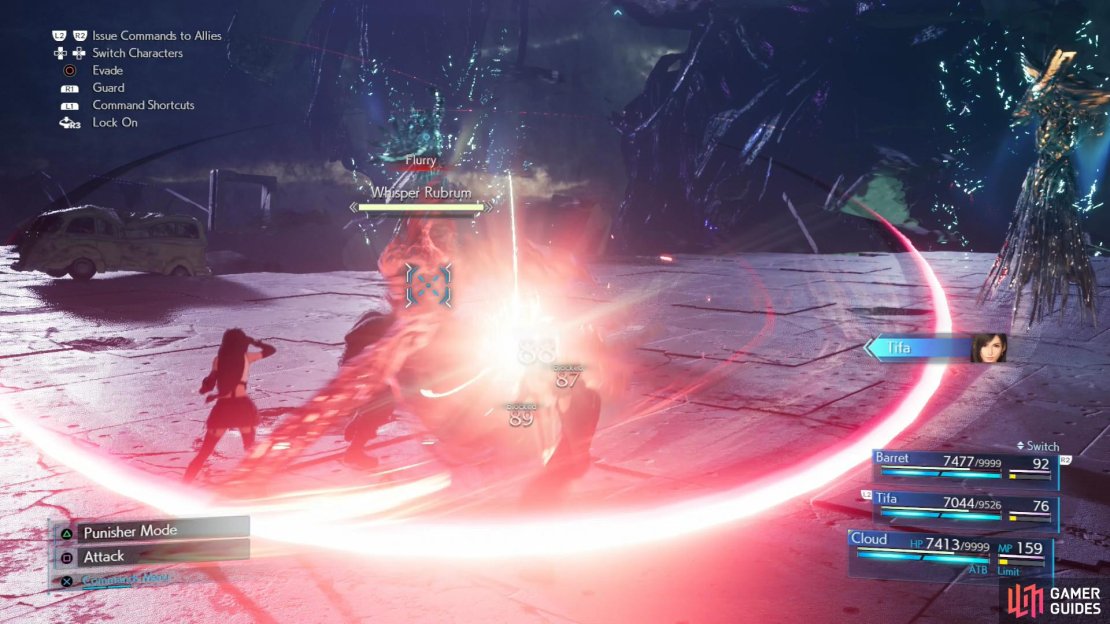
After some more scenes you’ll be in control of an isolated Cloud. Follow the linear path ahead and you’ll shortly reunite with Barret and Tifa, who are confronted by several unique “Whispers”:
-
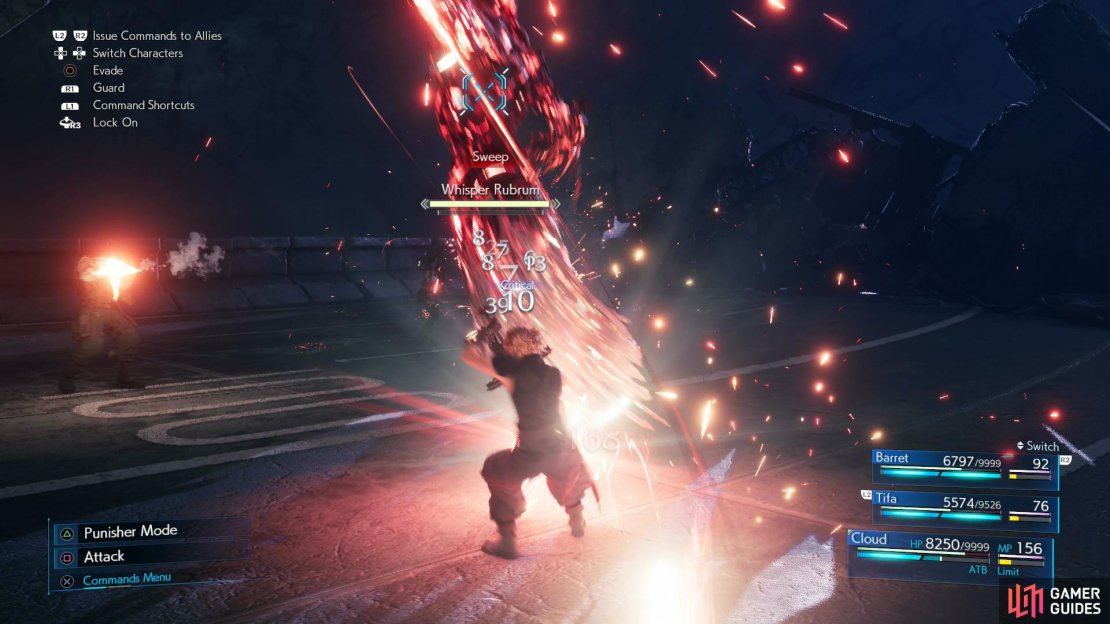
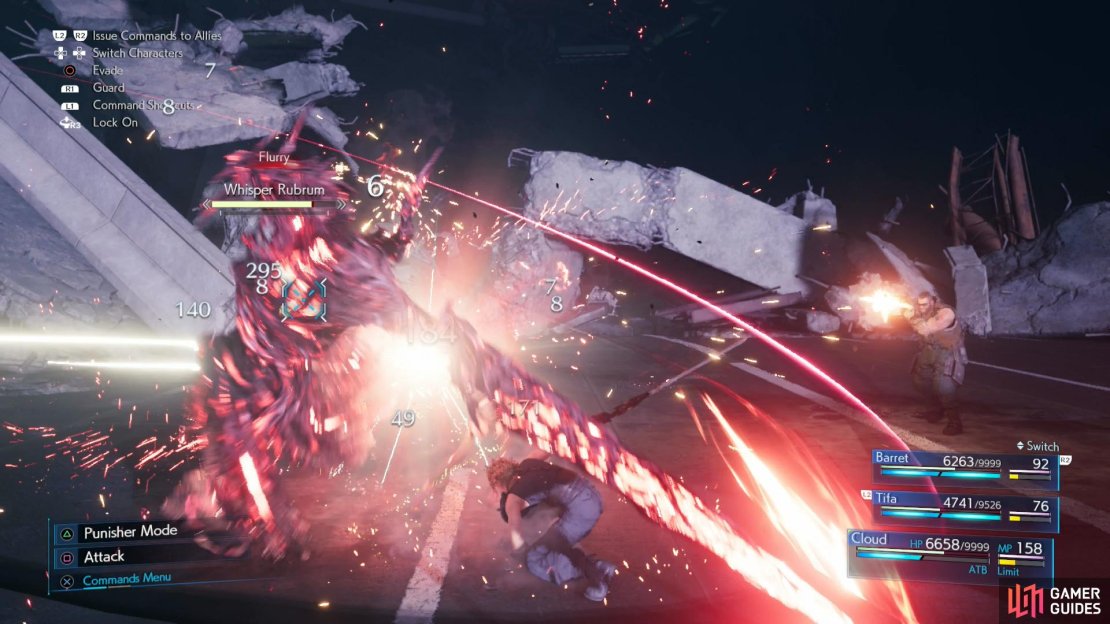
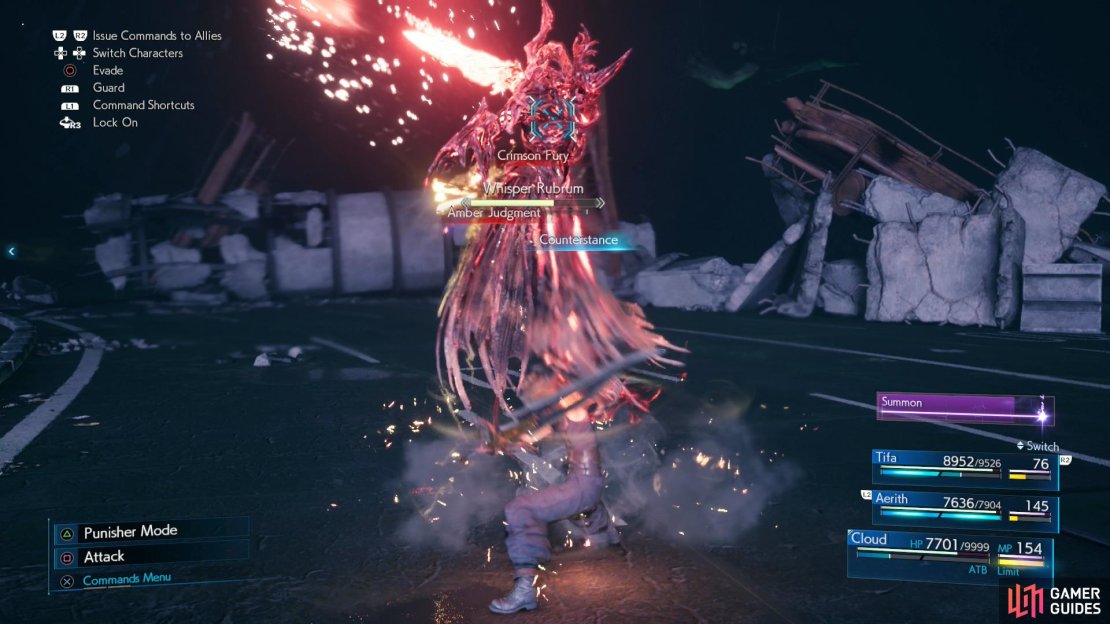
Whisper Rubrum: The red whisper, armed with a sword it can perform a variety of sword attacks including “Crimson Arc” (shoots a red blade beam), “Flurry” (a flurry of sword slashes“ and “Sweep” (a rushing, sweeping attack). It absorbs fire damage and can cast Firaga.
-
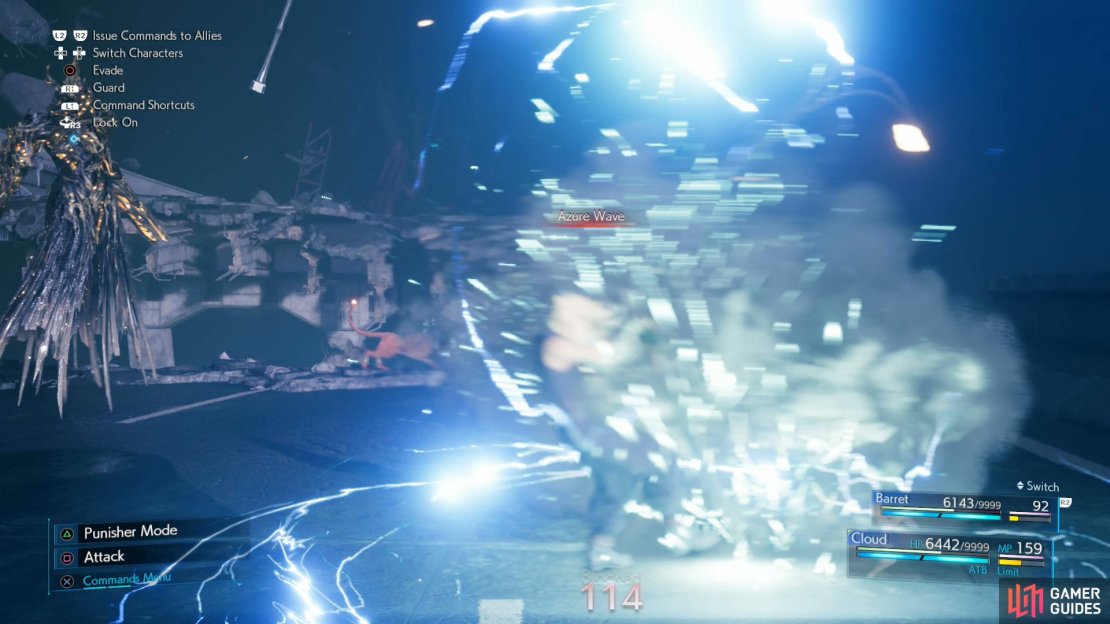
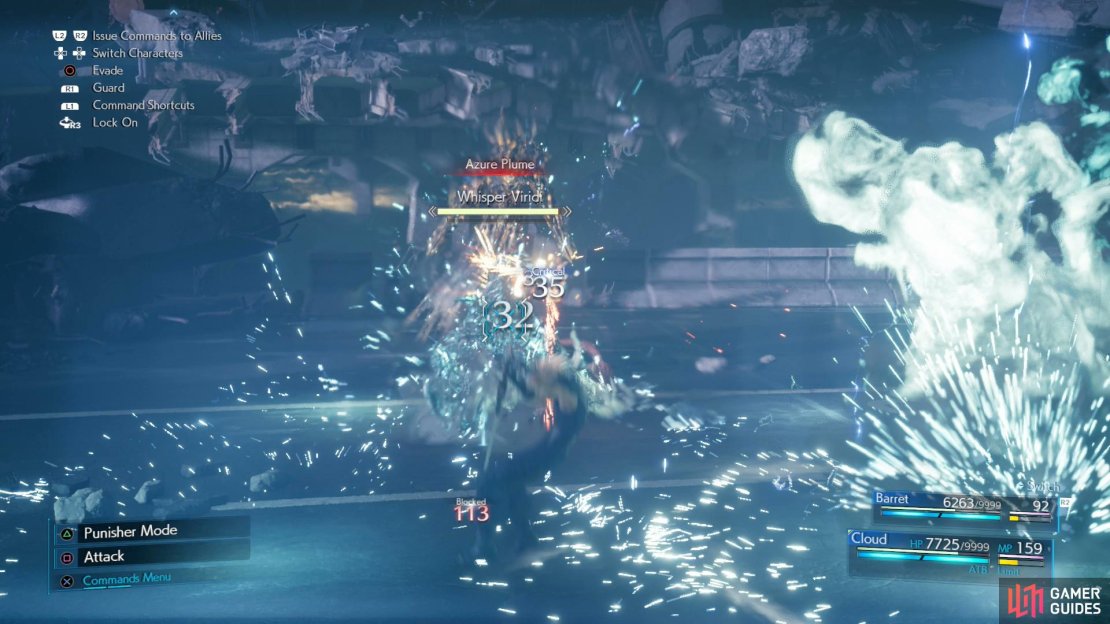
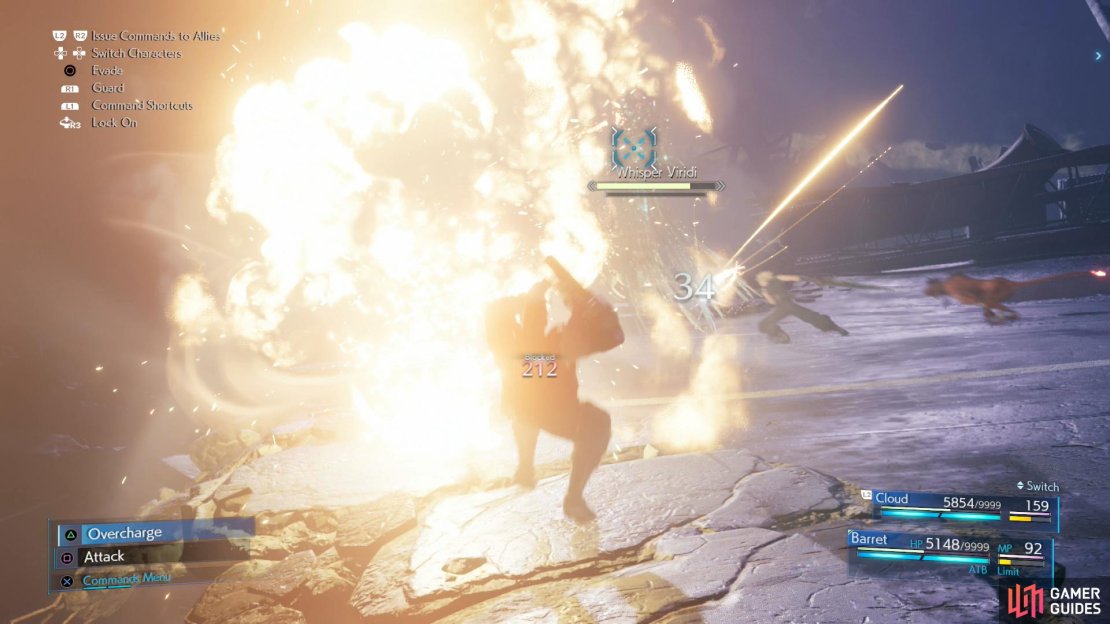
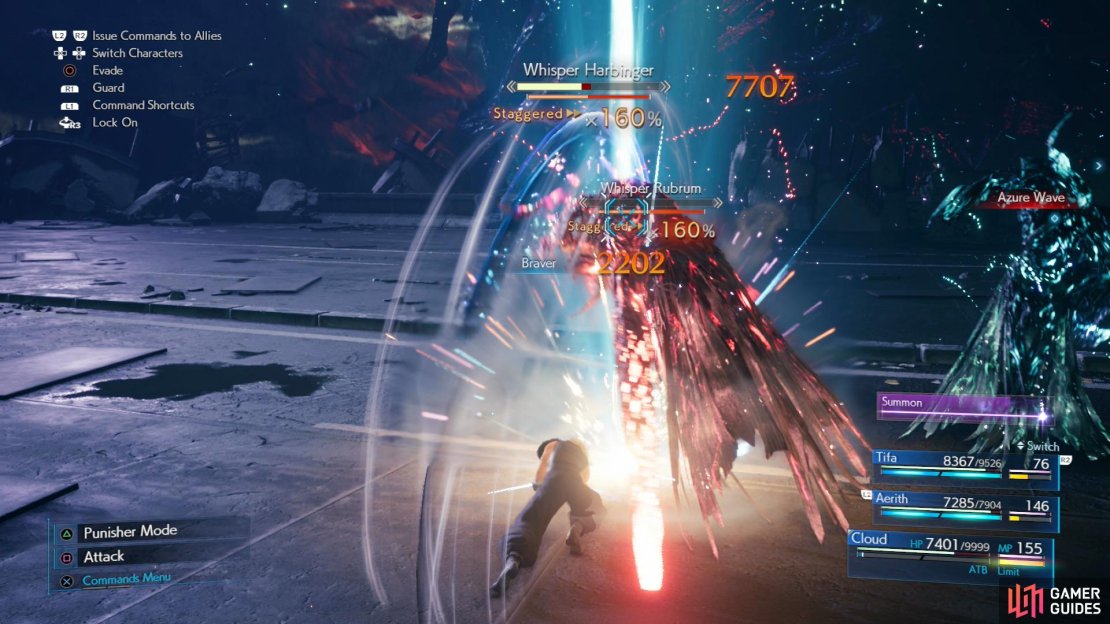
Whisper Viridi: The blue whisper, it fights barehanded, using its “Azure Wave” (creates a line of explosions that travels forward), “Azure Plume” (generates numerous glowing spots on the ground, which shortly explode and knock nearby characters into the air) and “Azure Burst” (charge up melee attack, usually used at the end of a combo) abilities. It absorbs lightning damage and can cast Thundaga.
-
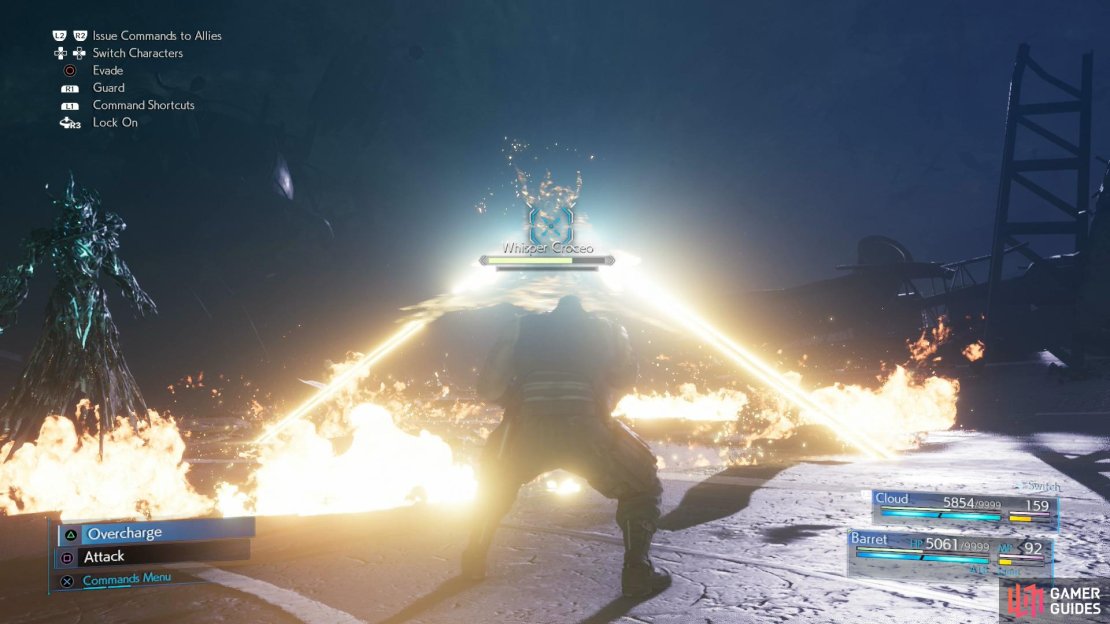
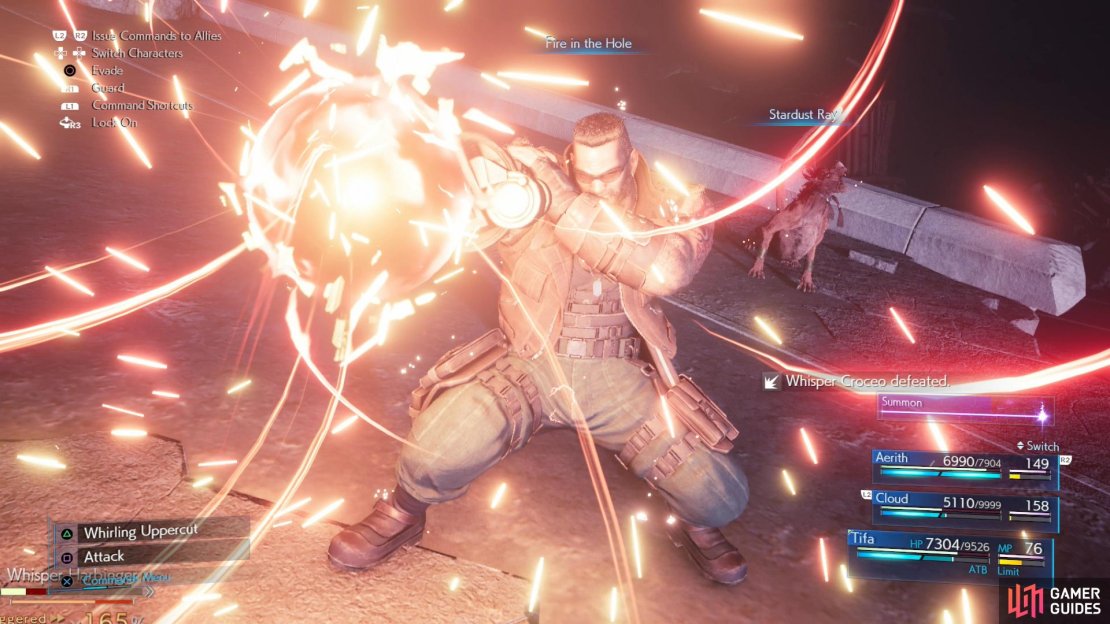
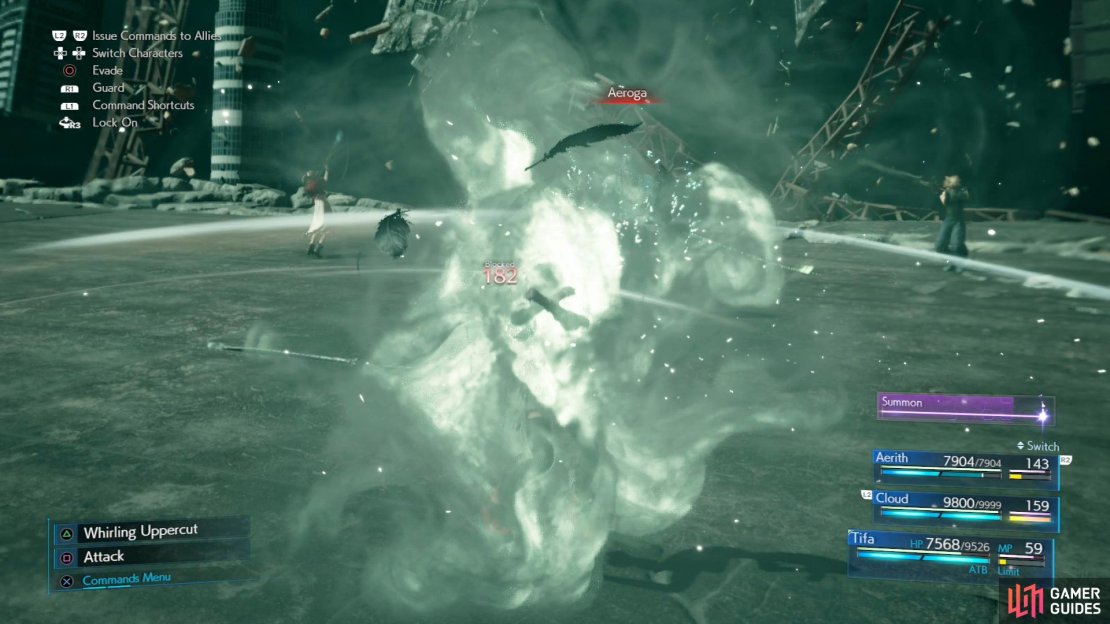
Whisper Croceo: The yellow whisper, it fights with guns, with which it’ll perform attacks like “Erode” (a series of low-damage gun blasts), “Scatter” (fires a blast from both gun-arms simultaneously, hits multiple times) and “Ambient Whirl” (shoots two beams of energy, then spreads them outwards or upwards). It absorbs wind damage and can cast Aeroga.
Each Whisper will tend to focus on their own counterpart - Rubrum will attack Cloud, Viridi will focus on Tifa and Croceo pays attention to Barret. You won’t achieve much in this phase of the battle - you need only endure until Whisper Harbinger decides to take a cheap shot (“Correction” - deals minor magic damage to the entire party) then run through some more linear terrain until you reach the next battlefield and repeat the process. The second time around Whisper Harbinger will attack with “Indomitable” (lightning damage in a wide area, deals moderate damage) and “Intercession” (slam attack). Run to the third stage of the battle where your party will fight Whisper Rubrum on its own.

Phase 2 - Whisper Rubrum
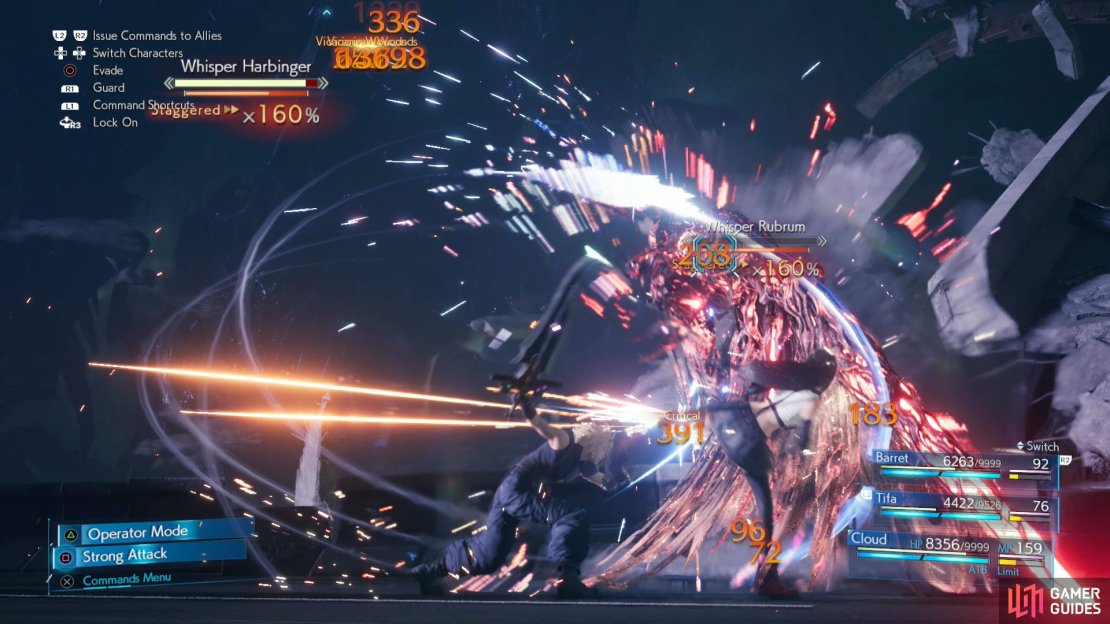
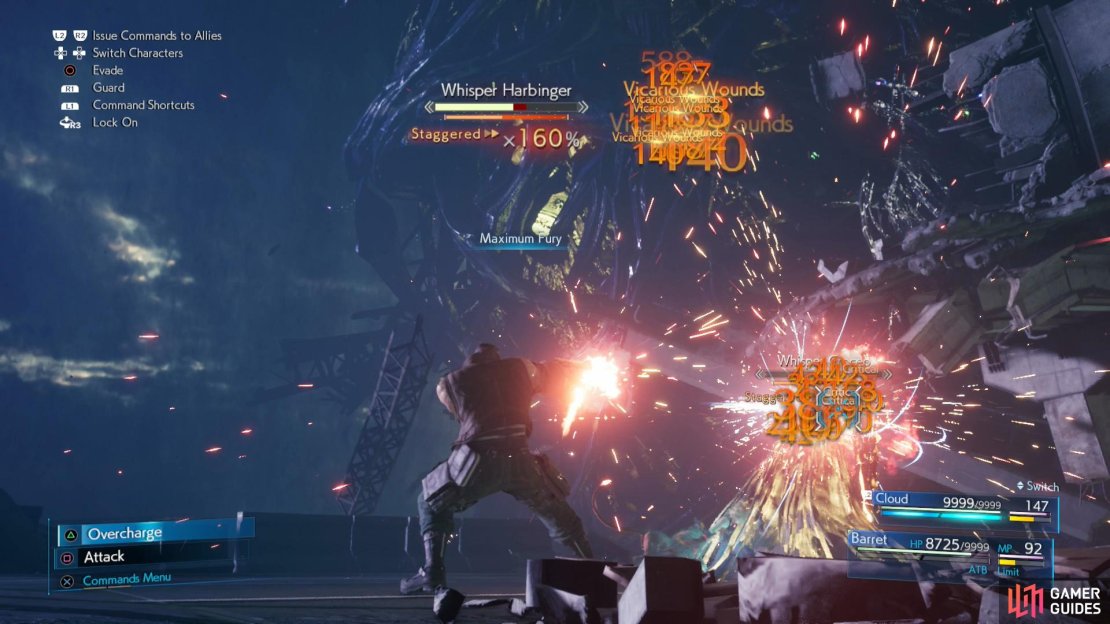
For all functional purposes this is where the fight really begins, as Whisper Rubrum will stand and fight long enough to be defeated, and once he is, Whisper Harbinger will become Staggered and receptive to damage - just keep attacking the downed Whisper Rubrum to damage Harbinger.
Of course, Rubrum is going to fight back, and as you may have noticed in the earlier phase, fighting Rubrum with Cloud should suit you just fine. “Counterstance” is the real winner here, as it’ll punish Rubrum for nearly everything it does, but Punisher mode’s counterattacks also work against everything save “Crimson Arc” and Firaga.
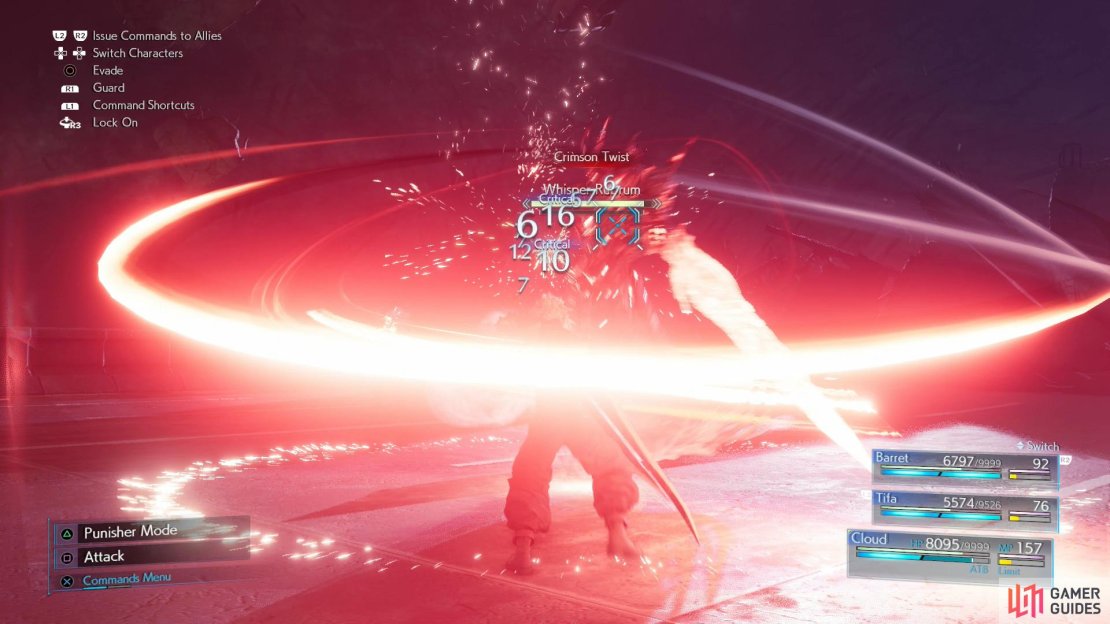
Despite Rubrum being cake, it is more dangerous this phase than it was before, as it’ll use “Fever” at the outset of the fight, which is more of an indication that it’s going to be more aggressive and will use powered up versions of old attacks as well as new attacks. Its “Crimson Arc” will fire multiple blade beams, “Flurry” will gain more attacks in its combo, “Sweep” will chase a target for longer, “Crimson Twist” is a multi-hit whirlwind attack that’ll attack all characters within range (similar to “Triple Slash”, but with better range on each attack), and it can also counterattack with “Impale”.
Defeat Rubrum, then attack the downed Whisper to injure Harbinger - once you’ve reduced Harbinger to 75% of its HP, the next phase will begin.

Phase 3 - Whisper Viridis and Whisper Croceo
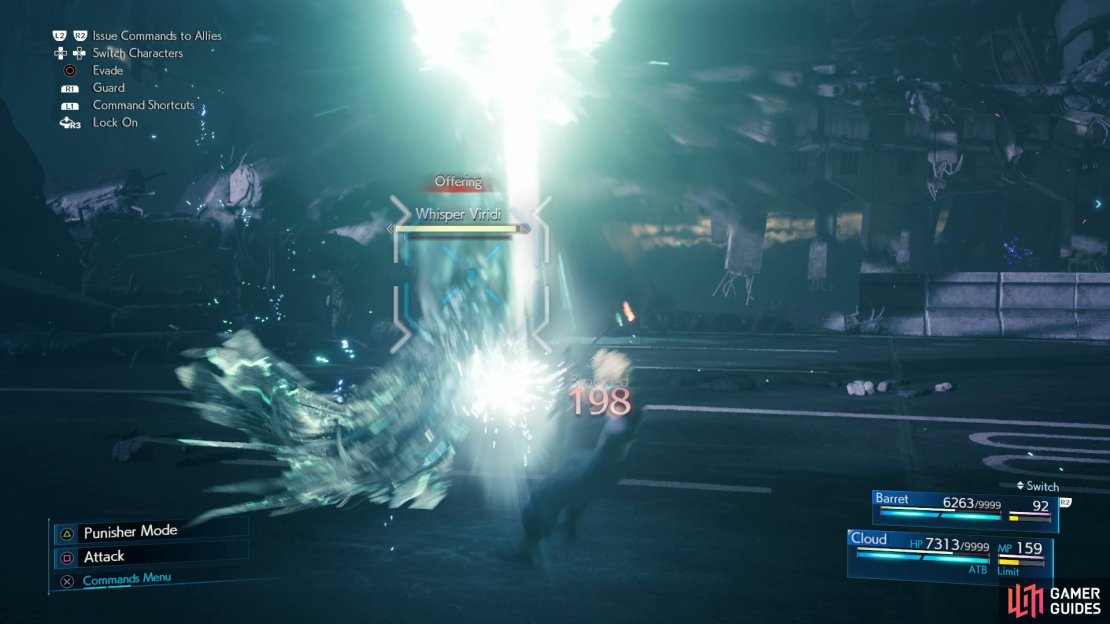
For this phase you’ll find yourself limited to Cloud and Barret, who will have to contend with two “Fevered” versions of Viridis and Croceo. Viridis will now use “Azure Burst” as a stand-alone attack, preferring to end combos with a new “Offering” uppercut attack. It can also evade and counterattack with its “Elude” ability. Otherwise, its “Azure Plume” and “Azure Wave” attacks seem only minorly altered, affecting a larger area and triggering quicker. It’ll occasionally block attacks with an improvised shield, but your goal should be to lure it into attacking while using “Counterstance” or blocking while in Punisher mode anyways, so its ability to block should be of fairly dubious value.
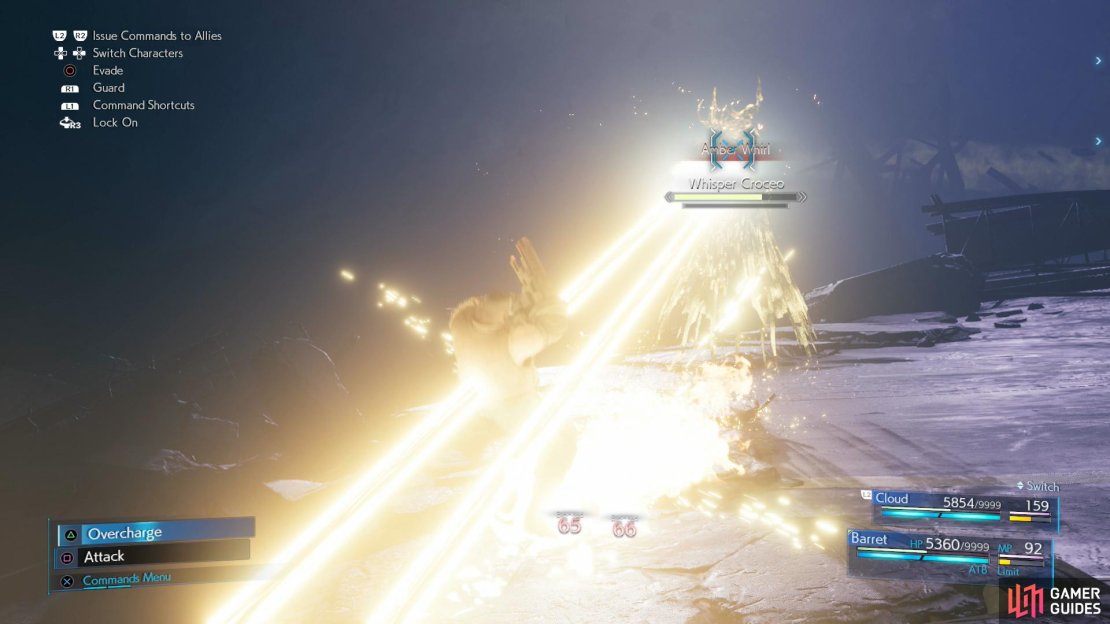
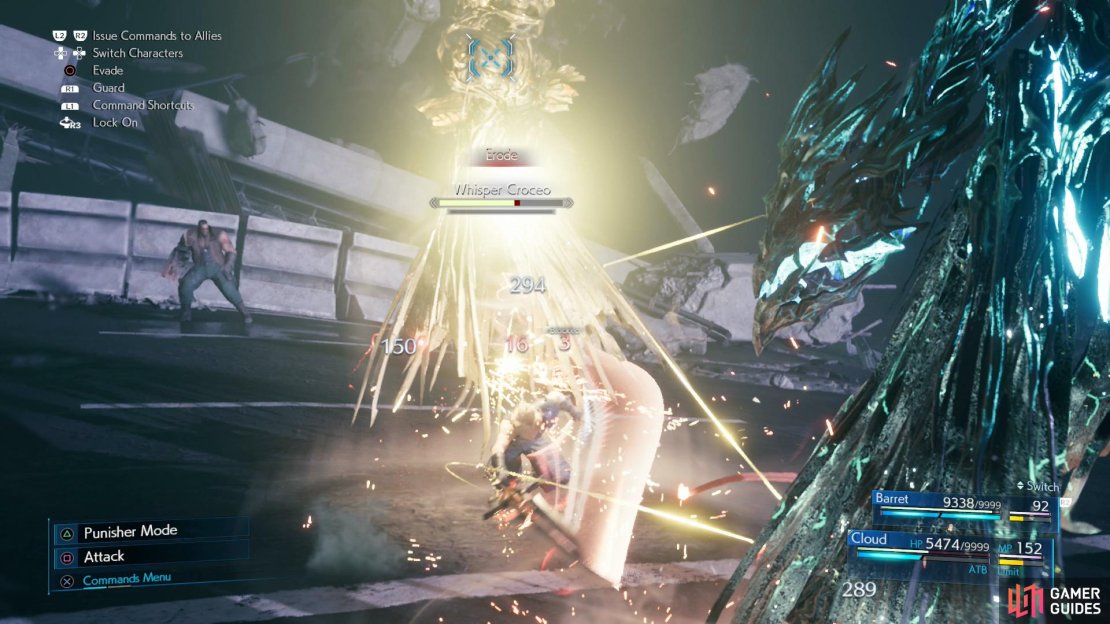
Croceo’s new and modified attacks include “Amber Whirl”, which now includes a spinning, close-range variant, “Erode” now fires more shots and frequently combos into “Amber Whirl” and “Amber Judgment”, which shoots an explosive blast at a target.
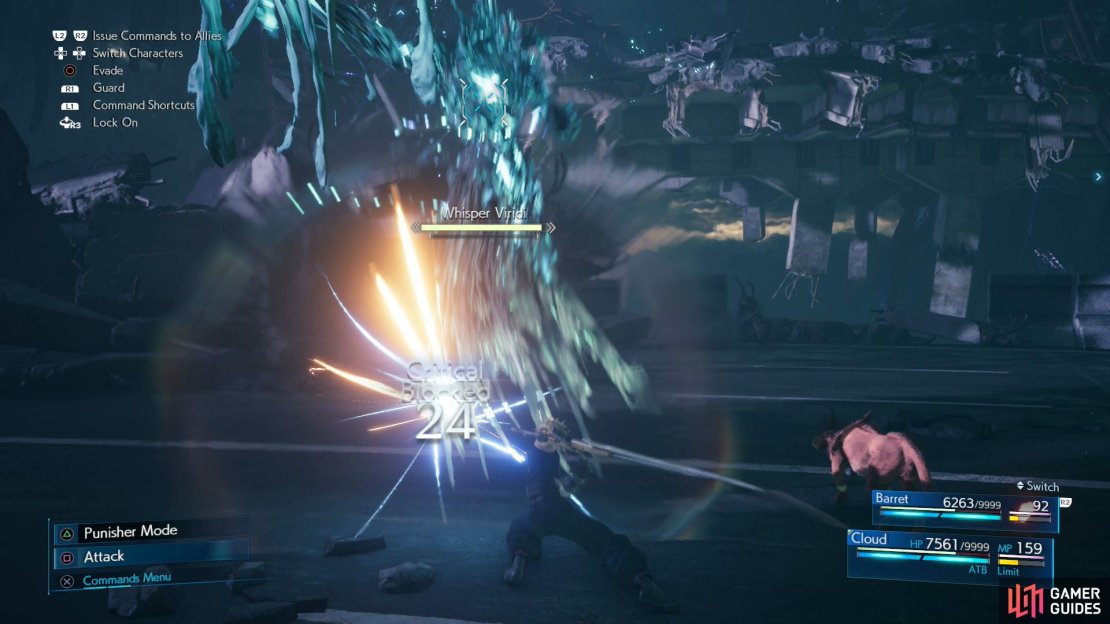
Overall your goal here is the same - defeat one of the two Whispers (again, Cloud’s “Counterstance” is indomitable here), attack it while it’s down (something made trickier with the other Whisper pestering you) to inflict damage on the now-Staggered Whisper Harbinger. As you deal enough damage to Viridis and Croceo - and through them, Harbinger - Harbinger will lose parts and you’ll “defeat” Viridis and Croceo. At around 50% of Harbinger’s HP both lesser Whispers will be “defeated” and the next phase will begin.
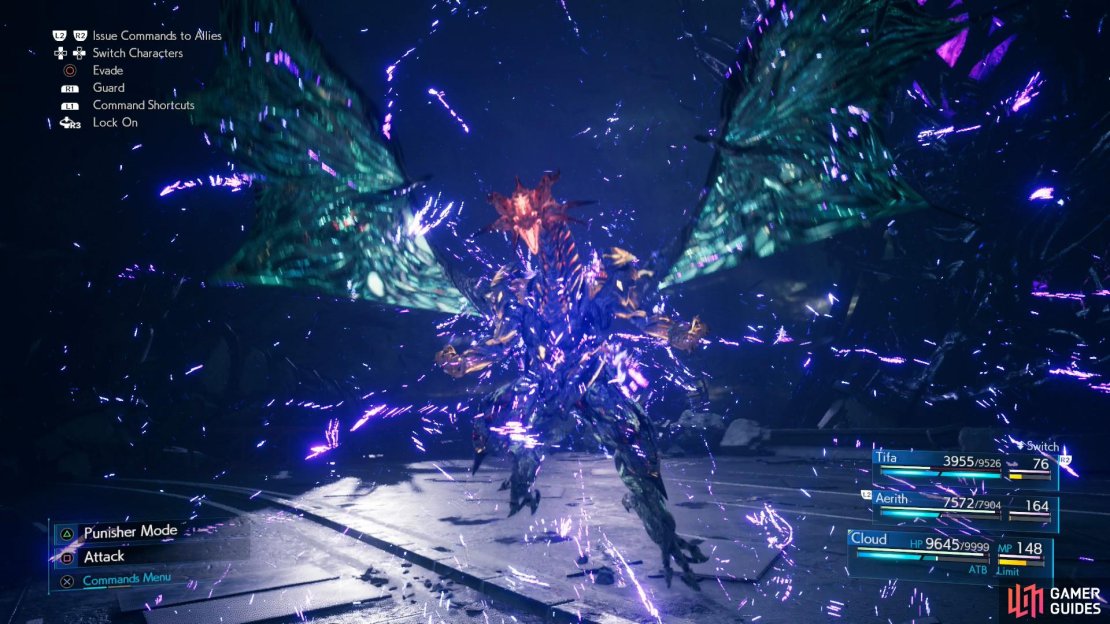
(1 of 7) After reducing Harbinger to half its HP, the lesser three Whispers will merge into Whisper Bahamut.
Phase 4 - Whisper Bahamut
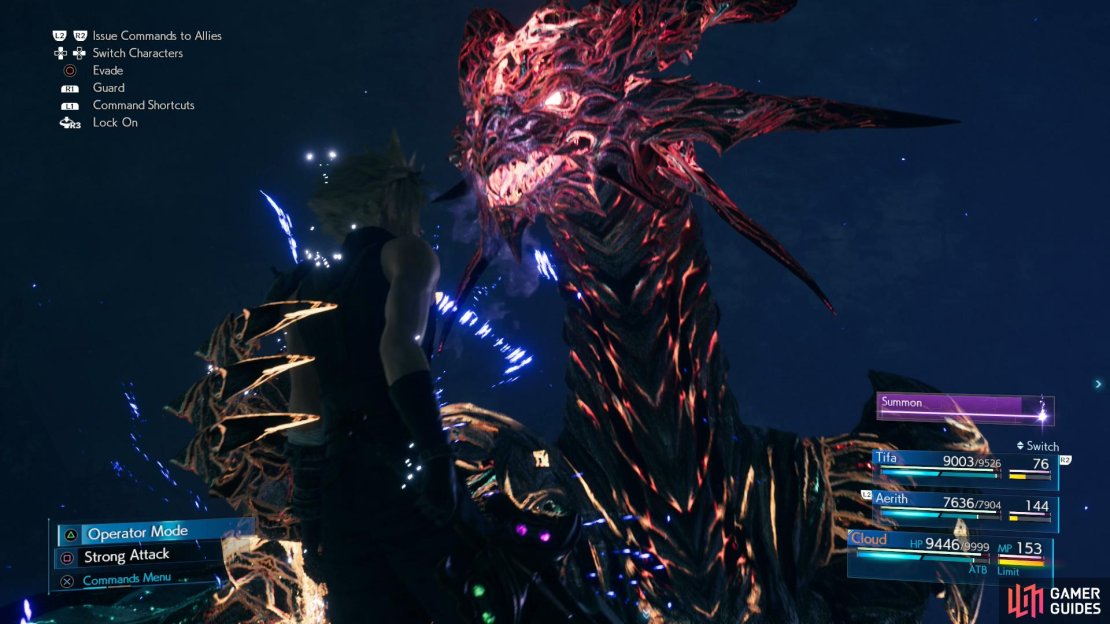
After some scenes the three Whispers will respawn and Barret will run off, leaving you in control of Aerith, Tifa and Cloud. Endure their assault a moment and they’ll merge into a unified entity - Whisper Bahamut.
More powerful and aggressive than its individual components, Whisper Bahamut is a more dangerous, well-rounded opponent. Its attacks are as follows:
-
Claw Flurry: Two lunging claw attacks. Deals moderate damage.
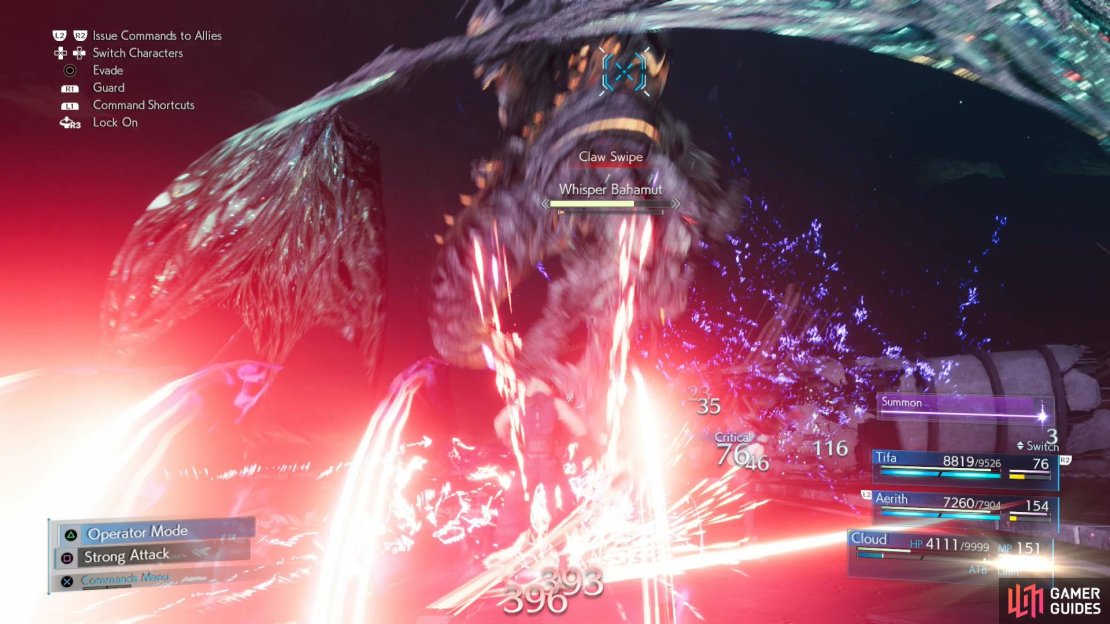
-
Claw Swipe: After a brief charge, Whisper Bahamut will lunge forward, swiping with its claw and shooting out several beams of energy along the ground. Deals heavy damage.
-
Corkscrew Dive: A spinning dive attack, deals minor damage.
-
Face-to-Face: Grabs a character and shoots a blast of energy into their face. Deals heavy damage. Also quite rude.
-
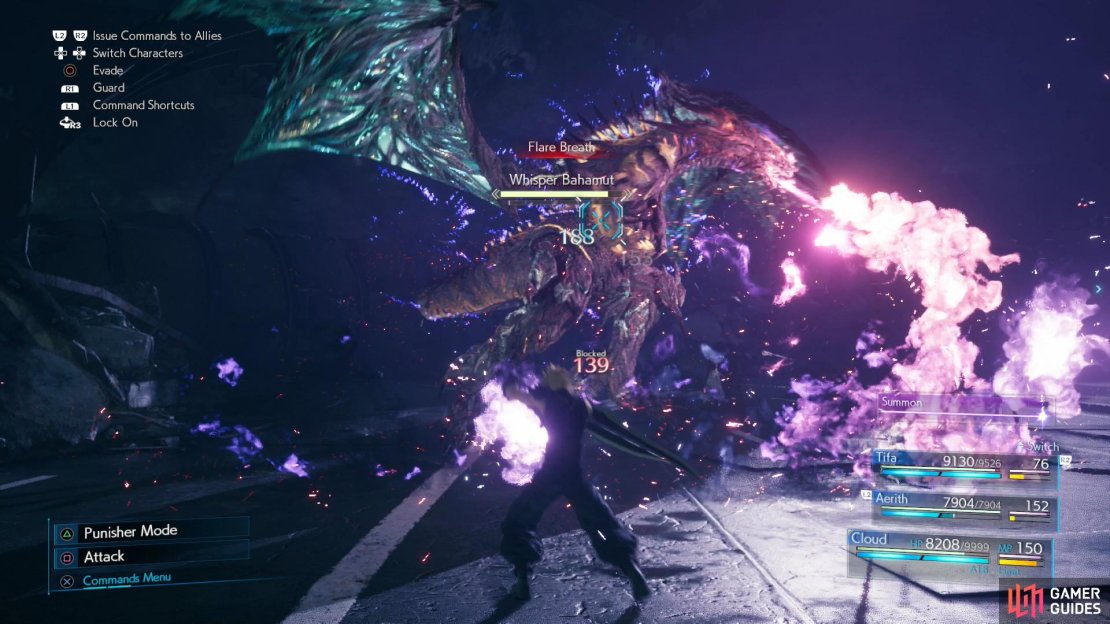
Flare Breath: Moderate magic damage in an arc, can inflict “Silence” and “Slow”.
-
Mega Flare: Whisper Bahamut’s ultimate attack, it can’t be blocked or really dodged, although a character may just be lucky enough to be outside its range when it attacks. Deals heavy magic damage to the entire party.
-
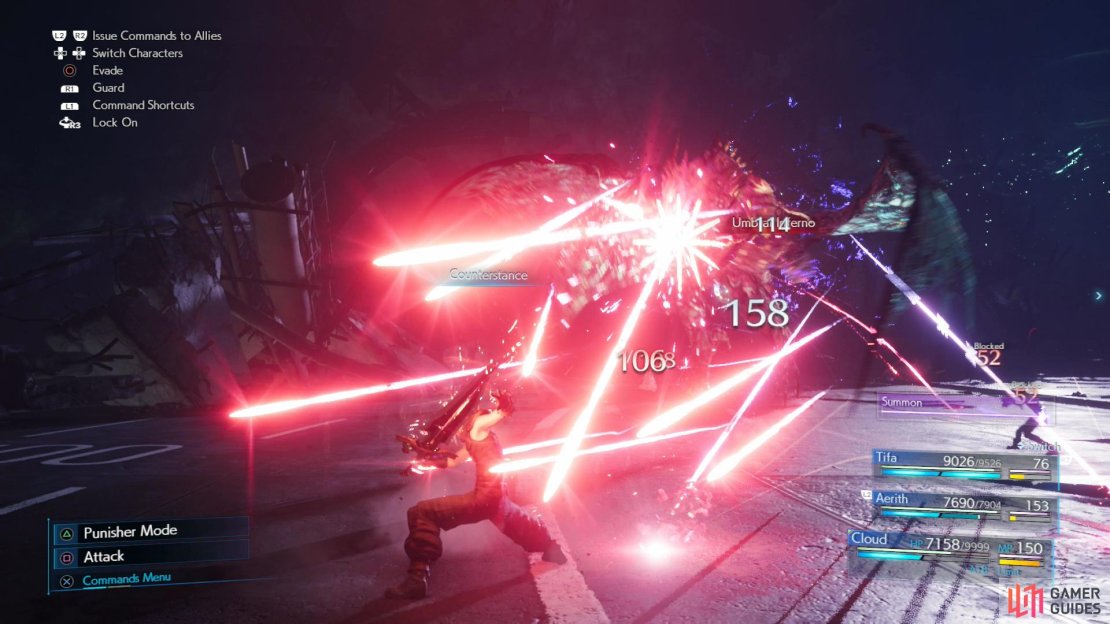
Umbral Inferno: Shoots a several volleys of low-damage, homing energy darts at a target. Each hit deals little damage, but you’ll likely be hit by multiple bolts in succession.
-
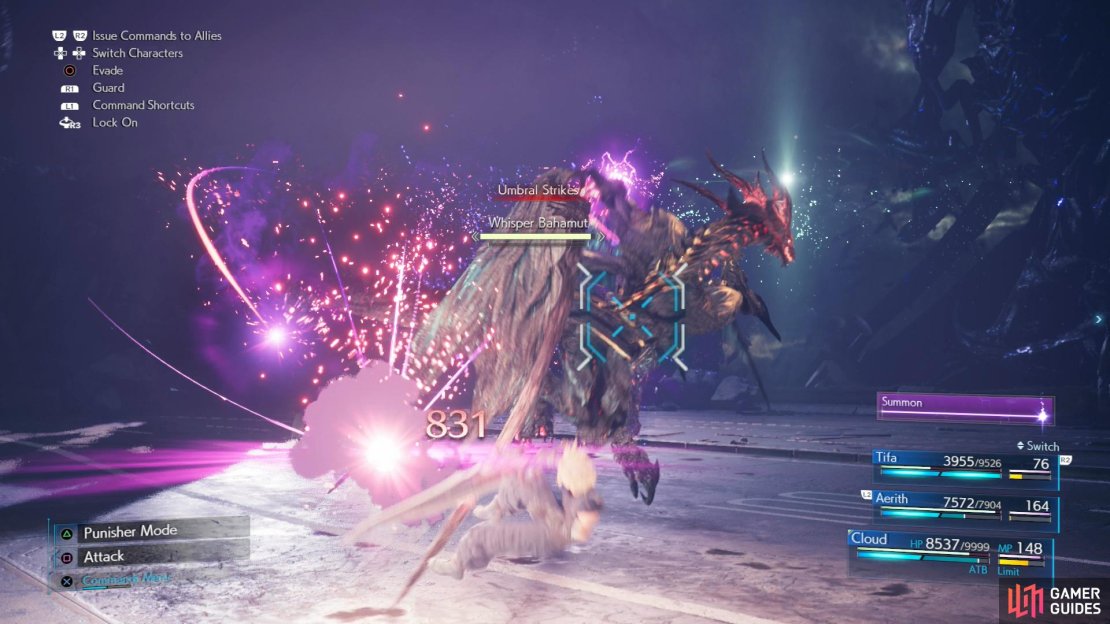
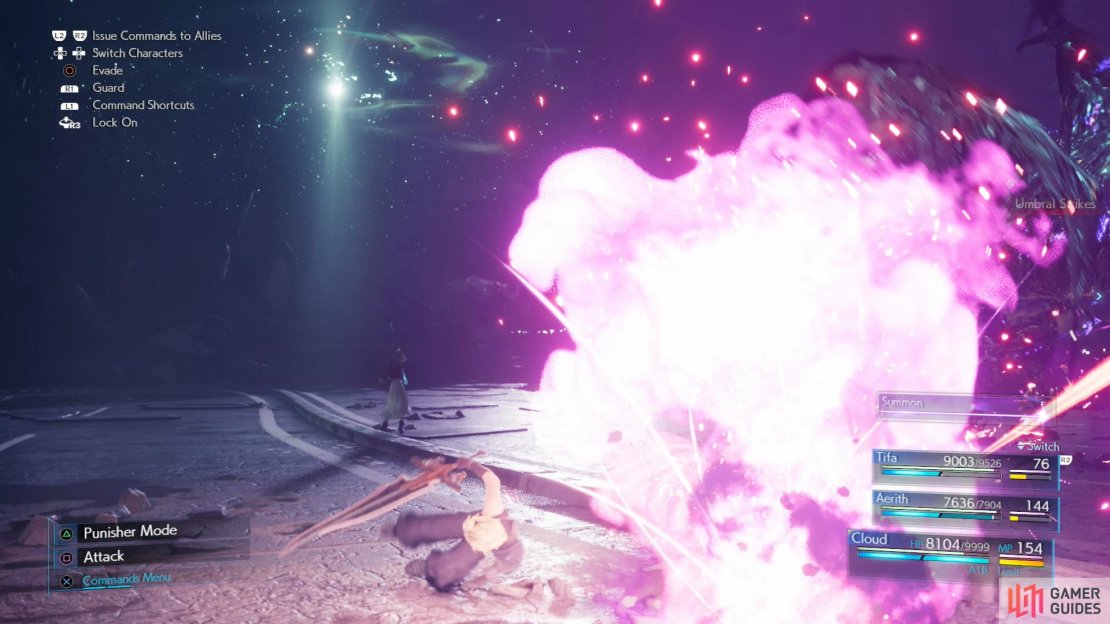
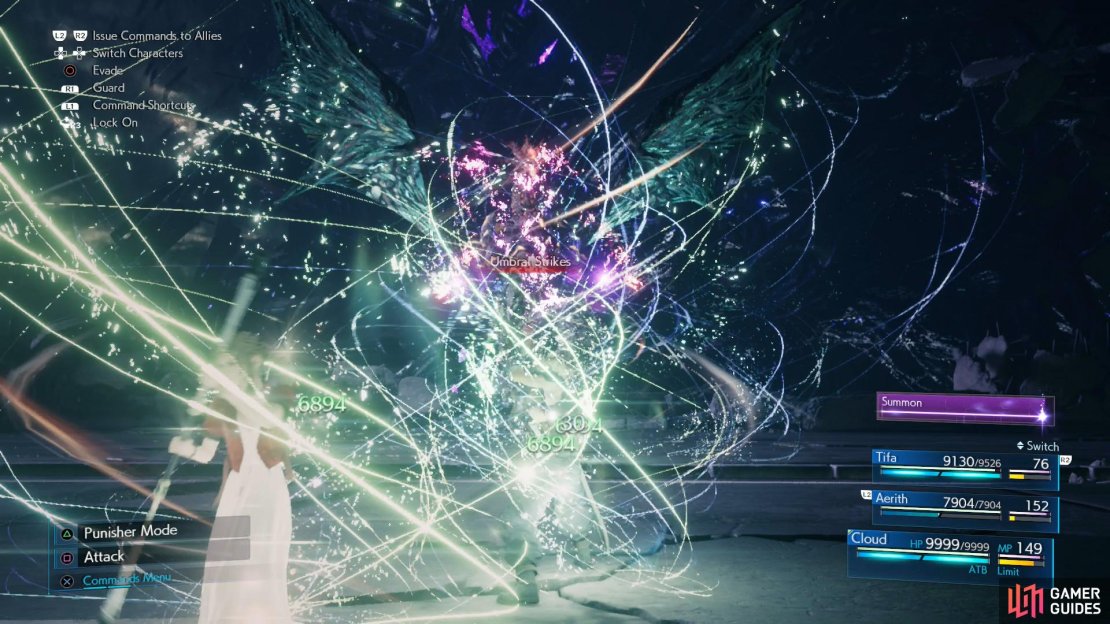
Umbral Strikes: Throws two orbs of energy, each dealing heavy damage. Cannot be blocked, and if you get hit by one you’ll be hit by the other. Can be dodged with well-timed rolls.
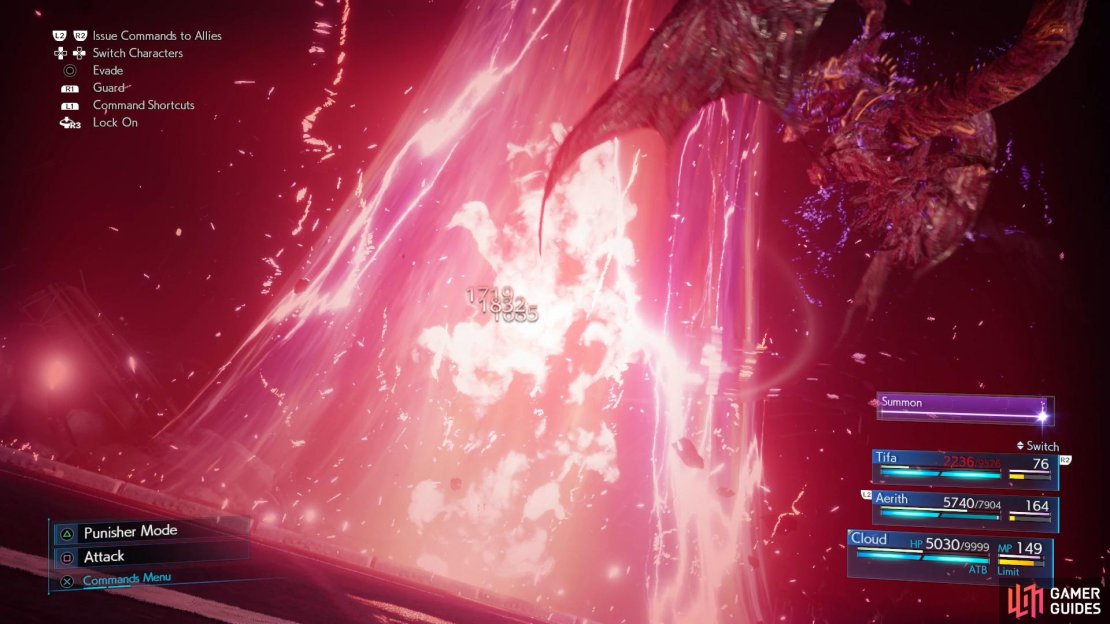
(1 of 4) “Mega Flare“ will hit the entire party, dealing massive damage.
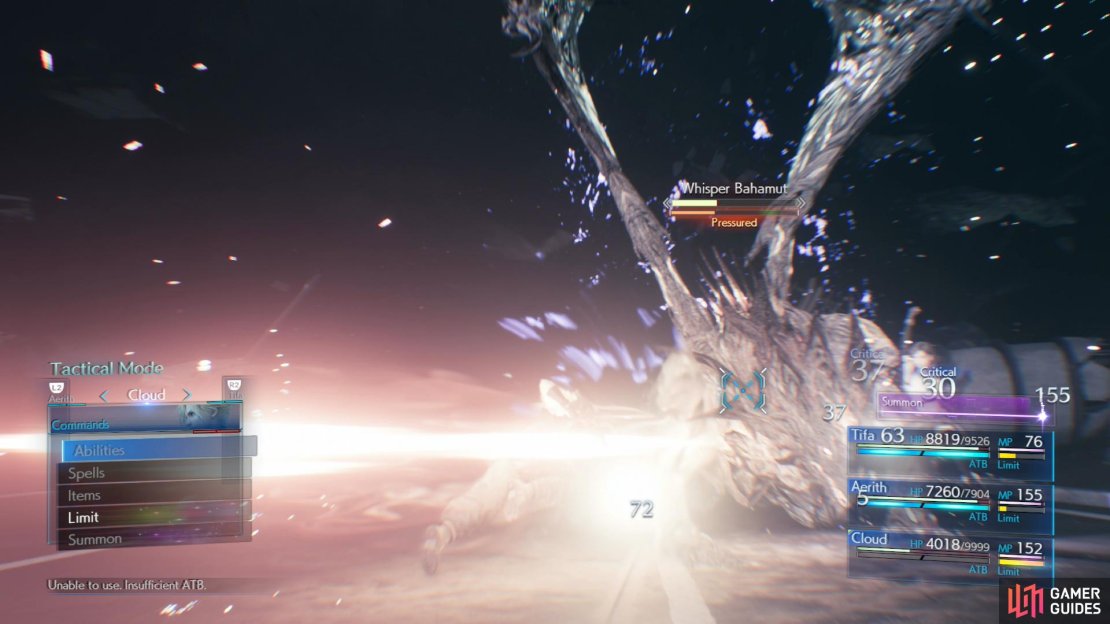
Despite being powerful and aggressive, having your healer back should help - that Curaga + Magnify on Aerith is going to come in handy. Cloud’s “Counterstance” is once again king, but you’ll likely take significant damage even if you do it well. Punisher mode leaves much to be desired this time around, as many of Whisper Bahamut’s attacks are ranged, which means no block and no counterattack. Dropping an Arcane Ward with Aerith and using offensive magics is also a viable strategy, but a dangerous one, as Whisper Bahamut will doggedly focus on whatever character you’re controlling. Deal enough damage and Whisper Bahamut will fall to the ground, “Pressured”, then try to Stagger him so you can inflict heavy damage.
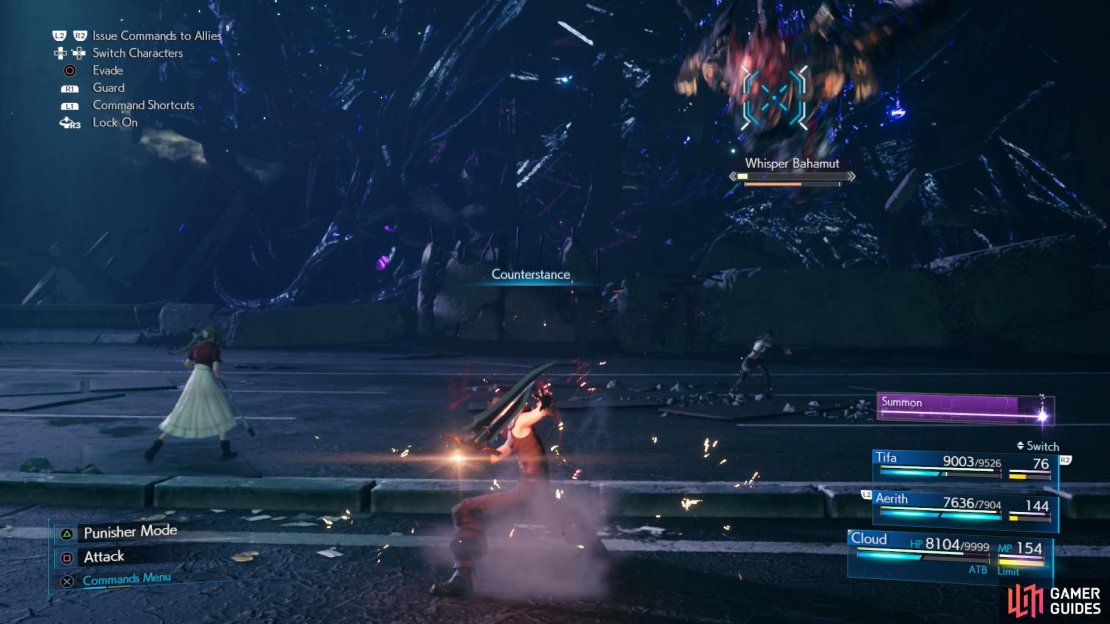
(1 of 3) Use Counterstance to dispatch the Whispers,
Phase 5 - The Three Whispers, Finale
Once defeated Whispers Rubrum, Viridis and Croceo will separate and you’ll need to fight the three Whispers again. This phase is much like phase three - attack a Whisper until its HP bar is empty, then keep attacking the same Whisper to damage the now-Staggered Whisper Harbinger. At regular damage intervals Barret and Red XIII will see an opening and launch a massive attack on Harbinger, eliminating the downed lesser Whisper entirely. None of the lesser Whispers have any new attacks, although Whisper Harbinger will intervene periodically with attacks of its own. Not much you can do about that, so just keep healed and use Cloud’s “Counterstance” to down Whispers before focusing your fire on said downed Whisper. The fight will only get easier as time goes on and more Whispers are eliminated, and after Barret and Red XIII strike three times you need only take the final hits on Harbinger to end the fight.
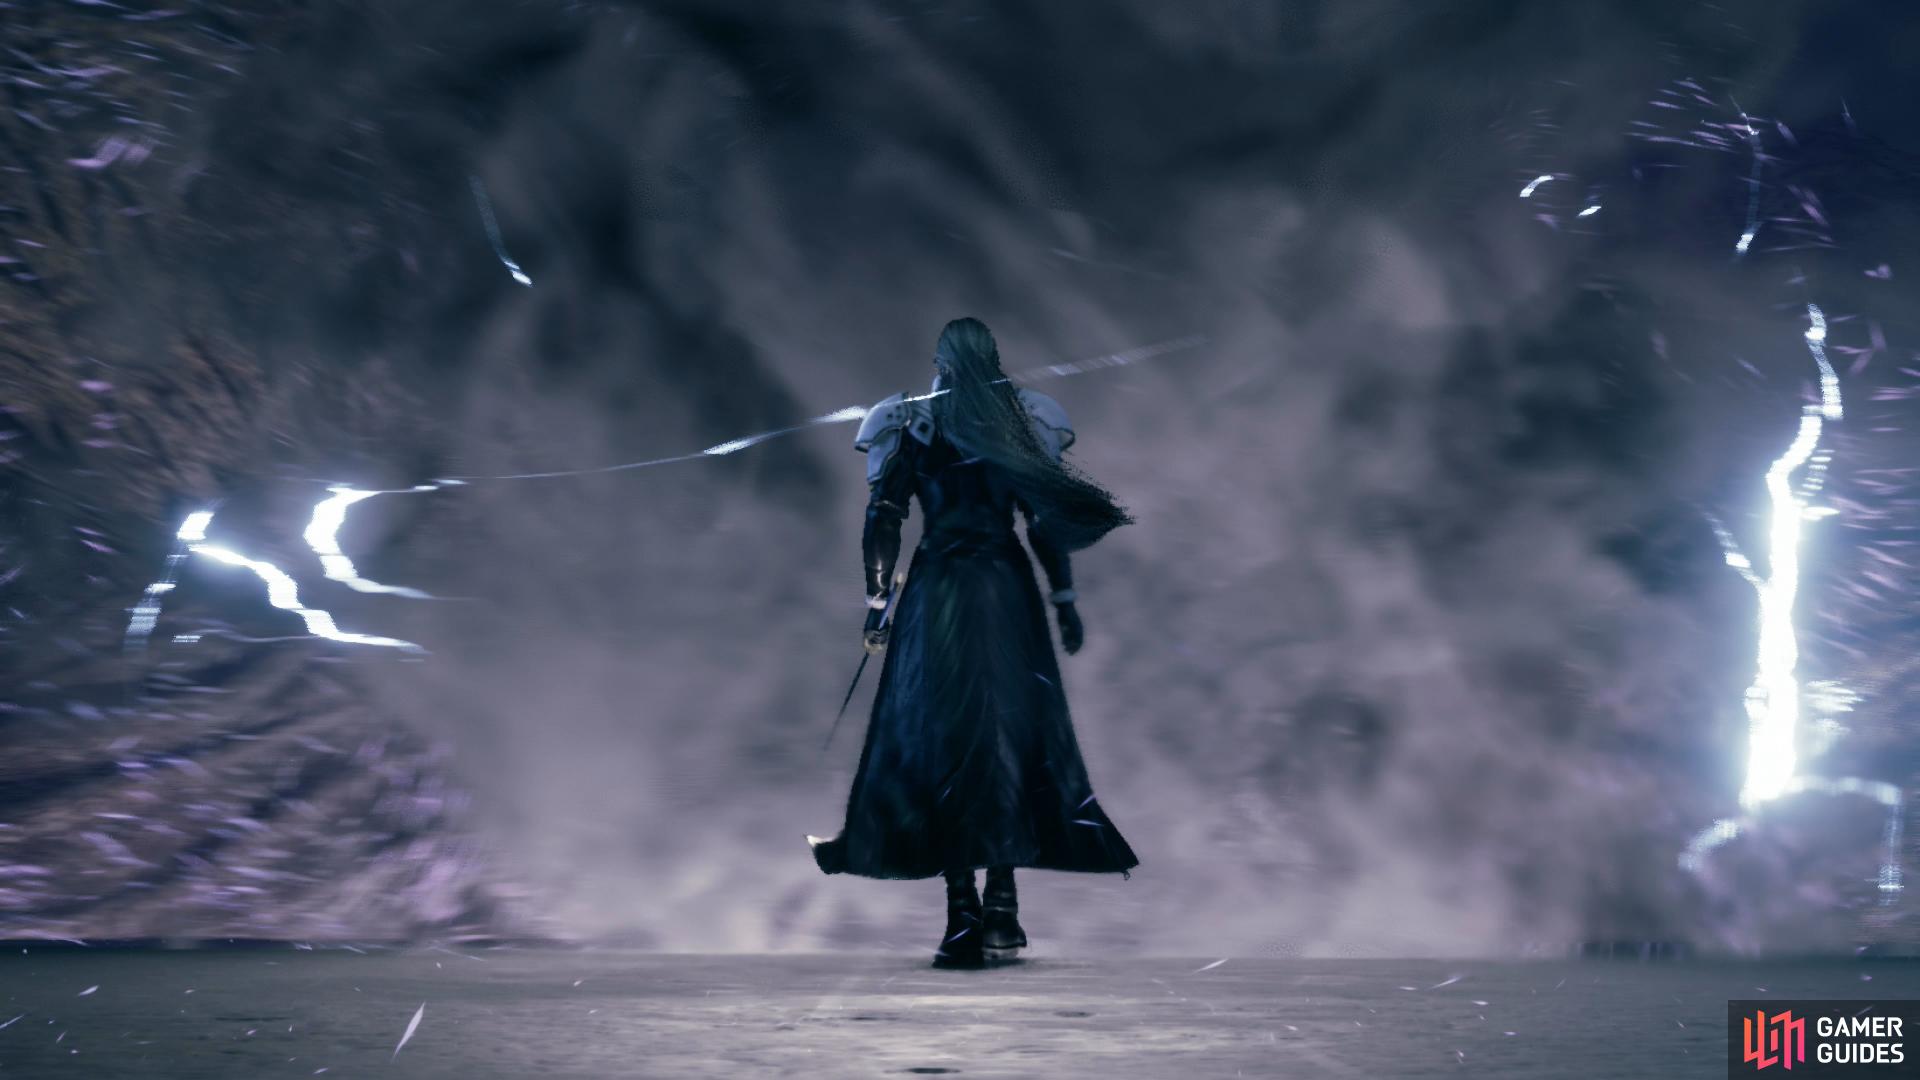
Watch the scenes that follow and… well, come on. You knew there was only one way this was going to end.
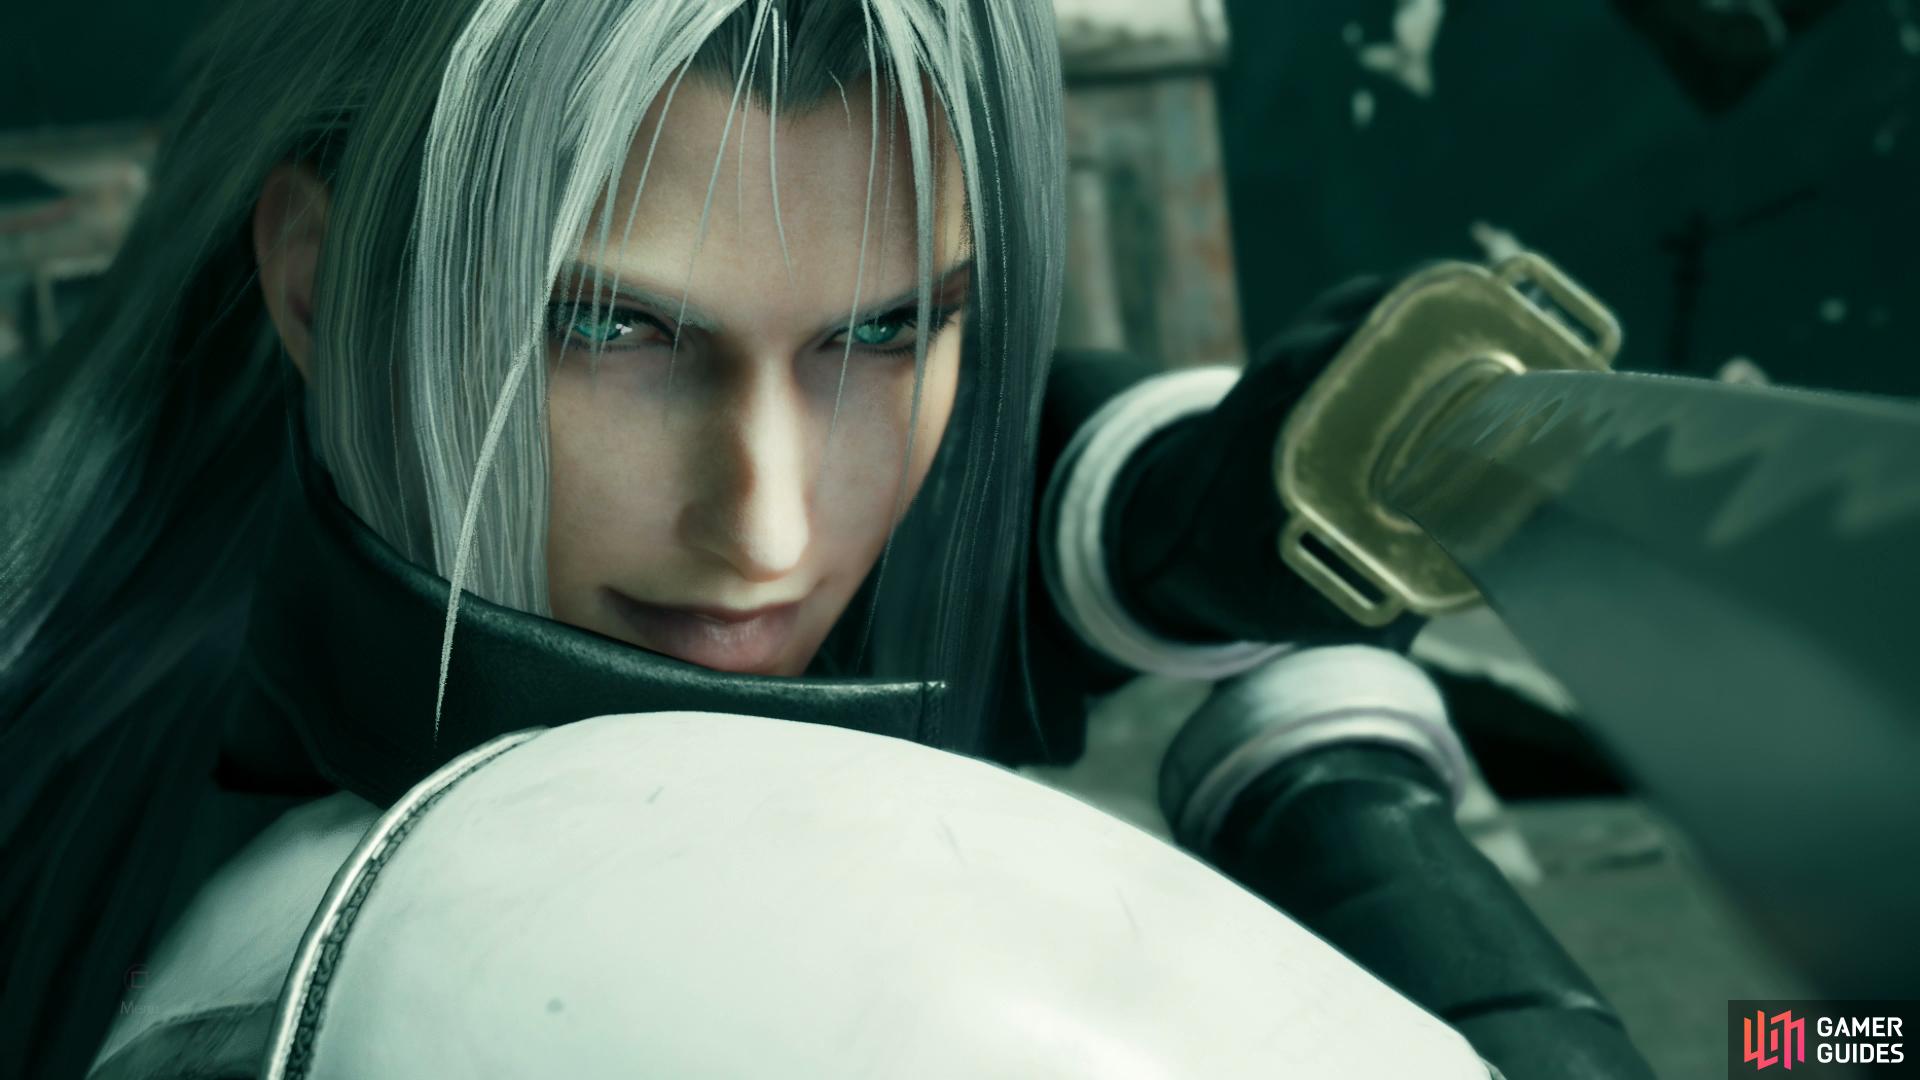
Boss: Sephiroth
| Enemy | Weaknesses | Notable Loot |
|---|---|---|
| Sephiroth | -- | -- |
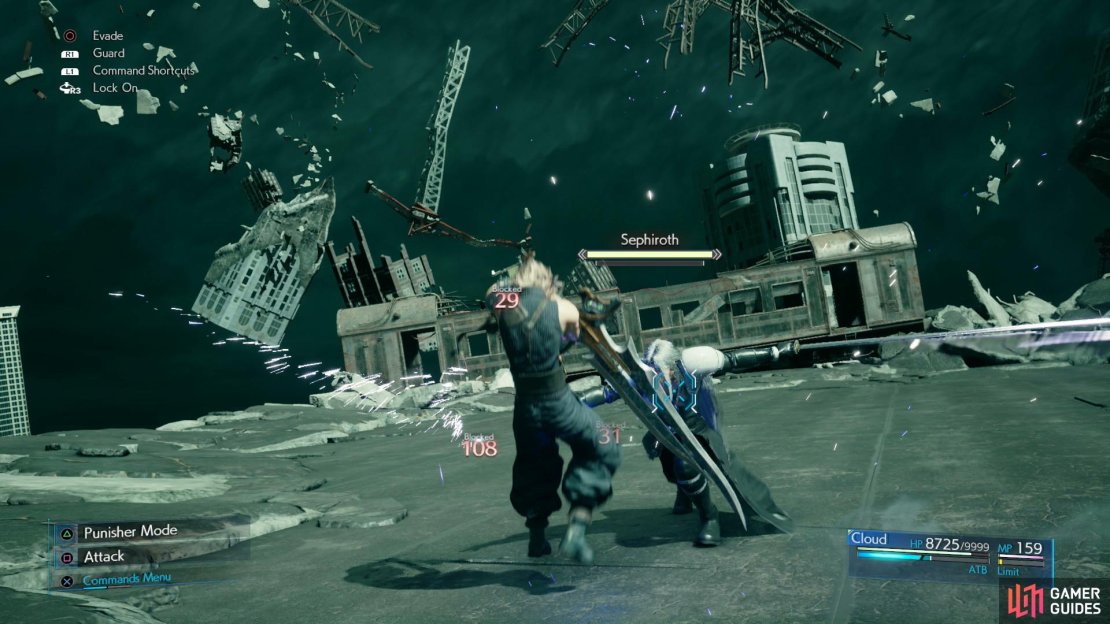
(1 of 4) Sephiroth’s “Telluric Fury” consists of a charge followed by several slashes.
Phase 1 - Cloud vs. Sephiroth
The start of this fight is a one-on-one showdown between Cloud and Sephiroth, and the latter won’t be too much trouble at this point. He’s largely keen to use various -aga elemental spells and sword combos, the latter of which tend to be given convenient names:
-
Telluric Fury: Sephiroth charges forward and performs a series of sword slashes. Easily countered.
-
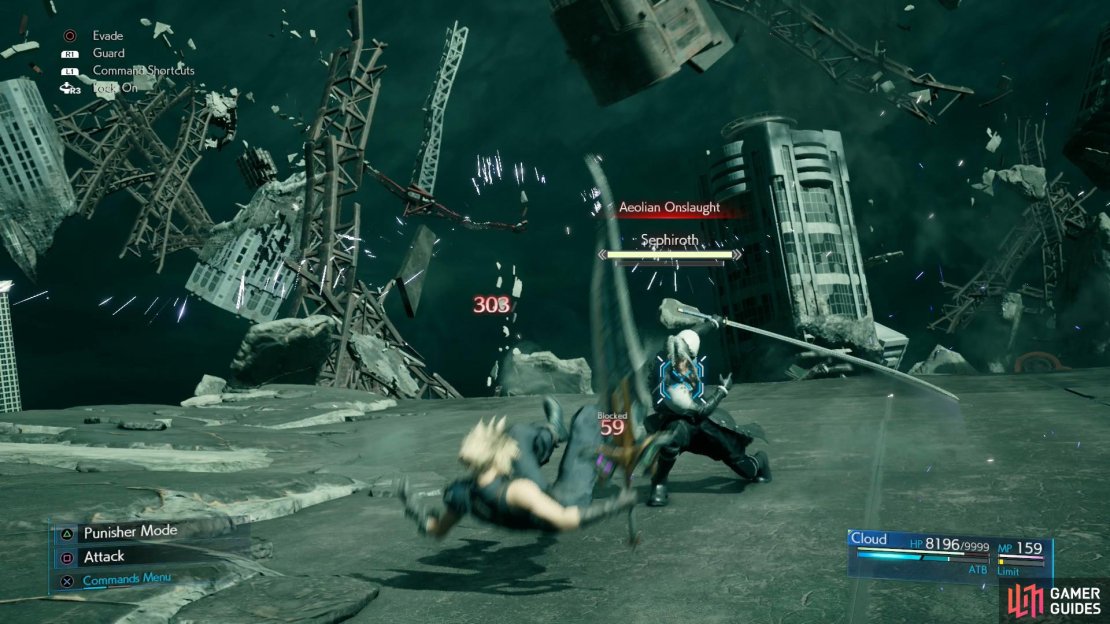
Aeolian Onslaught: Upward slash that launches Sephiroth into the air, followed by a downward slash. The latter can’t be blocked, so you’ll need to dodge aside when Sephiroth is in midair.
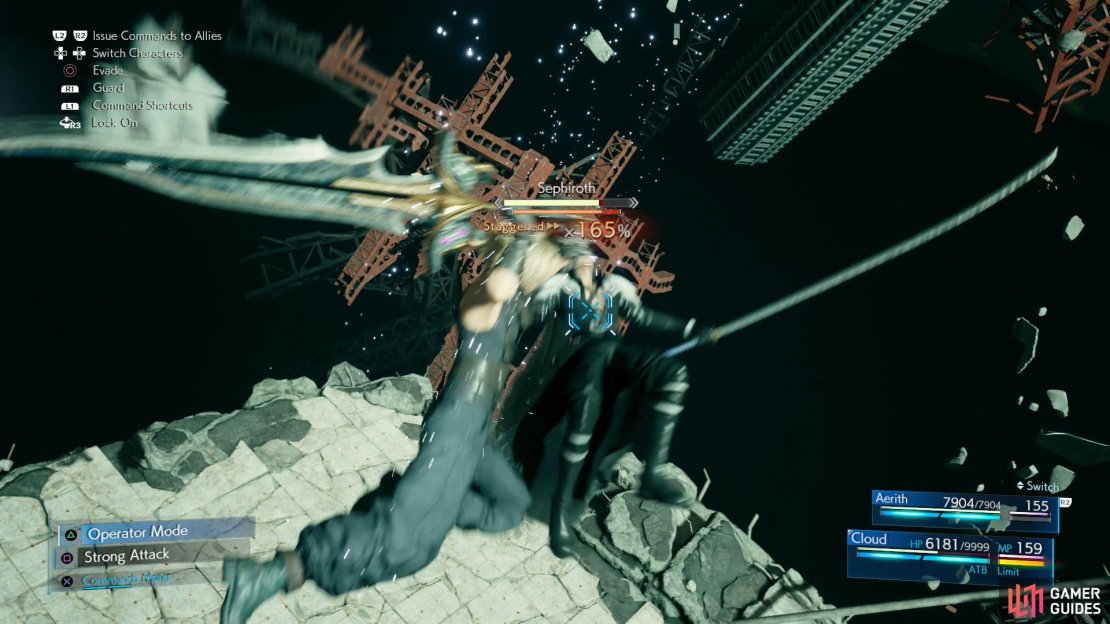
Use “Counterstance” or Punisher mode against “Telluric Fury”, and/or dodge the downslash of “Aeolian Onslaught” and Sephiroth will become “Pressured”, after which you’ll want to hit him with “Focused Strike” until he’s Staggered, then try to dish out as much damage as possible.
Once Sephiroth is Staggered you’ll get some in-battle scenes that sees you transported to a new battlefield, after which Sephiroth will return the favor. Repeat the process above - Sephiroth is more aggressive this time, but the routine is the same - and when you reduce Sephiroth to 80% of his HP the next phase will begin.


Phase 2 - Aerith and Cloud vs. Sephiroth
Aerith will join you during this phase, and Sephiroth will increase the tempo once again, attacking even more frequently, and throwing in some new attacks, just to keep you on your toes. He’ll also diversify the elemental magics he uses:
-
Blade Beams: Sephiroth shoots a series of beams by slashing the air with his Masamune - there’s a bit of a delay after the first two, so keep your guard up.
-
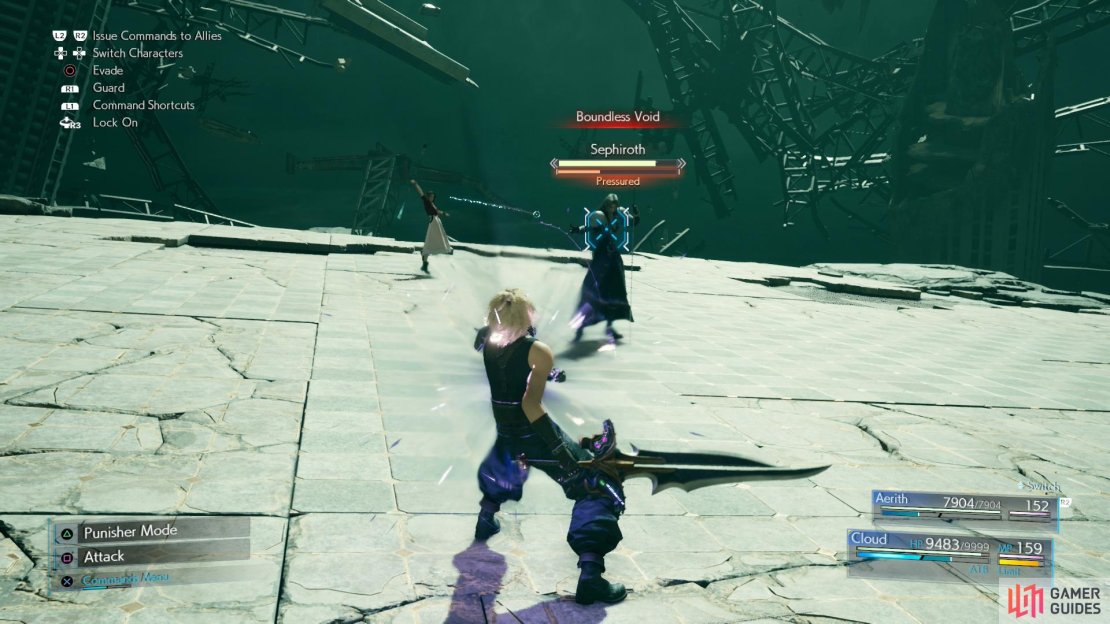
Boundless Void: Ensnares a victim with dark energy, then attempts to launch a combo, dealing heavy damage. Switch to another character and attack Sephiroth to capitalize during this attack, or just dodge repeatedly to avoid it.
-
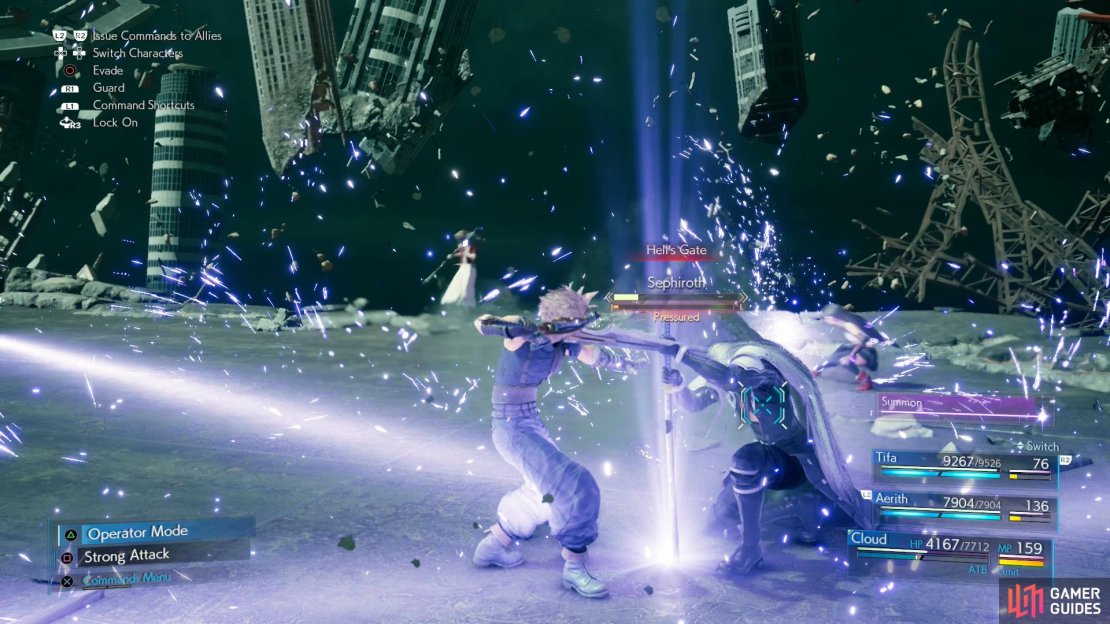
Hell’s Gate: Sephiroth jumps into the air and stabs the ground with his sword, shooting out lines of energy from the site of impact. Can’t be blocked, but if you avoid damage Sephiroth will become “Pressured”. The further away you are, the less likely you are to get hit.
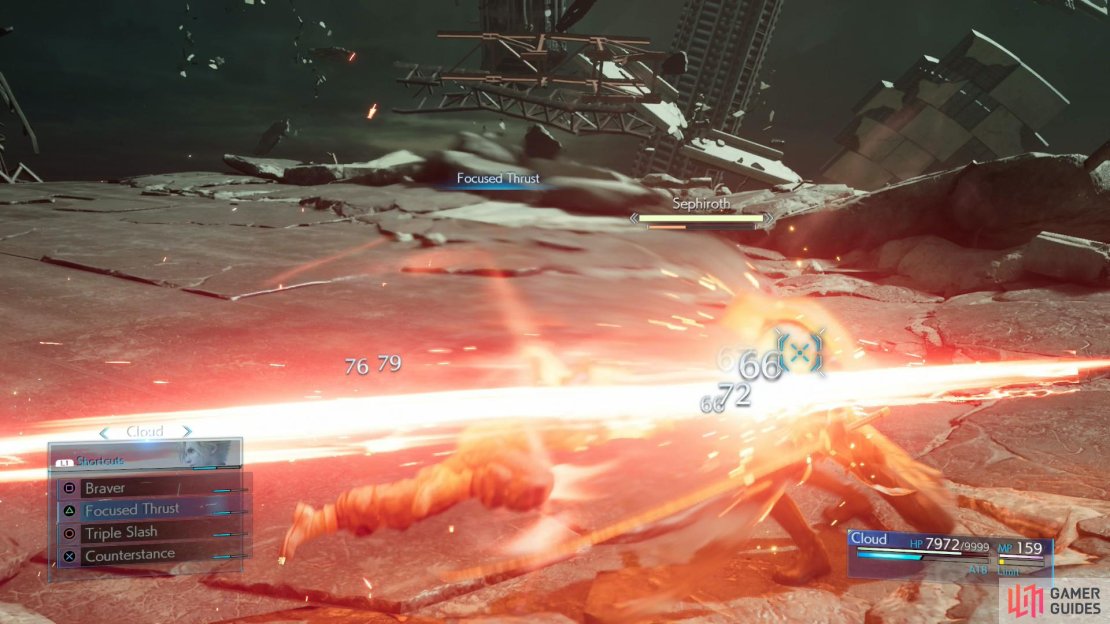
All in all, this phase isn’t too bad. Sephiroth is more aggressive, but nothing that Punisher mode counterattacks (or “Counterstance”) and some dodging can’t deal with. Hit him with “Focused Thrust” when there’s an opportunity, Stagger him, then attack to perform a combo with Aerith that send Sephiroth to yet another highway fragment and repeat the process until you reduce Sephiroth’s HP to 60%.
Phase 3 - Aerith, Tifa and Cloud vs. Sephiroth
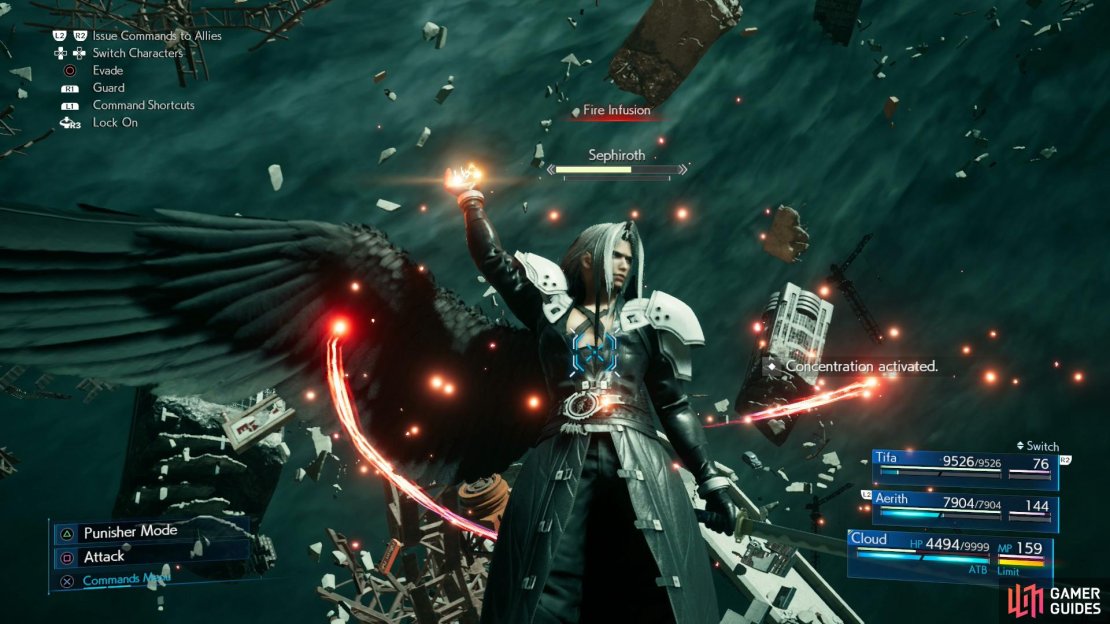
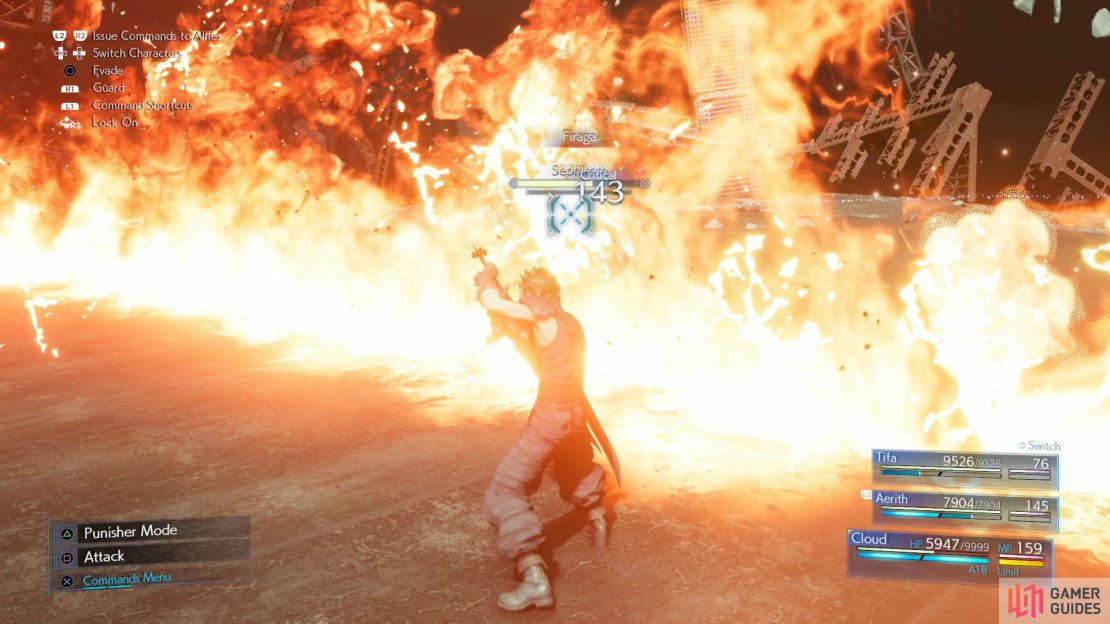
After some more scenes you’ll be joined by Tifa, and Sephiroth starts to take things seriously. He’ll use various elemental “Infusion” abilities this battle, causing his weapon to become charged with said element. He’ll also exclusively use that element’s offensive spell while infused (Firaga during “Fire Infusion”, etc.), which makes him a bit more predictable in some respects, but his elemental infusion may vary his attacks in other ways:
-
Fire Infusion: When using this ability Sephiroth will use Firaga and “Firewall”, the latter of which creates a wall of persistent fire, dealing damage to anybody within. He attacks aggressively at close range during “Fire Infusion”, but may still use “Aeolian Onslaught” and “Hell’s Gate” during this round.
-
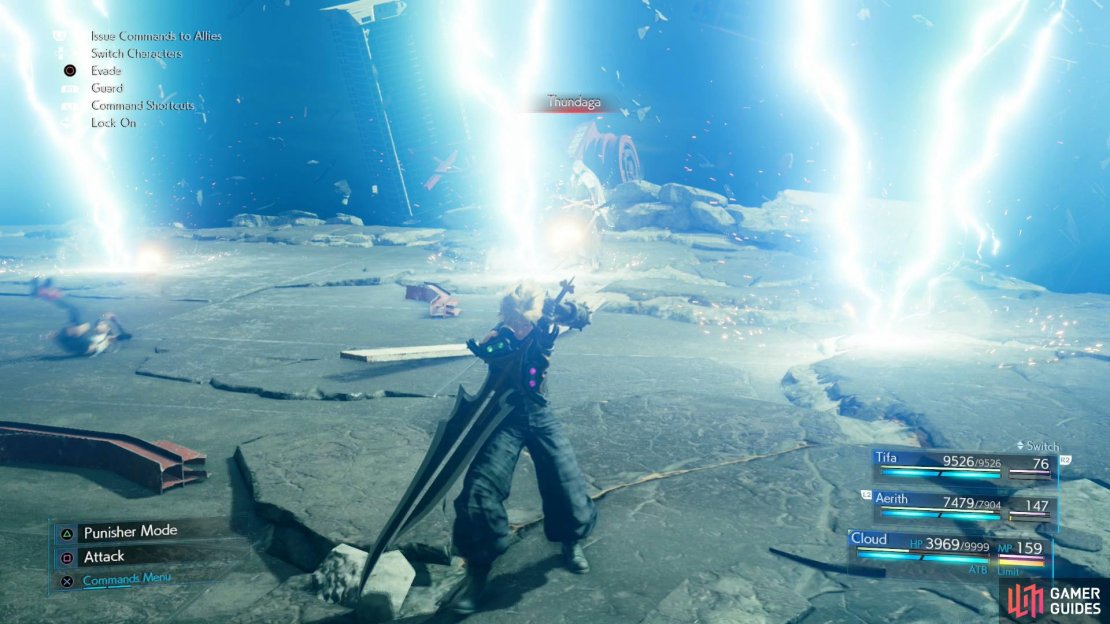
Lightning Infusion: Can use Thundaga and “Thunderstorm” during this phase, calling down three powerful lightning bolts to strike the battlefield - you can see where they’ll hit shortly before they arrive. Prefers longer-range attacks in this round, like his blade beam attack, above, but this time accompanied with lightning after-strikes.
-
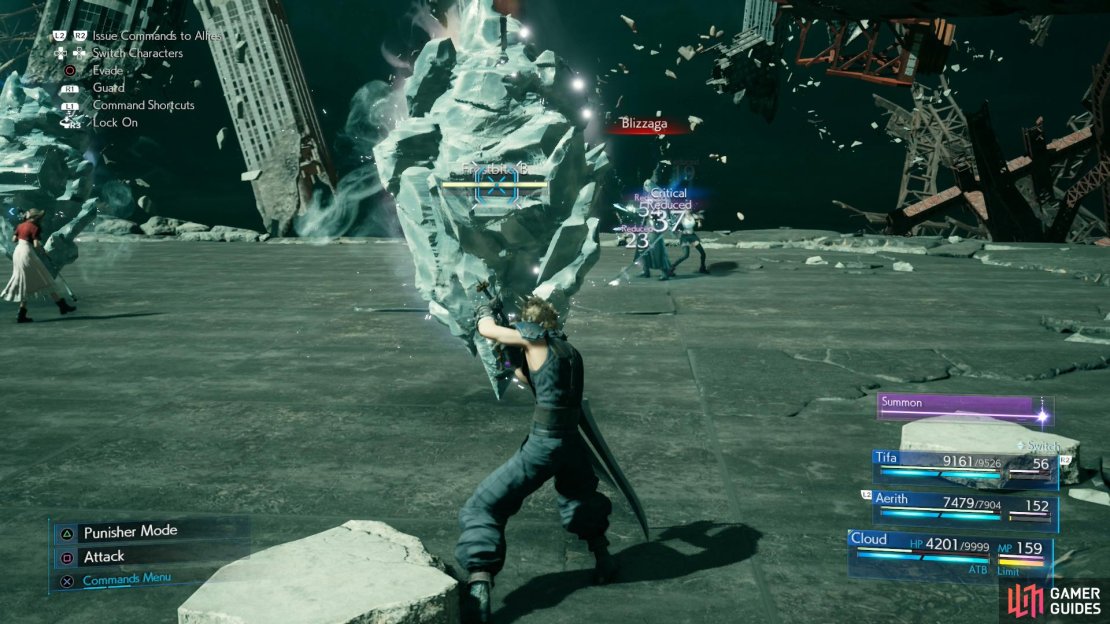
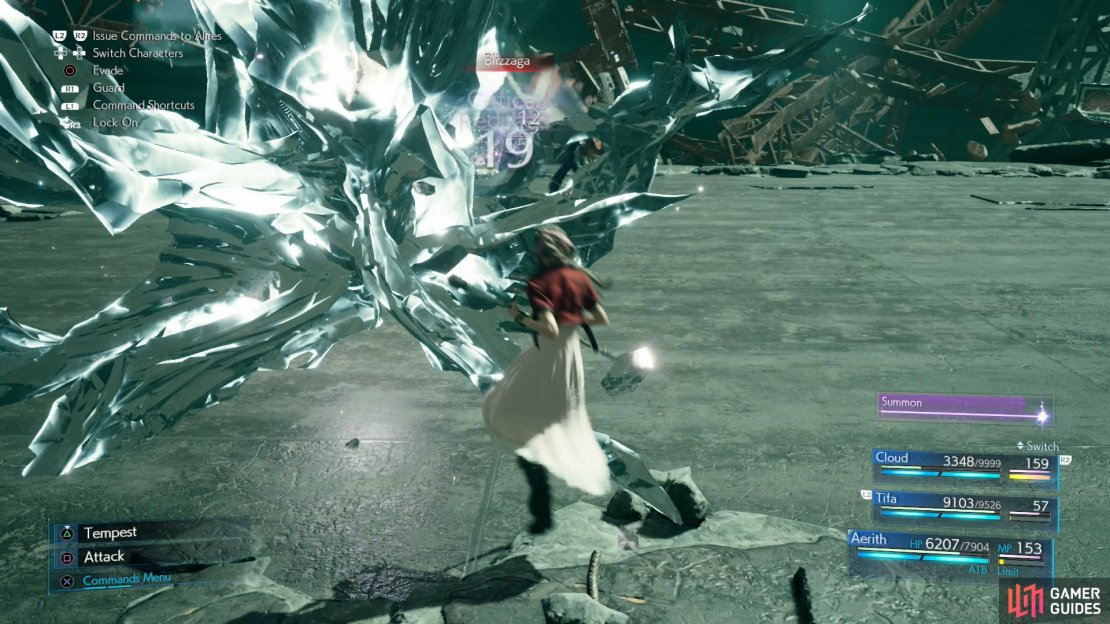
Ice Infusion: Similar to the “Lightning Infusion” round, still fond of blade beams and “Hell’s Gate”. Otherwise will spam Blizzaga (block the initial hit, then dodge the delayed ice effect to mitigate damage) and “Frostspike”, which conjures numerous chunks of ice on the battlefield.
-
Wind Infusion: Will use Aeroga and “Windwail” this round, the latter of which will cause each sword stroke to be accompanied by numerous secondary strikes. Low damage, but they add up and make it more difficult for you to find an opening with the character you’re controlling.

(1 of 3) Before each affinity change, Sephiroth will use “Octaslash”.
-
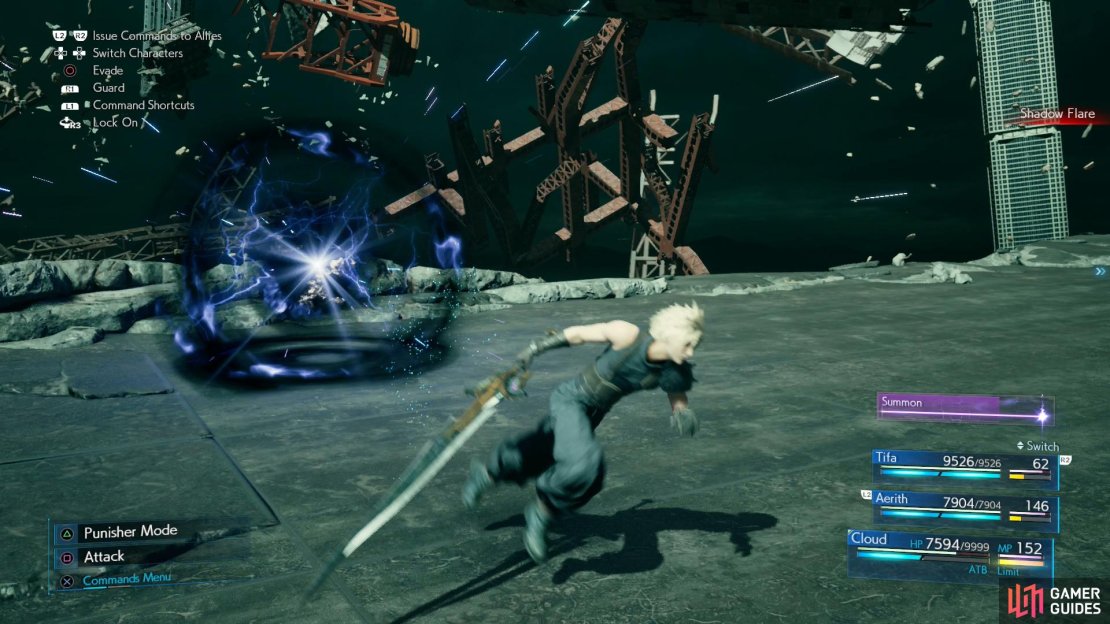
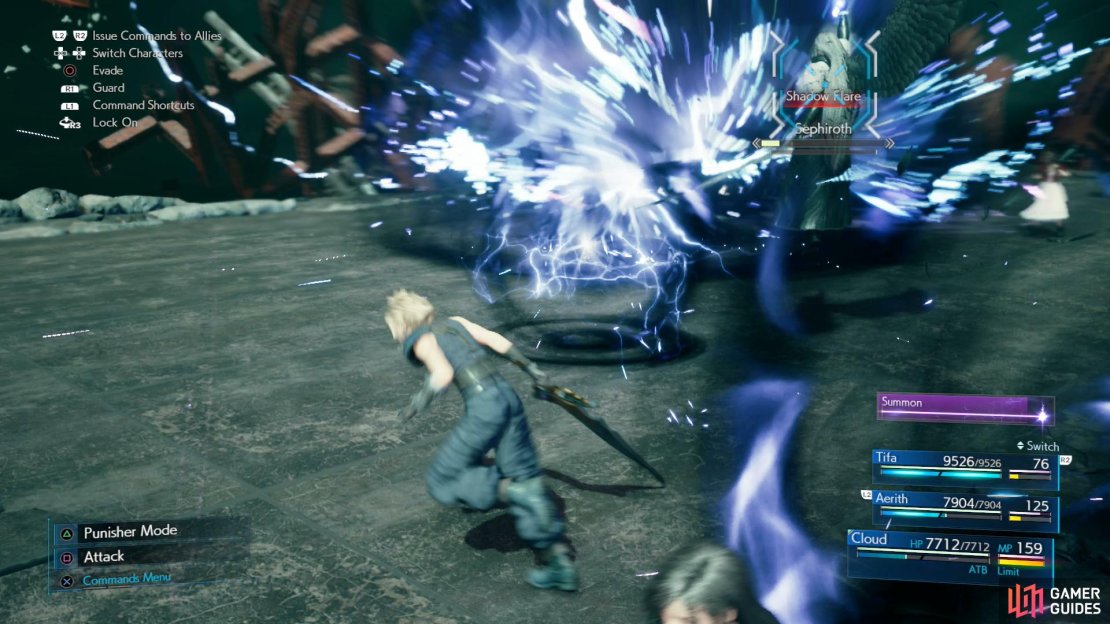
Elemental Infusion: Sephiroth’s least predictable round, but also one of the easiest ones to damage him during. He’ll use random -aga elemental spells, but his unique attack “Shadow Flare”, is more of a liability than a threat. It’ll create a globe of dark energy that has a minor gravitational pull - just run from it to avoid damage and switch to another character to punish Sephiroth when the attack actually occurs. He’ll also use “Boundless Void” and combo sword slashes into “Aeolian Onslaught” during this round.
-
Octaslash: A series of eight sword slashes. Minor damage, individually, heavy damage overall. Sephiroth will use this at the end of each phase, before switching elemental infusions.
If you have a character with Elemental materia on their armor, switch to them when Sephiroth is using the element they resist/negate/absorb. If not, you’ll just have to wait for openings and get in what offense you can. As lame as it sounds, blocking with the controlled character and fighting conservatively while using your AI companions to launch attacks as their ATB segments fill is relatively safe and effective, but you can also wait for Sephiroth to commit to an attack and switch characters for more aggressive gameplay. Sephiroth’s dogged insistence on attacking the controlled character is his biggest weakness during this phase, one you’ll need to exploit to whittle his HP down to 25% of his HP to begin the next - and final - phase.
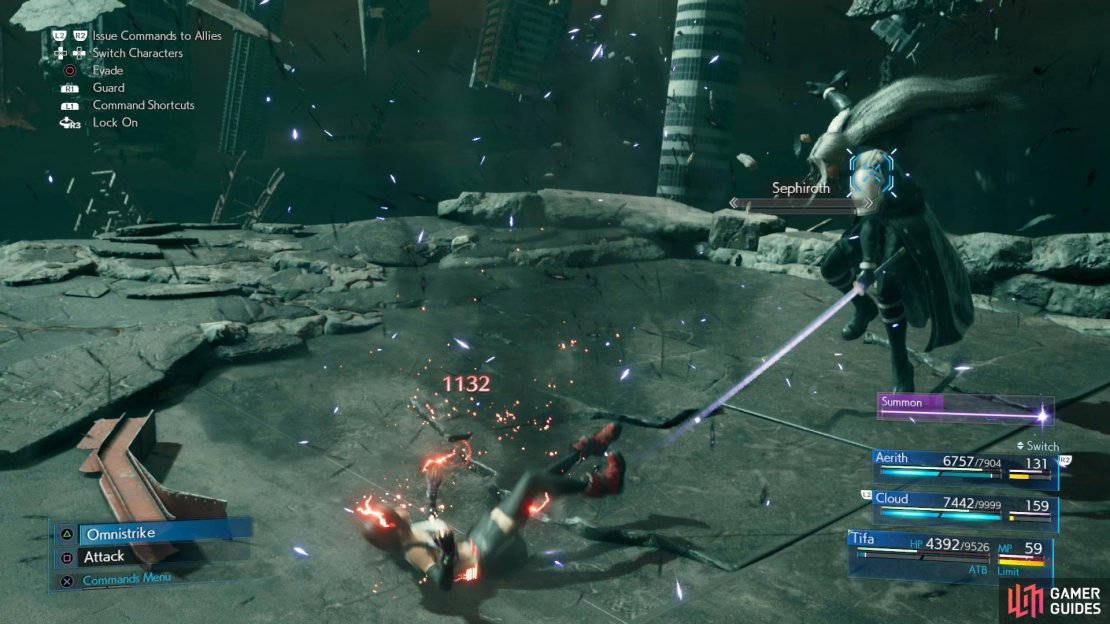

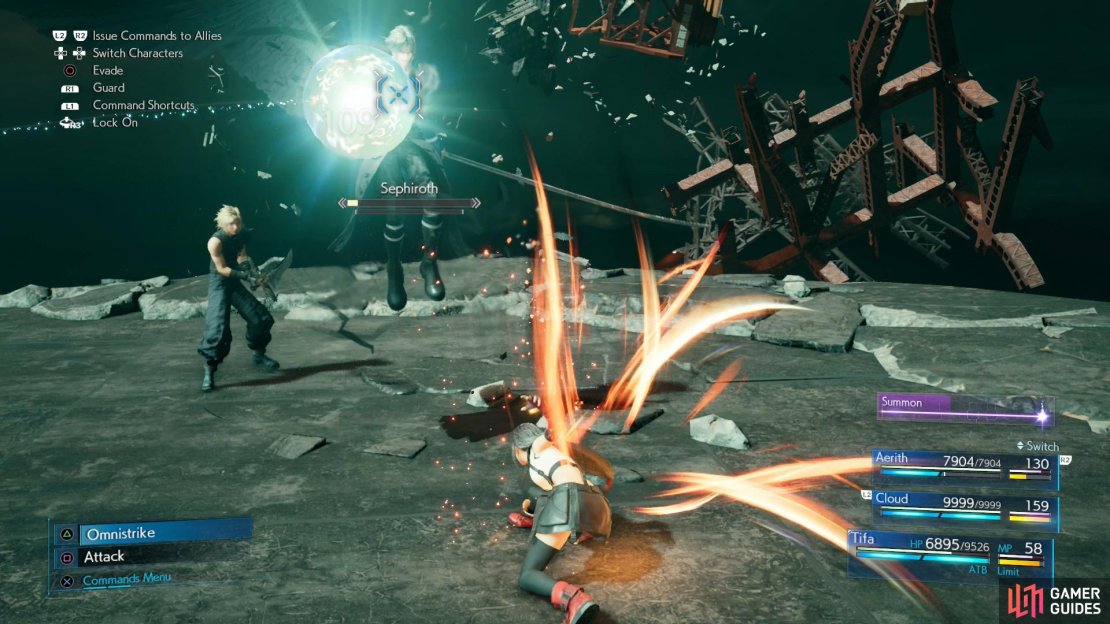
(1 of 7) Sephiroth’s sword will be largely neglected this phase, but he will use it to chastise melee attackers.
Phase 4 - Aerith, Tifa and Cloud vs. Sephiroth, Finale
You’re on the clock this time, as whatever Sephiroth is conjuring in the sky can’t be good. Sephiroth is actually less aggressive this phase, taking a more care-free, methodical approach to the battle. He can pelt characters with multiple bolts of dark energy, which will stun them, his “Shadow Flare” now creates numerous spheres of dark energy that must be avoided, and he can deal heavy damage in an area immediately beneath and around him with a contemptuous down-swing of his sword.
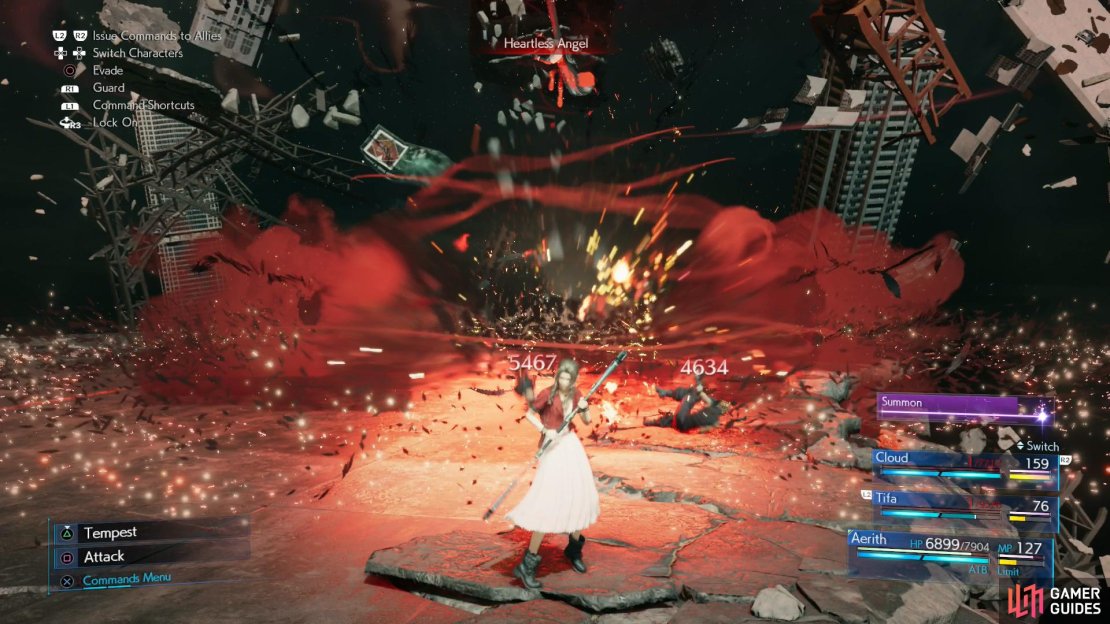
His worst attack in this phase, however, is “Heartless Angel”, which has a large area of effect and will reduce all characters caught within to 1 HP. You can probably avoid the attack with your controlled character, but you shouldn’t count on the AI for much. Aerith’s Curaga + Magnify will come in handy here.
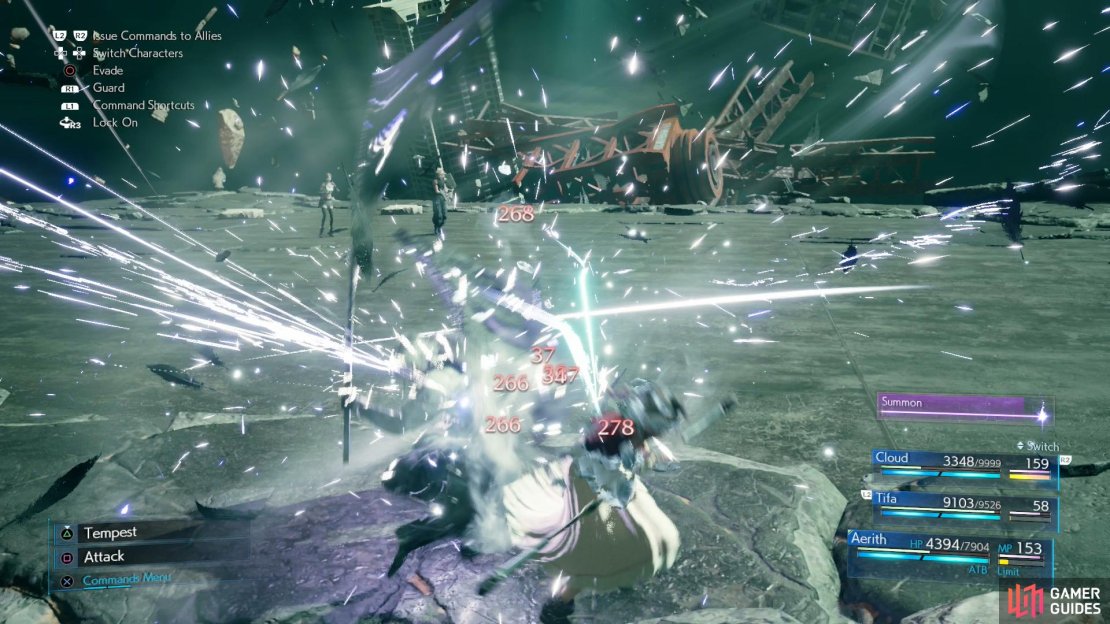
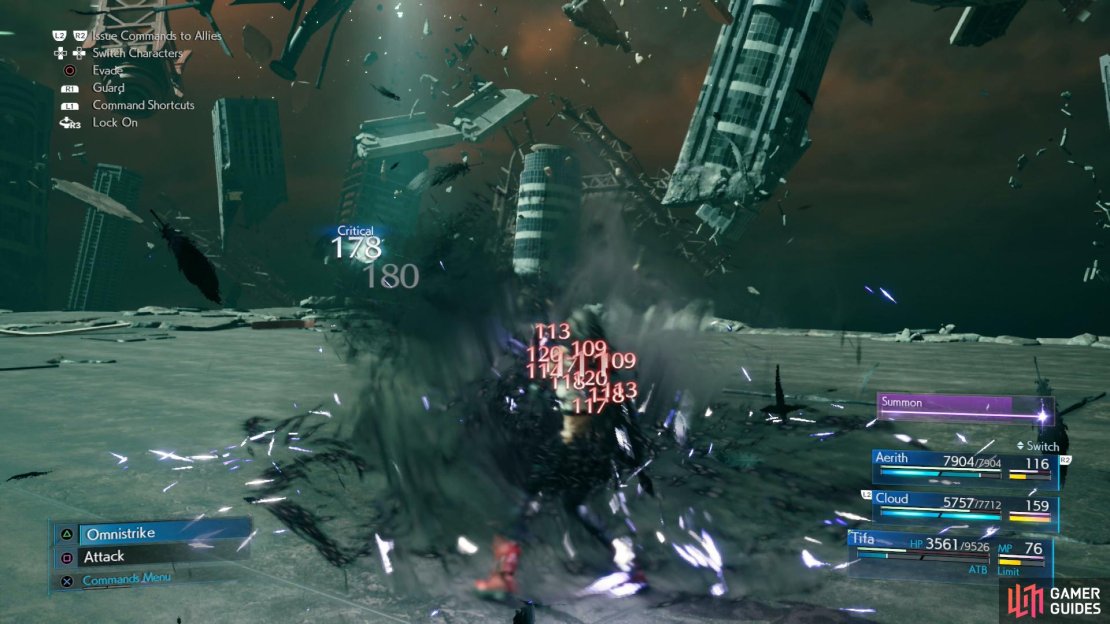
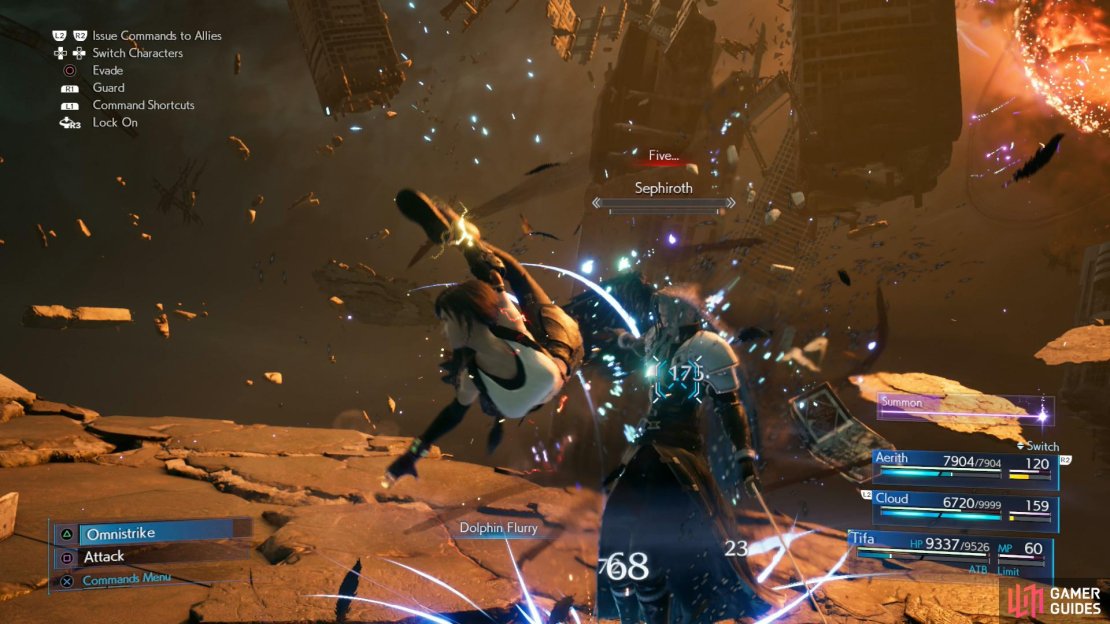
It’s not overly hard to damage Sephiroth in this phase, but you’ll be constantly interrupted by his attacks - relatively infrequent as they are - his random teleportation, and odd moments when the game just decides that focusing on the orb of imminent doom in the air is more important than you getting to complete your combo. Charge Tifa’s ki and try to hit Sephiroth with “Rise and Fall” and “Omnistrike” and use your summon gauge and limit breaks as they charge to finish Sephiroth off.
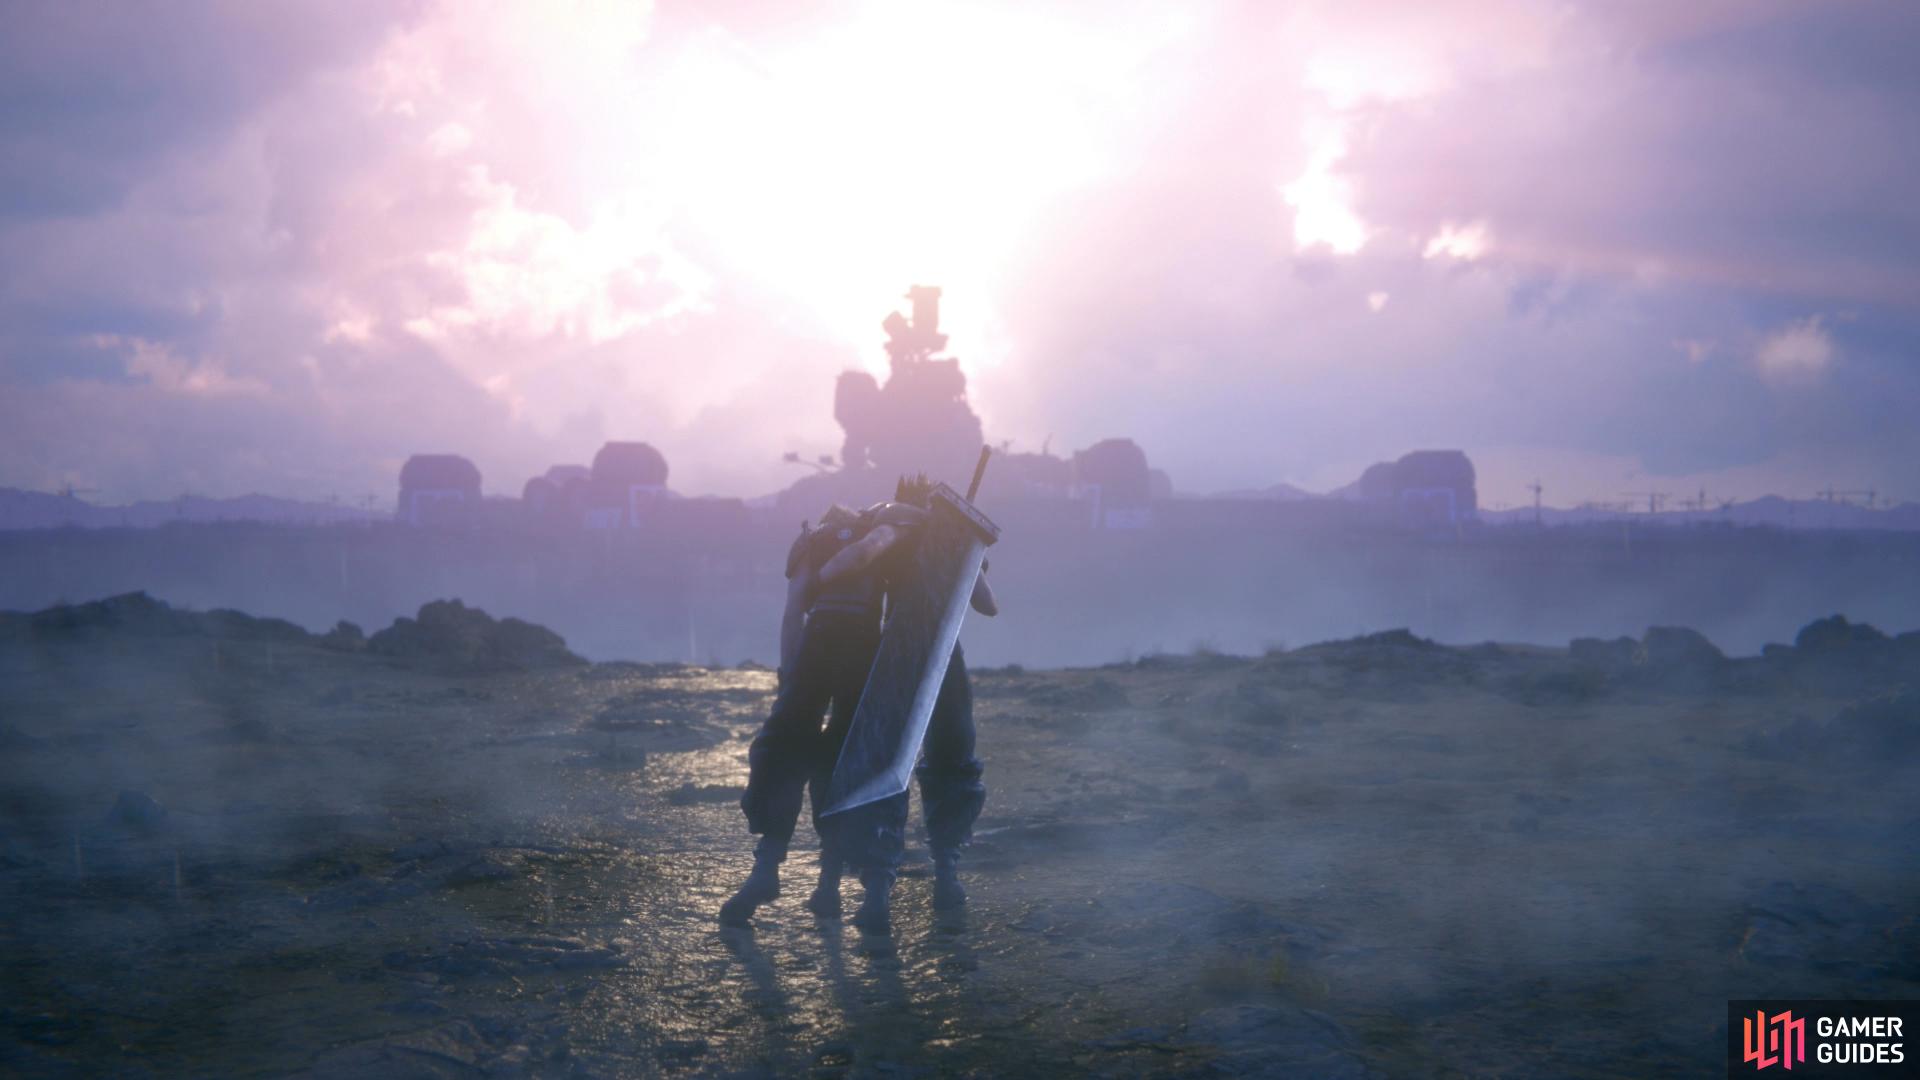
After depleting Sephiroth’s HP bar, watch the game’s many, many ending scenes. The chains of fate have been broken, and with this new, terrifying freedom, who knows what lies ahead? For completing the game, you’ll obtain the Destiny's Crossroads Trophy.
No Comments