

Follow the linear route southeast until Aerith introduces you to a fixture of the Sector 6 Slums - Wall Market. Fortunately she knows a way to avoid such a scandalous place, so when you reach a crossroads head into a tunnel to the northeast - Aerith’s supposed shortcut to Sector 7. Eventually you’ll reach the “Collapsed Expressway - Caved-In Tunnel” area, an old road left in a state of ruin when the old Midgar plate collapsed, according to Aerith. Considering the calamity involved, it’s in surprisingly good shape in that it’s even recognizable as a road.
| Enemy | Weaknesses | Notable Loot |
|---|---|---|
| Terpsicolt | Ice | -- |
| Lesser Drake | Wind | Orb of Gravity |
| Sweeper Prototype | Lightning | -- |
Tour Guide
You’ll encounter your first enemy in these buried ruins - a Terpsicolt. You know how to fight them, by now: they’re weak to ice, and if they start using Whirling Barbs switch Cloud to Punisher mode and counter it. Continue southeast and when you find a ladder, climb it and you’ll have to fight a Lesser Drake. These flying foes - not seen since the side quest Nuisance in the Factory back in Chapter 3 - are weak to wind, and one good Aero hit should nearly Stagger them.


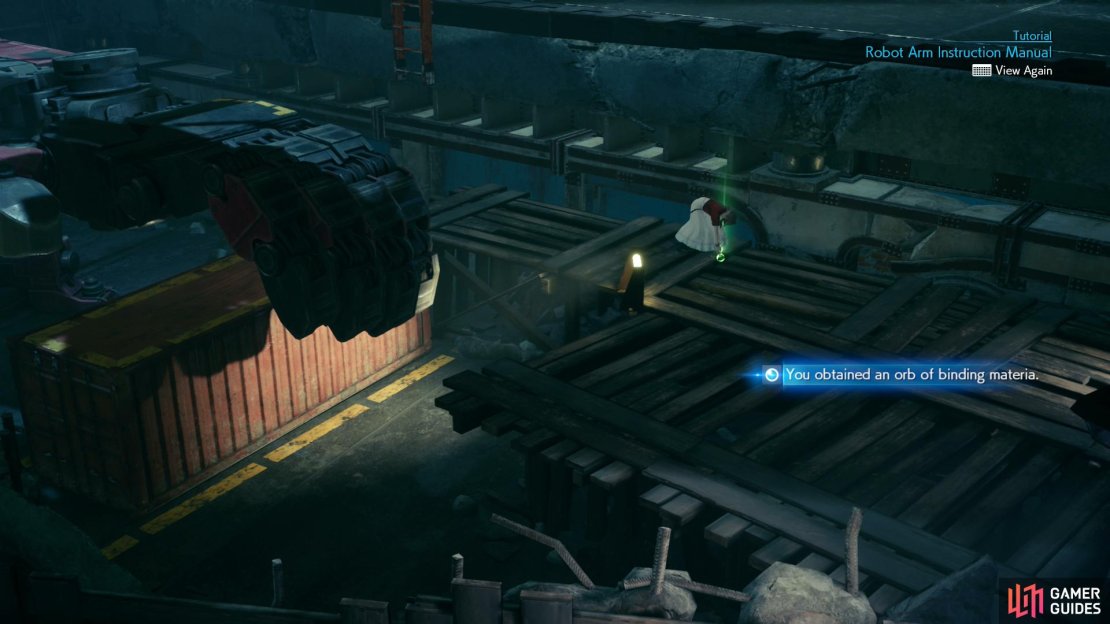
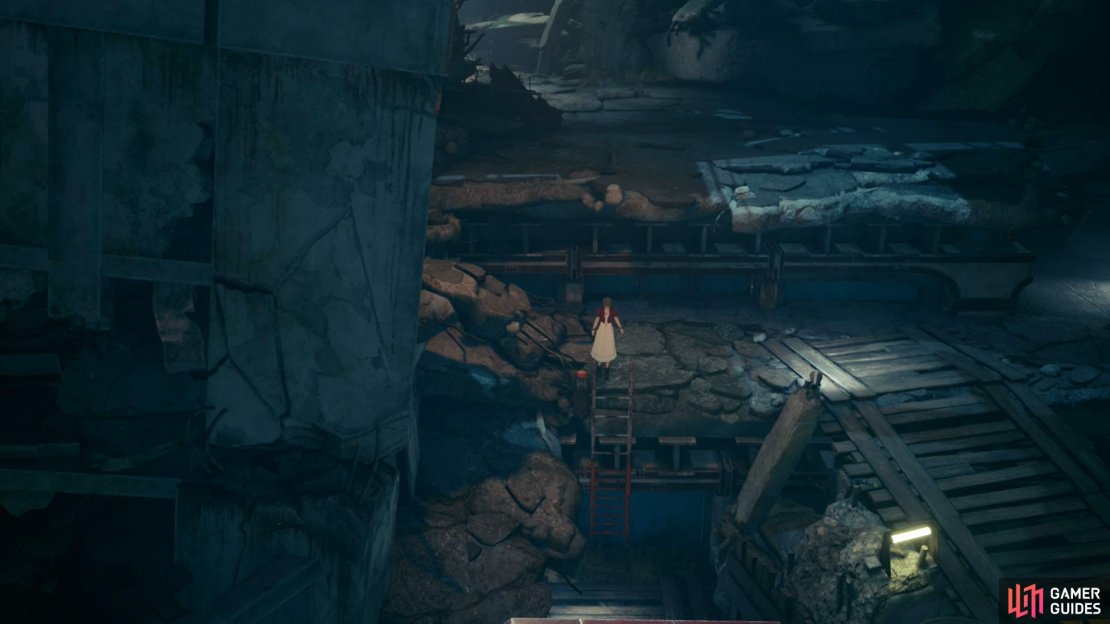
(1 of 2) Bring the mechanical arm into position so Aerith can ride it,
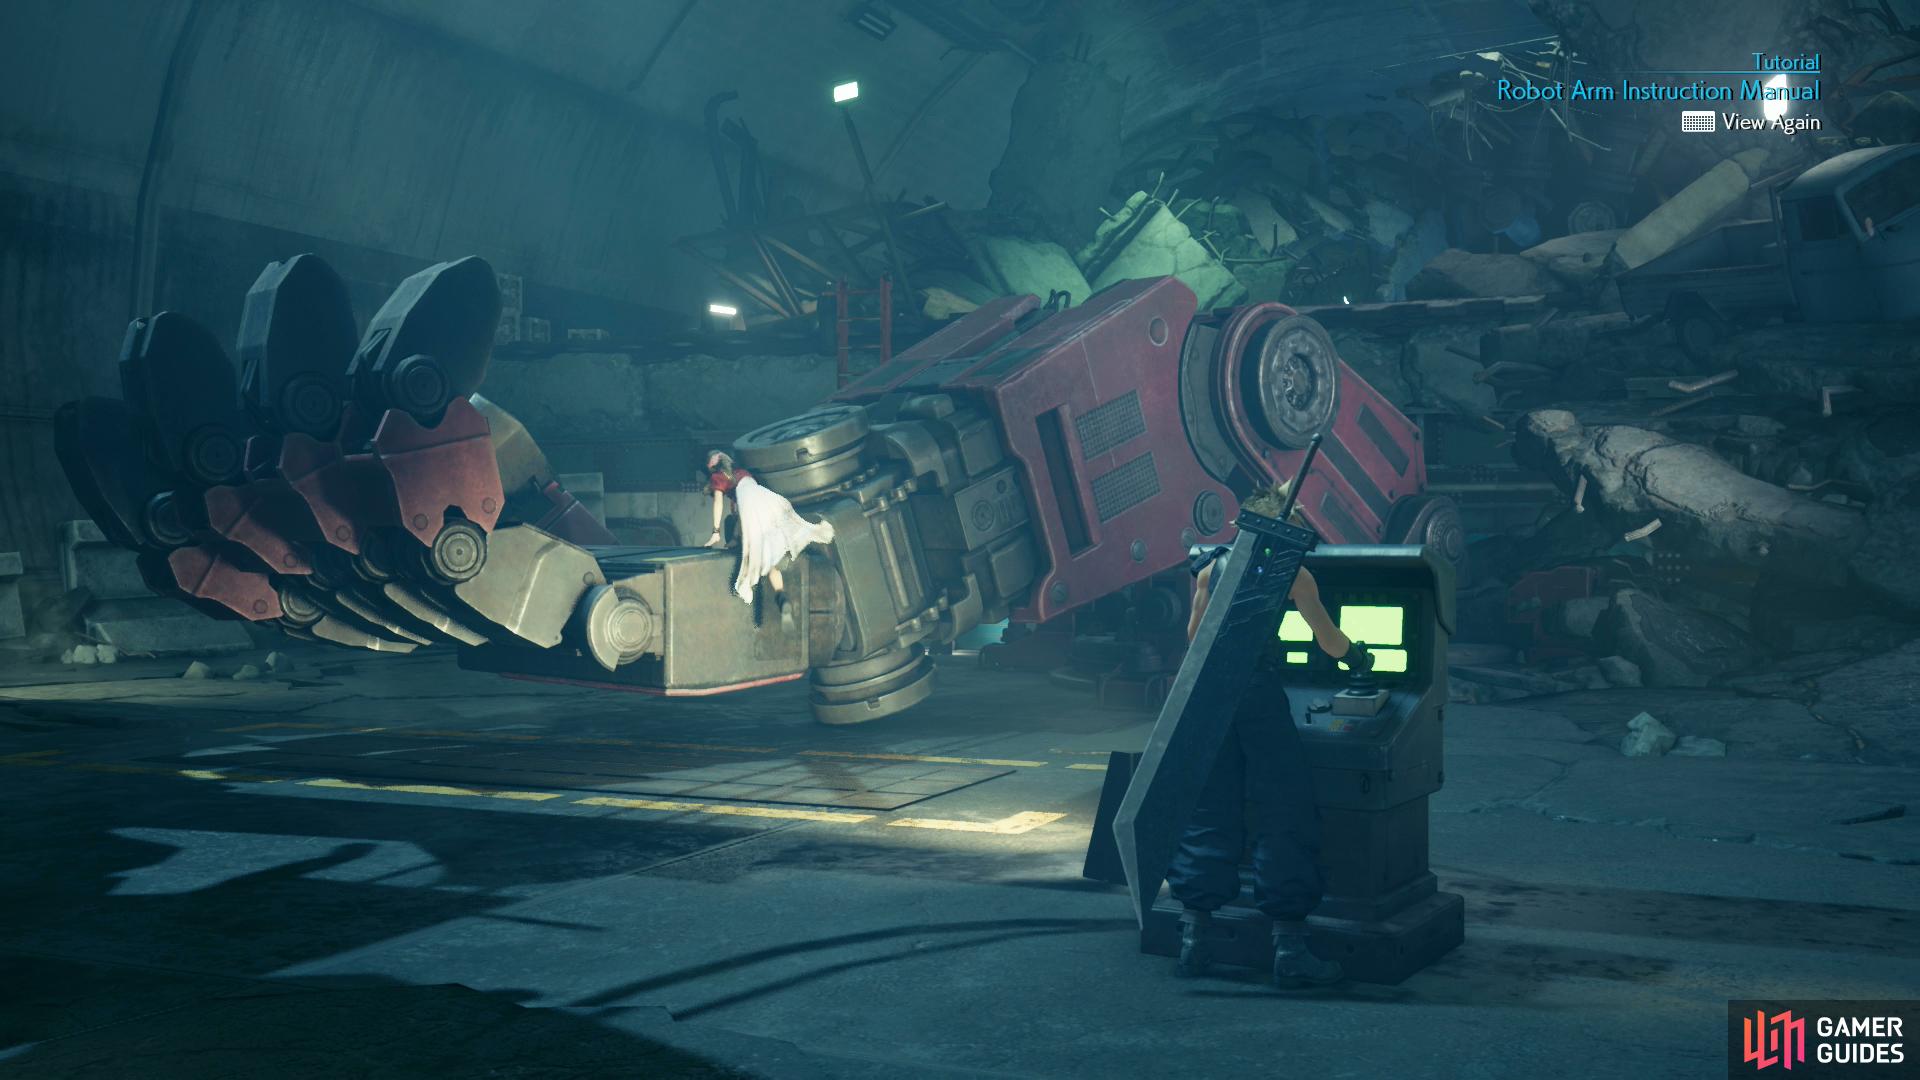
Bring the mechanical arm into position so Aerith can ride it, (left), then raise her up to the street Cloud’s pretending he can’t just jump to. (right)
Defeat these foes and continue southeast until you reach a ladder, at which point turn back northwest to find a chest containing a Moogle Medal. Claim this treasure, then descend the ladder to the southeast, where Aerith will point out a complication and a potential solution. Interact with a console and you’ll get a tutorial instructing you on how to manipulate the mechanical arm. How does this thing still work? And why doesn’t Cloud just jump up there and lower the ladder? We’ve seen you make bigger jumps before! Oh well…
| Action | Controls |
|---|---|
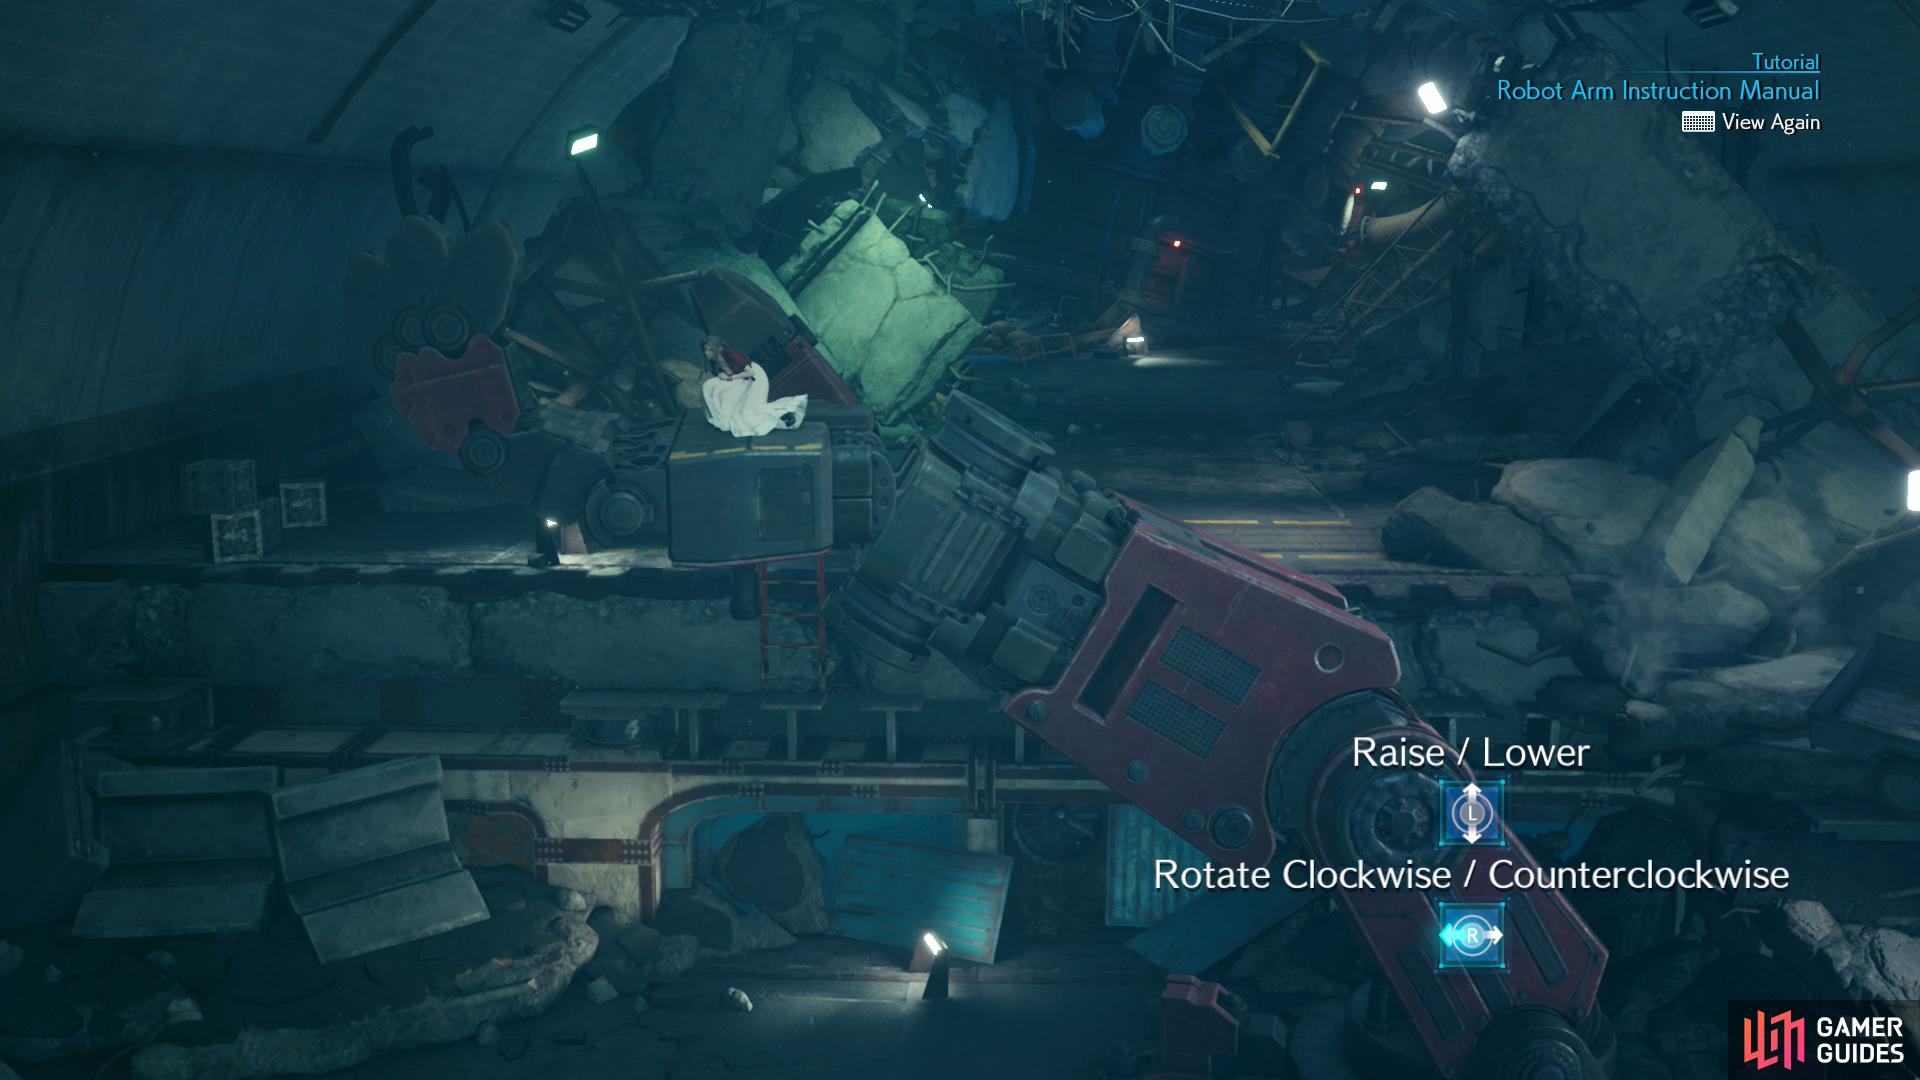
| Raise / Lower Arm | Left Analog |
| Rotate Arm | Right Analog |
| Have Aerith Climb On / Off | Circle |
Once you’re in control of the arm, hold down on the [LEFT ANALOG] to bring the hand down to ground level, then press [CIRCLE] for Aerith to get on said hand. Brave girl, trusting an ex-SOLDIER with clear mental health issues and some rubbish Shinra robot hand… Anywho, next use the [LEFT ANALOG] to raise the hand above the level of the destination section of road then use [RIGHT ANALOG] to rotate the hand over the road, finally pressing [CIRCLE] when you get the hand over the yellow lines in the road above. Lot of work just to ascend a ledge Cloud could have just jumped to but this is video game logic after all.
Equip some Lightning Materia, then climb the ladder Aerith lowered for you. A few steps down the tunnel to the southeast some rubble will move, revealing a new foe - a Sweeper Prototype. Well… kind of new. It’s got most of the same attacks and is weak to lightning, so the biggest difference (besides brute stats) is that… it’s called a prototype? Whatever, use Thunder to “Pressure” it, Focused Thrust to Stagger it, and Braver to deal damage when it’s Staggered. It’s an easy enough enemy to assess, exploit and Stagger.
Defeat the machine, then continue east and southeast, descend a ladder and loot a chest to the southwest to score 2x Hi-Potions, then follow the linear section ahead until you reach another ladder taking you up to another ruined section of road. Ascend the ladder, defeat two Terpsicolts and continue south until the path splits. If you head east and descend a ramp you’ll find a pipe with another chest inside, which will yield 1,000 Gil - grab it, backtrack, then continue following the main road south.
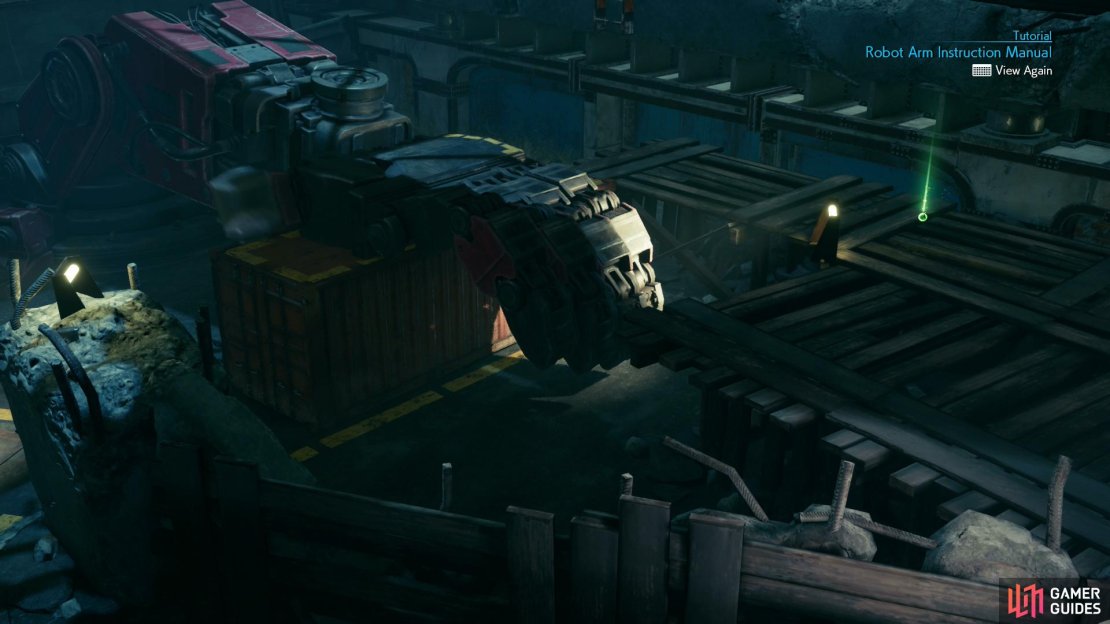
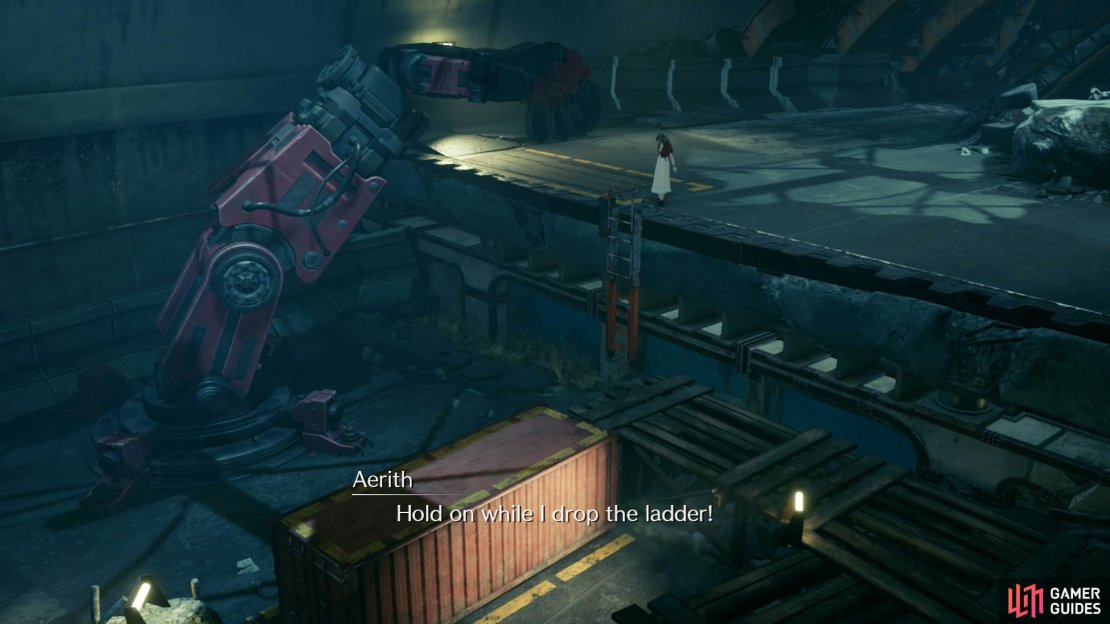
(1 of 3) Use the mechanical arm to move a shipping container,
You’ll shortly come to another fork, at which follow the southwestern-most path uphill until you find another mechanical-arm controlling console on a ledge. Use it and you’ll get another - hopefully unnecessary - tutorial. Not much has changed this time aside from the inclusion of shipping containers you can move:
-
Move the shipping crate to the right and set it down, after which Aerith will climb to the ground.
-
Move the arm back left and pick Aerith up, then deposit her on top of the shipping crate and she’ll claim an orb of Binding Materia.
-
Pick her up again, then raise Aerith up to a ledge opposite the one Cloud is on, drop her off, and she’ll lower a ladder for you.
Descend the ladder, then immediately turn northeast to find a chest containing a Mega-Potion, then climb the ladder Aerith lowered to the south. Continue south and when you find a chance to turn west or continue south, keep going south (technically southwest, then south) to find a vending machine and a rest bench. At the very least, the restoration offered by the bench is welcome, not to mention the opportunity to pick up the 22. Cosmo Canyon Music Disc.
| Enemy | Weaknesses | Notable Loot |
|---|---|---|
| Beck | Fire | -- |
| Butch | Fire | -- |
| Burke | Fire | -- |
| Bandit | Fire | -- |
| Sweeper Prototype | Lightning | -- |
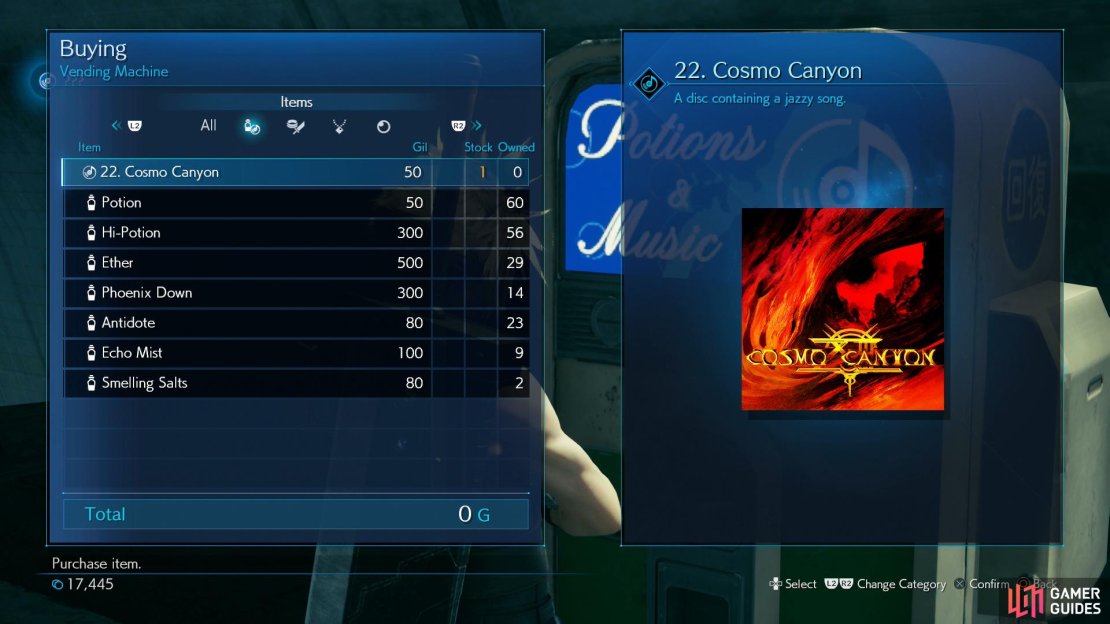
(1 of 3) Purchase the Cosmo Canyon Music Disc from a vending machine.
Beyond the Dead End
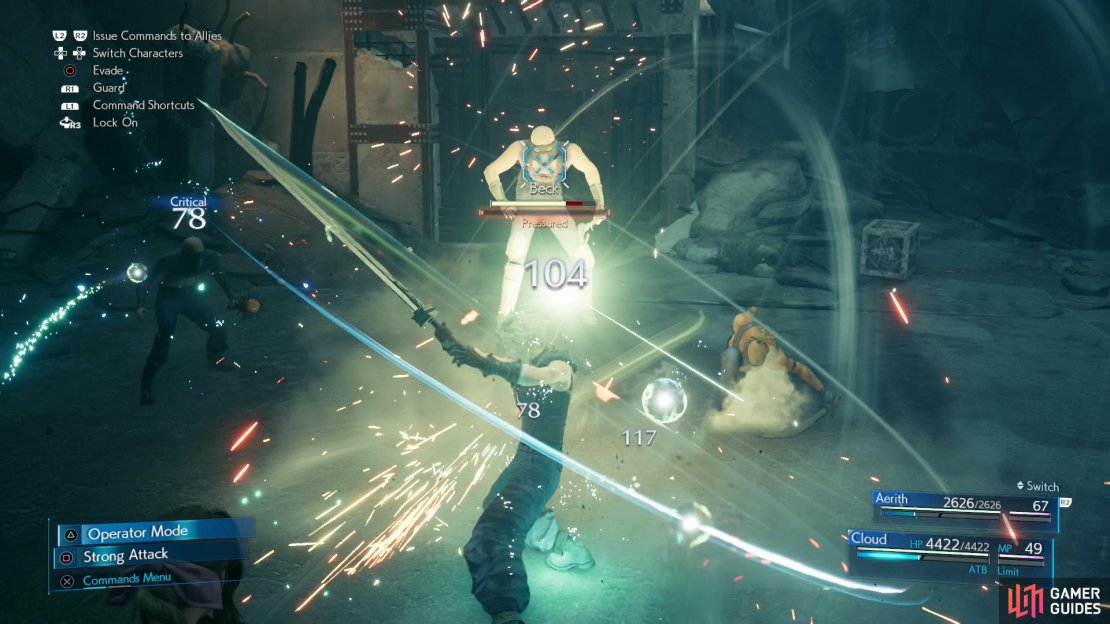
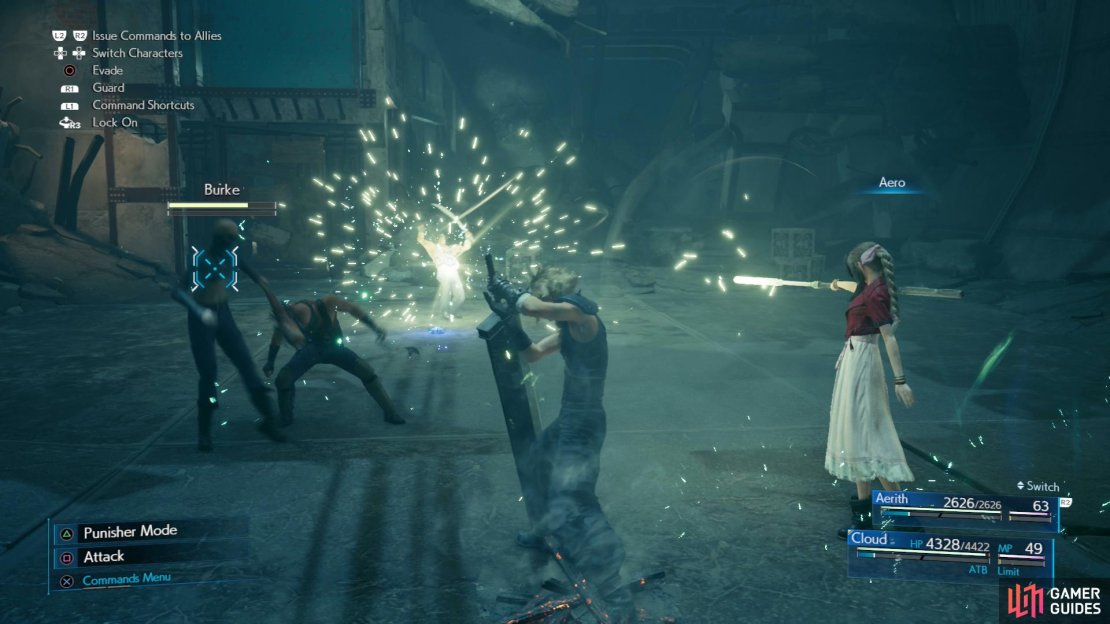
Backtrack north and take the previously neglected western fork now, descending another ladder and following the linear path ahead. Cross wooden walkways, go through a tunnel, balance on narrow beams, and finally pass through a gate to reach an oddly arena-like open area. After a scene you’ll find yourself facing off against three thugs - Beck, Butch and Burke. The three B’s are relatively sturdy, for humanoid foes and can lay shock mines that’ll stun you if you walk into them, but they’ve little answer for Punisher mode’s counterattack. They can steal Gil off you while stunned so be very careful to avoid the mines on the floor. You can also use spells (especially Fire, which they’re weak to) to build their Stagger meters. Thrash them, then continue south or run into the three B’s, who are playing dead. Disturbing them will cause them to make horrible noises, which… well, it’s an acquired taste.
Pass through some tunnels and pipes, climb yet another ladder to find yourself in a fight with two Bandits and another Sweeper Prototype. These Bandits fight just like the three B’s, so take them out quickly, then focus your attacks on the Sweeper Prototype, which is by far the more dangerous foe.
(1 of 4) Move a shipping container 180 degrees
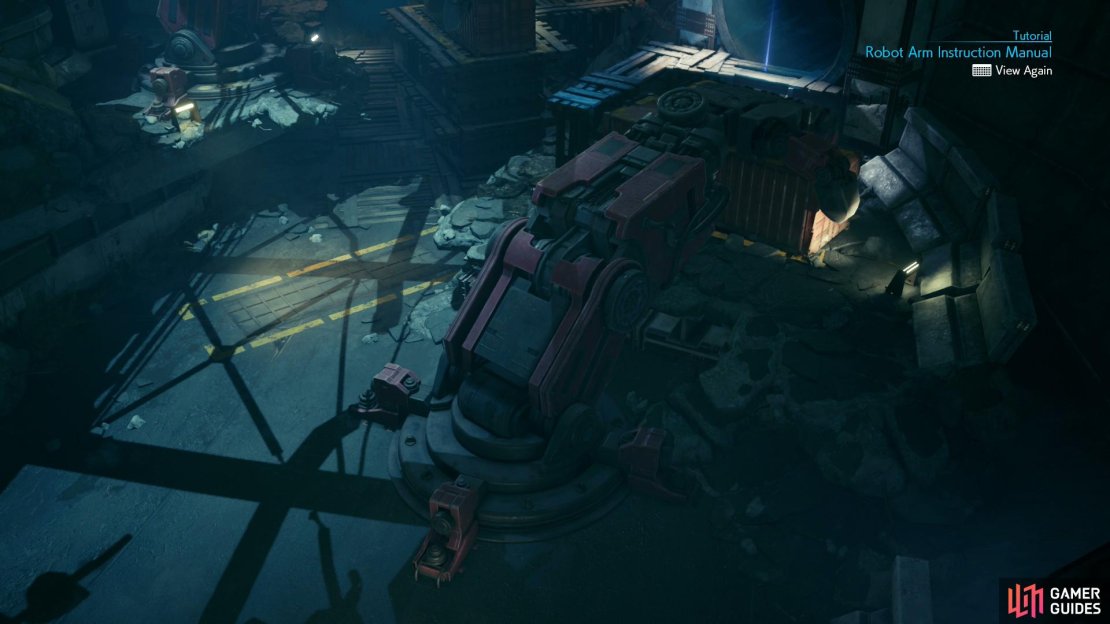
Defeat them and continue on to find another mechanical arm segment. Man the console and Aerith will dutifully scurry on ahead. This event works just like the last one, save you can now also press [TRIANGLE] to switch between the two arms. Let’s get through this:
-
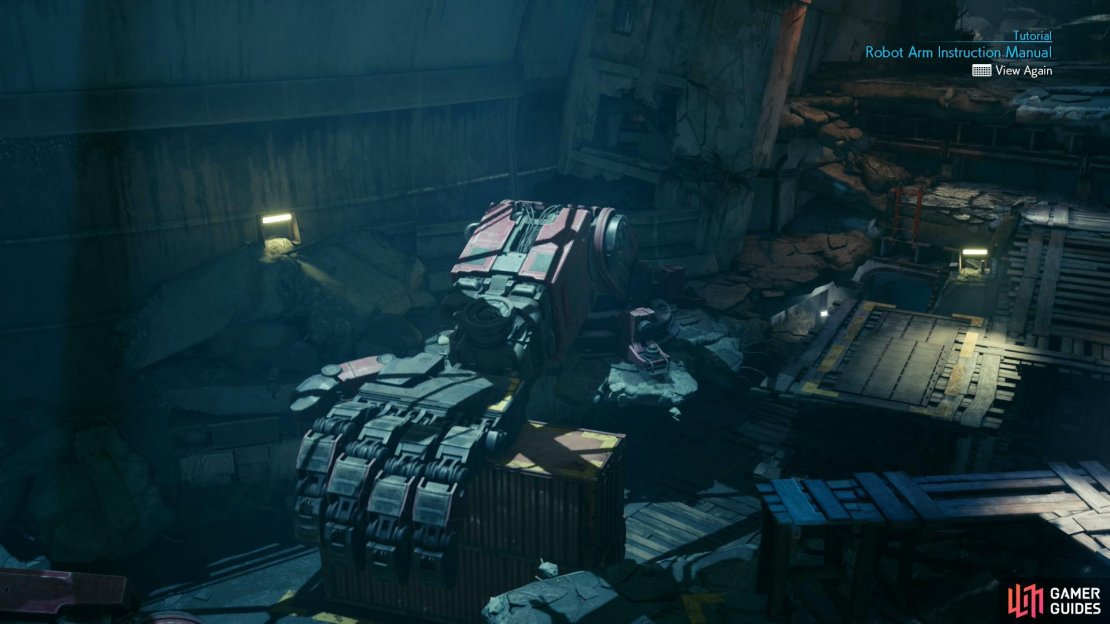
First, lower the first arm and grab a shipping container, lift it up, and rotate it 180 degrees before setting it down.
-
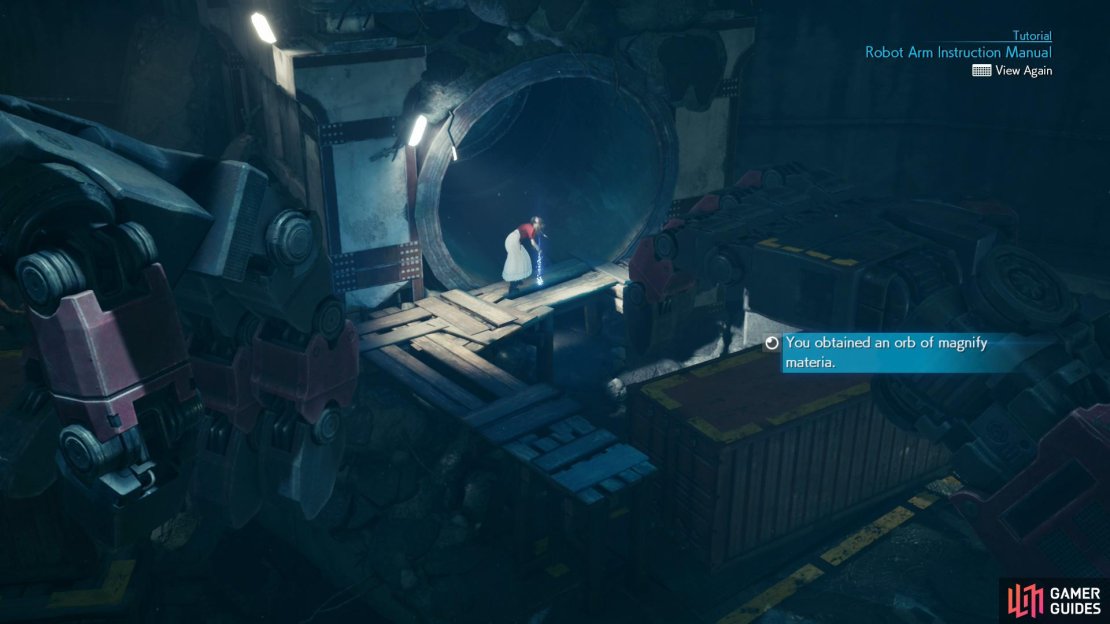
Return the hand to its original position, pick up Aerith, set her on the shipping container you moved and she’ll grab you an orb of Magnify Materia
-
Pick Aerith back up and drop her off back at the beginning, then pick up the shipping container and move it to the left.
-
Switch arms by pressing [TRIANGLE], then pick up the shipping container on the elevated platform and place it on the first shipping container.
-
Switch back to the first arm and pick up Aerith again and move her onto the stacked shipping containers.
Switch back to the second arm and pick Aerith up again, this time moving her onto the platform where the second shipping container used to rest.
Once that’s done, climb down the ladder ahead of you, cross the low ground to the southwest and ascend the ladder Aerith lowered for you. After you climb up you’ll witness a lovely little scene. Poor Cloud.
Anywho, round a corner and climb another ladder, then continue on until you’re ambushed by four Bandits. Perfect time to give that Magnify Materia a try! Follow Aerith and after crawling through a hole Cloud will get a chance to redeem himself. Aw, such a nice girl. Watch some scenes and when you’re back in control, Aerith will head southwest. Ignore her for a moment and instead follow the eastern wall south to find a shelter you can search for a chest containing an Ether. You can also ride the slide and run across the tires, if you want! Doing so doesn’t really accomplish anything, but somebody spent time coding this, so…
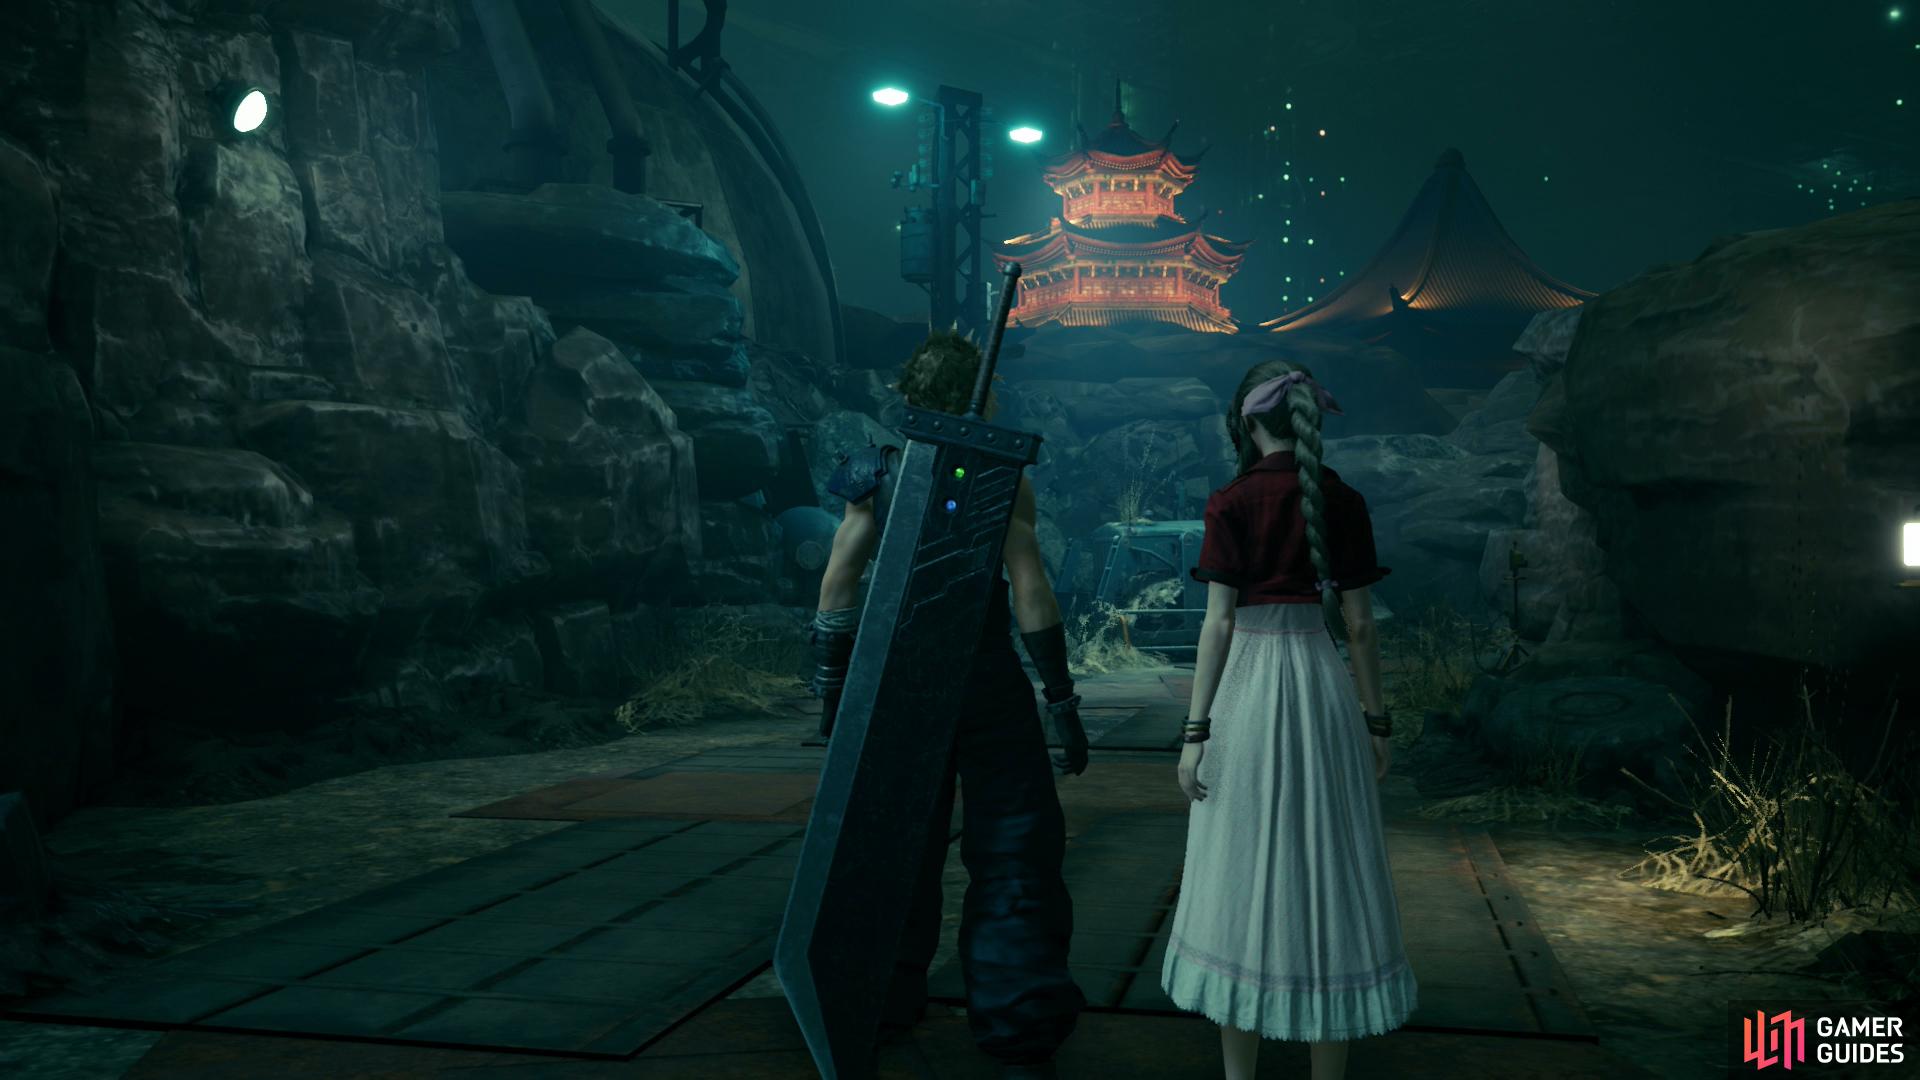
When you’re done messing around, reunite with Aerith and after she shows you a route to Sector 7, talk to her again and confirm your desire to continue on. After some more scenes… well, plans change. Looks like you’re going to have to visit Wall Market after all.
Answers and Outcomes in Wall Market
Wall Market is a bit of an oddity in Final Fantasy VII Remake, as you’ll be given the option to make a lot of trivial-seeming choices as you explore this den of debauchery, and unlike most choices thus far, your choices actually affect things! Specifically, there are five side quests you’ll unlock later in this chapter after advancing the main story a bit, any three of which will be available to you in a single playthrough. You’ll always unlock the quest Burning Thighs, but depending on the choices you make going forward you’ll get another two quests from one of two NPCs. A character named SAM will give you the quest The Party Never Stops and its follow-up Dynamite Body, while another character, Madam M, will give you the quest The Price of Thievery and its followup Shears’ Counterattack.
So, why do these choices matter, you’re probably wondering? Well, if you want the trophy The Johnny Experience you’ll need to trigger Sam’s quest, The Party Never Stops and regardless of what quests you unlock (and presumably complete) on your first playthrough you’ll need to complete the other two for “Best in the Business”. Other than that, Sam’s quests are potentially cheaper to unlock (Gil-wise) and the quests you complete will determine Cloud’s attire for an upcoming event. For all those reasons, we suggest taking care of Sam’s quest on your first playthrough, but will include the data we’ve collected so you can make up your own mind.


Finally, some of these responses are difficult to avoid - just getting too close to characters can trigger one, so despite the lure of Wall Market, we’ll first focus on seeking out and making all these choices before exploring Wall Market in detail and pressing on with the main story.

(1 of 2) How you respond to Chocobo Sam


How you respond to Chocobo Sam (left), and to the man outside the hotel influences what quest you’ll get later in the chapter. (right)
The Trio - Chocobo Sam’s Question
Follow the road north to the outskirts of Wall Market, where you’ll find the Stablehand that gave Tifa a ride. After some chatter you’ll be interrupted by a gruff man named Sam, who will eventually ask you to describe Tifa. You have three responses here, and if you want to get Sam’s quests later (the route we recommend for first-timers) you’ll want to pick “She’s in great shape.”
| The girl we’re looking for… | . |
|---|---|
| She’s in great shape. | More likely to get SAM’S QUEST |
| She’s a great fighter. | More likely to get MADAM M’S QUEST |
| She’s great at handling the books. | More likely to get MADAM M’S QUEST |
Say what you wish, after which Aerith will suggest searching Wall Market for answers. Continue north past the gate to Wall Market (west) and search a shed near two men and a Chocobo (sounds like a horrible sitcom name) to find a chest containing a Phoenix Down, then backtrack and enter Wall Market.
After the Barker is done assaulting your ears you’ll be free to explore Wall Market. There’s a lot to see and do here, but we’ll save shopping and whatnot for after we’ve dealt with all the responses that affect sidequests, straying from our goal only to pick up the odd bit of loot lying between and near objectives.
Wall Market Hotel
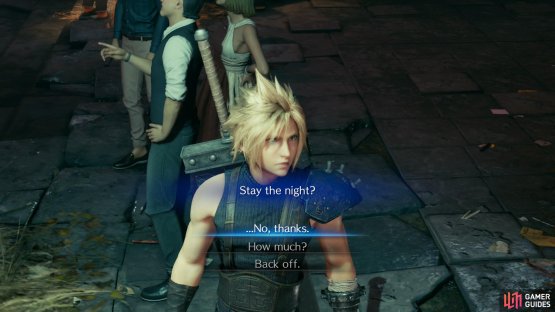
From the gate turn left (south) and you’ll find a hotel. Approach and another Barker will assume Cloud and Aerith are a couple, and offer a room. Classy. Respond with “…No, thanks.“ to stay on track to unlock Sam’s quests later on.
| Stay the night? | . |
|---|---|
| …No, thanks. | More likely to get SAM’S QUEST |
| How much? | More likely to get MADAM M’S QUEST |
| Back off. | – |
Now, we’re not going to do much exploration at this time, but since you’re already at the hotel and there’s no good reason to neglect it. Head inside and, if you actually wish to rest, talk to the clerk. This doesn’t cost any Gil nor does it seem to affect whose quest you get later on, so just treat it as a rest bench as far as gameplay is concerned. You can also talk to Johnny’s father in the lobby, who mentions that the boy has been wandering about Wall Market, and you can plunder a chest in a room to the south (across from the bathroom) for a bottle of Adrenaline.

(1 of 3) Chase down Johnny to influence the quest you’ll get later in the chapter.
Vagabond Johnny
Leave the hotel and from the front of the building, head southwest, go up some stairs, then turn left (south) and you should see Johnny come running past you. Follow him north past Chadley (we’ll get to him eventually, don’t you worry) until he turns left (west down an alley at two flights of stairs. Follow him and you’ll find two more flights of stairs - go down the stairs and you’ll find Johnny waiting outside of the Honeybee Inn. Talk to Johnny and eventually you’ll get a chance to respond - say on course to start Sam’s quest later by saying “Yeah.”
| Agree with Johnny? | . |
|---|---|
| Yeah. | More likely to get SAM’S QUEST |
| No. | More likely to get MADAM M’S QUEST |
After Johnny runs off you’ll be left alone outside this… ah… establishment. As trivial as the Johnny event is, it’s worth knowing the location for later. You’ll be coming back here, and fairly soon. Before you head off to continue the quest, some points of interest nearby:
-
If you slink under a fence to the west you can encounter a somewhat familiar honeybee girl behind the bar. You don’t get anything for this, but it’s an interesting enough encounter.
-
Southeast of the Honeybee Inn you’ll find some stairs. You can sidle through a narrow gap along the stairs and into an alley to the east. In this alley you can spot a chest behind some people to the north, but alas, you can’t reach this treasure yet. Worth noting for later, though.
-
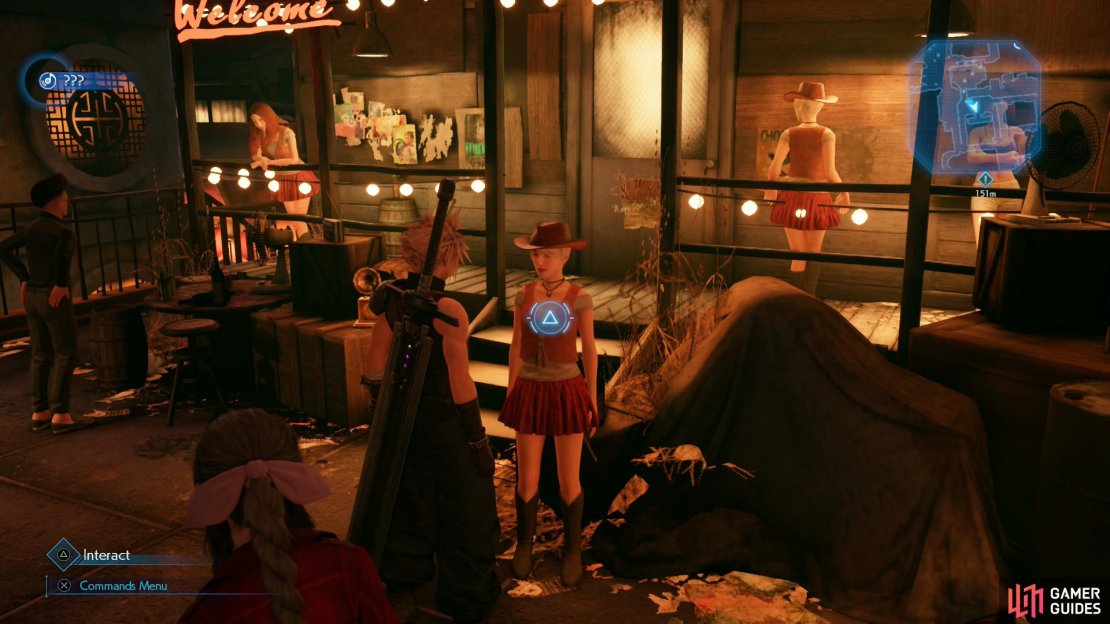
Southeast of the Honeybee Inn you’ll find some stairs, same stairs as before. Ascend them, cross a bridge to the south and talk to a “Cowgirl” in a cowboy hat to obtain the 17. Farm Boy Music Disc.
-
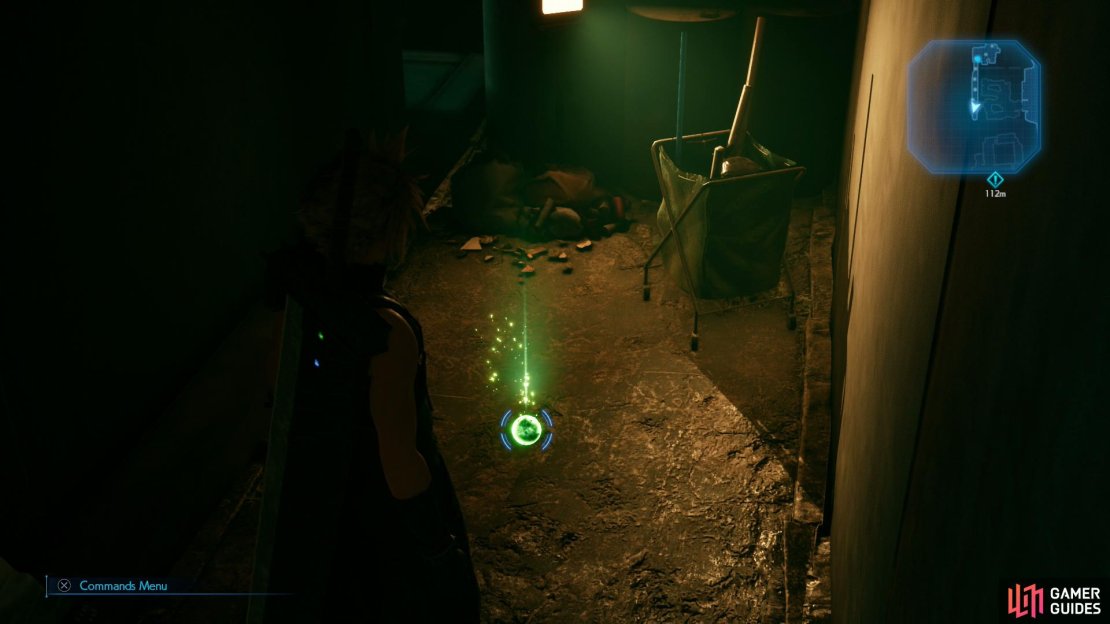
Continue down some stairs to the south and you’ll find yourself back in the alley you were in while chasing Johnny. Make your way west a bit, past two men standing in front of an alley to the south, and ultimately keep working your way south until you crouch into a quieter side alley. At the end of this alley is a hunk of Barrier Materia. Also note the sick man standing nearby - he’ll be important later.


(1 of 2) En route to Corneo’s mansion you can find a Headband in the gym
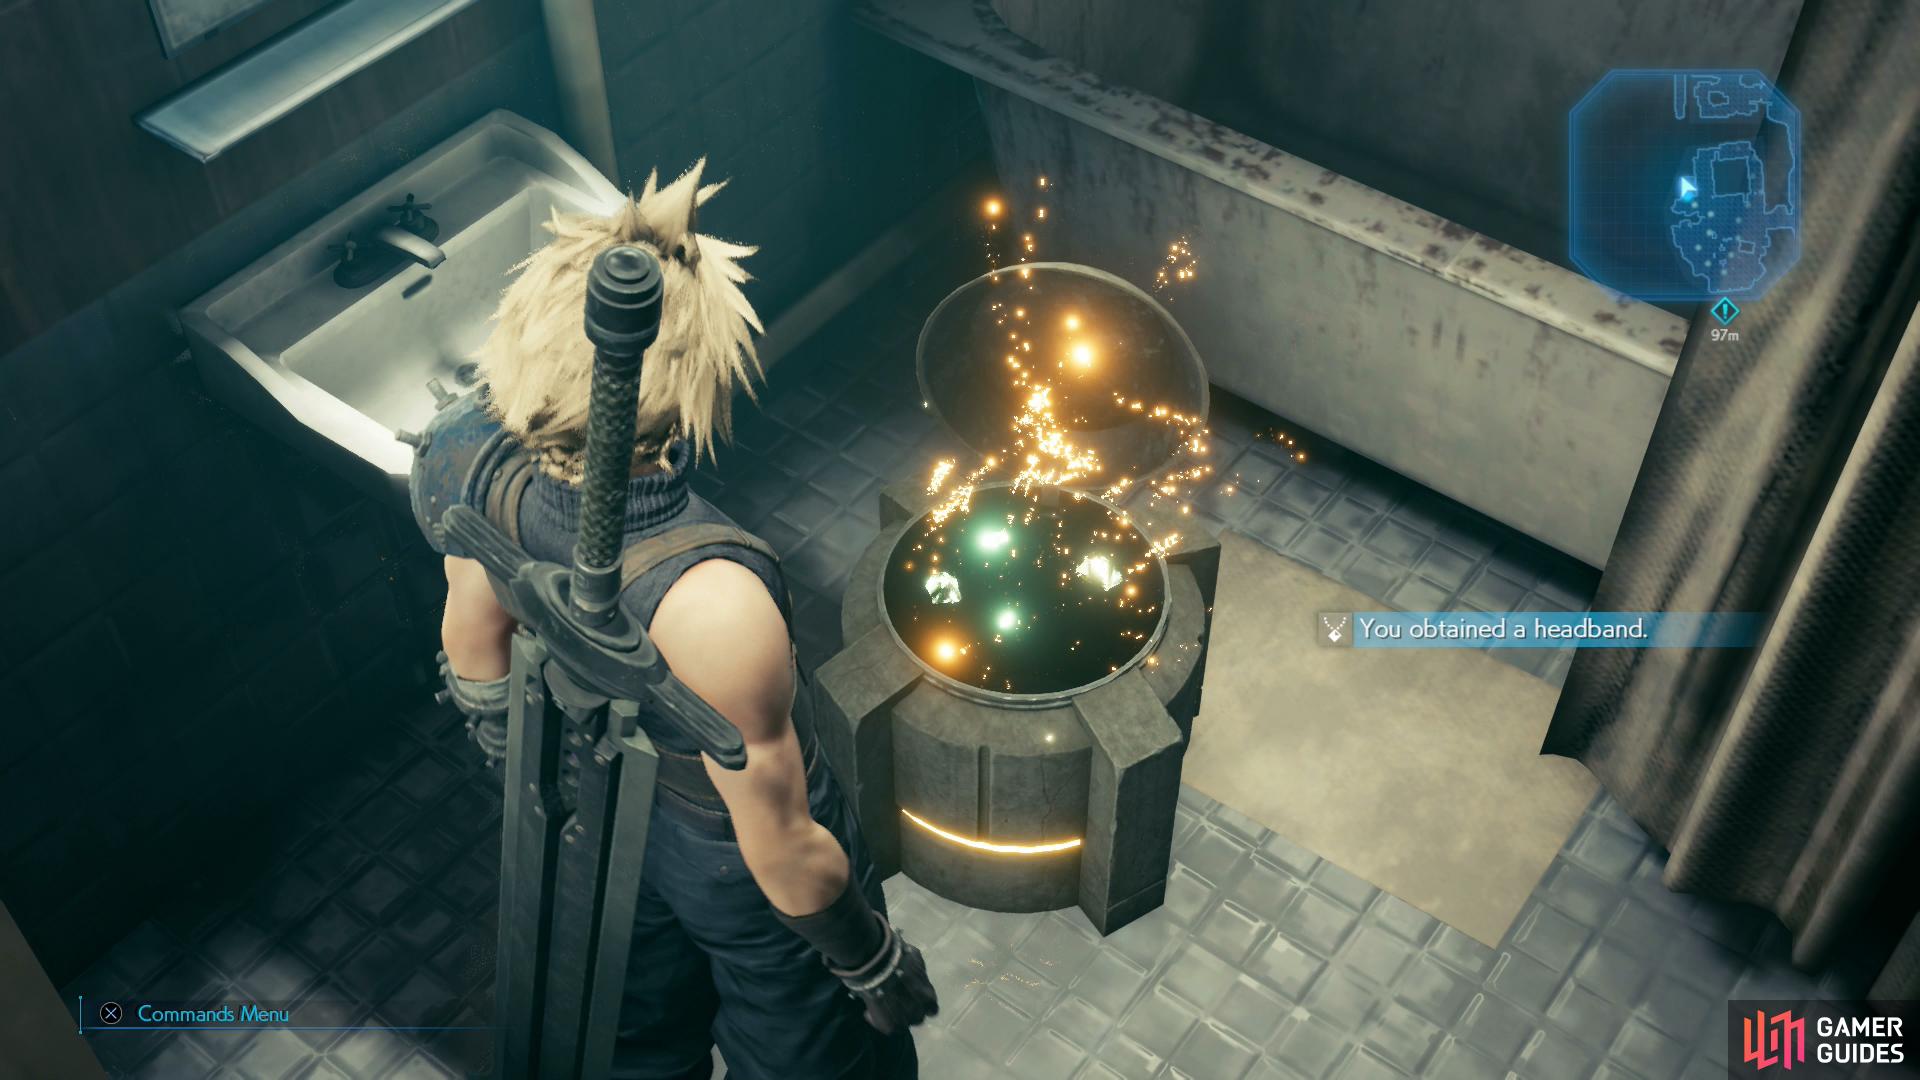
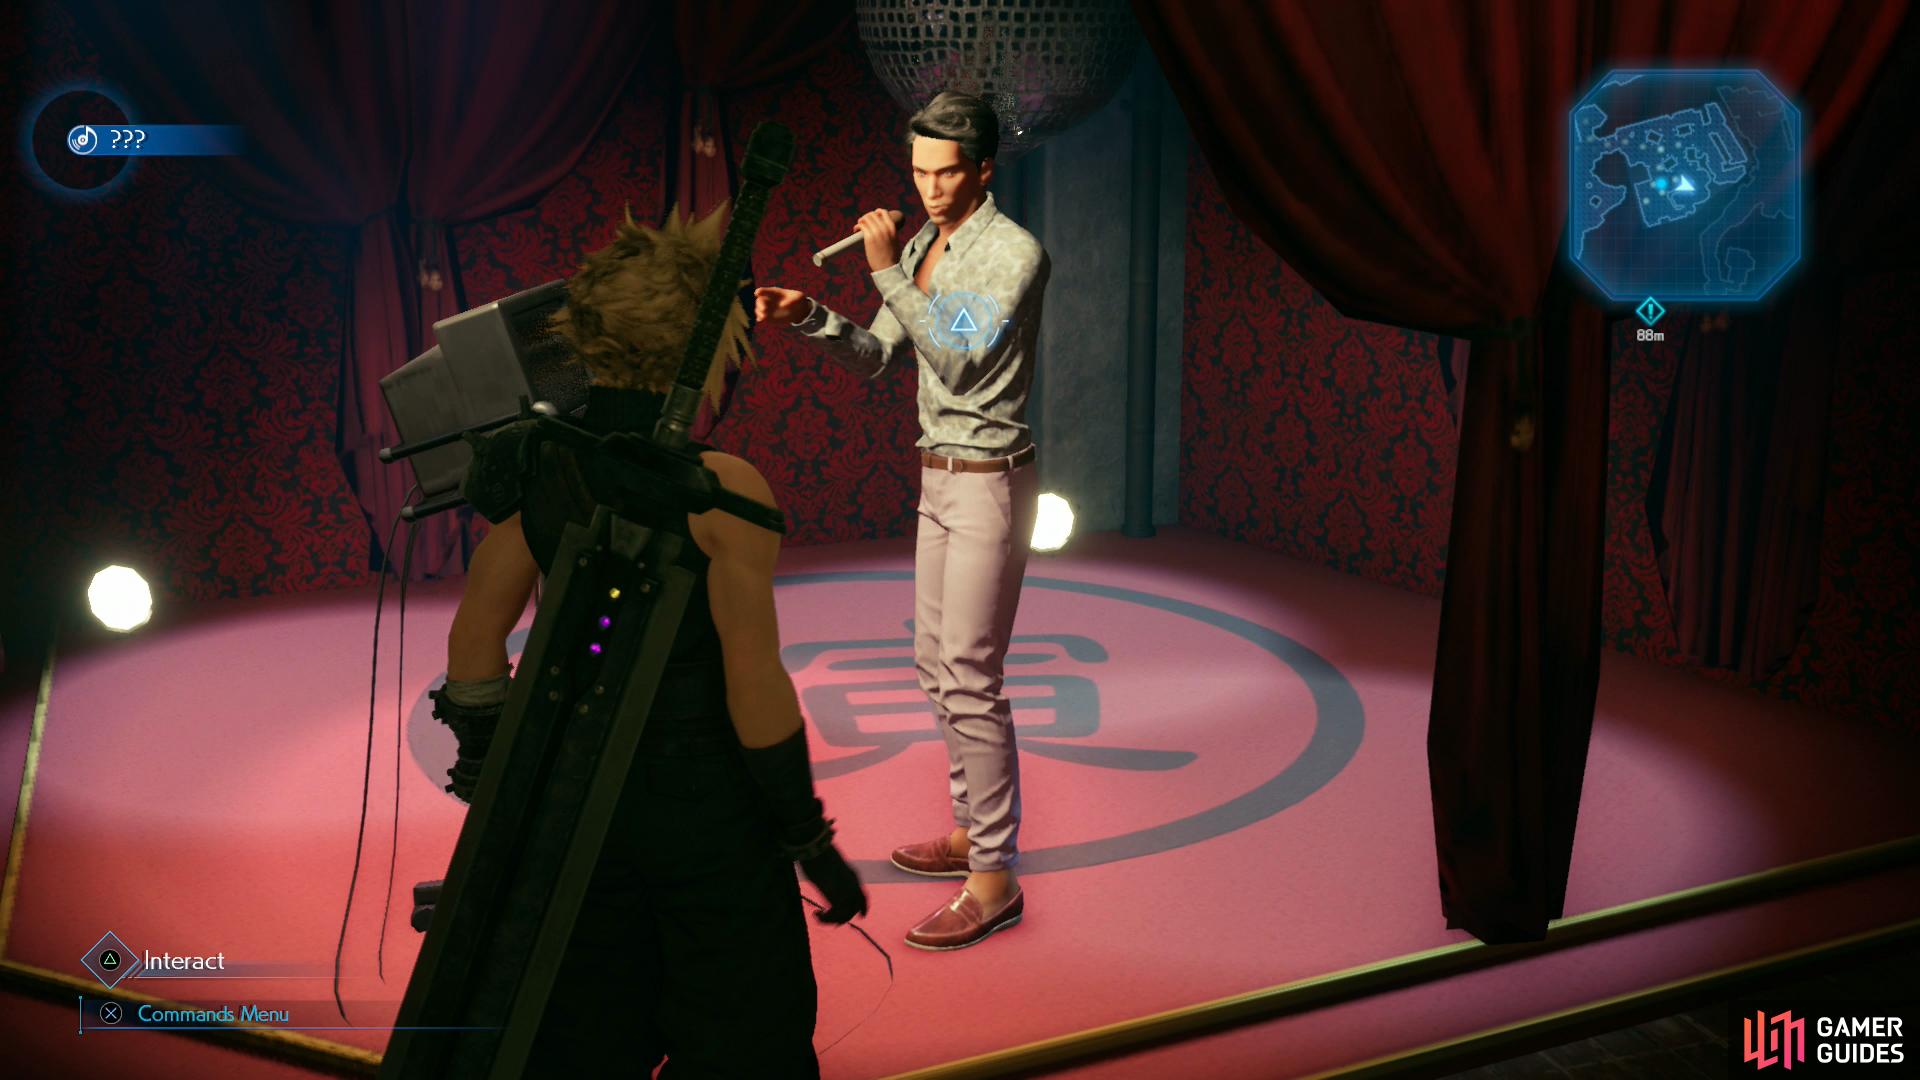
En route to Corneo’s mansion you can find a Headband in the gym (left), and acquire the Midgar Blues Music Disc from a singer in a restaurant. (right)
To Corneo’s Mansion
Work your way back south and east towards Chadley, but don’t bother talking to him yet - he’s not a destination, just a convenient map marker. From Chadley head up the road to the south, noting the various buildings as you go:
-
To the right (west) is a dress shop. Nothing interesting here at the moment.
-
Further north you’ll find a gym to the right (west). Inside you’ll find a chest containing a Headband.
-
Across the street from the gym (east) you’ll find a restaurant. Approach the singing man and talk to him to obtain the 29. Midgar Blues Music Disc.
-
Continue south up some stairs and you’ll spot the entrance to the Colosseum to the right (west) which is currently closed and a weapon shop to the left (east), which you needn’t bother with just yet.
-
Just beyond (south of) the entrance to the Colosseum you can find an alley running west along said Colosseum building. This leads to the “Urban Development District” area, which ends in a dead end and isn’t worth exploring yet - but perhaps worth noting for later.
-
Further north, after your attention is drawn to Corneo’s mansion and just before crossing a bridge, turn right (west) to find a chest containing 1,200 Gil. You’ll put some of that to use shortly, no doubt.
-
Cross the bridge to the south and immediately turn left (east) and follow a path that runs to the side of Corneo’s mansion to find a chest containing an Ether.
With that your looting spree is… temporarily suspended. Continue south into Corneo’s mansion and talk to a punk named Leslie. During this chat you’ll learn that to get into the mansion you’ll need to gain the approval of one of “The Trio”, who source girls for Corneo. One you’ve already met - Chocobo Sam - and the other two are Madam M and Andrea Rhodea, and now that this conversation is out of the way you should have three new map markers to play with.
Exit the mansion and as you cross the bridge you’ll witness a scene. What a doofus.
The Trio - The Andrea Appointment
Anyways, you have the illusion of freedom here, but most of these are dead-ends, as you’ll soon see, and due to circumstances you’ll need to leave Madam M for last. That being the case, head back to the Honeybee Inn (northwestern corner of Wall Market - you even have a map marker this time) and approach the entrance to see Johnny’s first attempt at gallantry fail. Go inside and watch the scene that follows and… well, Andrea Rhodea is a dead-end right now.
The Trio - Chocobo Sam’s Coin Flip
Return to Sam, who can be found in his customary spot outside of (east of) Wall Market and talk to him, witnessing Johnny’s next failure as you go. The conversation with Sam will devolve into a game of chance, during which you’ll get another quest-affecting decision:
| Heads or tails? | . |
|---|---|
| Heads. | More likely to get SAM’S QUEST |
| Tails. | More likely to get SAM’S QUEST |
| No deal. | More likely to get MADAM M’S QUEST |
If you pick “Heads” or “Tails” you’ll be more likely to get Sam’s quest later on. Apparently Sam likes working with a gullible rube rather than somebody keen to his game… disconcerting, but it’s the outcome we want. Whatever option you pick, you’ll get Sam’s Coin.
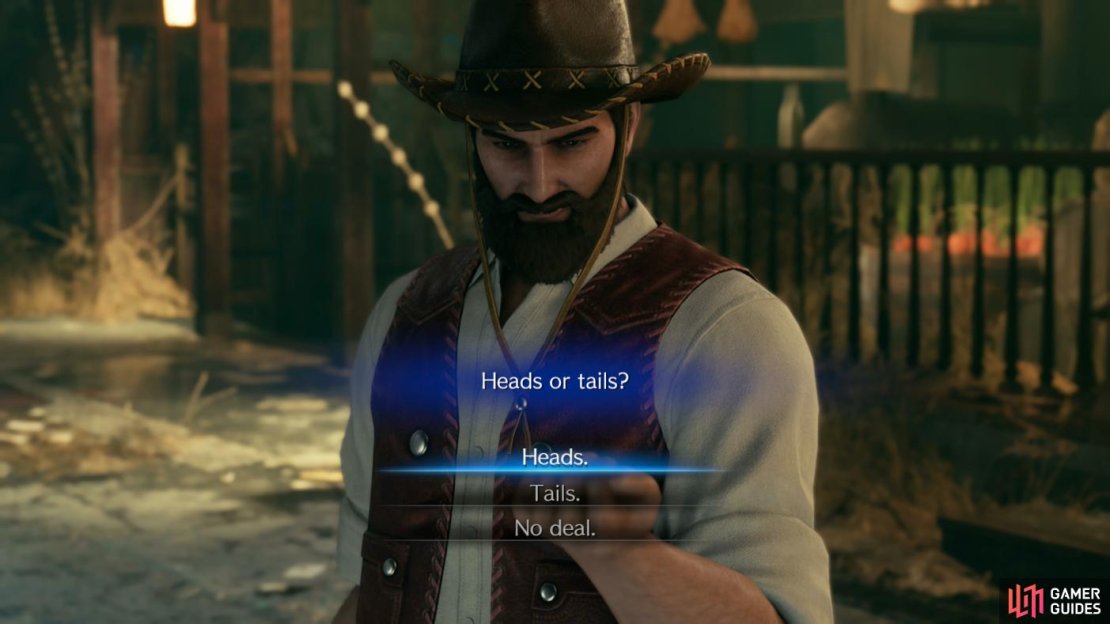
(1 of 3) Your decision with Chocobo Sam’s coin flip
The Trio - Madam M
Well, that’s two down, one to go, and we’re in luck, as Madam M’s massage parlor - previously closed - will now be open for business. Enter Wall Market again and head up a street to the north, ignoring some side roads to the east and west, as whatever treasure can be found there is blocked by people inexplicably standing around. Continue north and eventually you’ll spot a materia store to the left (west), across the street from which (east) is Madam M’s massage parlor. Once again, Johnny will have failed in his endeavor and come running out the front door, letting you know you’re at the right place. Kid’s persistent, if nothing else.
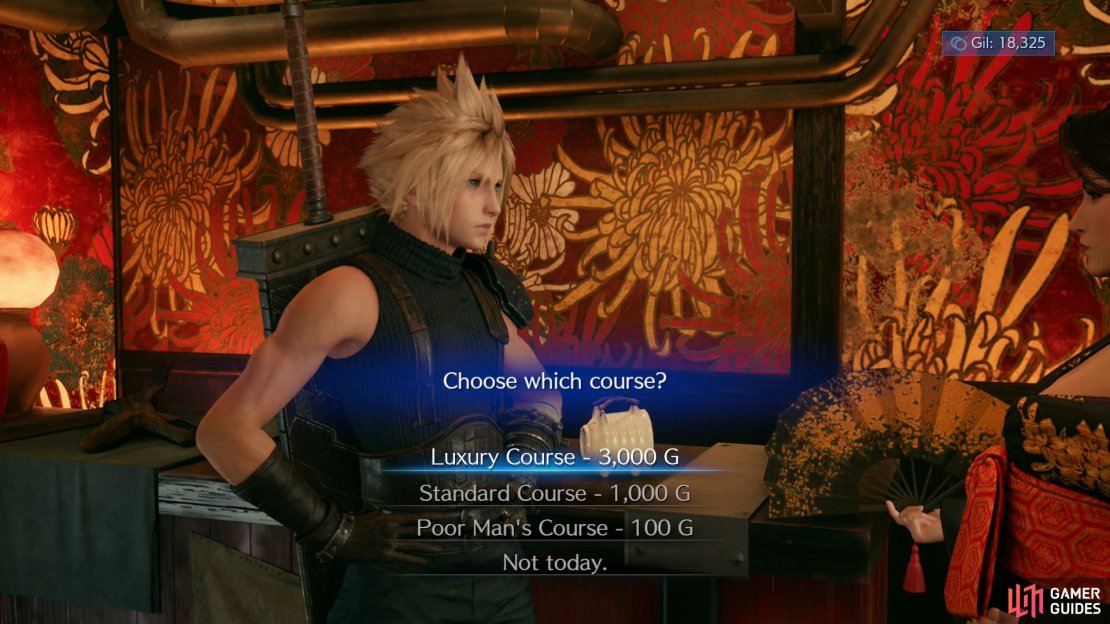
Enter the massage parlor and after a rather contentious exchange with Madam M you’ll find yourself bullied into contemplating a massage - a prerequisite before Madam M will consider discussing your business.
| Choose which course? | . |
|---|---|
| Luxury Course - 3000 G | More likely to get MADAM M’S QUEST |
| Standard Course - 1000 G | Somewhat more likely to get MADAM M’S QUEST |
| Poor Man’s Course - 100 G | More likely to get SAM’S QUEST |
This decision is one of the more impactful when it comes to determining which quest you’ll get later, and the less you pay Madam M, the less she’ll think of you. Since we want Sam’s quest, then, opt for the “Poor Man’s Course - 100 G”. Madam M’s got an… interesting take on the concept of a “hand massage”, and the quality of your service directly correlates with how much you spent. If you’re unlocking Sam’s quests and picked the 100 Gil option, this is tantamount to torture.
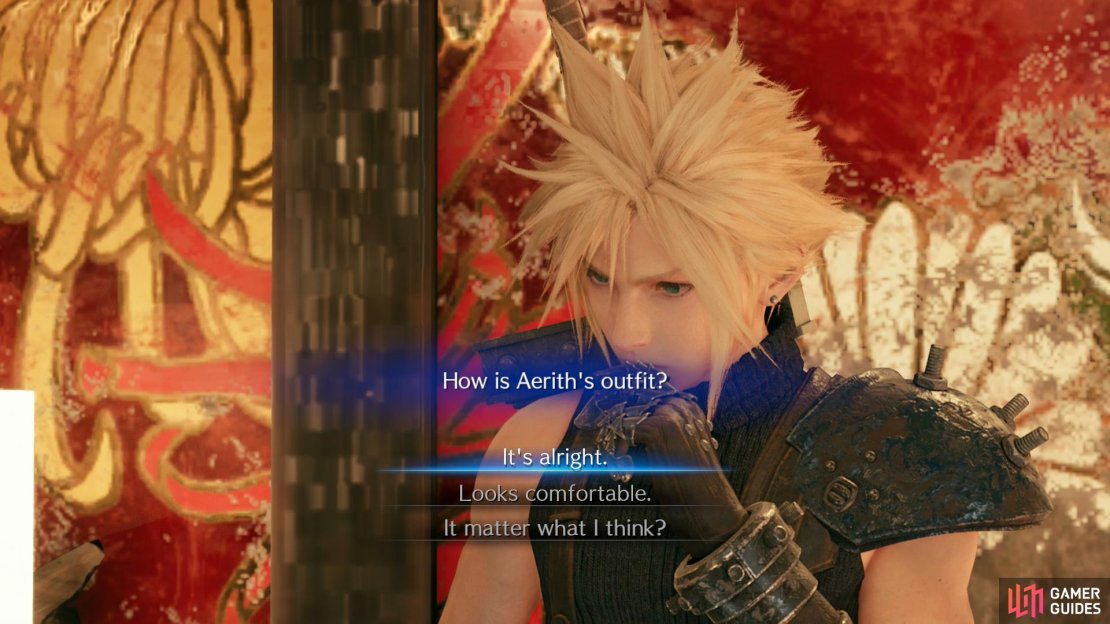
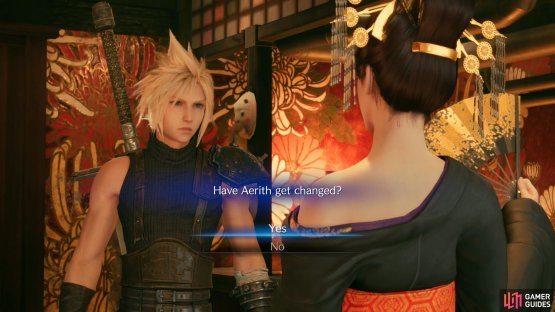
After the massage, a distracted Cloud will be contemplating his life choices and you’ll be in control of Aerith. After some chatter, Madam M will head behind the counter - talk to her and the conversation will shift to Aerith’s attire, giving you one final dialogue choice that affects what quest you unlock later on.
| How is Aerith’s outfit? | . |
|---|---|
| It’s alright. | More likely to get SAM’S QUEST |
| Looks comfortable. | Somewhat more likely to get MADAM M’S QUEST |
| It matter what I think? | More likely to get MADAM M’S QUEST |
Stay on track for Sam’s quest and say “It’s alright.” and after some more chatter you’ll find yourself charged with winning a tournament in the Underground Colosseum so you can afford the dress Aerith is getting so she can participate as a candidate for Corneo’s new bride. Convoluted, but hey, it’s progress. In any event, you’ll get a Tournament Entry Form and the Underground Colosseum near Corneo’s mansion will now be open. More importantly, you should have completed all the events that determine what your quest is later on in the chapter, so you need not worry about wandering around Wall Market quite so much. Unfortunately you won’t find out what quest unlocks until you’re done with the Underground Colosseum.
If you want to explore Wall Market, collect what treasure you can, do some shopping and see to Chadley’s Battle Intel Reports, now’s the time to do so. This will be covered under the “Exploring Wall Market” header. If you can’t be bothered, the “Underground Colosseum” will be covered under a header of the same name.
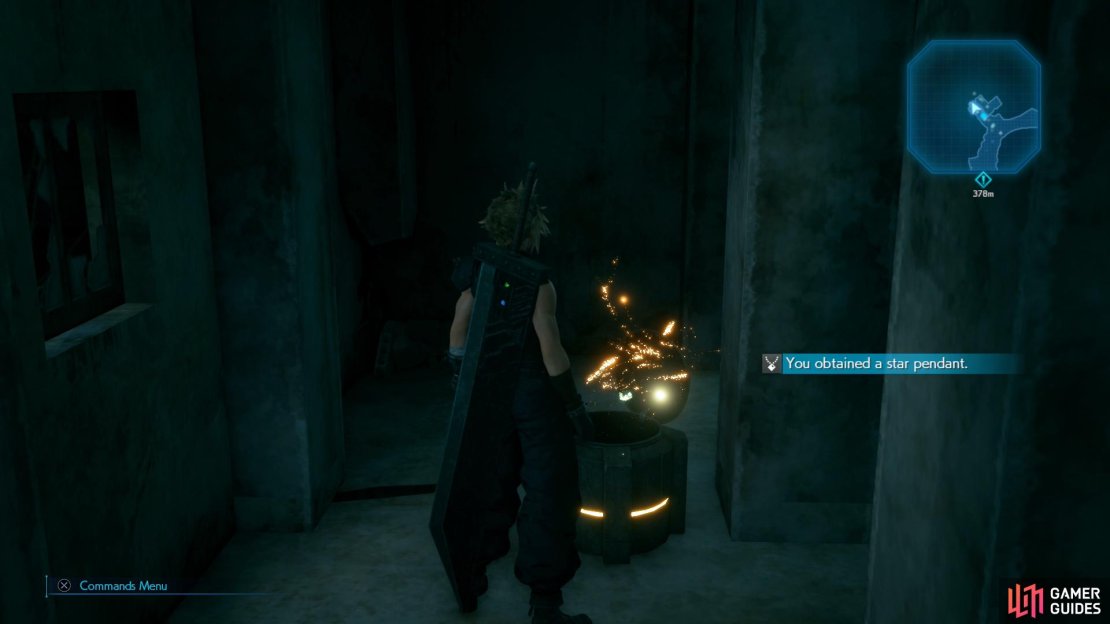
(1 of 3) Search the outskirts of Wall Market for a Star Pendant
Exploring Wall Market
Your first stop takes you outside of Wall Market, oddly enough. Leave Madam M’s massage parlor and head north until the path splits. Continue northeast at the fork, and when the path splits again turn left (west) and explore the interior of an abandoned how to find a chest containing a Star Pendant.
Return to Madam M’s house and from there head south and west to reach the materia shop. This merchant sells most of the materia you’re used to, along with the relatively new Binding Materia, should you desire more of it.
Wall Market Materia Shop
| Materia | Cost |
|---|---|
| Healing Materia | 600 |
| Cleansing Materia | 1,500 |
| Revival Materia | 3,000 |
| Fire Materia | 500 |
| Ice Materia | 500 |
| Lightning Materia | 500 |
| Poison Materia | 1,500 |
| Barrier Materia | 1,500 |
| Binding Materia | 3,000 |
| HP Up Materia | 2,000 |
| MP Up Materia | 2,000 |
| Deadly Dodge Materia | 600 |
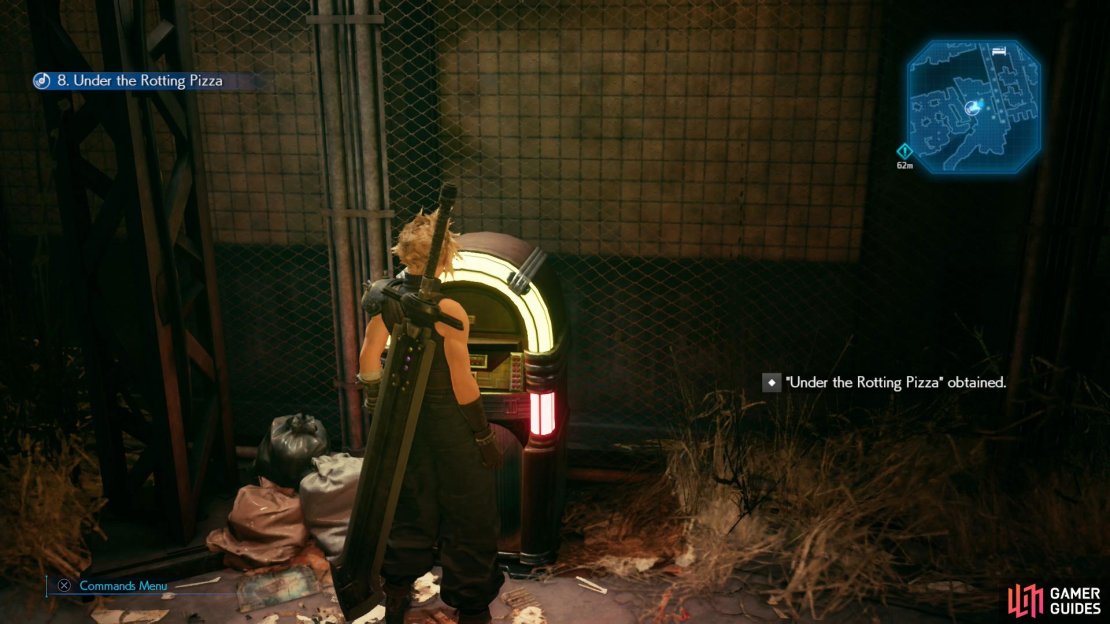
Return to the gate to Wall Market and from there head south to the hotel. Southwest of the entrance to the hotel is an alley running southeast, then enter a fenced-in area to find a jukebox containing the 8. Under the Rotting Pizza Music Disc. Continue uphill to the southwest to find a chest containing a bottle of Celeris.
Return to the gate to Wall Market once again, and form here head north into a small building with a terminal in it. Tinker with the terminal to trigger an oddly lethal response. Nice callback to the original game, but only time will tell if this ends up as lucrative in the remake…
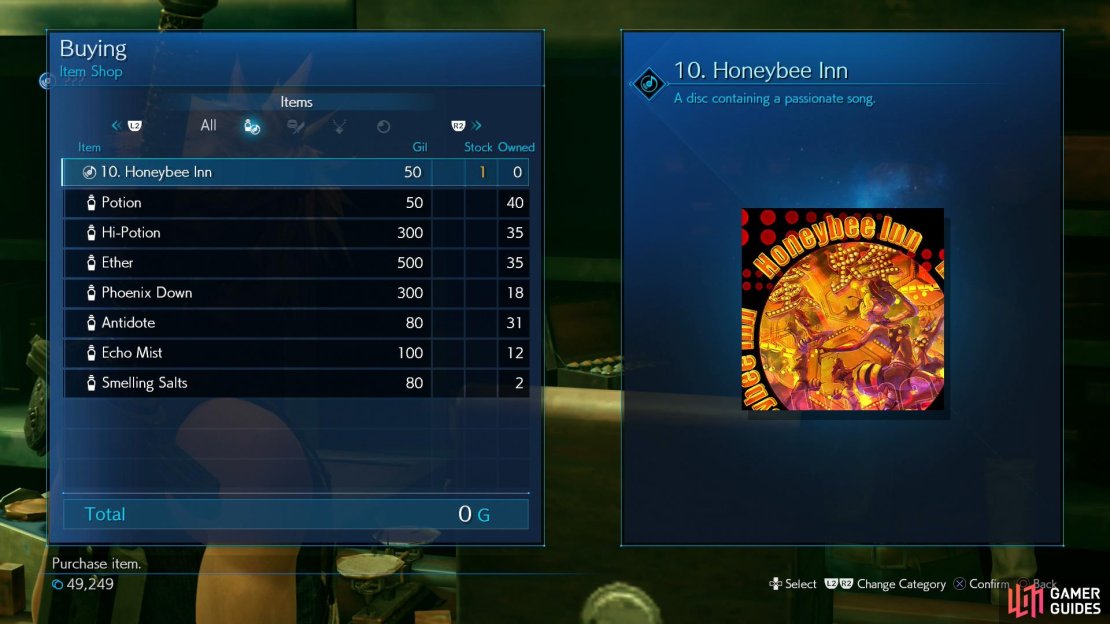
Next stop is the item shop to the west, or along the northern end of the square just beyond the gate to Wall Market, if you prefer. Buy the 10. Honeybee Inn Music Disc, otherwise the merchant’s stock is unexceptional.
Wall Market Item Shop
| Item | Cost (Gil) |
|---|---|
| 10. Honeybee Inn | 50 |
| Potion | 50 |
| Hi-Potion | 300 |
| Ether | 500 |
| Phoenix Down | 300 |
| Antidote | 80 |
| Echo Mist | 100 |
| Smelling Salts | 80 |
Continue west towards Chadley, but before you talk to the kid, head up two flights of stairs near him, round a corner, then loot a chest to score an Elixir.

(1 of 3) Talk to Chadley to complete old Battle Intel Reports and start new ones.
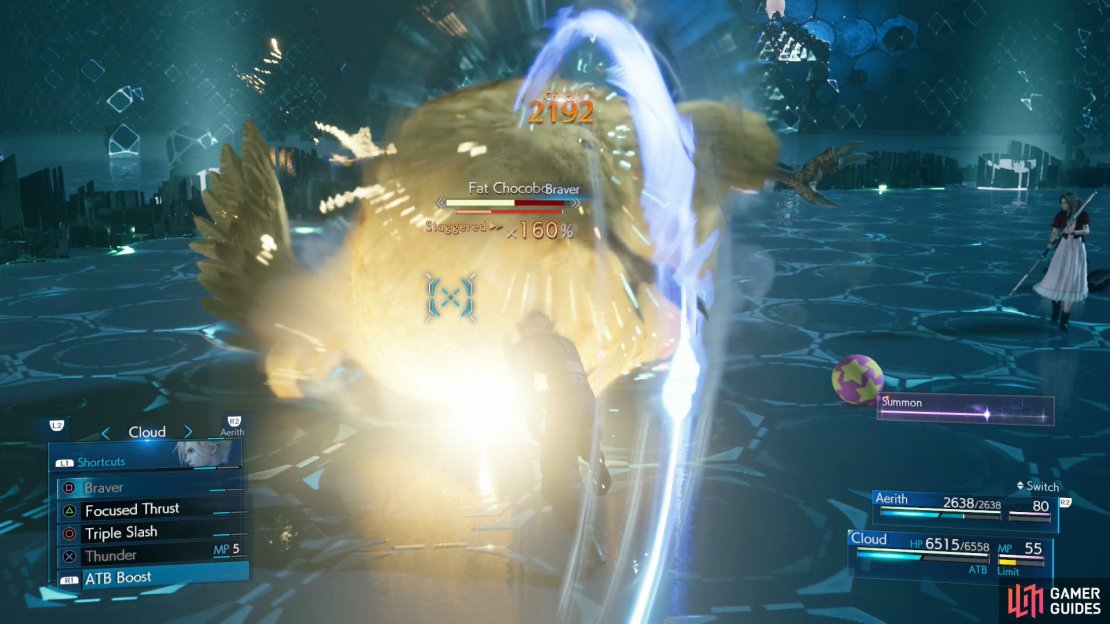
Head downstairs and finally talk to Chadley and after you exit his menu he’ll give you several new Battle Intel Reports (Reports 10-14). Of particular interest is Battle Intel Report 10, another VR Mission that tasks you with defeat “Fat Chocobo”. How rude! Maybe he’s just fluffy? As usual, we’ll list the new Battle Intel Reports here and leave them up to you to complete at your leisure, with more in-depth intel being provided on each Report’s page.
| Battle Intel | Conditions | Reward |
|---|---|---|
| Combat Simulation: Fat Chocobo | Defeat Fat Chocobo. | Fat Chocobo Materia |
| Monster Bio Pt.3 | Assess 20 enemy types. | Item Master Materia |
| The Stagger Effect Pt.3 | Increase stagger damage bonus to 200%. | Parry Materia |
| Refocus Analysis | Trigger Refocus 2 times. | ATB Assist Materia |
| The Stagger Effect Pt.4 | Stagger 40 enemy types. | ATB Stagger Materia |
Most of these aren’t too difficult, including the fight with Fat Chocobo. If you’ve kept your scanning up and made sure to stagger enemies whenever possible, you may be close to completing Reports #11 and #13. If not, use this as a reminder to keep your Assess Materia equipped, exploit enemy weaknesses to “Pressure” them, then hit them with “Focused” attacks until they’re Staggered.
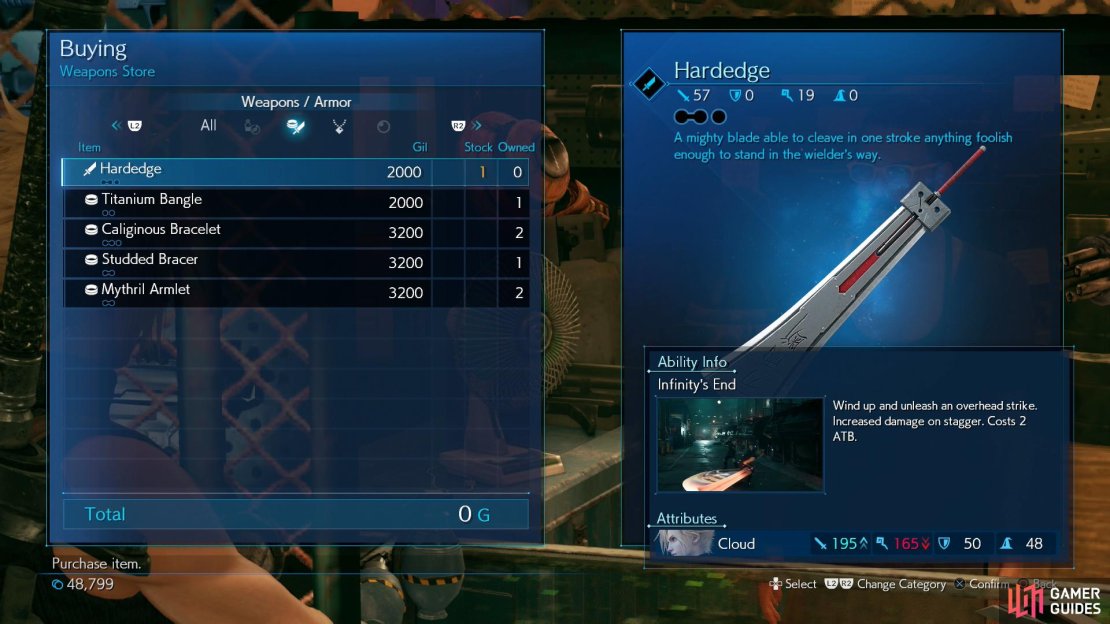
Almost done exploring Wall Market, just head uphill to the south from Chadley towards Corneo’s mansion, and when you reach the entrance to the Underground Colosseum turn east to find the weapon shop. The thing to buy here is the Hardedge, a new sword for Cloud. It’ll set you back 2,000 Gil, so while it’ll dent your wallet, it’s definitely affordable enough. Some of those new accessories - the Supernatural Wristguards, Survival Vest, Platinum Earrings and Timeworn Talisman (these boost Strength, Vitality, Magic Power and Spirit by 10%, respectively) - are considerably less affordable, however, setting you back 5,000 Gil each.
And just like that, you’re done exploring Wall Market… for now, anyways. And you’re right near the Underground Colosseum! How about that?
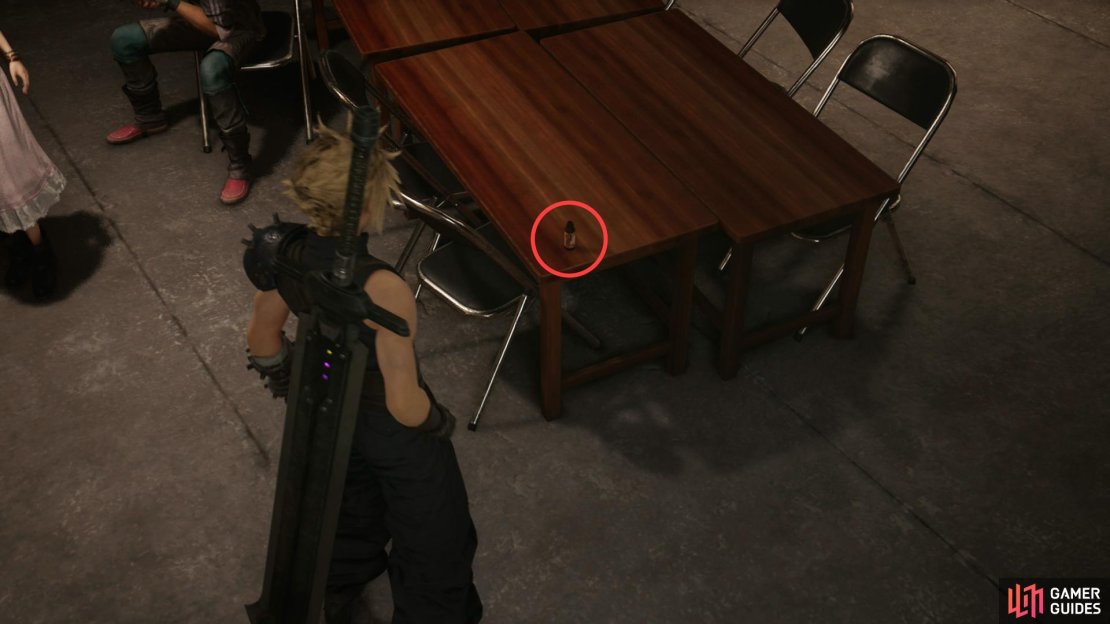
(1 of 3) You’ll find a mystery drink on a table in Johnny’s room
Underground Colosseum
Enter the Underground Colosseum and talk to a member of the colosseum staff and after Aerith interjects to (thankfully) make this a team battle ride down an elevator. Once out of the elevator you’ll be subjected to more chatter, where some minor characters from the original - Scotch and Kotch - get some expanded roles. Seems every major player in Wall Market is here, both known and unknown, save for the Don himself.
Note two doors to the north and go through the eastern-most of the two, through which you’ll hear some rather unmanly sobbing. Beyond this door you’ll find Johnny, who has tales of terror to tell about the arena. Kid might be a bit too persistent, honestly.
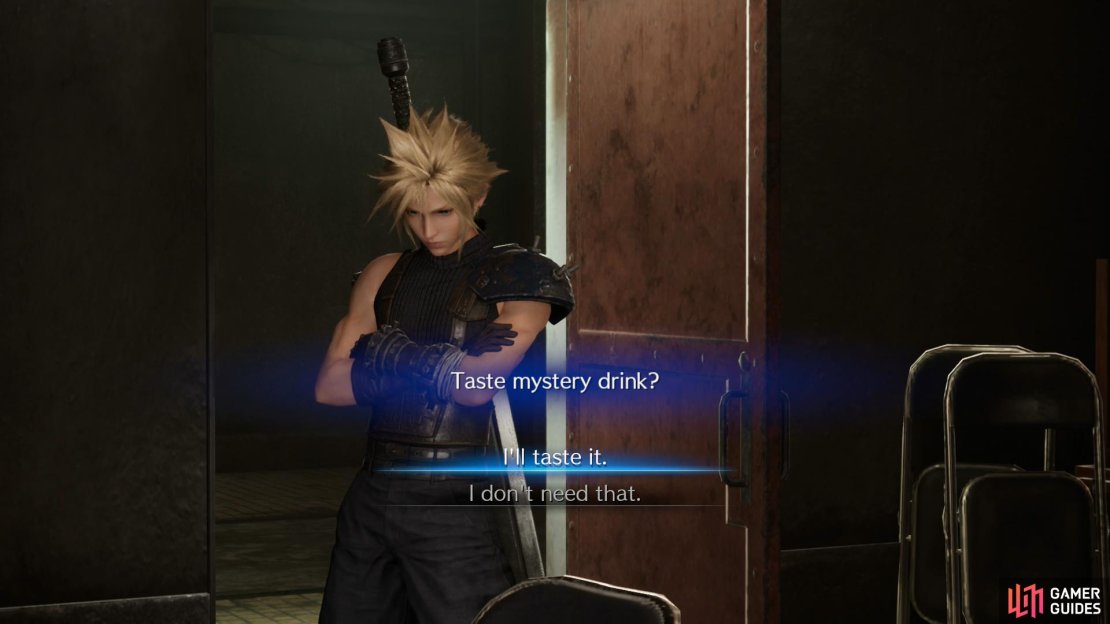
After this your names will be called, but before you enter the arena you should make some preparations. First, note the vial on the table in the room Johnny is in. Examining it will end up with you getting a prompt to either drink the concoction (“I’ll taste it.”) or decline (“I don’t need that.”), with Johnny informing you that Don Corneo said it would improve your combat prowess. As far as we can tell this mystery drink has no meaningful effect on your combat stats or what quest you’ll get at the end of the chapter, so drink it or ignore it as you wish.
Second, make sure your materia and equipment are in order. The first two fights are with foes weak to fire, so combining Fire Materia + Magnify Materia isn’t a bad idea. Healing Materia is also a good investment on both characters, just in case, and we also equip Fire Materia + Elemental Materia on Cloud’s armor. It’s not the only element you’ll face, but you’ll encounter it in multiple rounds of the tournament. Other than that we make sure we have Assess Materia and the standard HP Up and MP Up. First Strike Materia will also prove useful, at least in these first two fights, as an early strike can make the rest of the battle much easier. As for weapons and equipment, we just make sure our weapons and armor have as many materia slots as possible - having more variety in your gear is more important than pretty much any other consideration.
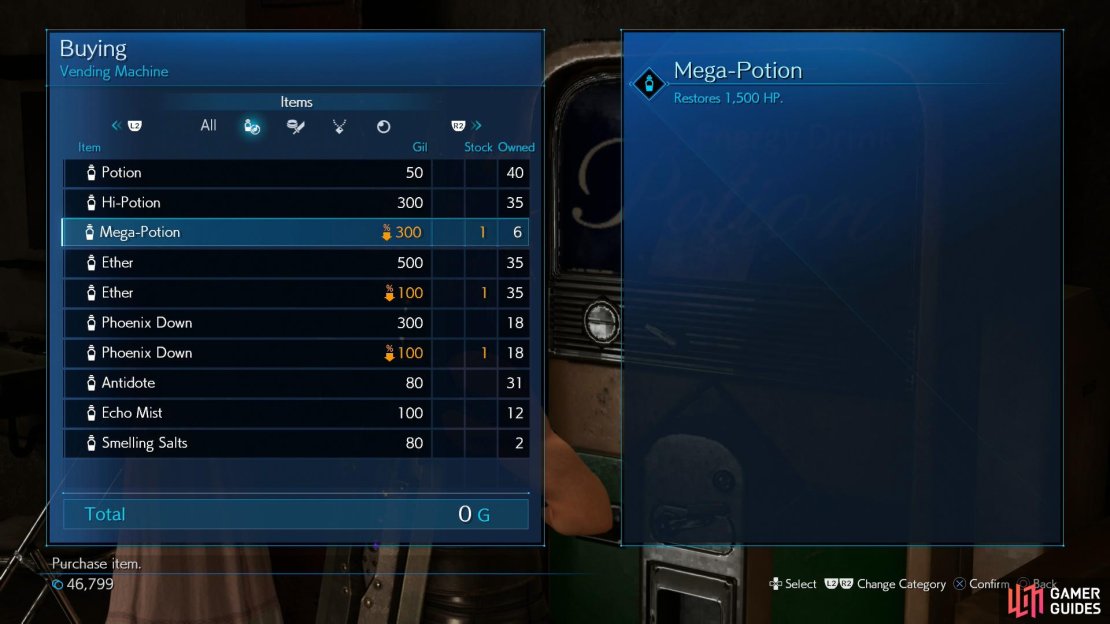
Third, and finally, if you go into the other room (the western room) you’ll find a vending machine and a rest bench, should you need to freshen up before your fight(s). No reason not to go into these fights at less than full strength. The vending machine doesn’t sell anything new, having the same stock as the various shops in Wall Market, (save for the absence of the Hardedge), but it is offering a discount on a Mega-Potions (300G), Ether (100G) and Phoenix Down (100G). Won’t hurt to stock up on these.
| Enemy | Weaknesses | Notable Loot |
|---|---|---|
| Beastmaster | Fire | -- |
| Bloodhound | Ice | -- |
| Beck | Fire | -- |
| Butch | Fire | -- |
| Burke | Fire | -- |
| Corneo Lackey | Fire | -- |
| Sweeper | Lightning | -- |
| Cutter | Lightning | -- |
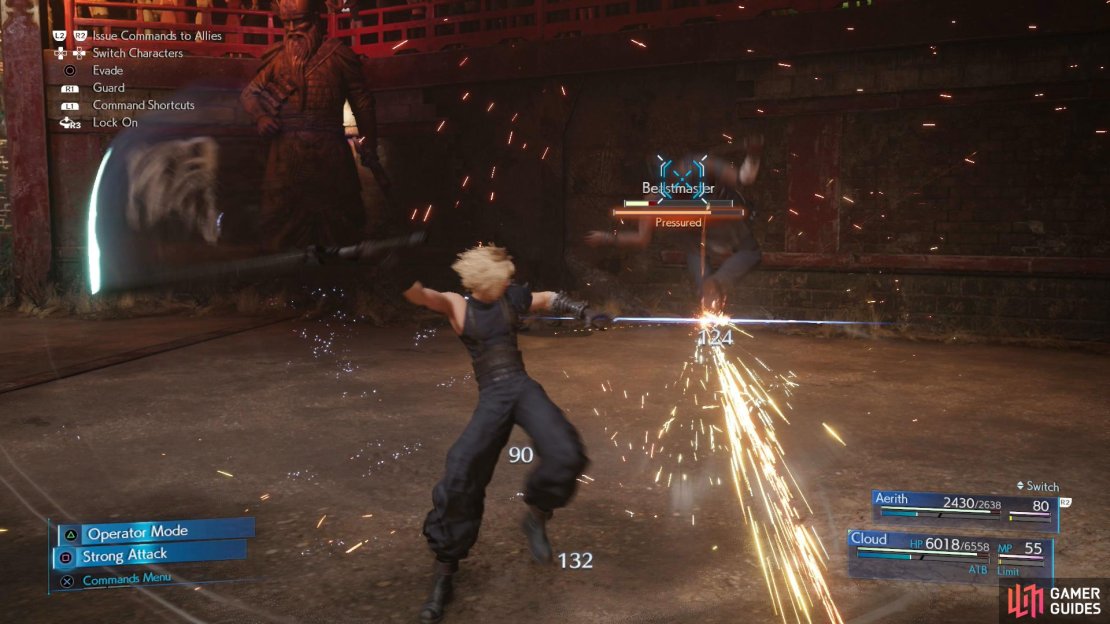
(1 of 3) Defeating the Beastmaster is simply a matter of chasing him down with Cloud.
Underground Colosseum - Round 1
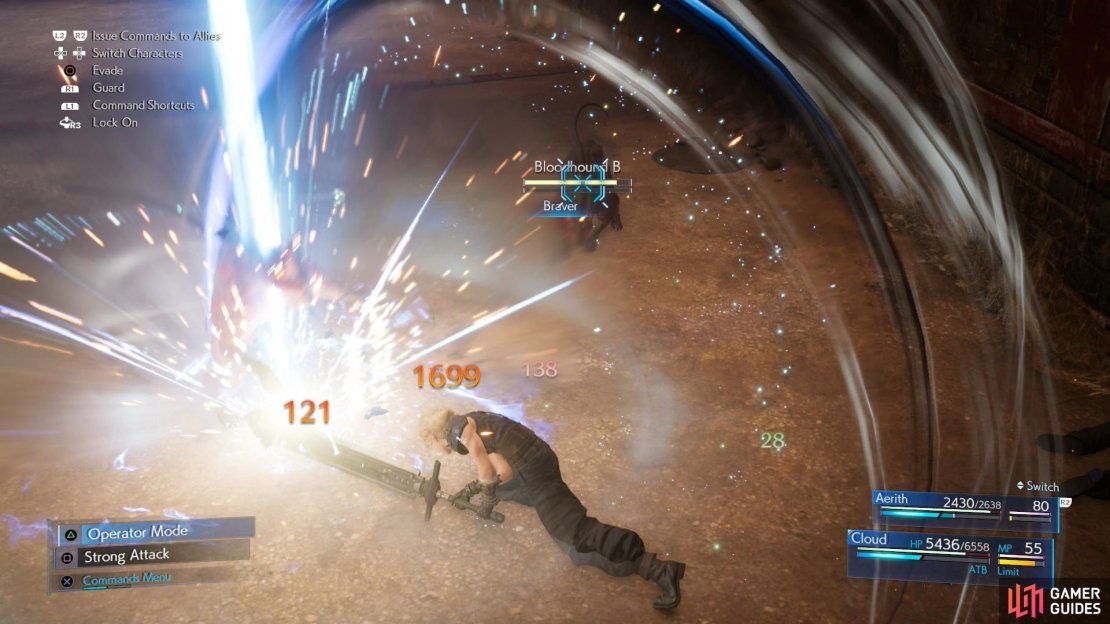
Approach the staff near the door to the arena and confirm you’re ready, after which you’ll be fighting your first foe: the Beastmaster and two Bloodhounds.
Neither of these foes are terribly challenging, as both are basically copies of other foes you’ve faced before. The Beastmaster is little different from your standard Bandit, and can likely be dispatched with one Fire spell, or chopped down by Cloud easily enough. The Bloodhounds are similar to Guard Dogs, only unique in their weakness to ice. Their Whirlwhip can deal decent damage, Throat Clamp can inflict Bound and they’ve a nasty tendency to steal HP when they attack. They all have one glaring weakness, however: they can be easily countered by Cloud via Punisher mode. A few counters should Stagger one of the mutts, and a Blizzard spell might “Pressure” them… not that you need to Stagger them, but if you haven’t completed The Stagger Effect Pt. 4 yet, this is an easy enough enemy to improve your numbers with.
Win the fight, then leave the arena when you can and after some chatter enter the eastern room and use the rest bench if you need to. Entering the room should trigger the next match, so return to the arena door at your leisure.
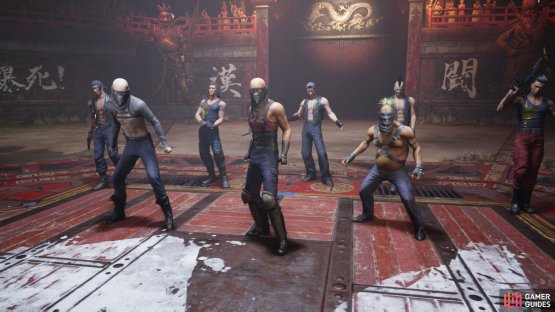
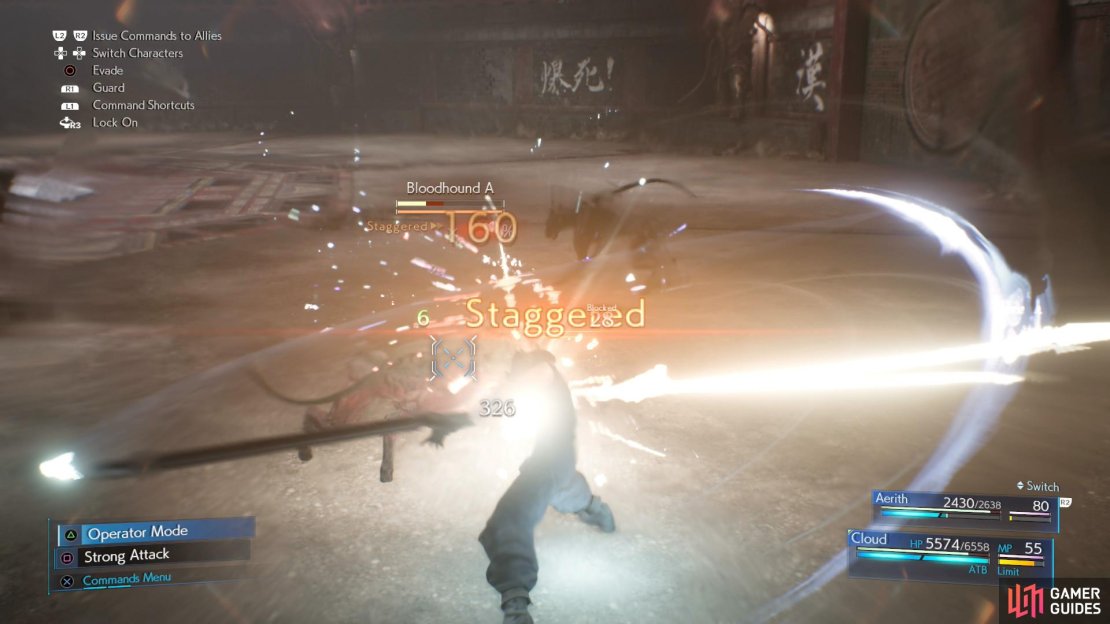
(1 of 2) In the second round of the tournament you’ll find yourself matched up against a small army of bandits.


In the second round of the tournament you’ll find yourself matched up against a small army of bandits. (left), Aerith can make short work of them with Arcane Ward and Fira. (right)
Underground Colosseum - Round 2
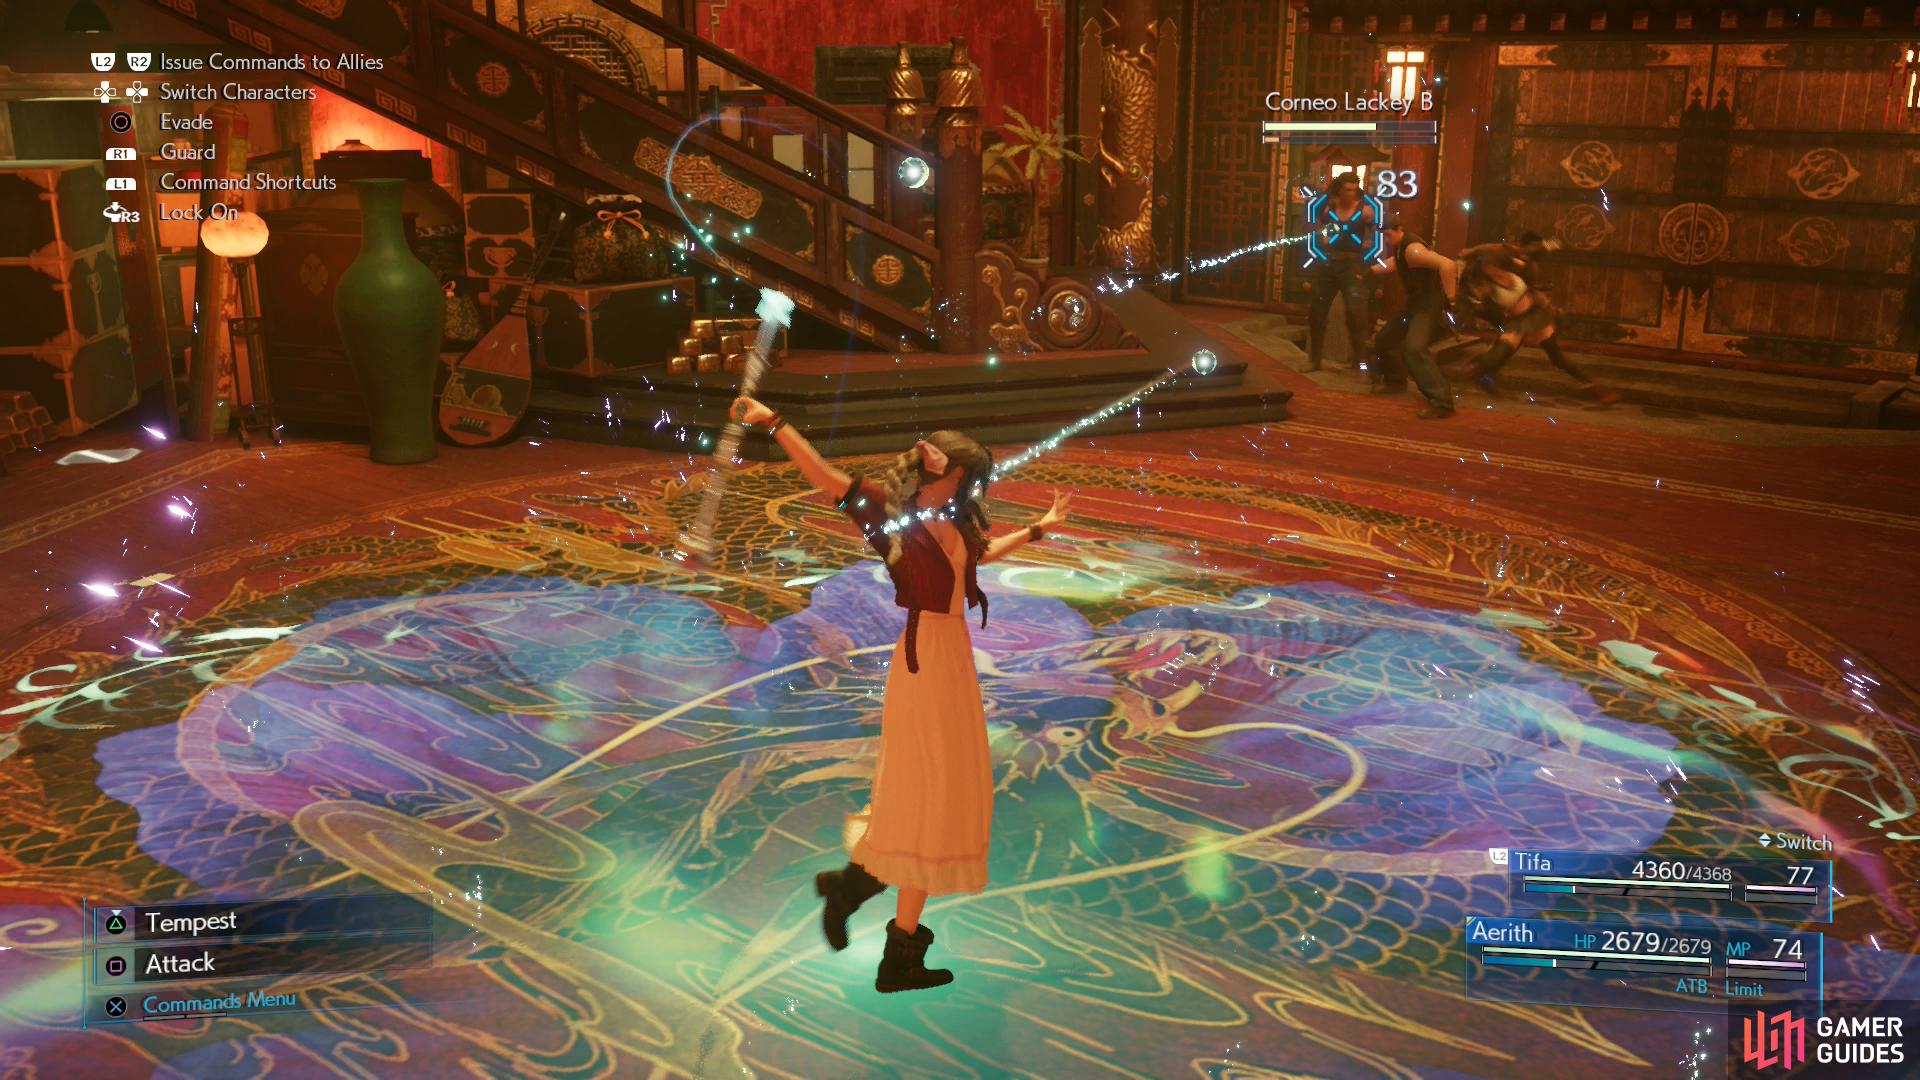
This fight is more difficult than the last one, but that’s mostly due to the number of enemies, not the quality. You’ll be fighting Beck’s Badasses - the three B’s, Beck, Butch and Burke, and this time they’ll call in some reinforcements in the form of some Corneo Lackeys. All the enemies in this fight - all eight of them - are basically just upgraded Hoodlums and Bandits enemies, capable of a few special attacks like Swing Away and Assault, which can knock you down, Grenade (an AoE attack), and Burst Fire, a ranged attack.
None of them have particularly great HP or deal significant damage, but it can add up, and their numbers and ranged options means simply relying on Cloud’s Punisher counterattack isn’t the way to go for this fight. Instead, charge up Aerith’s ATB, lay down an Arcane Ward, and blast them with Fira. One such cast should all but secure victory, leaving little more to do than cleanup.
Win the fight, endure some chatter between the Trio, restore your HP/MP on the rest bench, then head back to the arena for round three.

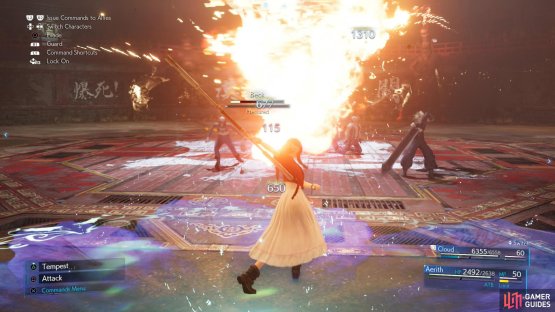
(1 of 2) Use Cloud to inflict Stagger
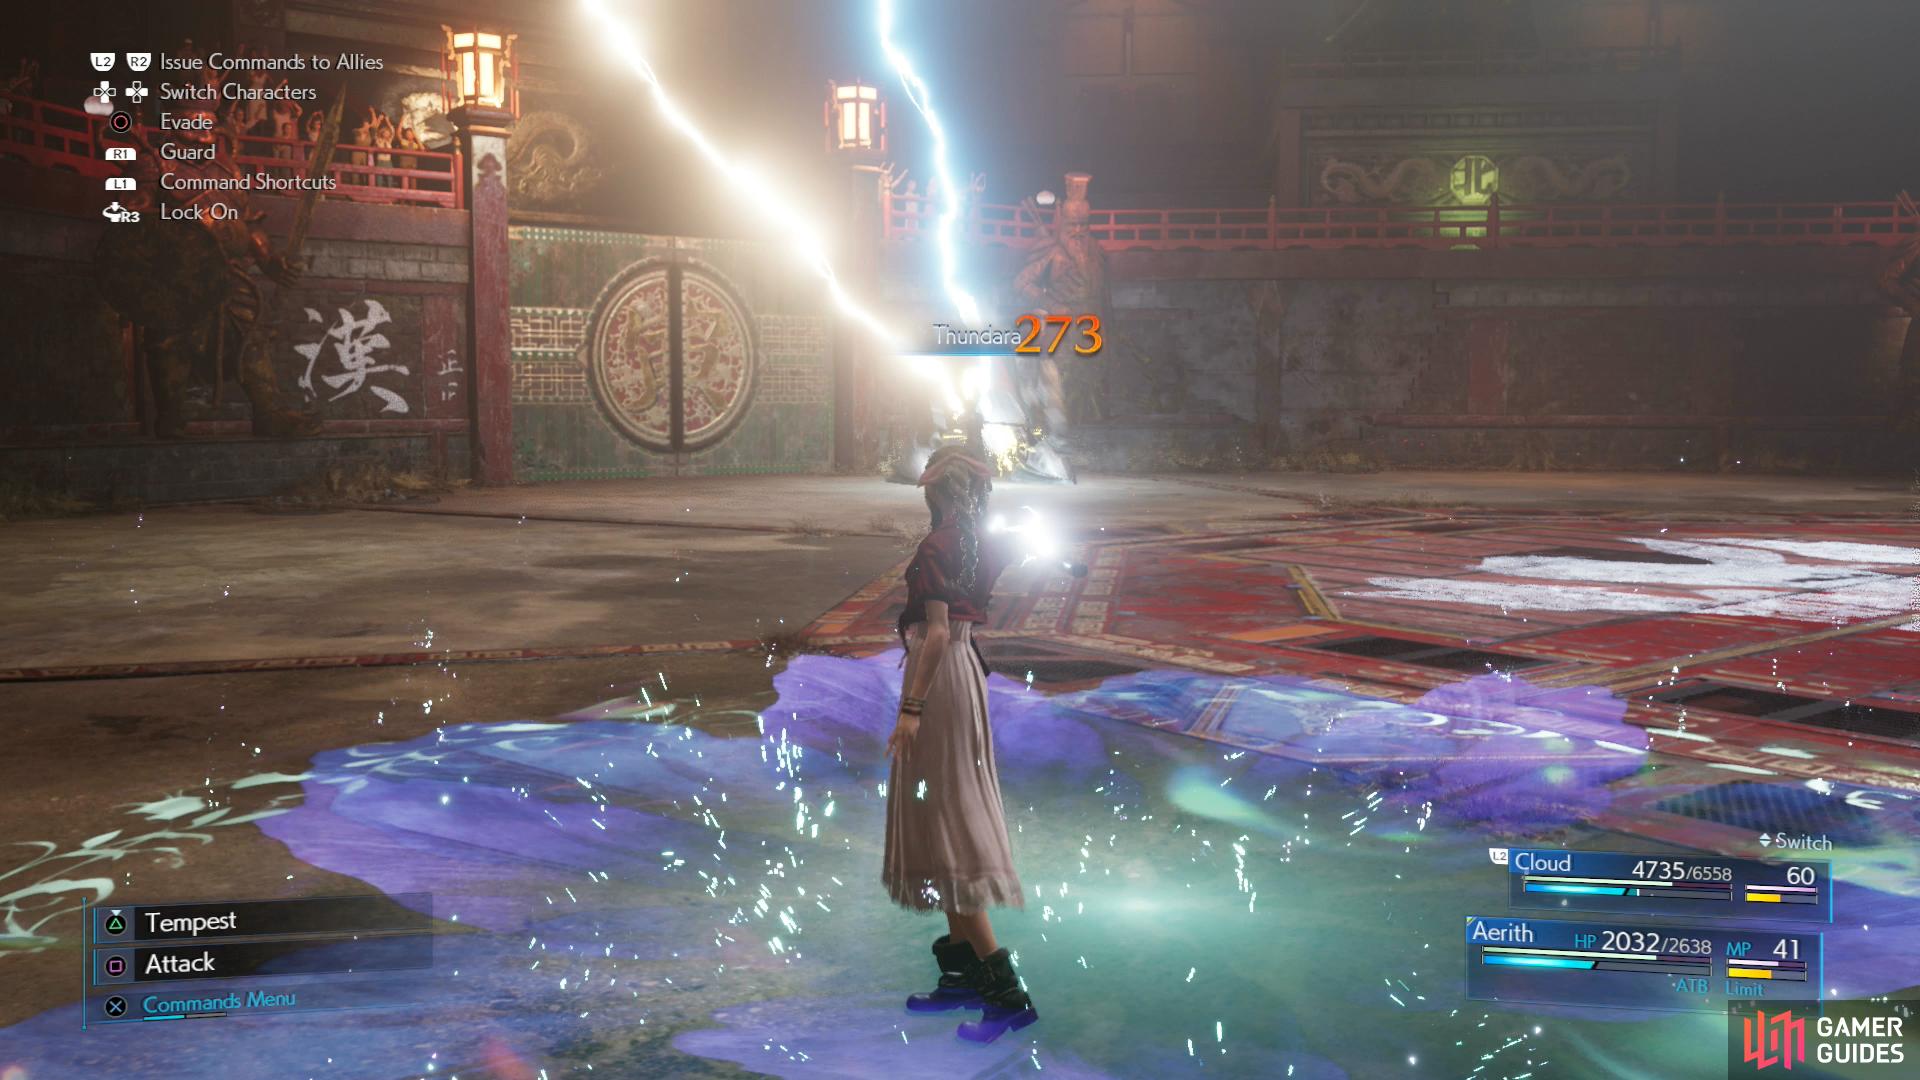
Use Cloud to inflict Stagger (left), then finish off the machine with Aerith. (right)
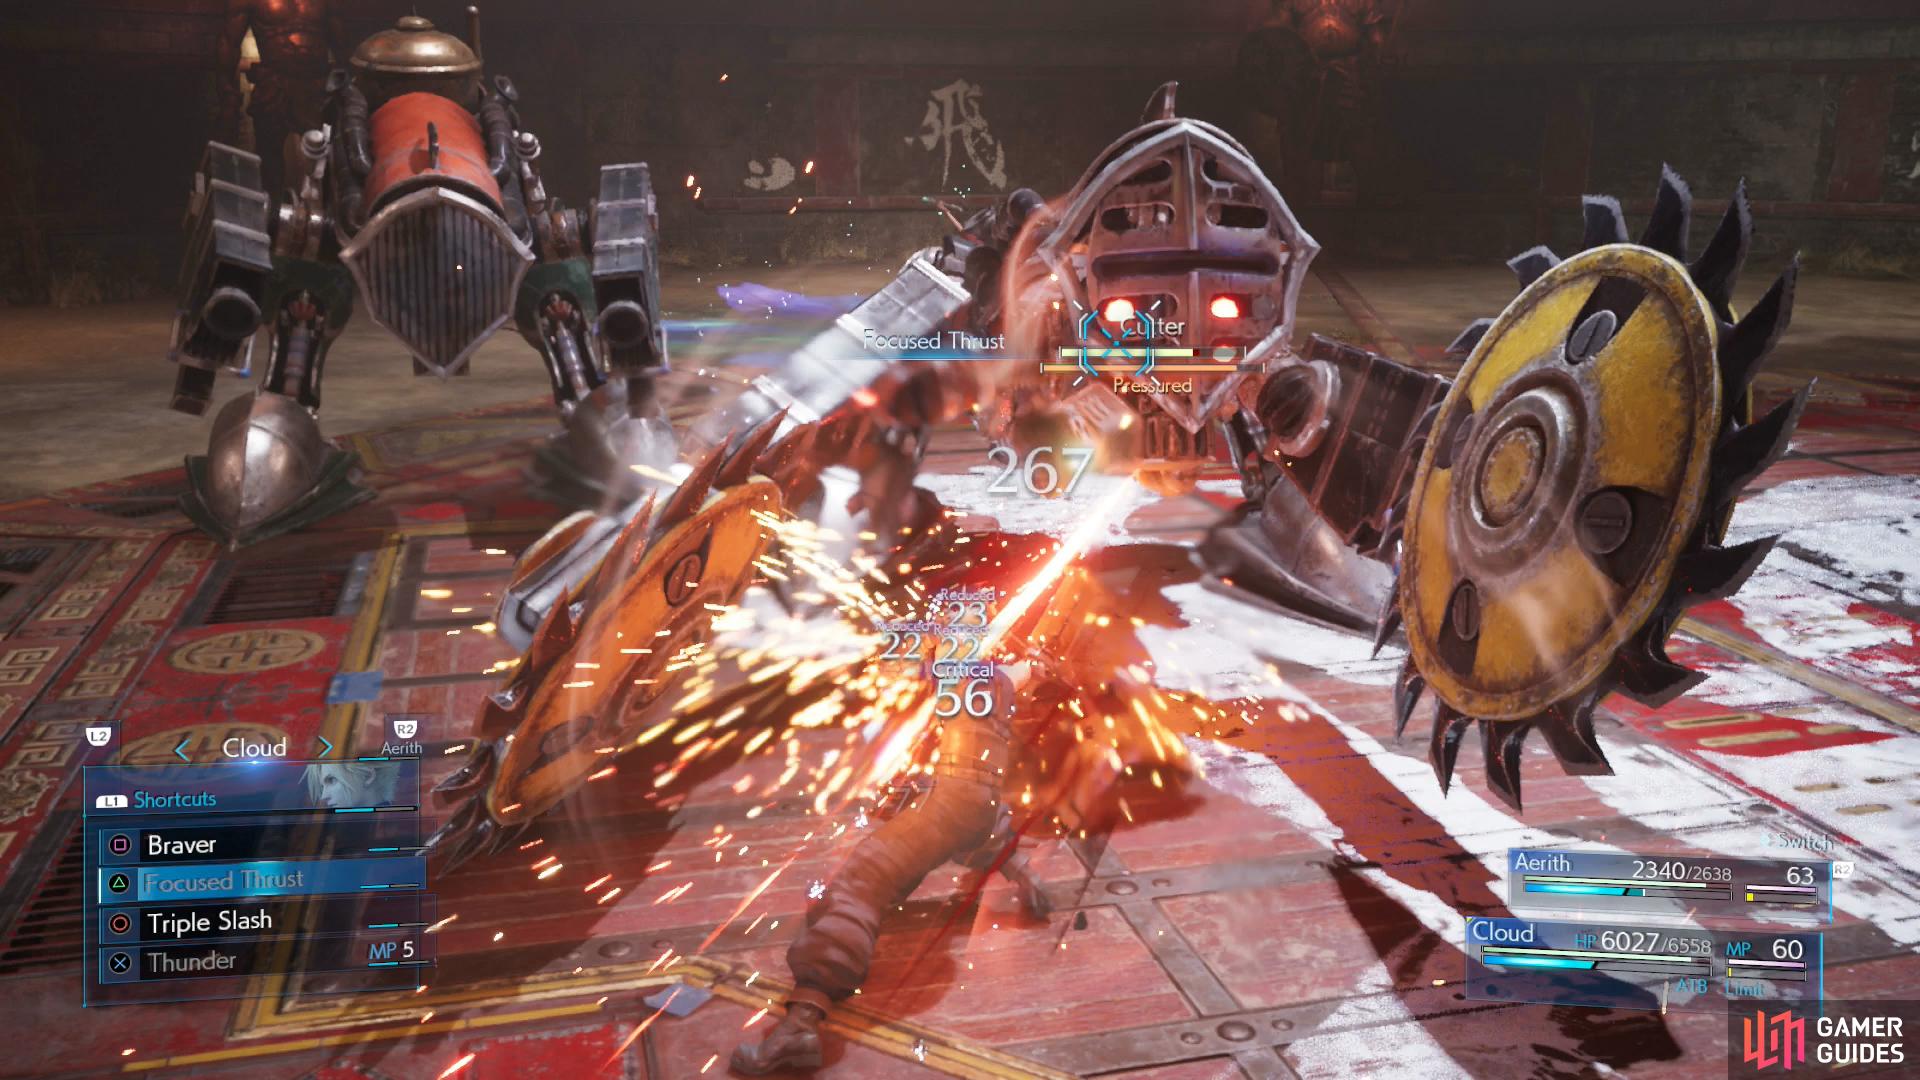
Underground Colosseum - Round 3
For the final bout in the arena you’ll be fighting against a Sweeper and a Cutter. The Cutter is more aggressive, and more of a nuisance, so focus on it, first. This fight is incredibly easy, just switch to Punisher mode, cut up the Cutter with Cloud until the machine is “Pressured”, then hit it with Focused Thrust attacks until it’s Staggered. Once Staggered, have Aerith hit it with Thundara to help finish it off, then repeat the process with the Sweeper. Lightning Materia + Magnify Materia will make this go faster, as will Arcane Ward, but neither are really necessary.
After this third fight you’ll find out that there’s… a bit of a complication. Cloud and Aerith are something of an unassuming pair and Corneo’s a greedy bastard, so naturally there’s a surprise bonus round at the end.
Before you start the next fight, you’ll want to ensure you’re prepared, as without proper preparation, the upcoming fight will be very difficult. First, you’ll want to ensure Cloud is capable serving as a healer for the upcoming fight. Aerith will need her MP for offensive spells, so ensure Cloud has Healing Materia, and perhaps Magic Up Materia to make his spells more potent. You should also equip whatever HP Up Materia you have on Cloud so he can tank attacks - 4,000+ HP is a fine goal to shoot for. Finally, if you’ve got some spare sockets, stick Fire Materia + Elemental Materia in his armor. It’ll help a bit.
As for Aerith, ensure she’s got one of each offensive elemental materia equipped - Fire, Ice, Thunder and Wind. Having some Healing Materia on her won’t hurt, either, in case of emergencies, but ideally you won’t be using her to heal very often.
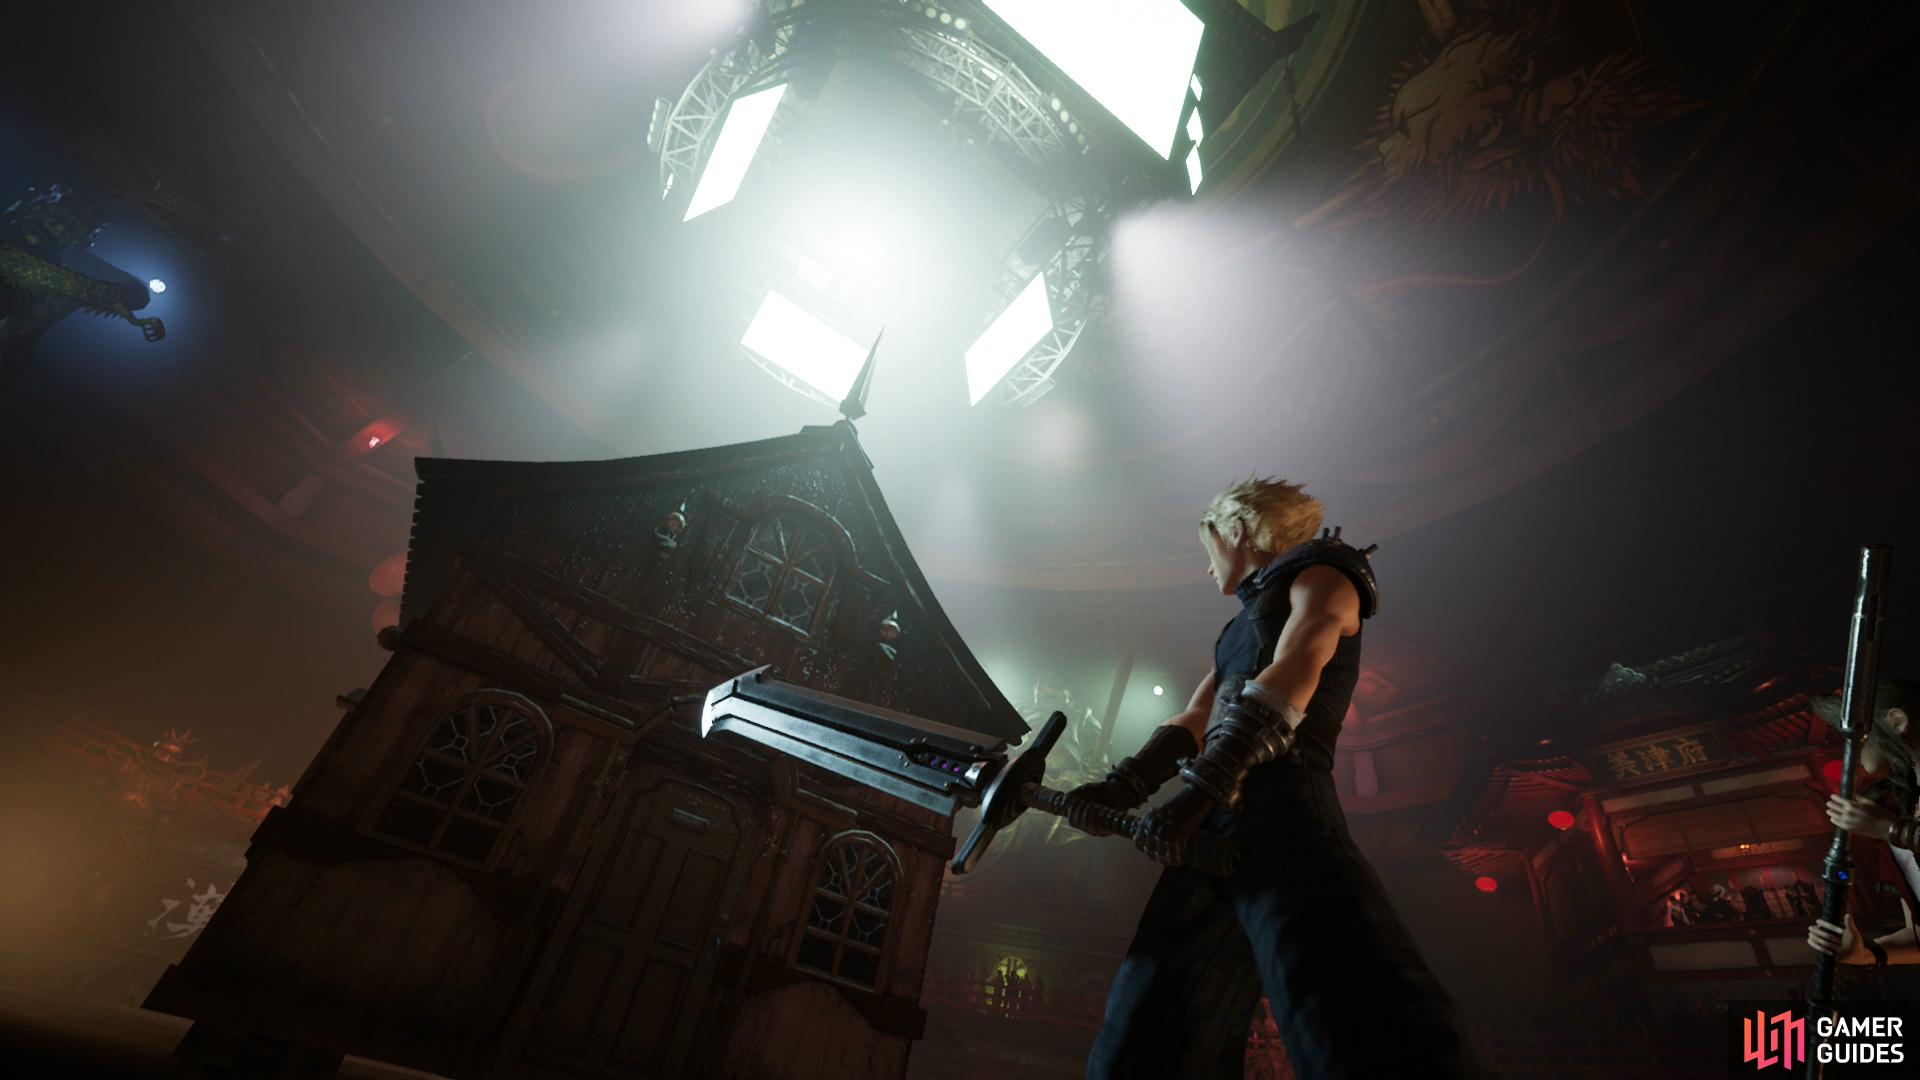
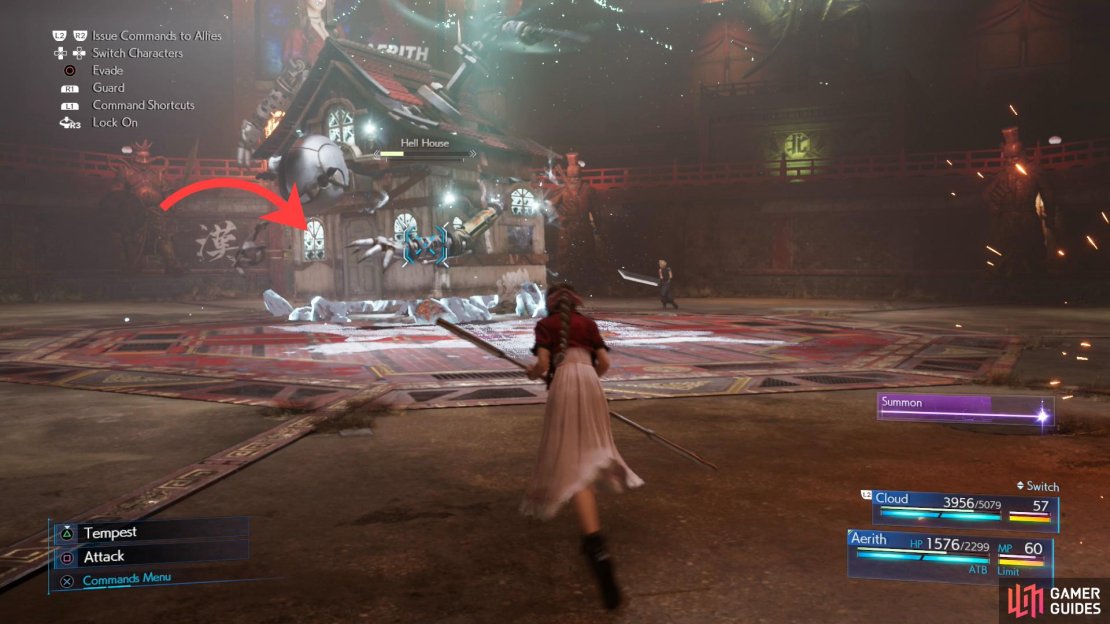
Boss: Hell House
Enter the arena once again and you’ll be introduced to your final opponent in the tournament - the Hell House. Of all the foes that made it from the original game…
Boss: Hell House
| Enemy | Weaknesses | Notable Loot |
|---|---|---|
| Hell House | Varies | Fuzzy Wuzzy / Mr. Cuddlesworth |
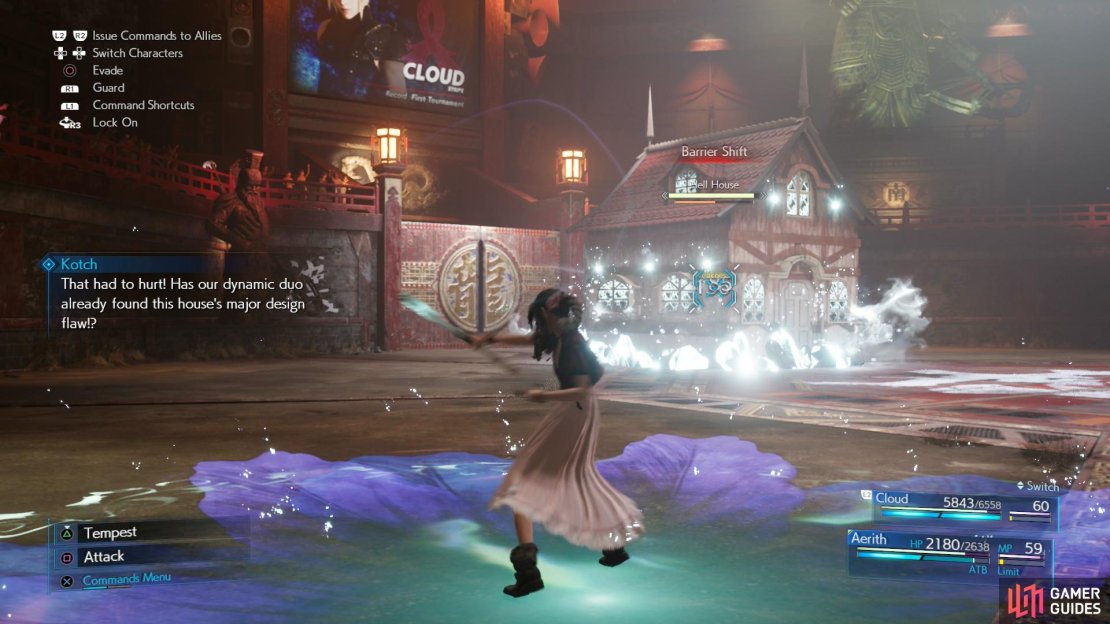

(1 of 5) The Hell House will use “Barrier Shift” to change its elemental affinity.
Phase 1
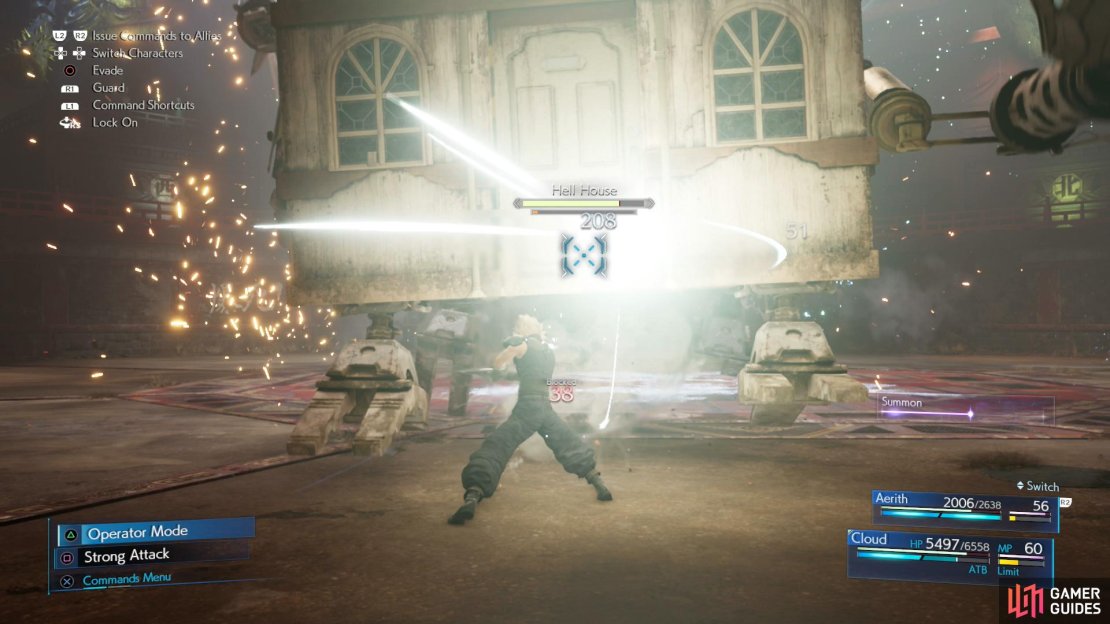
Hell House is… a house. It takes relatively little damage from basic attacks, and at this stage in the fight it’s not terrible mobile. Strange enemy to fight. The only way to damage it in any meaningful capacity is to Stagger it, and the only way to Stagger it is to send it into a “Pressured” state. Enough damage will achieve this effect over time, but targeting its elemental weaknesses will do so much faster, and give its Stagger meter a nice boost, as well.
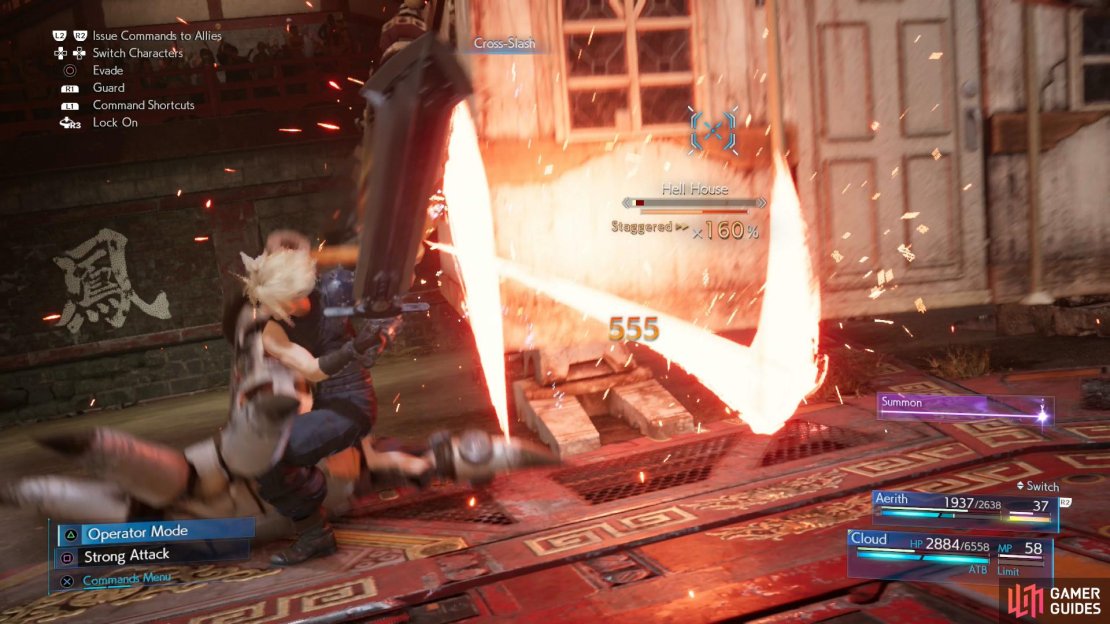
The trick with Hell House is that its elemental affinity changes. For the first phase of the fight this isn’t a big issue, as the game will be very clear about when the Hell House’s element shift via the use of its “Barrier Shift” ability. Later on it won’t be announced so clearly, so get used to looking for visual cues, namely the color of the windows. If the house’s windows are red it’s strong against fire and weak to ice, if they’re white it’s strong against ice and weak to fire, if the windows are green it’s strong against air and weak to lightning, and if the windows are blue it’s strong against lightning and weak to wind.
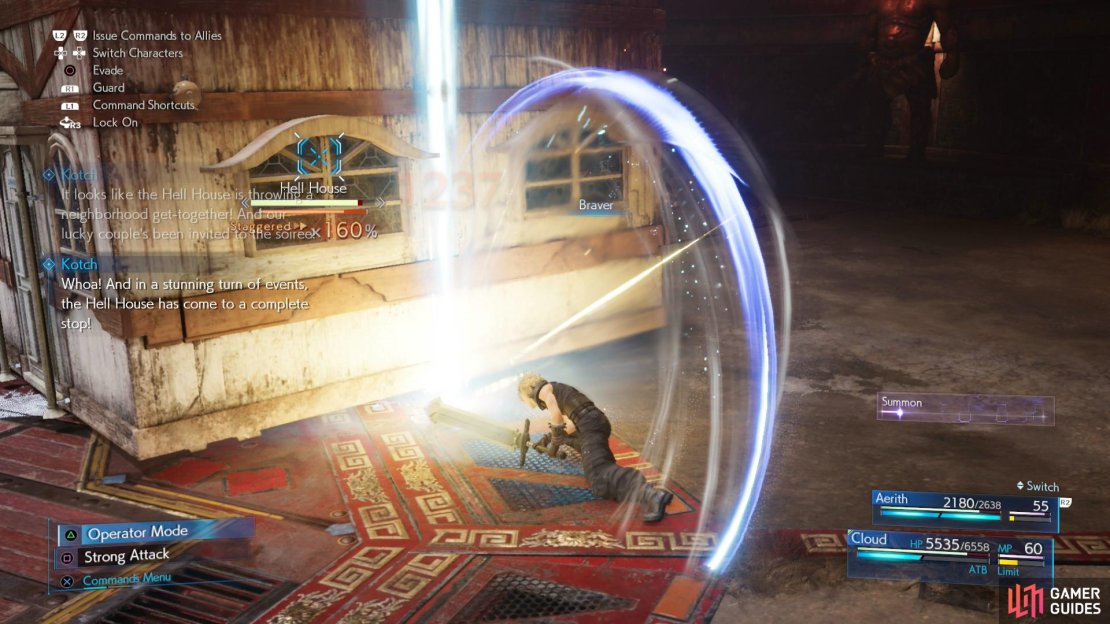
The first phase is pretty easy. The Hell House will start out weak to ice, so have Cloud attack in melee to fill up his ATB and when he’s got two bars, switch to Aerith, have her lay down an Arcane Ward, then work on filling up two ATB bars. Once done, pelt it with whatever element it’s currently weak to (ideally while standing on Arcane Ward) and if it’s “Pressured” switch to Cloud and hit it with Focused Thrust attacks until it’s Staggered, then unleash powerful attacks like Braver.
The Hell House’s attacks will be fairly limited during this phase, although its main attacks include shedding bombs that deal moderate damage if you run into them, and a pounce attack that deals deals physical damage if it hits a character. In addition to these un-named basic attacks it’ll use a few named attacks:
-
Chair Salvo: One of Hell House’s more common attacks - it shoots a barrage of chairs at a character. Wait until a chair is close, then dodge out of the way to avoid most damage.
-
Hospitality: Hell House sucks a character in, inflicting Bound, dealing damage, and eventually spitting the victim out for more damage. You can avoid this by simply not being in front of Hell House when it uses the attack, and a trapped character can be freed if Hell House is struck with a heavy enough attack - anything that will inflict “Pressured”, including elemental attacks.
Repeat until the Hell House is reduced to around 80% of its HP and the next phase will begin.
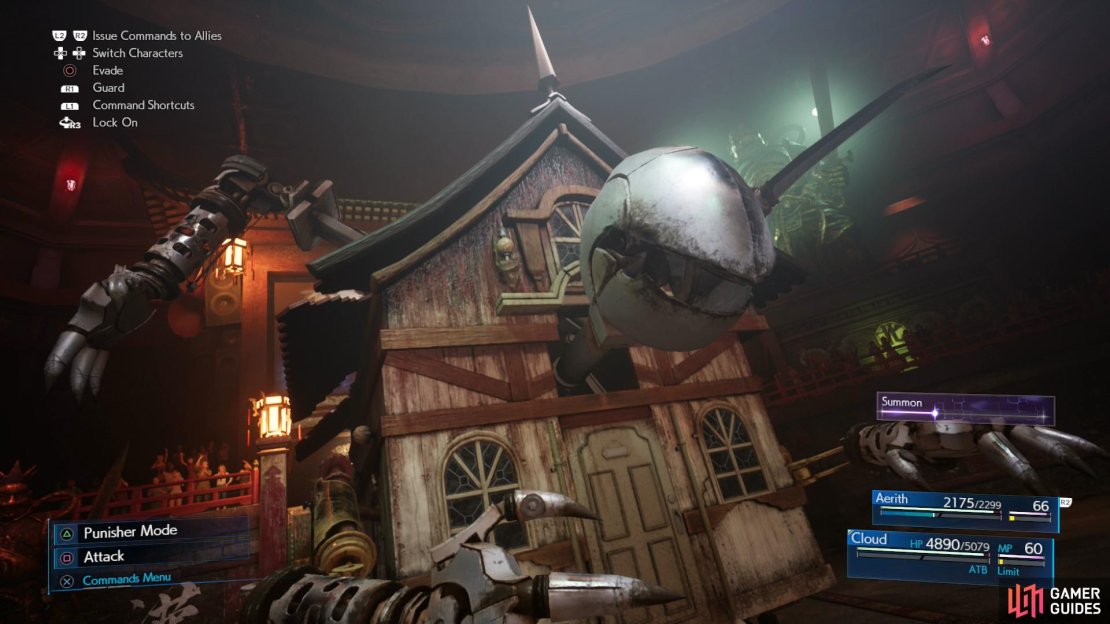

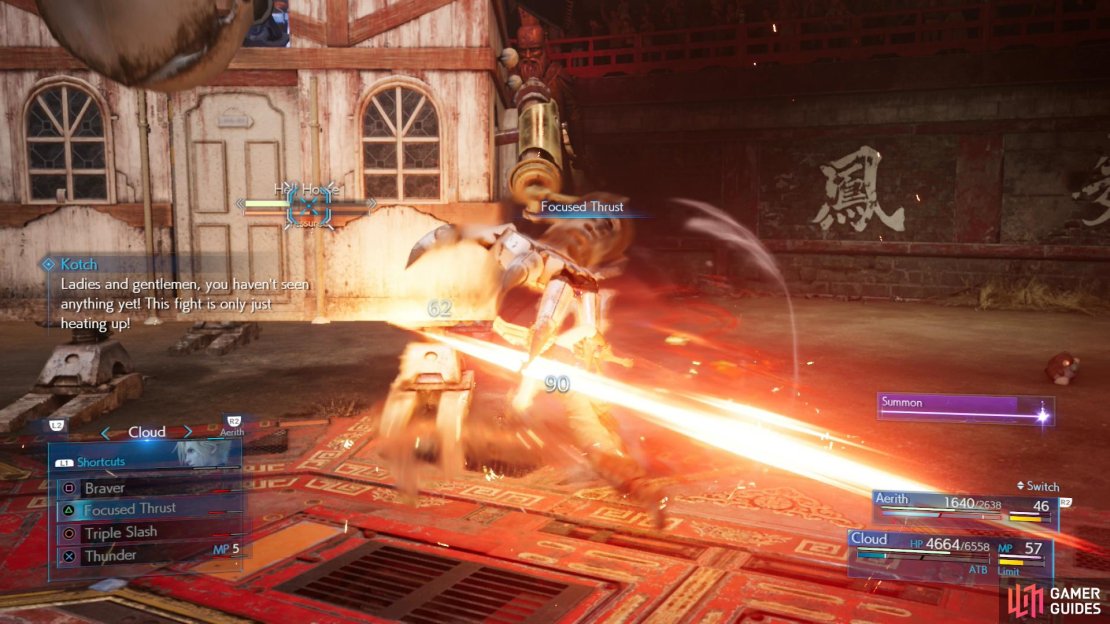
Phase 2
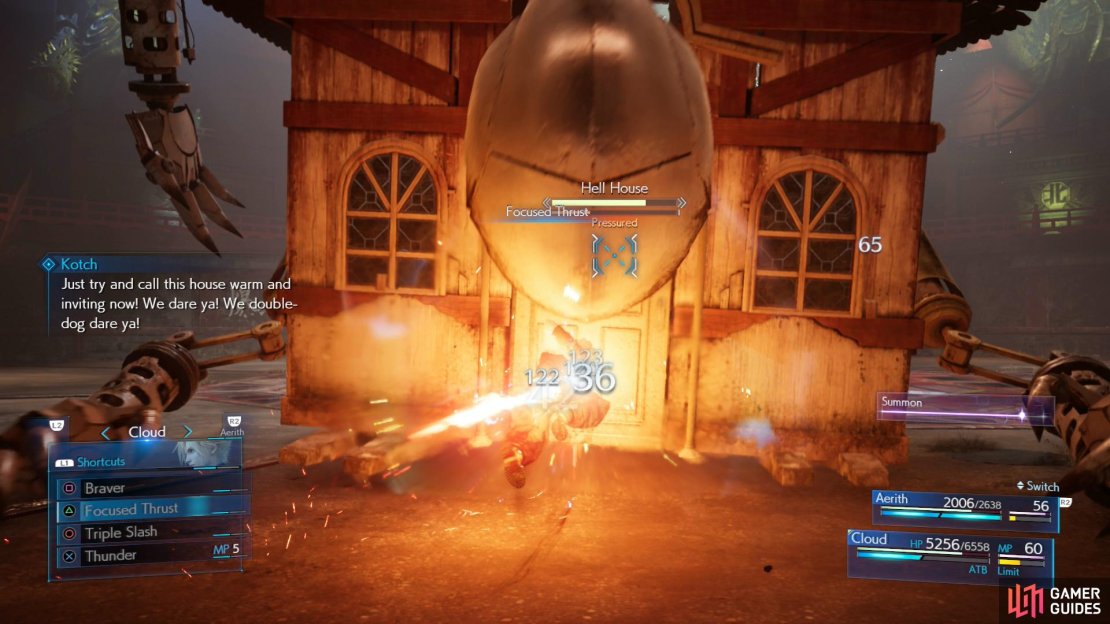
Once reduced to around 26,000 HP, Hell House will take on its true form, complete with mechanical armed and a “head”. This phase starts out simple enough, as it’ll perform a new “Housing Rush” attack, a charging melee attack. In this case it’s targeting Cloud, so shift to Punisher mode and block/counterattack its attacks - both the charge and a follow-up lunge. This might be enough to “Pressure” Hell House, and if so, follow up with some Focused Thrust attacks to build its Stagger gauge, then hit it with heavier attacks if you manage to Stagger it.
This is the only phase of the fight where targeting its elemental weaknesses isn’t viable. In fact, Hell House doesn’t express any elemental weaknesses or strengths during this phase, so you’ll need to rely on Cloud’s physical attacks to “Pressure”, Stagger, and damage Hell House.
In addition to its previous attacks, Hell House will now perform a variety of new or modified attacks, as follows:
-
Jetstream: Hell House spins 180 degrees, expelling fire from its rear rocket. Has a short charge-up period, so run away when it uses it to avoid damage.
-
House Call: Leaps high into the air and tries to land on a target. Hefty damage if it hits. Just run away when you see it leap up and it should miss.
-
Rocket Charge: Hell House will use its rear rocket to dash forward, dealing heavy damage if it hits. Just run out of Hell House’s path, as it can’t course correct once launched.
In addition to the above attacks, it’ll sometimes fly into the stands and use its “Chair Salvo” attack. Switch to Aerith, as she can attack Hell House when it’s distance, and her dodge is better at avoiding the chair missiles. Just as it shoots its last chair Hell House will propel itself back into the arena floor - avoid getting hit by this house-flop if you can.
Batter Hell House down to around half its HP and it’ll change phases yet again.
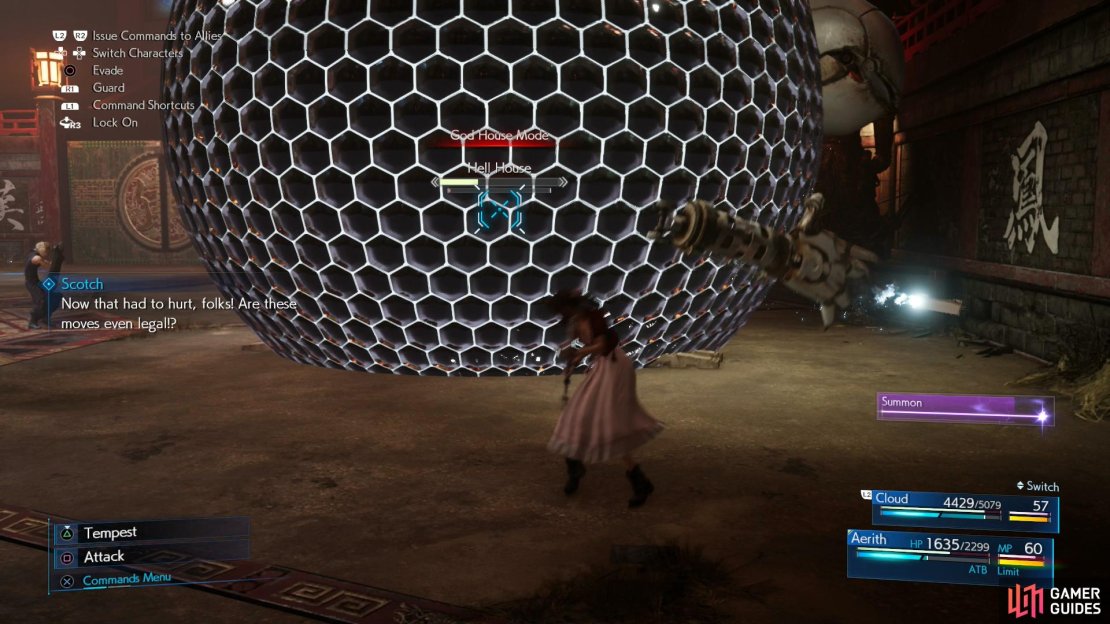
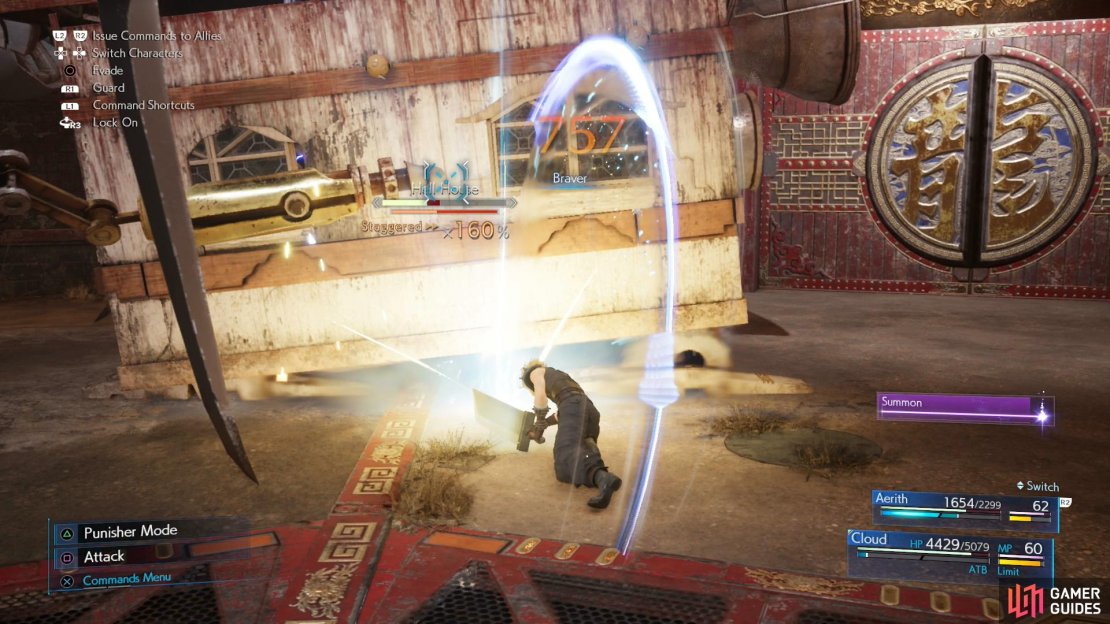
(1 of 4) Phase three introduces God House Mode, during which Hell House will be highly resistant to damage and Stagger.
Phase 3
Hope you enjoyed the physical phase while it lasted, because Hell House’s new ability in phase three - God House Mode - will prevent such simple tactics. While the name is rather presumptuous, Hell House is high immune to damage and Stagger after using this ability, although you can charge your ATB as normal by attacking.
Fortunately elemental weaknesses are back in play, although Hell House won’t advertise them, and you have a much, much narrower window to take advantage of them than in the first phase. Sometimes - typically as it launches an attack - Hell House will take on an elemental weakness. Keep an eye on the windows, keep Aerith’s ATB charge, and keep her near her Arcane Ward so she can target these weaknesses when they appear. It’s the only way to “Pressure” Hell House in this phase, and once pressured Cloud can start building its Stagger gauge with Focused Thrust. Just keep in mind that Hell House won’t always stop attacking when “Pressured” in this phase… at least not until Cloud hits it with Focused Thrust. This often forces you to quickly cast the appropriate element with Aerith (keep an eye on those windows!) then switch to Cloud to use Focused Thrust, all before or during its actual attacks. The timing can get tricky, so heal up with Cloud when you need to, and don’t be shy about fruitlessly attacking Hell House while its barrier is up to build up your ATB in anticipation of a vulnerability to target.
Otherwise it doesn’t have many new attacks, although it might start doing multiple “Rocket Charges” in a row, using multiple attacks at once (shedding bombs or using “Chair Salvo” during another attack, for example), or upgrading “Chair Salvo” to “Chair Salvo Deluxe”, which include higher-damage projectiles like… cabinets? One of its few new attacks this phase is “Housing Shock”, which is almost identical to “Housing Rush”, save it’ll deal more damage - and electrical damage, to boot.
Target elements to “Pressure” Hell House, use Cloud to build up its Stagger gauge, and once Hell House is Stagger use heavy attacks to deal damage. Once it’s down to around 25% of its HP it’ll change phases once again.


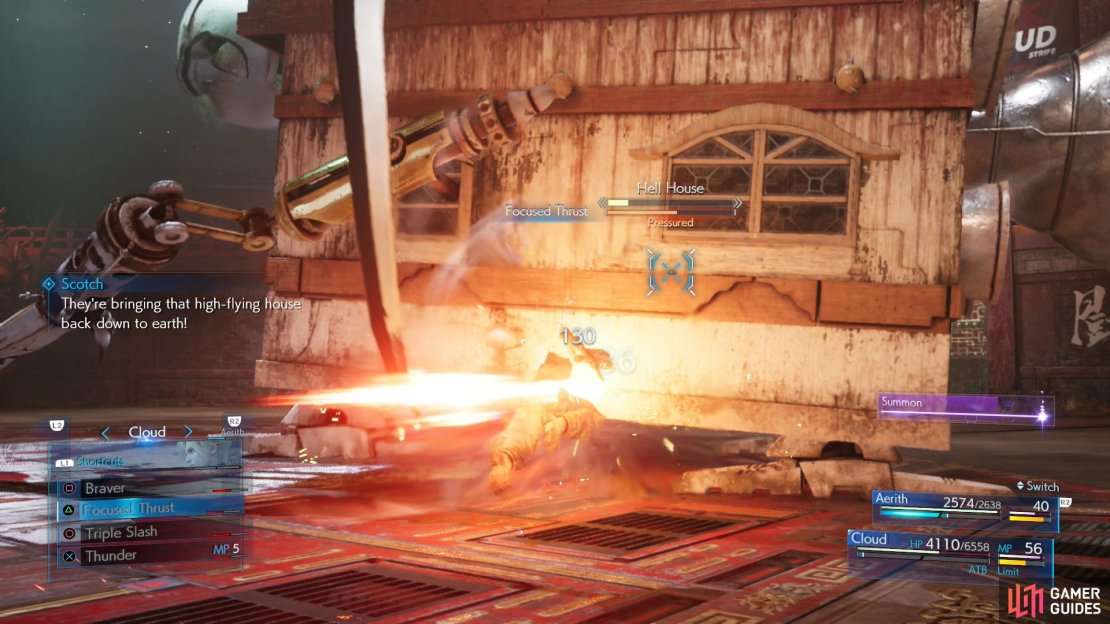
(1 of 4) In phase four, Hell House will fly around and bombard you with furniture and bombs.
Phase 4
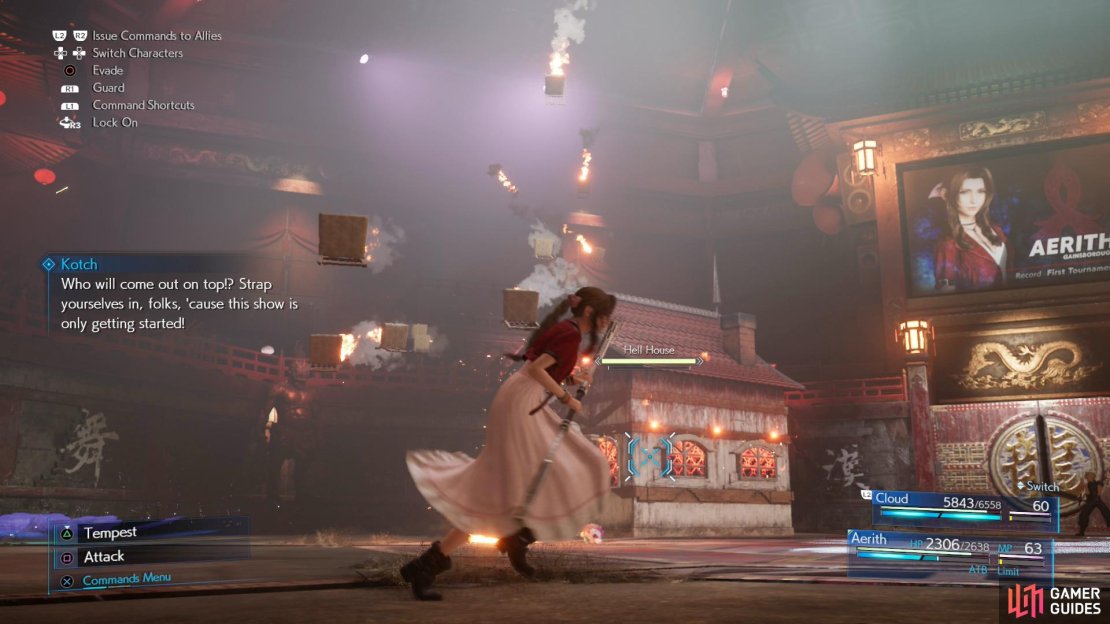
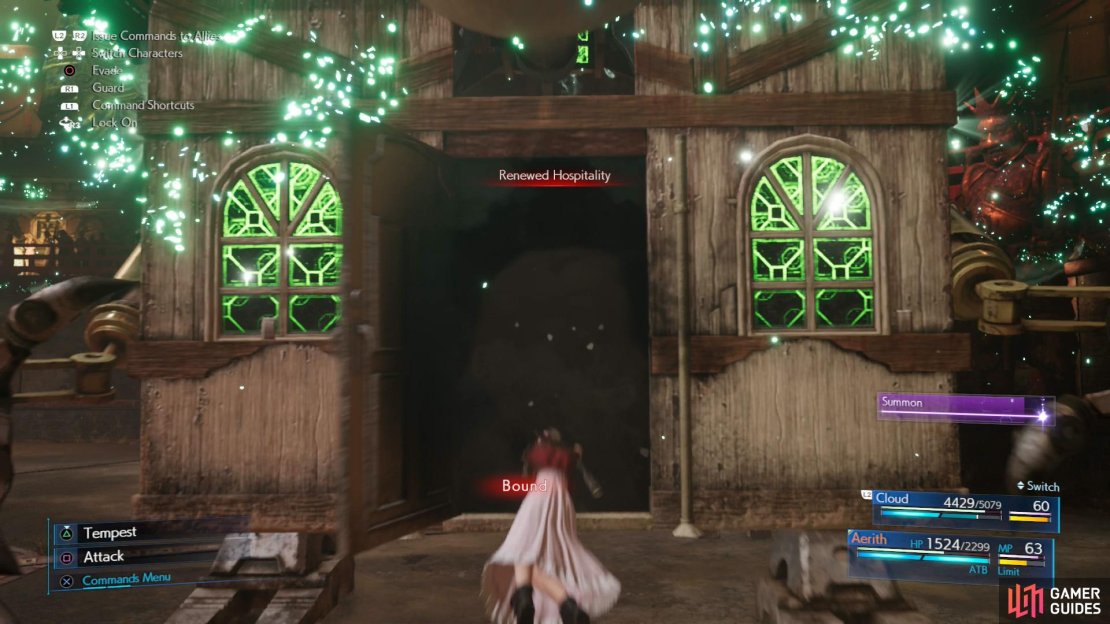
Save your summons and limits for this fight - it’s the final phase, and there’s no need to hold anything back any longer! The one big change for this phase is Hell House’s new attack. It’ll take to the skies, fly around and shed bombs and shoot chairs, and after flying around a bit it’ll stop, change elements, and prepare a dive attack. The best way to mitigate damage here is to hit Hell House with the appropriate element as it hovers just before its charge, which can be tricky with spells like Blizzard. Succeed and it’ll fall to the ground, after which switch to Cloud and start attacking. After a moment Hell House will be “Pressured” and you can work on building its Stagger gauge.
After being grounded - one way or another - Hell House will continue to attack as in phase three. “God House Mode” barrier, then various familiar attacks, sometimes accompanied by elemental vulnerabilities, and if this goes on long enough it’ll take to the skies again.
Your goal here should be to Stagger Hell House and hit it with Cloud’s Limit Break. If you can, it may outright defeat Hell House, or at the very least it’ll deal significant damage.

Keep up the pressure, and when Hell House is defeated watch the scenes that follow. You’ll resume control back in the upper part of the colosseum - head forward and you’ll be pestered by the Gatekeeper, telling you that Madam M is pleased with your work, and that there are more arena battles you can attempt even if the Corneo Cup has concluded. You might be sick of these arena fights, but if you press on with the story you’ll be obligated to see it through to the end, so we suggest completing them now. These fights will be covered below under the header “Corneo Colosseum Battle Challenges:.
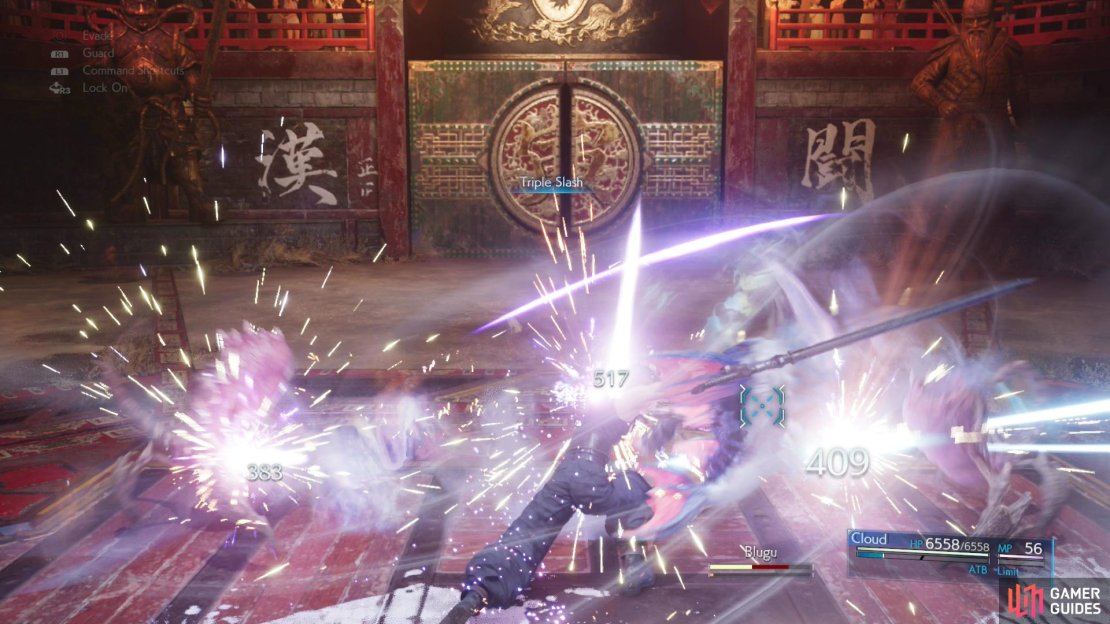
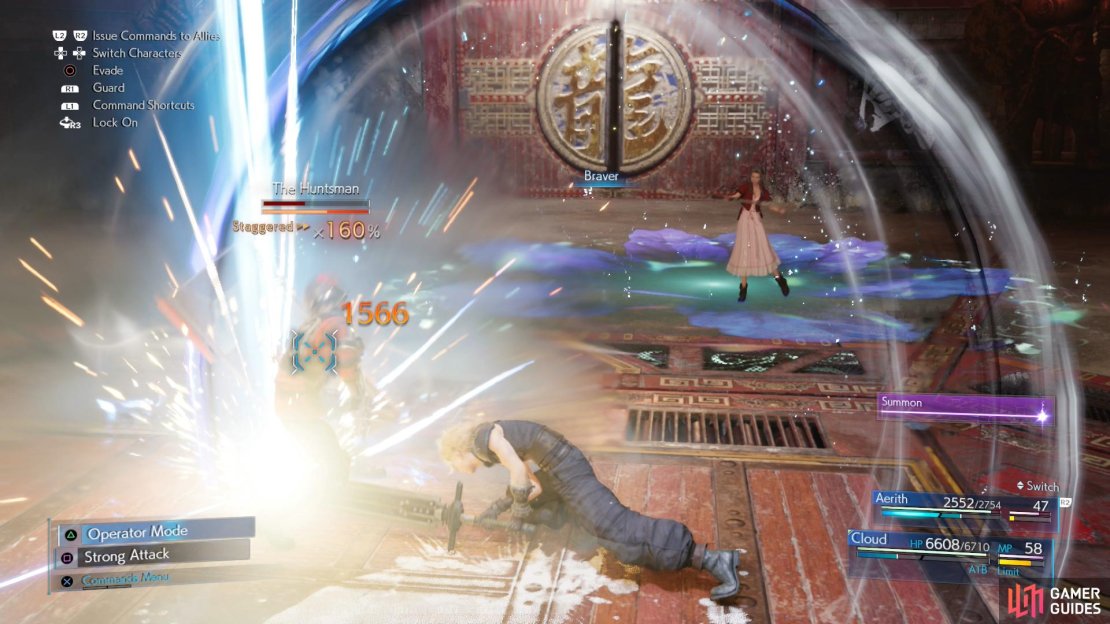
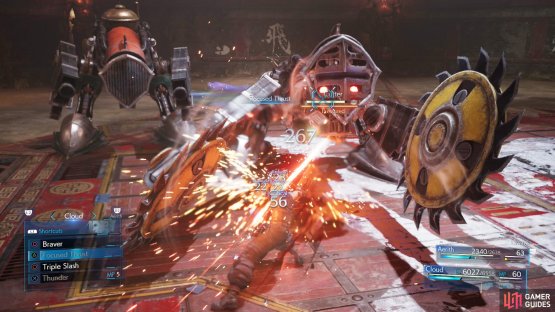
(1 of 3) The enemy you’ll face in the optional arena battles are incredibly weak - one Triple Slash will often suffice.
Corneo Colosseum Battle Challenges
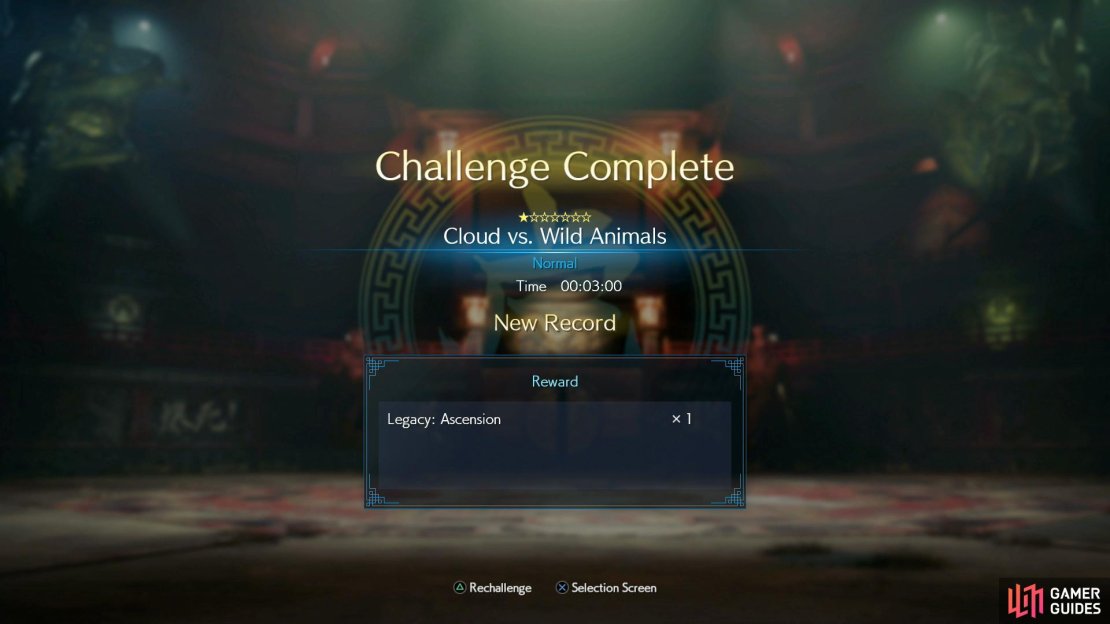
Ride the elevator back down to the arena and talk to the man near the door to get your choices of battles. Currently there should be three fights you can attempt: Cloud vs. Wild Animals(Cloud only), Aerith vs. Wild Animals (Aerith only) and Two-Person Team vs. Slum Outlaws.
There’s no need to fret about these fights, the enemies are mostly push-overs that you should be able to beat even with a modicum of preparation. In fact, the same setup that worked against Hell House will probably do well in the solo battles, although Cloud may want to strap on some Wind Materia and First Strike Materia, as in the latter case it’ll enable him to start out fights with Triple Slash, which will win most rounds outright.
Check out the links above for more detailed information about these bouts, if you need it - they’re worth doing for the prizes offered.

(1 of 2) Return to Madam M’s and you’ll have to part ways with Aerith.

Return to Madam M’s and you’ll have to part ways with Aerith. (left), You can use the time Cloud is alone to complete several side quests, either from Madam M or from Chocobo Sam. (right)
Parting Ways
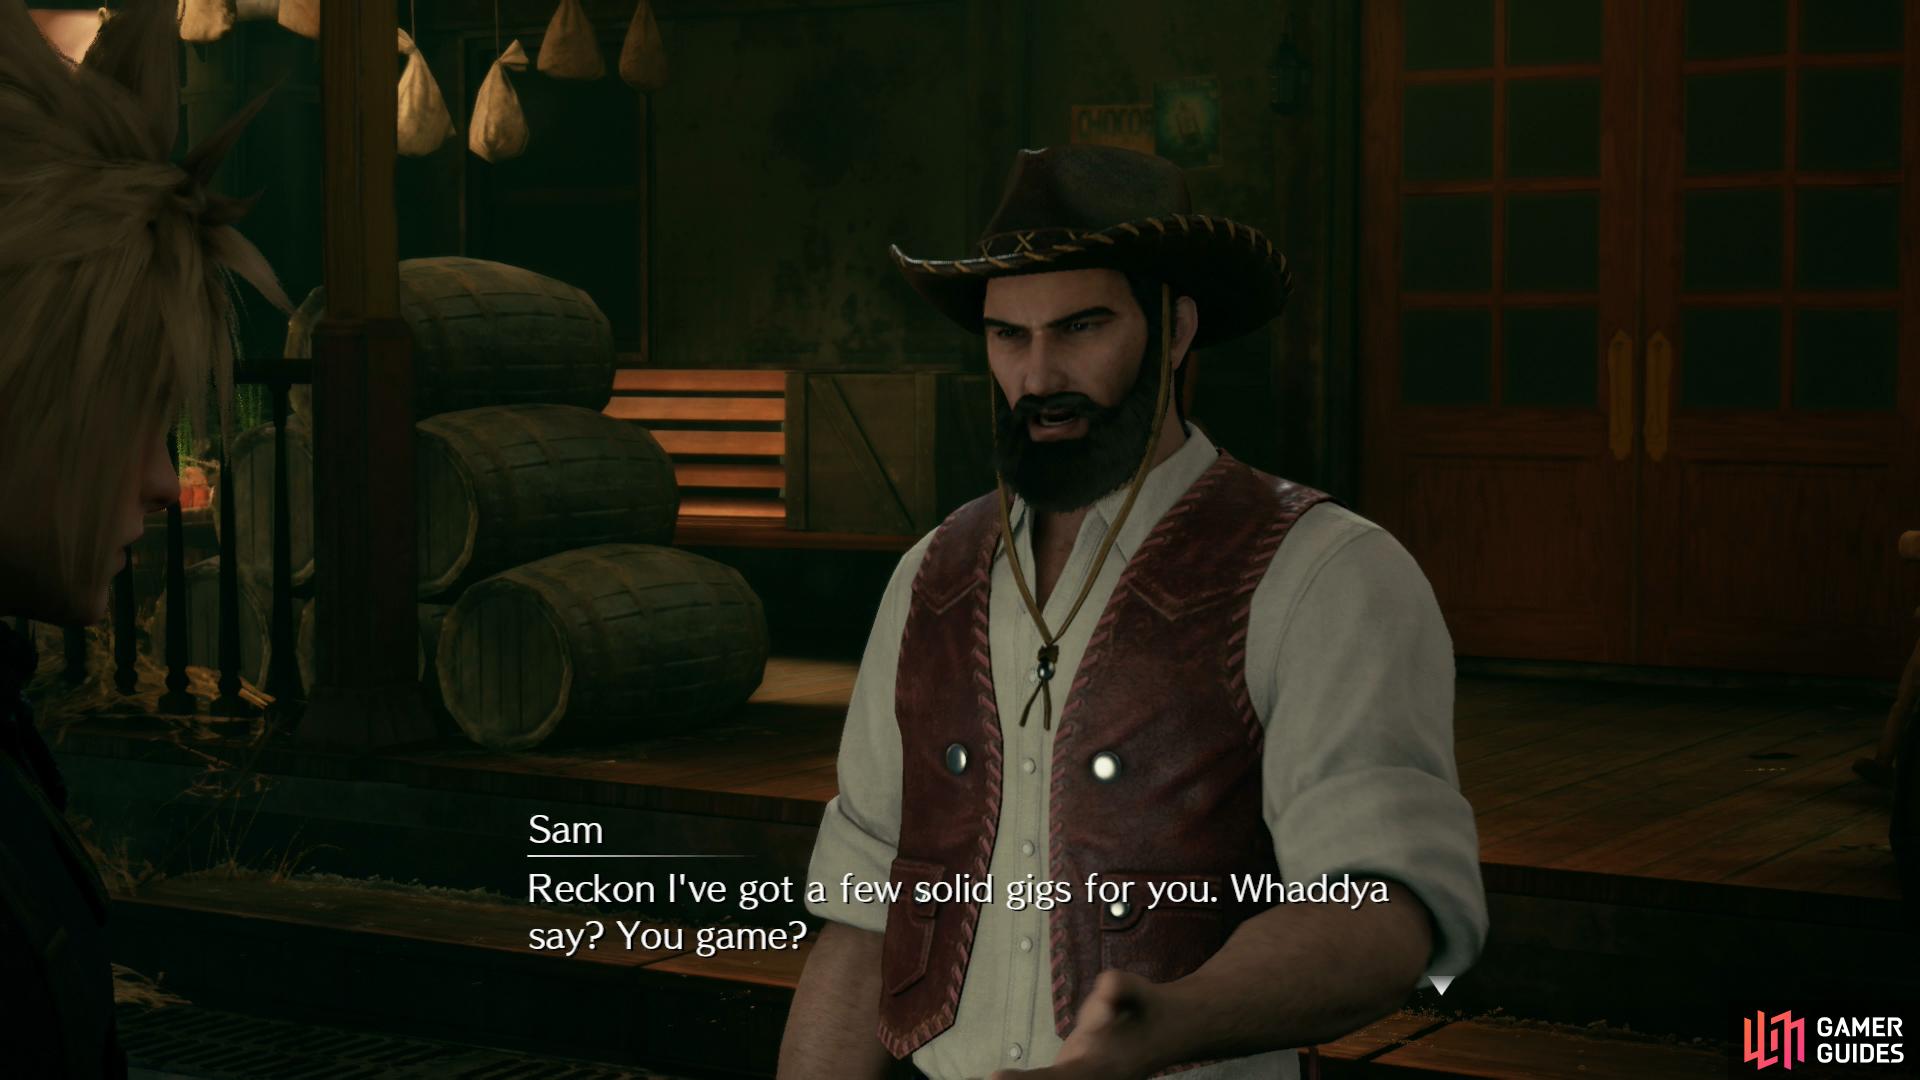
Return to Madam M and after some chatter she’ll ask if you’re ready get Aerith all gussied up, warning that you won’t be able to leave town once you do this. Makes sense, getting slum gunk all over that dress would be… well, not the best way to earn the Don’s attention. If you want to do more grinding or whatnot, decline and take care of whatever business you have outside of Wall Market. Assuming you’re ready, respond in the affirmative, and after Aerith and Madam M leave you’ll either be given the quest The Price of Thievery (if you ended up with Madam M’s quests) or you’ll have to leave the massage parlor and talk to Chocobo Sam to get the quest The Party Never Stops (if you ended up with Sam’s quests). In either case, you should also unlock the quest Burning Thighs after talking to Madam M and possibly Sam.
Check out the linked pages for the aforementioned quests (although Burning Thighs is largely just a tutorial for the Squats minigame. After you complete either The Price of Thievery or The Party Never Stops you’ll unlock another sidequest, either Shears’ Counterattack or Dynamite Body, respectively.
If you can’t be bothered to do these quests, you can skip back to the main quest be returning to Madam M’s massage parlor, which should become available as soon as you collect the first of the aforementioned quests.
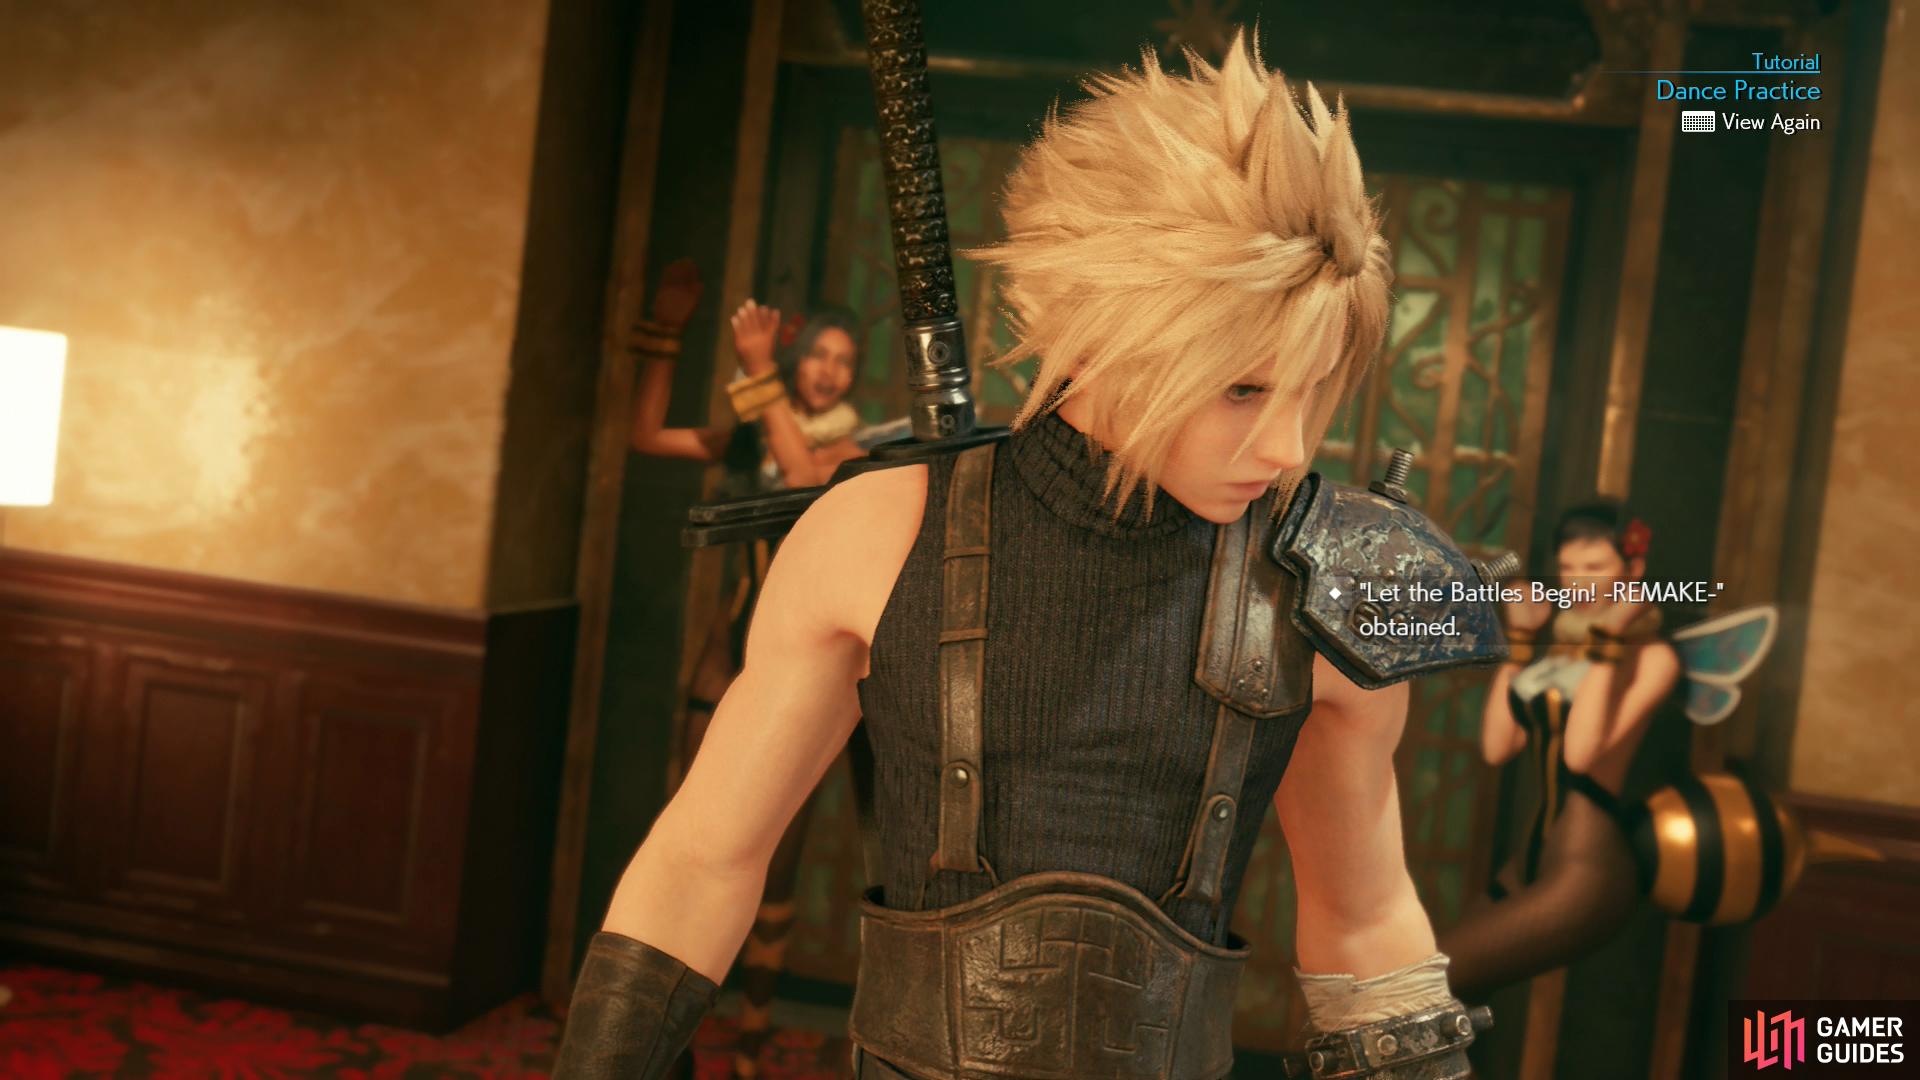
(1 of 2) Get a perfect result during the tutorial
Get a perfect result during the tutorial (left), and you’ll score the “Let the Battles Begin! - REMAKE-” Music Disc. (right)
Rescue Tifa / Aerith’s Plan
Go to check in on Aerith and Johnny will interrupt you. Follow him to Corneo’s mansion, and after some chatter Cloud will delegate a small degree of responsibility to Johnny, leaving Cloud to enter the mansion and confront Leslie on his own. Cloud’s bluster comes to nothing, so exit the mansion and Aerith will meet up with Cloud, sporting an elegant new look. After more talking, follow Aerith to the Honeybee Inn (is it wise to be running around Wall Market in that dress?), where she’ll explain her plan.
Enter the Honeybee Inn and talk to the Receptionist to find out that, ‘lo and behold, Andrea Rhodea found some free time in his busy schedule. Amazing how many doors a tournament victory will open, eh? In this case, your exploits literally opened doors, as well as figuratively - go through a door to the northwest to reach hexagonal chamber, then enter a side-room to the south to find Johnny’s dad engaged in debauchery. Respond with “Triangle” to win at this little… uh… game, then loot a chest to score a Sedative.
If you look through the keyhole of the northeastern door you’ll spot Palmer chasing around a honeybee girl - if you played the original, you’ll know who Palmer is, and if not, you’ll find out eventually.
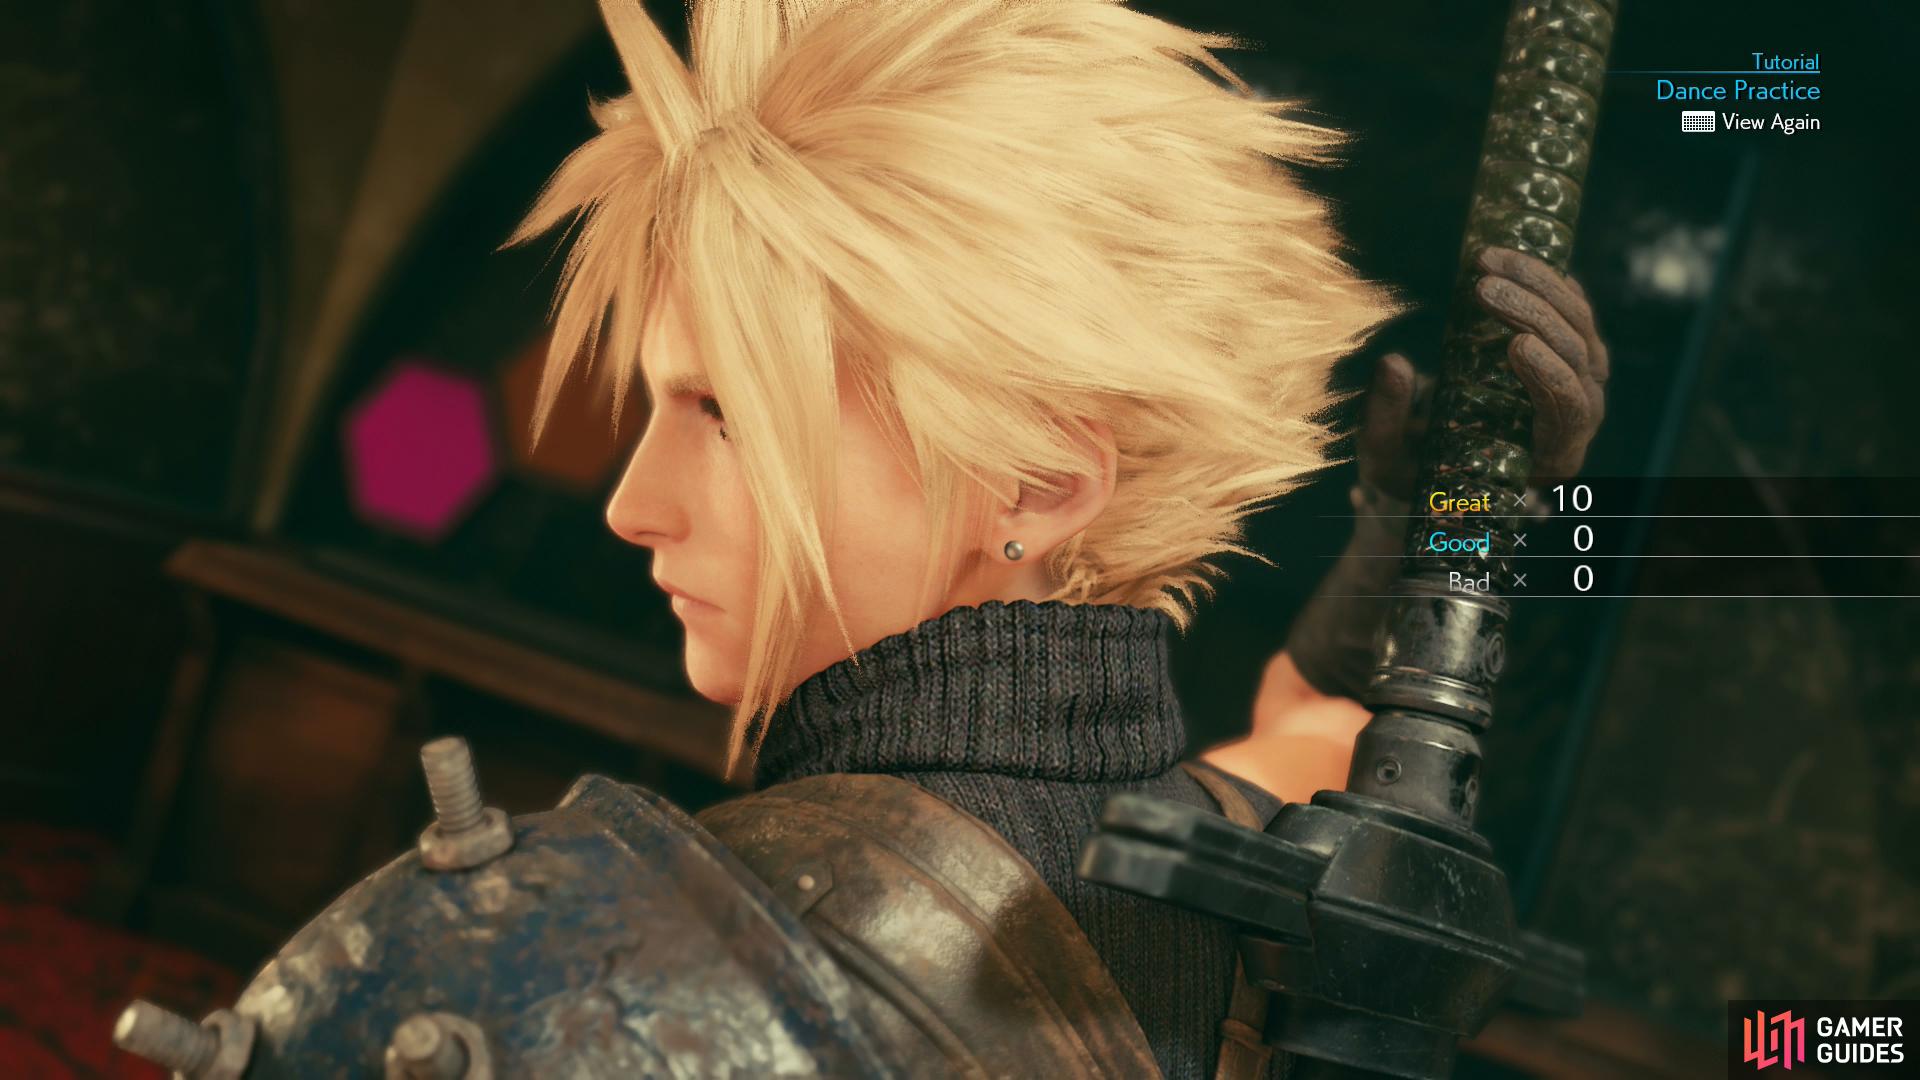
When you’re done snooping, head over to three honeybee girls near a door to the northwest and talk to them to get a prompt. You might want to consider saving your game before confirming you’re willing to head to the stage, after which you’ll get a dancing tutorial. This should make it all too clear what’s coming up, so get a feel for it (you can retry the practice session if you need to) before continuing on. Be sure to practice until you get a perfect round - 10x “Great” results and you’ll obtain the 26. Let the Battles Begin! -REMAKE- Music Disc.
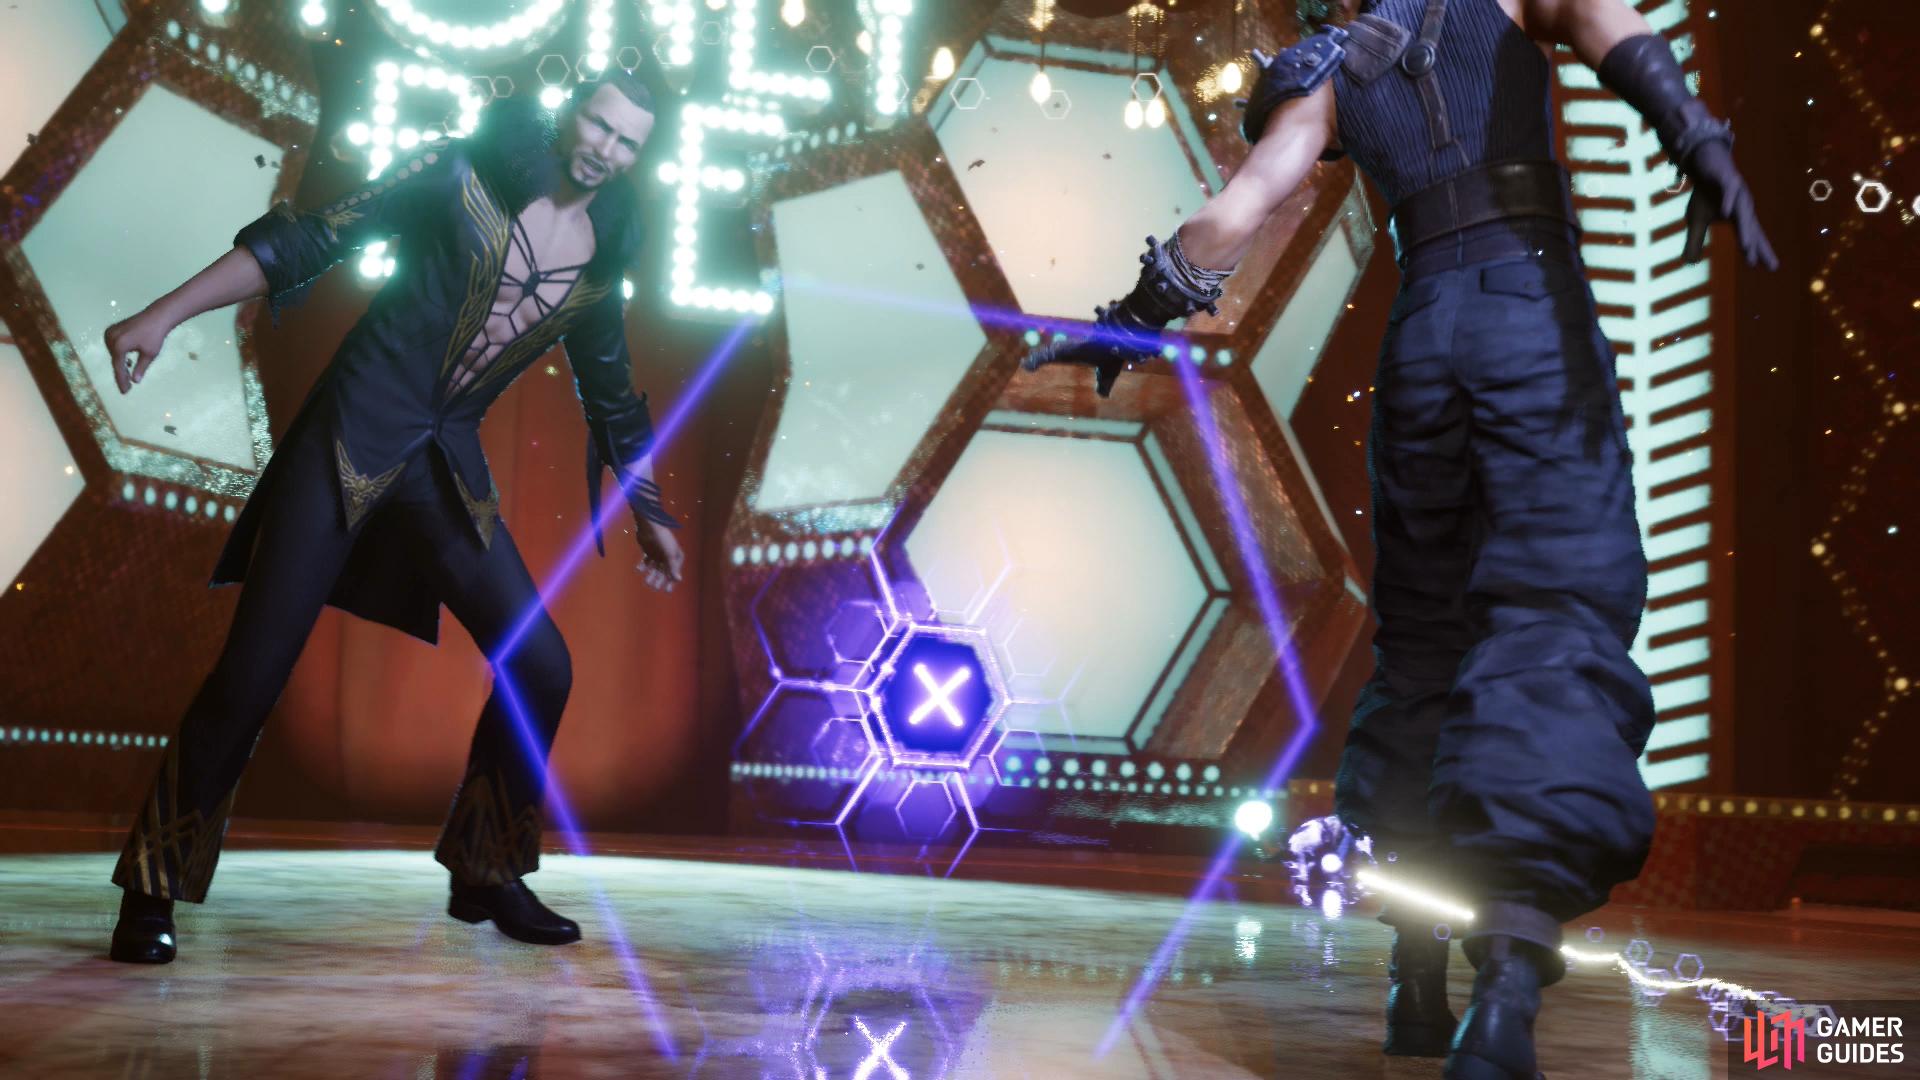
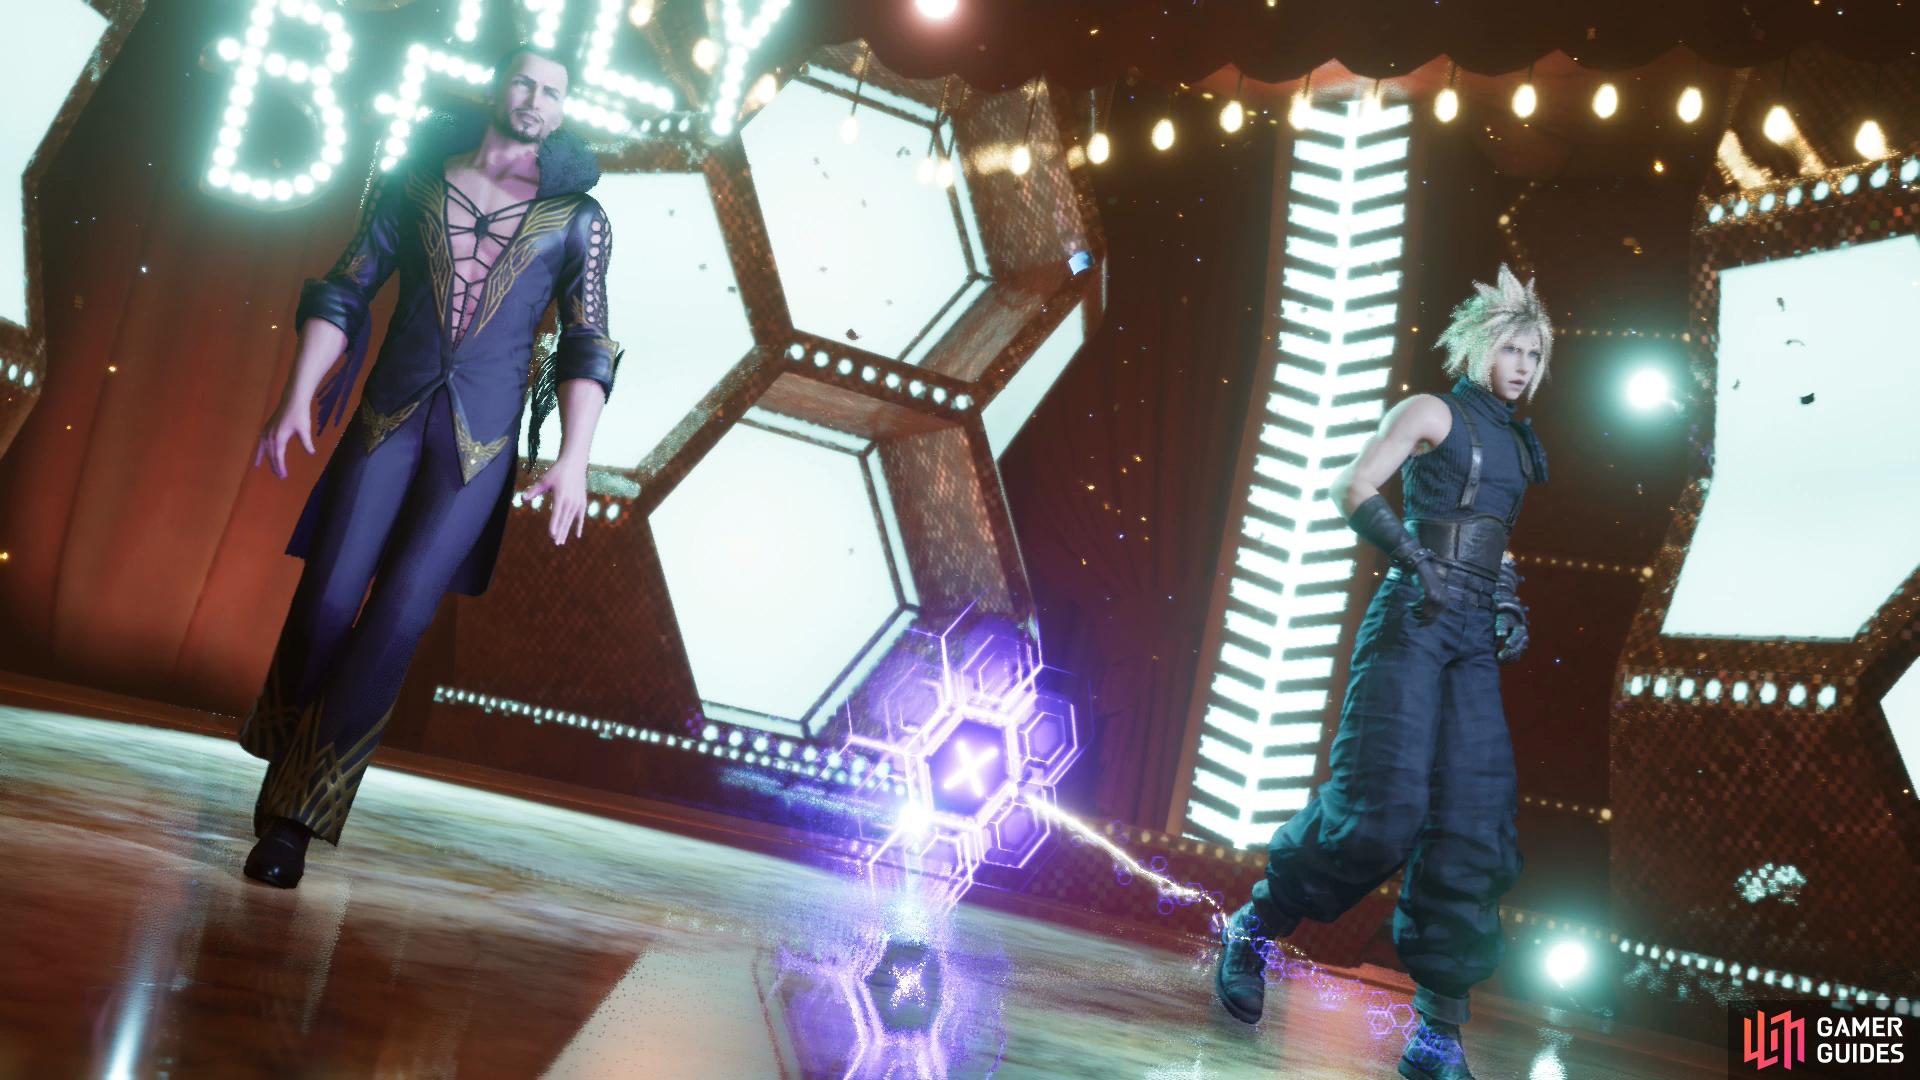

(1 of 4) A large hexagonal light will appear when you’re close,
After you’re done with the dance tutorial you’ll find Cloud sharing a dance with Andrea Rhodea, because this game just can’t resist the opportunity to cram some nonsensical minigame wherever it can. The “rhythm” part of this minigame is virtually nonexistent, just watch the prompts and press the correct button when the note of light flies through the prompt. Any time there’s a large hexagon surrounding the button prompt you can press the corresponding button for a “Good” result, while when the prompt starts glowing intensely you can press the correct button for a “Great” result.
Honestly the camera here is your worst enemy here, as it cuts and moves around solely to make some of these button presses harder to hit. Still, it’s nothing a little practice can’t fix, and the game is fairly generous with how much you can mess up - we were able to obtain the “Dancing Queen” trophy with 22 Greats, 2 Goods and 4 Bads. If you do well enough at this dancing event (there are three rounds, and Aerith will comment on your performance each round - if she says “Nice moves! I love it!” at the end, you’re probably fine, if she says “Well, you tried…?” at the end… not so much. Impress Andrea and he’ll give you Andrea’s Earrings and your trophy after Cloud’s transformation is complete - don’t fret if it doesn’t pop immediately, it doesn’t happen until the end of the scene following the dance.
However you perform at the dance, once the post-dance scenes are over you’ll find yourself outside the Honeybee Inn controlling Aerith. Make your way southeast to find Cloud sulking and talk to him twice to switch control back to Cloud, then make your way back to Don Corneo’s mansion. Don’t be shy about talking to various characters along the way, though - their reactions can be priceless. Poor Chadley.
Talk to Leslie back at Corneo’s mansion and he’ll begrudgingly let you inside. Finally!
| Enemy | Weaknesses | Notable Loot |
|---|---|---|
| Corneo Lackey | Fire | – |
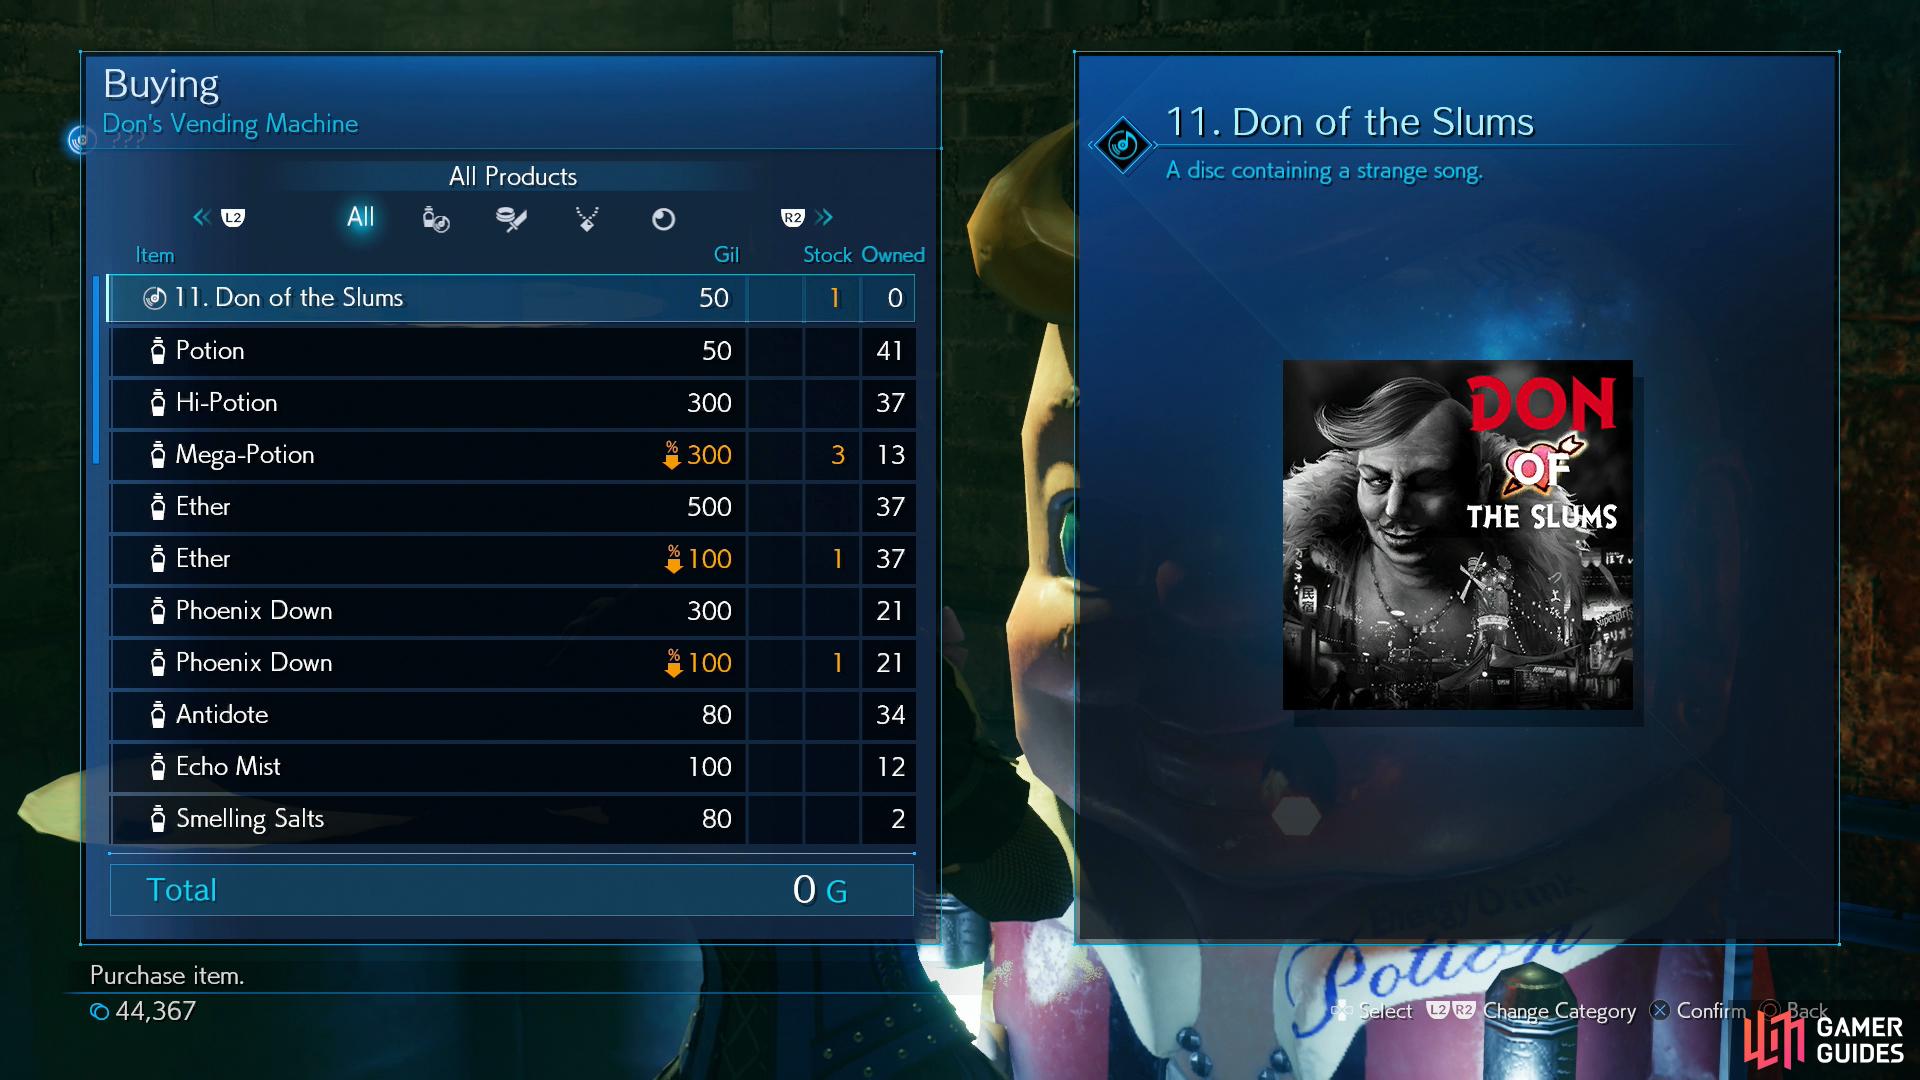


(1 of 4) Buy the “Don of the Slums” Music Disc.
The Audition / Showdown with Corneo
Once inside a Corneo Lackey will threaten you - not much exploring you can do now, anyways, so head upstairs and go through the eastern-most doors. After some scenes you’ll find yourself in… well, no nice way to say it, a sex dungeon. Anywho, after some chatter Tifa will rejoin the party, so take a moment to upgrade her weapons, equip her with whatever accessories and materia you deem appropriate, then loot a chest in the southwestern corner of the room to find a Turbo Ether. Also be sure to buy some items from the rather creepy vending machine in the southeastern corner of the room; you’ll find the 11. Don of the Slums Music Disc for sale, as well as some discounted items - 3x Mega-Potions, an Ether and a Phoenix Down. Costs less to buy these than to sell them back so be sure to grab them. Somebody got paid to design that vending machine. Like, in real life. What a world…
During your looting and shopping spree, one of Corneo’s Lackey’s should have called down to you, announcing that the “auditions” are ready to begin. Exit the dungeon and head upstairs and watch the scenes that follow, after which you’ll find yourself in control of Aerith, accompanied by Tifa. Loot a chest containing a Molotov Cocktail, then continue through some doors to reach the interior balcony. Head downstairs and thrash a trio of Corneo Lackeys, then slide through a gap along the western end of the room (near a large vase under the stairs) to find a chest containing a Fury Ring, which inflicts the equipped character with “Berserk”, increasing the character’s strength at the expense of defense.
Return up stairs and enter the eastern-most room (the room where Cloud and Aerith were gassed earlier) and inspect a bookshelf to the south to find that a nearby pressure plate will move the door aside. Go through the opening beyond the bookshelf, head downstairs and loot a chest to score an Otherworldly Crystal, another accessory, this one lowers the duration of detrimental status effects.
Backtrack to the interior balcony again and this time go through the central (southern) doors to reach Corneo’s office, where you’ll need to dispatch two more Corneo Lackeys. Do so, then go through some doors to the south (the door to the east just leads back to the dungeon where you were earlier) to trigger another scene. After you’re asked a question (the answer doesn’t matter, but veterans of the original game should already know it) this chapter will finally end.

Hi! So there’s a big part of Chapter 9 that’s missing after you go back to Madam M….lots more! Your guide just stops and skips to Chapte 10! This needs to be fixed! Thanks ☺️