
The final intermission of the game begins with Chi-Chi scolding Gohan about his studies. Outside of his house, Gohan figures he should ask Piccolo what to do, and you will get the usual call from Krillin talking about training, opening up some new stuff at the Training Grounds. After that, you will finally gain control of Gohan. It should be noted that you can do nothing about having additional characters in your party, since there is some story to go through during this intermission before you’re allowed to add anyone. You have one of two options here, as you can rush through the little bit of story, or you can do any Substories as they become available. For now, let’s do the latter, knowing full well there are a few Substories that require you to be controlling other characters.
Frequently Attacked Villager
That kooky cook is being attacked by monsters yet again, so it’s time to save her once more. You will be fighting three Kyukonman here, which are not anything different than the Saibamen you fought during the Saiyan Saga. Since there’s three of them and only one of you, you will want to be a little careful and pay attention to the arrows turning red, as that is when the one you’re not locked onto is going to attack. Other than that, they should go down pretty quick. In addition to the normal rewards listed below, you will also receive a Deluxe Meat Course Recipe, an Aromatic Fruit and a single Egg.
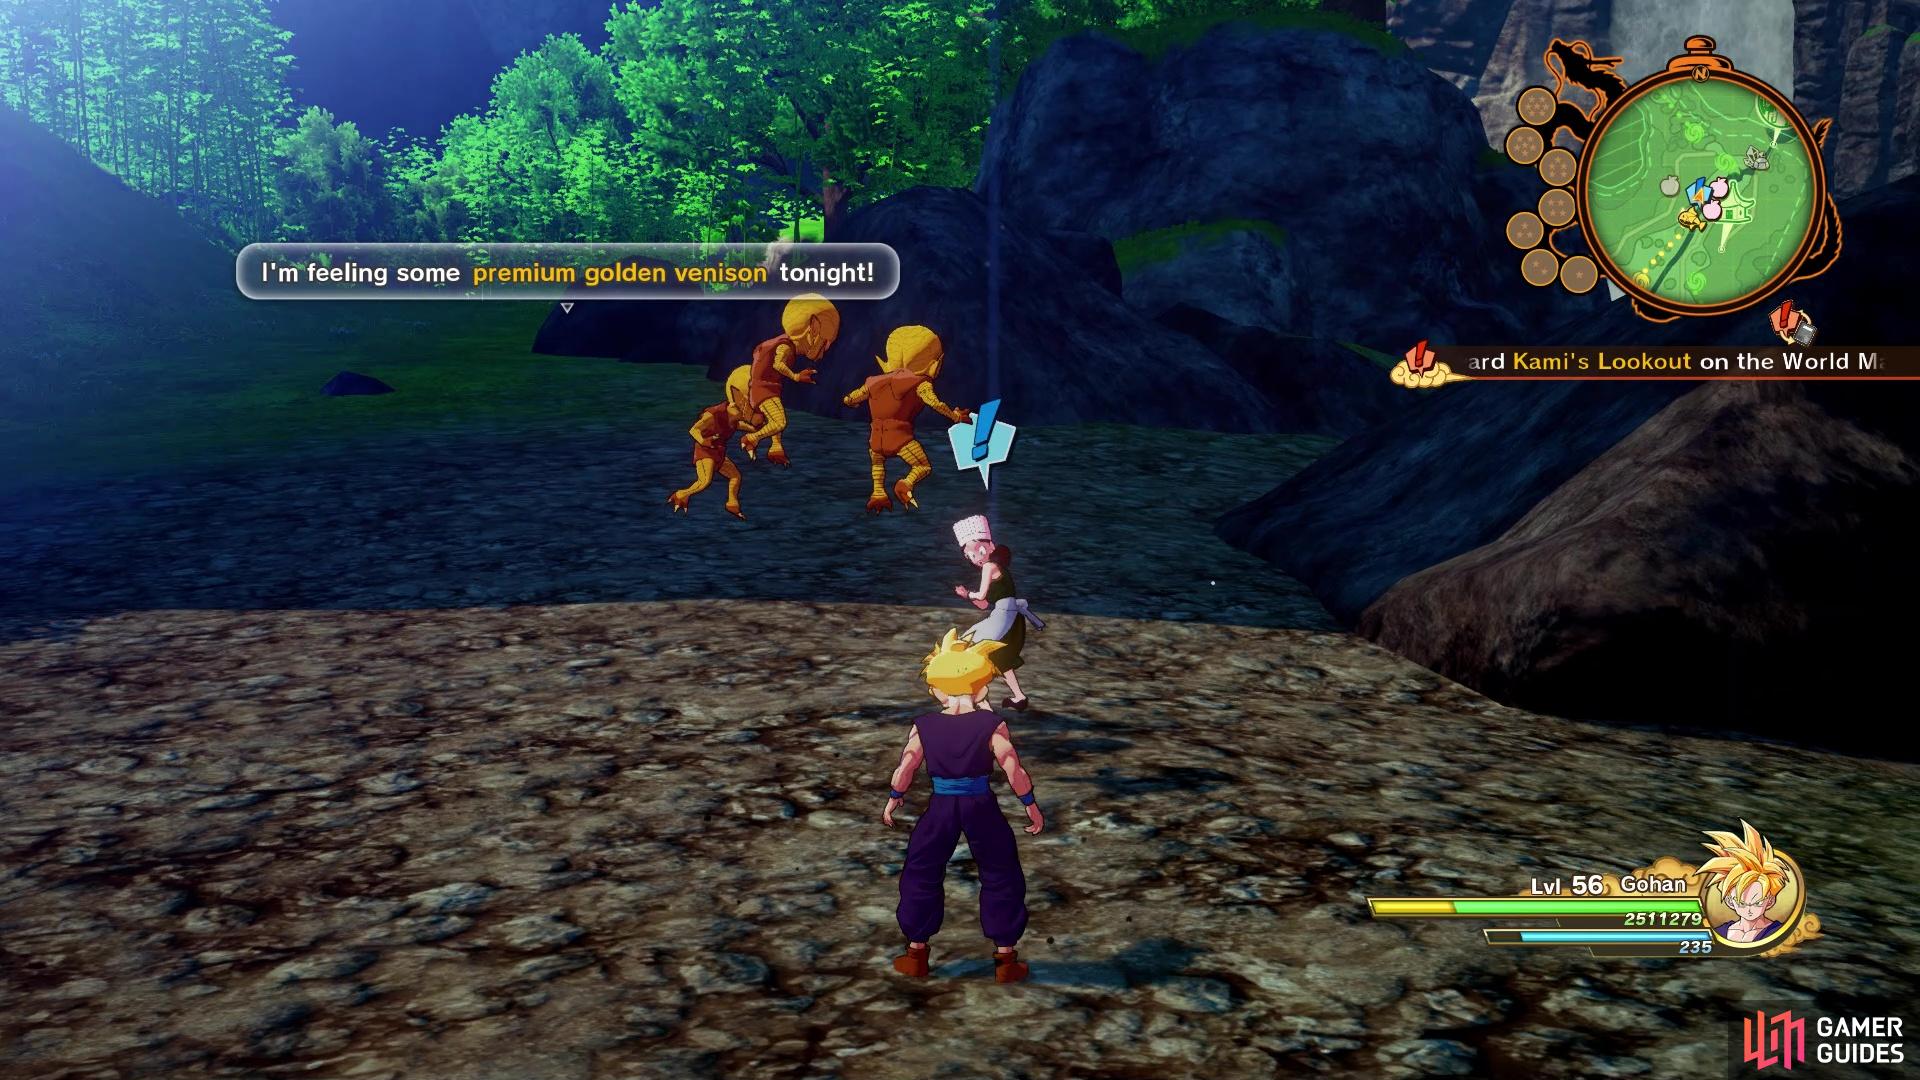
The same cook is once again being attacked by some monsters over her food.
| Objective | Reward |
|---|---|
| Saved the kooky cook yet again | 168,013 EXP, Romantic Apron (x1), Fancy Wristwatch (x1) |
The second substory not linked to the Dragon Balls is available in the East Ravine Area.
The Nutty Scientist
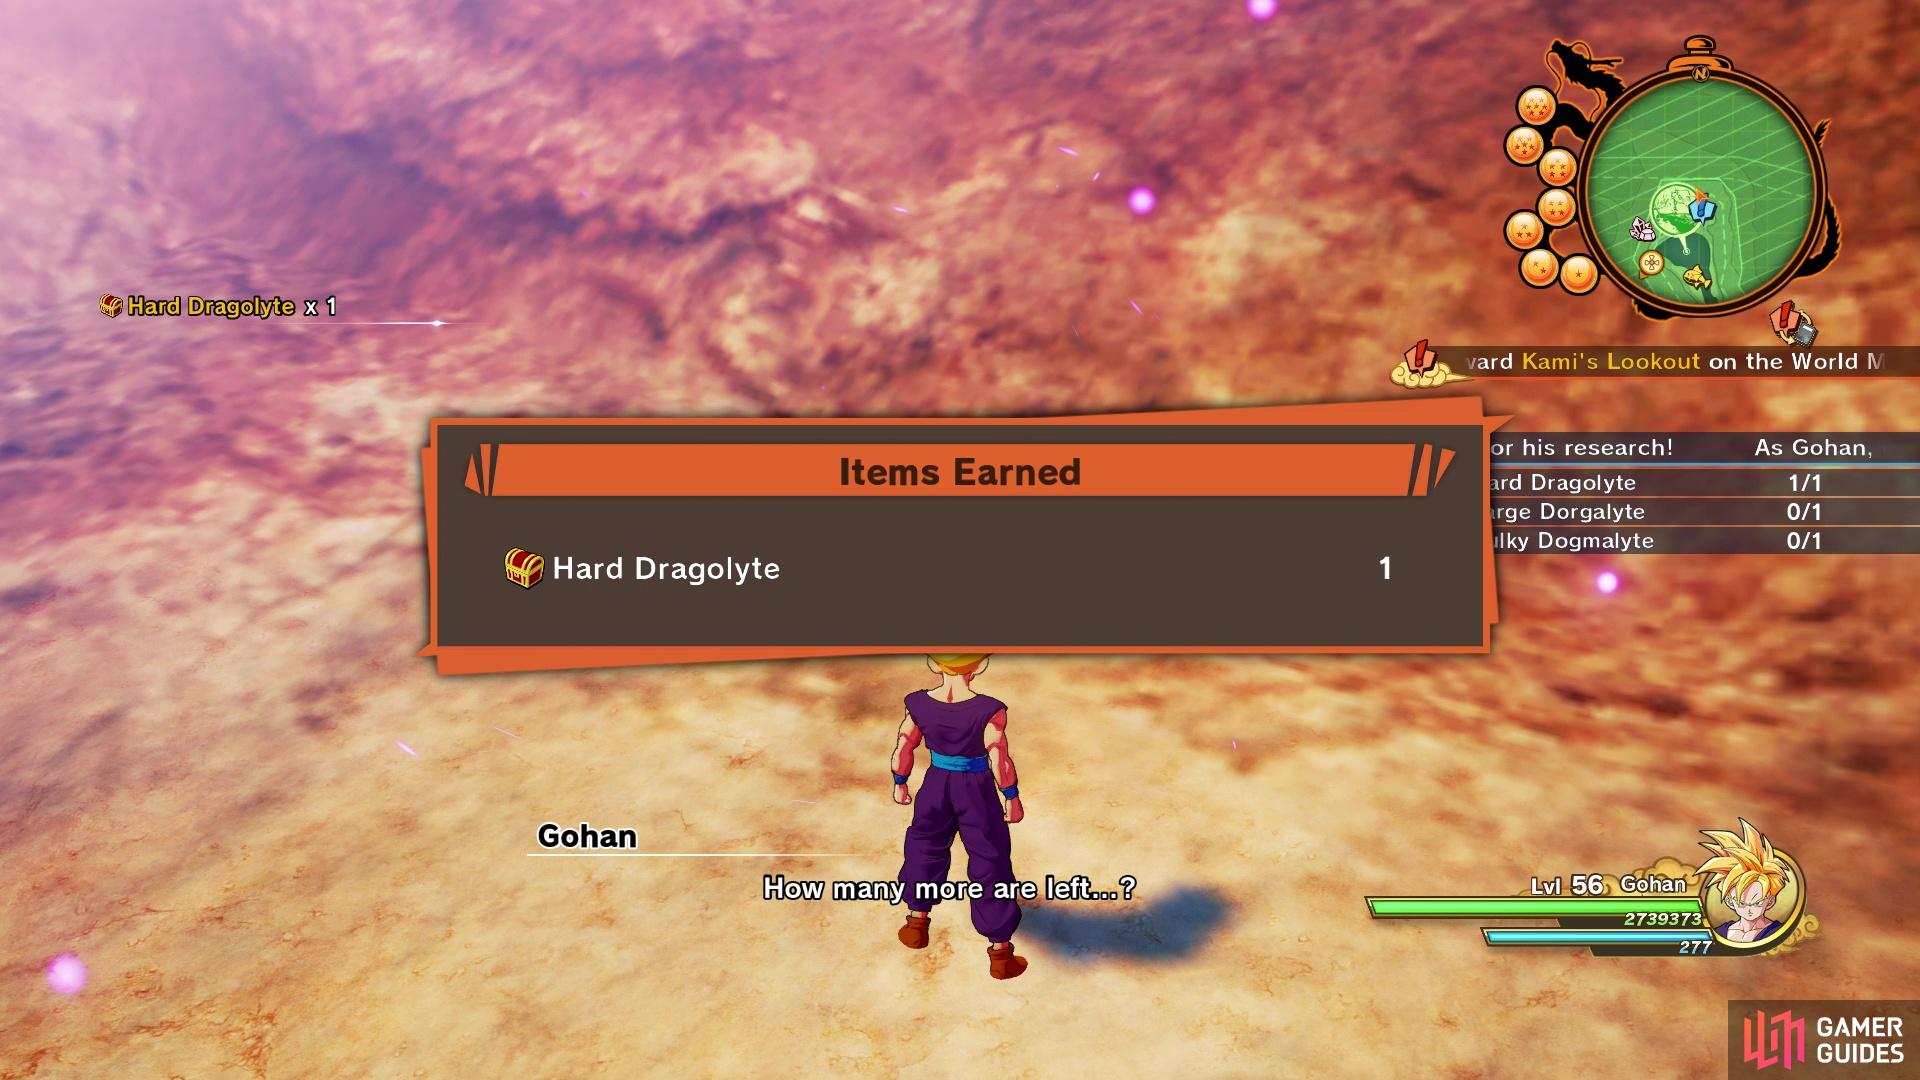
Bulma is worried about her father, as he is completely absorbed in his work, so she asks you for your help. He needs some materials, which are in another section of the map, so he asks you to get them for him. The items are a Hard Dragolyte, a Large Dorgalyte, and a Bulky Dogmalyte. You may be thinking that the names are similar to one another and you would be right, with the reasons being clear soon. Fly to the location marked on your map, which is the elevated portion by the waterfall. Speak to the NPC there and pick one of the choices to be shown where that item is located.
There is a catch, though, as previously pointed out earlier. Each of the little areas here contains a number of purple orbs, all of which are fake items and not the one you need, except for the real item, of course. Since there is no penalty in picking up the wrong items, you can literally just grab them all. Once you find the right item, move to the next area and do the same thing there. Once you find all three items on his list, you will automatically return to Briefs and complete the substory.
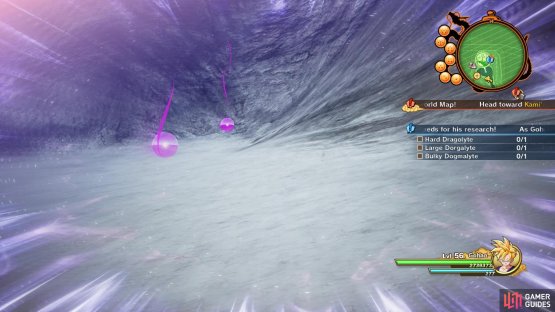

(1 of 2) There are a good number of purple orbs scattered around

There are a good number of purple orbs scattered around (left), There’s no penalty for just grabbing each one until you get the correct item (right)
| Objective | Reward |
|---|---|
| Helped Bulma’s father | 168,013 EXP, D Medal (x5), Ultra Brain Bread (x1), Card 055 (x1), Fancy Necklace (x1) |
If you acquired all of the Dragon Balls and wished back Appule, let’s go and do that Substory now, which will be located in the Central Plains Area. It’ll be the southern marker, if you decided to revive Cui, too.
Filling the Power Vacuum
Despite being someone you can bring back with the Dragon Balls, Appule is really nothing more than a stronger version of the basic Frieza Force soldier. Take out the two lesser soldiers first, then you can concentrate on Appule. The Cosmic Blaster move is nothing more than a bunch of larger Ki blasts, and that’s probably the extent of the skillset you’ll see from Appule. He only has a single health bar, unlike the normal opponents you usually fight that are important, so he will go down pretty fast. Defeat all three enemies to finish the substory.
| Objective | Reward |
|---|---|
| Defeated the revived Appule | 160,877 EXP, D Medal (x2), Ultra Power Protein (x1), Appule’s Soul Emblem |
Since two of the three Dragon Ball-related Substories require Vegeta and you can’t change characters right now, it’s time to finish the story-related bit of this intermission. The next objective, in case you forgot, is to visit Piccolo at Kami’s Lookout, so head there now. Gohan asks Piccolo what he could do to help training, and Piccolo mentions that he lacks the mental fortitude. So, Piccolo talks about asking Vegeta to train, since Vegeta is quite adept in that area. Travel to Capsule Corporation and once inside, locate the one door in the middle area with the fountain. After a short conversation with Vegeta, it’s time to do battle with him.
Gohan vs. Vegeta
You should have a good understanding of Vegeta’s moves by this point, and he doesn’t really add anything new here. Vegeta will usually combo Body Smash with Meteor Hammer right after it, which can hurt your shields a lot, so try to dodge these as efficiently as possible. He still has Consecutive Energy Blast, which you can dodge by moving in one direction, as well as Galick Gun, his big energy beam attack. He also has Mach Slash, which is another melee attack, but this one is isolated and not part of a combo, like the other two.


(1 of 2) Vegeta will always perform a Body Smash
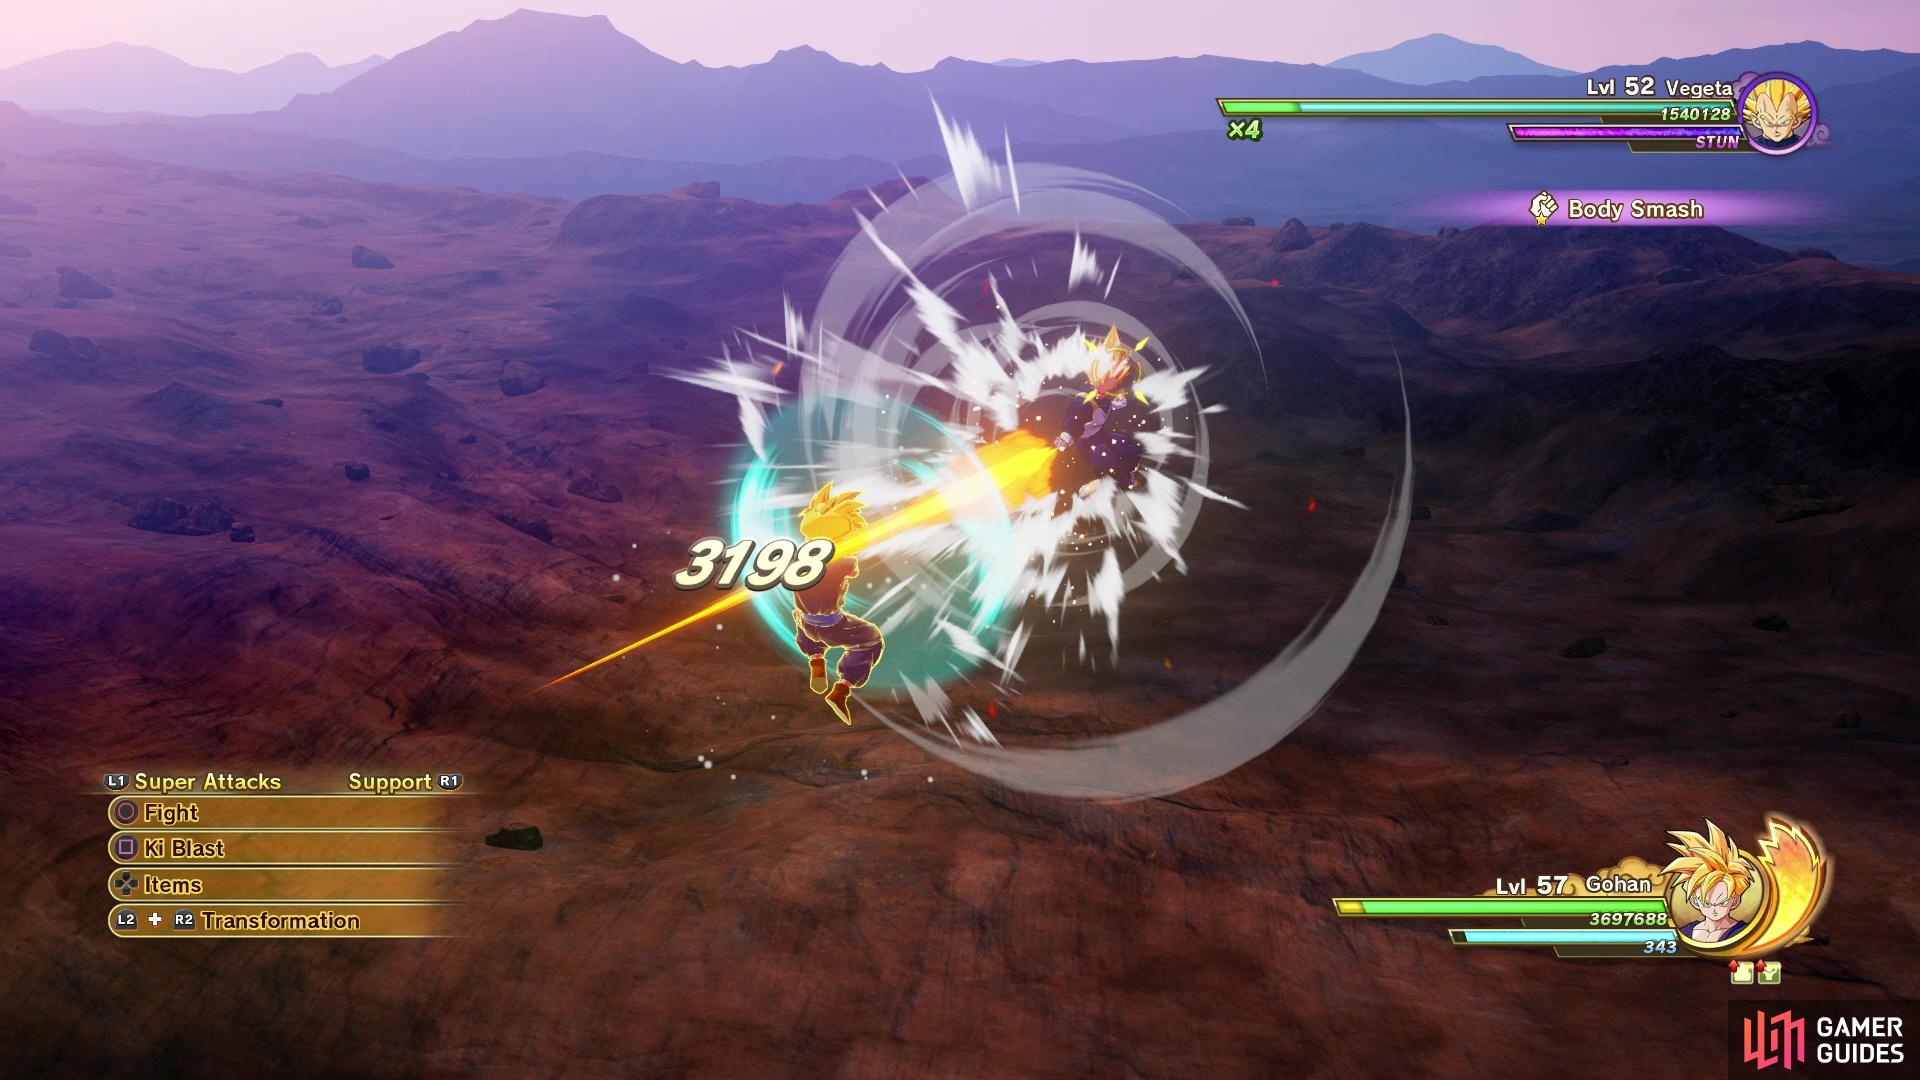
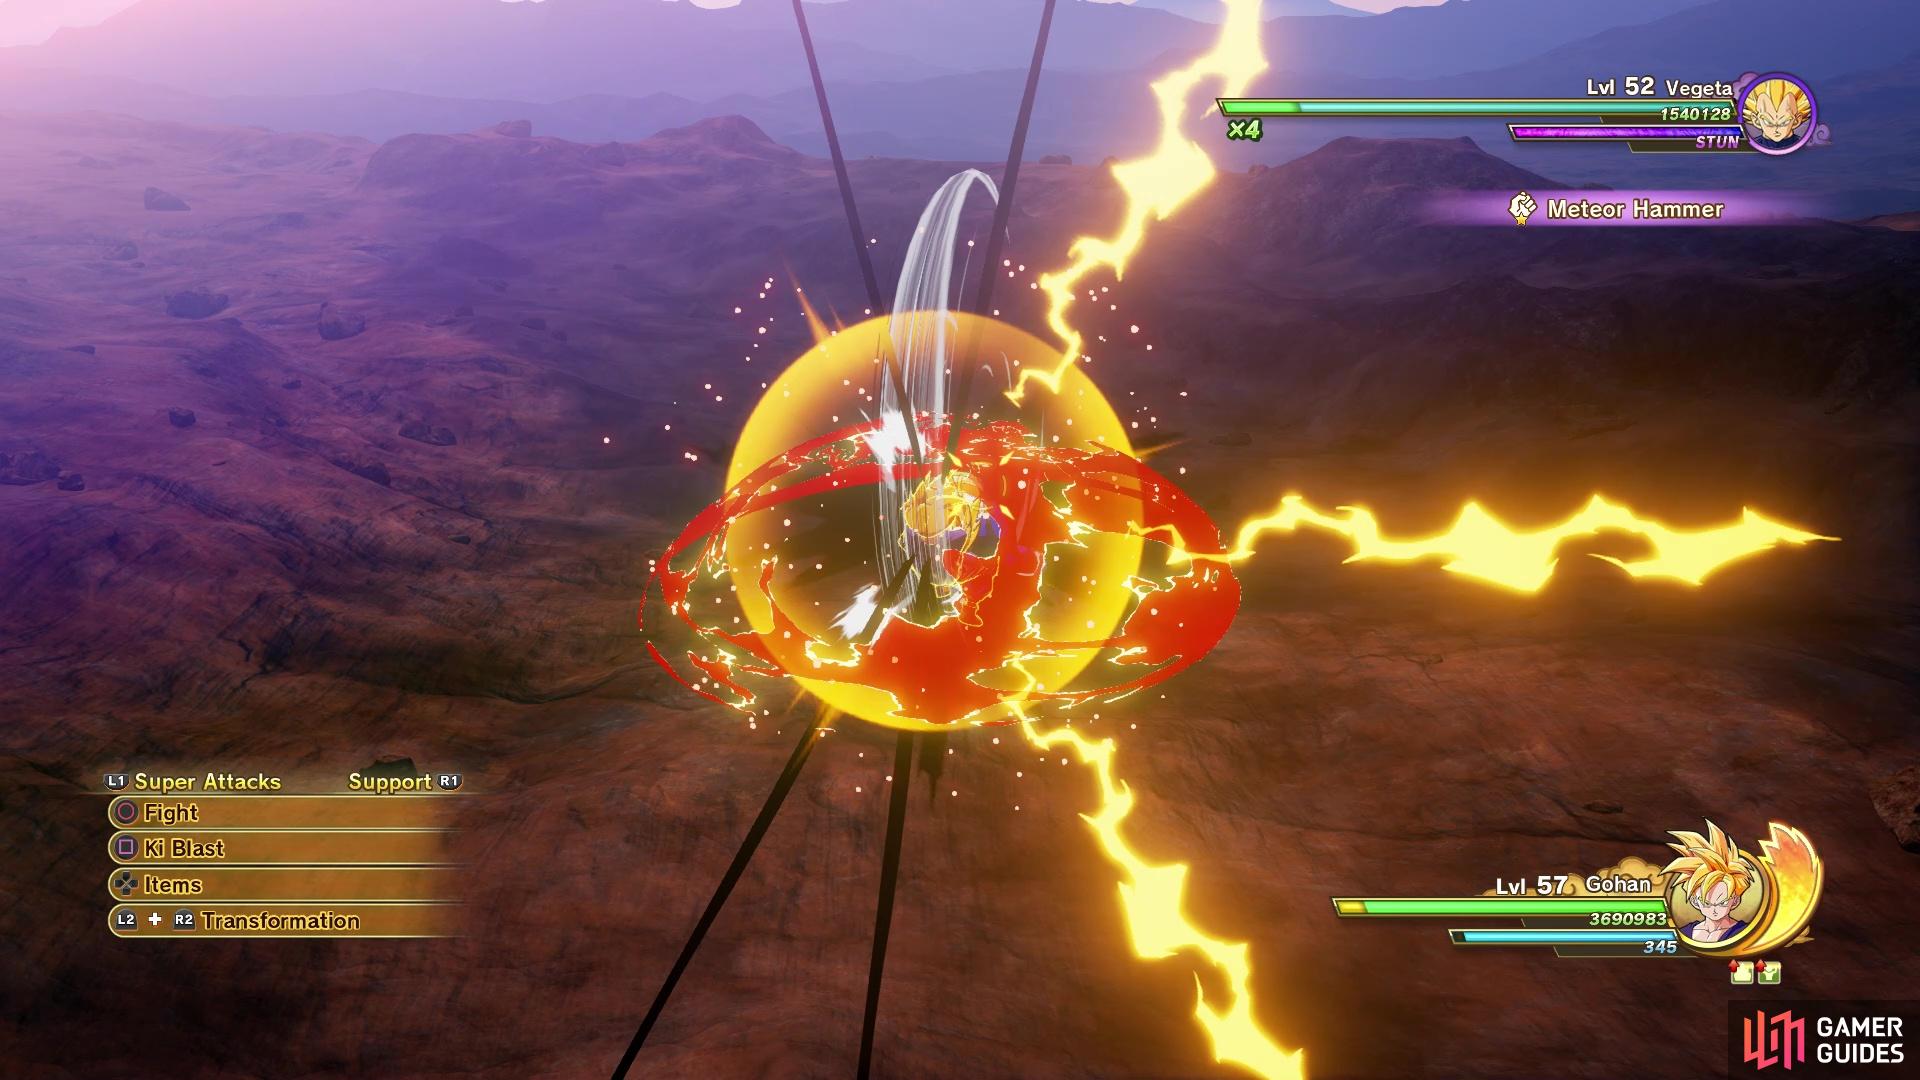
Vegeta will always perform a Body Smash (left), and follow up with a Meteor Hammer (right)
Once you win over Vegeta, you will receive a message from Dende, who has a favor to ask of you. Note that if you got the word from Bulma that the Dragon Balls have returned, feel free to go around and grab those, especially if you need to unlock any of the related Substories. When you’re ready to continue, travel to Kami’s Lookout and speak with Dende, who talks about increasing Shenron’s power and needing some ingredients. In particular, all he needs is a Rainbow Crystal, but he couldn’t find one from up here. Mr. Popo chimes in and says that maybe Fortuneteller Baba knows the location of said crystal.
Dende says that Baba is in West City, with Popo also giving you a fee to pay for Baba’s service. You will automatically go to Baba, who already knows what’s going on, so she’ll tell you the location of the Rainbow Crystal you need. She says it’s at the bottom of the ocean, as the ship that carried it was sunk. So, travel to the Southeast Islands Area and head to the marker on your minimap (there is no beacon like there usually is). You should see the generic search circle on your map, so dive underwater to find a huge sunken ship. Thankfully, the purple orb you need isn’t inside of the ship, but rather on top of it, on the front. Grab the purple orb, then travel back to Kami’s Lookout and hand it to Dende.
While it says that you get better wishes, nothing really seems to change. You will receive Shenron’s Soul Emblem, though, plus that’ll end the story segment of this intermission. You are now able to edit your party, so you can put in Vegeta to go do those two Dragon Ball-related Substories, but there are some other ones now available. So, don’t go changing into Vegeta just yet and let’s tackle those new Substories. For the first one, exit Kami’s Lookout and re-enter it to find Dende has a new task.
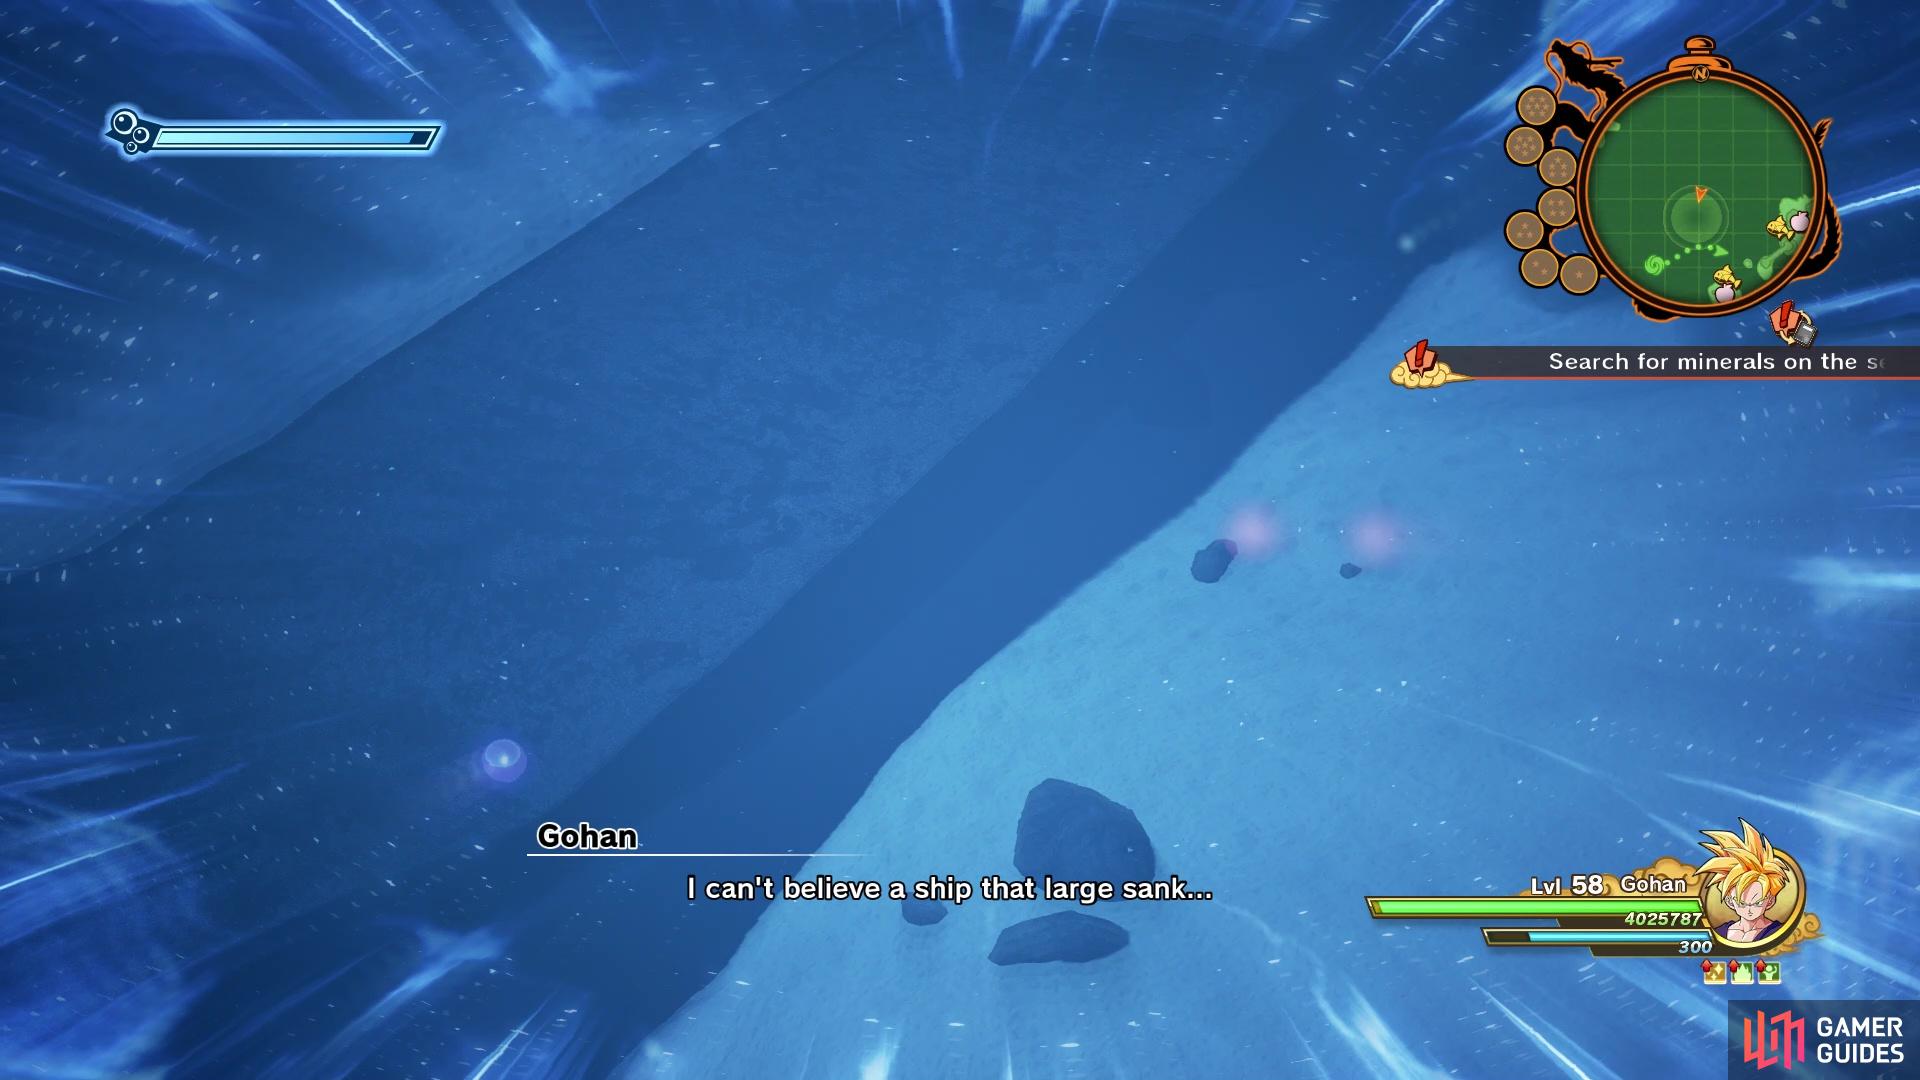
The Rainbow Crystal is on the outside of the ship
Hyperbolic Time Chamber Renovations
Dende is looking to make some adjustments to the Hyperbolic Time Chamber and needs some ingredients. He needs some Phantom Sand, 2 Green Crystals and 2 Red Crystals. The Phantom Sand is unique, while the crystals are something you may already have, should you have done by mining. If you speak with Mr. Popo, he gives you some help in locating any Red/Green Crystals, if you don’t happen to have any in your possession. Red Crystals can be found in the East Ravine and Central Plains Areas, while Green Crystals can be found in the Sacred Land of Korin. All of the mineral nodes are on the map, so head to each one in those regions until you get the needed items.
When you travel to the region with the Phantom Sand (near Yamcha’s place), you see the marker will lead you straight to the purple orb. However, upon grabbing it, some robots will appear. Defeat all of them, then return to Kami’s Lookout and hand over the items to finish the substory.
| Objective | Reward |
|---|---|
| Helped Dende with the Time Chamber | 168,013 EXP, D Medal (x5), Shenron Plush (x1), Card 056 (x1) |
Let’s change up the scenery a little bit and head to Goku’s house, where you see that the Ox King is standing right outside of the front door with another substory for you. You will need to switch to Piccolo for this one, though, and Krillin cannot be in the party.
An Awkward Pair
Something seems to be troubling the Ox King and he did mutter Gohan’s name, so it might have something to do with him. After some tense and awkward silence, the Ox King blurts out about getting a present for Roshi. This leads to you asking Krillin about what to get the old man, so once you gain control, travel to Roshi’s house and speak with Krillin. Being Master Roshi, the old coot will likely want a certain type of magazine and Krillin will pick it out after he trains. Piccolo decides to help him train, though, leading to a sparring session. You’ve fought Krillin multiple times already and he’s no different here, so it’ll be an easy battle. Krillin will hand over the magazine after the fight, so bring it back to the Ox King to finish the substory.
| Objective | Reward |
|---|---|
| Solved Ox King’s problem | 104,711 EXP, Awesome Book for Grown-Ups (x1), Fancy Necklace (x1), Ox King’s Soul Emblem |
Switch back to controlling Gohan and return to Kami’s Lookout to get another substory, with this one being from Popo. Note that Hyperbolic Time Chamber Renovations needs to be complete in order for this one to be available.
Guardian Caretaker
Mr. Popo is looking to make some furniture for Dende, but needs some ingredients. He needs some timber, to be exact, but the trees need to have been felled in a natural manner, so he suggests getting some Woodchips, 15 to be exact. Basically, you are looking for fallen logs, where you will find the familiar purple orbs near them, yielding some Woodchips. You will find the fallen logs close to bodies of water for the most part, so you can test this out by first going to the Sacred Land of Korin and searching by the little lake there. There should also be two other fallen logs in the region, although they’re not near the water; fly high and use the Ki-searching ability. Once you’ve exhausting this area, head to East Ravine Area and search along the river cutting through the canyon for some more. Once you’ve fought all of the Woodchips needed, return to Popo to finish the substory.
All of the purple orbs that contain Woodchips will be by dead/fallen logs
| Objective | Reward |
|---|---|
| Gathered materials for Popo | 168,013 EXP, D Medal (x5), Shenron Plush 9x1) |
For the next one, keep playing as Gohan and travel to Southeast Islands Area, specifically Roshi’s house. Note that you need to have completed An Awkward Pair before this one becomes available. Also, both Krillin and Yamcha cannot be in your active party, so take them out if they are.
Krillin’s Heart of Gold
Something seems to be troubling Krillin and it appears to be Android 18, as he can’t stop thinking about her. Out of nowhere, she shows up and Krillin manages to ask her out on a date. As he begins to formulate plans, Gohan suggests going to ask Yamcha some advice (which is probably not a good idea, all things considered). The game automatically sends you over to West City, where Yamcha gives his advice, albeit being expensive. This leads to Krillin’s next problem, as he needs money and he doesn’t know where to get some. Back at Kame House, Turtle comes by and mentions he saw a cave with something shiny in it, but couldn’t get a closer look due to a Skull Robo.
It will be marked on your map, so travel to the Far Southern Islands area and head to the cave. Upon reaching the entrance, the Skull Robos will pop out to greet you, so dismantle them (they provide nothing new). Winning the battle will net you the treasure for Krillin, finishing this substory.
| Objective | Reward |
|---|---|
| Helped Krillin with his problem | 206,569 EXP, D Medal (x5), Ultra Sacred Text of Martial Arts (x1) |
That wraps up all of the new Substories, but there’s still two more, both of which are related to the Dragon Balls and reviving old foes. Both of these require you to be controlling Vegeta, so change your leading character now. If you haven’t made the wishes for these yet, collect the Dragon Balls and do that now, as well. The first one you will be doing is in the Central Plains Area.
No Dirty Fireworks for Me!
Cui is accompanied by two Frieza Force soldiers, who are not really anything but fodder at this point, but you should take them down first to avoid having them attack you while your back is turned. Cui is very simple and the fact you can bring support characters makes him even easier. Assault Blaster is about the only move, other than Meteor Crusher, but the former is just a few large Ki blasts shot in your direction.
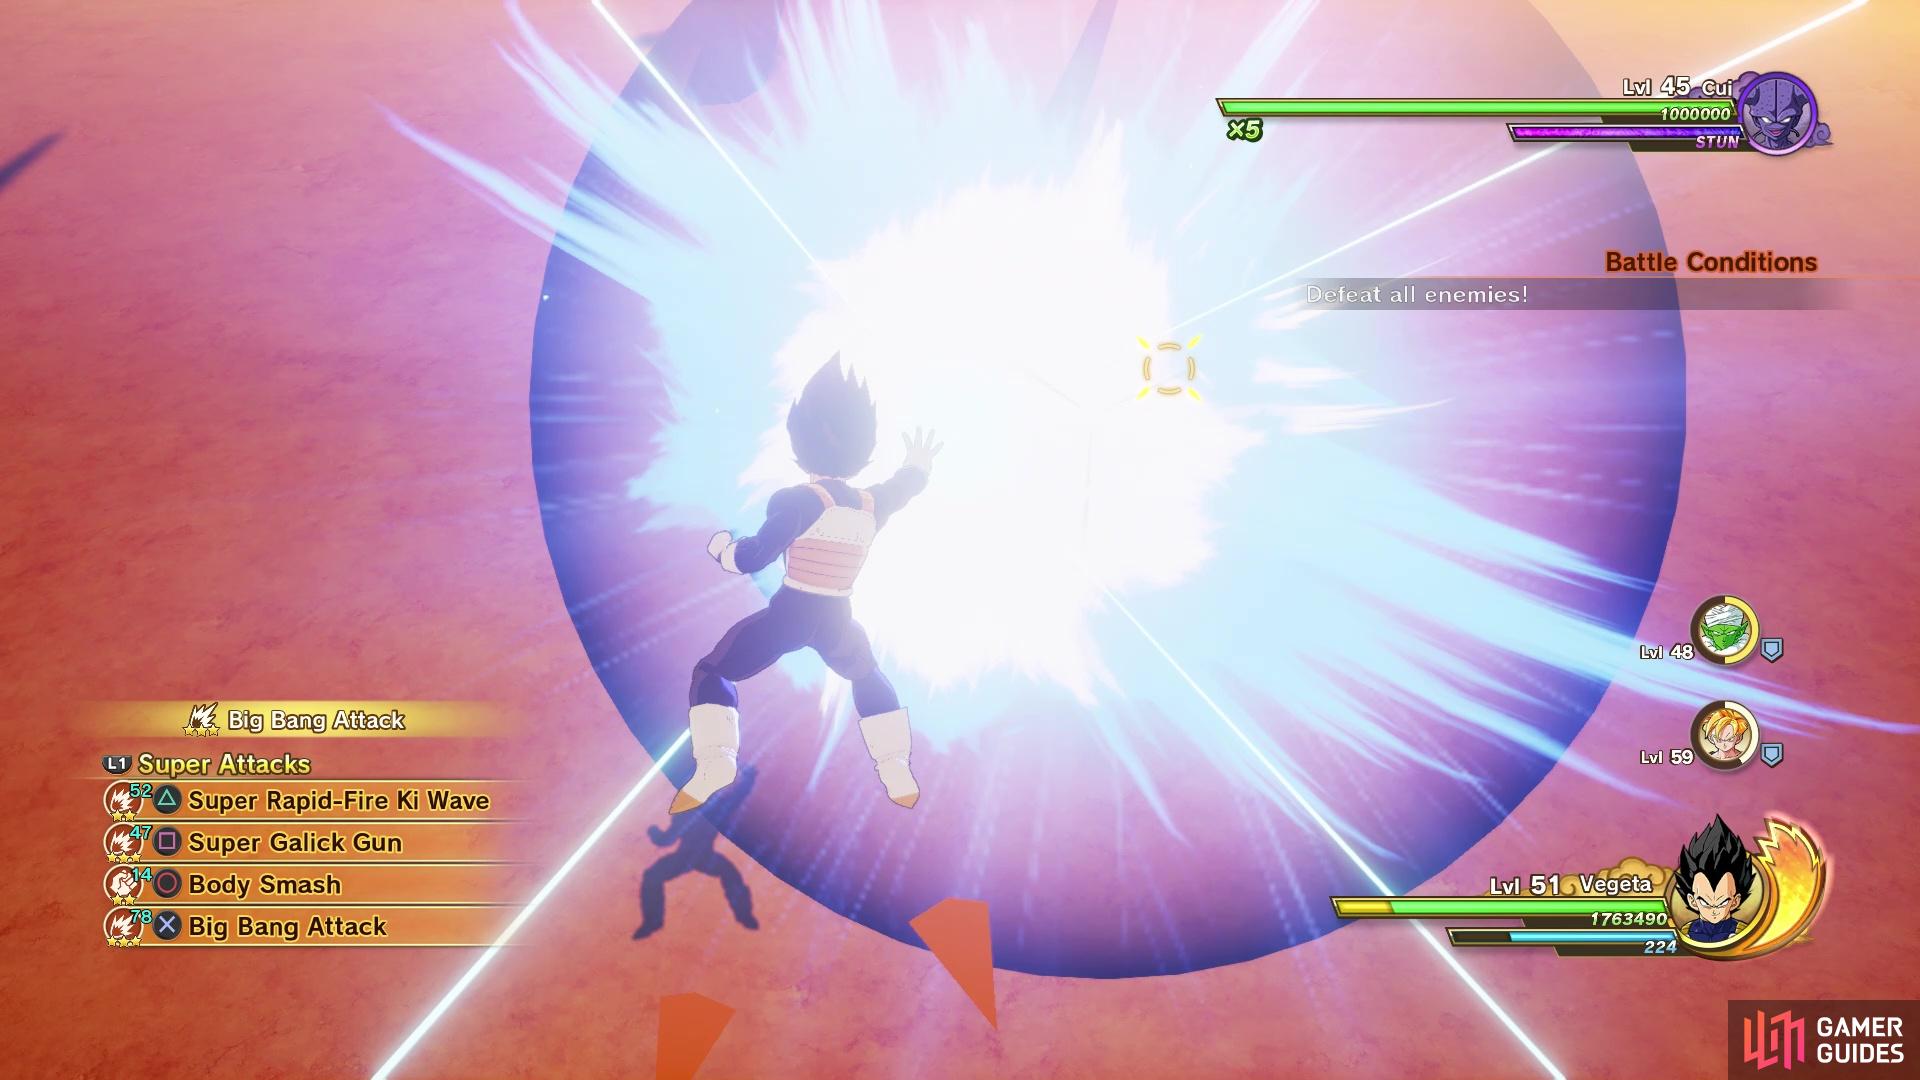
Using Big Bang Attack helps with hitting more than one opponent
| Objective | Reward |
|---|---|
| Defeated Cui | 127,814 EXP, D Medal (x1), Super Power Protein (x1), Fancy Earrings (x1), Cui’s Soul Emblem |
The final substory for this intermission is located in the Continent Center Area, and make sure you don’t change from Vegeta being your controlled character.
Little Nightmares
You’re up against the Cell Juniors for this battle, with there being three of them. If you remember your previous fight with them, then you know they can be a little annoying, but you are able to bring along support characters. They still have the same moves, like Kamehameha and Destructo Disc, but it’s Solar Flare that’s the most annoying, as it will stun you if you get hit by it. It’s also dangerous because it doesn’t require a charge up and almost comes out instantaneously. After winning the battle, you will find out you have to throw down with another set of three Cell Juniors. Once that bout is over, then this substory will be complete.
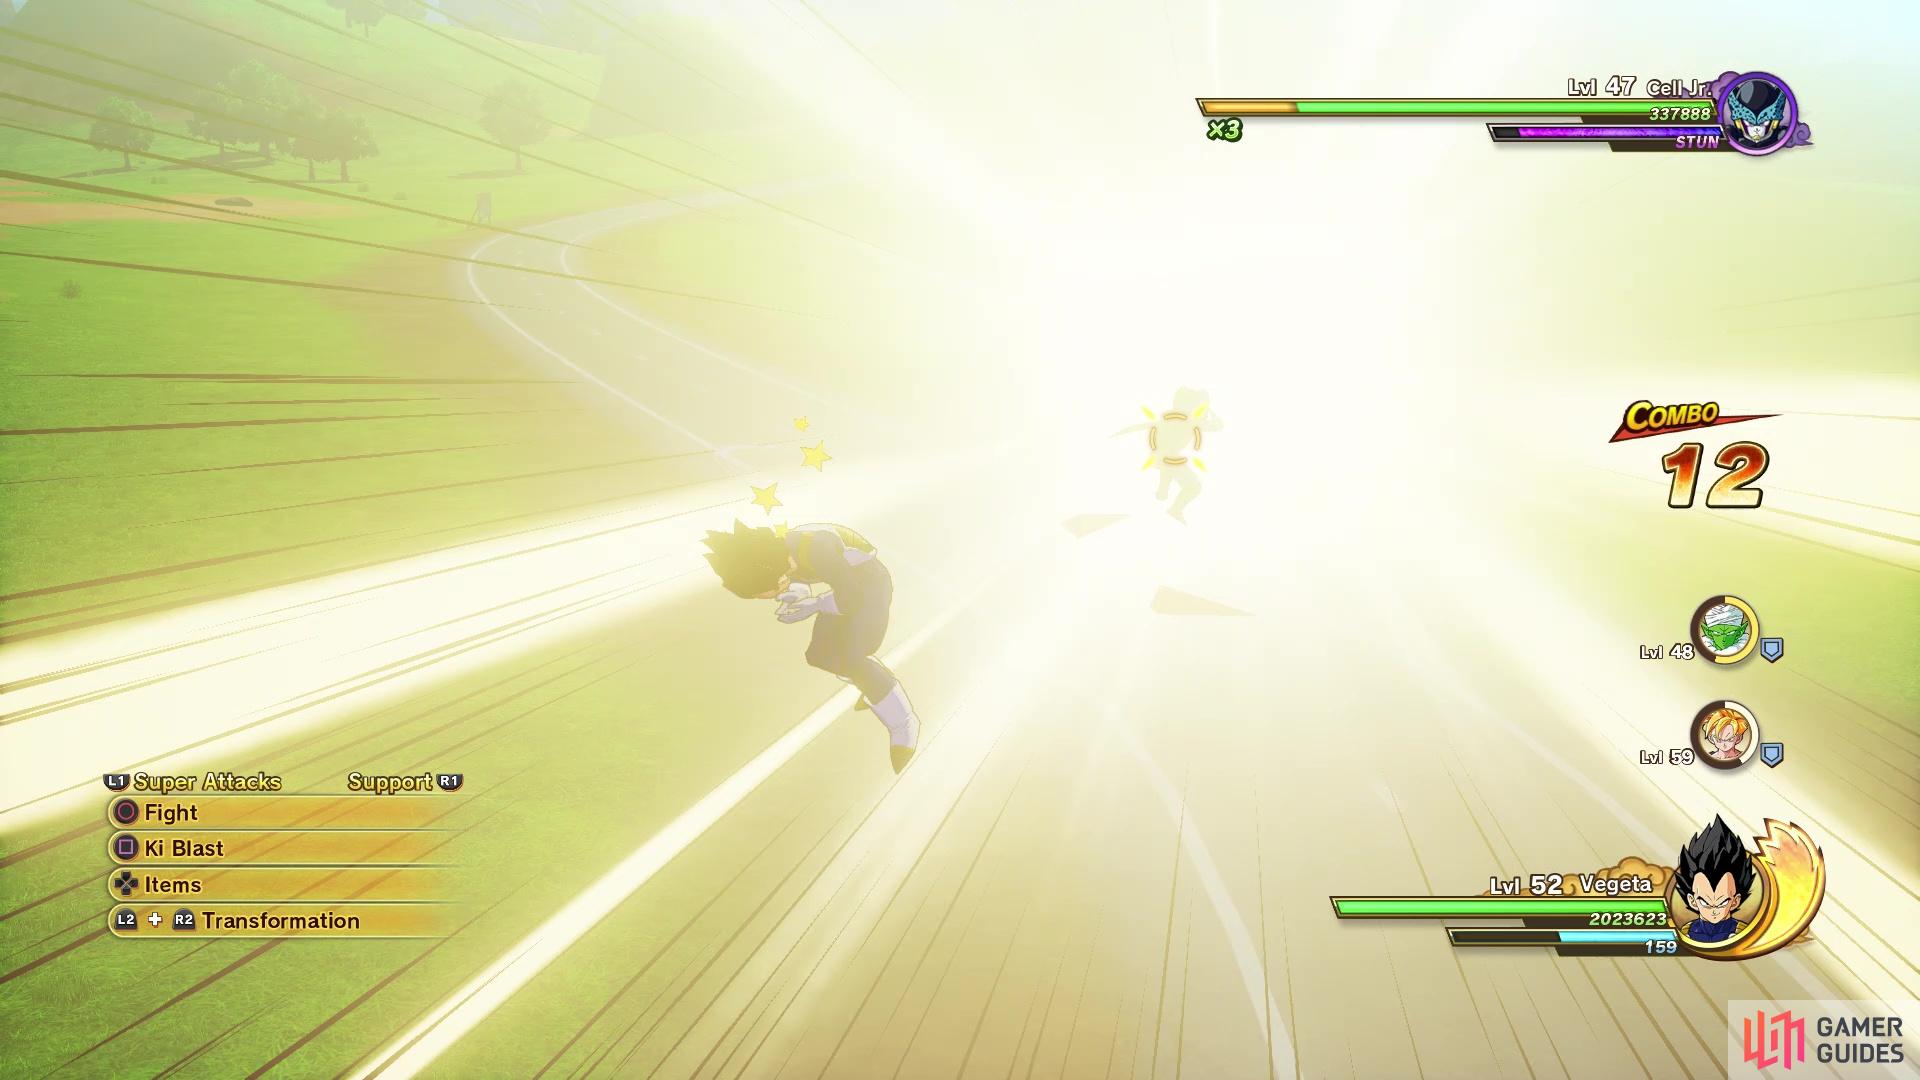
There’s nothing you can really do to guard against Solar Flare
| Objective | Reward |
|---|---|
| Defeated the Cell Juniors | 127,814 EXP, D Medal (x3), Ultra Power Protein (x1), Card 062 (x1), Cell Jr. Soul Emblem |
To continue the story, revert back to controlling Gohan and speak with your mother at the house, choosing the second option.
No Comments