Description
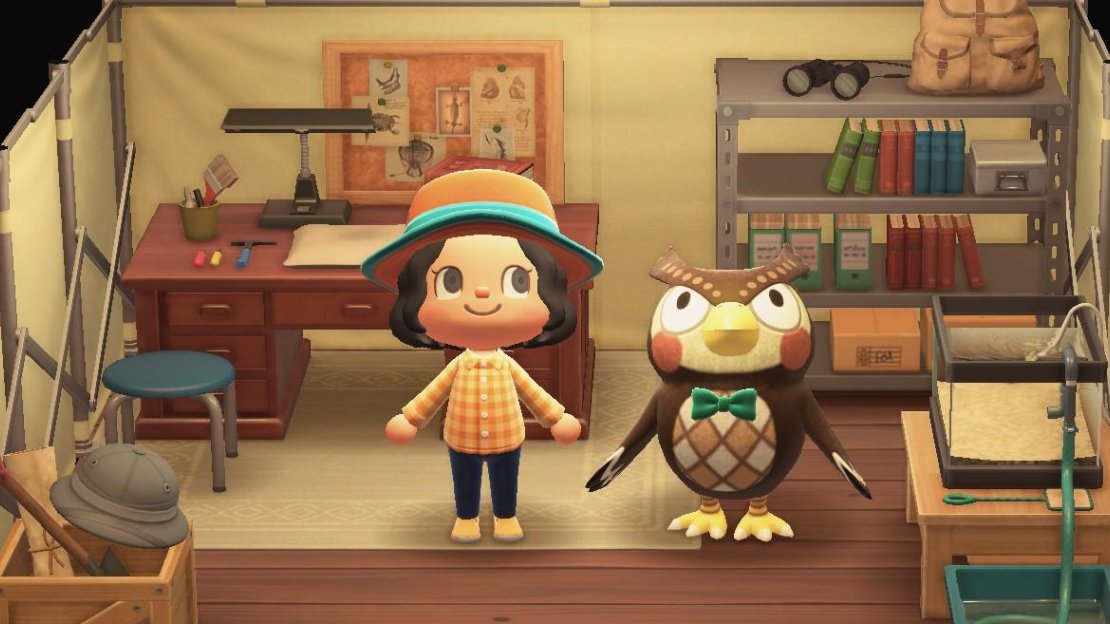
It’s the next day, and Blathers has arrived! Go visit him in his tent for more information on how to get permission to open a museum on your island.
Opening a Museum
Blathers tells you he needs another fifteen specimens before he can obtain permission to open a museum on your island! He also explains that you can dig for fossils that can then be displayed in the museum.
Blathers tells you to go dig up some fossils on the other parts of the island - across the river. He sends you over the DIY recipes for a vaulting pole and a shovel. The vaulting pole can be used to jump over the rivers on your island, so you can access new areas.
Crafting New Tools
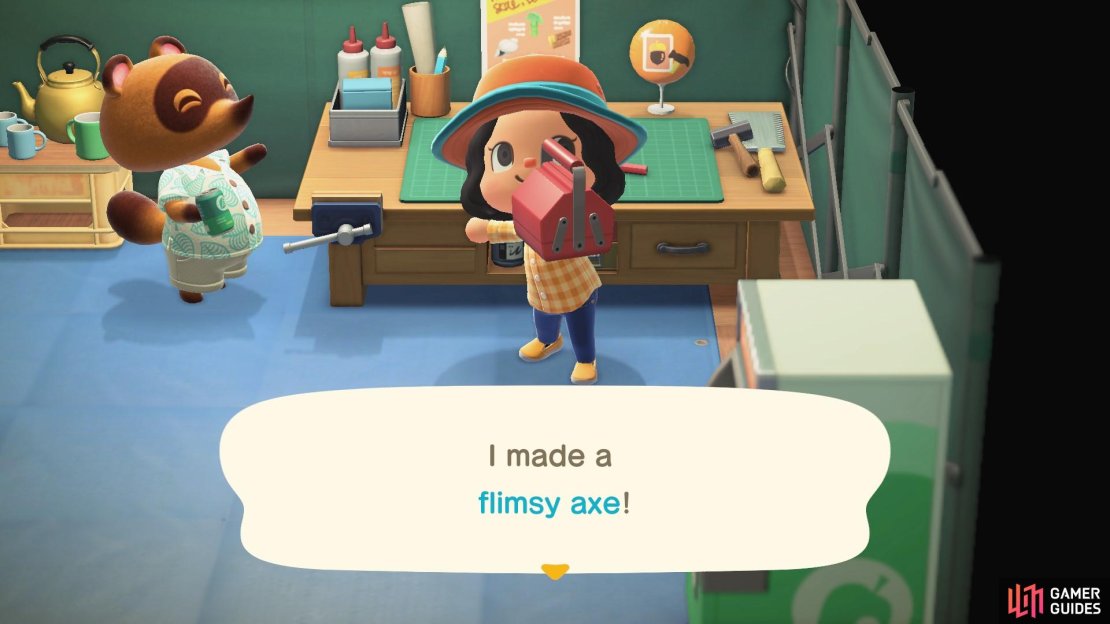
Before you can craft the vaulting pole and shovel, you’ll need to first make an axe. You will have already received the DIY for a Flimsy Axe from Nook the previous day. To make it, you will need one stone and five tree branches. You can obtain stone pieces from around the boulders located on your island.
Make a Flimsy Axe so you can harvest wood to craft more items!
After you’ve made your axe, you can now go out and chop some trees. You can’t actually cut down trees with a flimsy axe, but you can harvest three pieces of wood from each tree. There are three different types of wood to obtain: wood, hardwood and softwood. You will need normal wood the most frequently, but the other wood types do have their uses in some DIY recipes, as well.
To chop at a tree, walk up to it and press A with your axe equipped. If it is a fruit tree, the fruit will fall off the tree before you get any wood out of it. Be careful when chopping at trees! Sometimes a wasp nest might drop out, and the wasps will sting you. Wasps nests also drop out of trees when you just shake them too. You can catch wasps using your net, but you’ll have to be speedy as you only have a small window to catch the wasps before they hurt you. It is advised that you shake trees before you chop at them, if you don’t want to be stung by wasps. You can use medicine to heal a wasp sting, but if you get stung by wasps twice without healing in between then you will faint, causing you to spawn back near your home!
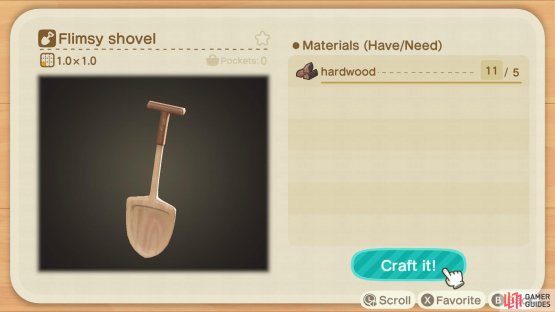
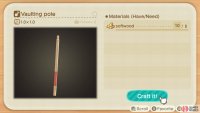
To make a Vaulting Pole, you need five pieces of softwood, and to make a Flimsy Shovel you’ll need five pieces of hardwood. The flimsy axe isn’t very durable so it will break after a short while. You can keep track of how much wood you have by keeping an eye on your inventory.
Once you have all the wood to craft the Vaulting Pole and Shovel, head over to the Residential Services and use the workbench to craft the tools.
(1 of 2) You need five pieces of hardwood to make a shovel
You need five pieces of hardwood to make a shovel (left), and five pieces of softwood to make the vaulting pole. (right)
Pole Vaulting
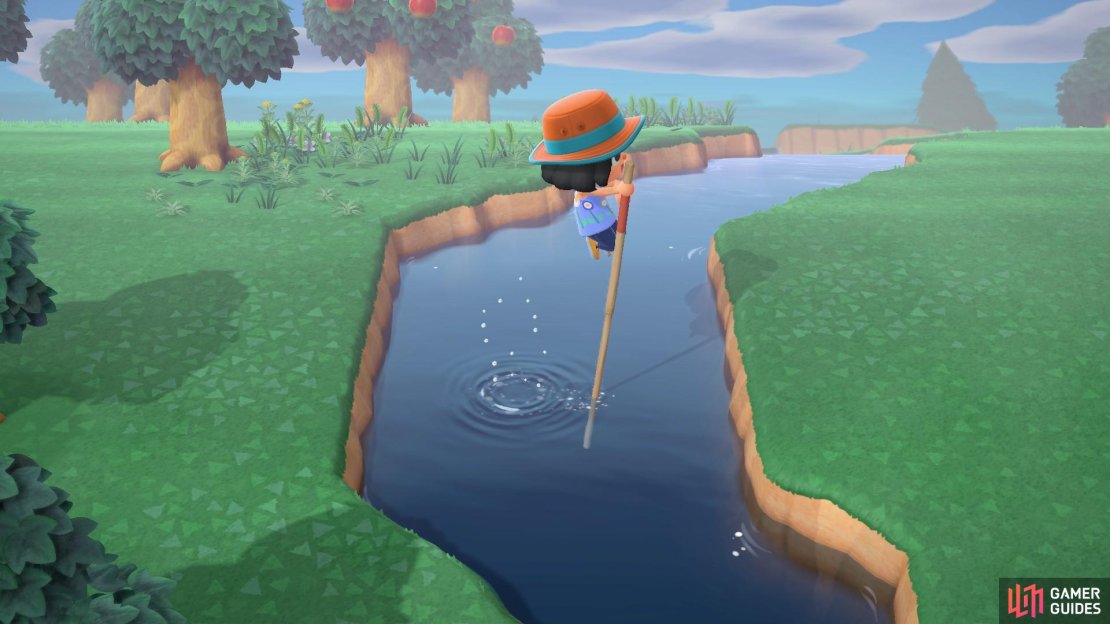
To pole vault, you’ll first need to equip your vaulting pole. Head over to a river and press A when you have your pole vault equipped. You’ll fling yourself over onto a new body of land! Finally, you can explore more of your island!
Fling yourself over a river using your vaulting pole!
Take the time to explore new parts of your island. Unfortunately, you can’t reach the higher levels yet, but you’ve still opened up a large part of your island, now that you have the vaulting pole.
Digging for Fossils!
To dig for fossils, you’ll first need to locate some star-shaped markings on the ground. Everyday, four new star-shaped markings will appear, so make sure you dig up every one everyday to maximise your fossil findings.
Firstly, you’ll need to equip your shovel and then line yourself up with the star-shaped marking on the ground. Press A to dig up the fossil. At first, the fossils will be unidentified, but you can take them to Blathers to be assessed! When your museum opens, you’ll be able to see the fossils exhibited. A lot of the fossils form larger dinosaur exhibits!
Donating to Blathers
To open a Museum on your island, you need to donate fifteen specimens to Blathers. You can donate bugs, fish or fossils. When you show him your first fossil, Blathers will assess the fossil and identify it. He gives you the option to take back the fossil, but you should most certainly donate it, so that it can be displayed in the museum when it opens. That being said, fossils are sold for a hefty price, so when you get duplicates be sure to sell them to make some bells!
After you have shown Blathers the first fossil, you’ll need to have fossils assessed before you can offer them as a donation. If it is a duplicate, he will give it back but if it isn’t then he will ask for it as a donation to the museum’s fossil exhibition.
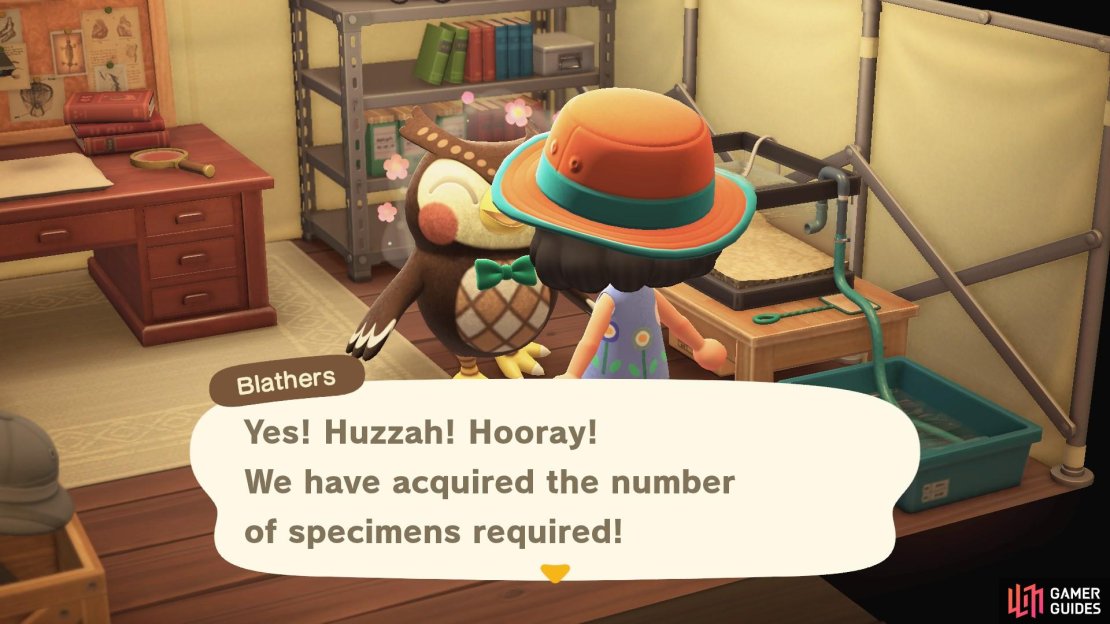
Donating the fifteen specimens may take a while as you can only give Blathers one creature/fossil at a time. But, as soon as you have succeeded in giving fifteen different specimens, Blathers will finally be able to open up his museum!
After this, you will no longer be able to donate any further specimens until the museum is constructed. It will take two days for the museum to be built. The day after you have donated fifteen specimens, Blathers will be unavailable because the museum site will be under construction.
The museum will be available in two days!


No Comments