
Description
After Nook’s Cranny has been built, when you next talk to Nook, he will announce that he has three interested parties who want to move to your island! However, he has promised them fully furnished homes and not just tents. He has asked that you help build furniture for the homes.
Build a Bridge
To begin helping, talk to Nook again and select the What should I do? option. First off, Nook will ask you to build a bridge to help open up the area. Whilst you’ve been able to cross onto new land, the other villagers haven’t been able to, so they need a bridge.
Nook sends you a recipe for a Bridge Construction Kit, which you’ll be able to find on your Nookphone, in the DIY Recipes app.
To make the bridge, you will need 4 Log Stakes, 4 Clay Pieces and 4 Stone. To make the log stakes required, you’ll need 3 wood pieces each, so 12 pieces in total. It won’t take you long to collect these materials, so when you’re ready you can head to the workbench and craft the log stakes and then the bridge kit.

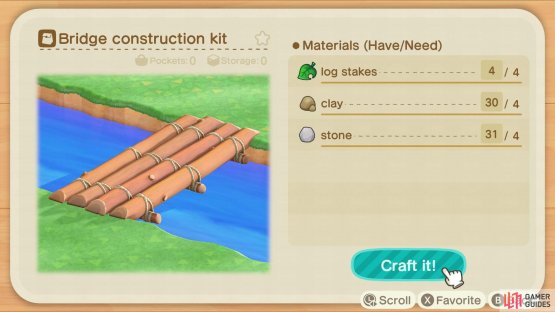
(1 of 2) The log stakes require 3 wood each
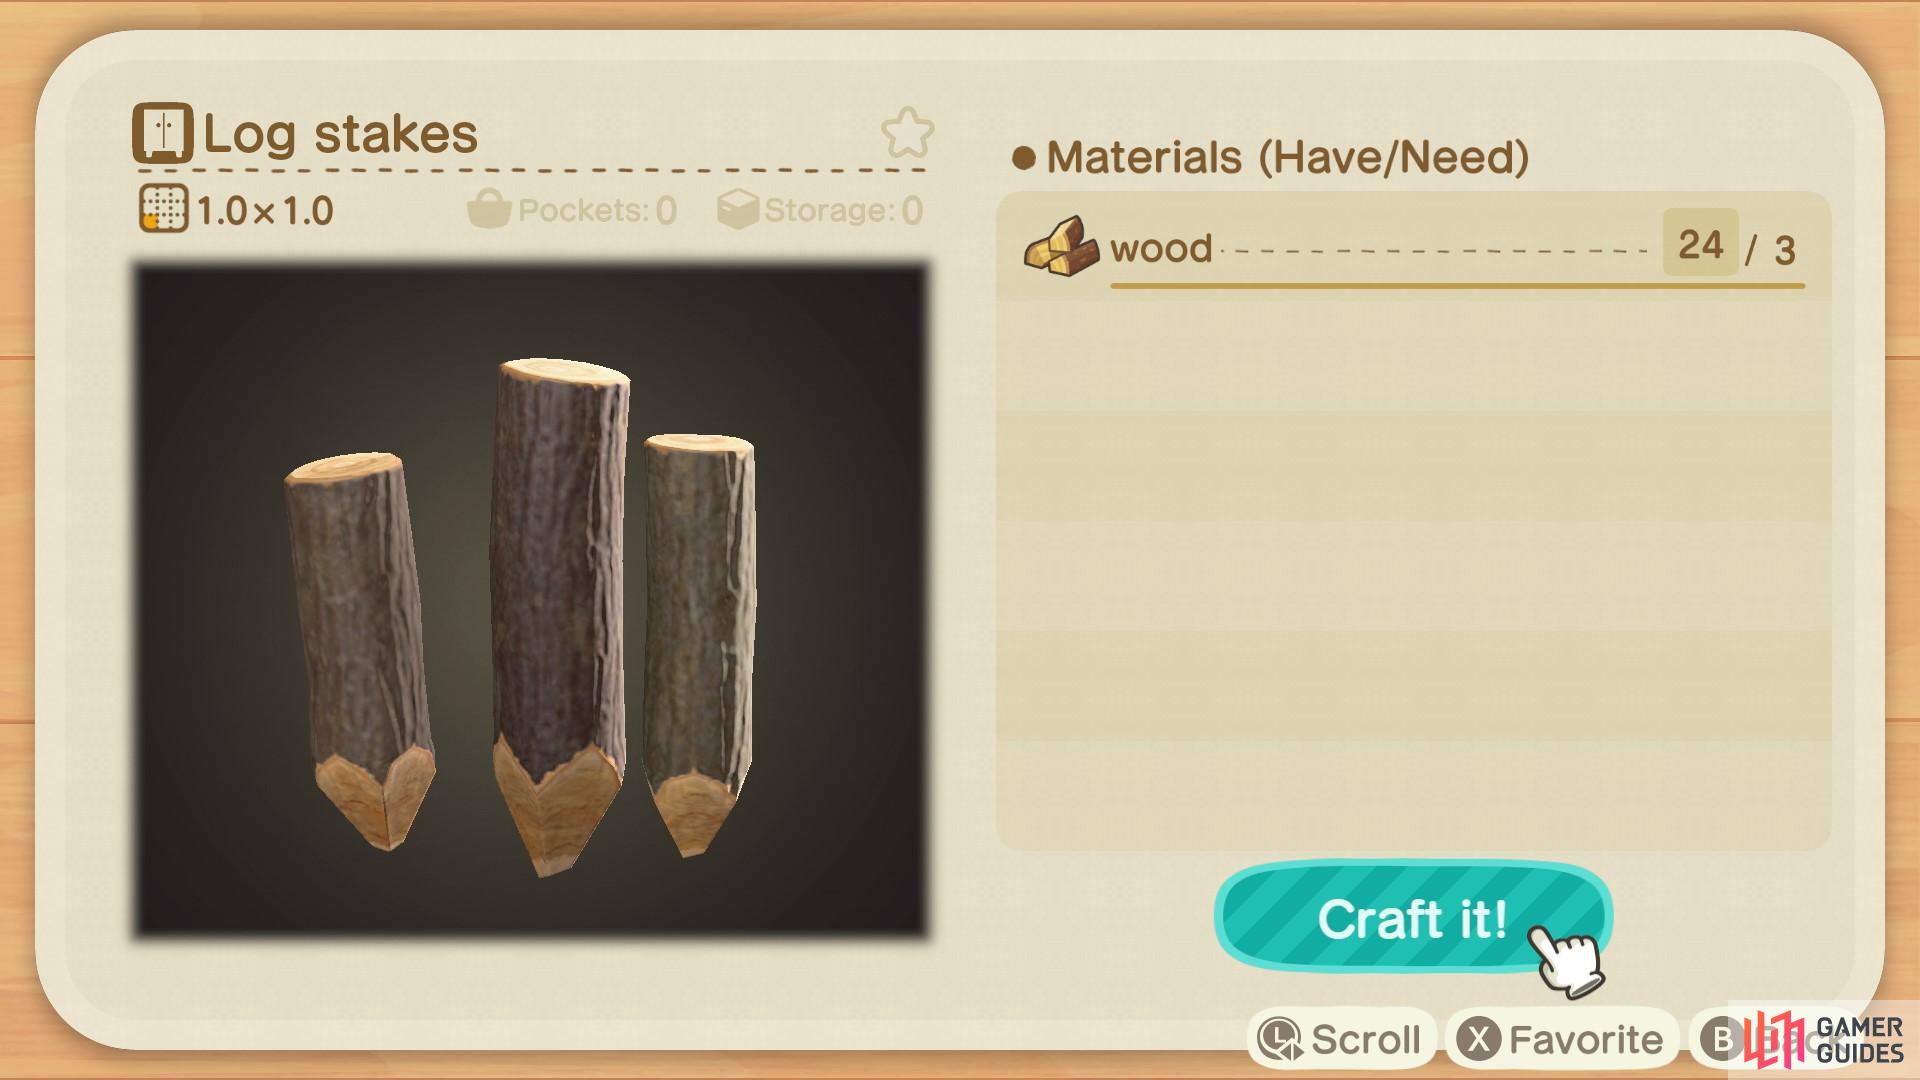

The log stakes require 3 wood each (left), and you need 4 log stakes to make the bridge. (right)
After you’ve made your kit, you need to find a good spot for the bridge. They must be placed over a river that isn’t too narrow and isn’t too wide either. Generally, the majority of your rivers will be the right size. You can place them diagonally, upwards and sideways. When you’ve chosen a spot, it will tell you when something is wrong. When you have found a suitable location for the bridge, you can preview what it’ll look like.
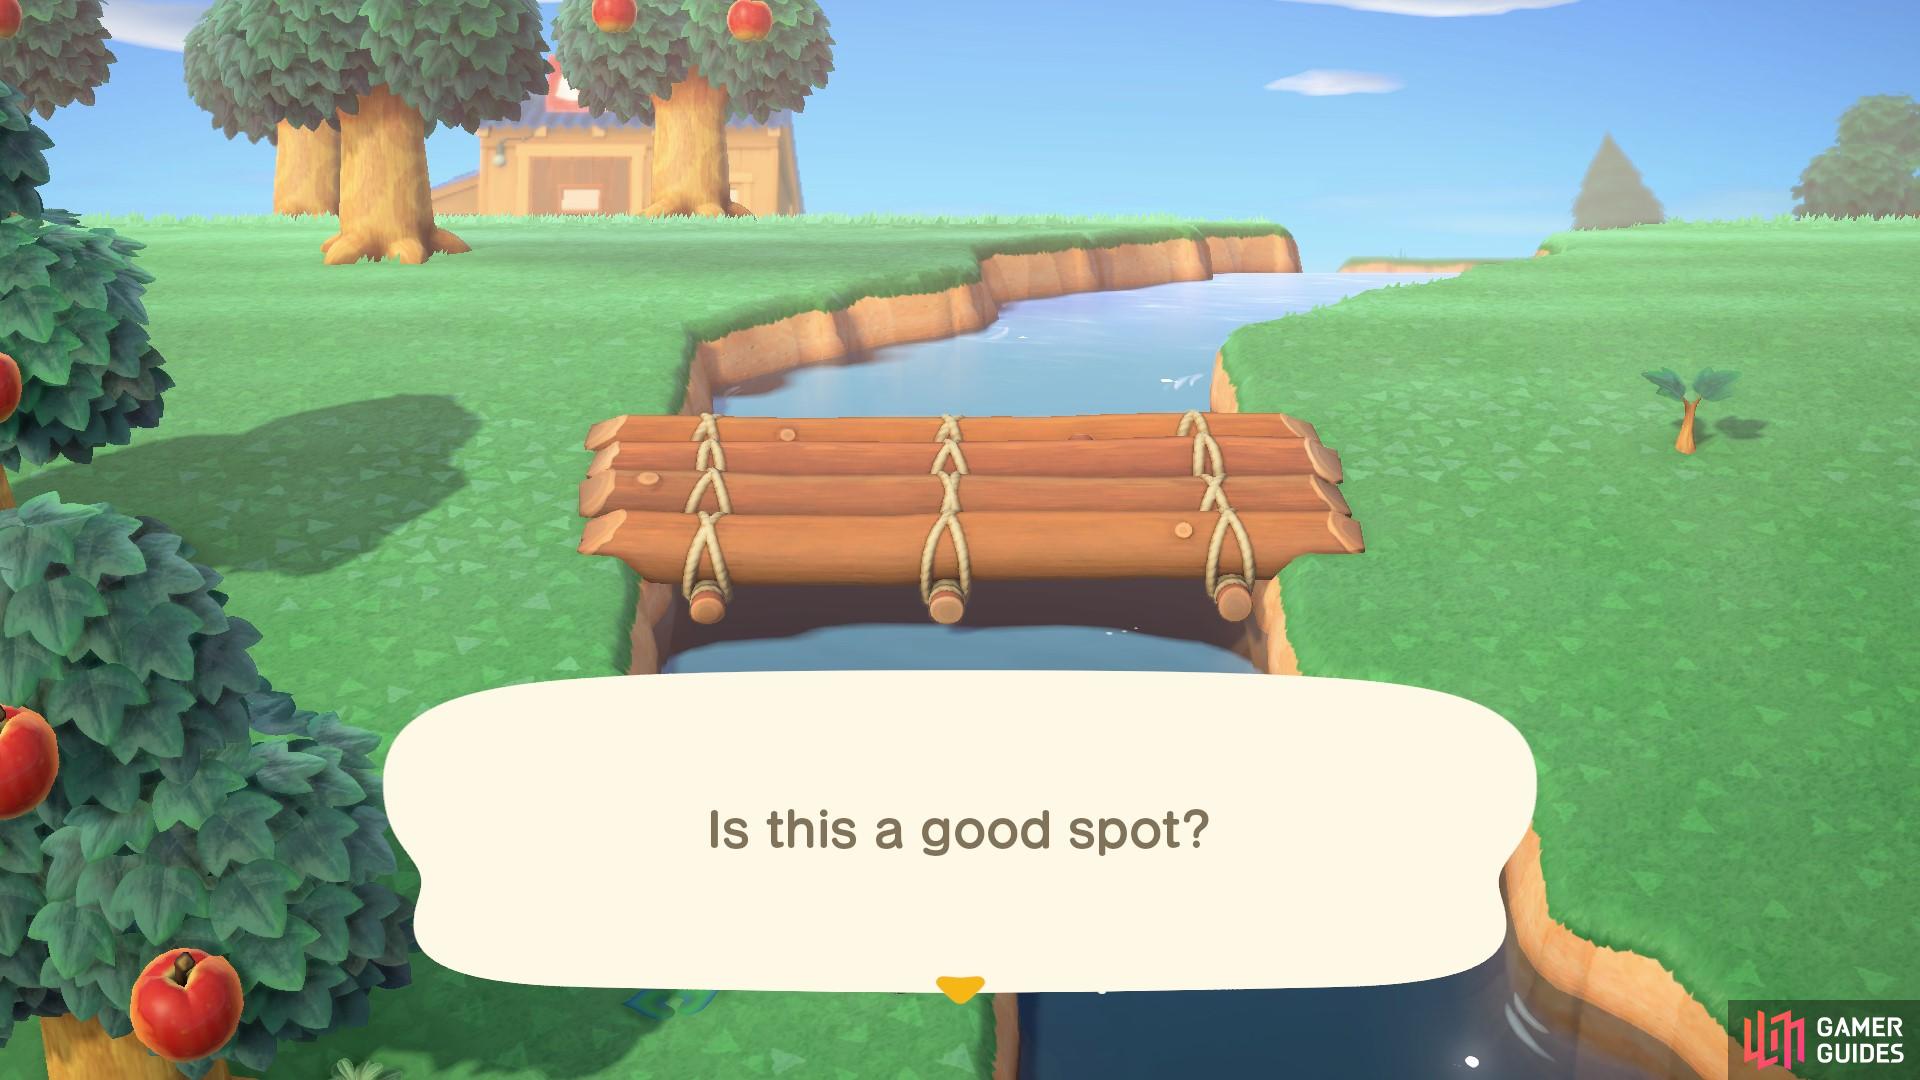
You can put your bridge in a variety of places, so long as it’s across a body of water.
Once you’ve decided on a spot, head back to Nook to tell him the good news. The bridge will be all ready and built by tomorrow. You can either wait till tomorrow to continue the building of island homes, or you can get on them straight away. If you do them today though, you’ll have a new resident by tomorrow!
Building Homes for New Residents
After completing the bridge, talk to Nook again and select the What should I do? option to begin building new homes. He will give you 3 housing kits and you’re tasked with finding plots for each one. Each housing kit comes with a list of furniture required for the house. The furniture can all be made using DIY recipes, and the recipes you’re given will be random. Nook will send you all the DIY recipes you need to build the furniture required for each house.
Along with the furniture DIYs, Nook has also sent you a ladder! You can finally explore the higher levels of the island. To craft a ladder, you need 4 of each type of wood. When you have it equipped, head to a cliff edge and press A to scale the cliff!
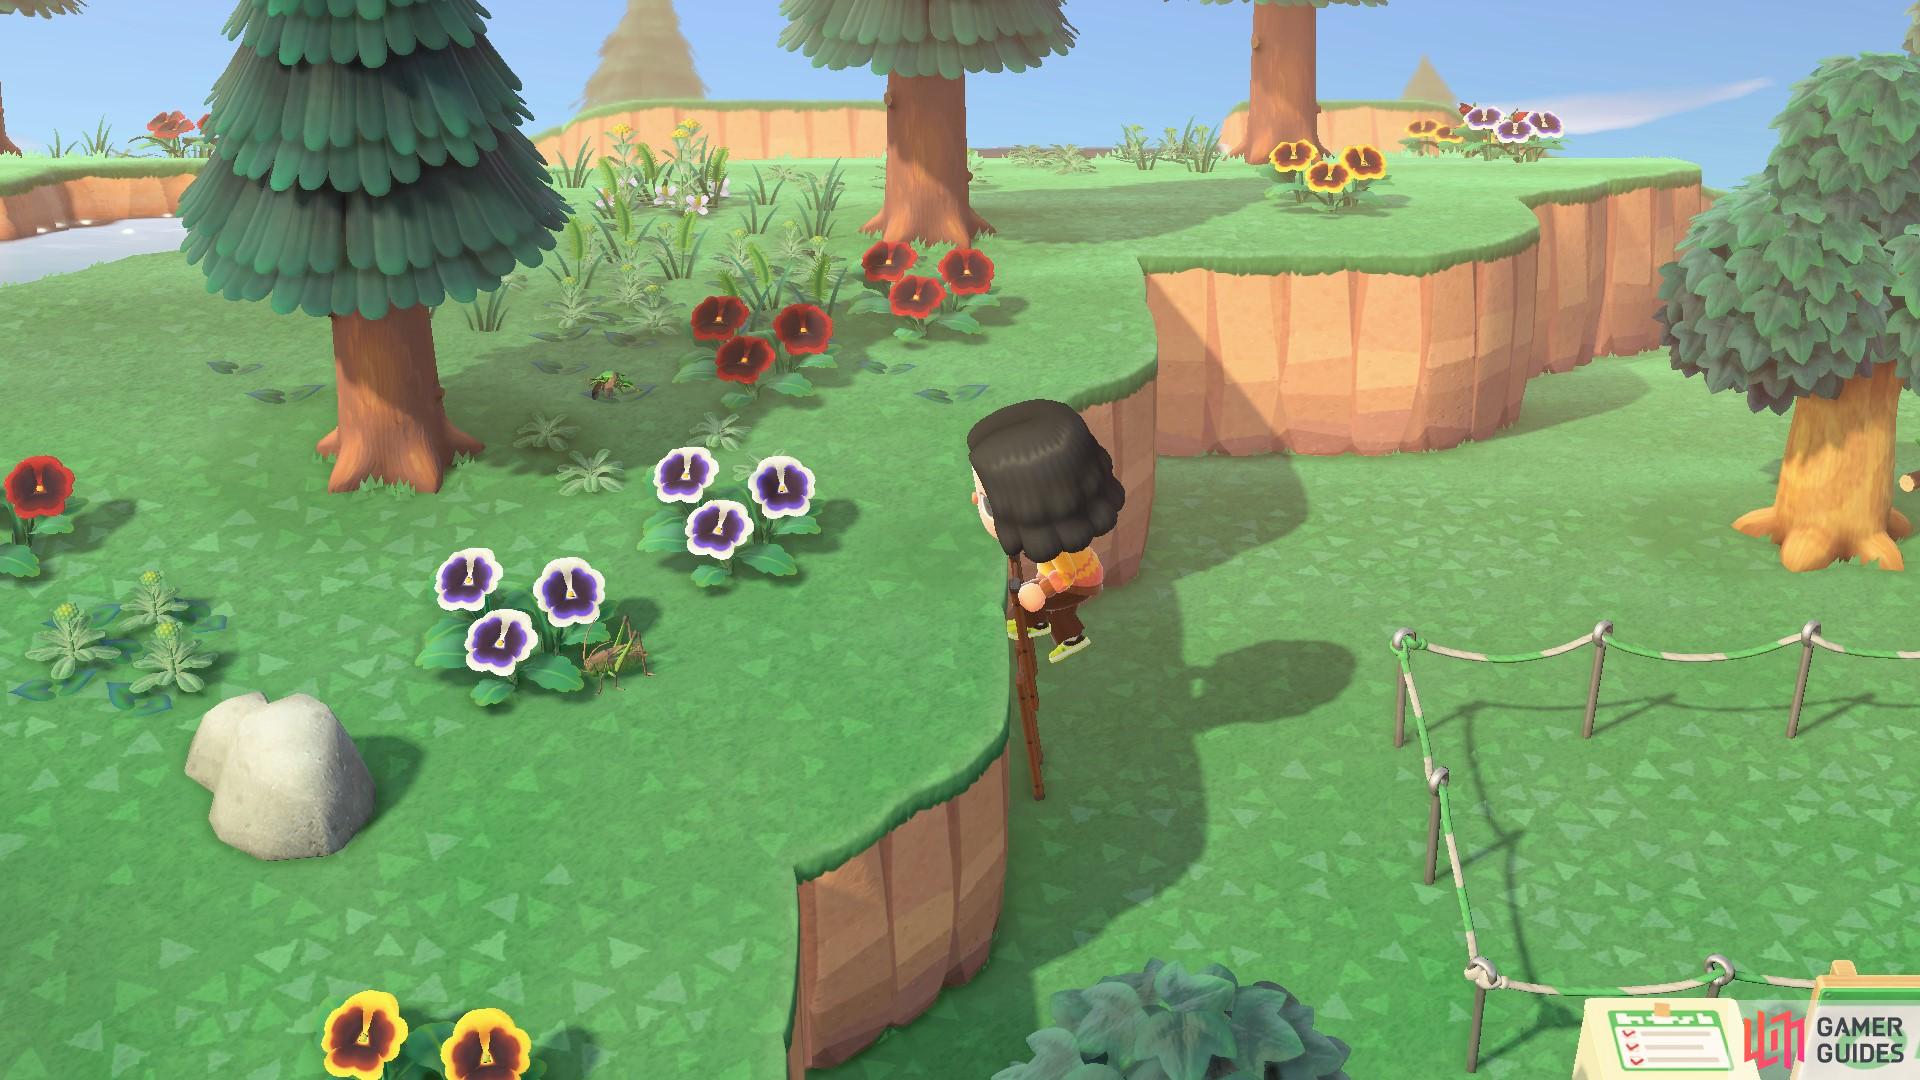
The ladder means you can climb up cliffs now!
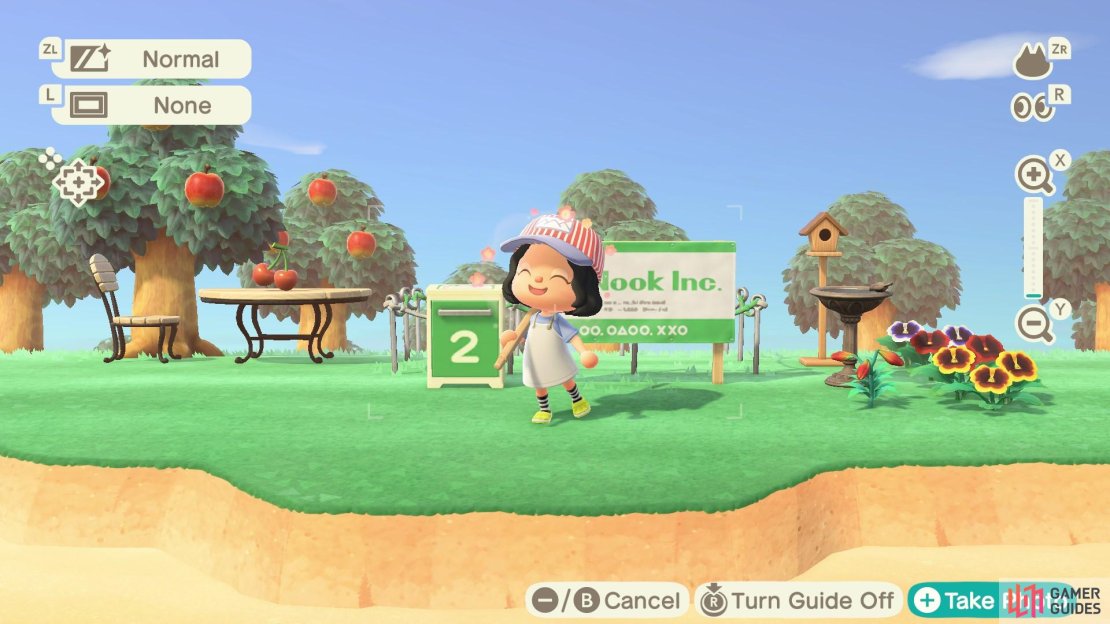
The plots themselves are rather large, because they also come with a garden space, even though the house themselves are only 4x4 large. You can put the houses anywhere now that you have access to the whole island! After you’ve confirmed your first house plot, you’ll get a call from Nook. He tells you that looking into the box on the outside of plot will give you information on what furniture needs to go inside the house and what goes on the outside.
Once you’ve set up plot number two, you’ll get another call from Nook! He will tell you that he has sent you the ladder because he needs you to grab flowers to decorate the houses with. House two specifically requires a wreath of flowers.
After you’ve chosen all three locations, you can get to work on building the furniture.
Here’s an example of the types of things you might need to make, but the recipes people receive won’t all be the same:
House One:
| Inside | Outside |
|---|---|
| Apple Chair | Clothesline |
| Juicy-apple TV | Stone Table |
| Pot | Stone Stool |
House Two:
| Inside | Outside |
|---|---|
| Pansy Wreath* | Natural Garden Chair |
| Wooden-block Stereo | Natural Table |
| Wooden-block Table | Birdbath |
*To make flower wreaths, you need to pluck the flowers, not take the whole plant. To take a whole plant, you dig it up with a shovel and to pluck the flowers you press A near them when you don’t have a shovel equipped. When you pluck a flower, it’s petals will grow back in a few days.
House Three:
| Inside | Outside |
|---|---|
| Wooden Simple Bed | Log Garden Lounge |
| Wooden Chair | Log Stool |
| Classic Pitcher | Water Pump |
To check what materials you need for certain recipes, you can head over to a workbench or check on your app. All the recipes you’ll be asked to craft will be made from easily obtained materials, like wood, stone and clay. They are all things you can find on your island without difficulty.
Decorating the Gardens
After you’ve crafted all the furniture, you now get to decorate the outside of the homes using the outside furniture! You have to use the three furniture pieces required, but you can add flowers and extra furniture too, if you wish. It is satisfying to spend some time making the gardens look pretty for your new villagers! You’ll probably feel a little limited because you’re required to put certain furniture around their house, but after you’ve completed the houses, you’ll be able to add, remove and swap any of the garden furniture, it isn’t set in stone at all.

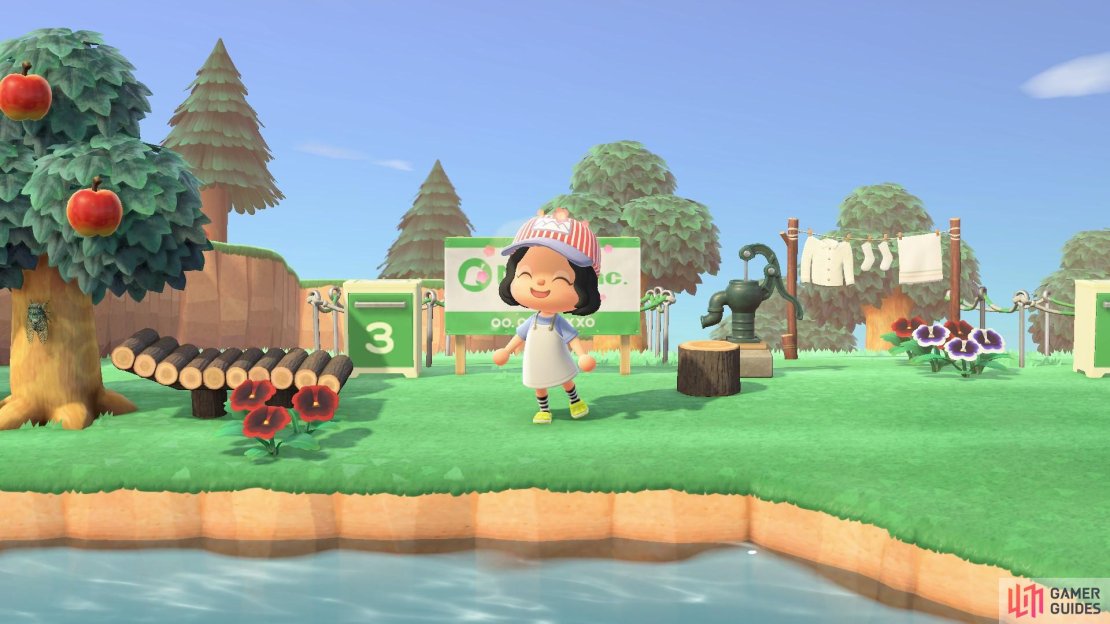
(1 of 3) Garden 1 has a lovely stone table and stools
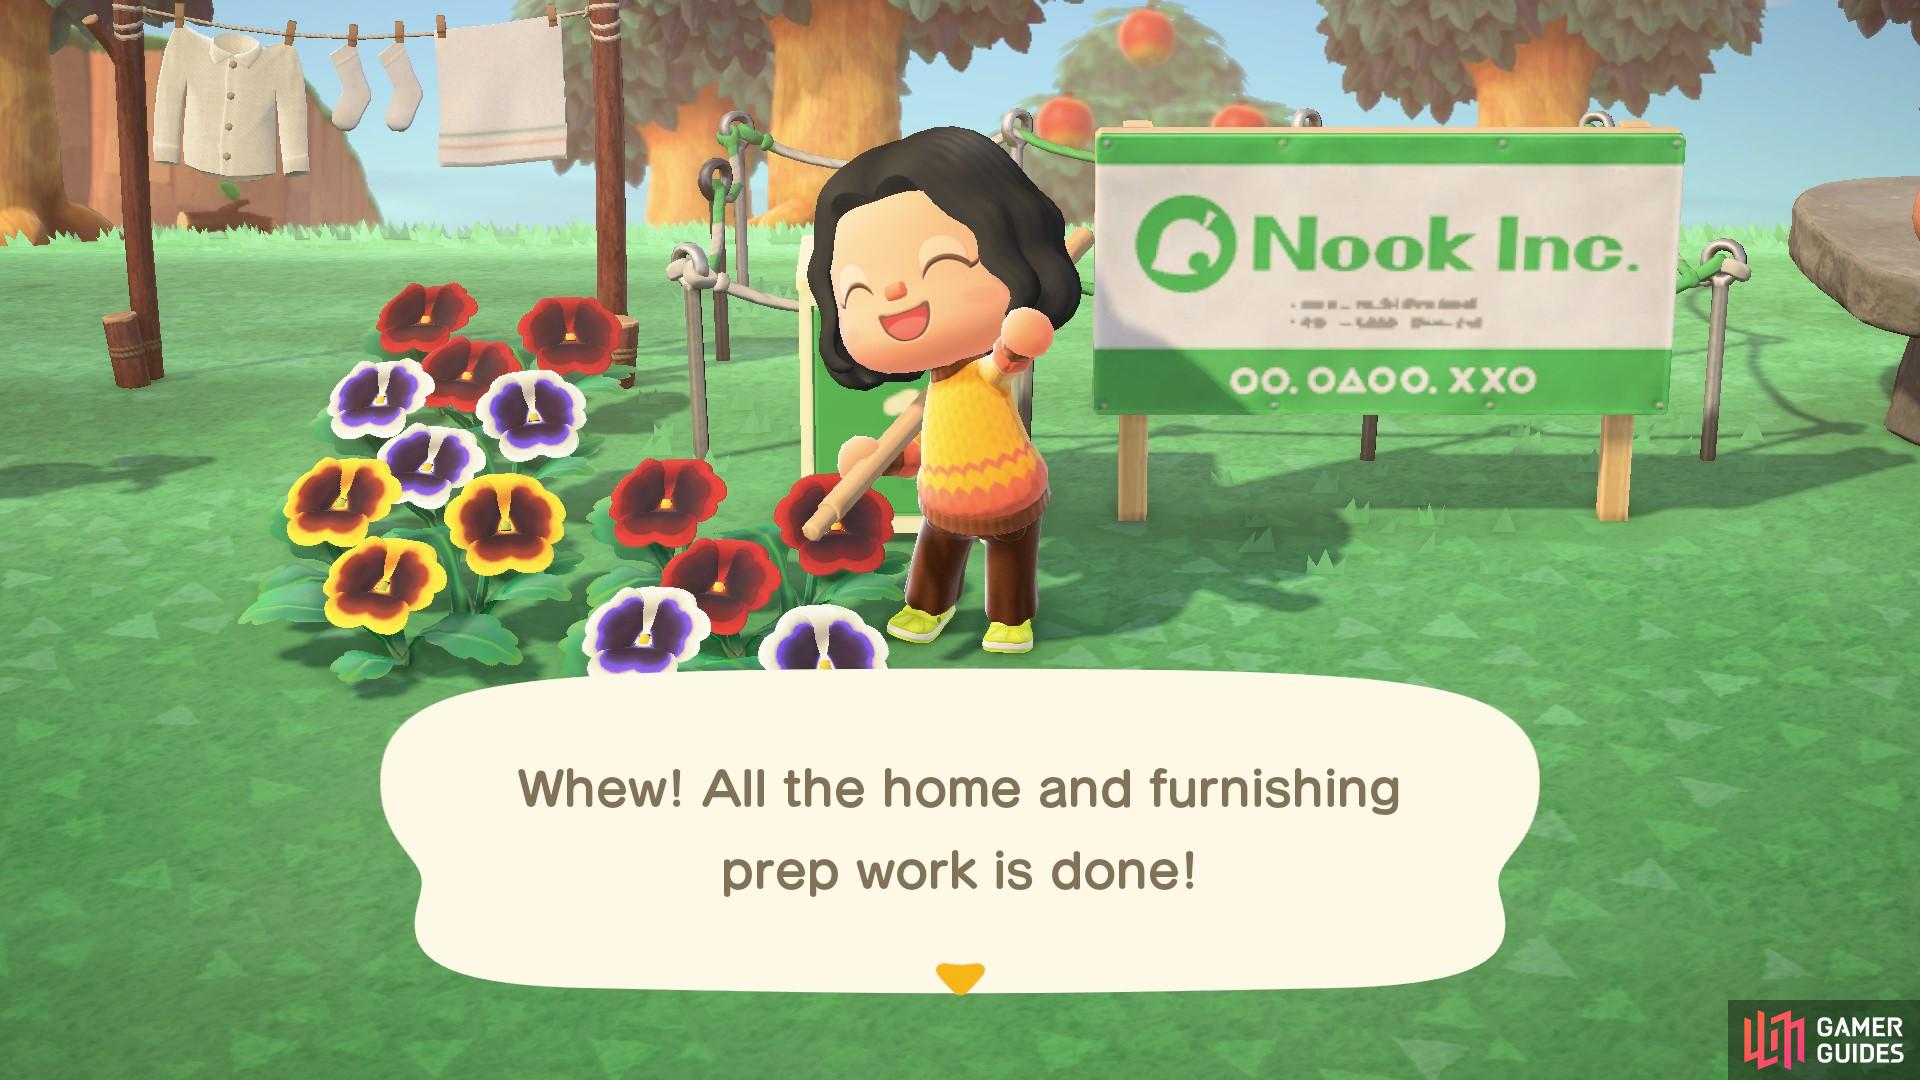
To submit the interior items, you need to select the box outside the house, and choose the Check Interior items. You will then be able to submit the furniture you’ve made if they’re the right ones for the house.
Talk to Nook
Once you’ve completed all of the houses, head back to Nook in Resident Services.
That took a lot of resources! But you’re finally done and ready to meet new villagers.
He will thank you for all your hard work and reward you with 50 pieces of simple wood fencing! You can use it to make gardens and parks. After today, you’ll be able to buy different DIY recipes for fences by redeeming Nook Miles. Be sure to check the Nookstop everyday to grab all the different fence DIYs.
Fencing
To add fencing to your island, you’ll need to go into your inventory and select the Build Fence option after clicking on the fences. This will trigger your character to whip out a hammer. Whilst you have the hammer equipped, you’ll be able to put down as many fence pieces as you have available. Press A with the hammer equipped to place down a fence piece. To remove fencing, press Y.
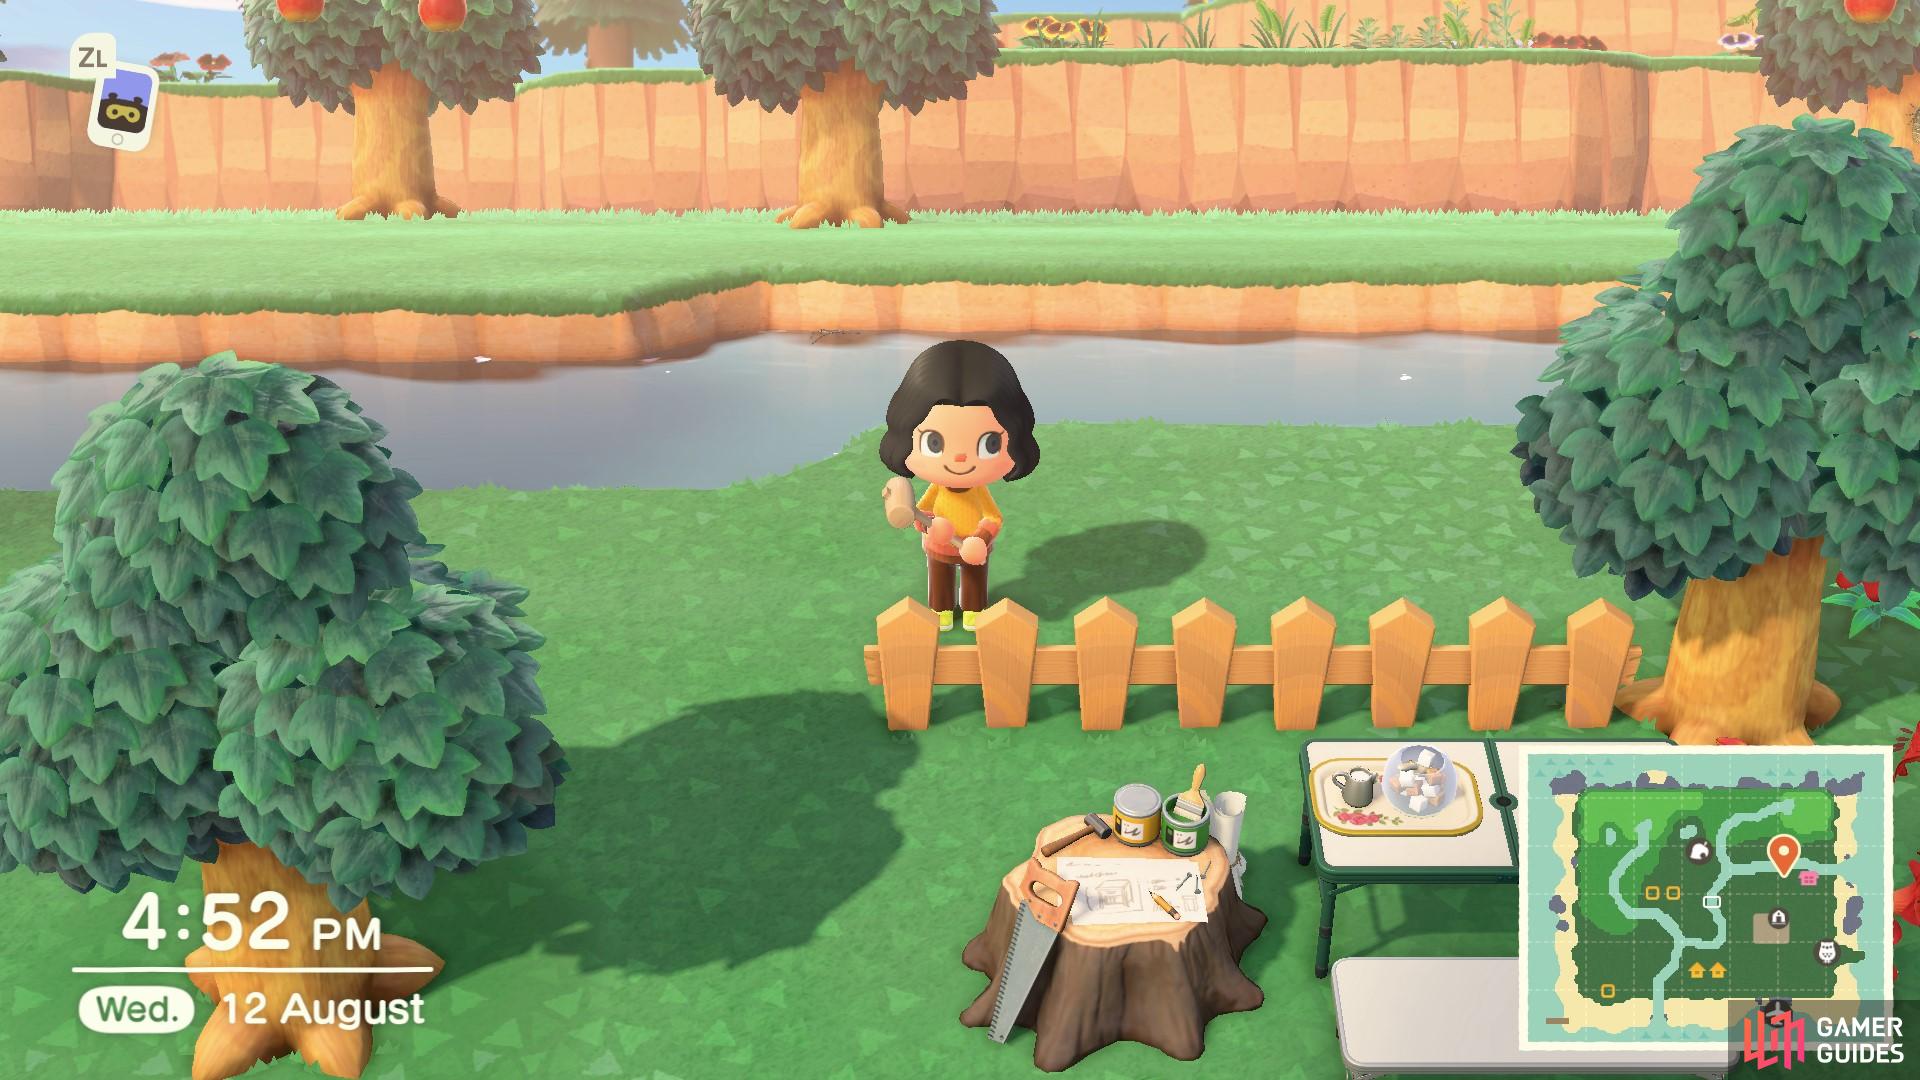
You can make gardens and parks using fences.
No Comments