This page offers a guide on how to unlock and use Partition Walls in the Happy Home Paradise DLC.
If you haven’t started the DLC, check out our guide on how to begin Happy Home Paradise.
The partition wall is introduced a little into the DLC.
How to Unlock Partition Walls in Happy Home Paradise
You’ll have to do a series of things before you can unlock the option to add partition walls to your rooms. First, you’ll need to decorate enough vacation homes that you unlock the ability to design and furnish the school. For more information, head over to our guide on how to unlock and design the school.
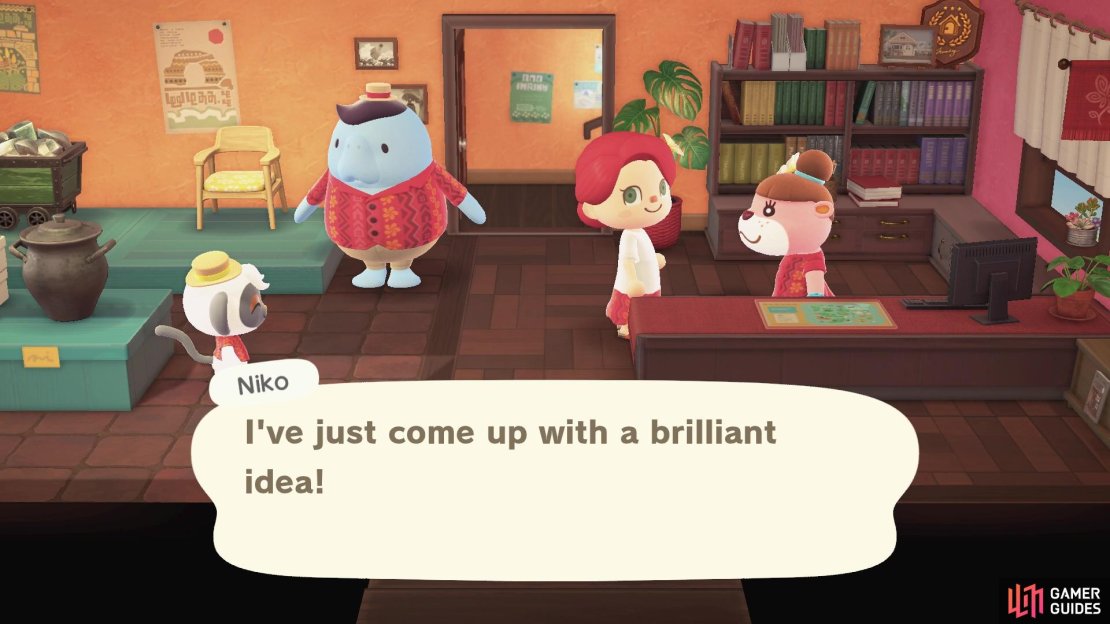
The reason why you need to unlock the school beforehand is because this is where you learn how to adjust the size of rooms using a new tool in decorating mode. And once you’ve unlocked the room adjusting tool, Niko will hint at an idea that could really utilise the extra space.
Niko has the idea for partition walls but won’t share it just yet!
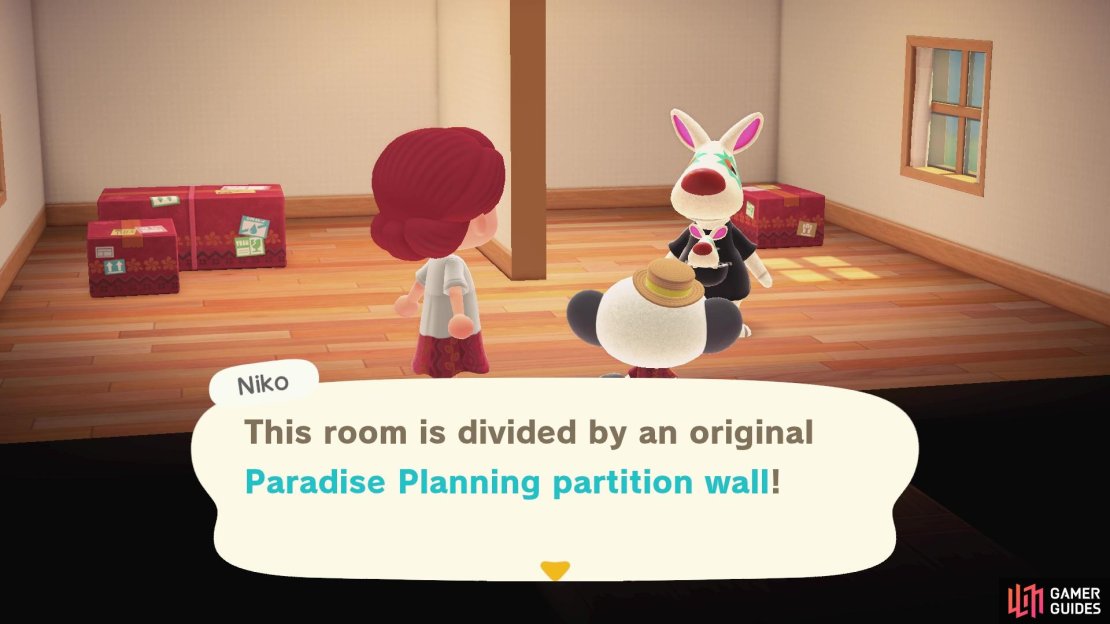
He won’t tell you anything just yet unfortunately, so after you’ve completed the school, you’ll have to complete one more client before you can find out about partition walls from Niko. When you next enter into a client’s vacation home (so the second vacation home after building the school vacility), you’ll be greeted by a Paradise Planning partition wall. So, you’ll unlock the walls on your 8th vacation home (after completing 7 homes prior).
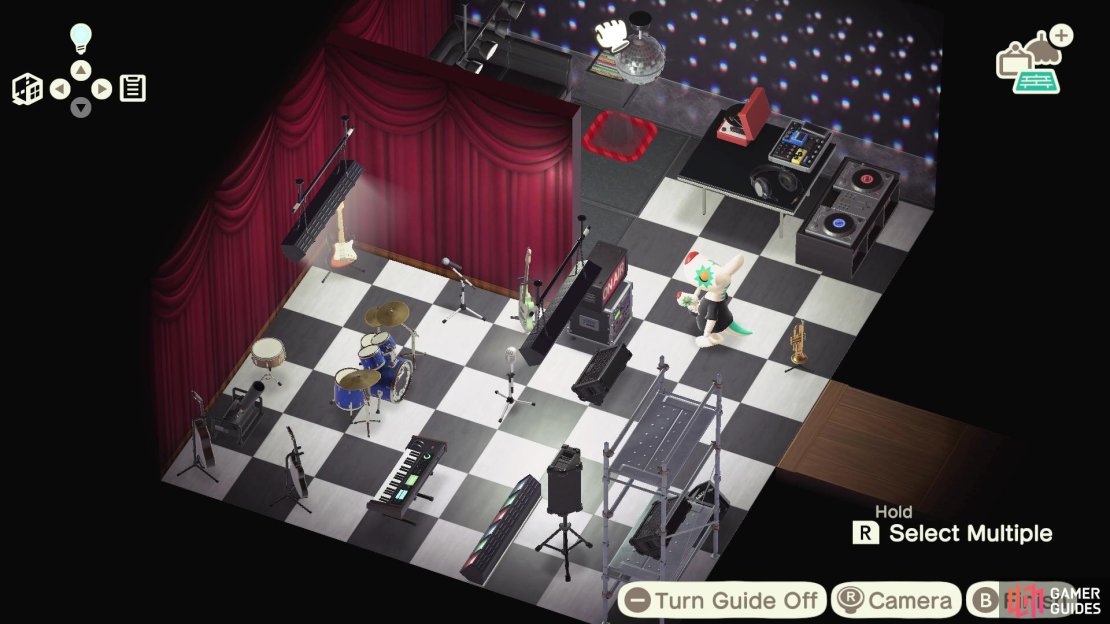
Paradise Planning partition walls can be moved around like any other furniture piece and can be rotated so you can divide the room vertically or horizontally. To add a partition wall, head to the other tab (the three dots icon) when you have the inventory open and it should be at the top of the list, provided your inventory isn’t organised by alphabetical order.
You can’t change the color or wallpaper on just partition walls so they’ll be the same wallpaper as the rest of the walls. You can’t hang things on the partition walls either.
It is worth mentioning that you could head back to a previously designed vacation home and add these new partition walls or resize the rooms. Any new techniques you learn can be applied to previous vacation homes!
The partition wall is a great new addition to help spice up your vacation home designs.


No Comments