Lucky Dice is one of the collectibles that can be found in Tiny Tina’s Wonderlands. They are golden models of D20s used in tabletop gaming and upon finding them, randomly roll a number from 1 to 20, determining the kind of loot you get from them. Finding Lucky Dice will also increase your Loot Luck stat. This page will detail the locations of all the Lucky Dice in Drowned Abyss.
Lucky Dice Location #1 - Untrodden Depths
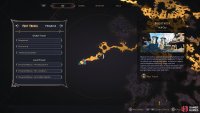
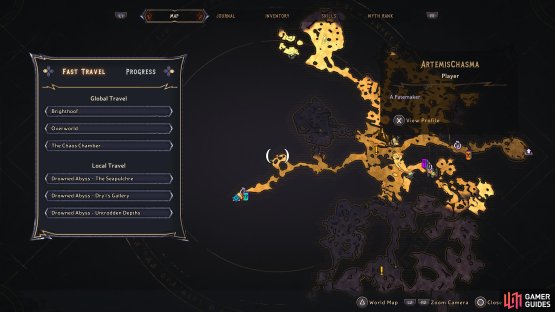
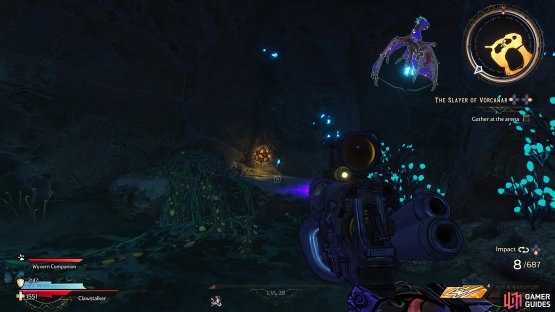
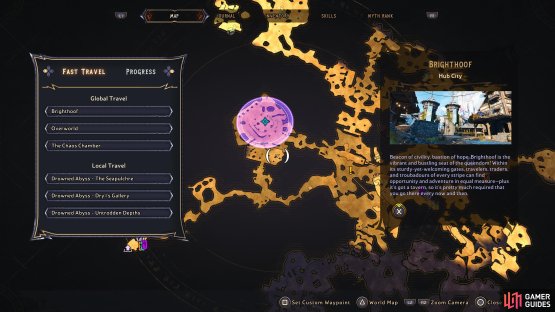
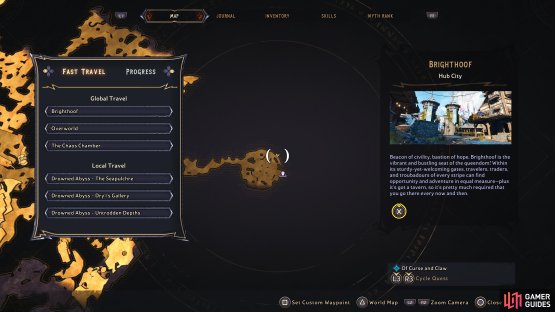
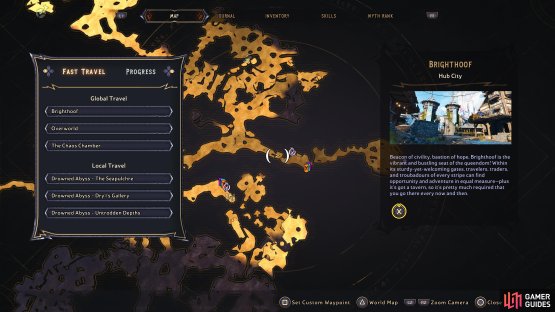
(1 of 2) Head to this location in the Drowned Abyss
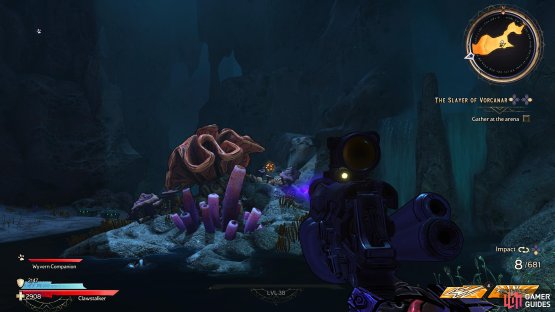
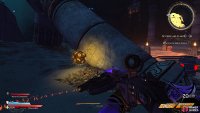
Head to this location in the Drowned Abyss (left), to find the Lucky Dice sitting inside some coral. (right)
Start at the Untrodden Depths Fast Travel and follow the path along to find the first Lucky Dice sitting on some coral.
Lucky Dice Location #2 - Untrodden Depths
(1 of 2) Head to this location in the Drowned Abyss
Head to this location in the Drowned Abyss (left), to find the second Lucky Dice sitting inside a small cave. (right)
Head a little further along the path and you’ll see a large portion of the wall on the left side being blocked by vines. Here you’ll want to use a melee attack on it a few times to break it down, then go inside the cave to find the Lucky Dice.
Lucky Dice Location #3 - Untrodden Depths
(1 of 2) Head to this location in the Drowned Abyss
Head to this location in the Drowned Abyss (left), to find the third Lucky Dice sitting beside a broken pillar. (right)
Continue following the path along and take the next to left to find the third Lucky Dice hiding behind a broken stone pillar.
Lucky Dice Location #4 - Temple of the Slithersong
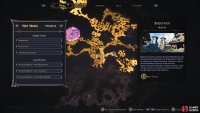
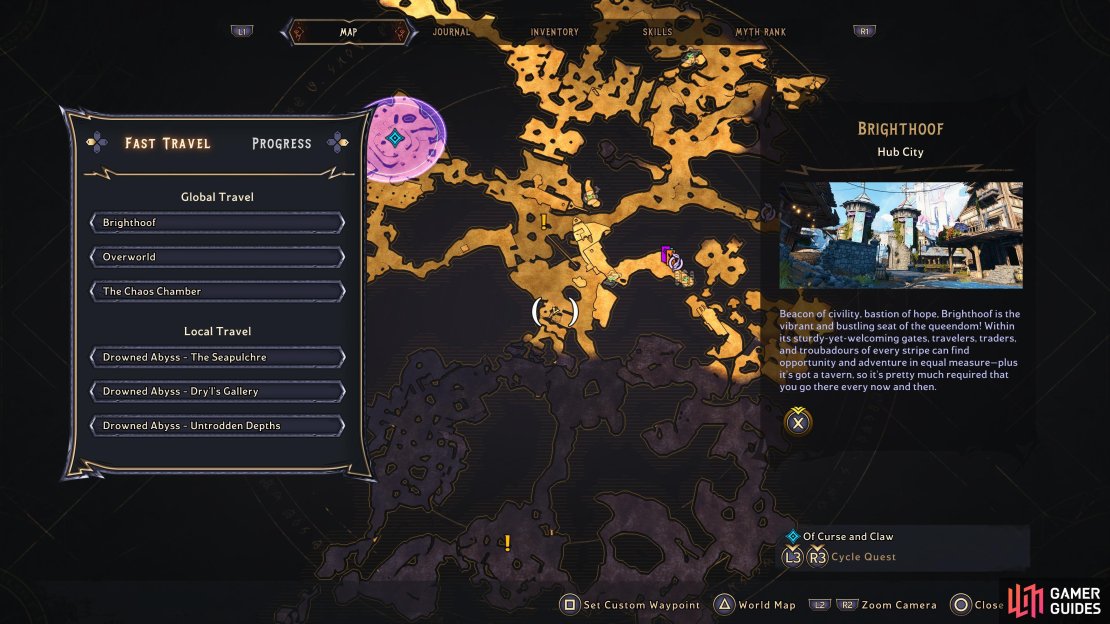
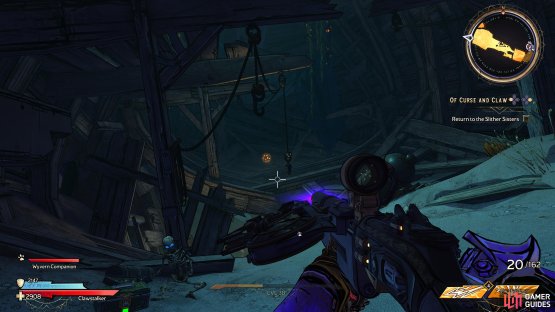
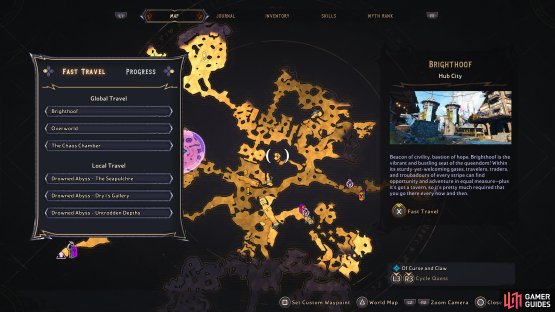
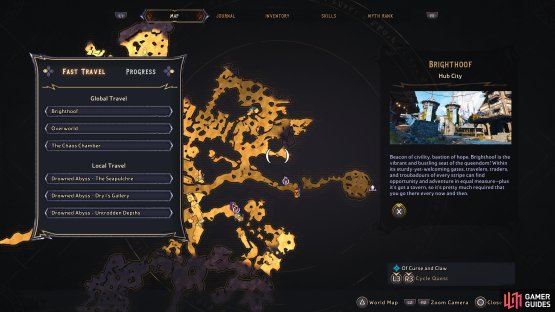
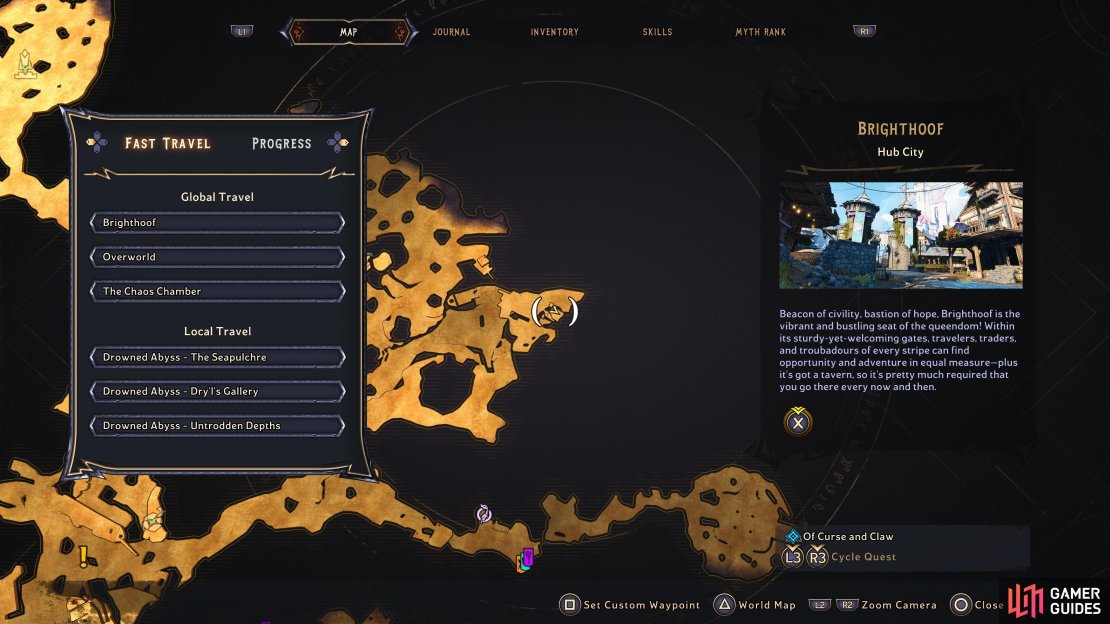
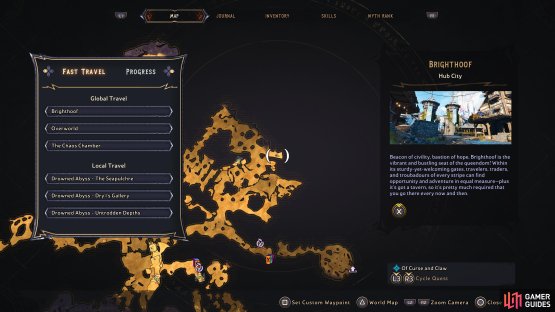
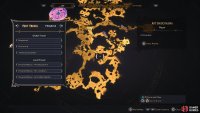
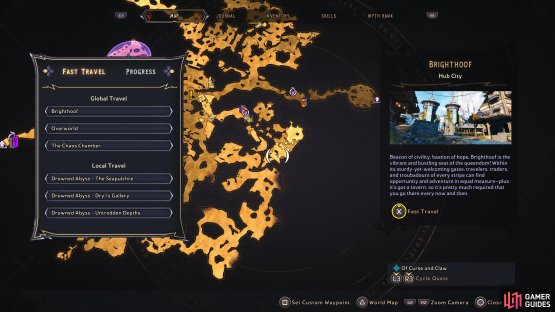
(1 of 2) Head to this location in the Drowned Abyss
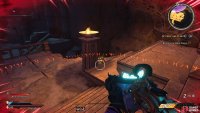
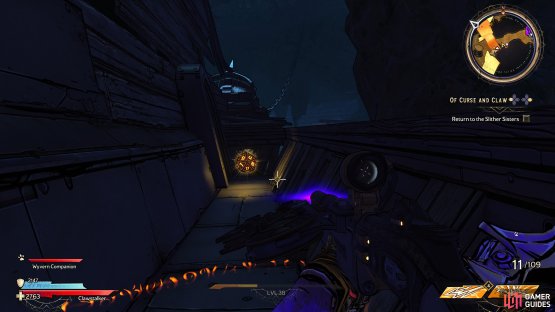
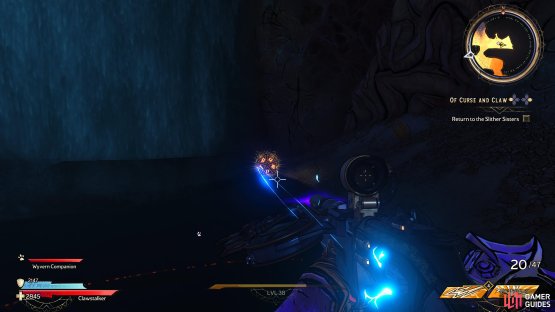
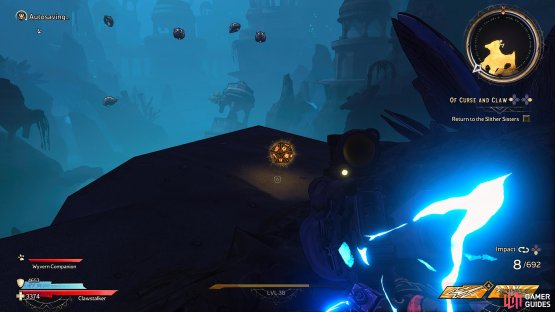
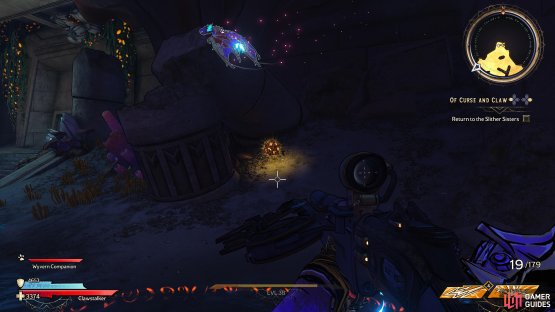
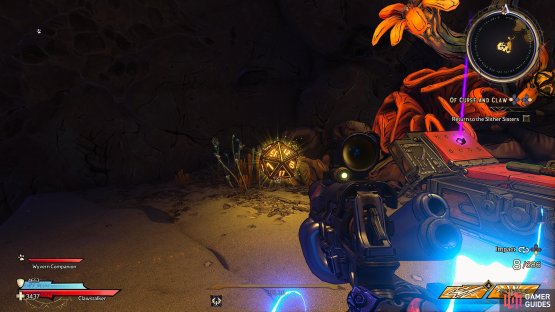
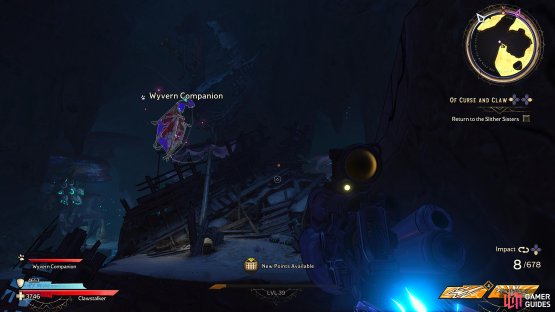
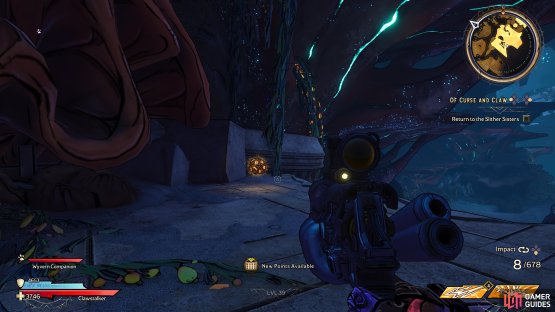
Head to this location in the Drowned Abyss (left), to find the fourth Lucky Dice sitting next to a brazier. (right)
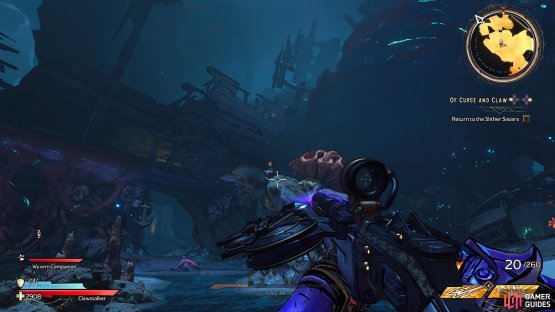
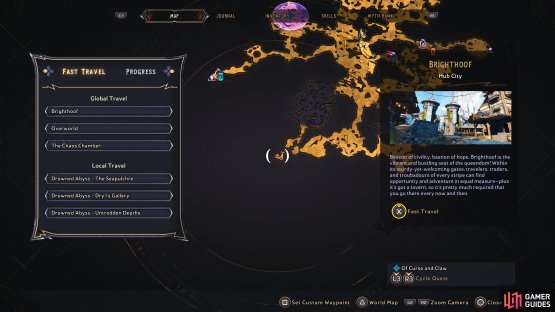
Accept the Of Curse and Claw Side Quest and progress through it until you’ve destroyed all four Clampifiers which will unlock a door to the upper area of the Temple of the Slithersong. Here you’ll find the Lucky Dice sitting behind a brazier.
Lucky Dice Location #5 - The Seapulchre
(1 of 2) Head to this location of the Drowned Abyss
Head to this location of the Drowned Abyss (left), to find the fifth Lucky Dice sitting on some coral. (right)
Head back to the Untrodden Depths Fast Travel and follow the path along until you enter The Seapulchre, then walk south and use the jump pad to reach some coral near a ship. Here you’ll want to drop down to the lower piece of coral to find the Lucky Dice.
Lucky Dice Location #6 -The Seapulchre
(1 of 3) Head to this location of the Drowned Abyss
From the location of the previous Lucky Dice turn southwest and look into the sky, then shoot the anchor to break the floor open to reveal a Lucky Dice.
Lucky Dice Location #7- The Seapulchre
(1 of 2) Head to this location of the Drowned Abyss
Head to this location of the Drowned Abyss (left), to find the seventh Lucky Dice sitting in the balcony of the ship. (right)
Drop back down and use the jump pad again to reach the ship, then climb up to the top to find the sixth Lucky Dice sitting at the back right balcony.
Lucky Dice Location #8 - Dry ‘l’s Gallery
(1 of 2) Head to this location of the Drowned Abyss
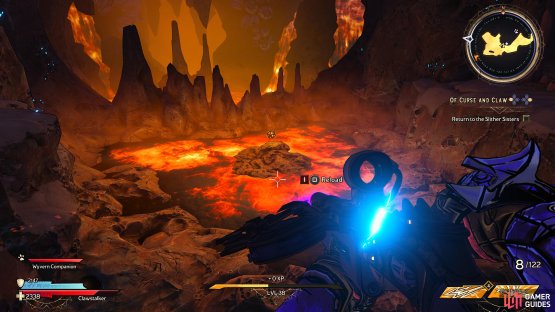
Head to this location of the Drowned Abyss (left), to find the eighth Lucky Dice sitting in a pool of Lava. (right)
Head to the Dry ‘l’s Gallery and go east and you’ll find the Lucky Dice sitting on a rock inside a small pool of Lava.
Lucky Dice Location #9 - Dry ‘l’s Gallery
(1 of 2) Head to this location of the Drowned Abyss
Head to this location of the Drowned Abyss (left), to find the Lucky Dice sitting behind a stone pillar. (right)
Continue heading east until you reach The Godswell Portal, then look behind the stone pillar to the left to find the next Lucky Dice.
Lucky Dice Location #10 - Dry ‘l’s Gallery
(1 of 2) Head to this location of the Drowned Abyss
Head to this location of the Drowned Abyss (left), to find the Lucky Dice sitting at the back of the ship. (right)
Head back to the Dry ‘l’s Gallery Fast Travel and walk west until you’re inside a destroyed ship, then turn around to find the Lucky Dice sitting at the back.
Lucky Dice Location #11 - Dry ‘l’s Gallery
(1 of 2) Head to this location of the Drowned Abyss
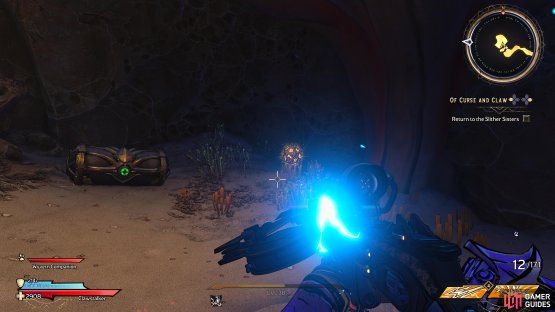
Head to this location of the Drowned Abyss (left), to find this Lucky Dice sitting at the back of a cave. (right)
Continue heading west until the path splits and you’ll find a wall blocked up by vines in the center which you’ll need to melee open. Here you’ll want to walk to the end of the path to find the Lucky Dice sitting next to a chest.
Lucky Dice Location #12 - Scuttle Buttress
(1 of 2) Head to this location of the Drowned Abyss
Head to this location of the Drowned Abyss (left), to find the Lucky Dice sitting on top of a hill. (right)
Exit the cave where you collected the previous Lucky Dice and head up the hill to the northeast to find the next Lucky Dice sitting up on the hill.
Lucky Dice Location #13 - Scuttle Buttress
(1 of 3) Head to this location of the Drowned Abyss
Head north and look up into the sky to find a shipwreck, so climb up to it and you’ll find the next Lucky Dice sitting in the area near the top of it.
Lucky Dice Location #14 - Scuttle Buttress
(1 of 2) Head to this location of the Drowned Abyss
Head to this location of the Drowned Abyss (left), to find the Lucky Dice sitting in front of a waterfall. (right)
Head northwest and jump across the gap, then hug the right wall to find the next Lucky Dice sitting in front of a waterfall.
Lucky Dice Location #15 - Scuttle Buttress
(1 of 2) Head to this location of the Drowned Abyss
Head to this location of the Drowned Abyss (left), to find the Lucky Dice sitting behind a pillar. (right)
Stick to the cliff edge and head northeast until you reach a corner, then look behind the pillar to find the next Lucky Dice.
Lucky Dice Location #16 - Temple of Sacrifice
(1 of 2) Head to this location of the Drowned Abyss
Head to this location of the Drowned Abyss (left), to find the Lucky Dice sitting next to a broken pillar to the right of the ancient obelisk room. (right)
Enter the Temple of Sacrifice and head to the upper right area, then look behind a broken stone pillar in the corner to find the Lucky Dice.
Lucky Dice Location #17 - Temple of Sacrifice
(1 of 2) Head to this location of the Drowned Abyss
Head to this location of the Drowned Abyss (left), to find the Lucky Dice sitting near the cliff edge. (right)
Enter the room to the left of the previous Lucky Dice and head to the northmost point of the area to find the Lucky Dice sitting near the cliff edge.
Lucky Dice Location #18 - Dud’s Thud
(1 of 2) Head to this location of the Drowned Abyss
Head to this location of the Drowned Abyss (left), to find this Lucky Dice hiding in a cave above a small waterfall. (right)
Head down to Dud’s Thud and follow the right path along until you see the NPC Quimble, then climb up the right path and proceed through until you see a wall on the left. Here you’ll want to melee down the vines blocking the entrance to a small cave which contains the Lucky Dice.
Lucky Dice Location #19 - Dud’s Thud
(1 of 2) Head to this location of the Drowned Abyss
Head to this location of the Drowned Abyss (left), to find the Lucky Dice sitting halfway up a shipwreck. (right)
Head back to the location of the NPC Quimble, then take the left path to find a large shipwreck which has the Lucky Dice sitting halfway up.
Lucky Dice Location #20 - Dud’s Thud
(1 of 2) Head to this location of the Drowned Abyss
Head to this location of the Drowned Abyss (left), to find the Lucky Dice sitting on top of a temple. (right)
Head northeast and take the jump pad up onto the top of the broken temple, then you’ll find the Lucky Dice sitting in the corner next to some coral.








































No Comments