Tiny Tina’s Wonderlands allows you to build your characters however you want, but there are certain builds that tend to be better than just haphazardly throwing one together. This page will be dedicated to looking at the Deadshot build, which is the combined classes of Spellshot and Graveborn, offering a different take on the other build once you have the necessary gear.
Skill Tree - Spellshot
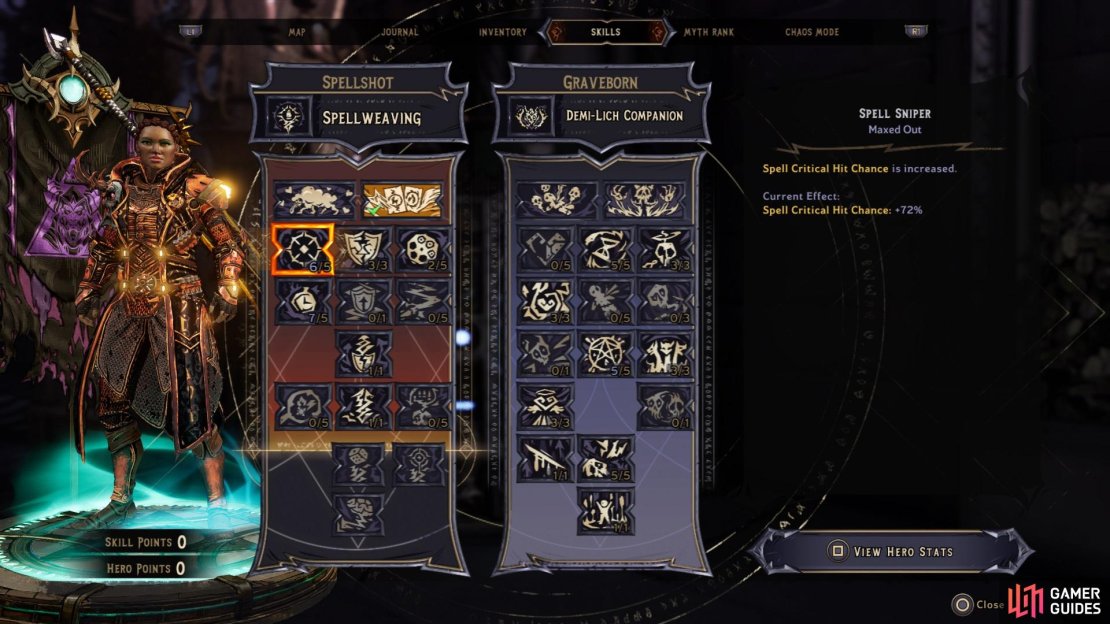
The big thing you will want to take away from the Spellshot skill tree is the High Thread Count skill, as this gives you three extra stacks of Spellweaving, a critical part of most Spellshot builds. In addition to this, you can get Spell Sniper, Magic Bullets, Font of Mana, Glass Cannon, and a single point in Prestidigitation. Font of Mana will increase your spell cooldown rate, while Glass Cannon will increase the damage your spells do. Note that Glass Cannon will make it so your Ward does not regenerate on its own, meaning you have one less guard against going down, so you could get Mage Armor if you want some extra survivability.
The skill trees for this build
Skill Tree - Graveborn
This is where most of the damage for this build is coming from, so once you gain access to the secondary class, then you will want to respec to only put the necessary stats in the other tree. To start off, get both Essence Drain and Faithful Thralls, both of which are important. The former will improve your spell cooldown rate whenever you kill enemies, while the other will increase your damage for every companion you have (more on this in a little bit). Sanguine Sacrament will be the only skill in the second tier, which helps with survivability, as you regain health back with every spell cast.
The third tier includes some points into Stain of the Soul, which is just extra damage, and Dark Hydra, for extra companions that might spawn upon getting a kill. Of course, the latter will be important, since you will be bypassing the actual killing part to trigger Dark Hydra. Ascension will be the fourth tier skill you want, as it will increase your spell damage for getting a kill. The fifth tier will include Blast Gasp, a skill that will be vitally important, but it doesn’t trigger all the time. Basically, you will be getting major damage from this, despite the 20% chance for it to trigger.
Lord of Edges can be useful, too, as it simply allows you to deal more damage and take less damage the lower you are on health. Now, because of Sanguine Sacrament, you shouldn’t really ever be low on health, especially if you’re casting a lot of spells often (which you will be doing). Lastly, the capstone for the Graveborn, Morhaim’s Blessing, basically makes it so it triggers all Kill Skills upon casting a spell. That means you will have Dark Hydra, Essence Drain, and Ascension pretty much trigger all the time.
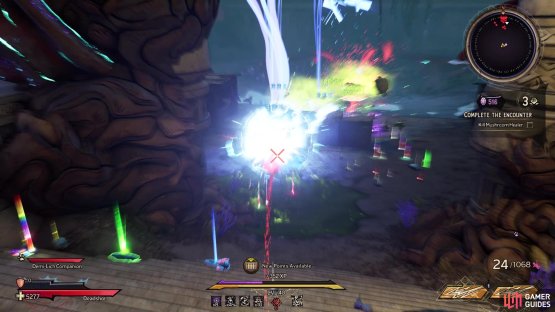
(1 of 2) Toss the Feriore weapon to spawn companions
Toss the Feriore weapon to spawn companions (left), then use your spells for maximum damage (right)
Hero Stats
Your ideal set up for this would be to focus solely on Critical Hit Damage and Spell Cooldown, so your two primary stats will be Strength and Intelligence. Once you’re done with those, you can focus on Dexterity for a third stat. That makes the Village Idiot backstory one of the better ones to use for this build, since the Strength increase will be a massive boon for just a little hit to Intelligence.
Gear - Guns
Guns are not going to be a big part of this build (apart from one instance), although you probably do want a good weapon to fall back on, just in case. One of the better pistols in the game, the Masterwork Handbow is always nice to have, as well as the Ruby’s Spite. The latter definitely helps with keeping yourself alive, since it deals dark magic damage. Now, you will want a specific weapon, but it’s not going to be doing damage. Feriore weapons tosses the actual gun whenever you reload and there’s some major synergies with some of those types, mainly, the ones that either spawn a hydra or flying creature. Your sole purpose in using this weapon is to fire a shot, then reload, and keep doing that over and over. That’s why a weapon with a low reload time is the best one to use.
Gear - Spells
Your ideal spells will have a low cooldown and decent damage on them, with two different spell types being ideals in this situation. Note that you want ones with at least three charges on them, with four being a possibility. You have the Cloudburst Arc Torrent, which will rain down lightning bolts on enemies. These have some of the lowest cooldowns in the game, but the only downside to them is that they need to be charged up to deal their full damage. The other spell type is the Impaling Ice Spike. While they have a slightly higher cooldown over the one above, their casting time is pretty much instantaneous, plus their damage will probably be slightly higher. If you can get two of each, then you can switch back and forth between them whenever you want.
Gear - Rings
Rings can be very important to this build and you will want Spell Damage as the main stat for both of your rings. Additionally, if you can get either Spell Critical Chance or Spell Critical Damage as a passive on them, you will be good. Since the ideal build will basically have you without a Ward, then you can opt to try and farm for Mood Rings with the stats above. The reason these are good is their special effect doubles their stats whenever your Ward isn’t full.
Gear - Amulet
There isn’t a specific Amulet needed for this build, in terms of legendaries, at least, but you will want one that either increases Frost or Shock Damage, as well as Spellshot Power. Those are the two main ones, and as for the normal passives, anything that increases your damage is a good thing. The perfect Amulet would be a Joint Training legendary with the above stats. The reason for this is because of the special effect, where you basically increase your companions’ critical hit chance and in turn, their critical hits increase your critical hit damage.
Gear - Ward
A Cursed Wit legendary Ward is what you will want to use here, especially in conjunction with the Glass Cannon skill from the Spellshot skill tree. For this Ward, whenever your Ward is depleted, you gain some damage reduction and a huge boost to damage dealt. This is the reason why not getting the Mage Armor skill is a good thing, since you will be getting a lot of shield because of using your spells and reloading weapons.
Gear - Armor/Class Mod
There doesn’t seem to be a set armor that will make or break this build, but you will want to find one that has a Spellshot Power as the dominant boost, along with a point added to the High Thread Count skill. If you get this, then your Spellweaving stacks can go to 11, giving you more damage with your spells. Note that if you get the one with High Thread Count, you likely won’t find one that boosts the Graveborn power, since those don’t go together for some reason.


No Comments