
Lucky Dice is one of the collectibles that can be found in Tiny Tina’s Wonderlands. They are golden models of D20s used in tabletop gaming and upon finding them, randomly roll a number from 1 to 20, determining the kind of loot you get from them. Finding Lucky Dice will also increase your Loot Luck stat. This page will detail the locations of all the Lucky Dice in Crackmast Cove.
Lucky Dice Location #1
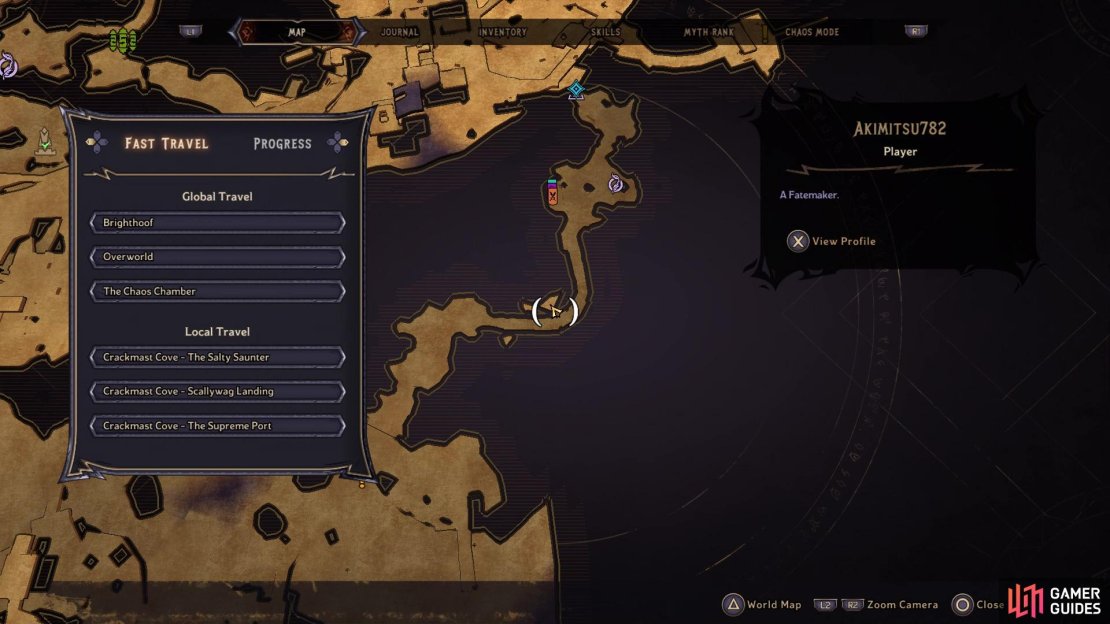
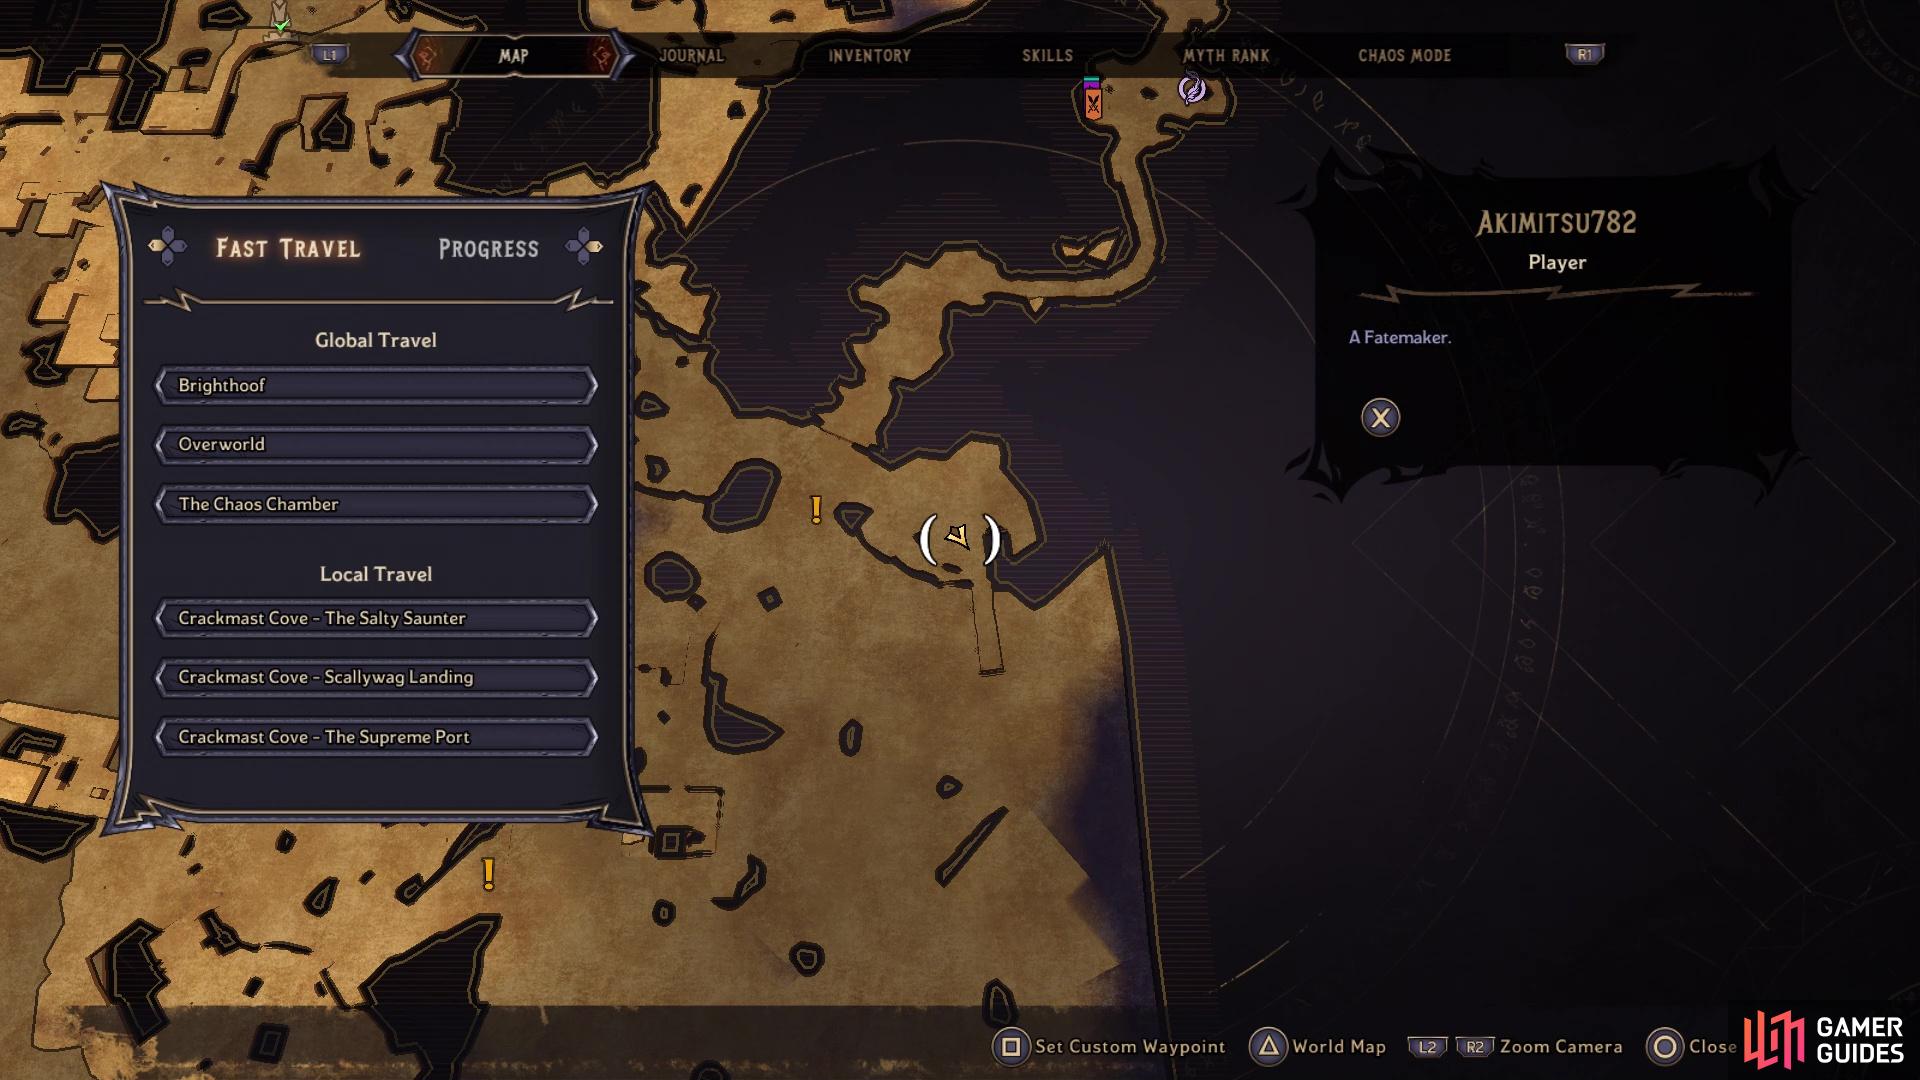
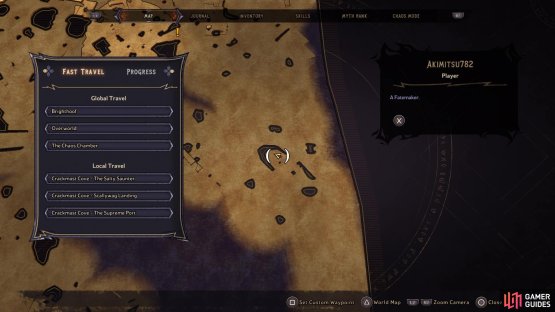
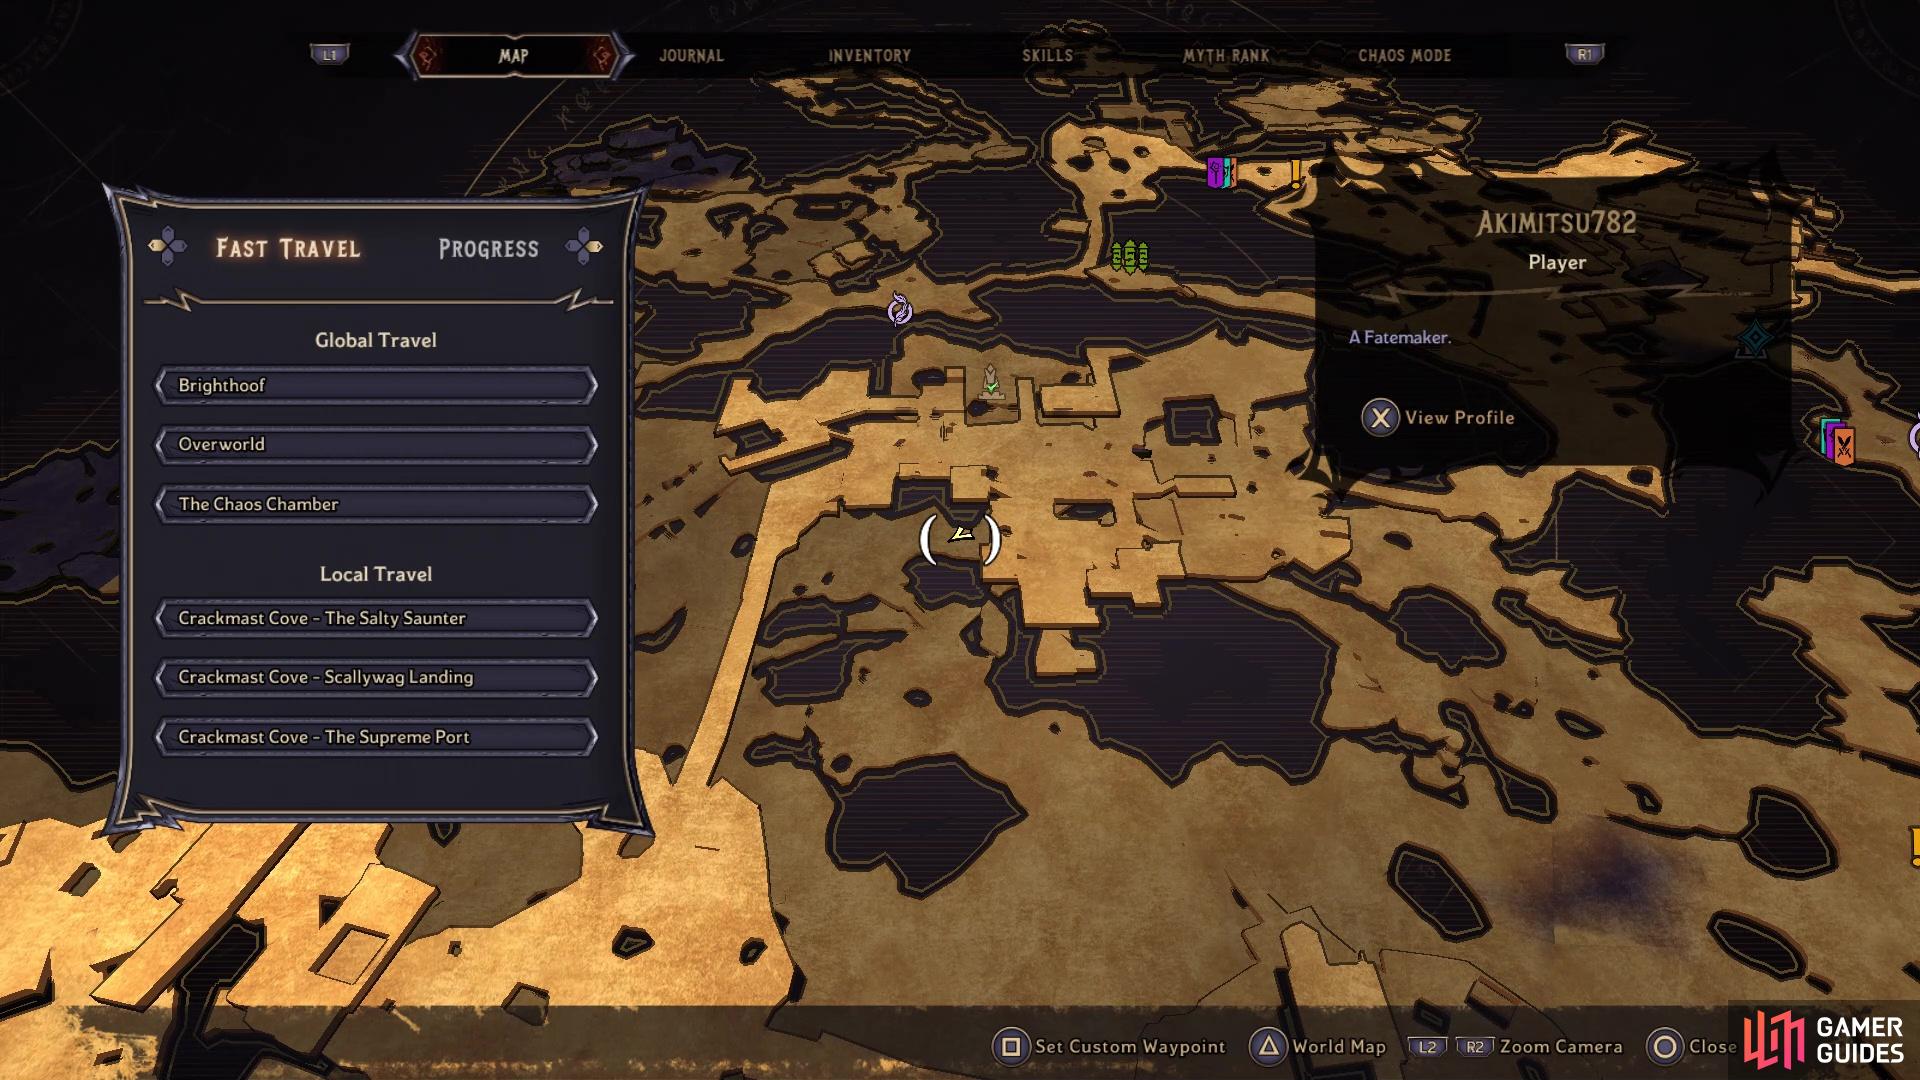
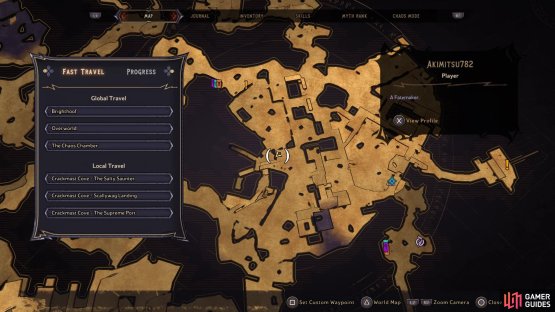
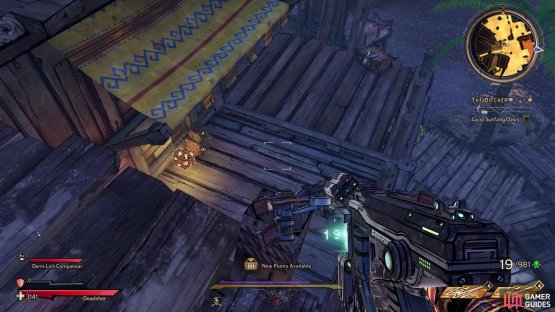
(1 of 4) Go to this location on the map for Lucky Dice #1
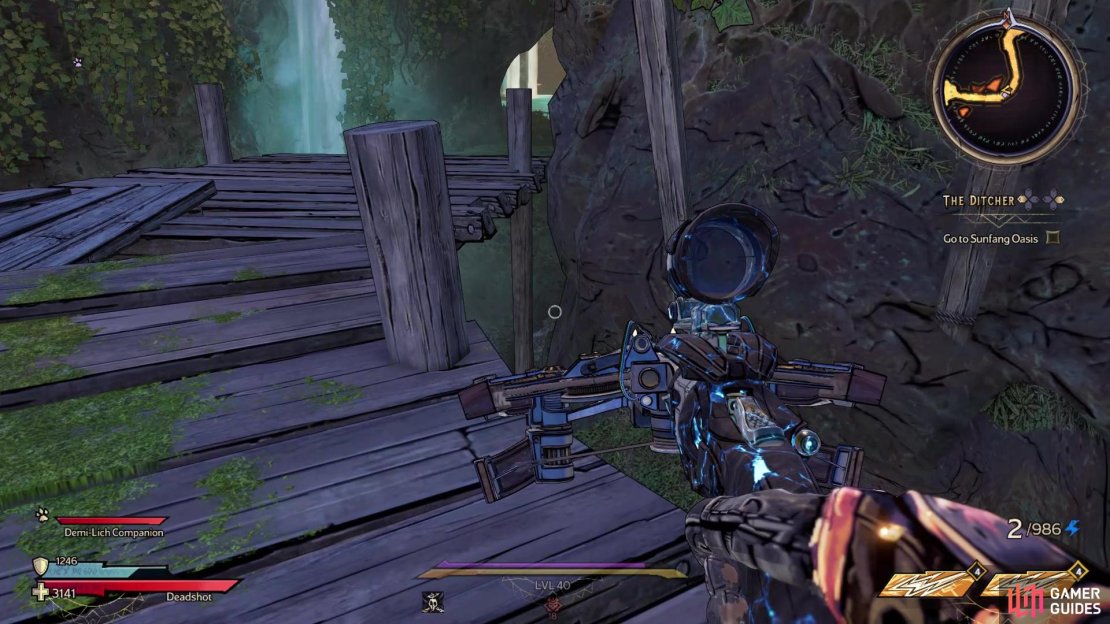
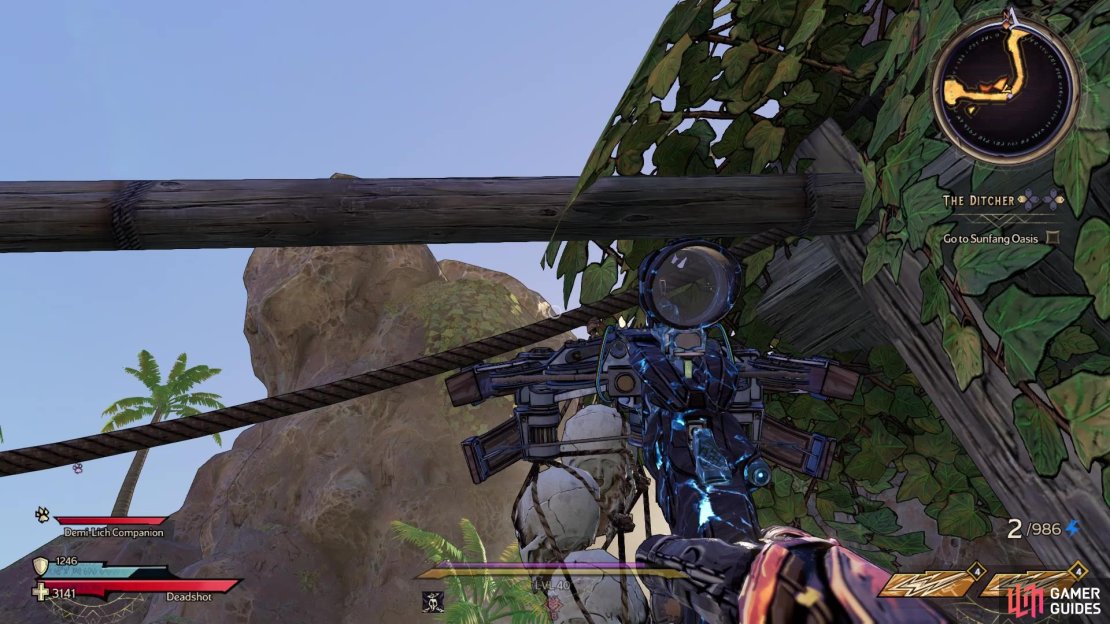
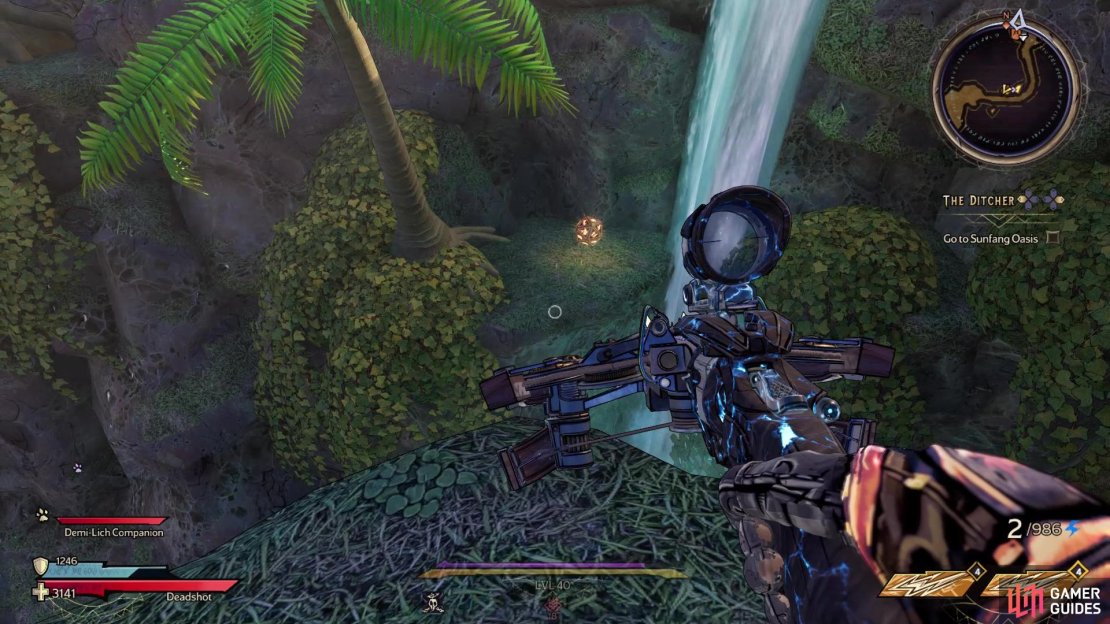
From The Salty Saunter fast travel station, cross the bridge to the point where you see the skulls hanging from a beam in the middle of it. There will be a short stump right underneath this beam, so jump on it, then mantle to the actual beam above you. From there, you can jump onto the wooden ledge, then look for the slightly higher cliff. Look southwest from that higher ledge to see the Lucky Die on a cliff that requires you to run and jump to it.
Lucky Dice Location #2


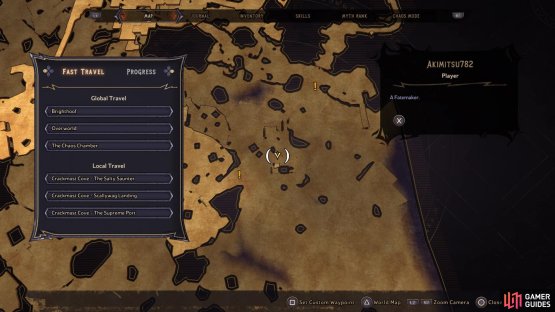
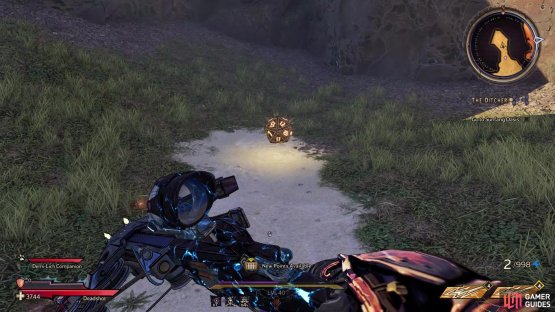
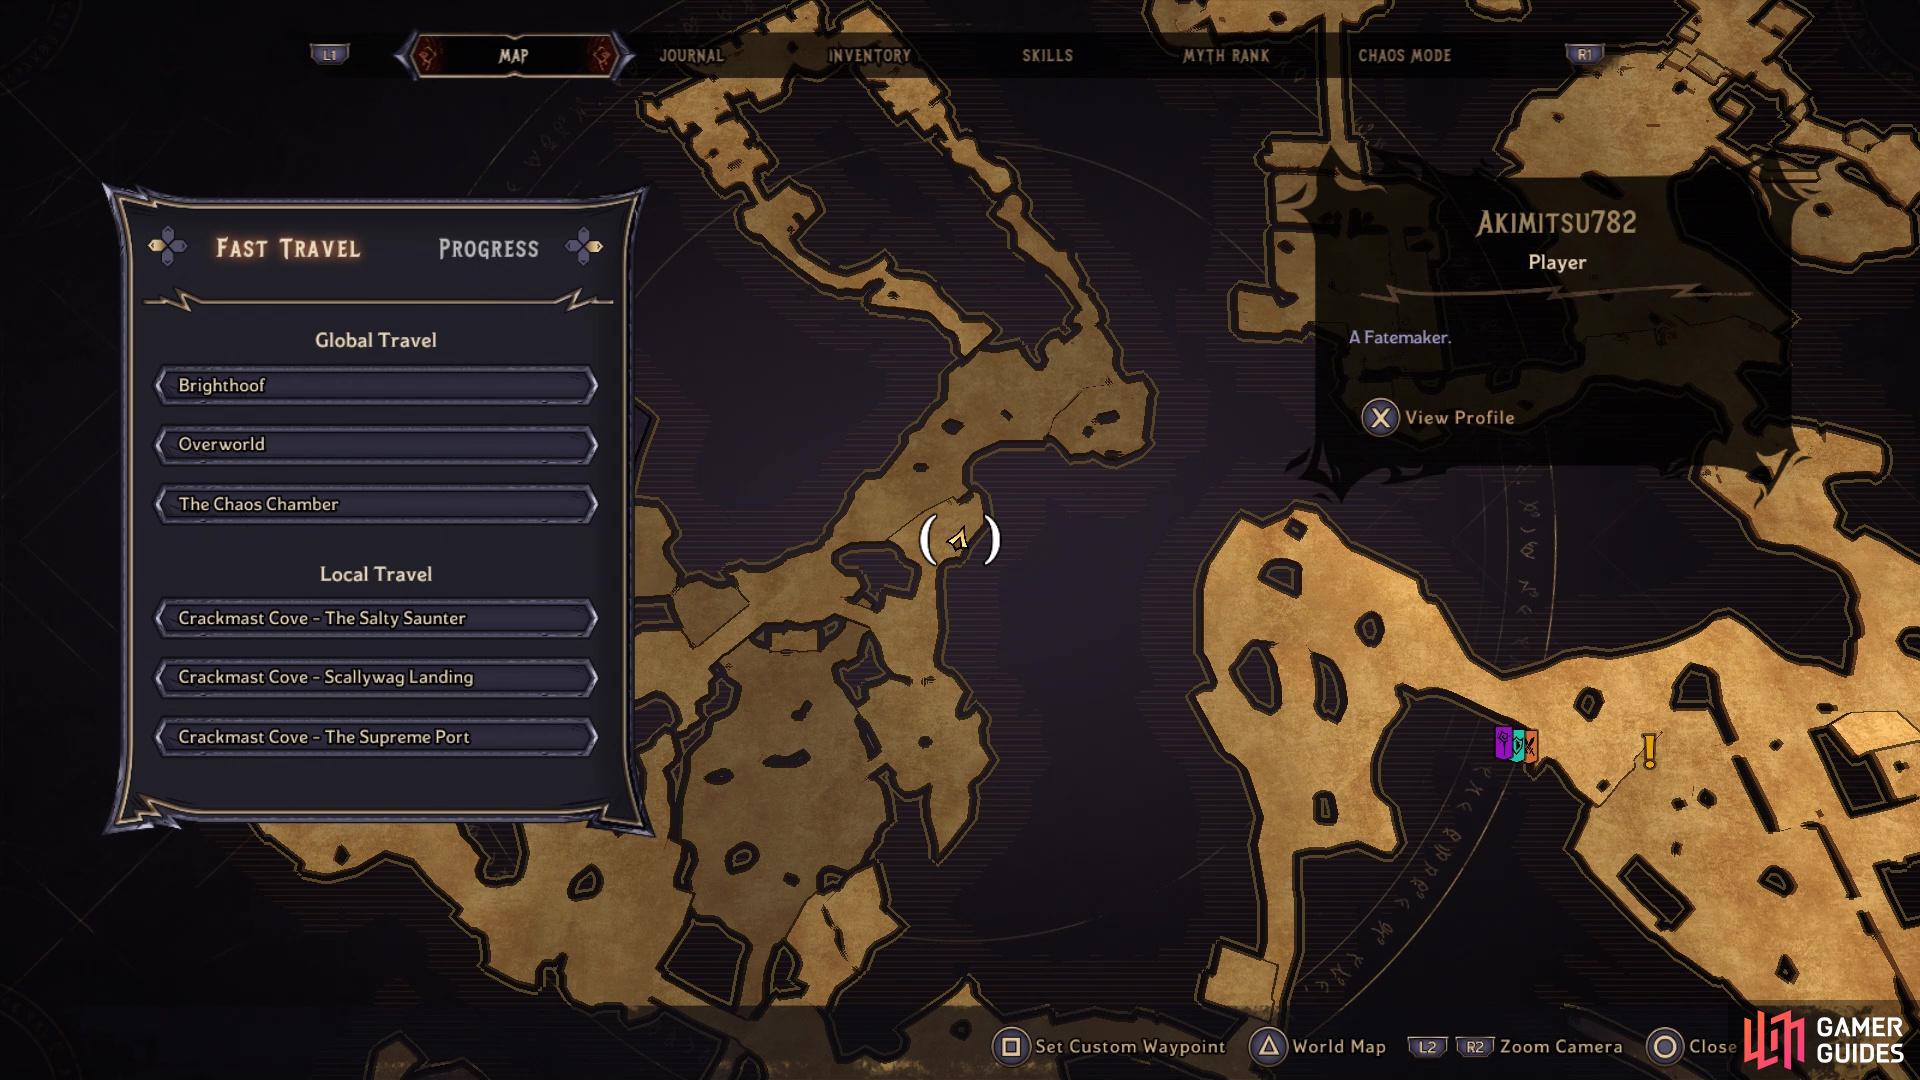
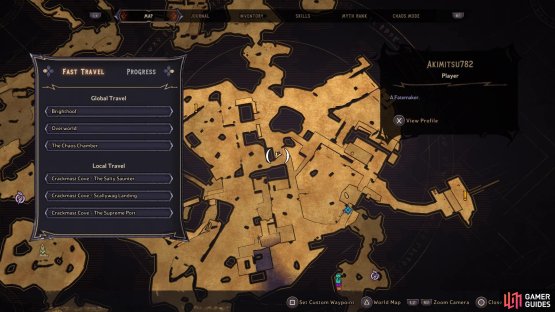
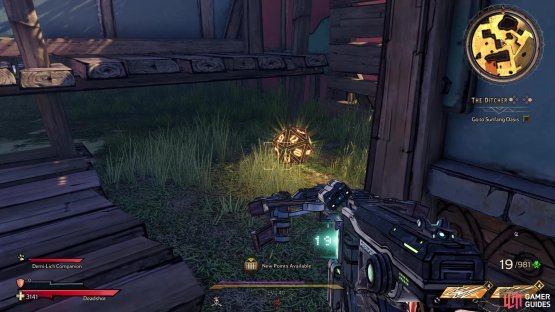
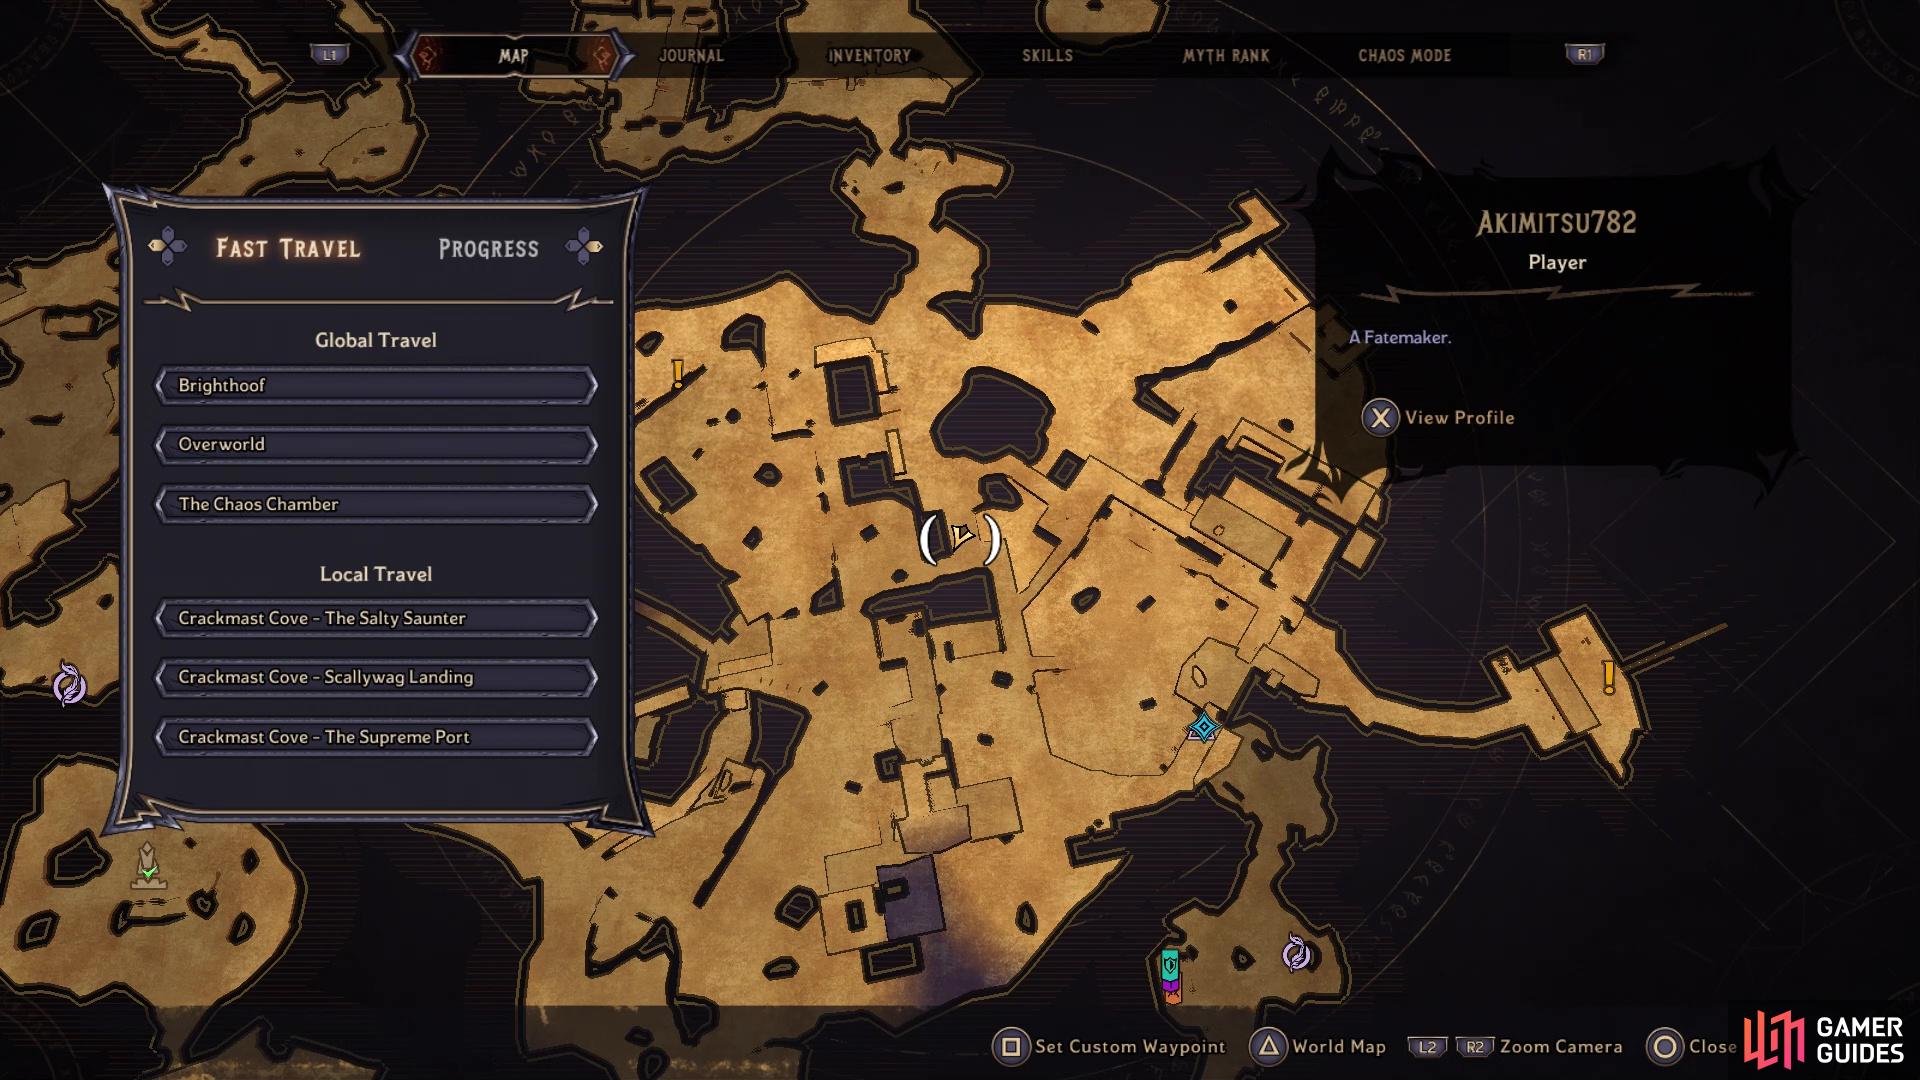
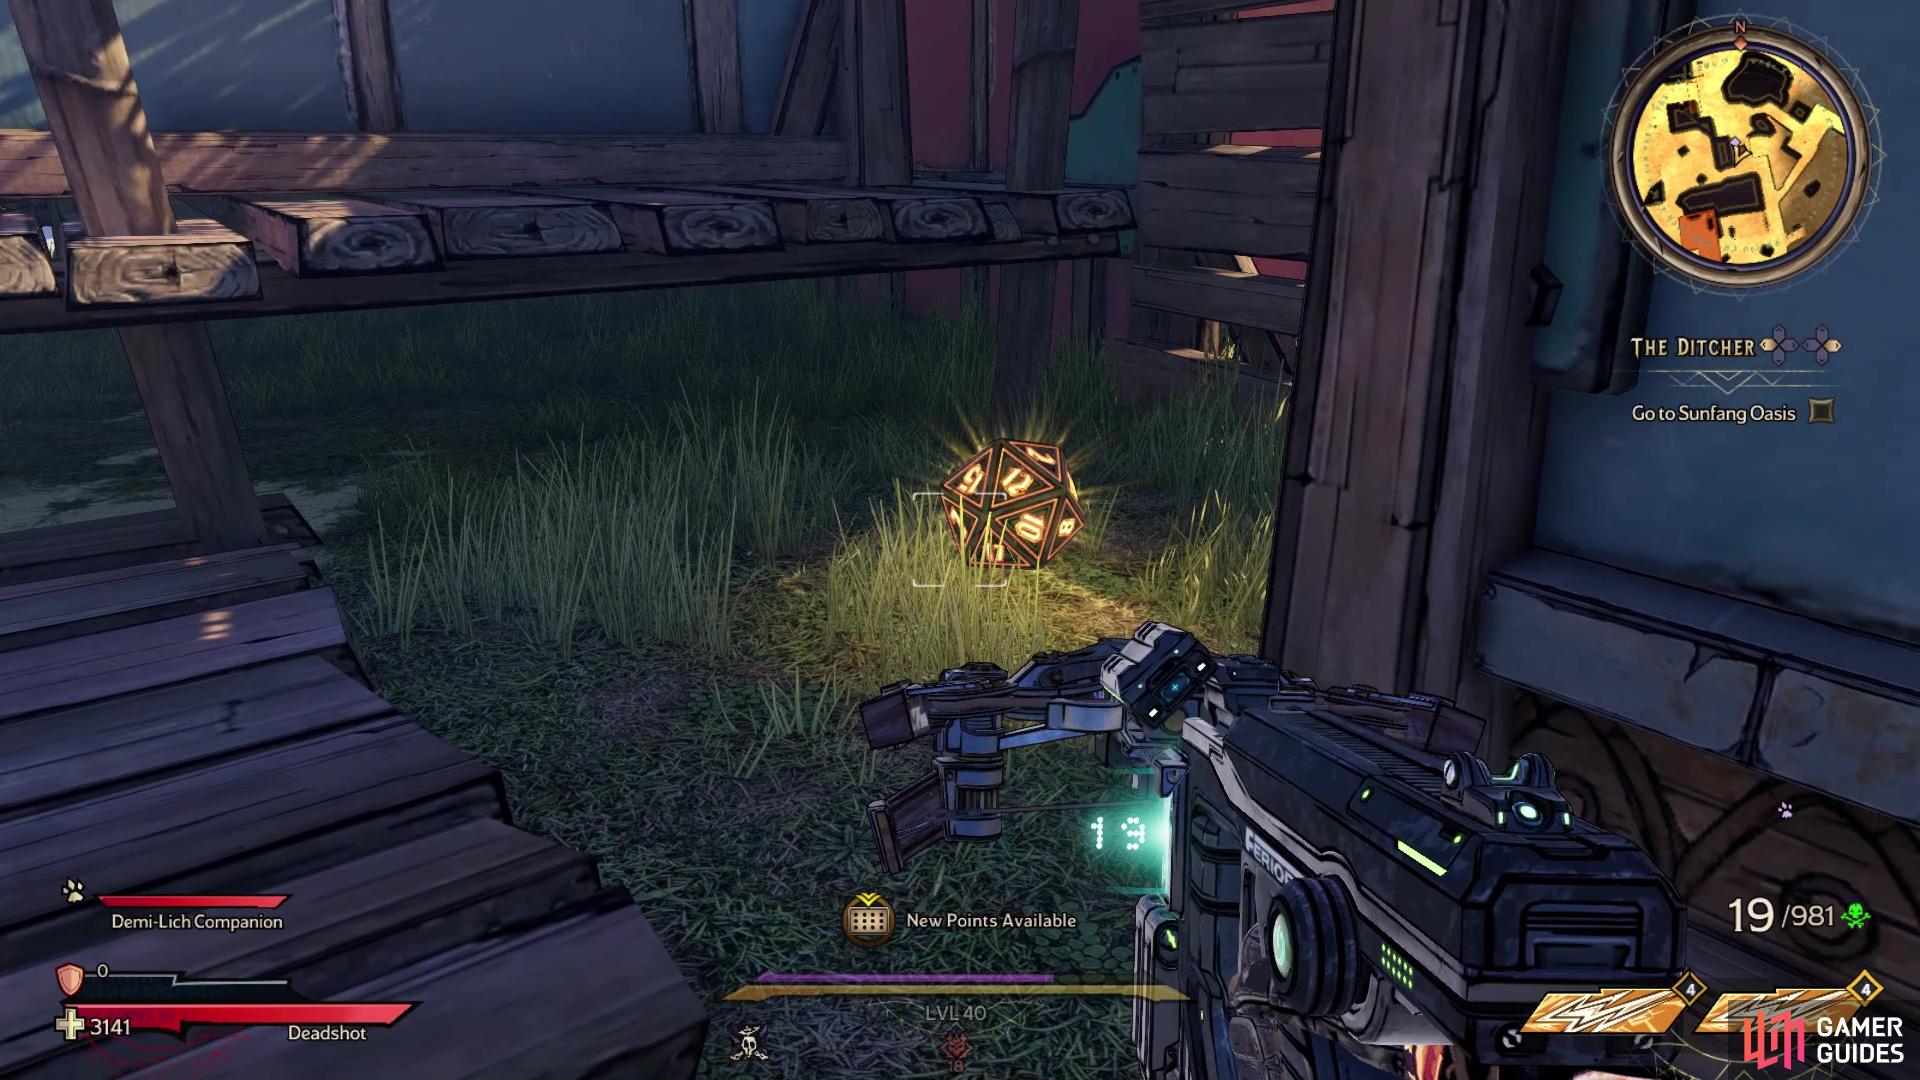
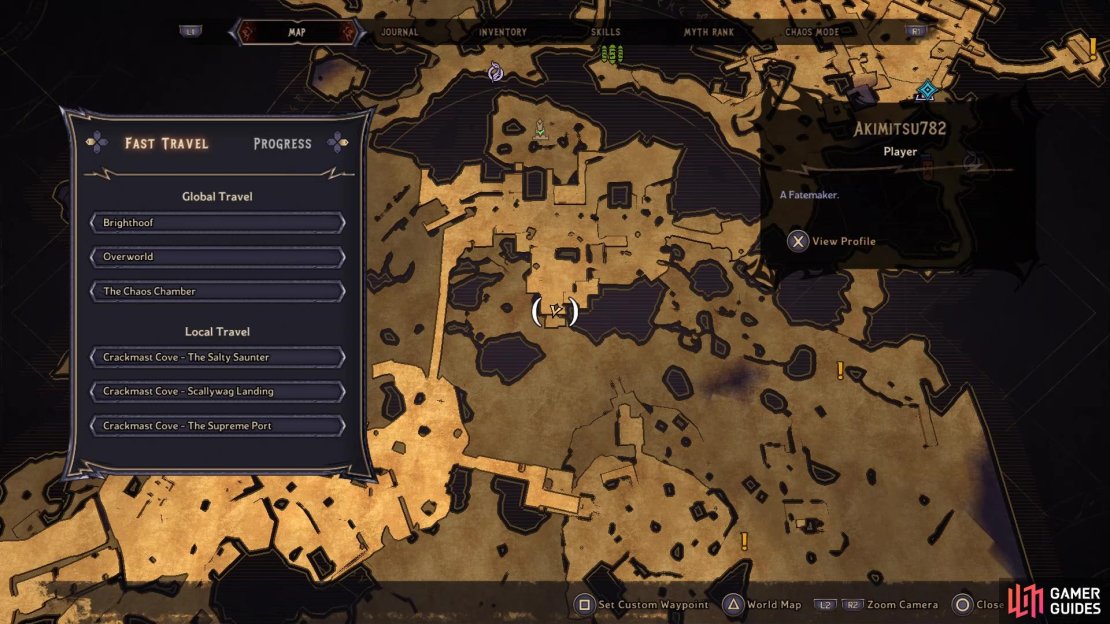
(1 of 2) Go to this location on the map for Lucky Dice #2
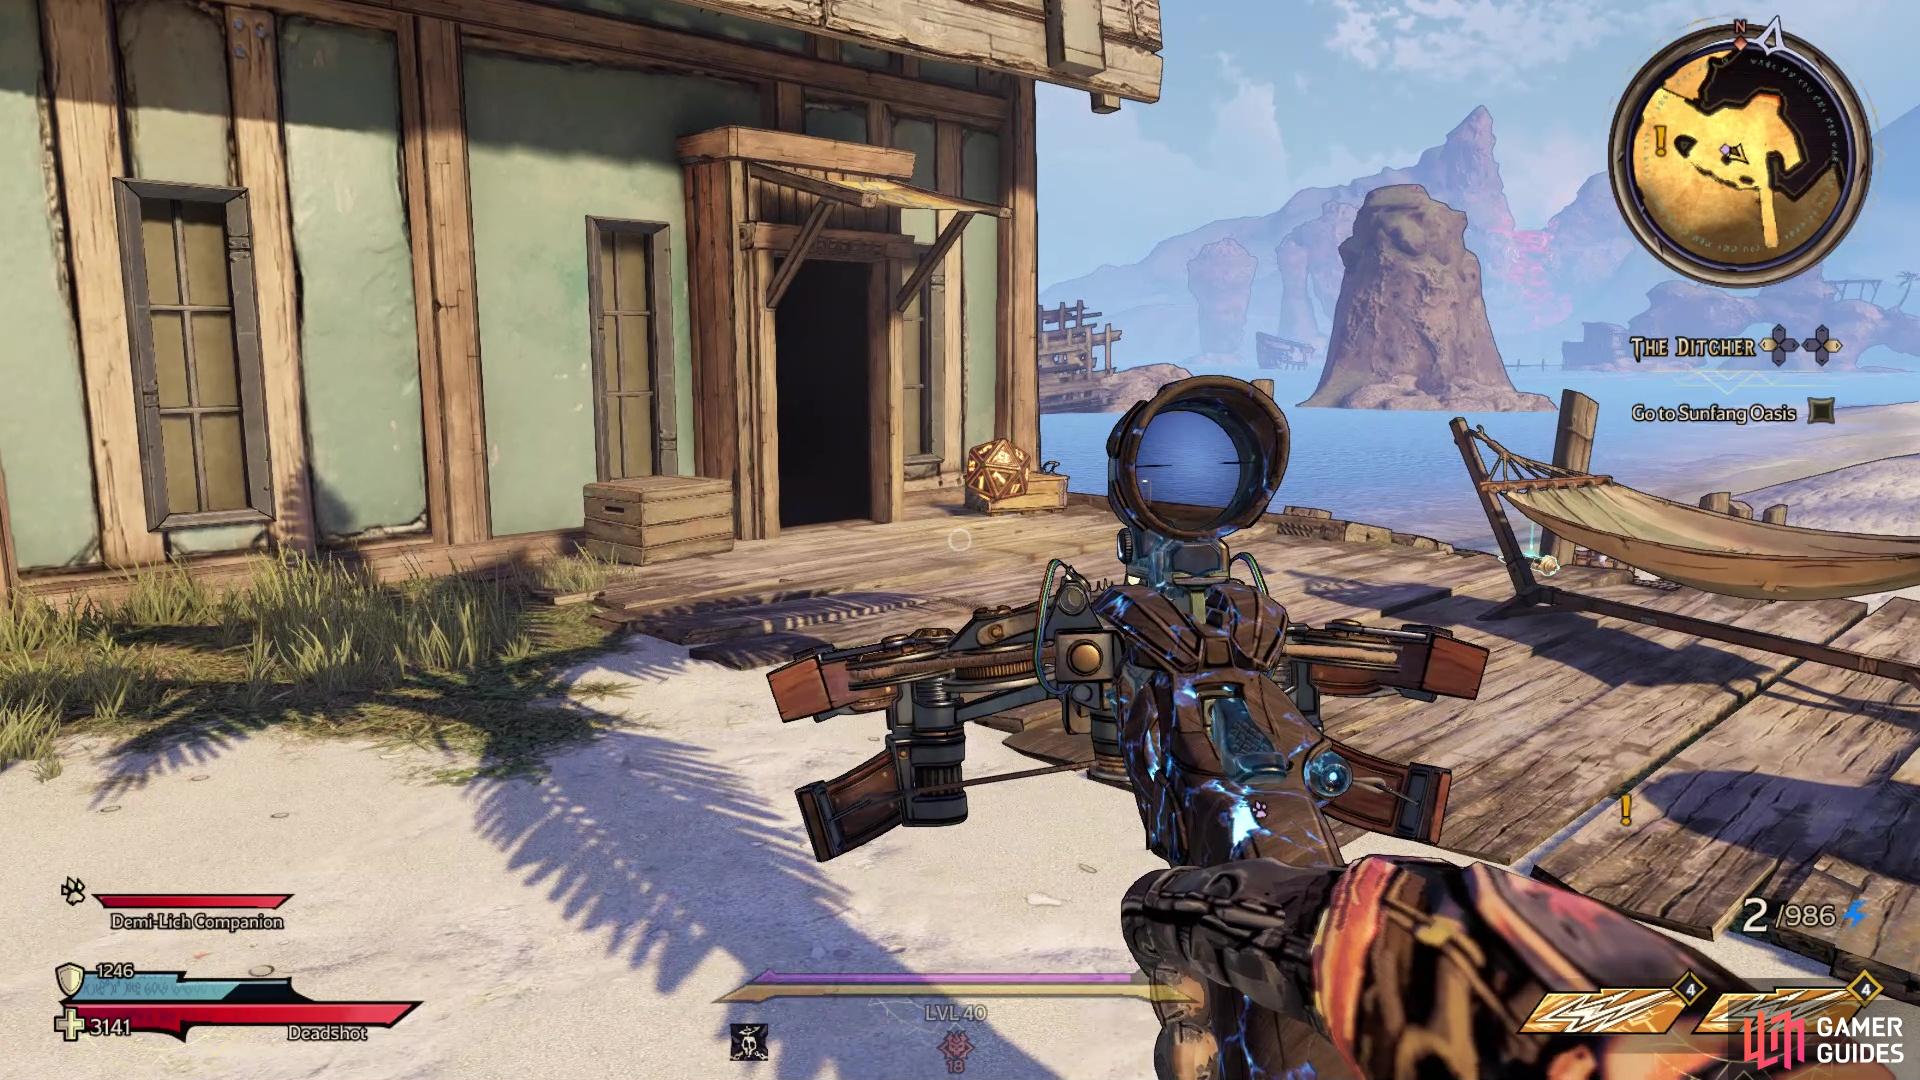
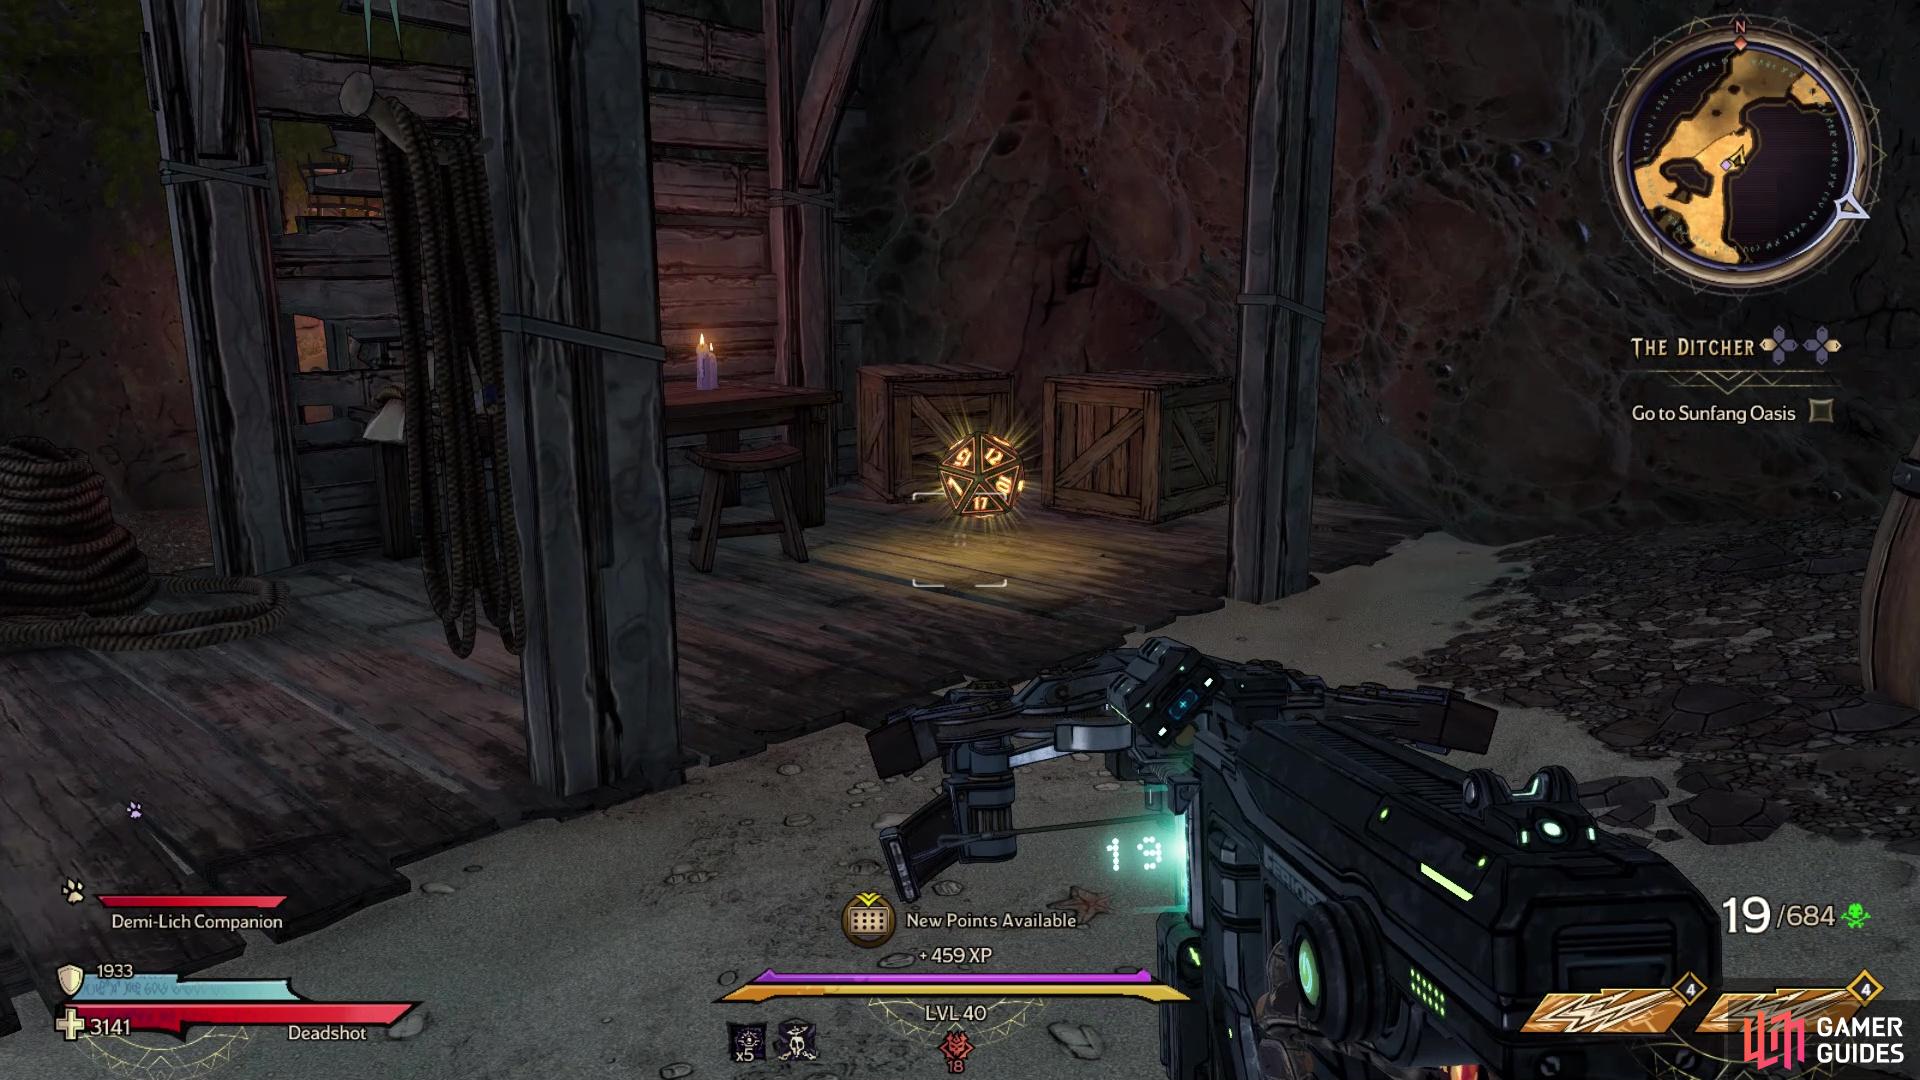
Go to this location on the map for Lucky Dice #2 (left), You will find the Dice right next to the building (right)
After the previous location, jump back down to the wooden bridge and follow the path to where you emerge to the large area. There will be a building to your southeast and right in front of the door of that building is the Lucky Die.
Lucky Dice Location #3
(1 of 2) Go to this location on the map to find Lucky Dice #3


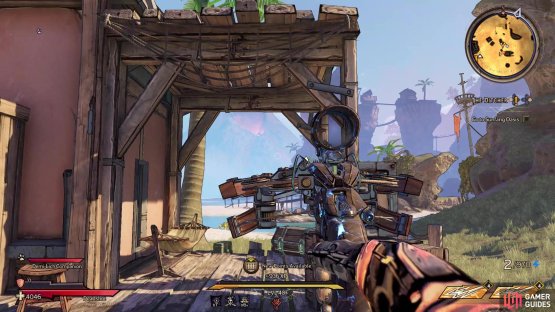
Go to this location on the map to find Lucky Dice #3 (left), Climb the crates here to reach the ledge above it, with the Dice (right)
Head southwest from the dock where the previous die was located, to a house at the bottom of the hill. You’re looking for the one that has some crates acting kind of like stairs on the northern side. Use those crates to jump on the overhang above you to find the Lucky Die.
Lucky Dice Location #4

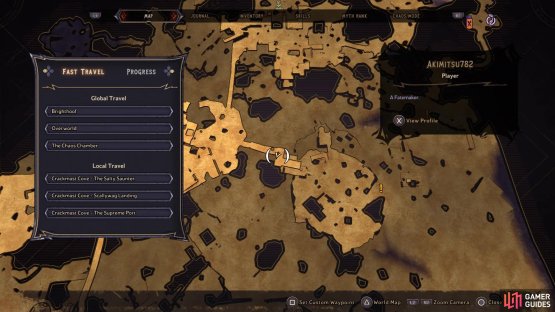
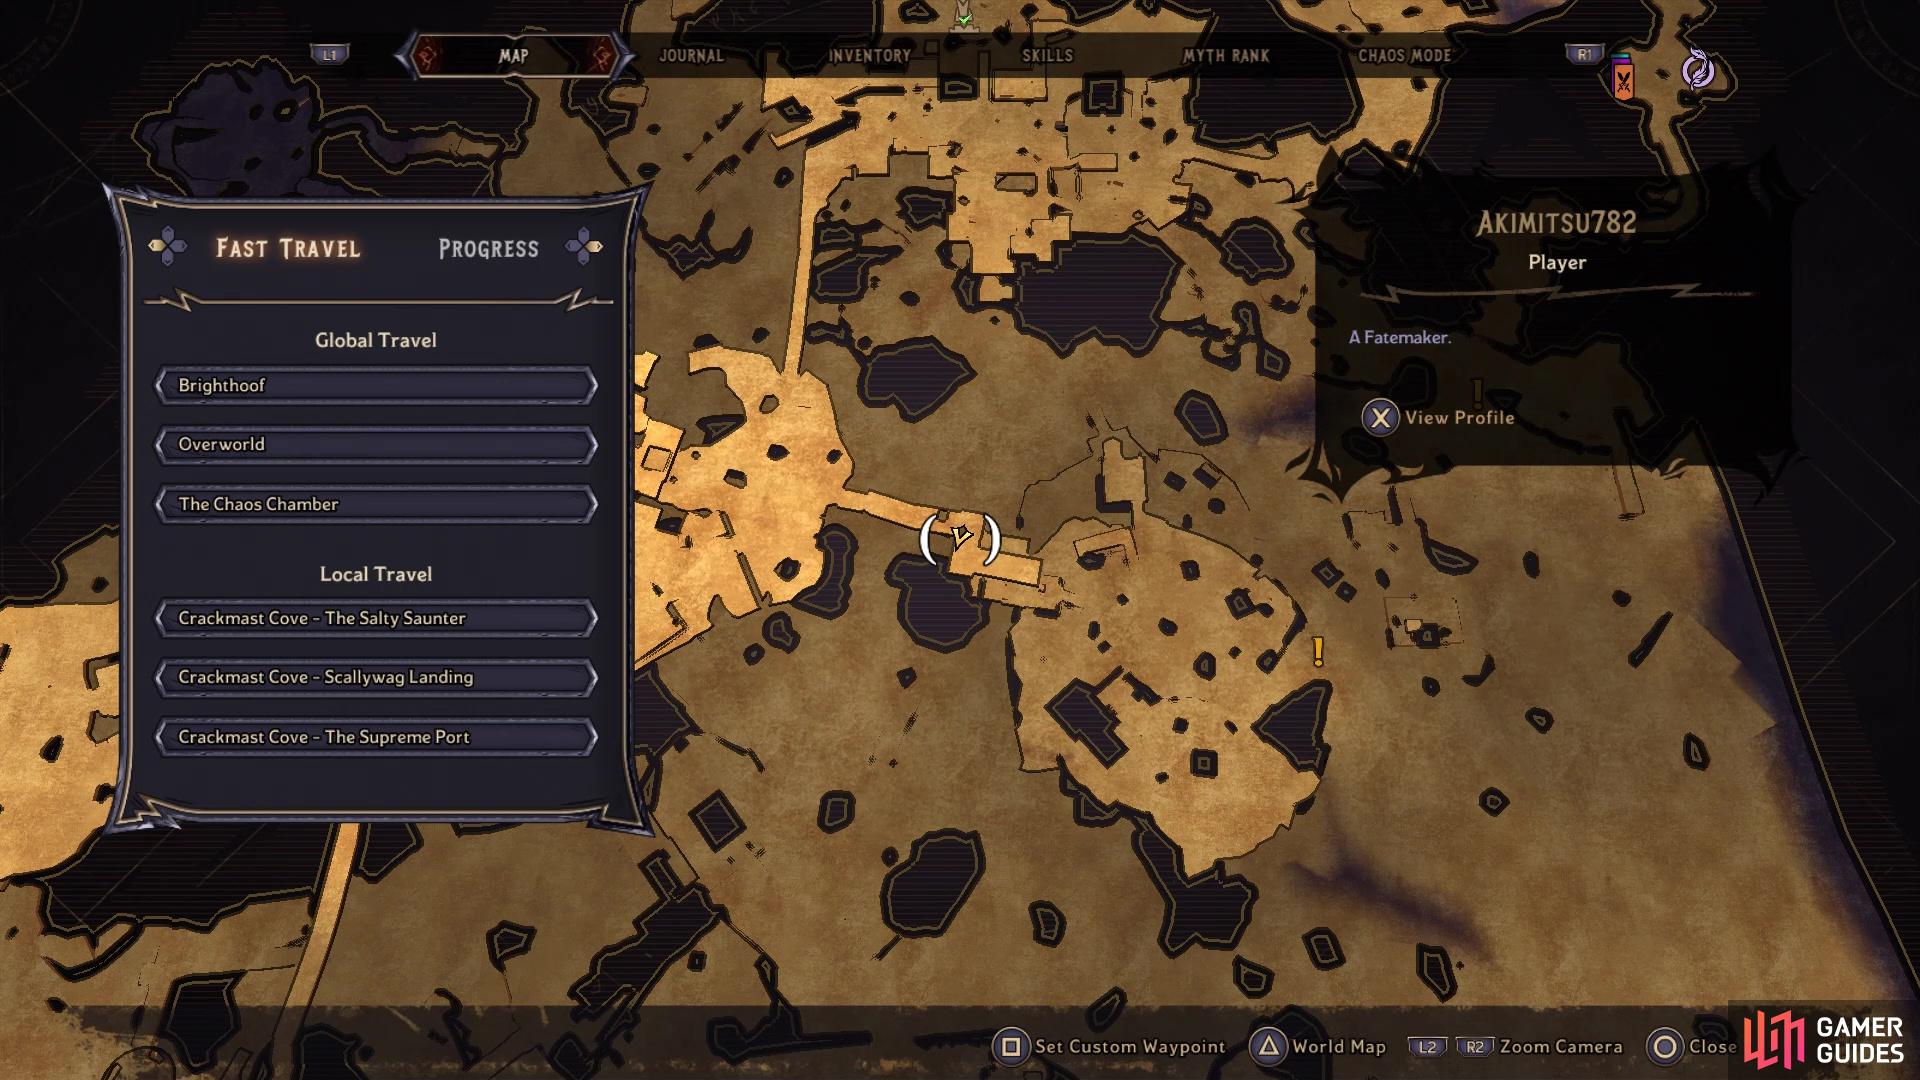
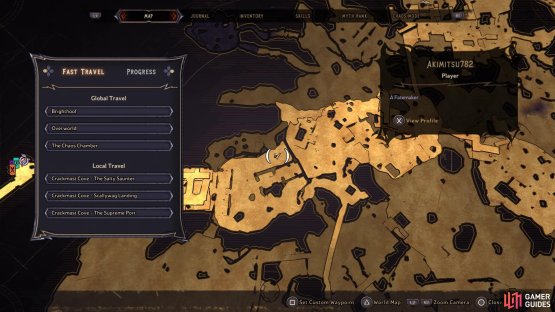
(1 of 2) Go to this location on the map to find Lucky Dice #4

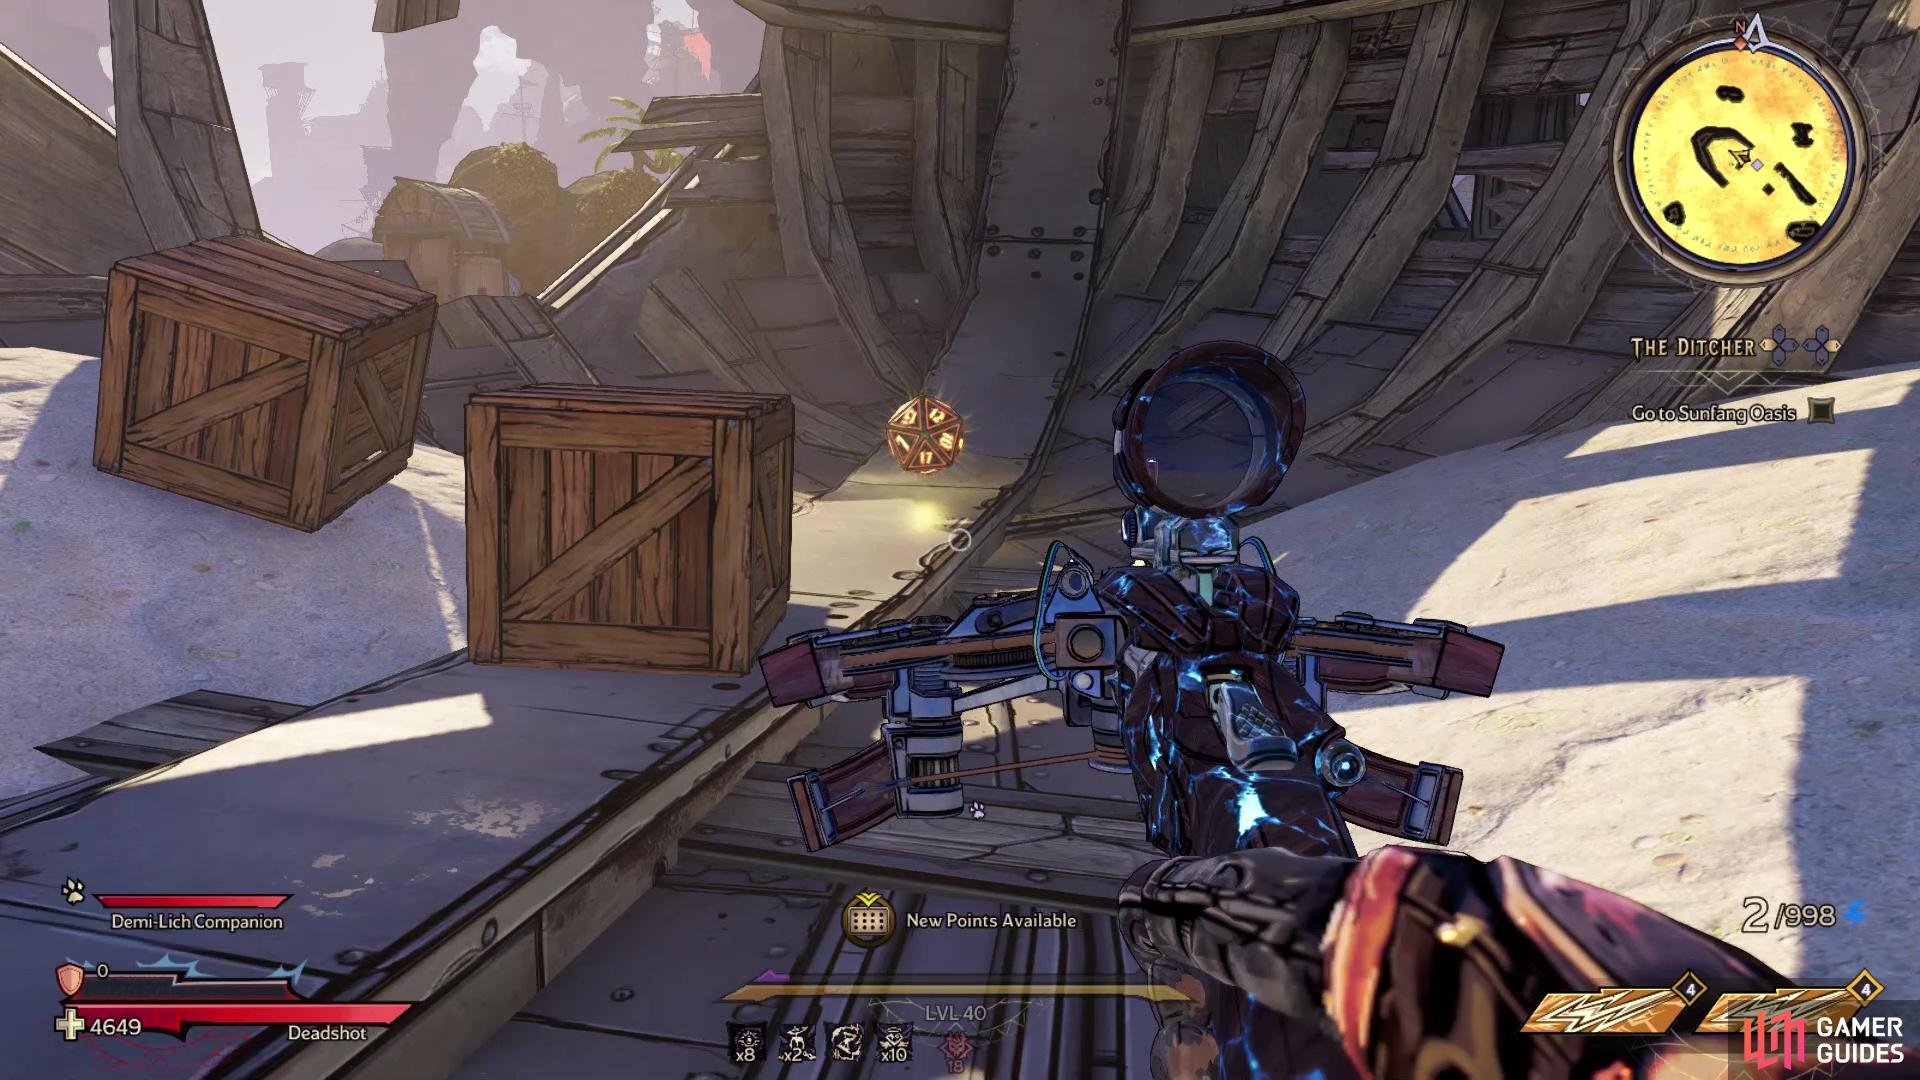
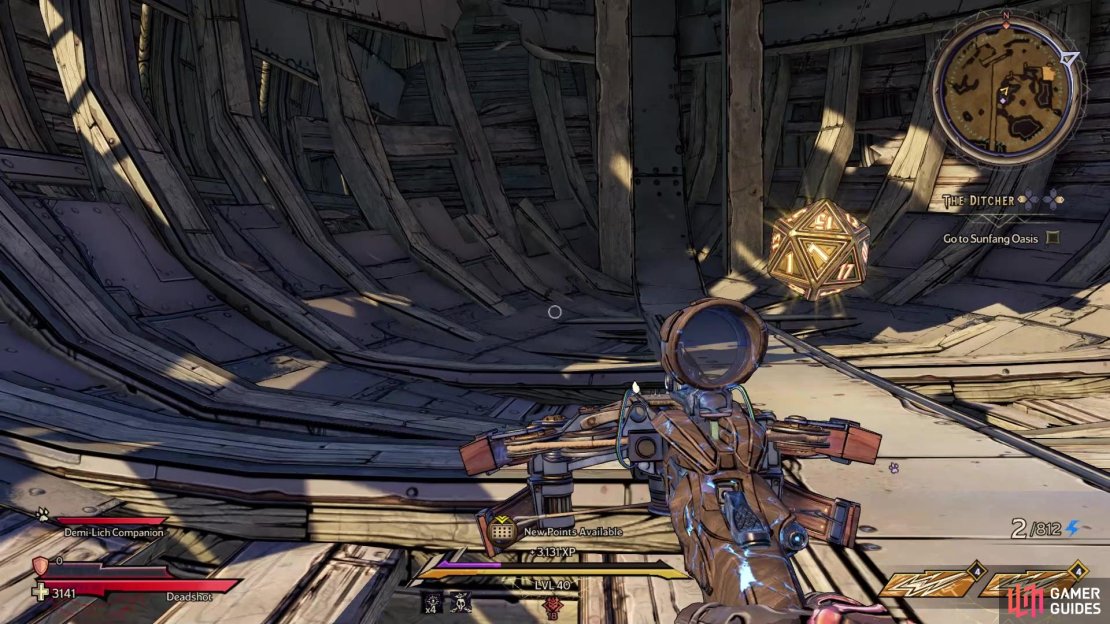
Go to this location on the map to find Lucky Dice #4 (left), It will be located inside the hull of the broken ship (right)
While standing on the overhang from the previous Lucky Die, look southeast to spot a wrecked ship. Go to that location and look inside the hull of the ship to find the Lucky Die.
Lucky Dice Location #5
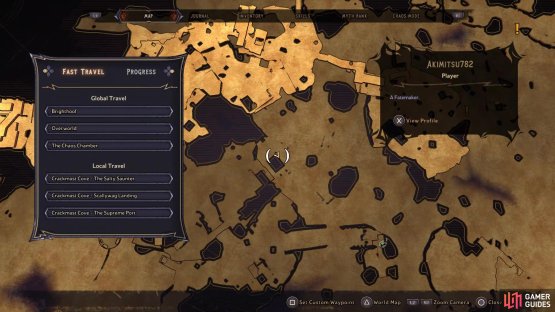
(1 of 2) Go to this location on the map to find Lucky Dice #5

Go to this location on the map to find Lucky Dice #5 (left), It is on the rooftop of the adjacent building, so you will have to jump to it (right)
Head west from the ship and you should see a small hill you can climb, leading to a small ramp and a Lost Marble. West of there will be another piece of ship, acting as a ramp to an area with a bunch of skeleton pirates (Bonethrow Bay is the area name). Enter it, then look for the hill to the north, so take that and at the top, head east to the building. If you take a gander to the east, you should see one of the lower buildings you can jump onto, where the Lucky Die will be sitting there on the rooftop.
Lucky Dice Location #6


(1 of 2) Go to this location on the map to find Lucky Dice #6
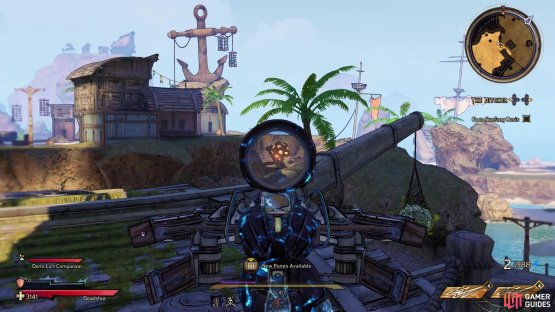
Go to this location on the map to find Lucky Dice #6 (left), It is on the docks, in plain sight (right)
Go back to the base of the hill at Bonethrow Bay and instead of going up, continue west to some contraption on a small dock. Drop down to the water below and keep going west to another, longer dock. Hop onto this deck and follow it north, until you see a smaller dock right next to it, which is where the Lucky Die is located.
Lucky Dice Location #7

(1 of 2) Go to this location on the map to find Lucky Dice #7

Go to this location on the map to find Lucky Dice #7 (left), It is southwest of the waterfall that leads to the Ancient Obelisk (right)
Return to the beginning section of the map, by the initial fast travel point mentioned above, and drop off the one deck. As soon as you do, head west and keep to the northern wall there as you continue in that direction. At some point, you will pass a respawn station and a small waterfall, with a hidden area behind it that houses the Ancient Obelisk. Just southwest of that waterfall, though, will be the Lucky Die.
Lucky Dice Location #8

(1 of 2) Go to this location on the map to find Lucky Dice #8


Go to this location on the map to find Lucky Dice #8 (left), It is at the dead end north of the large creature carcass (right)
After collecting the previous one, continue west from it, ignoring the giant carcass and staying on the northern side of it. There will be a dead end in that area and that is where you will find the Lucky Die.
Lucky Dice Location #9


(1 of 2) Go to this location on the map to find Lucky Dice #9
Go to this location on the map to find Lucky Dice #9 (left), It will be found not too far from the puzzle featured in The Trial of Crooked-Eye Phil (right)
From the previous Die’s spot, go south, east, then north. If you are in the right spot, you will pass by a respawn station, as well as a Poetry Page on a higher ledge you can’t reach from this spot. You should run into some Coiled enemies to the north here, so take care of them and climb the stairs nearby. Keep going straight north at the top of the stairs and through an opening, where you should see the Lucky Die straight ahead.
Lucky Dice Location #10
(1 of 2) Go to this location on the map to find Lucky Dice #10

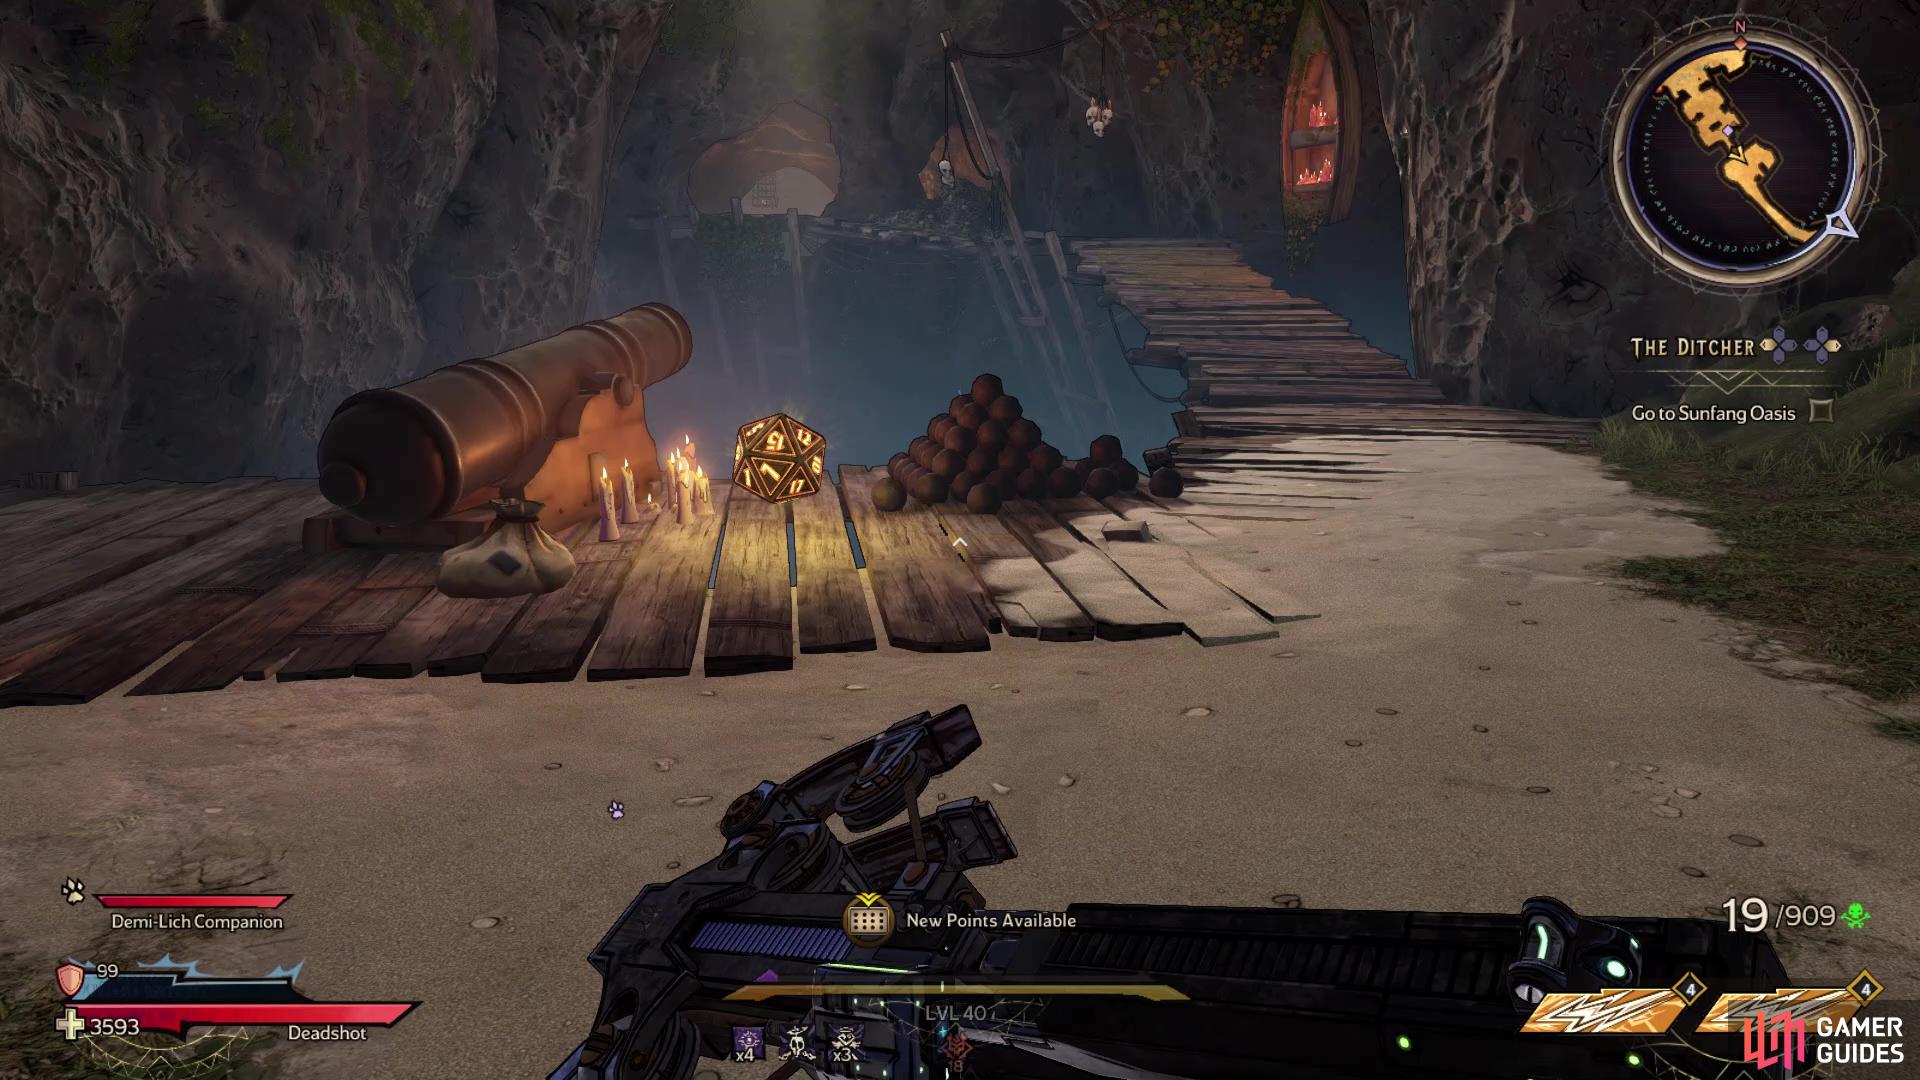
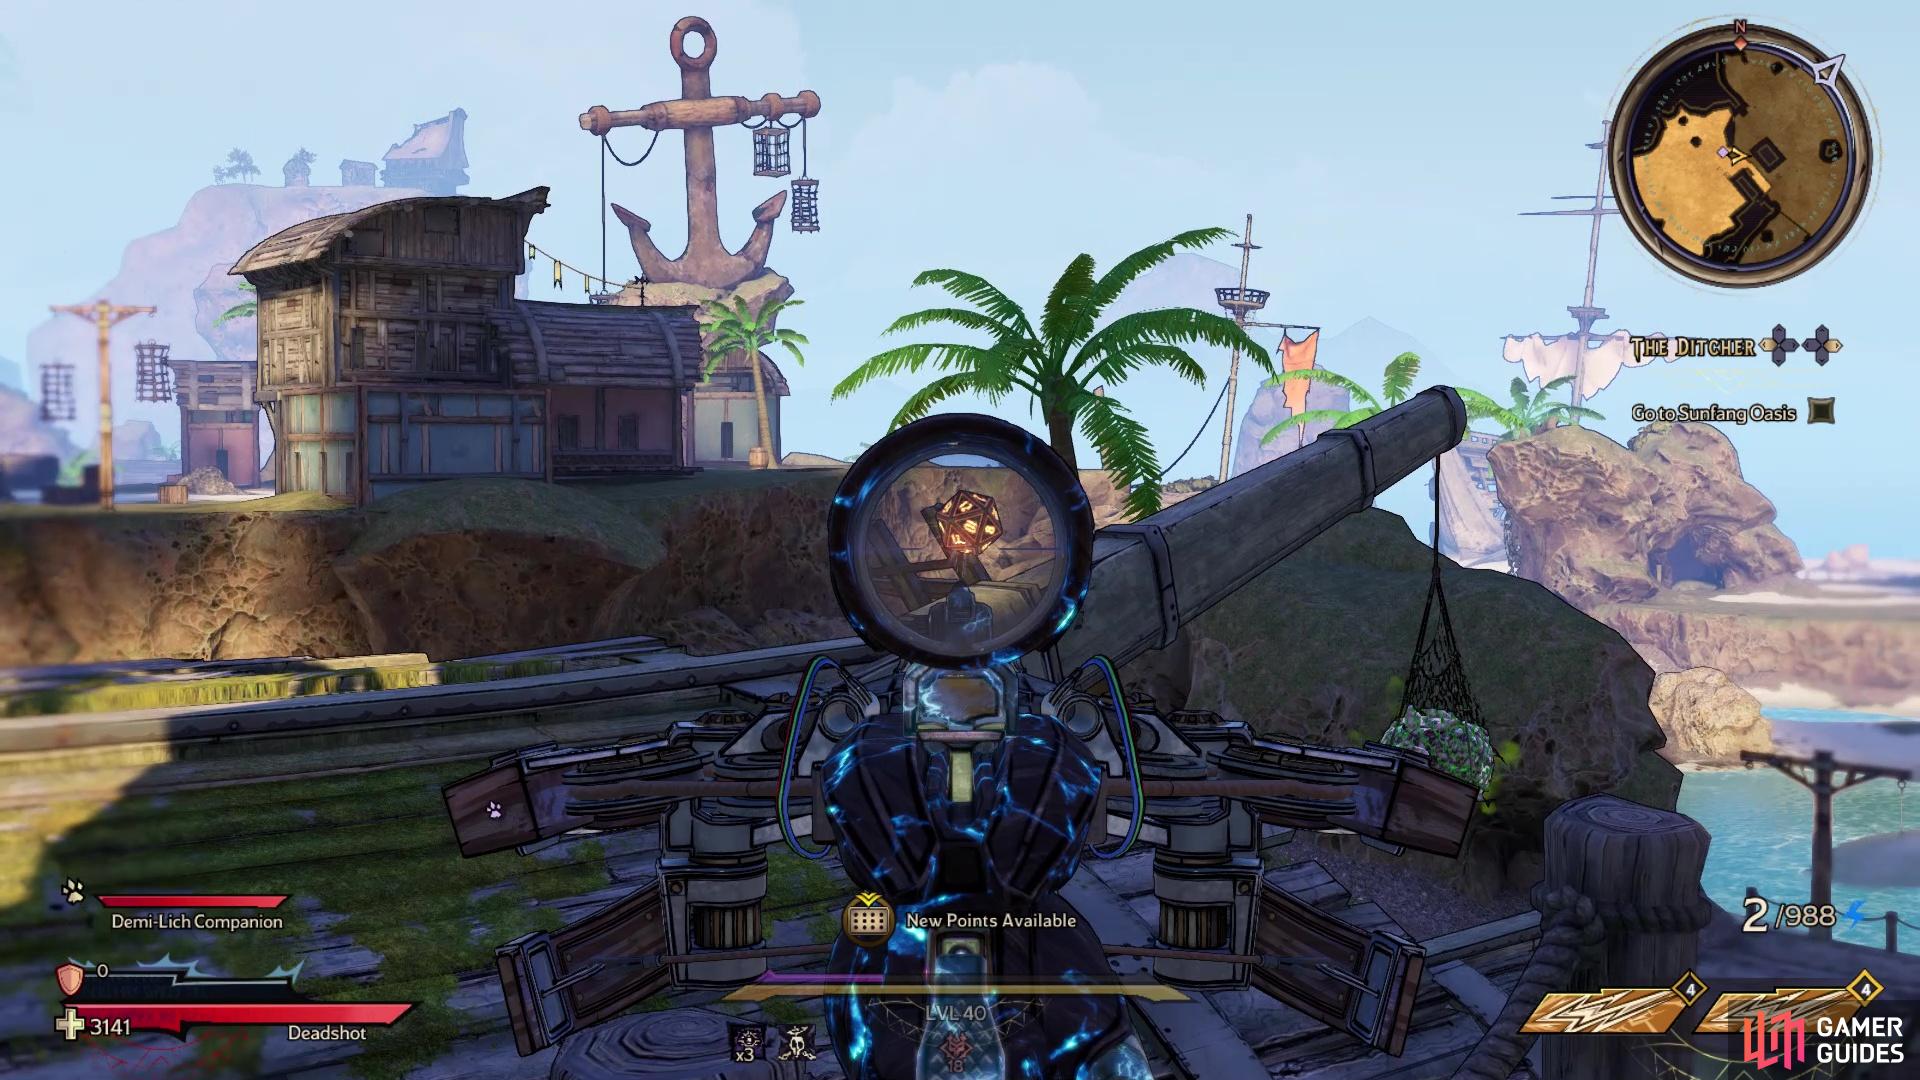
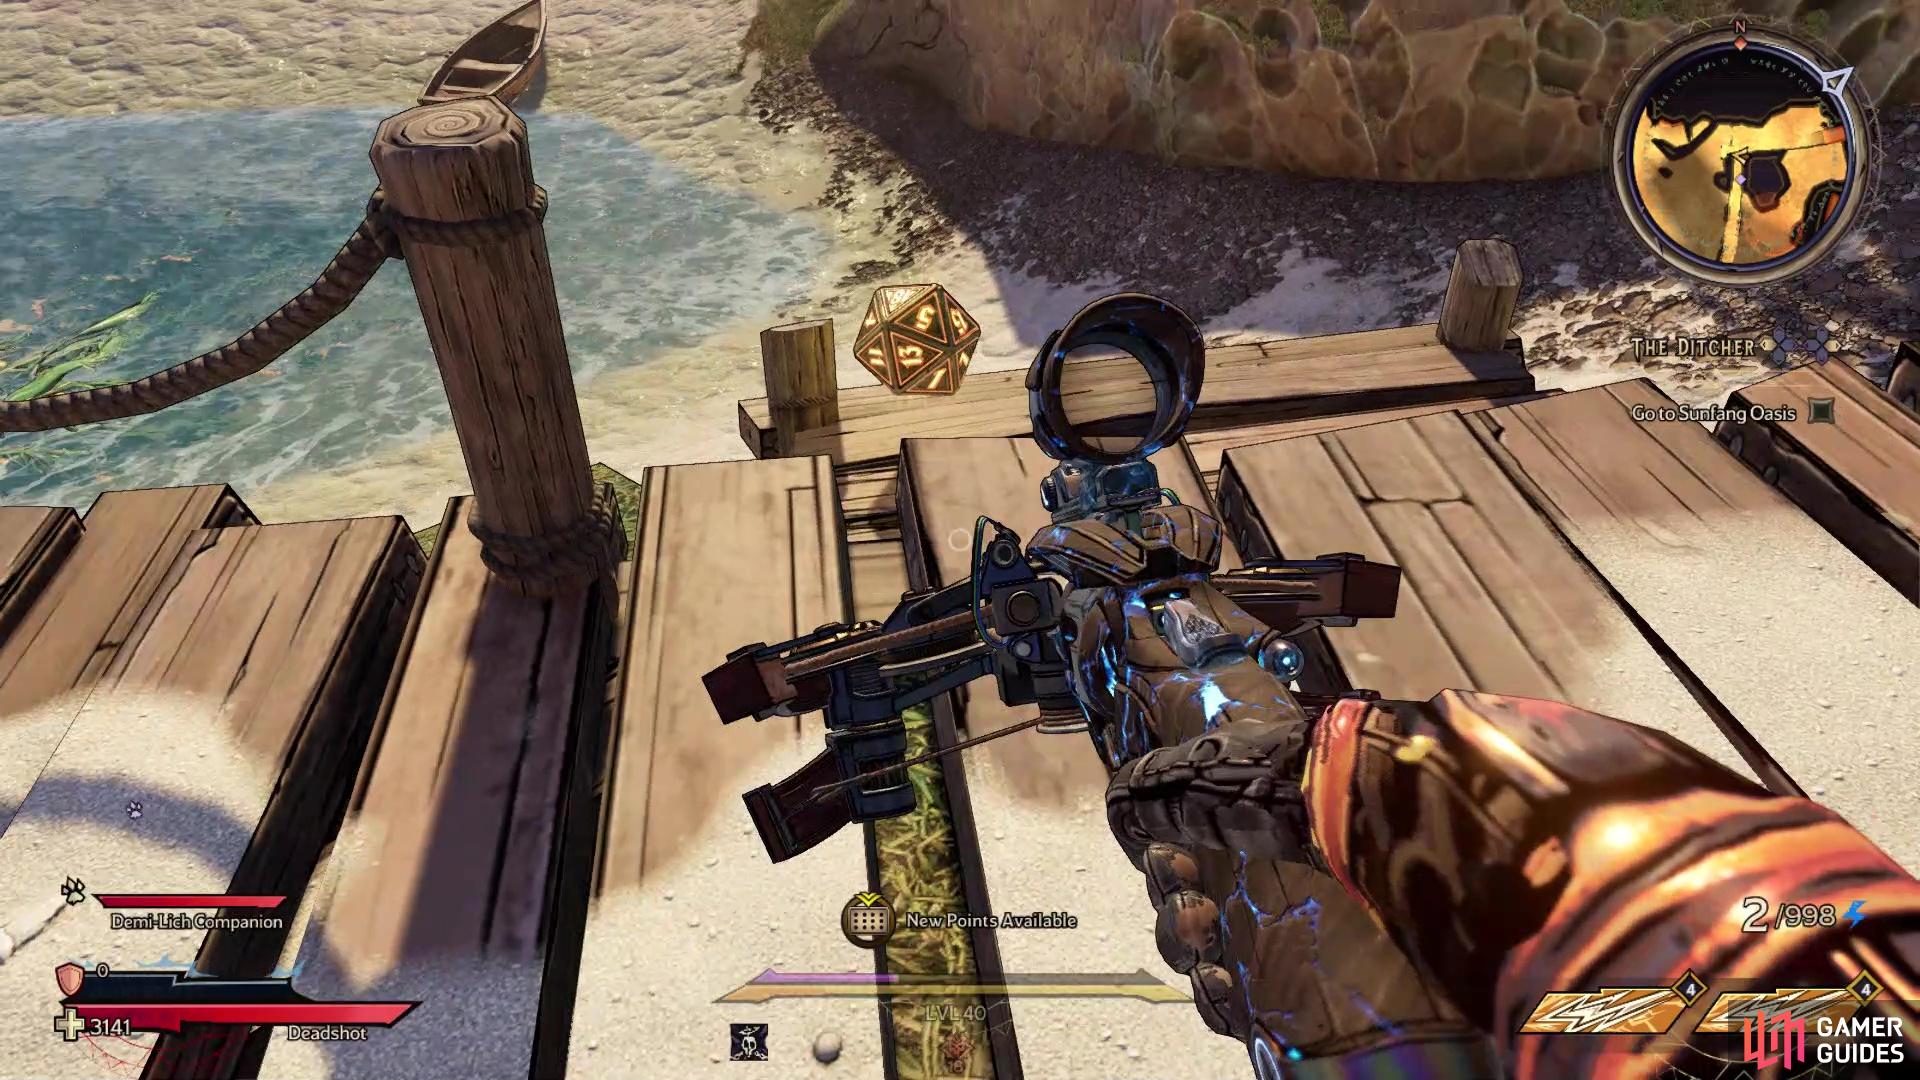
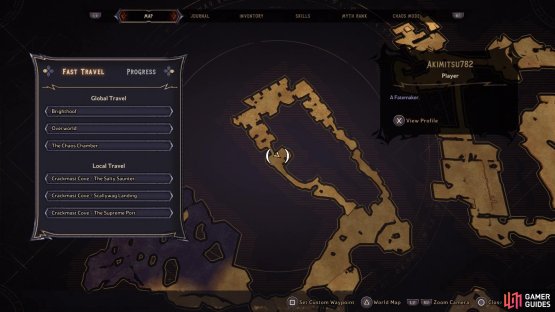
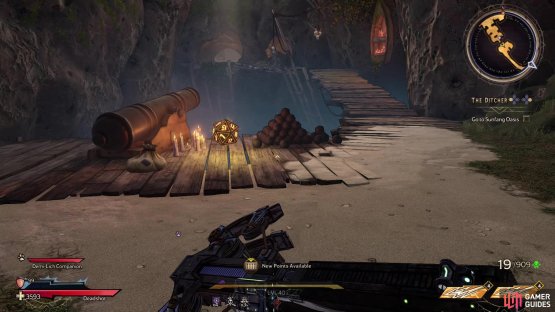
Go to this location on the map to find Lucky Dice #10 (left), Once you emerge from Phil’s hideout, you will find the Die right next to the cannon (right)
After collecting the previous Die, continue northeast and you should come to the one puzzle you needed to do in order to get inside Phil’s residence. Go all the way through it, then open the exit that leads back outside. Once you do this, you should see a cannon straight ahead and the Lucky Die will be right next to it.
Lucky Dice Location #11
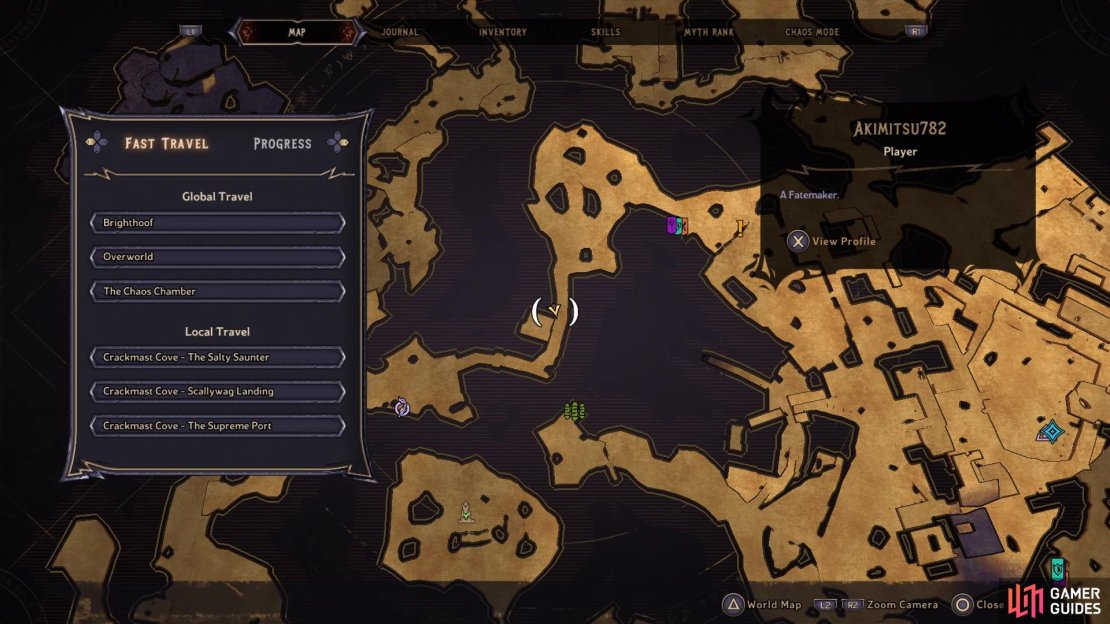
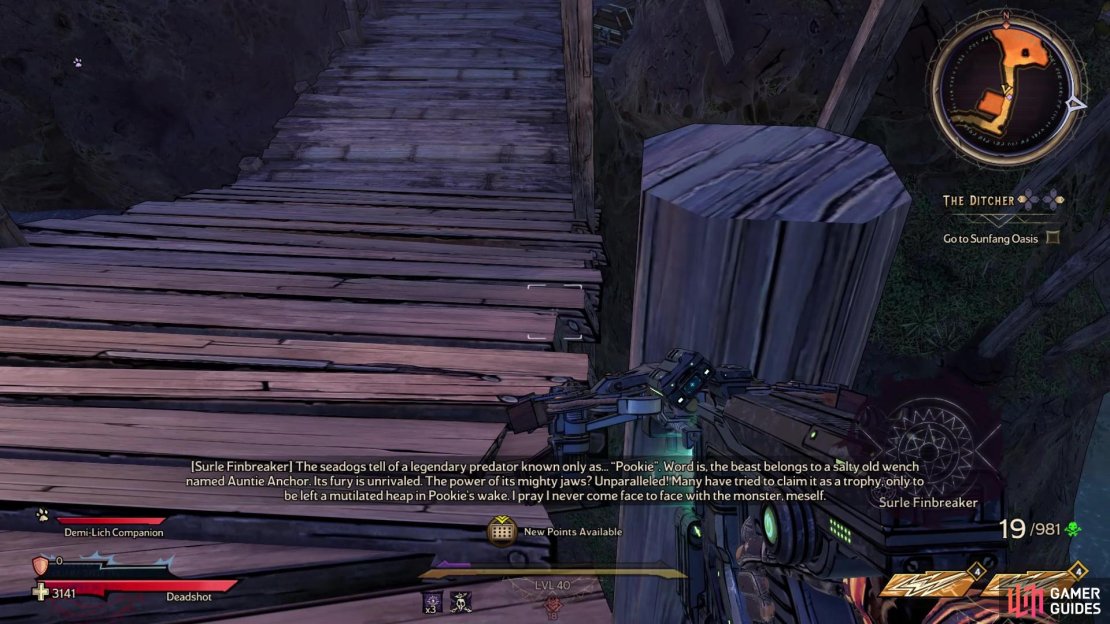
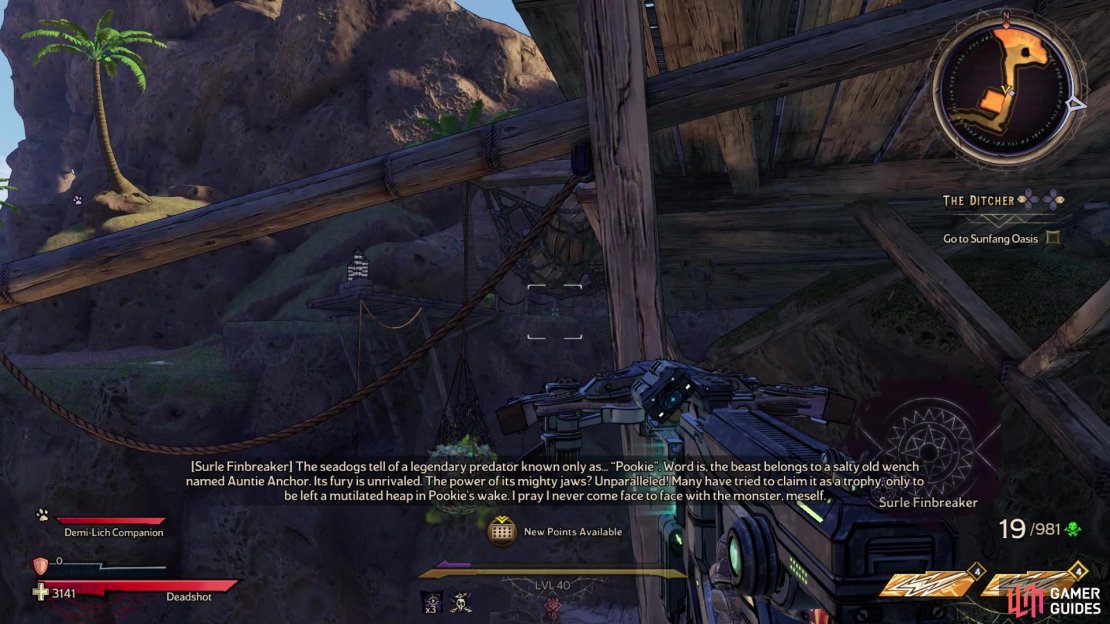
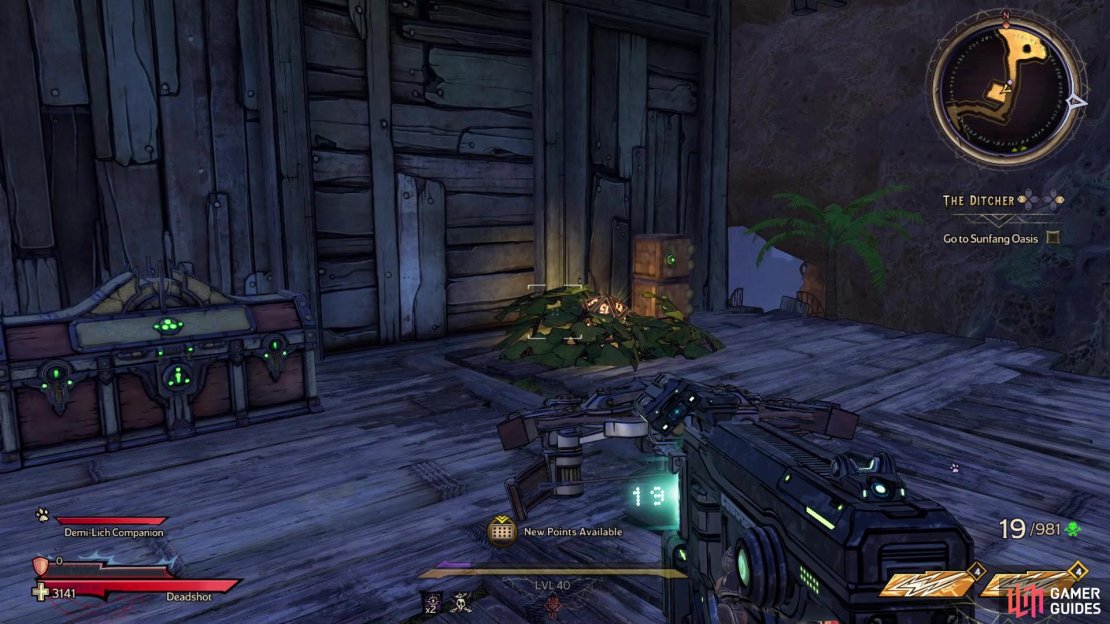
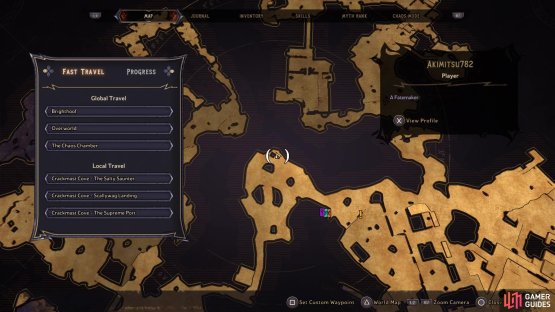
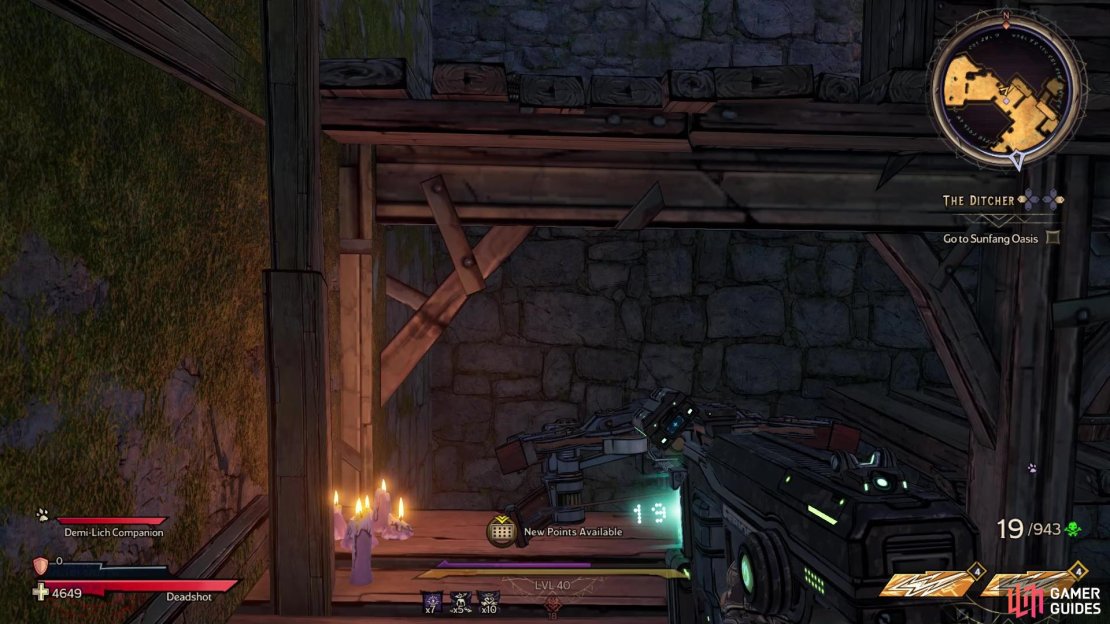
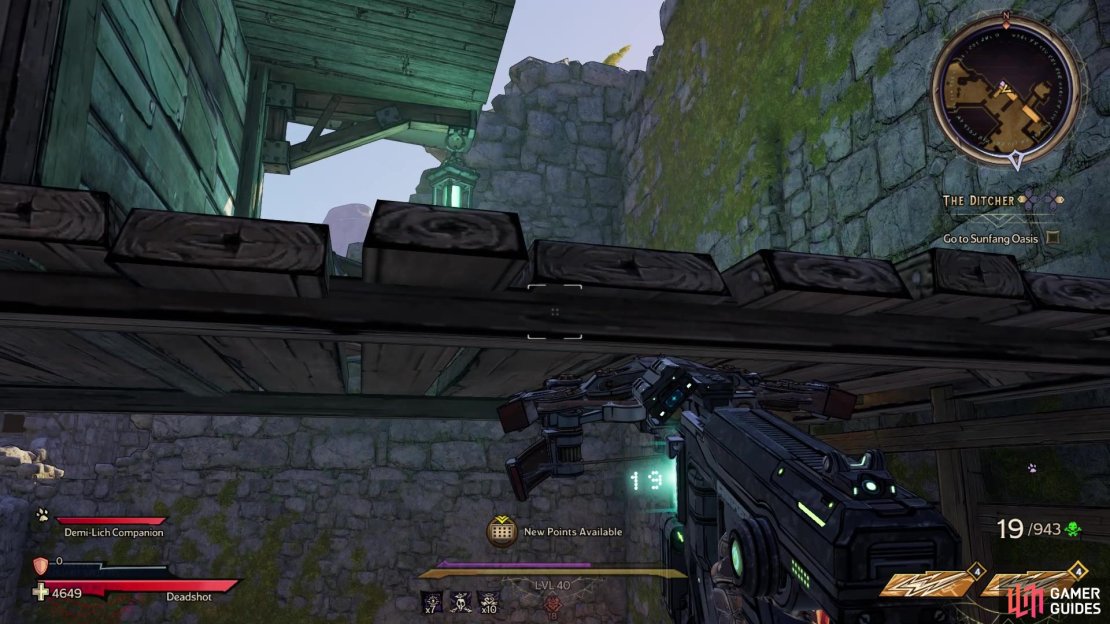
(1 of 4) Go to this location on the map to find Lucky Dice #11
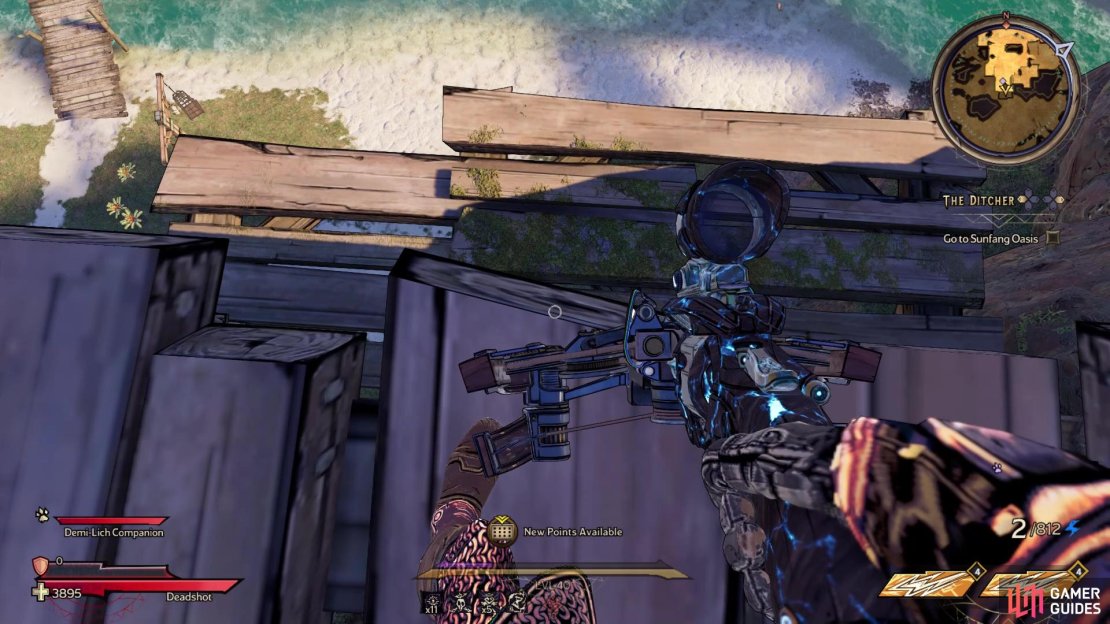
Backtrack a little bit to the large gate that was locked, which has the Scallywag Landing fast travel station just beyond it. Start going up the wooden walkway here, but stop when you see a wooden beam above you. Locate the tall support beam on the side, then hop on top of it. From there, you will need to jump to the wooden beam, allowing you to reach the ledge with the Lucky Die (and a chest with some loot). It will be slightly obscured by a small pile of leaves.
Lucky Dice Location #12
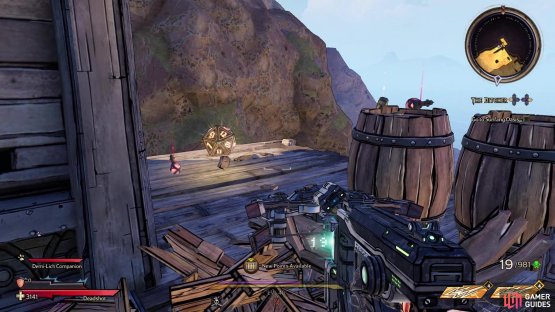
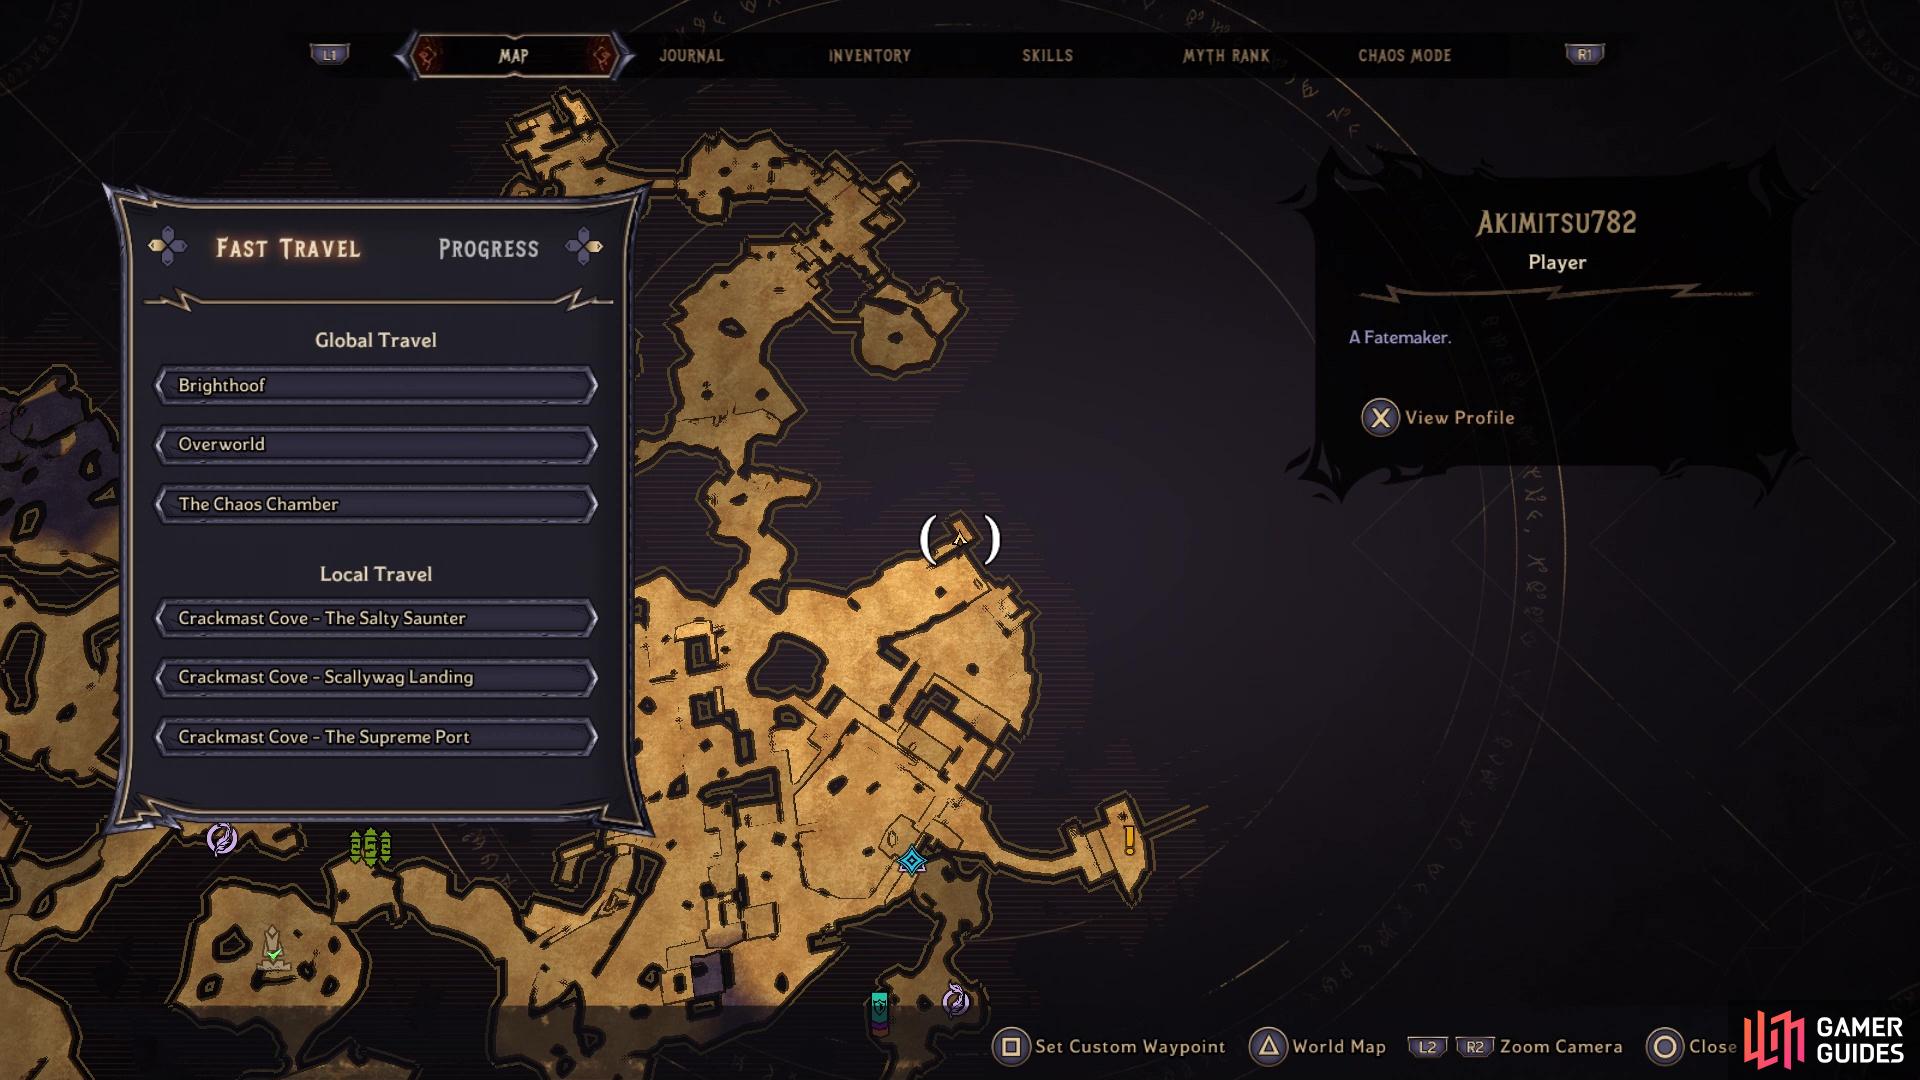
(1 of 2) Go to this location on the map to find Lucky Dice #12
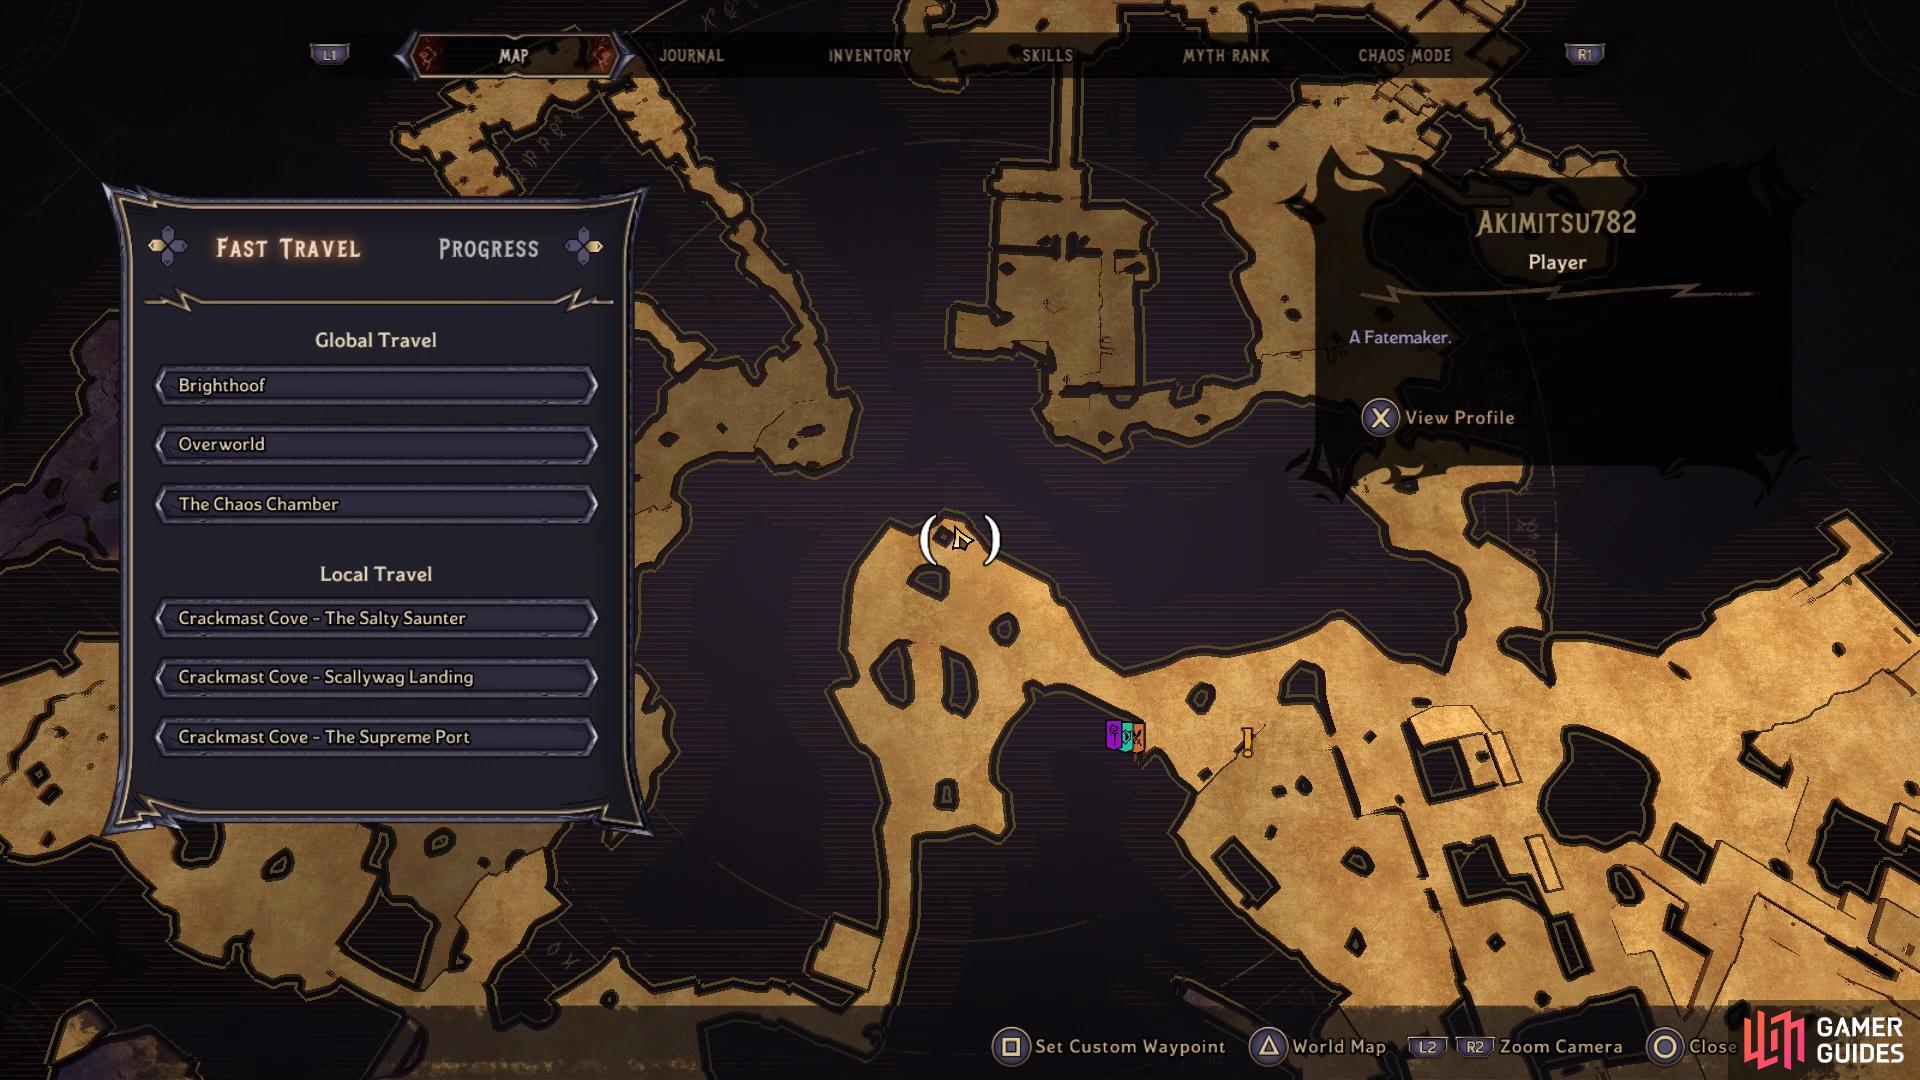

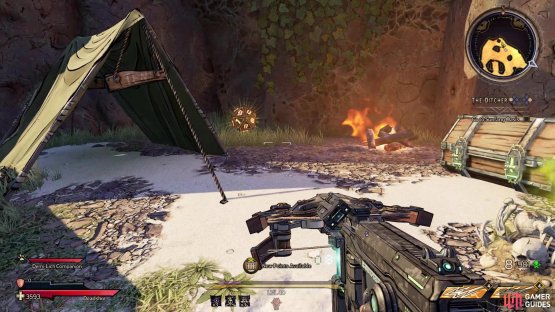
Go to this location on the map to find Lucky Dice #12 (left), The Dice will be hidden behind the tent (right)
Jump off of the ledge with the previous Die, then continue north to where you found the first mysterious totem you had to melee. If you’ve finished the sidequest, then there will be some Seawargs here (the shark-like enemies). In the same little area as them, there will be a small tent, so look behind it to find the Lucky Die.
Lucky Dice Location #13


(1 of 3) This is where the side quest begins
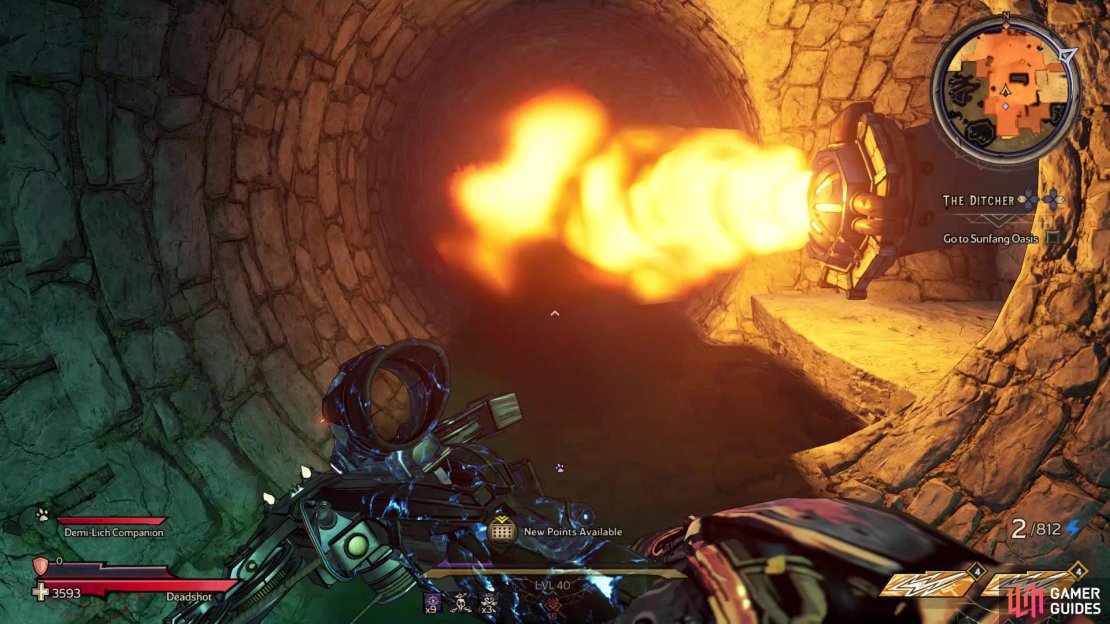
You will need to be doing or have completed the All Swashed Up side quest in order to access this Lucky Die. After collecting the previous one, head southeast to a large town-like area with a bunch of pirates. Behind a building to your east is some kind of jar that will begin the above side quest. North of there is where you will be going for the quest, so head in that direction. Go through the sewer tunnel and drop down into the new area, then look underneath the bridge to find the Lucky Die.
Lucky Dice Location #14
(1 of 3) Go to this location on the map to find Lucky Dice #14
You will need to be doing or have completed the All Swashed Up side quest in order to access this Lucky Die. After collecting #13, continue into the area until you reach the area just before the one with the vat. This is the area where you have to find three items for the quest, with some doors blocking your way to the section with the vat. Right by those locked doors, there are two ledges you can climb up, so do that. As soon as you do, look for the wooden crate right next to you and get on top of it, then jump to the ledge right above that one, which is where you will find the Lucky Die.
Lucky Dice Location #15

(1 of 2) Go to this location on the map to find Lucky Dice #15

Go to this location on the map to find Lucky Dice #15 (left), It will be hidden behind the crates and barrels (right)
Backtrack to where you picked up the All Swashed Up side quest, and head east-northeast from there. You should see a house on the cliff’s edge there, with some stairs. Go up the stairs and look behind the barrels to find the Lucky Die.
Lucky Dice Location #16
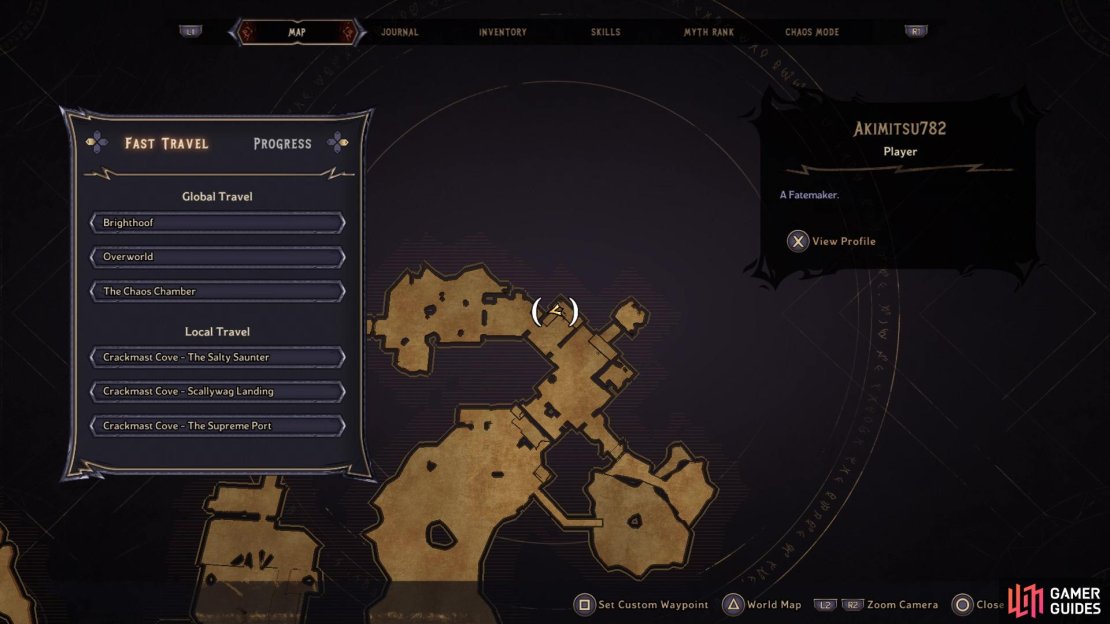
(1 of 2) Go to this location on the map to find Lucky Dice #16
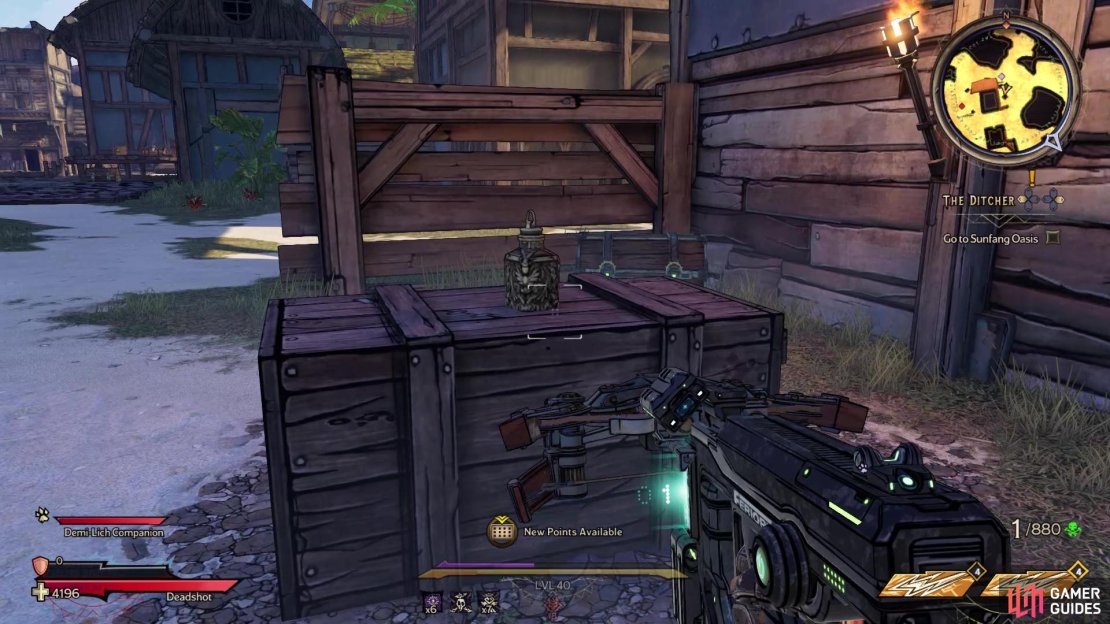
Go to this location on the map to find Lucky Dice #16 (left), Look in between the buildings here to find it (right)
Return to the jar that trapped the soul for All Swashed Up, and look to your south. There will be a wooden ramp, as well as a wooden bridge to the side of it. Cross the wooden bridge and look in between the buildings for the Lucky Die.
Lucky Dice Location #17
(1 of 2) Go to this location on the map to find Lucky Dice #17


Go to this location on the map to find Lucky Dice #17 (left), You’ll need to drop down here to get this one (right)
If you read the bit for #16, you remember the ramp mentioned there. Go over that ramp, then immediately head southwest. Look for the pier that extends out, which will have a gap in it. At the very first part of the pier, there is a spot you can drop down below it, where you will find the Lucky Die. You should see a yellow awning at the spot you can drop down.
Lucky Dice Location #18
(1 of 4) You cannot get the Dice from this side of the sewer grate
After the previous Die, drop down to your south to find some stairs, bringing you back up to the main area. There will be another large gate to your south, leading you to another large area that is part of The Trial side quest. If you head straight west upon arriving here, you will see a sewer grate blocking passage to the Lucky Die. In order to actually get to the Die, go up the stairs next to it, then head south at the first opening. At the cliff’s edge to your south, you can drop down to another wooden ledge. Do that, break the flimsy wall, then navigate through the trap-filled sewer to get to the Lucky Die you saw earlier. You can backtrack and use the ladder where you dropped down to get back up.
Lucky Dice Location #19
(1 of 3) Look on the back of this building to find a ladder to climb
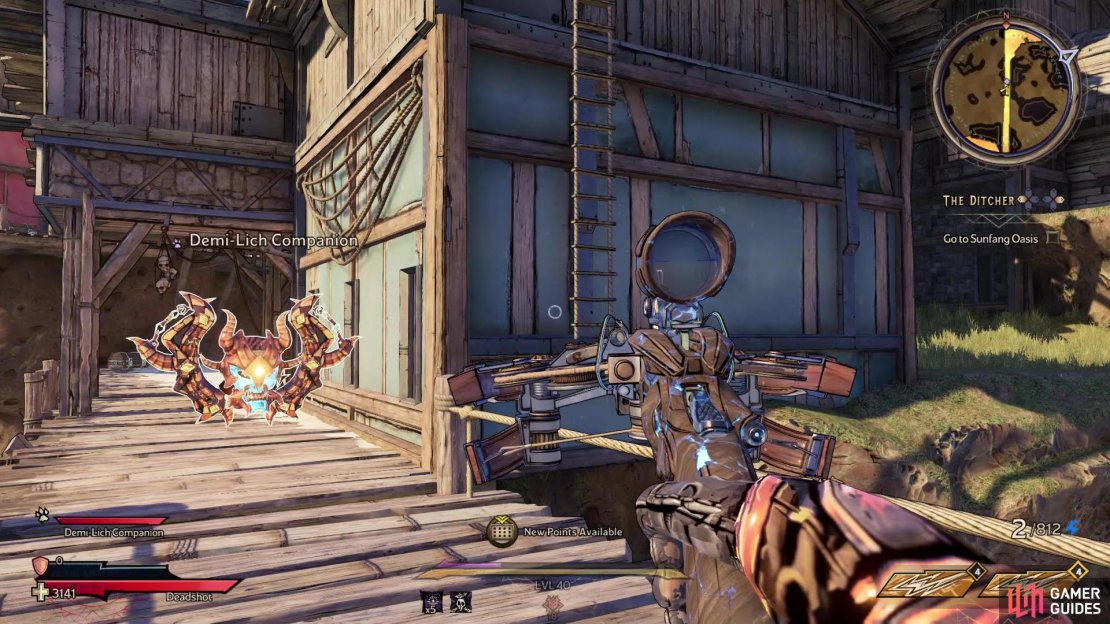
If you look at your map, to the west of the previous Die, there is a long bridge that extends to the south. As you begin crossing that bridge, turn around and look on the backside of the building to spot a ladder. Jumping to grab the ladder can be a little bit tricky, as you might hit the rope on the side of the bridge. Once you connect, climb the ladder and jump up to the hull of the ship to find the Lucky Die.
Lucky Dice Location #20

(1 of 2) Go to this location on the map to find Lucky Dice #20

Go to this location on the map to find Lucky Dice #20 (left), It will be in the corner, at the bend of the docks (right)
Get back on the bridge mentioned in #19 and look on your map to the immediate southeast to find a dead end trail. Near the bend, in the corner of the building there, you should find the Lucky Die.
Lucky Dice Location #21
(1 of 2) Go to this location on the map to find Lucky Dice #21


Go to this location on the map to find Lucky Dice #21 (left), It’s at the dead end, in between the two ammo chests (right)
Get back to the main area and head westward, until you eventually encounter a building with a locked gate you cannot open. You will have to find another way around, which is through a side path that you can bust open. Inside the building with the locked gate is a loot chest, but on the northern side of the building will be a dead end with the Lucky Die.
Lucky Dice Location #22


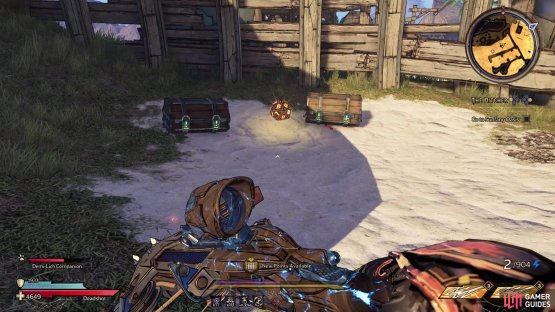
(1 of 2) Go to this location on the map to find Lucky Dice #22

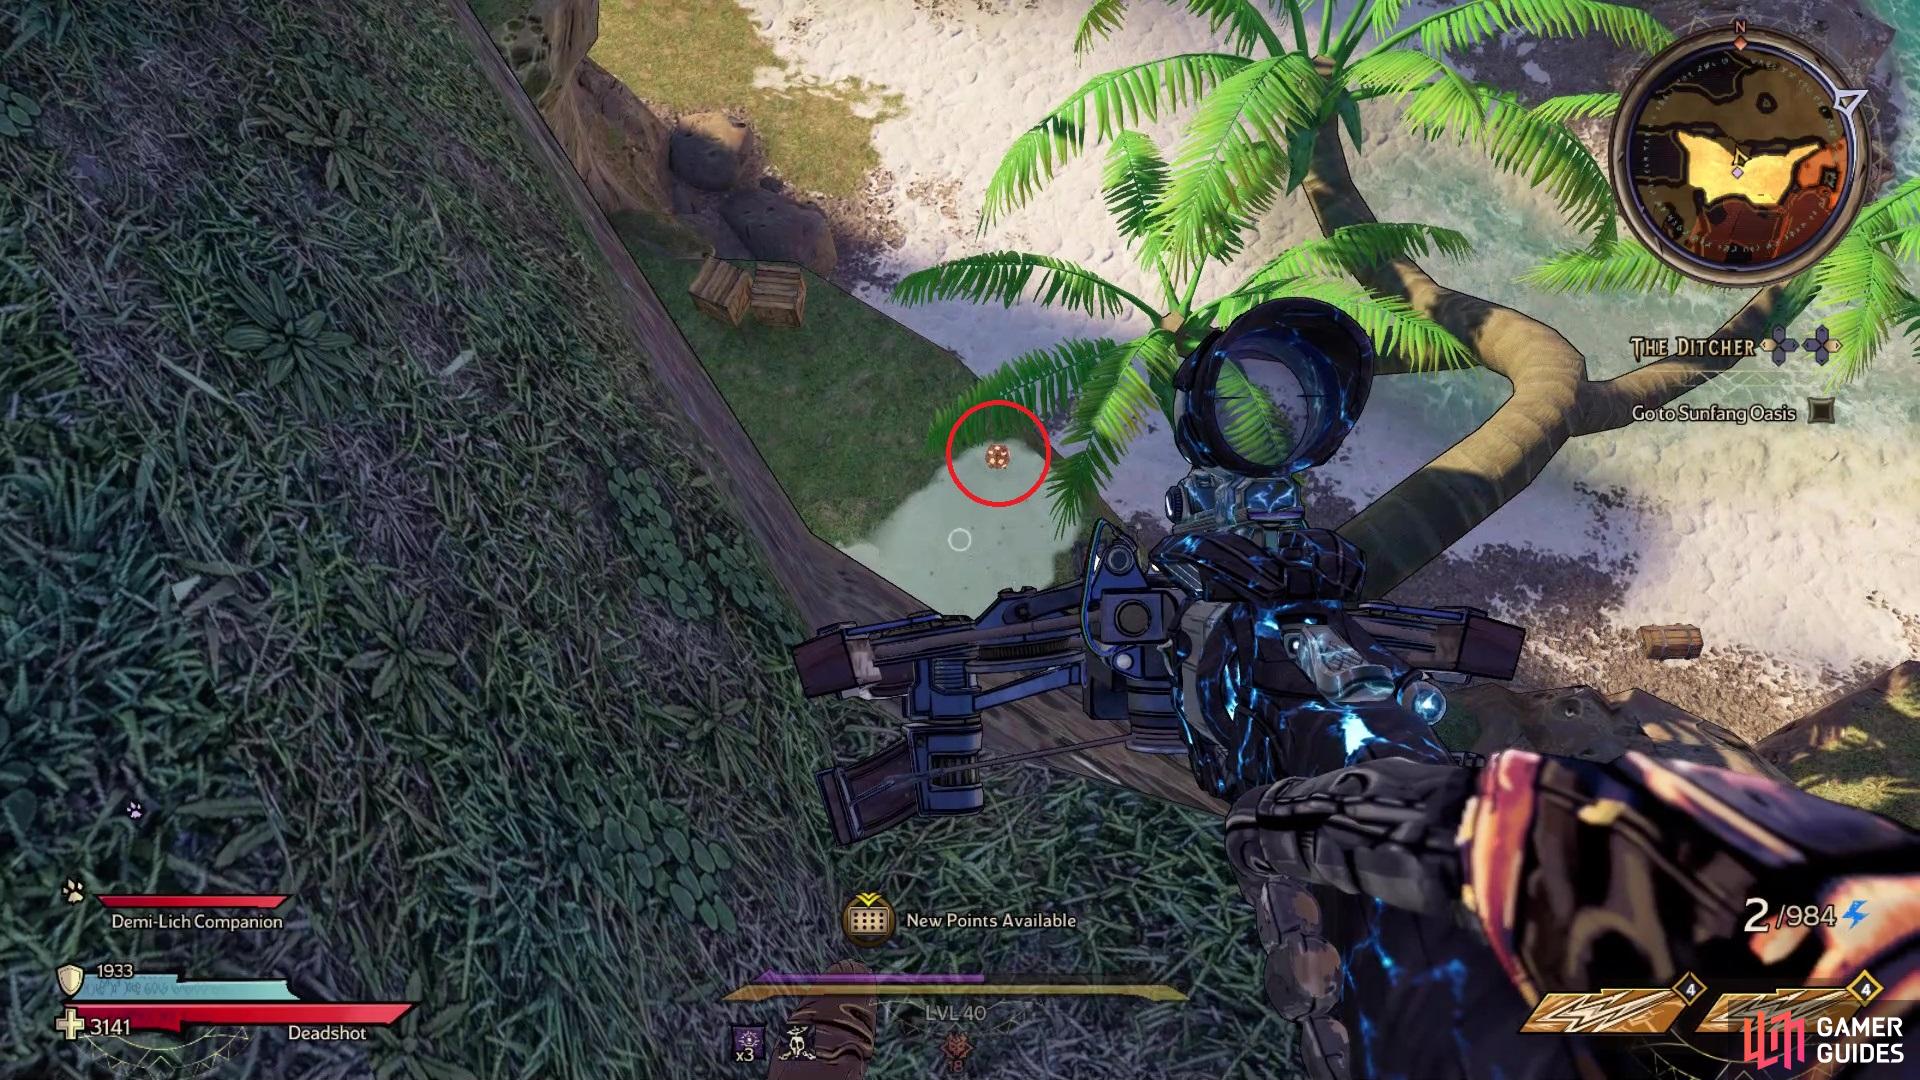
Go to this location on the map to find Lucky Dice #22 (left), You’ll need to drop down twice to get to the Lucky Dice (right)
For the final Die on this list, go back to the locked door mentioned in #21 and look for the building just north of it. On the northern edge, there is a large ledge you can drop down to, so do that. If you look over the edge here, by the palm tree, there is one more spot below you. Drop down here to find the Lucky Die, right next to a loot chest.
No Comments