
This is a walkthrough for Da’at: Taito of Shin Megami Tensei V, focusing on clearing a few of the Abscesses blocking the map. How to complete every objective, find every chest and locate every Miman.
Taito will be the last major region of the game
Demons
| Icon | Name | Lv | Weakness |
|---|---|---|---|
| Clotho | 52 | ||
| Loup-garou | 54 | ||
| Hecatoncheires | 55 | ||
| Decarabia | 55 | ||
| Sui-Ki | 56 | ||
| Titania | 57 | ||
| Lachesis | 58 | ||
| Fafnir | 60 | ||
| Fuu-Ki | 63 | ||
| Cerberus | 64 | ||
| Girimekhala | 66 |
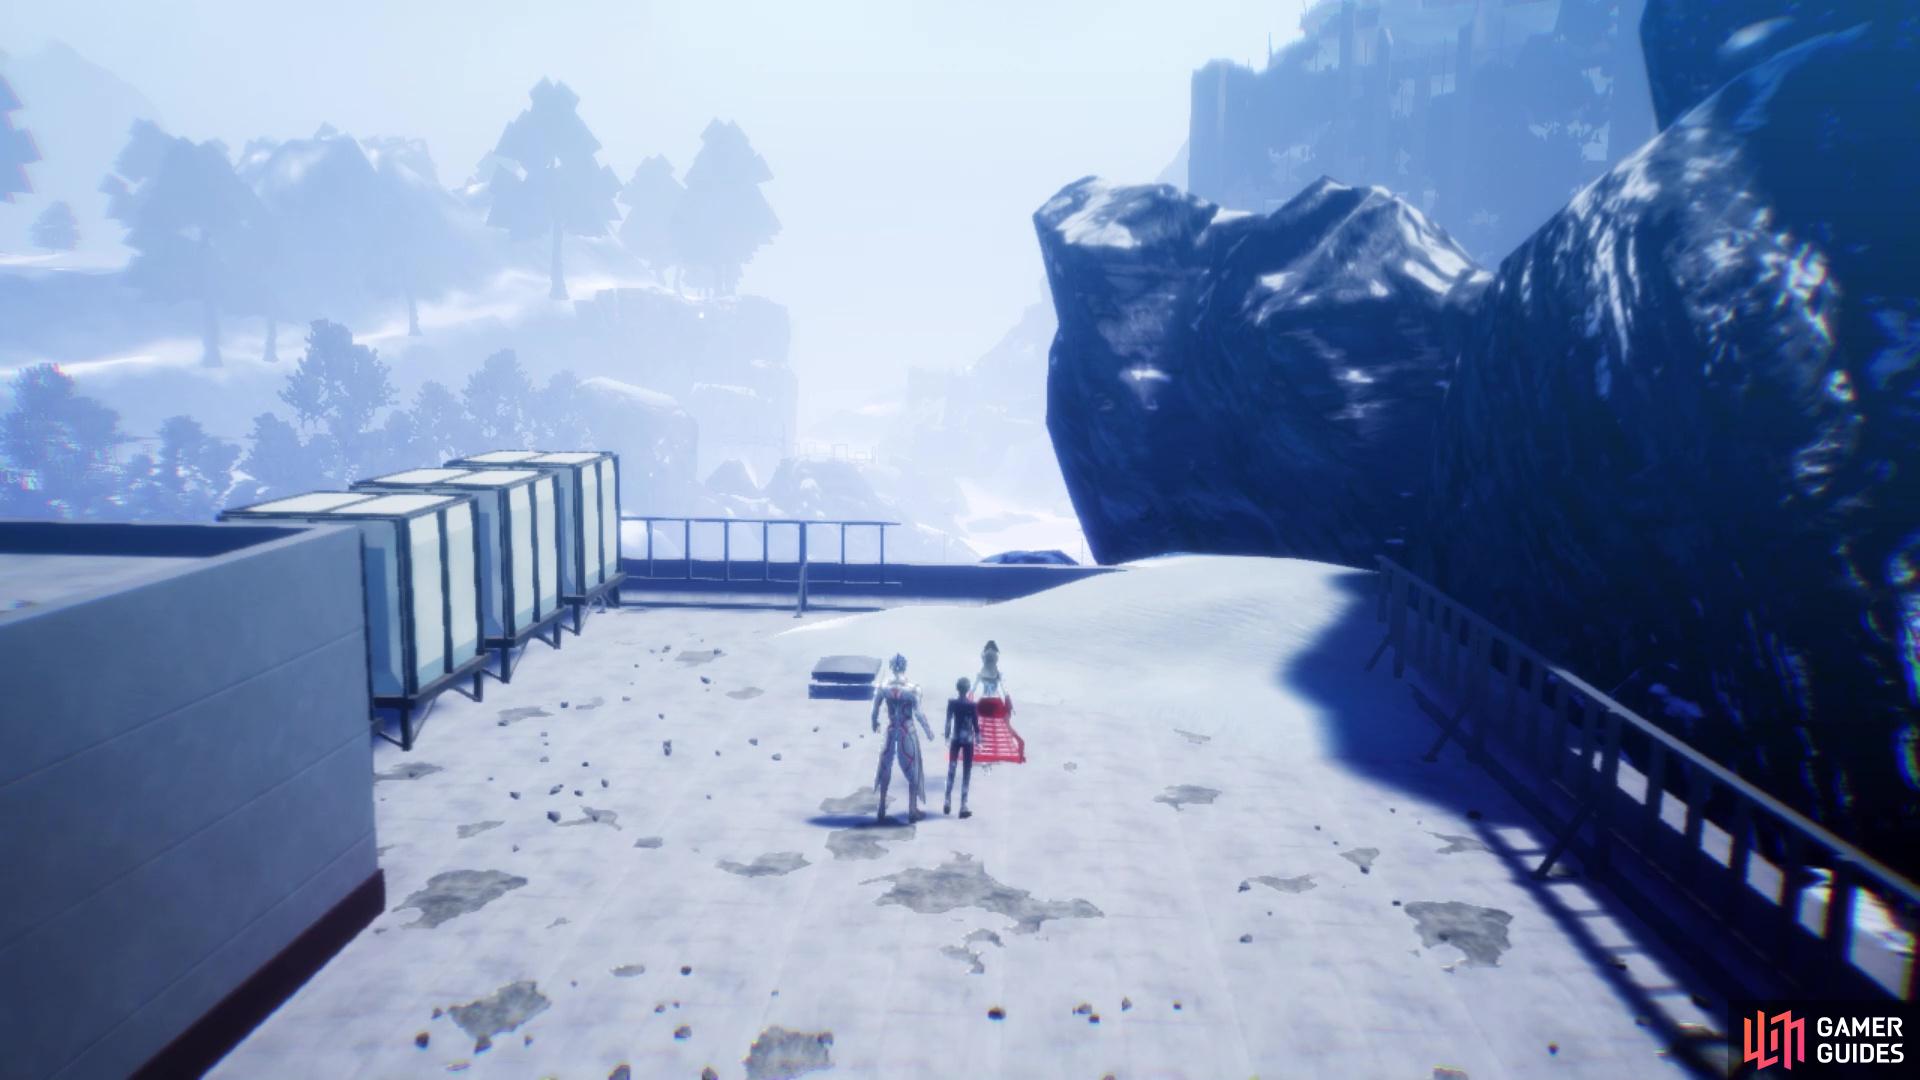
Upon first arriving to the new region, named Taito, you will watch some cutscenes and you will have a new character join your party. This character cannot be removed from your party and they cannot be used in fusion. They join at level 60 and their unique skill is very nice, despite it having a steep MP cost. Light of Order is basically Mediarama, Dekunda and Luster Candy all rolled into a single skill. Additionally, you will also have Amanozako joining you once more as a Navigator demon.


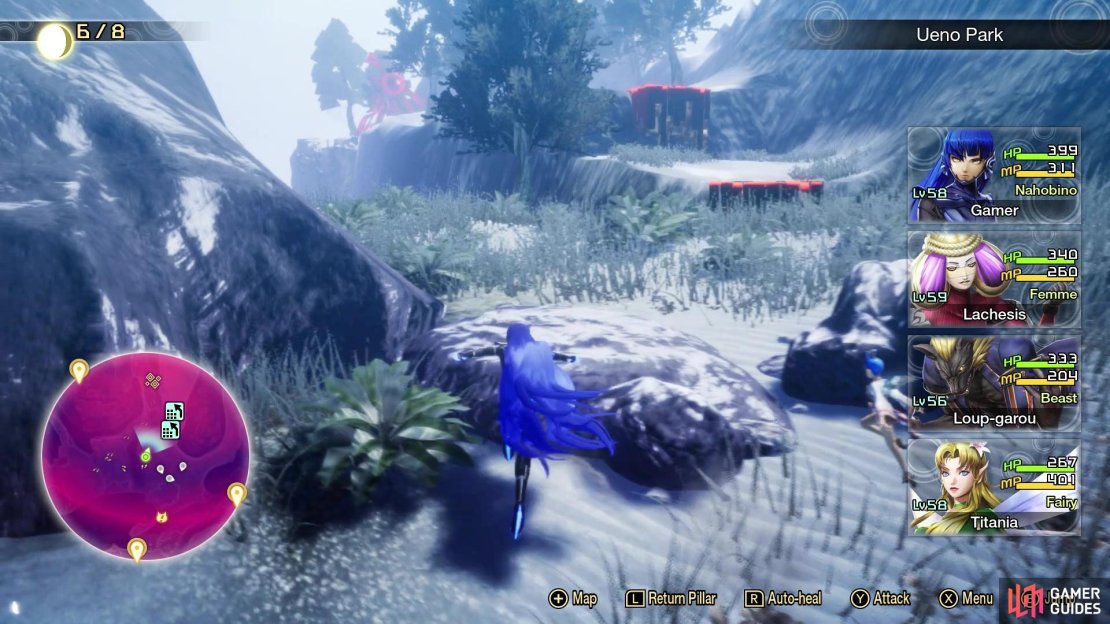
(1 of 2) You will want to grind some when you first get to Taito
You will want to grind some when you first get to Taito (left), There is a guaranteed Mitama spawn in this little dead end (right)
Taito is the fourth, and final, major region of the game and definitely different than the previous regions. Unlike the others, which had a normal sense of progression, Taito is set up as more of an open area. From the beginning, if you look at your map, you should see that most of it is obscured by Abscesses, meaning you won’t really be able to see anything. Also, you will want to be careful while exploring, as it’s possible you might wander into an area that has demons too powerful for you to defeat. Your primary goal in Taito is to obtain three keys, all of which will come from three level 72 bosses. Thus, you will want to start exploring, fighting demons, and begin leveling, as you most likely first arrived here in the mid to high 50s.
Ueno Park Abscess
When you first arrive, the ideal path at the start will be to take down one of the Abscesses. There will be two enemies here, both of which are level 61, so you want your ideal level to be about 58 or so. Both enemies will be weak to Electric, while using Fire and Light skills, so you have a good idea how to set up your party for the battle. There are demons around the initial leyline fount that are around level 55, so use them to help grind a bit. If you’re feeling a little brave, there is a level 64 enemy to the north, along the way to the Abscess, which can provide a little more experience. It has a bit more HP than normal and is a little more challenging, in terms of a normal encounter, as it gets two turns per round, instead of just a single one.
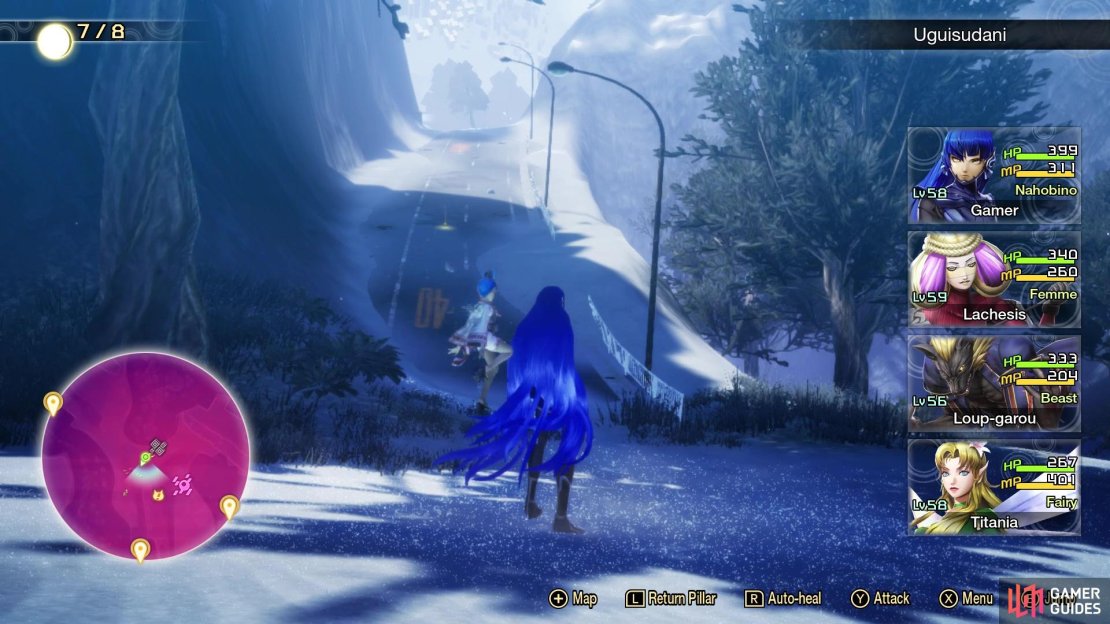
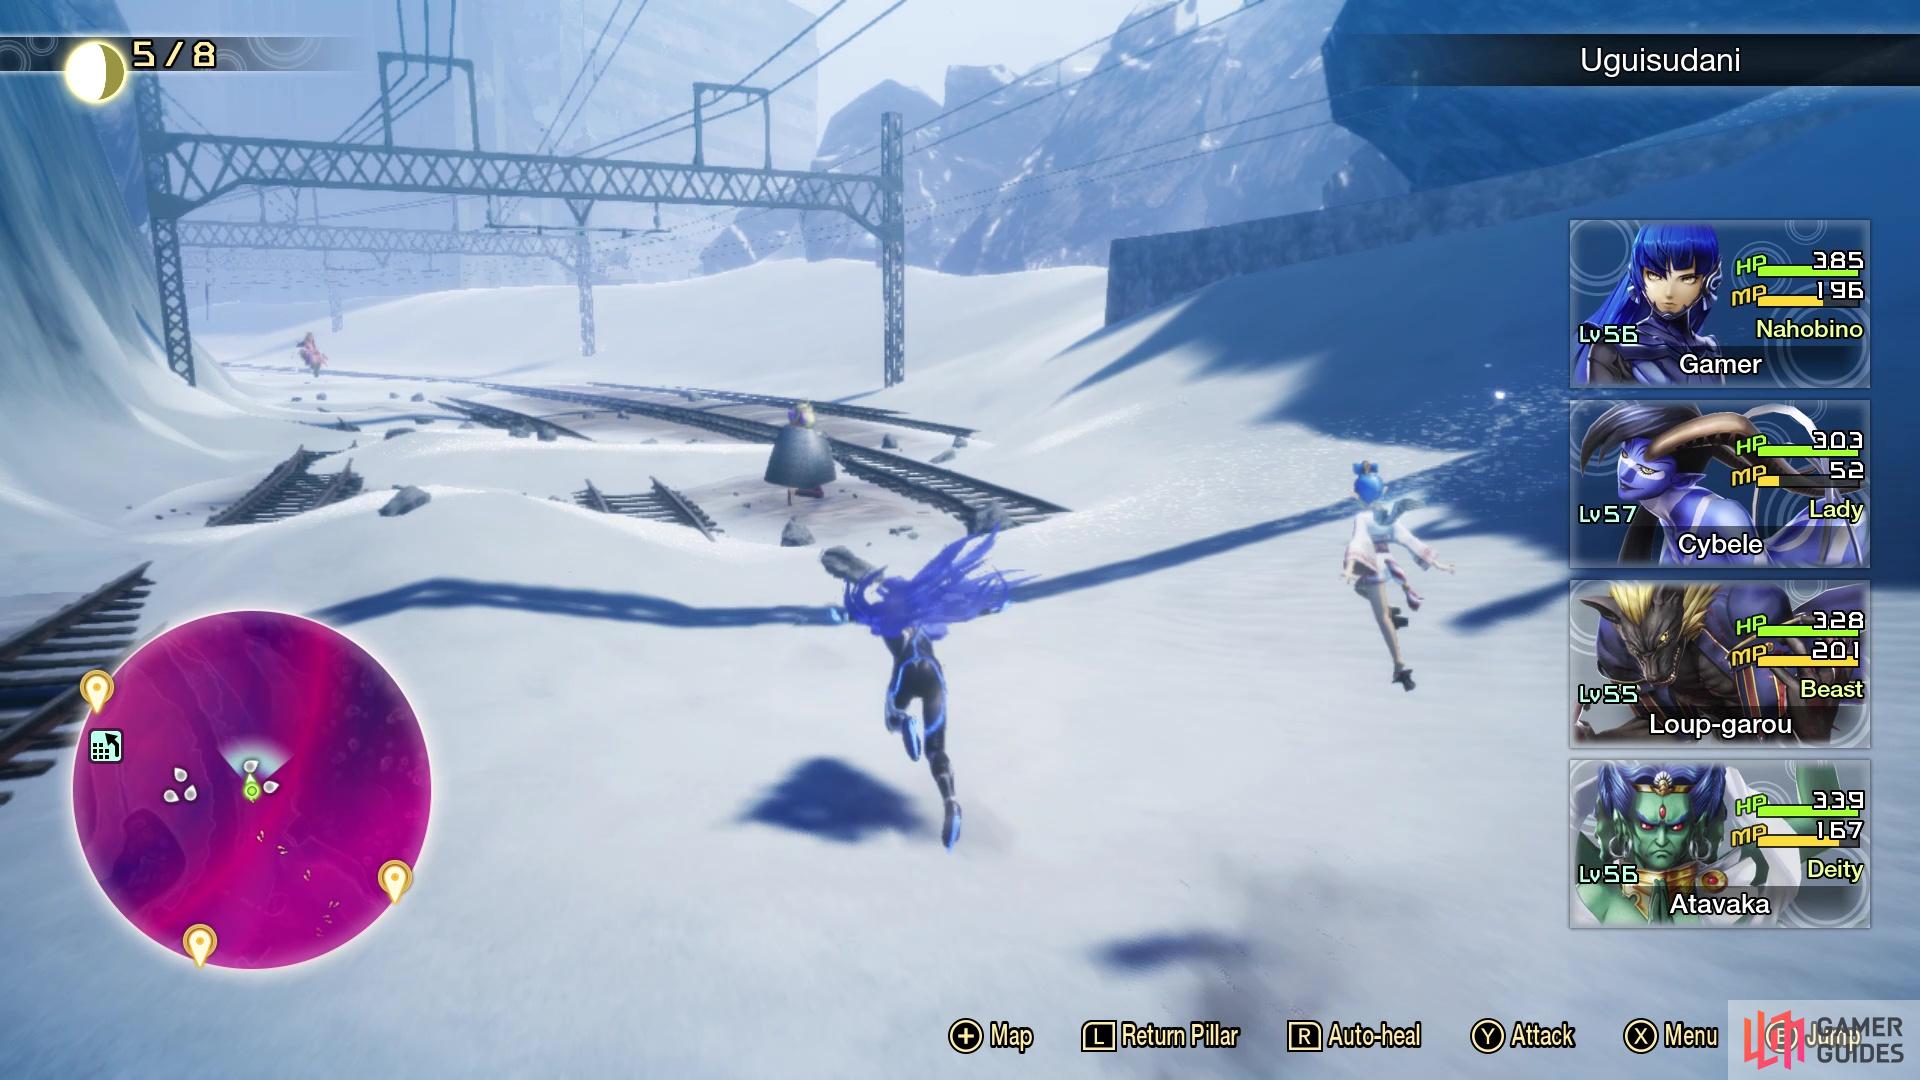
(1 of 3) Head up the hill on the left here to get to the train tracks
Whenever you are ready to go after this Abscess, start from the Ueno Leyline. Look for the big hill on the northern side of the building you start on, which you will use to slide down to the ground level. Head northeast, underneath the highway that has the snake-like creature on it, and up the hill to your north. You should see a Demon Statue nearby, but ignore it for now, and continue straight north until you come to some train tracks. Follow these until the end, then look west-southwest for a hill to climb. At the top will be some vending machines, if you are looking for a landmark.
A little past the vending machines, look to the south and there will be a road acting as a slope. Follow that road/path, until you reach some shallow water, being careful of the Sui-Ki that can pop up out of nowhere. Ignore that shallow water, though, and you should find another small hill to climb to the east, with some Decarabias roaming. Immediately to the north-northeast, at the top of the hill, there will be some climbing blocks and those will take you to the Abscess.
You will have two enemies to deal with for this Abscess, a Scathach and a Cybele, both of whom are level 61 and weak to Electric. Scathach will be immune to Force and resistant to Light, while Cybele will be resistant to Fire and immune to Light. Of the two, Scathach is probably the one you want to go after first, as she can inflict Seal on your party with Makajamaon, meaning they won’t be able to use any skills. Hopefully you have someone with access to Me Patra, as that will be extremely helpful during this battle. Other than that, Scathach also has access to Mahamaon and Mist Rush, the later of which has a chance to inflict Mirage.
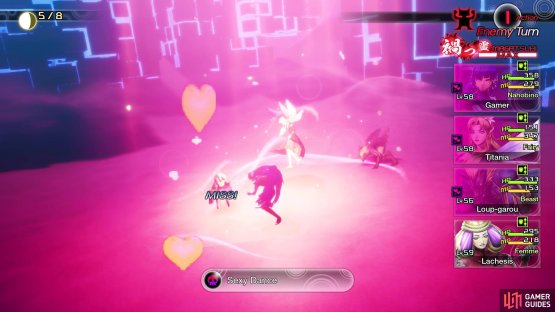
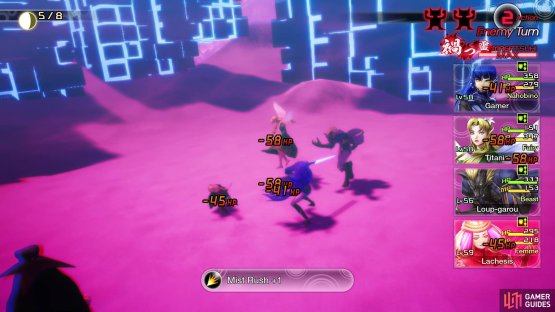
(1 of 2) You will see ailments being thrown out a lot in this battle

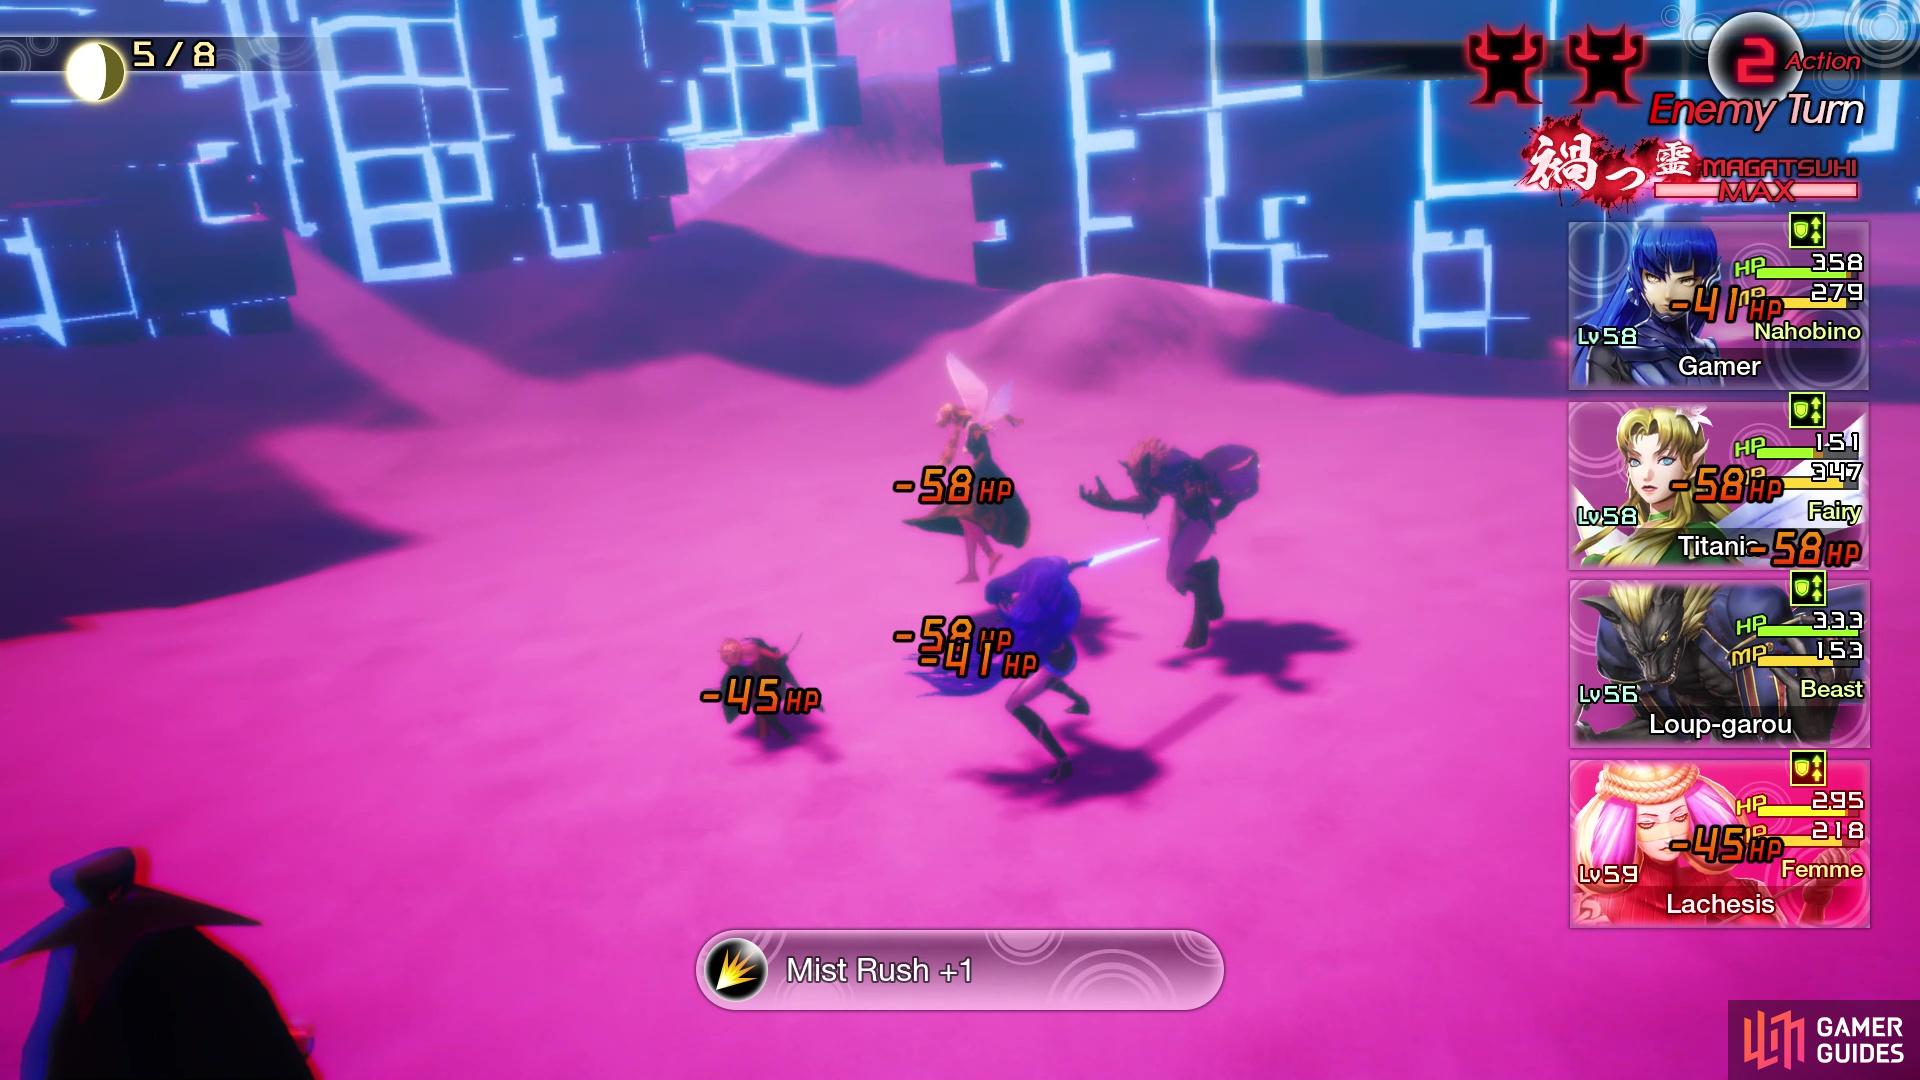
You will see ailments being thrown out a lot in this battle (left), Mist Rush has the potential to deal a lot of damage (right)
Moving on to Cybele, she can use Sexy Dance to inflict Charm on your party, and she can also inflict Seal with Dark Sword. Outside of those two skills, she also has Maragidyne, which is a heavy Fire attack to the entire party. So, this fight will be more about controlling the ailments tossed in your direction, as there will be quite a few of them. If you have debuffs, such as Masukunda, then use them liberally, as neither of them can remove them and they might help in the ailments missing. There is no skill that is locked in whenever they charge the Magatsuhi, so you will have no chance to completely negate damage there, should they used something like Mahamaon or Maragidyne.
| Miracle | Category | Effect | Glory |
|---|---|---|---|
| Divine Garrison IX | Awakening | Increases demon stock by 3. | 200 |
| Fire Mastery V | Cosmos | Increases the Nahobino’s Fire skill potential by 2. | 160 |
| Ice Mastery V | Cosmos | Increases the Nahobino’s Ice skill potential by 2. | 160 |
| Electric Mastery V | Cosmos | Increases the Nahobino’s Electric skill potential by 2. | 160 |
| Force Mastery V | Cosmos | Increases the Nahobino’s Force skill potential by 2. | 160 |
Asakusa Abscess
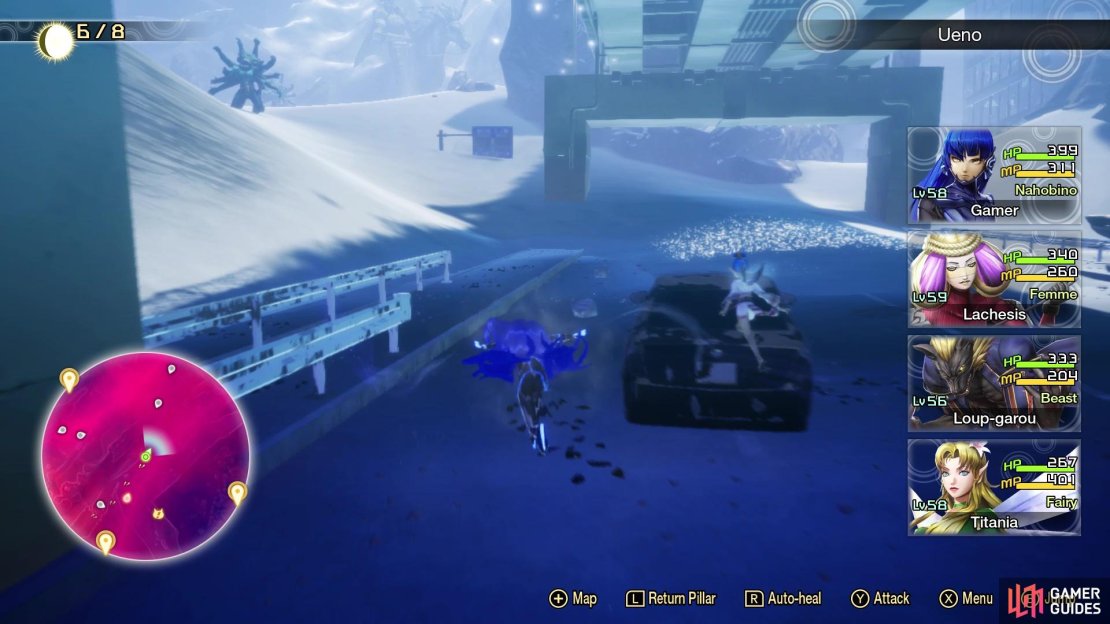
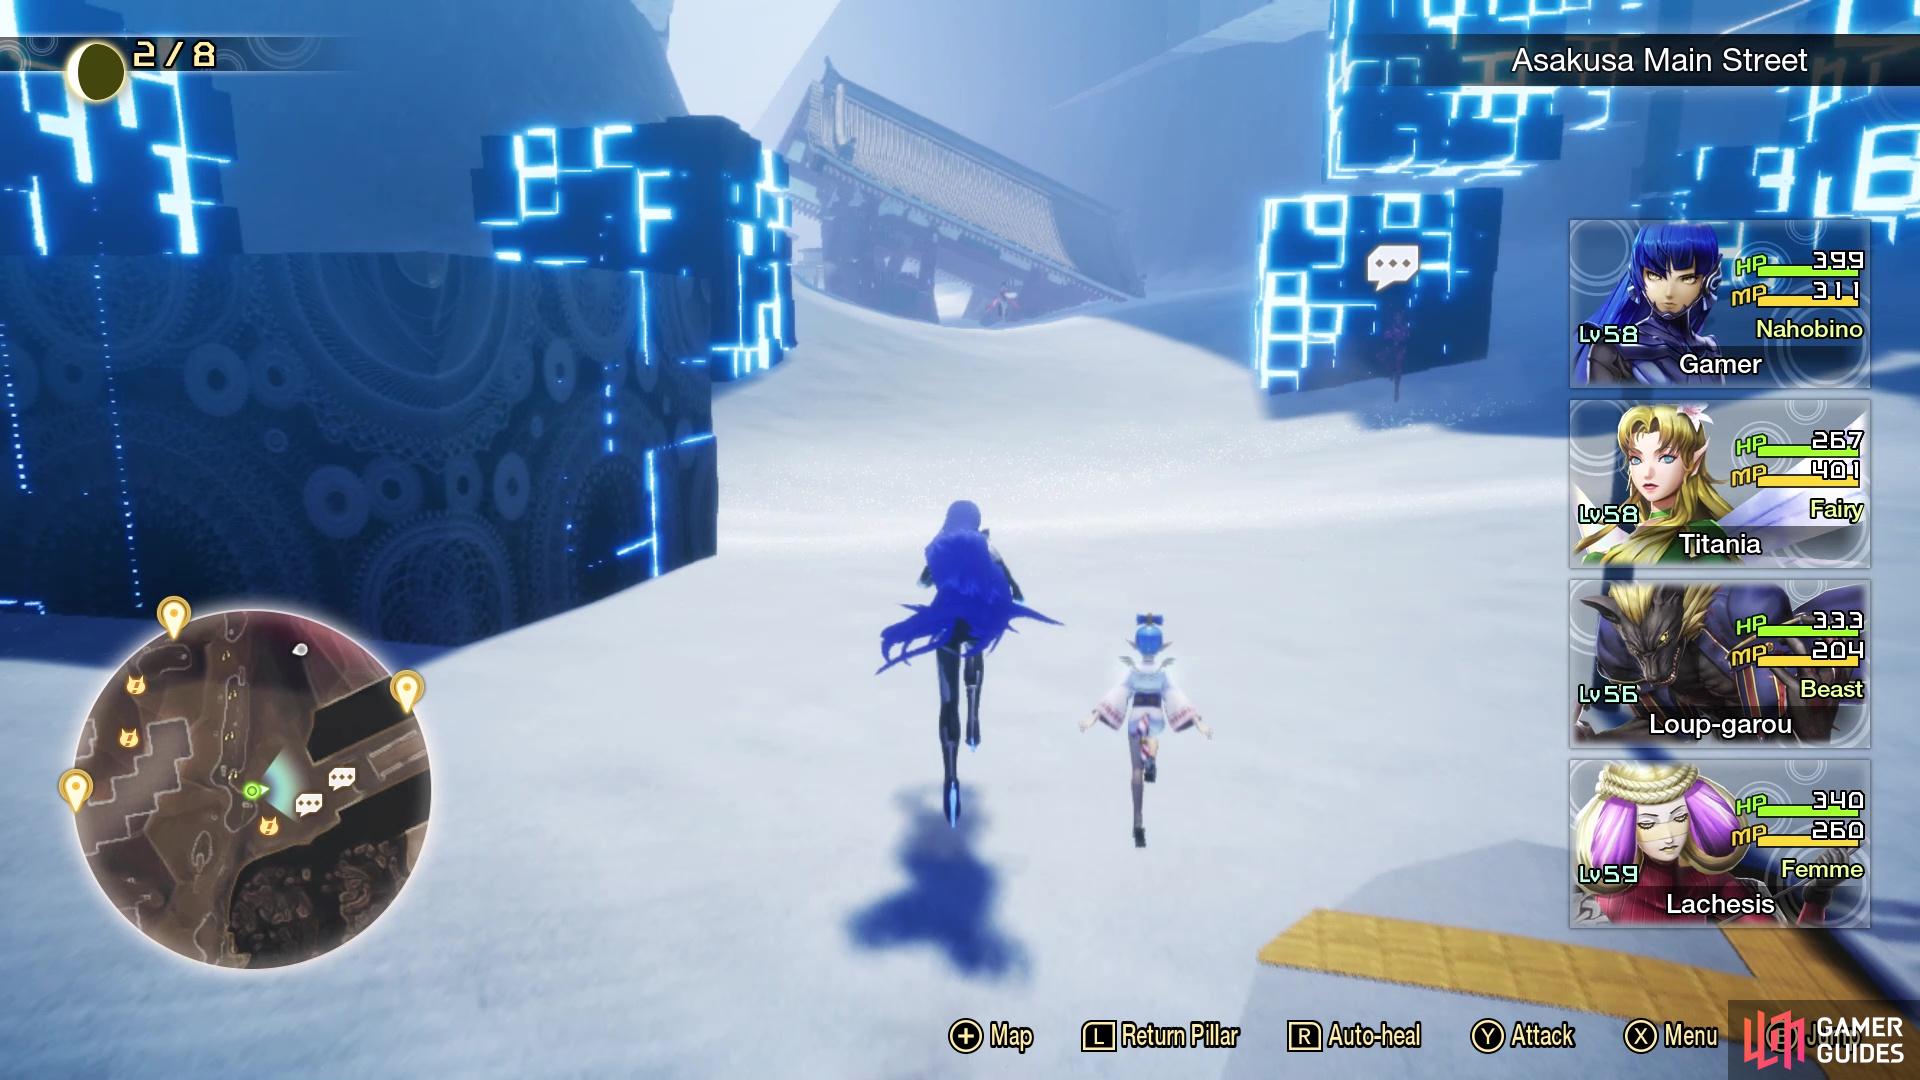
That’s one Abscess down and one more to go. The second one will have some dangerous enemies lurking around in the area, so try to avoid them as best as you can (look at the list above to see which ones you might want to avoid). The second Abscess will only have a single enemy, who will be level 63. Return to the Ueno Leyline and head south this time, looking for the path that will send you south. You will pass by some Loup-garou and eventually, some Fafnir. Keep heading south, until you see some NPCs marked on your map to the east. As you approach them, you will have it pointed out one of them is Nuwa. Approach her for a cutscene, then her and Shohei will go on their merry way, leaving you alone.
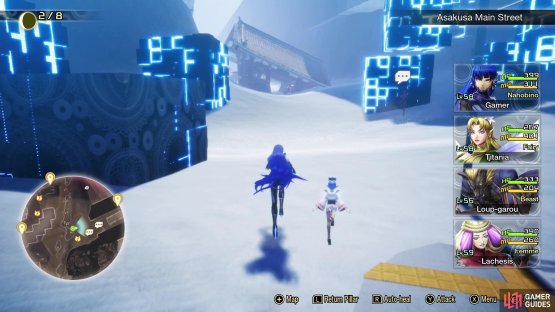
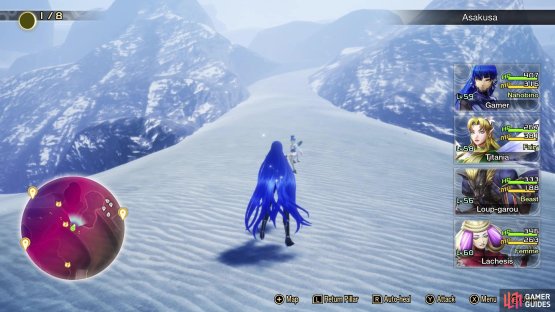
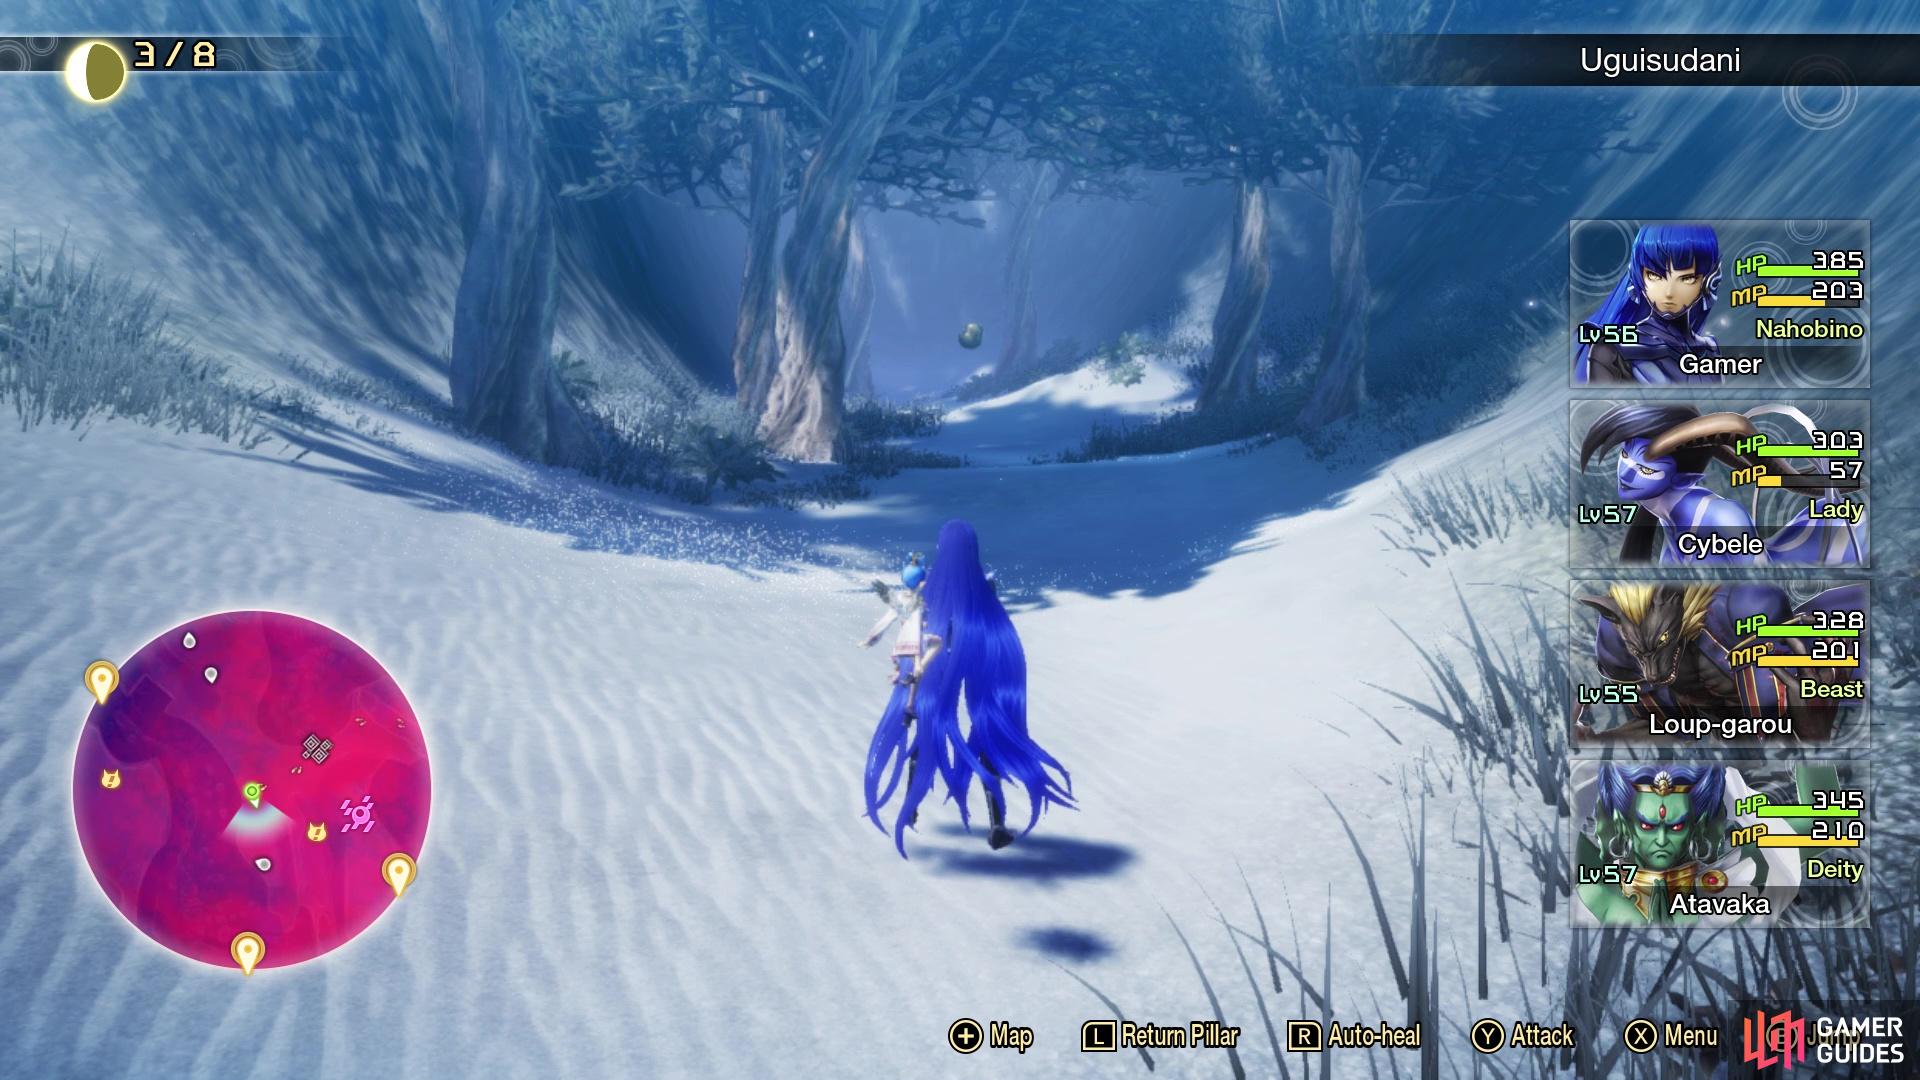
(1 of 2) Pass through this gate, which is where you met Nuwa

Pass through this gate, which is where you met Nuwa (left), You’ll be looking for this thin path to eventually reach the Abscess (right)
Pass through the gate behind where Nuwa was standing, and continue in that direction until you slide down a hill. At the bottom of the hill, follow the trail to the north and as it curves all the way around to the eastern side of the big hole. Eventually, you should see a narrow path on your northern side, so go up this slope, then begin venturing to the west. As you pass some Fafnir, you should notice another hill you can climb, so do that and the Abscess will be to your northwest.
| Icon | Name | Lv | Weakness |
|---|---|---|---|
| Rangda | 63 |
There is only one enemy here and if you look at her weaknesses, you might think the battle will be a joke. It can be pretty easy, though, if you utilize the fact that Rangda is also weak to Sleep. Her attacks include Wind Breath, which will be up to 5 hits with Force damage to random targets, so hopefully you don’t have anyone weak to that element. Nihil Claw is definitely the biggest threat here, as it is 2-3 heavy Physical attacks to a single target. With her Strength being pretty decent, this attack has the possibility to one-shot weaker demons in your party. By far, the most annoying spell in Rangda’s arsenal is Makarakarn.
This spell makes it so it reflects one spell, after which, you will lose all your turns for the rest of that round (both reflect and absorb will do this). Even if the demon who uses the attack can block the element used, reflected attacks will still do damage to the user. There’s only two things you can hope happens in this battle, one of which will be that Rangda doesn’t use this often. The other is if you have attacks that ignore affinity, like Puncture Punch, for example. Impaler’s Animus is a buff that also allows your next attack to have the piercing effect mentioned above, but it’s highly unlikely you’ll have it at this point in the game.
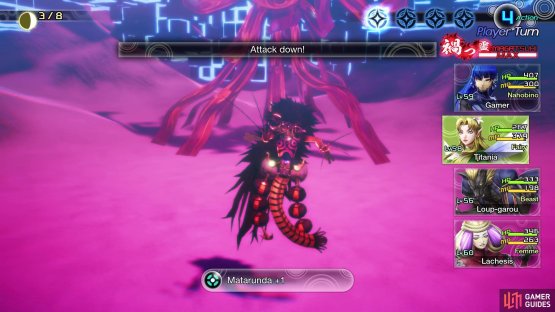

(1 of 2) You will want to debuff Rangda’s attack in this battle
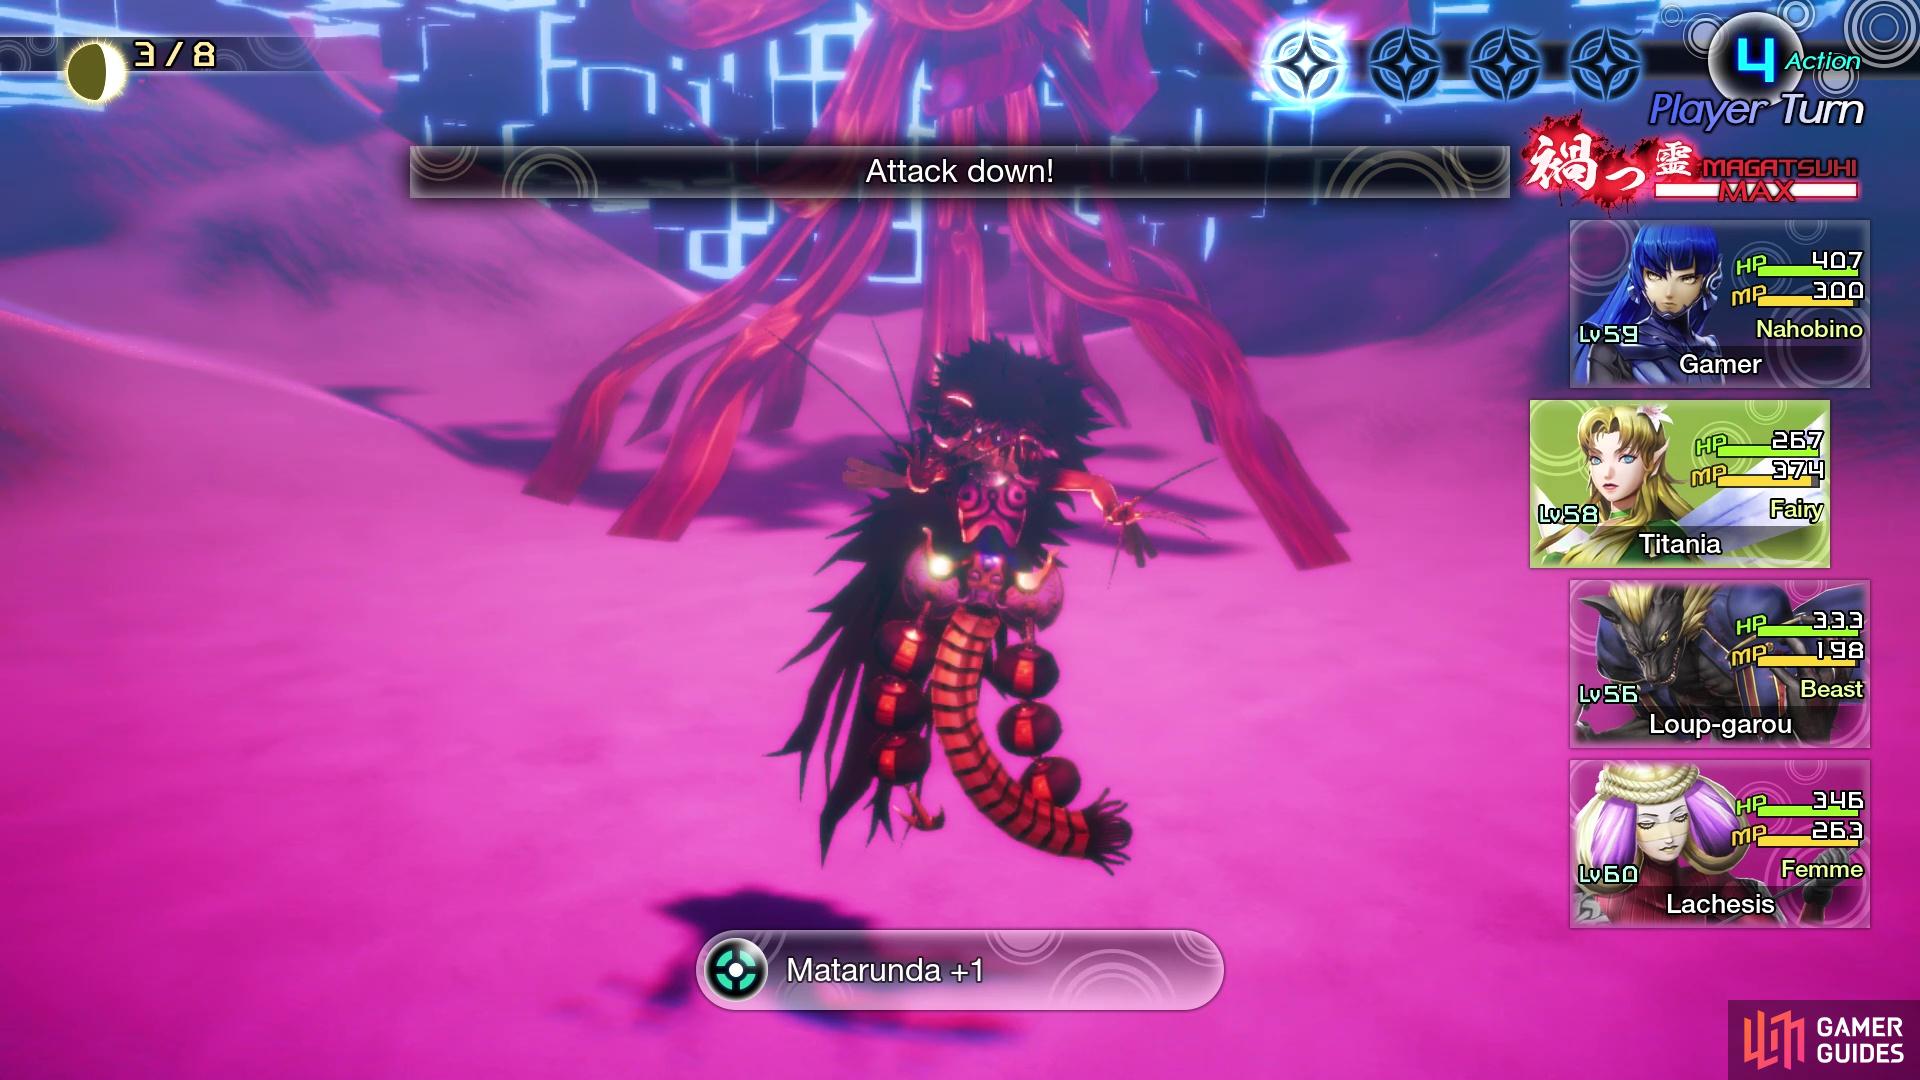
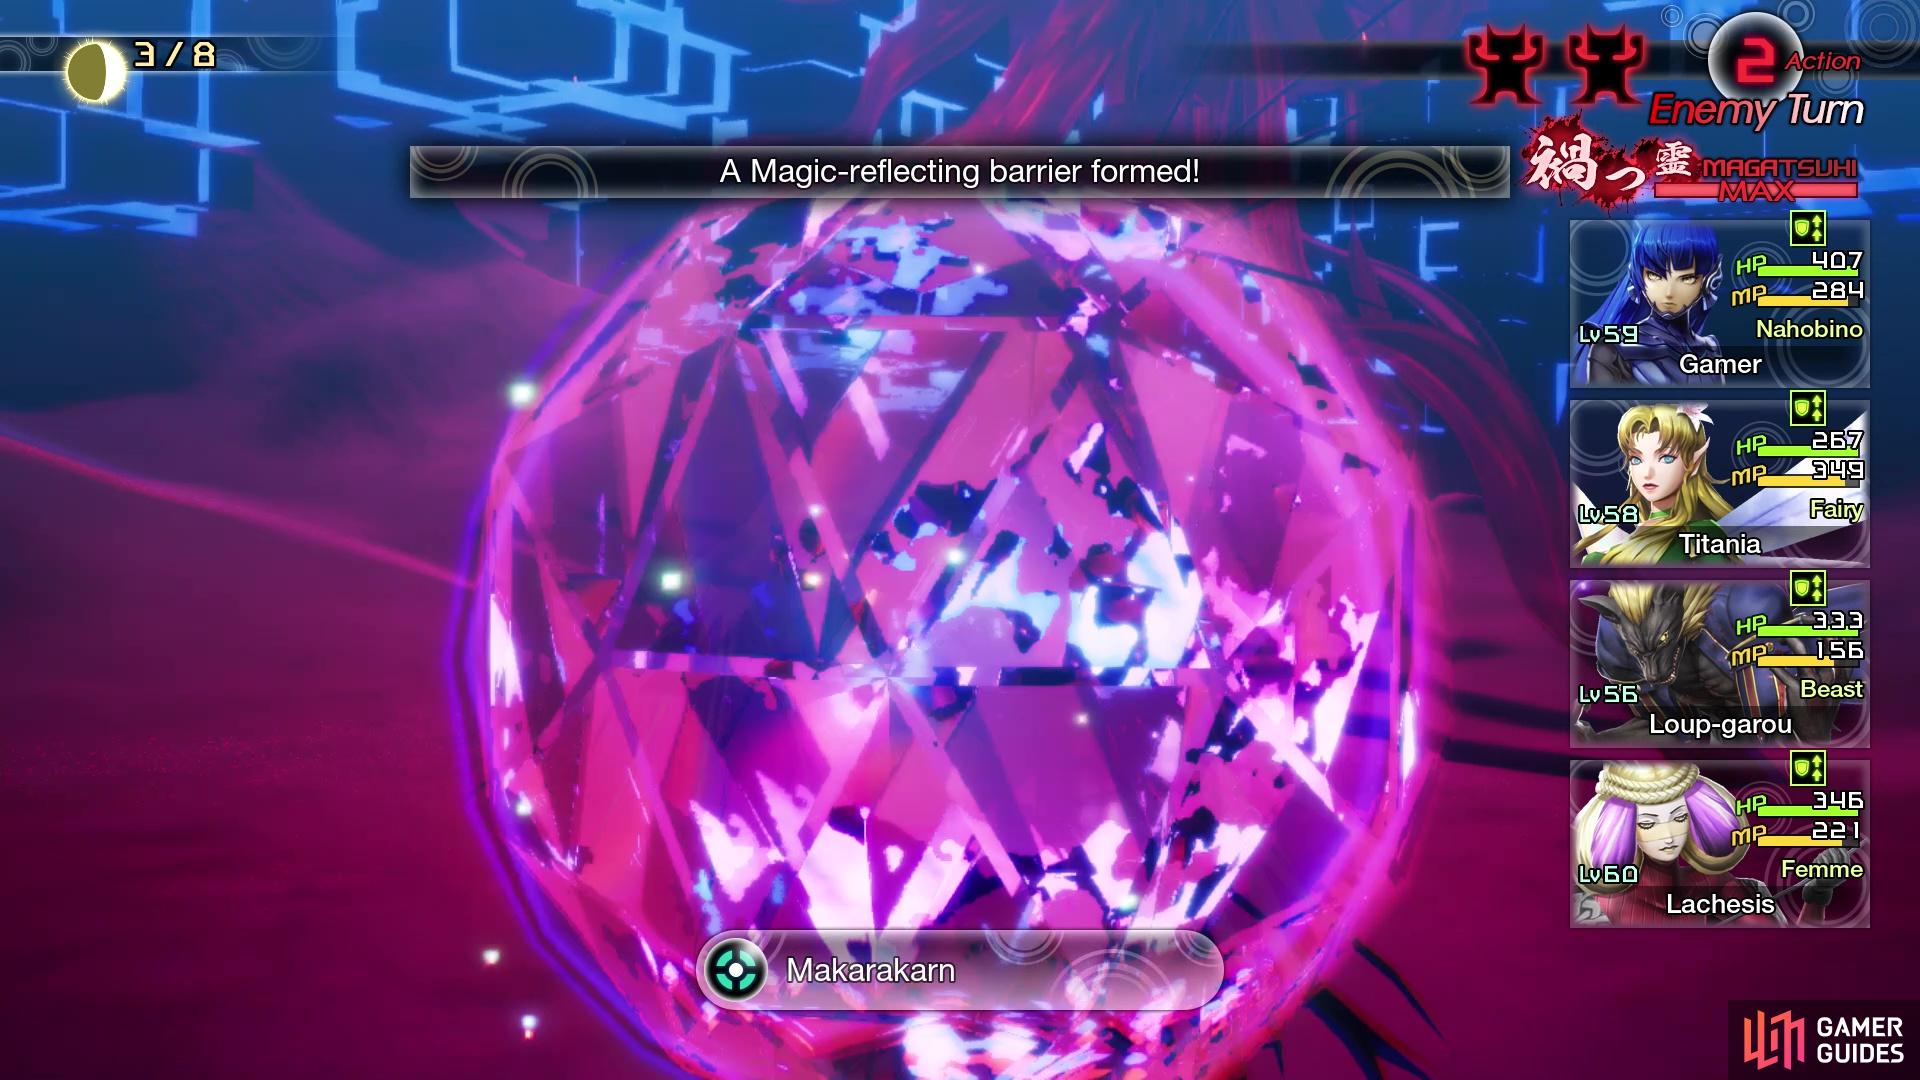
You will want to debuff Rangda’s attack in this battle (left), She will almost always use Makarakarn every round (right)
The idea behind using Sleep is that you do your normal routine, then on your final action in that round, you put Rangda to sleep. Makarakarn only lasts a single round, so this allows you to wait things out, should she use that skill, plus there’s a chance that Rangda won’t act at all. Don’t forget that only attacking spells will get reflected, so ailments and debuffs will still go through, meaning you can still debuff Rangda. In fact, Tarunda should be something you use to keep her attack lowered because of Nihil Claw. Rakunda should be second, as you want to finish this battle as soon as possible.
| Miracle | Category | Effect | Glory |
|---|---|---|---|
| Art of Essences III | Doctrine | Unlocks all essence skills. | 150 |
| Merchant’s Hospitality II | Doctrine | Item prices at the Cadaver’s Hollow are reduced by 50%. | 150 |
| Recover Mastery III | Cosmos | Increases the Nahobino’s Healing skill potential by 2. | 200 |
| Support Mastery III | Cosmos | Increases the Nahobino’s Support skill potential by 2. | 200 |
That’s the two Abscesses you will be going after for right now, which should clear the map surround the Ueno area. That also wraps up this page, with the next one focusing on exploring those areas.
No Comments