
There are 200 Mimans hidden throughout the four regions of Shin Megami Tensei V. This page will list the locations for the Akihabara, Sotokanda, and Akihabara Electric Town areas of the Chiyoda region.
Miman 129


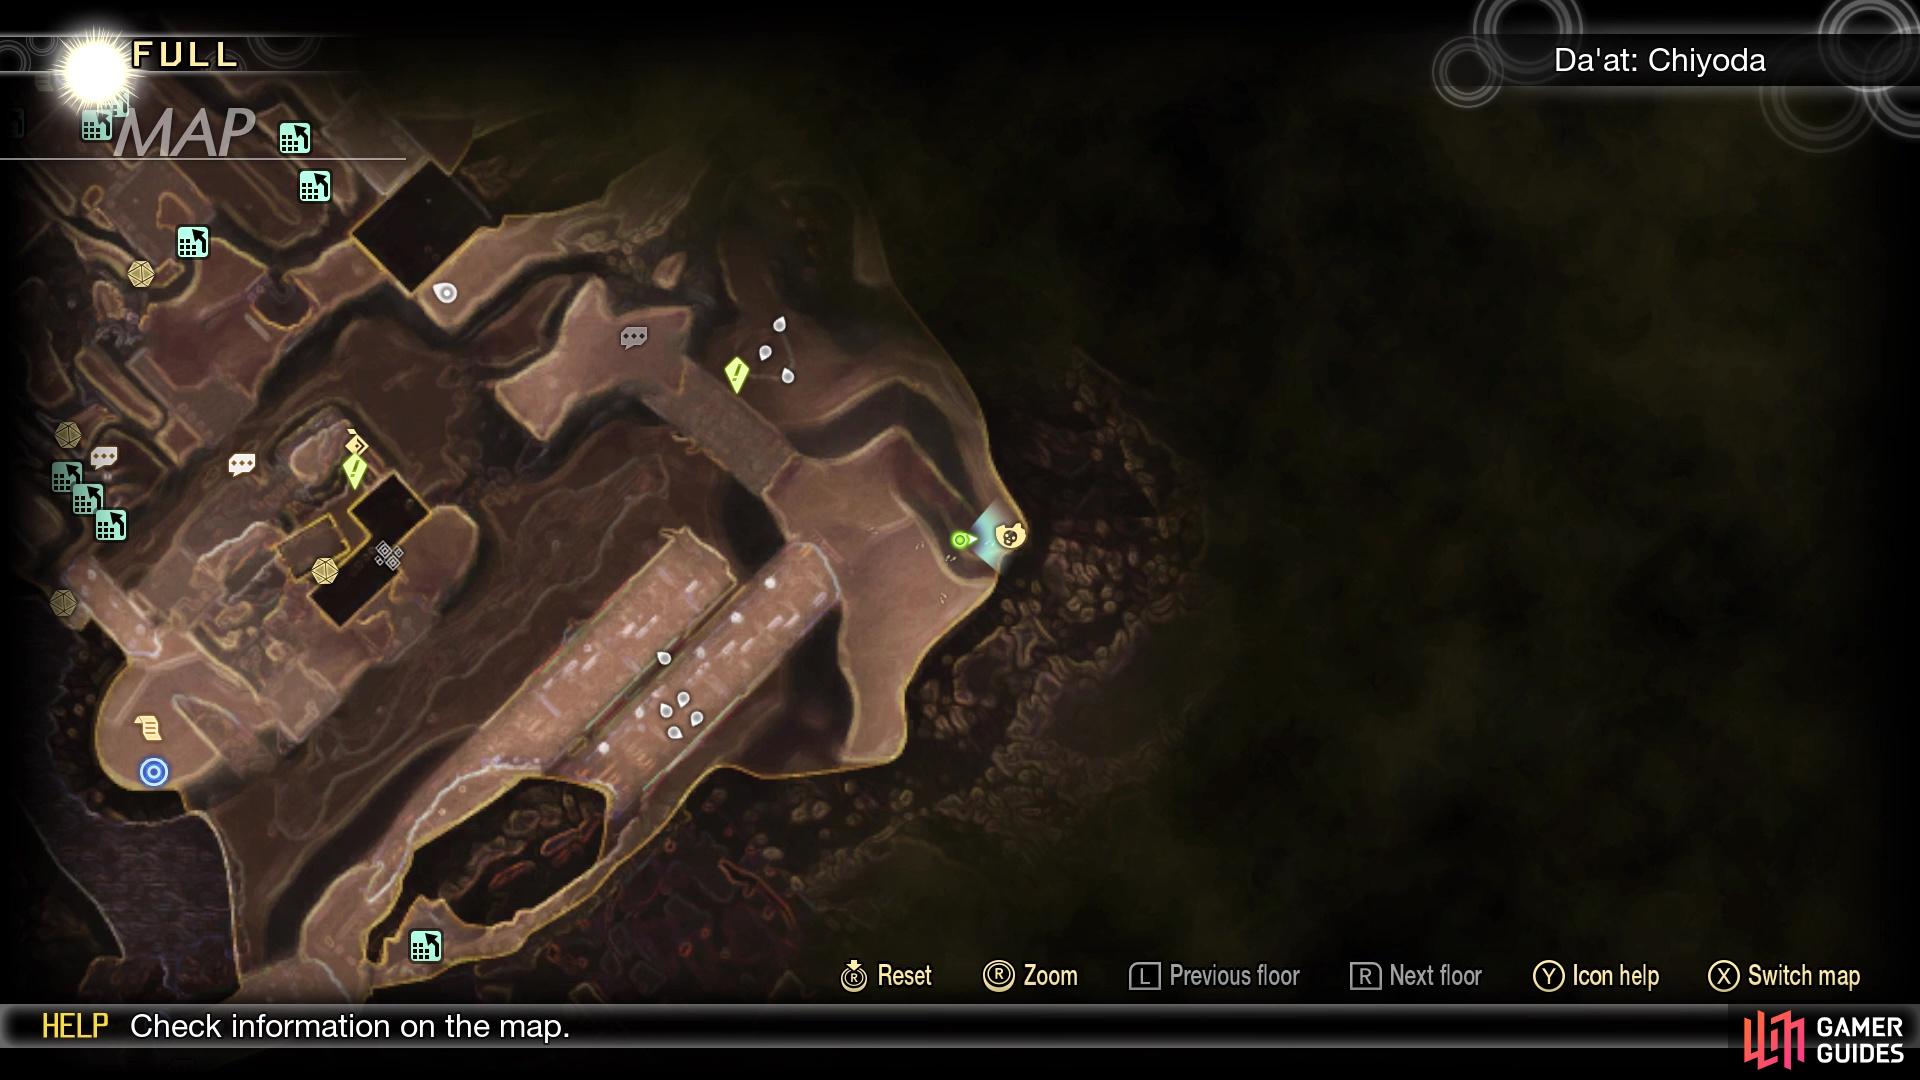
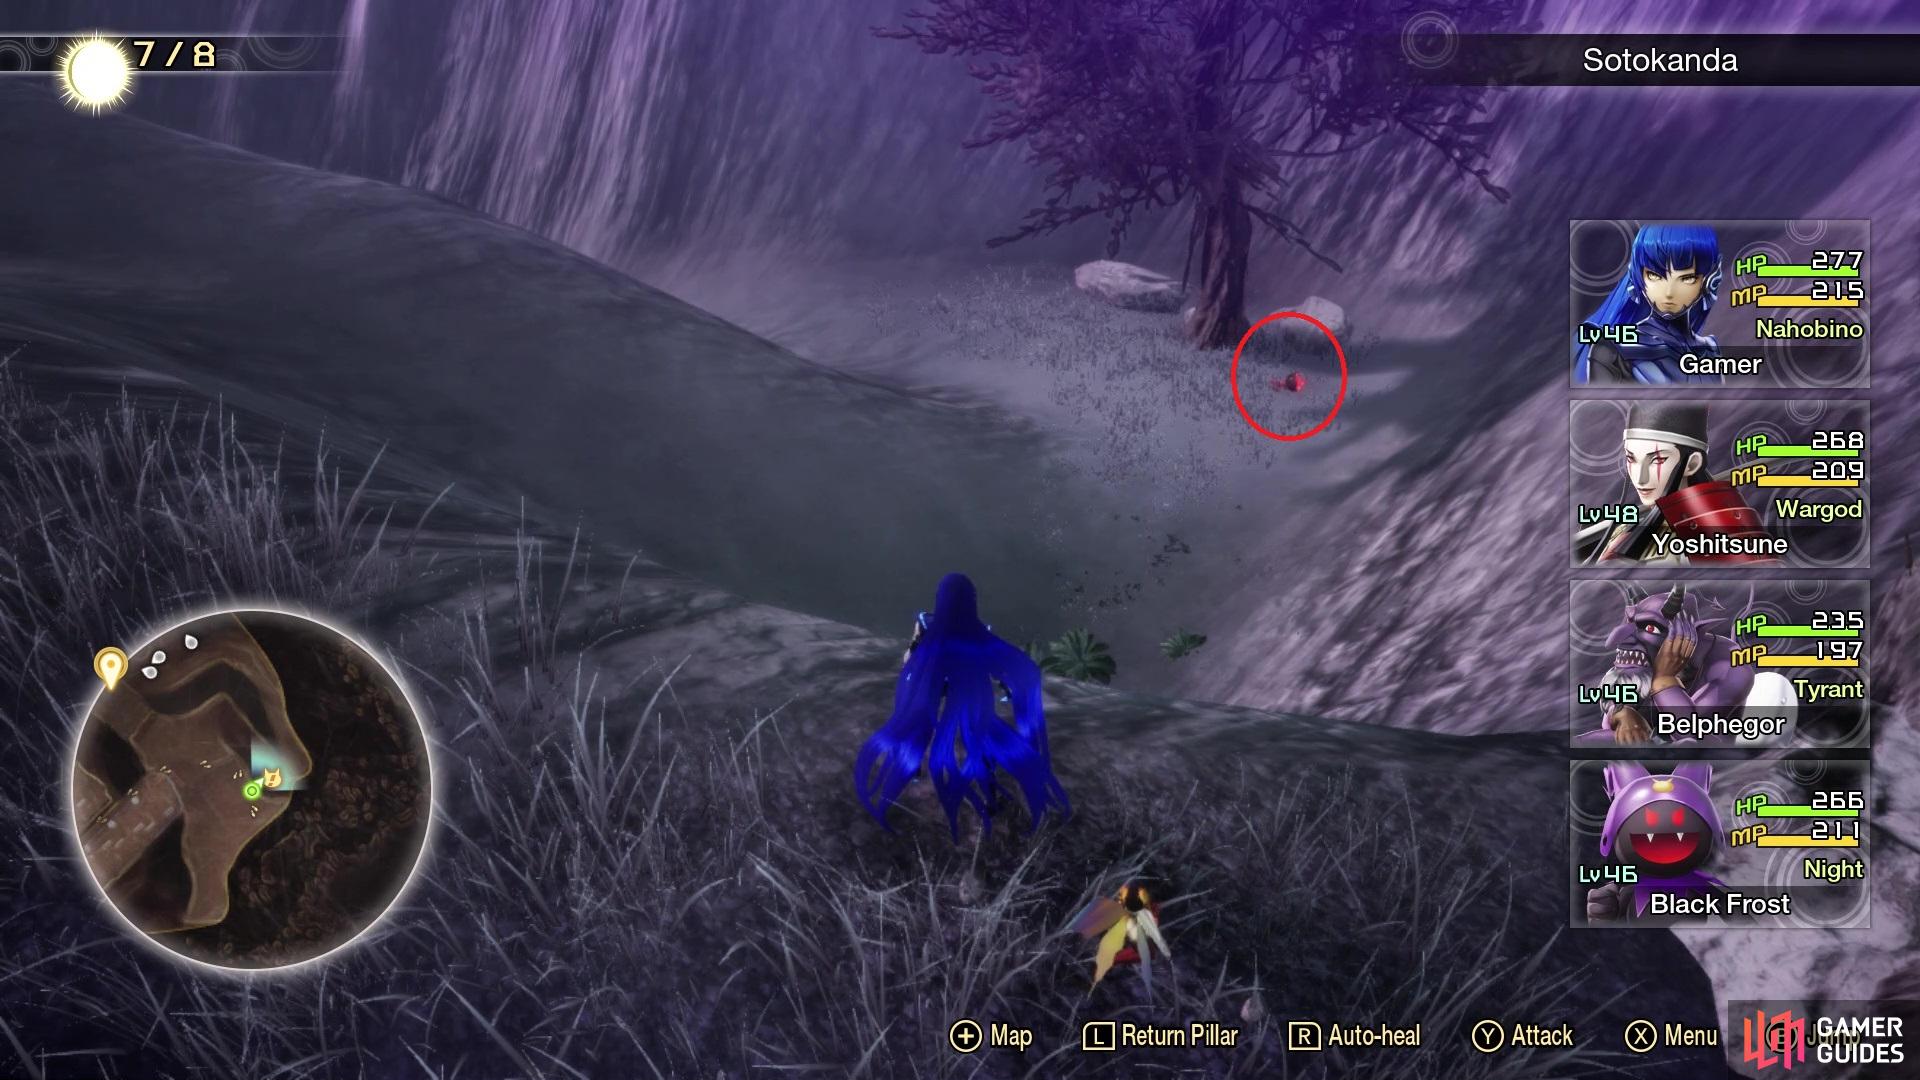
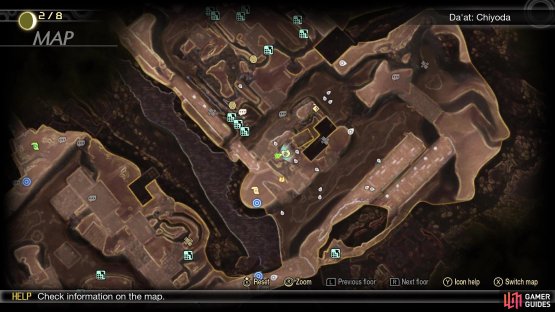
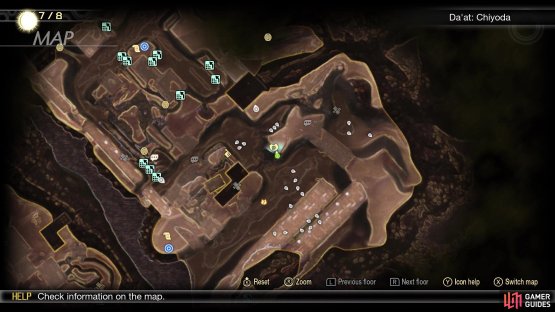
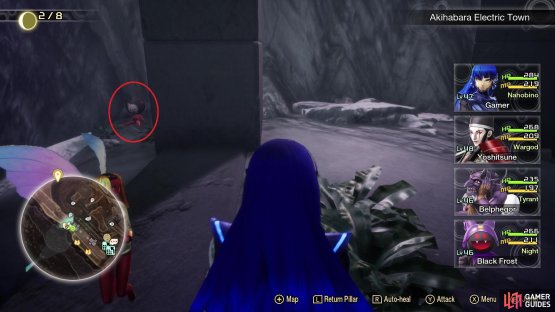
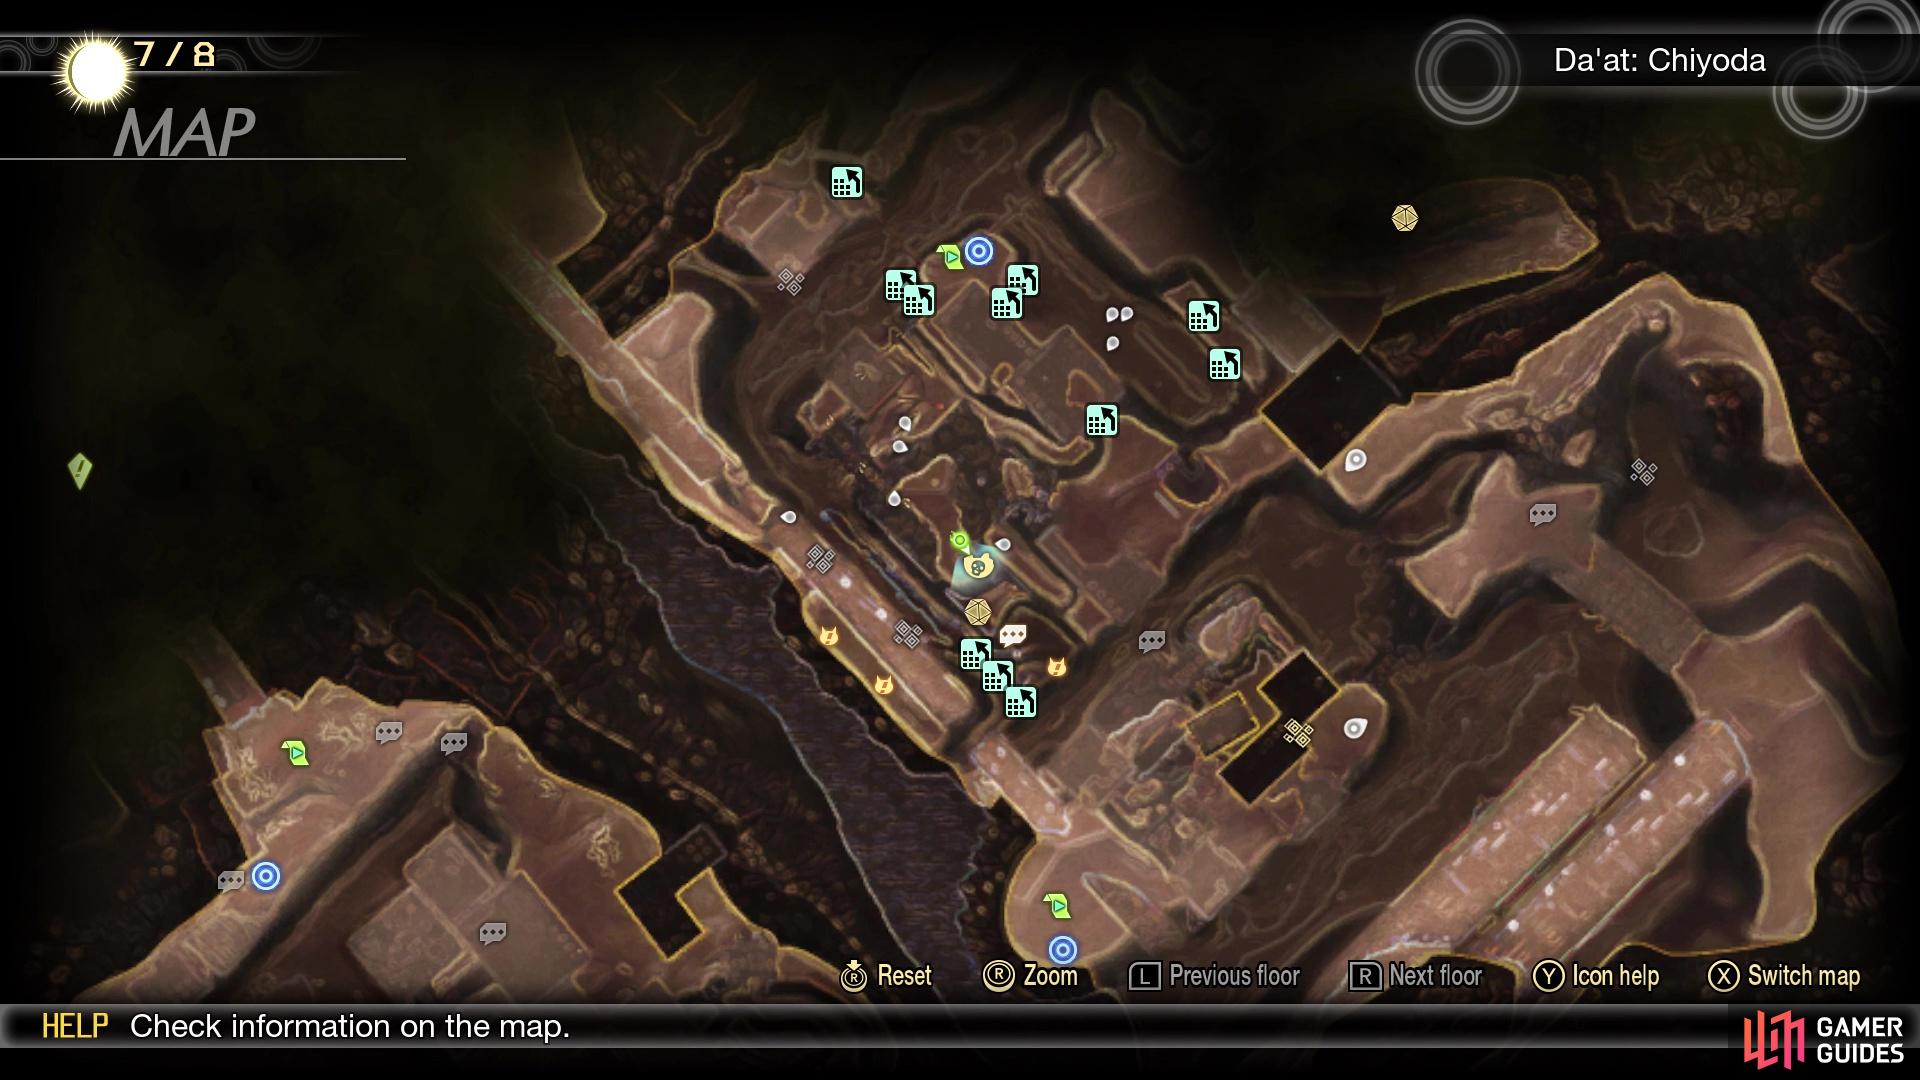
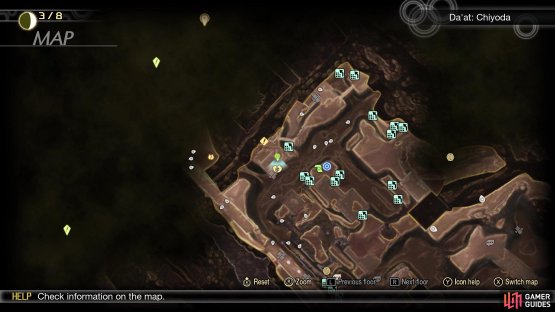
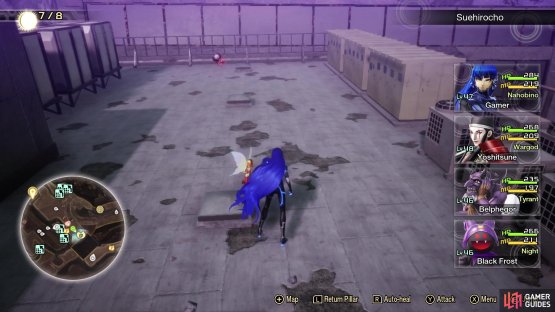
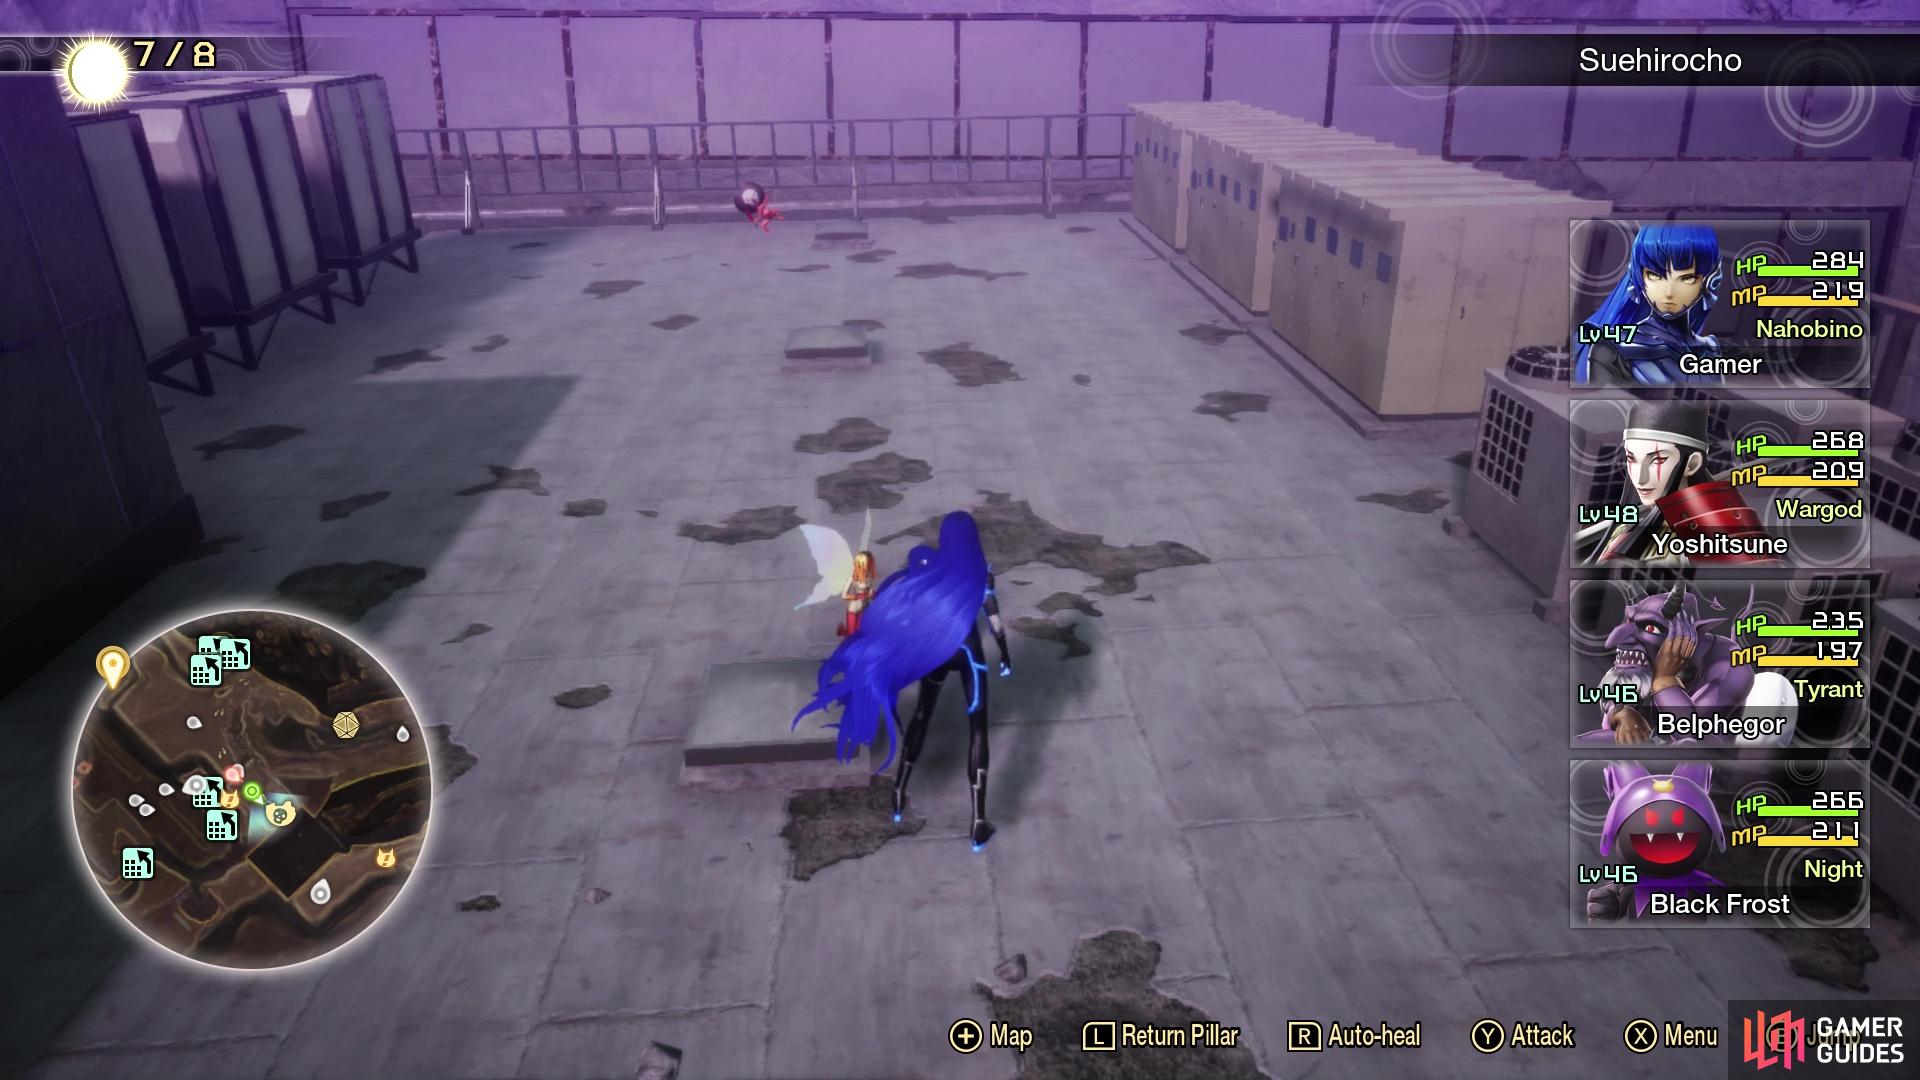
(1 of 2) Miman #129 on the map
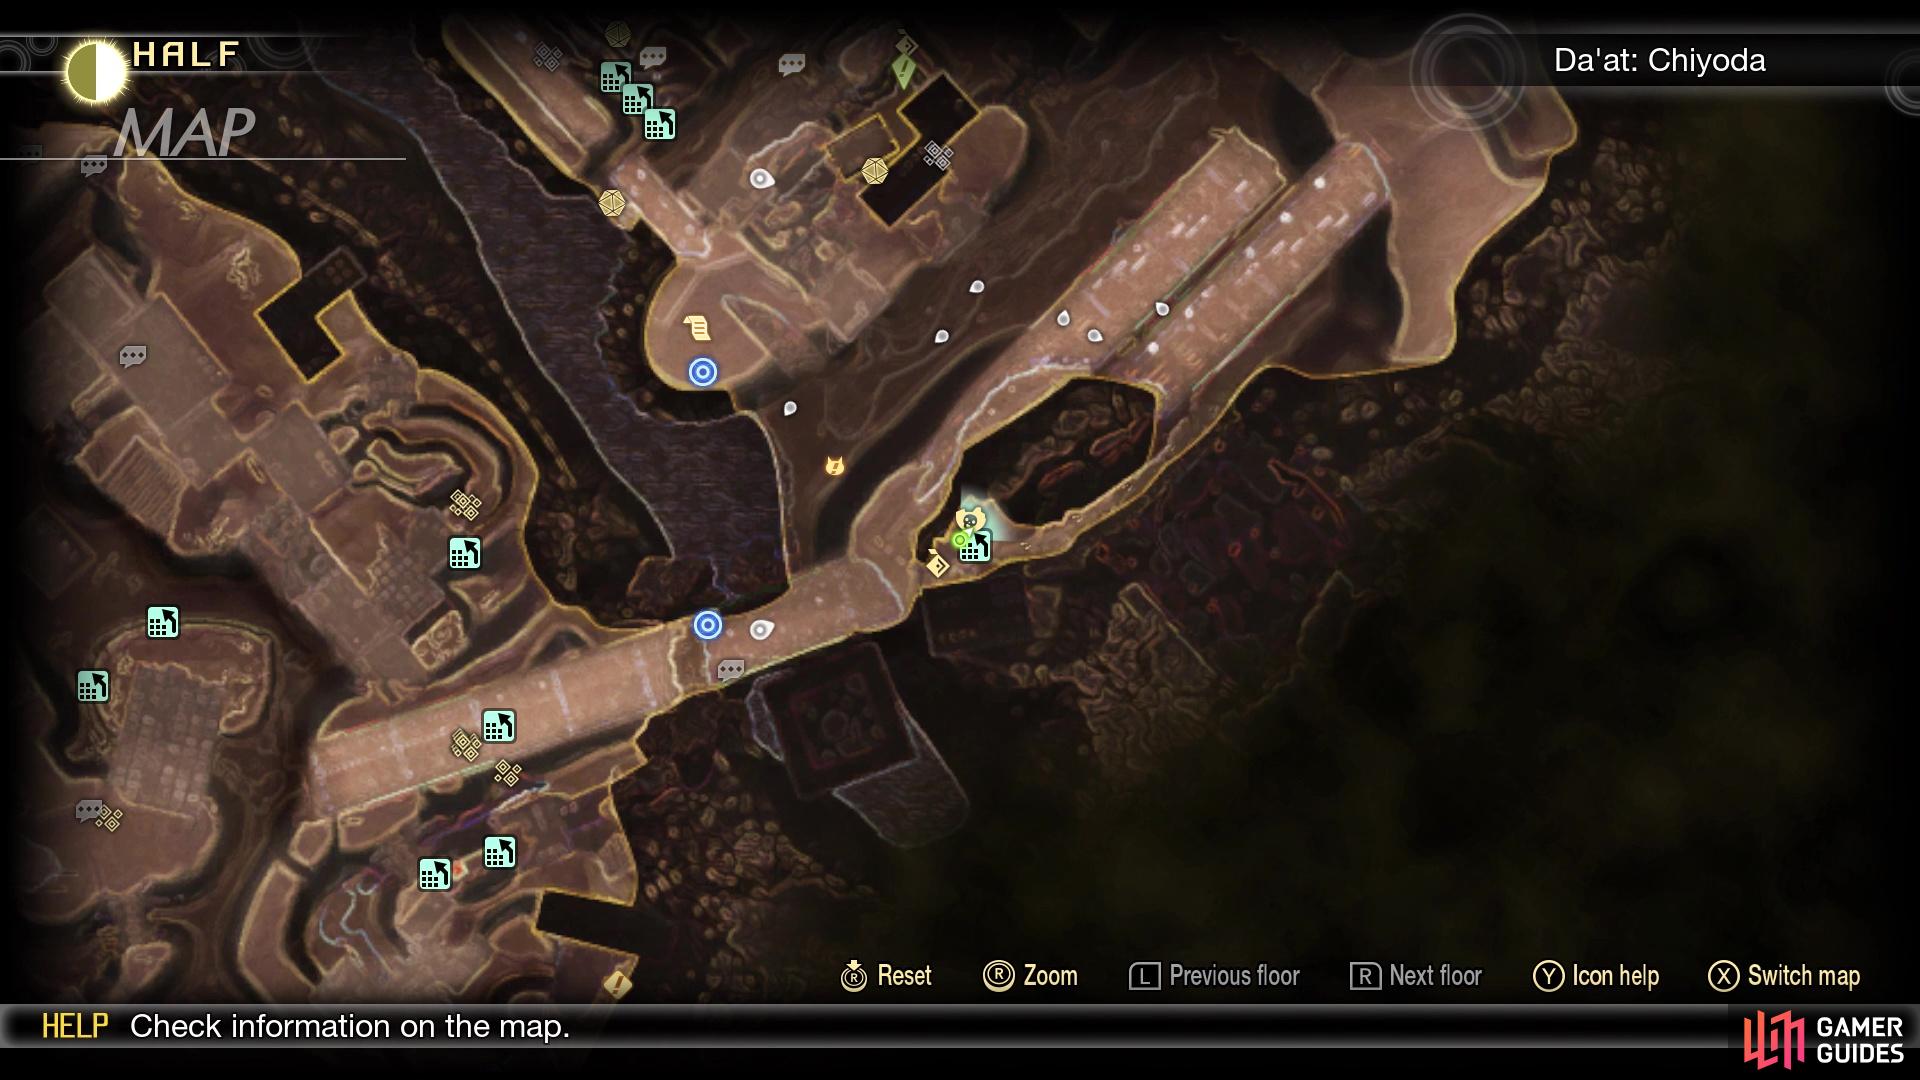
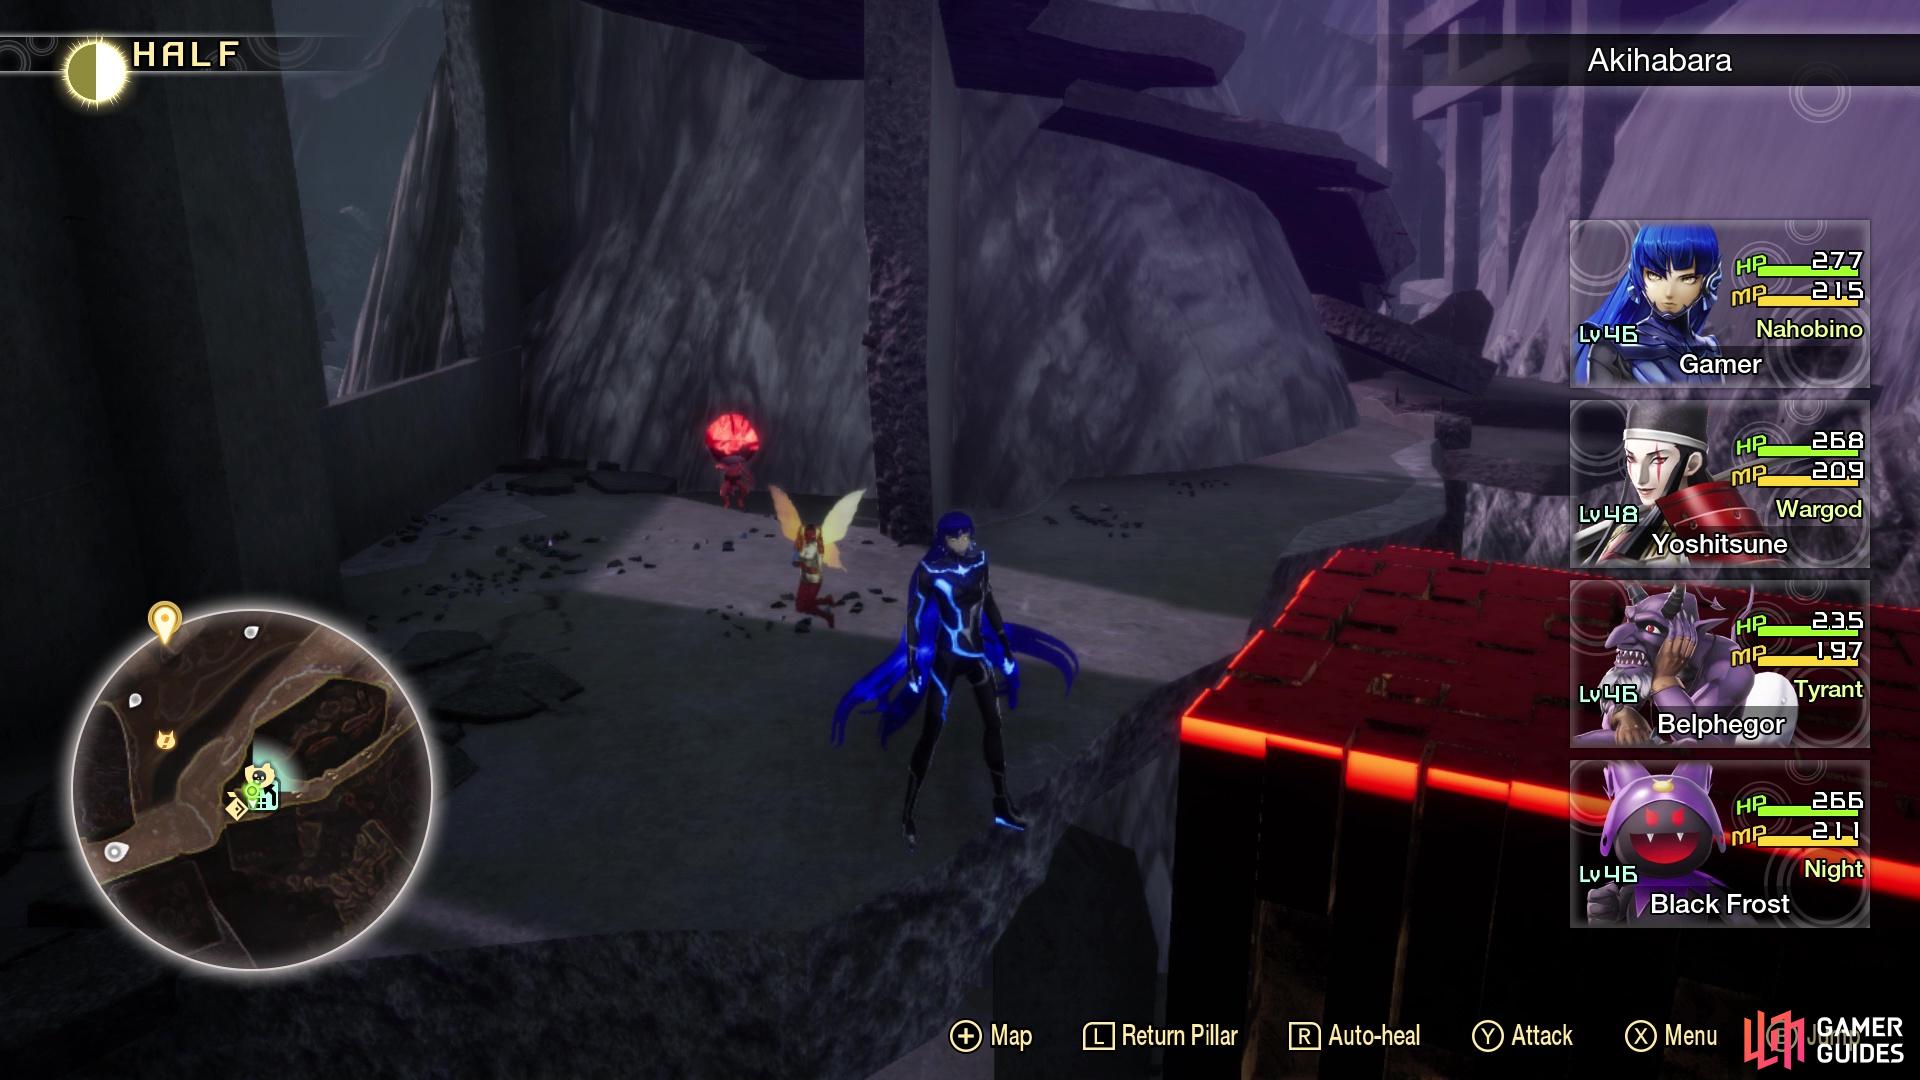
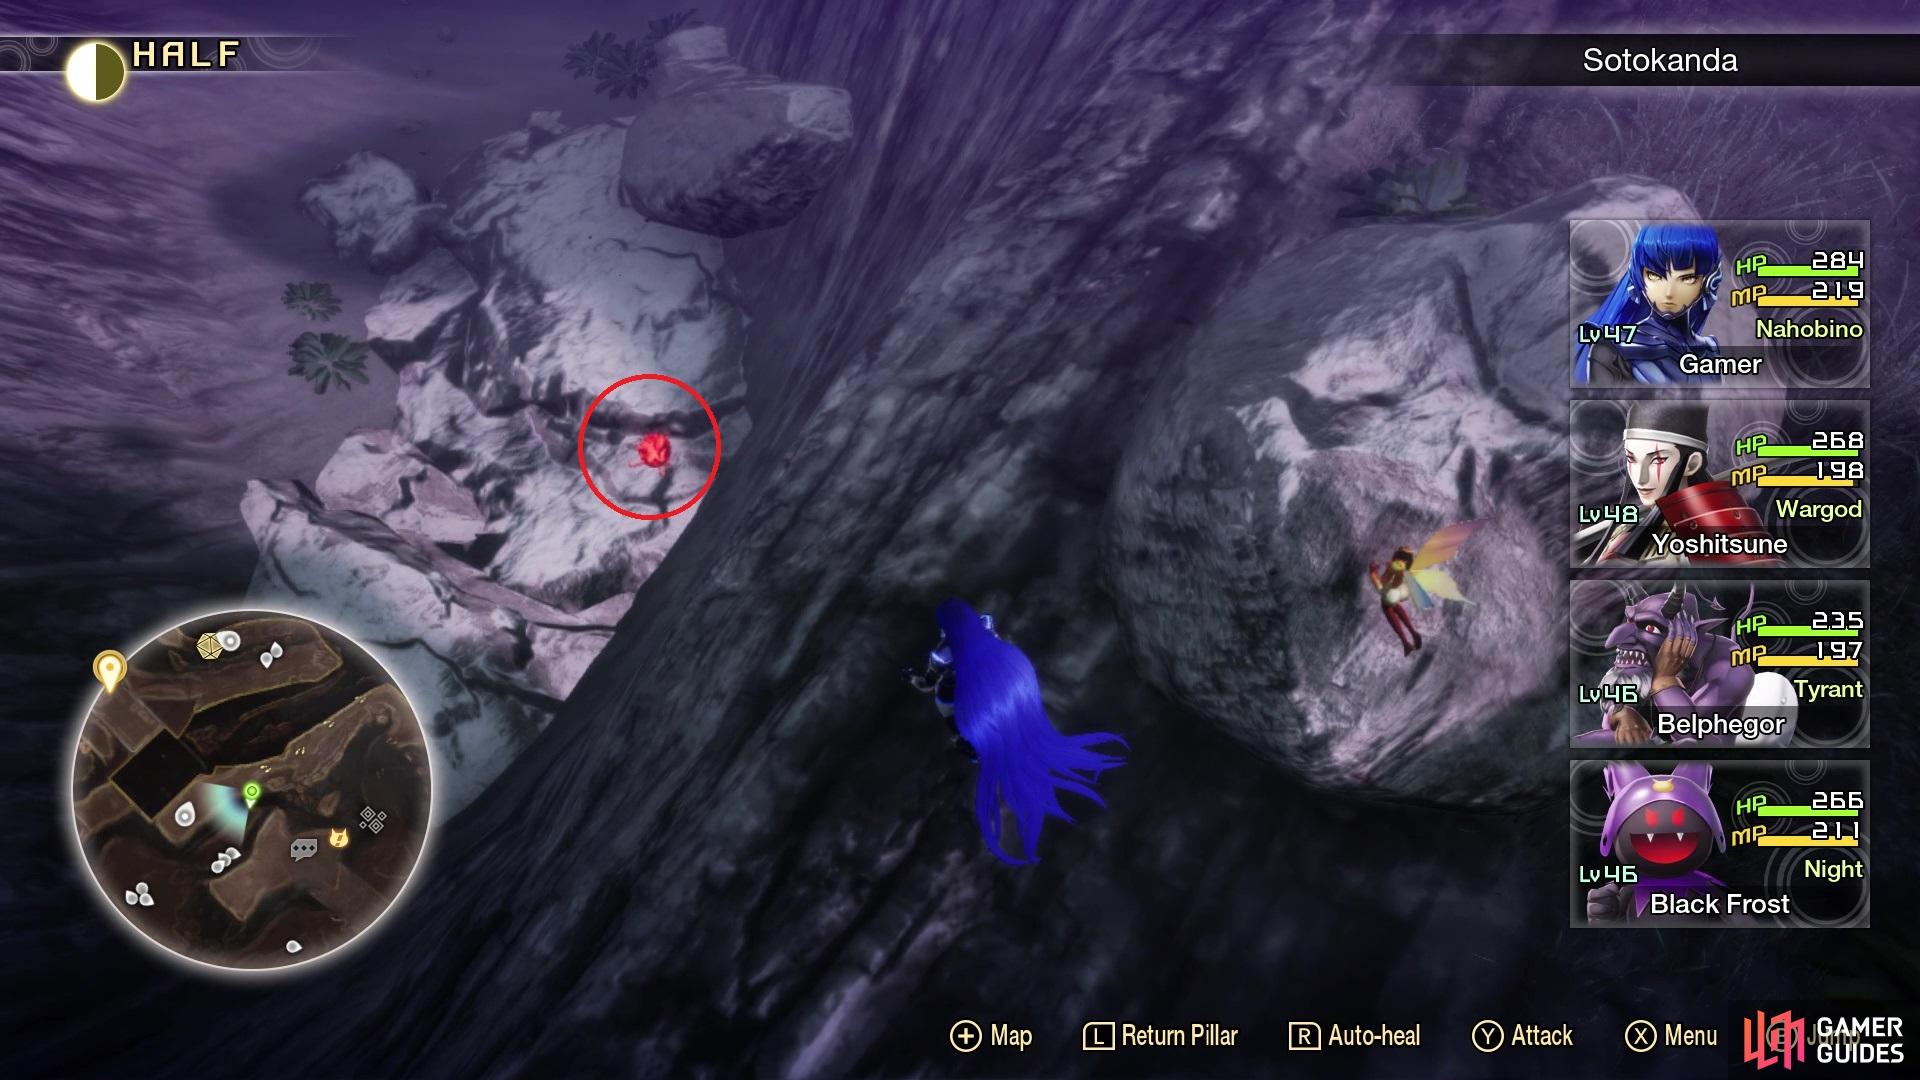
Miman #129 on the map (left), Miman #129 in the game (right)
Start from the Akihabara Leyline and follow the tracks to two more sets of tracks. Hop over the little gap to the second set and look for the narrow path to the southeast. This will lead up a hill and upon reaching the end, jump up the rubble to get to a climbing block. As soon as you climb the block, look behind the rubble near it to find the Miman.
Miman 130
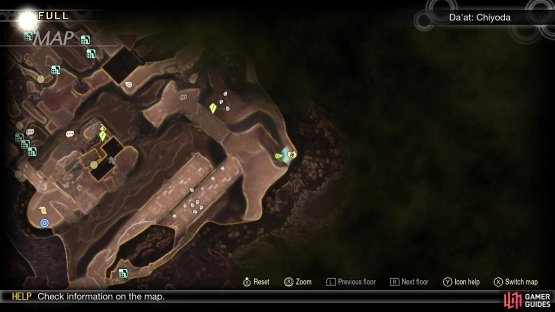
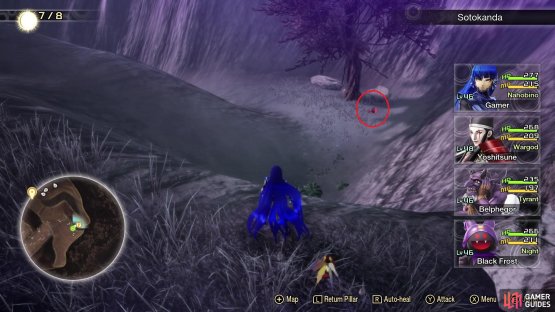
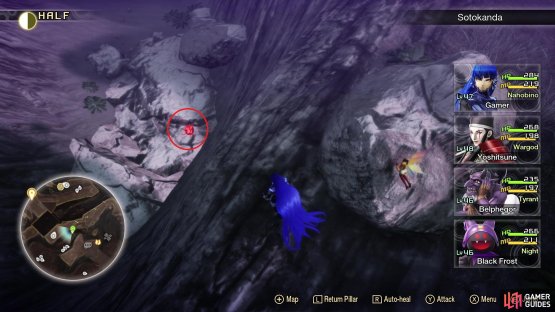
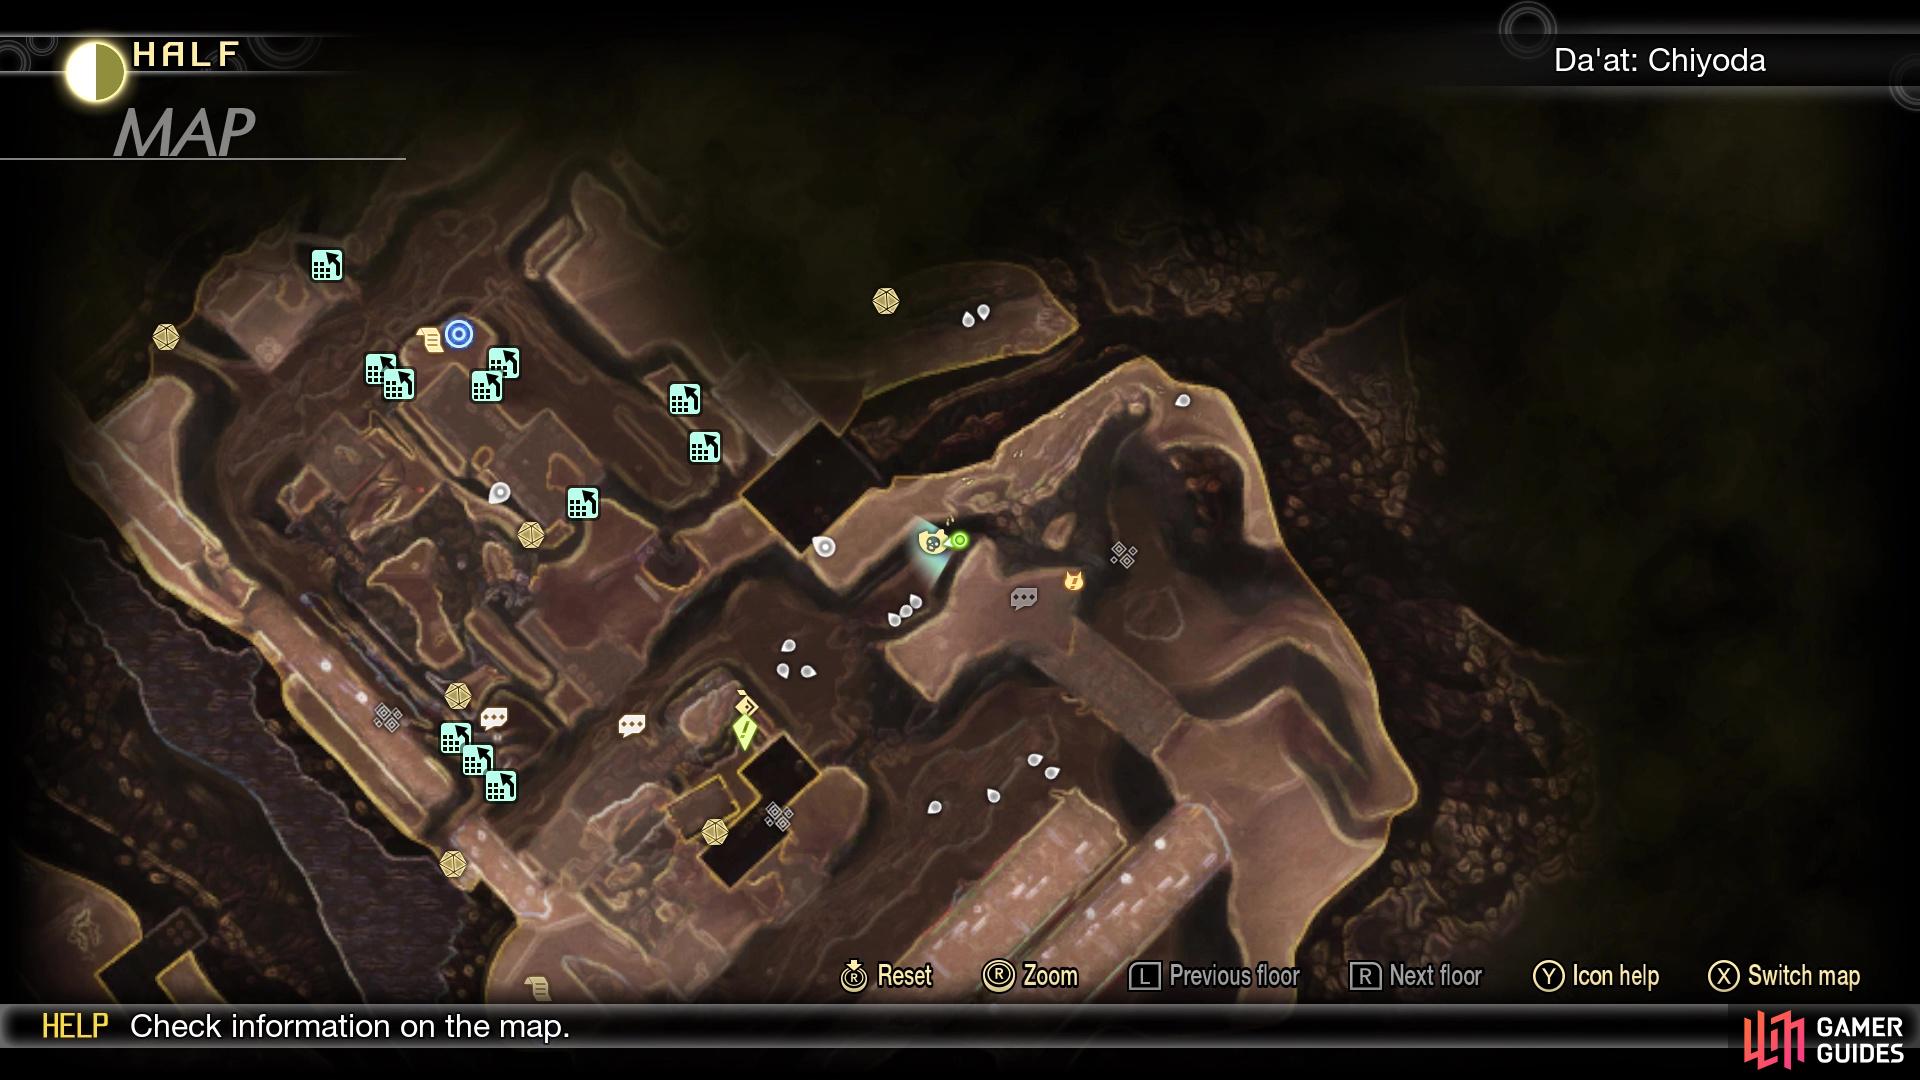
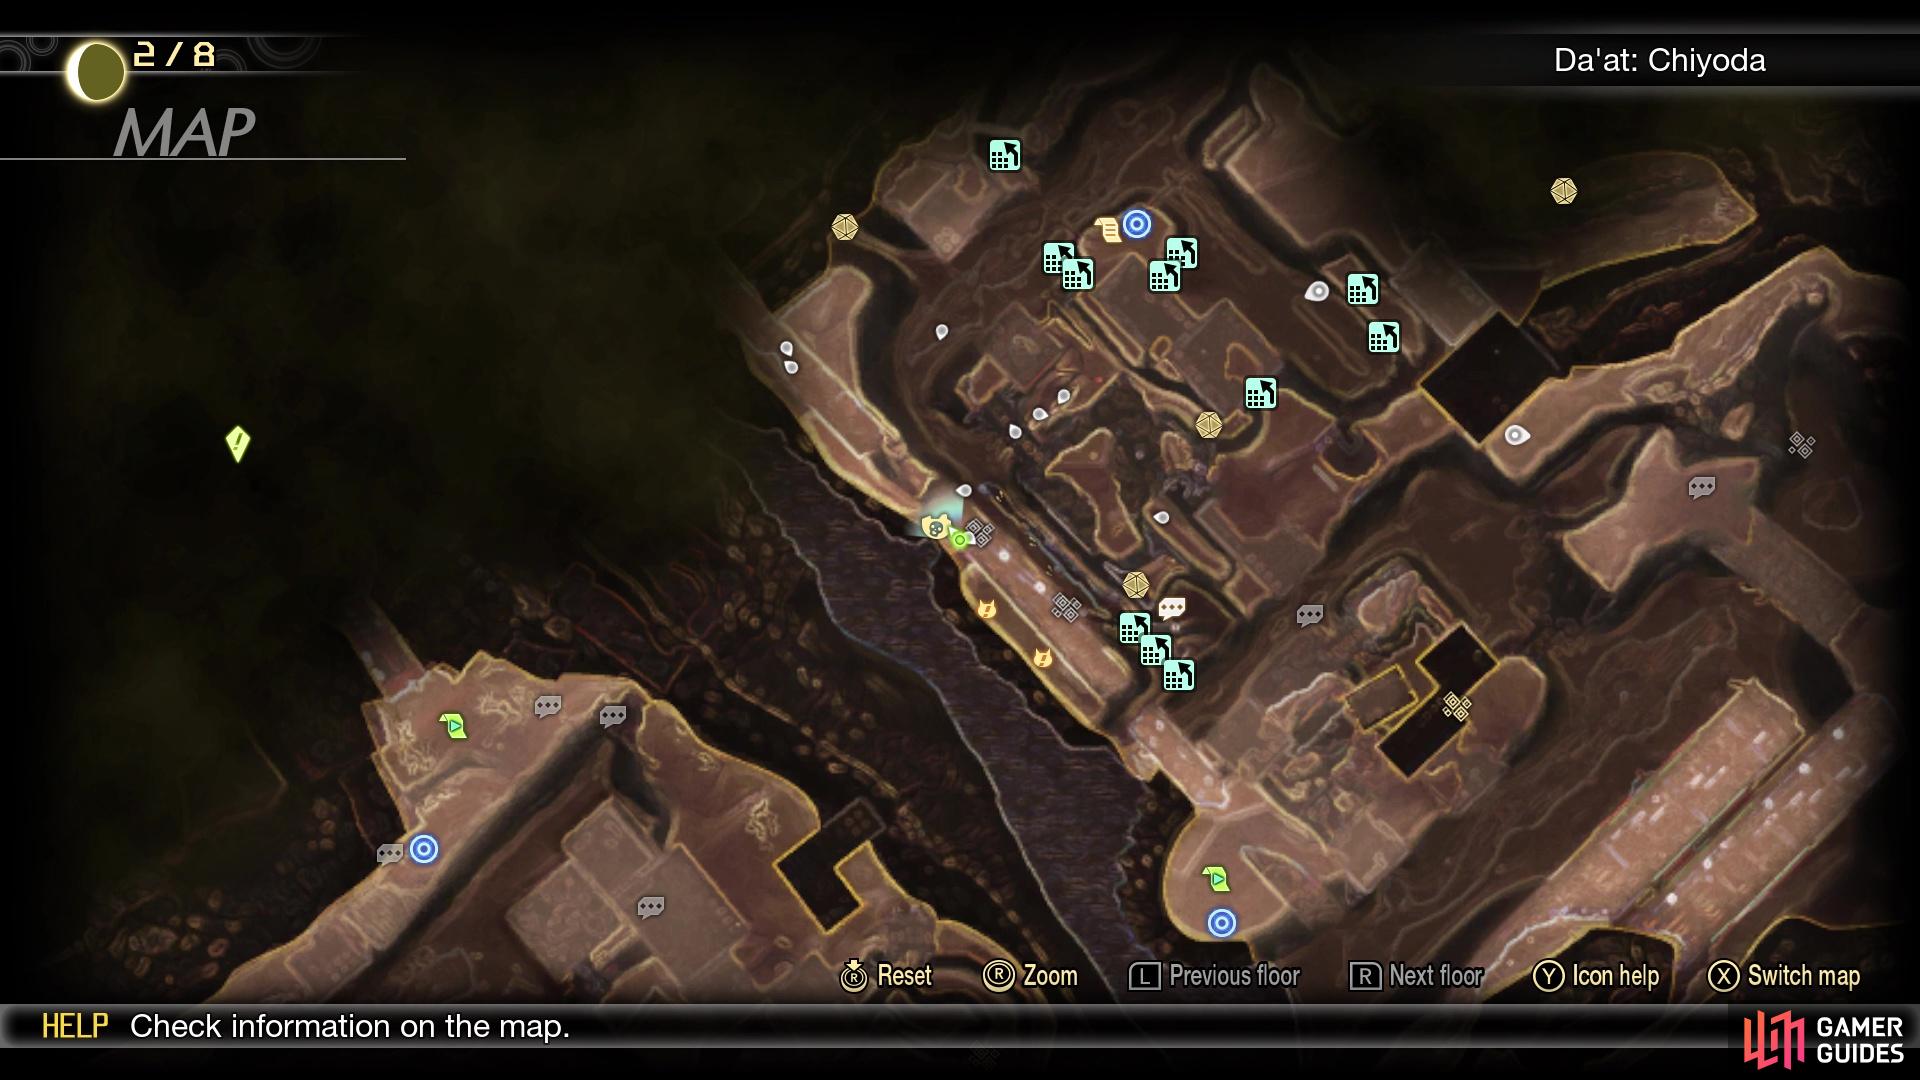
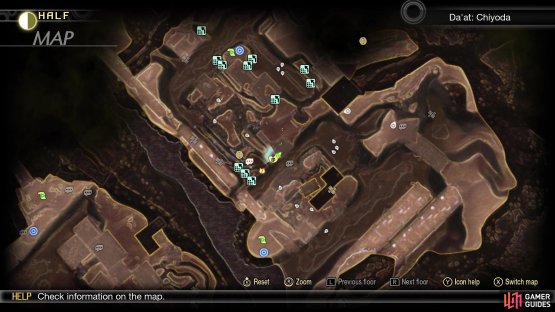
(1 of 2) Miman #130 on the map
Miman #130 on the map (left), Miman #130 in the game (right)
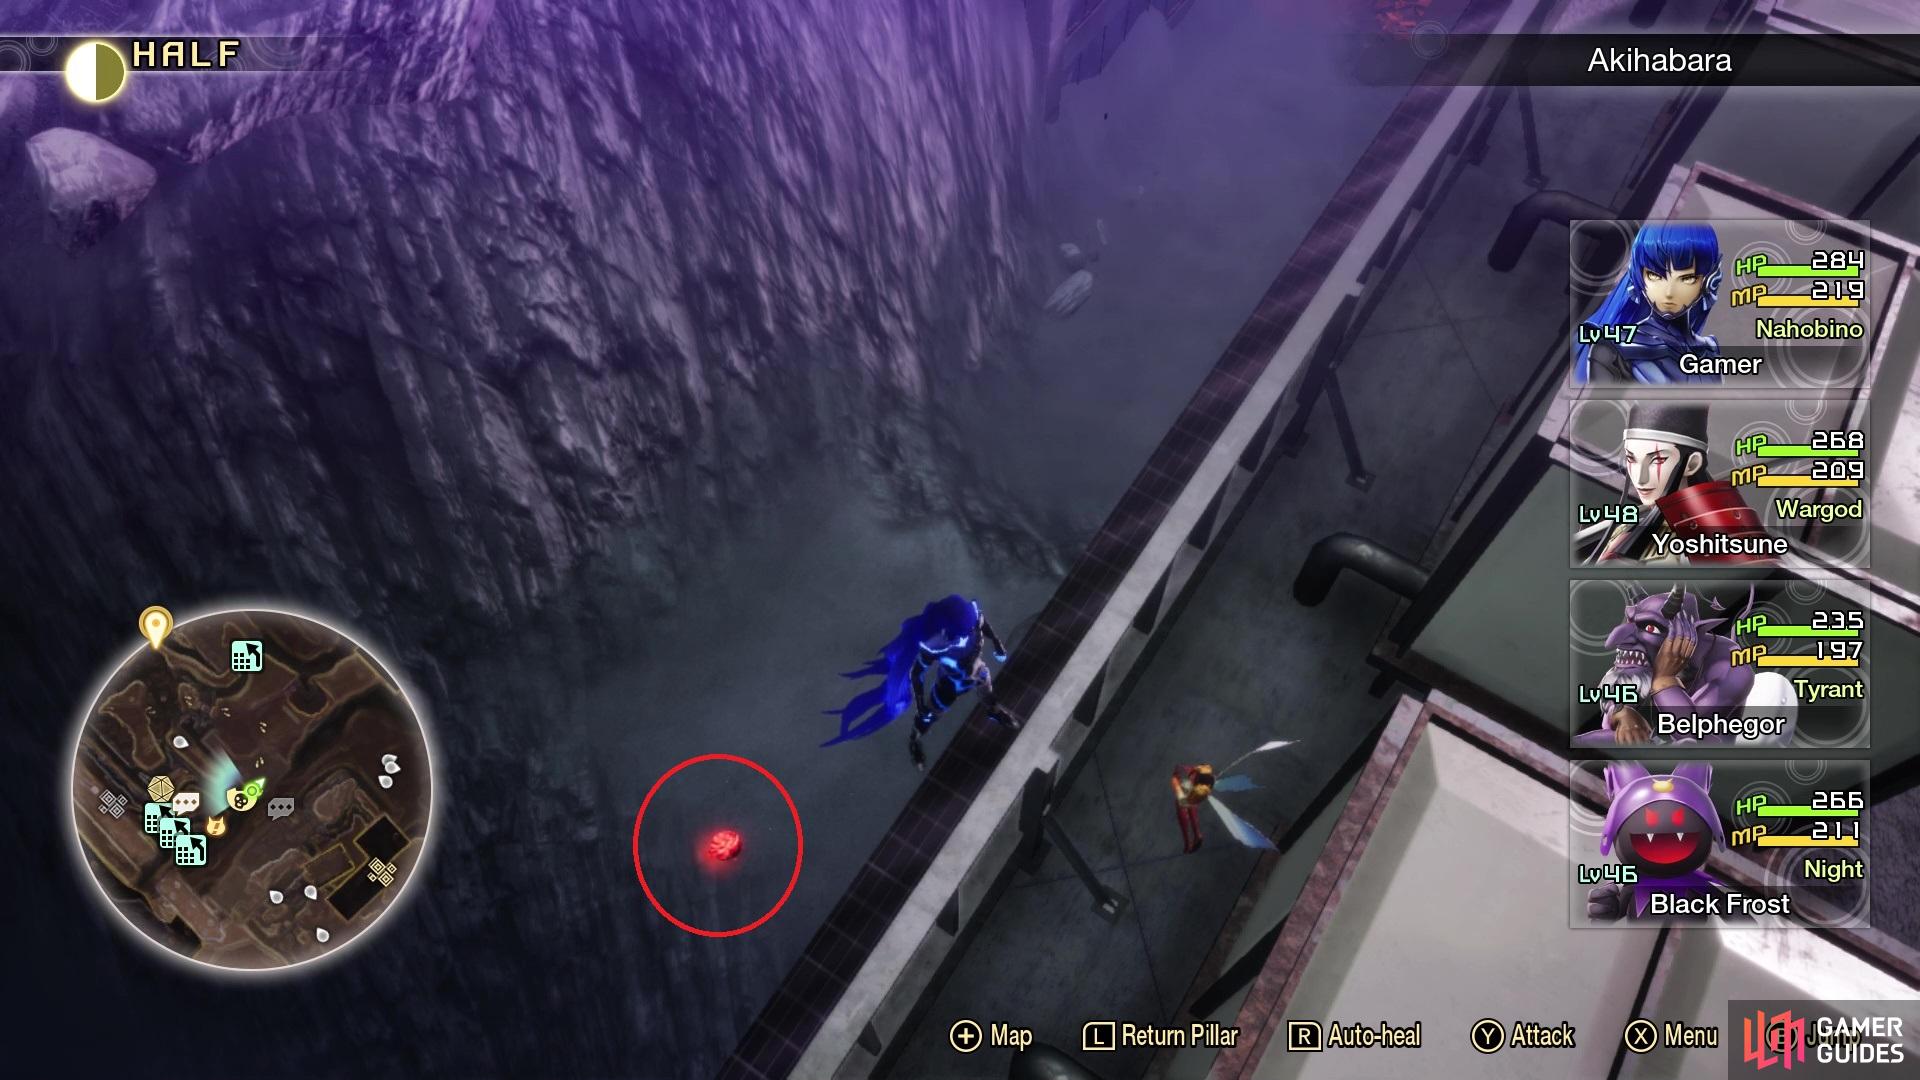
Head to where you fought the first Abscess in Sotokanda, which is right by the two sets of tracks pointed out above. North of where the Abscess was located, you should see a path leading downwards. Drop down to the path (or go around to the actual trail) and you should see the Miman right there at the bend.
Miman 131

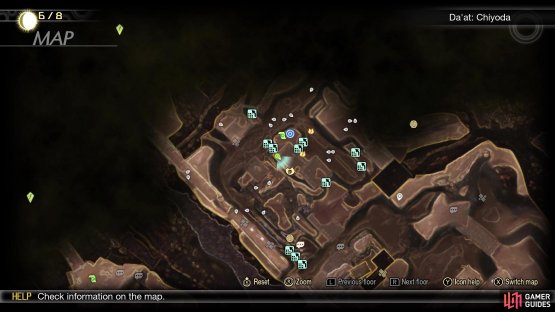
(1 of 2) Miman #131 on the map
Miman #131 on the map (left), Miman #131 in the game (right)
After the previous Miman, follow the path downward, to an area with some Orthrus demons running around, then look for the nearby hill going upwards. You should find some Naga Raja here, but the southwestern path will eventually take you to a Punishing Foe, Jikokuten. If you look in the pit area below Jikokuten, you should see the Miman, so drop down and get it.
Miman 132
(1 of 2) Miman #132 on the map

Miman #132 on the map (left), Miman #132 in the game (right)
To the southwest of the previous Miman, you will eventually find a Jack-o’-Lantern NPC. There will be a path behind him, so head down it and go through the ruined building there to find some stairs on the other side. Climb to the top of the first set of stairs and you should see a ledge to the northeast, which will have the Miman on it. You can easily jump to the ledge from the first set of stairs.
Miman 133

(1 of 2) Miman #133 on the map


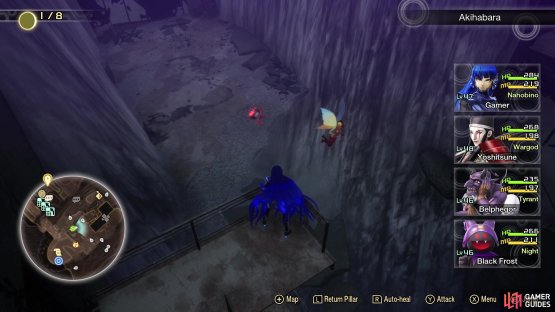
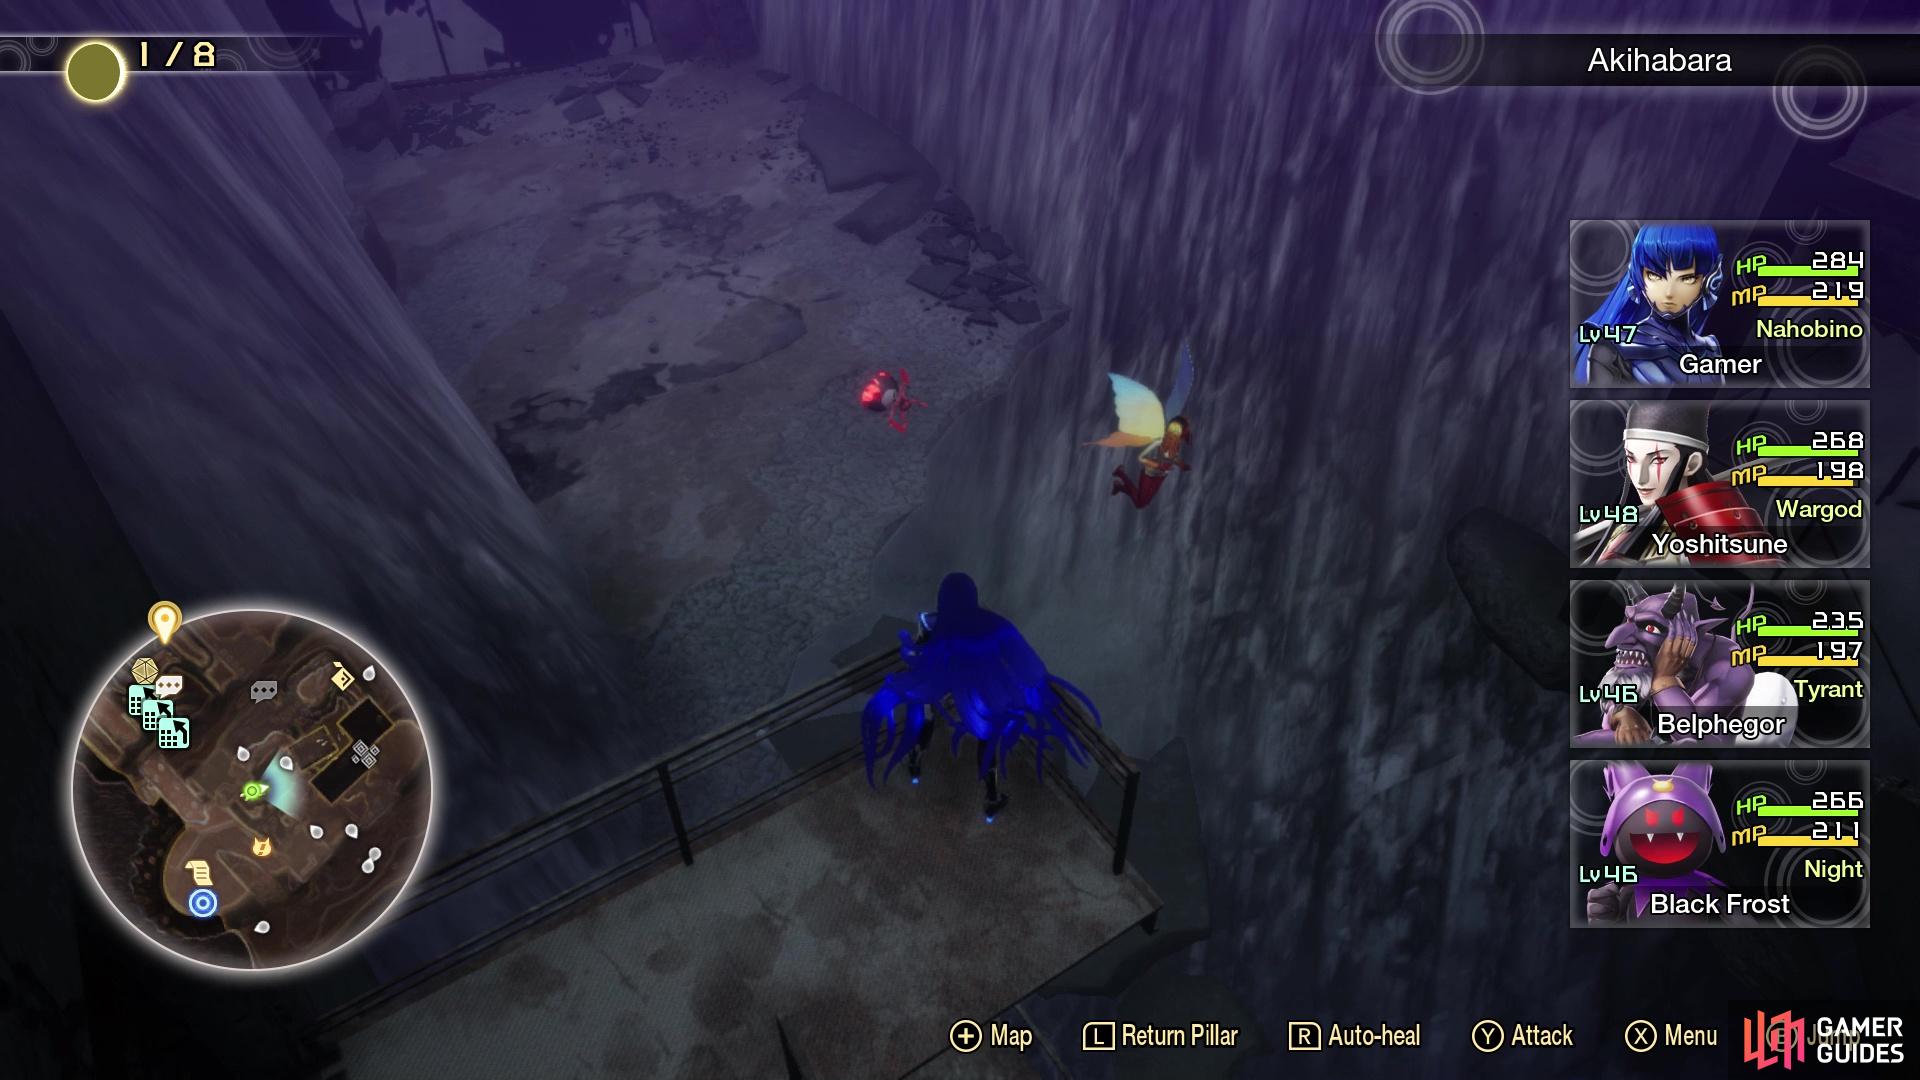
Miman #133 on the map (left), Miman #133 in the game (right)
From the Akihabara Leyline, follow the main path until you reach where the first Abscess was located by the train tracks. Opposite of the Abscess is a sloped building, so head in that direction now and stop at the Angel NPC. Nearby will be a trail of Magatsuhi orbs, so continue that way and stop once you pass the first bit of rubble. Turn around and you will find the Miman in that rubble.
Miman 134

(1 of 2) Miman #134 on the map

Miman #134 on the map (left), Miman #134 in the game (right)
Go to the Mansei Bridge Leyline and run down the slope nearby, where you will see some climbing blocks. Ignore the one going up, instead dropping down the other ones, to ground level. Move to the northwest and you should see an opening underneath the bridge over your head, to the west. Jump up to that opening and look behind the far support beam to find the Miman.
Miman 135
(1 of 2) Miman #135 on the map
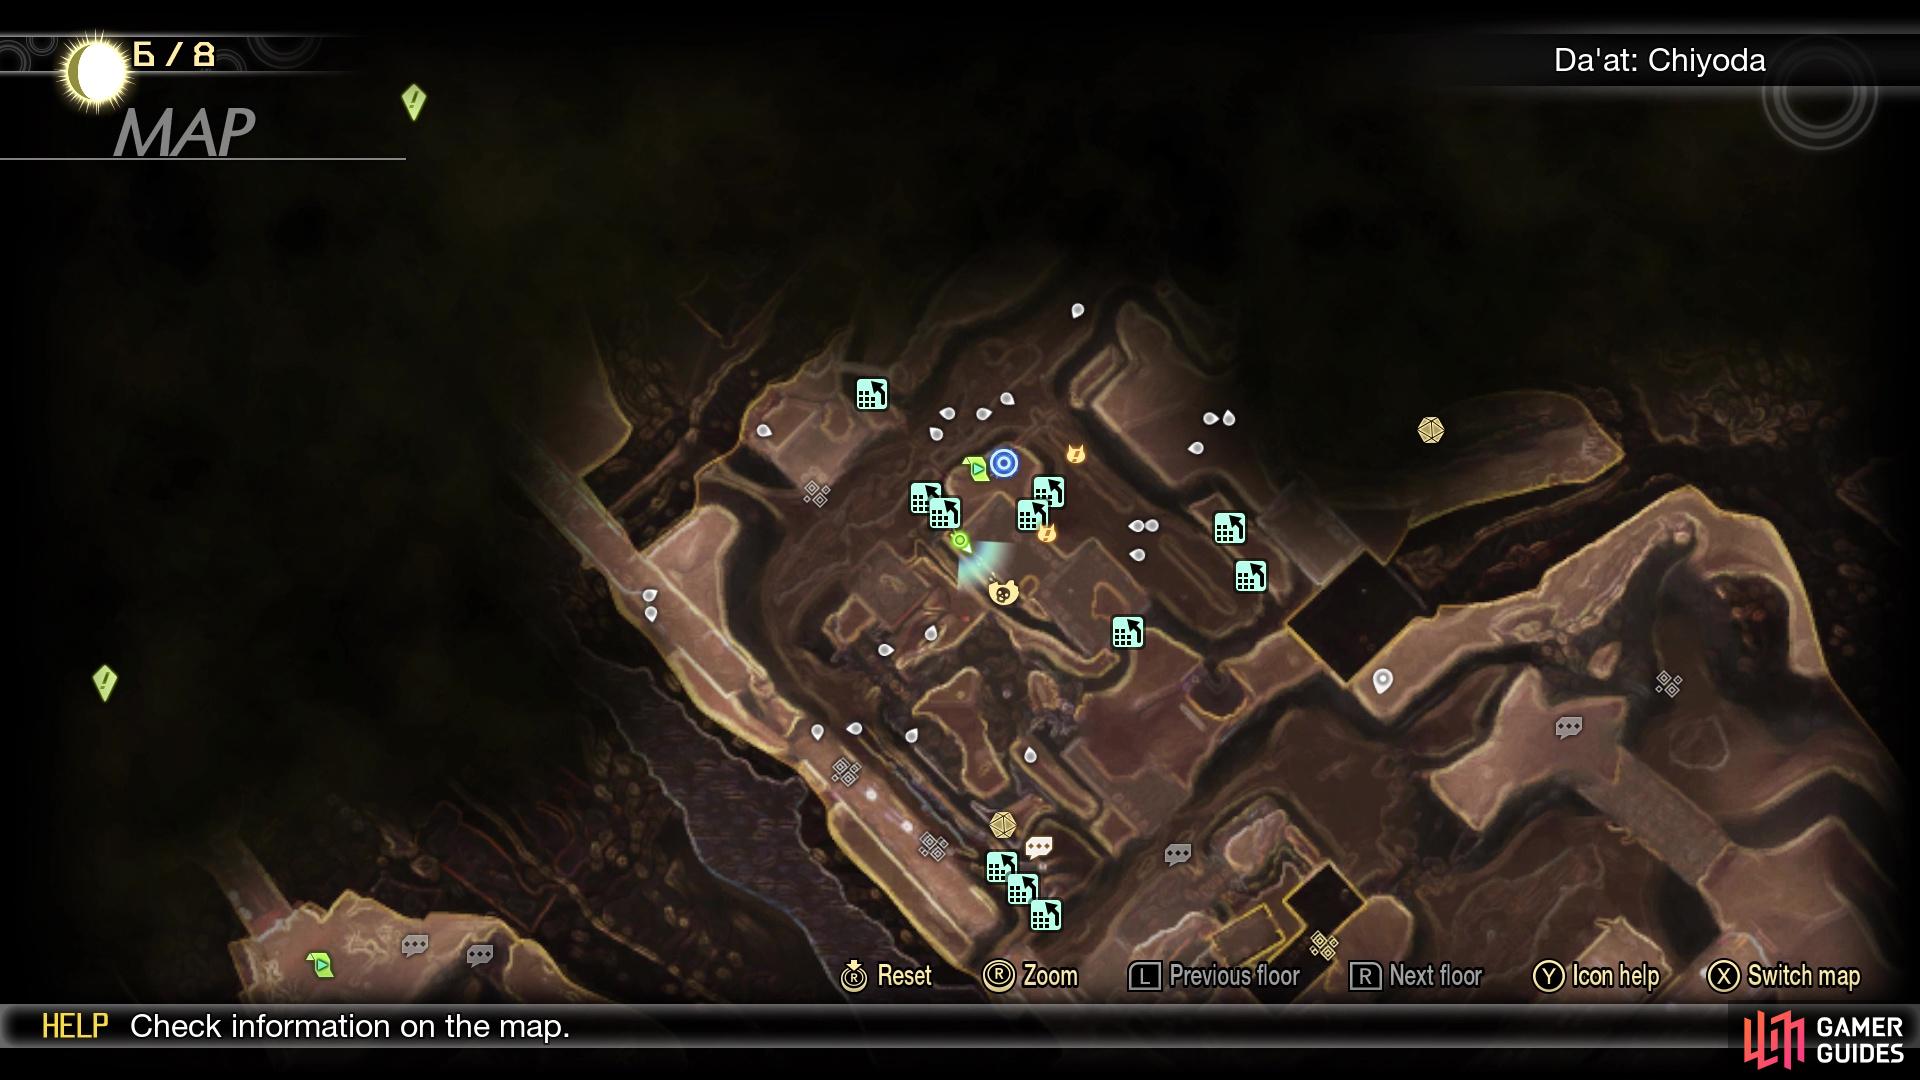
Miman #135 on the map (left), Miman #135 in the game (right)
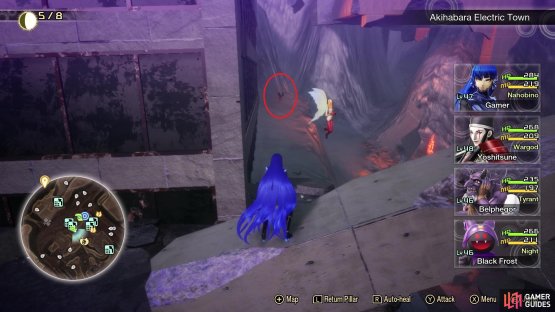
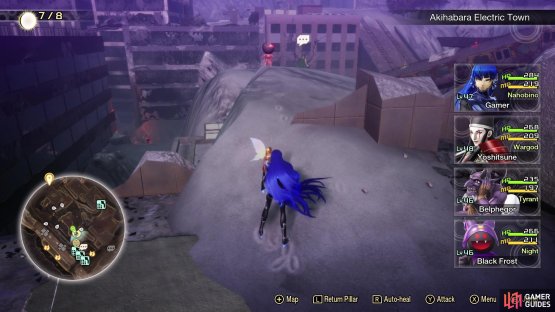
At the Akihabara Electric Town Leyline, there is a broken pillar that is acting like a ramp to some rooftops to the southwest. For this Miman, though, you don’t need to climb them just yet. While standing at the base of the ruined pillar, look north along the thin ledge there, at the same elevation, to find the Miman.
Miman 136
(1 of 2) Miman #136 on the map

Miman #136 on the map (left), Miman #136 in the game (right)
After the previous Miman, run/jump up the broken pillar and follow the path past the first set of Anzu, to a more open rooftop. On the southern side of it, there will be a small mound and the Miman will be on it.
Miman 137

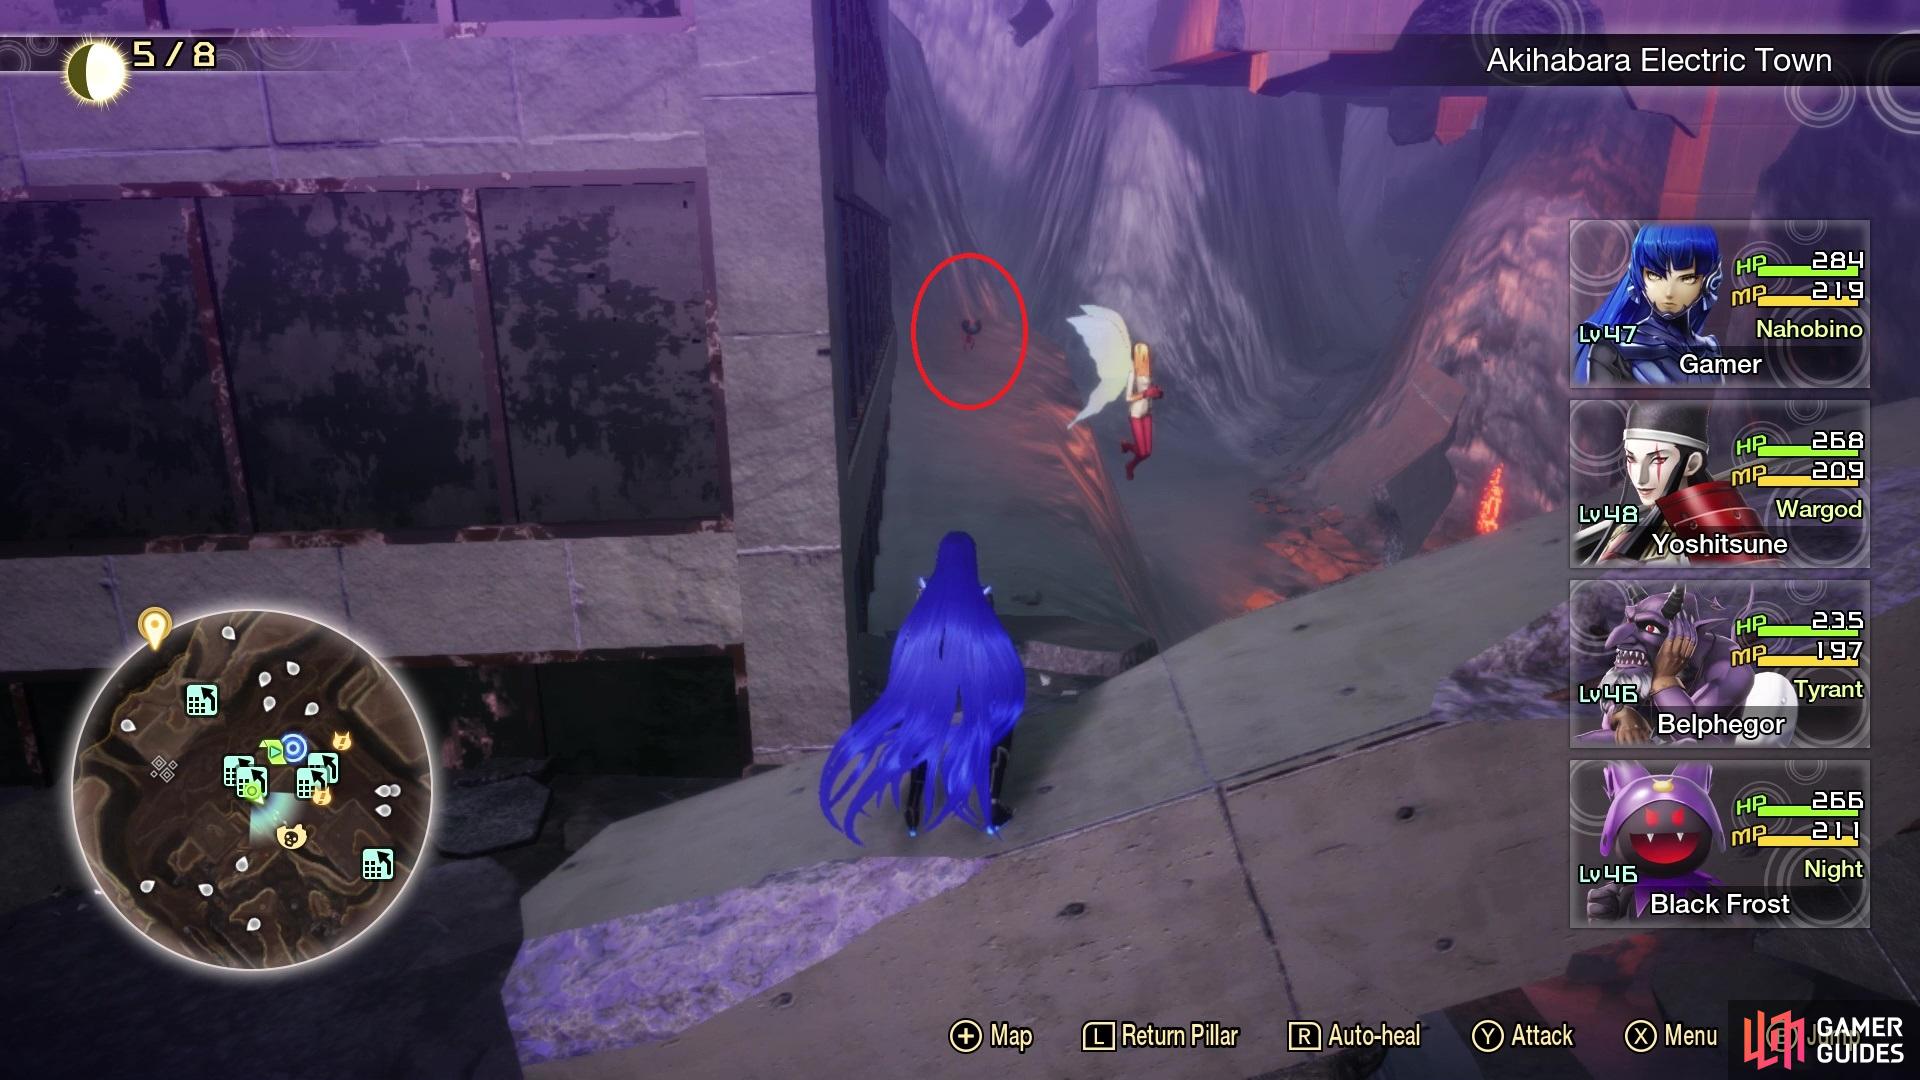
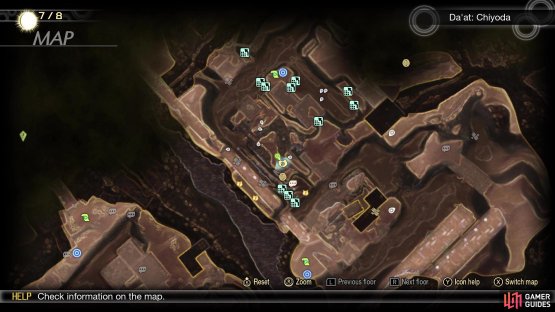
(1 of 2) Miman #137 on the map

Miman #137 on the map (left), Miman #137 in the game (right)
Continue on from the last Miman and you will eventually reach where the second Abscess was in this area. Where the Abscess once was, head straight southwest until you go past some rocks/a dead tree and reach the end of the rooftop. Immediately southeast of here will be the Jack-o’-Lantern NPC on ground level, which is a good indicator of where you need to be. If you look over the side on the western end, you should see a small raised area below you that you cannot access from the ground level. That is where the Miman will be located, so you will have to jump down to it.
Miman 138
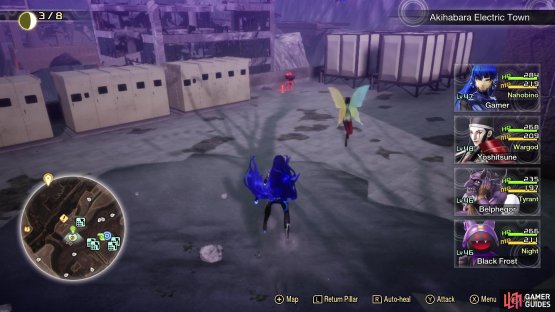
(1 of 2) Miman #138 on the map

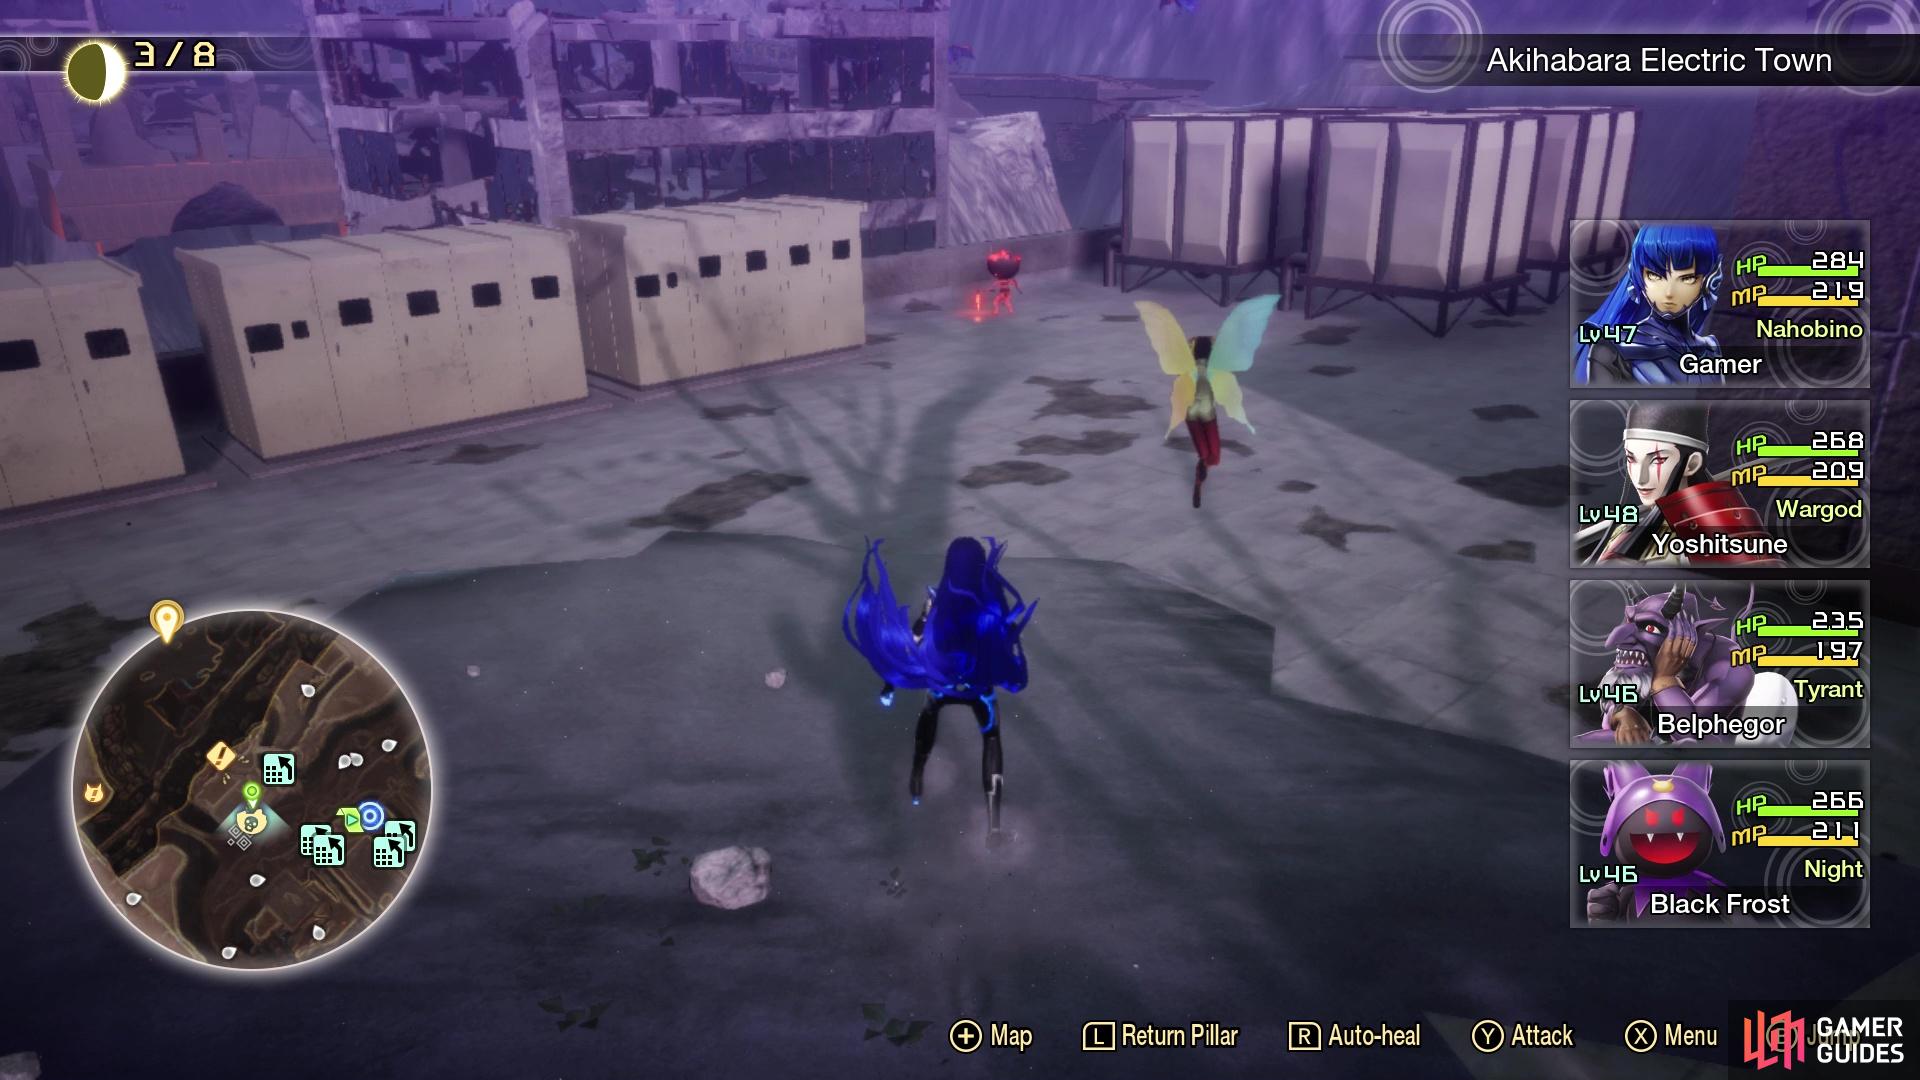
Miman #138 on the map (left), Miman #138 in the game (right)
At the Akihabara Electric Town Leyline, drop down to the ground level with all of the Orthrus and head northeast. Continue past the Naga Raja and you should see two paths, one being a hill and the other some climbing blocks. Run up the hill, climb the blocks there, then look for the pillar connecting to the nearby rooftop. Keep on this path up here and you will eventually come to Demon Statue #12. Right across from it will be a rooftop and the Miman will be on it.
Miman 139
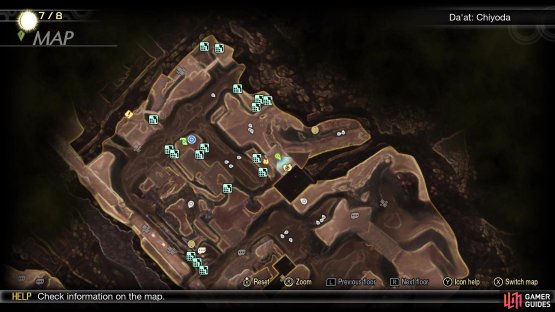
(1 of 2) Miman #139 on the map

Miman #139 on the map (left), Miman #139 in the game (right)
At the Akihabara Electric Town Leyline, drop down to the ground level with all of the Orthrus and head northeast. Continue past the Naga Raja and you should see two paths, one being a hill and the other some climbing blocks. Go up the blocks this time and you should find some Ose up here. South of them will be a rooftop and the Miman.
No Comments