
This is a walkthrough for Da’at: Shinagawa of Shin Megami Tensei V, taking place in the Konan 2nd Block area. How to complete every objective, find every chest and locate every Miman.
Fionn says the rescued students are in a fairy village to the southwest
Demons
| Icon | Name | Lv | Weakness |
|---|---|---|---|
| Andras | 18 | ||
| Incubus | 22 | ||
| Bugs | 24 | ||
| Berith | 24 | ||
| Inugami | 24 | ||
 |
Jack Frost | 25 | |
| Poltergeist | 25 | ||
| Shiki-Ouji | 29 | ||
| Kelpie | 30 | ||
| Yakshini | 30 | ||
| Loa | 30 | ||
| Hua Po | 31 | ||
| Pisaca | 31 | ||
| Basilisk | 31 | ||
| Kumbhanda (Punishing Foe) | 34 | ||
| Eligor | 37 | ||
Items
| Name |
|---|
| Pisaca’s Essence |
| Dispel Charm |
| Mirage Gem |
| Chakra Pot |
| Yakshini’s Essence |
| Ice Gem x3 |
| 10000 Macca |
| Concentrate Gem |
| Hariti’s Essence |
| Ambrosia |
| Eligor’s Essence |
Quests
| Subquest | Location | Reward |
|---|---|---|
| Kumbhanda’s Bottle | Right next to Konan 2nd Block Leyline | Night Talisman |
Konan 2nd Block Abscess
(1 of 3) Drop down this ledge on the northern path
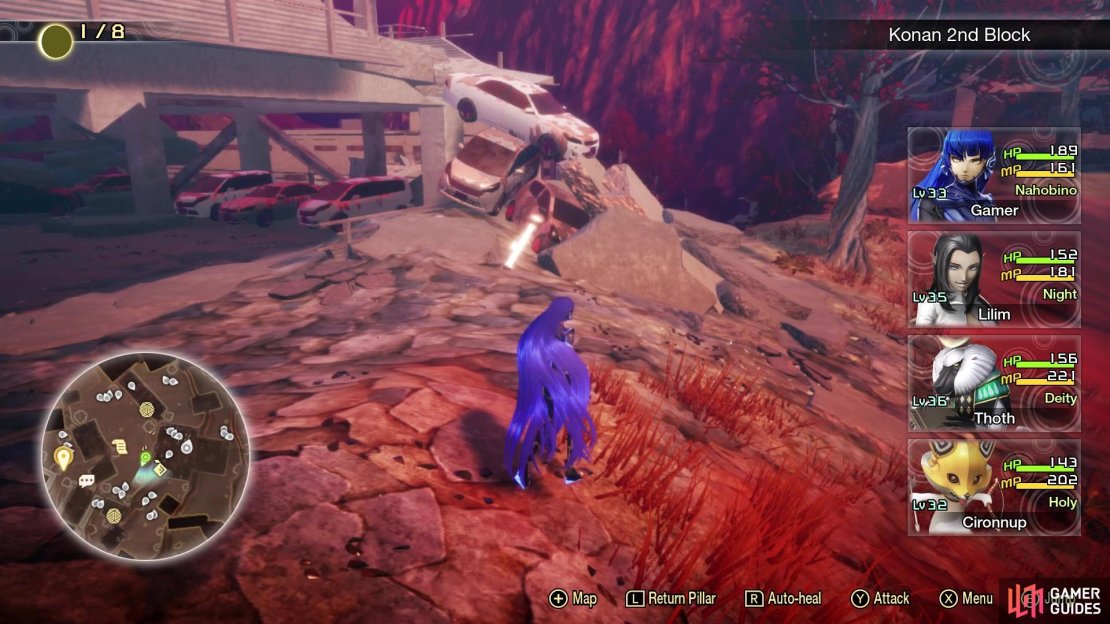
As is the case with a lot of the areas in the game thus far, there is an Abscess that is pretty much blocking the entirety of the area on the map, so let’s take care of it first. Cross the bridge after the previous boss fight and go up the little hill, to where there’s a Lamia you can speak with there. You have the option to go either north or south here, but the northern route seems to be pretty quick in reaching the Abscess. Move north, past the Pisaca enemies there, and drop off the ledge on the eastern side. As you continue north, around the little bend, go up the hill to find a ruined building.
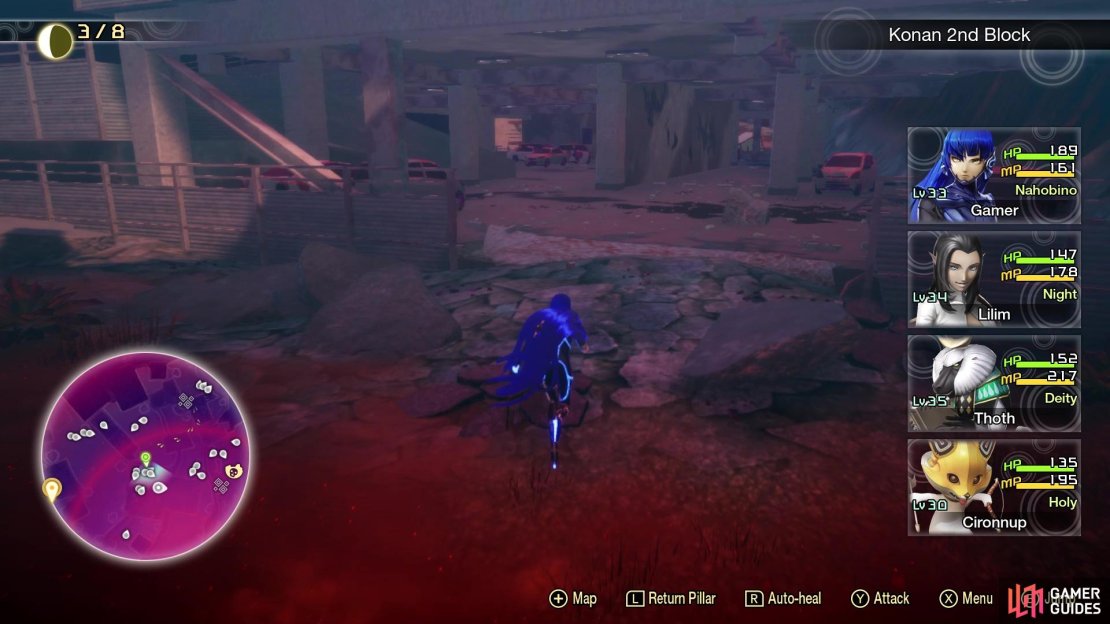
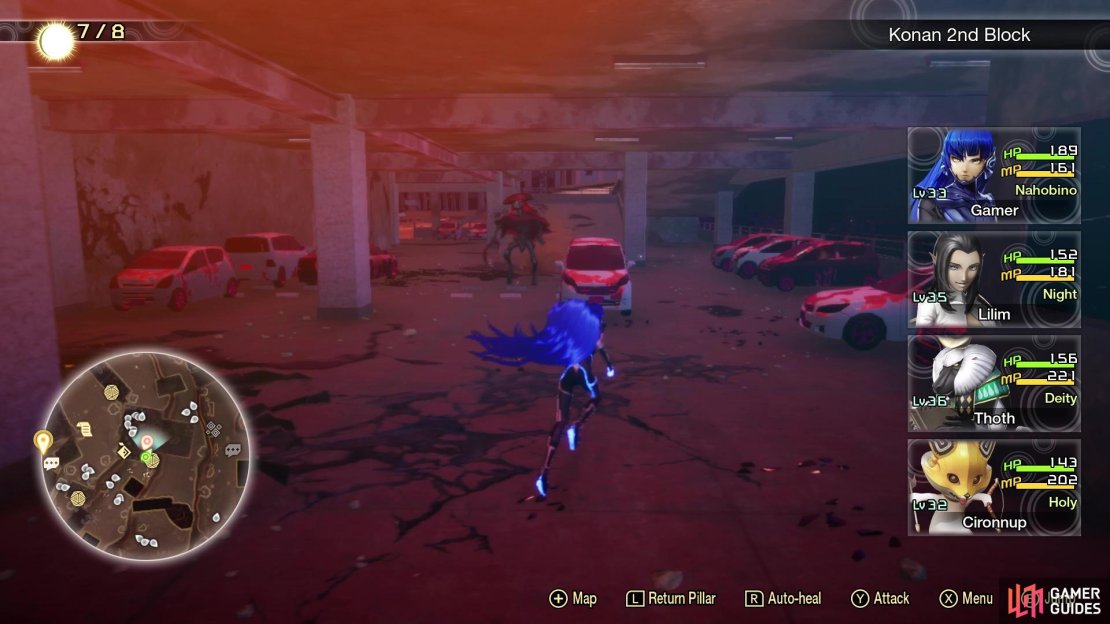
Enter the building here and find the second set of stairs, which leads to a small area with a slanted building. Run up the building and you will have a car garage on your south. You will be running through this, but there is a level 34 Punishing Foe inside, named Kumbhanda, that will chase after you. Thankfully, you can go to the right of the wall in the center of the garage without him noticing, but as soon as you approach the exit on the other side, he will begin moving, so run quickly. Note that Kumbhanda cannot come out of the garage, so you are safe once you’re outside. Once you are safe, look over the edge to your east to see the Abscess.
| Icon | Name | Lv | Weakness |
|---|---|---|---|
| Baphomet x3 | 35 |
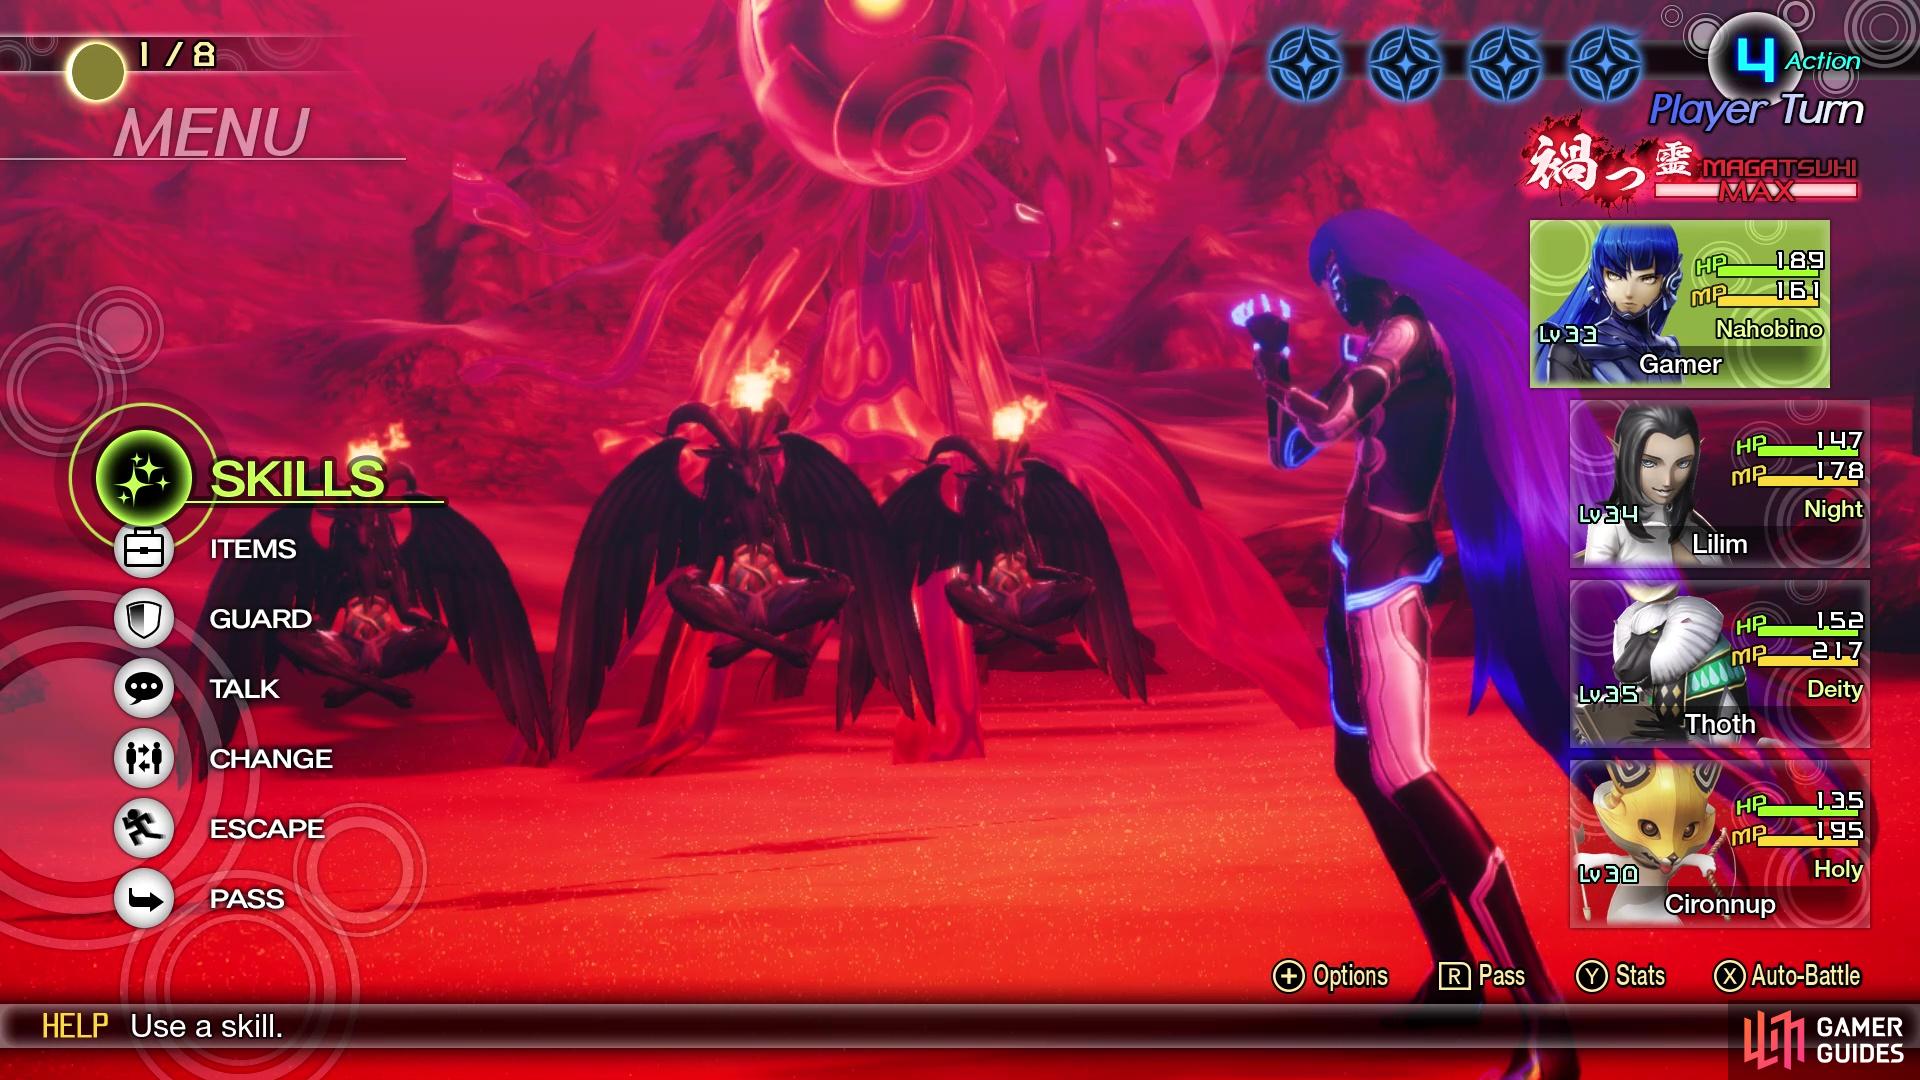
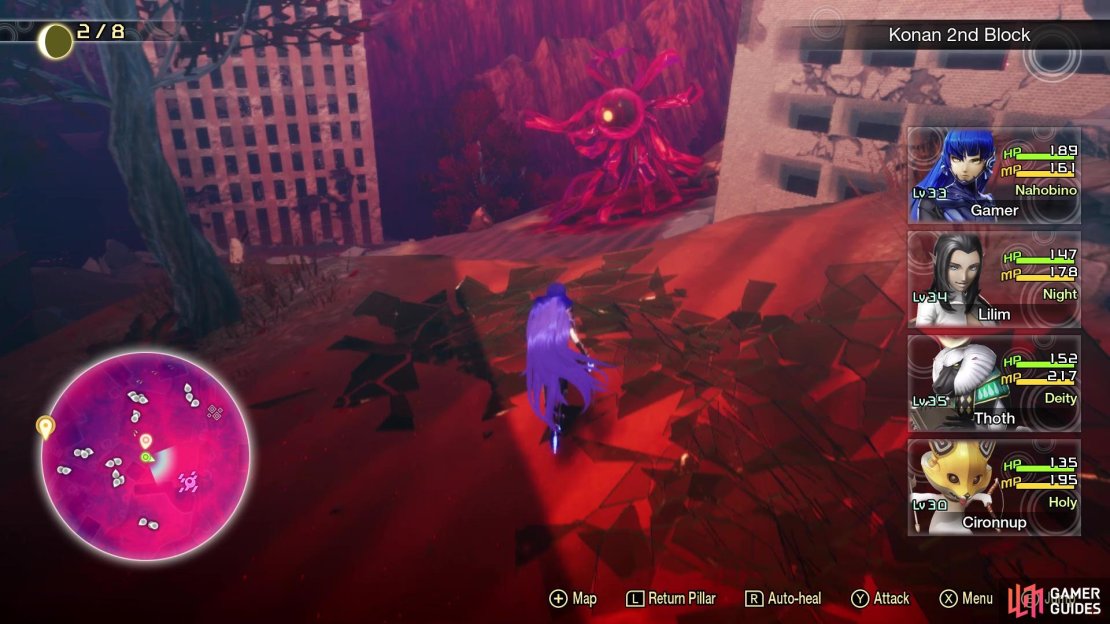
You will be fighting three Baphomets during this Abscess battle
The Baphomet here are enemies you haven’t seen before and have use of Mamudo, a Dark elemental attack. That means you shouldn’t have anyone weak to Dark in your party, in the off chance they might get one-hit killed from it. To make things a little worse, they have a passive buff called Dark Pieroma, which increases the damage from Mamudo. They also have Maragion, so you don’t want anyone weak to Fire, either. Since both of their main skills target the entire party, having just one party member blocking one of the two will make them waste turns. They are weak to Light and don’t seem to have much health, so things should go rather quickly.
| Miracle | Category | Effect | Glory |
|---|---|---|---|
| Invigorating Defense | Supremacy | An ally’s MP will recover when guarding. | 90 |
| Divine Garrison VI | Awakening | Increases demon stock by 2. | 90 |
| Light Mastery II | Cosmos | Increases the Nahobino’s Light skill potential by 2. | 80 |
| Dark Mastery II | Cosmos | Increases the Nahobino’s Dark skill potential by 2. | 80 |
2nd Block Exploration
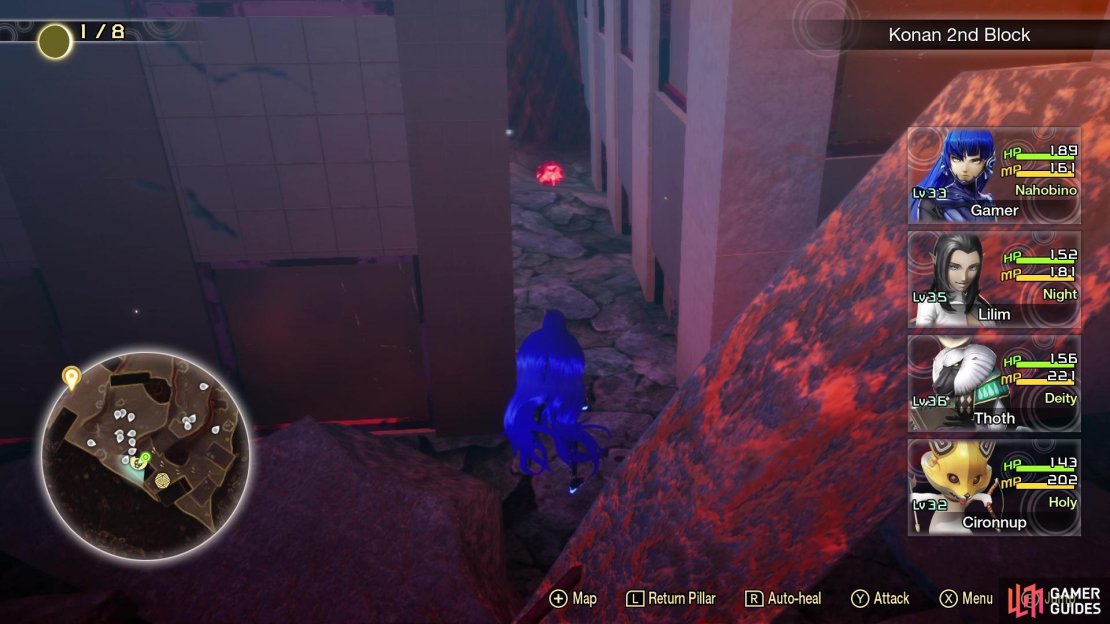
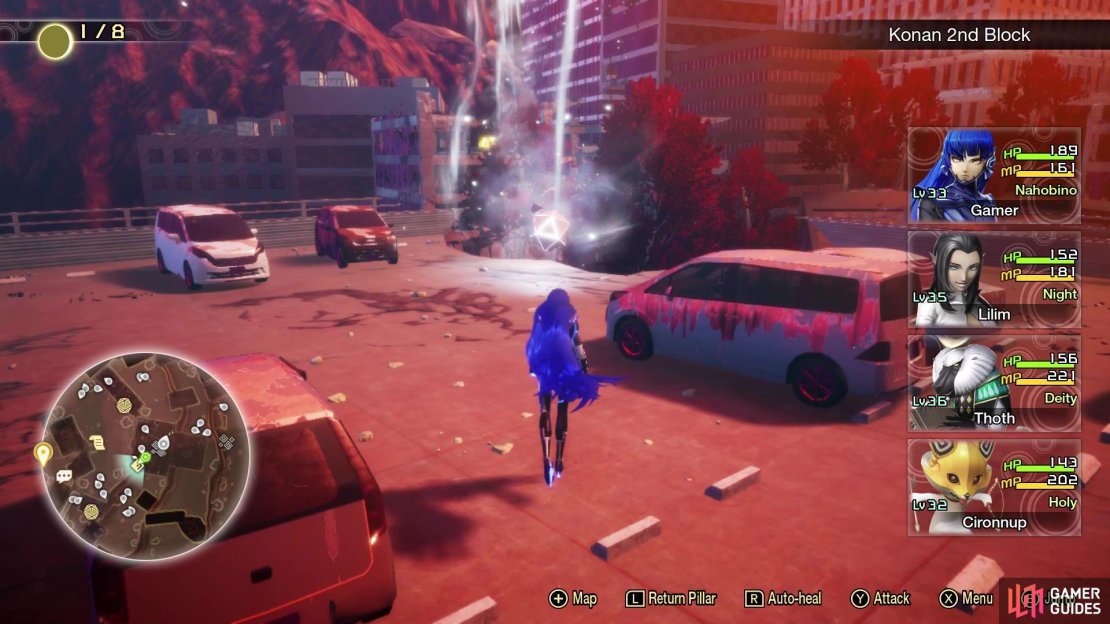
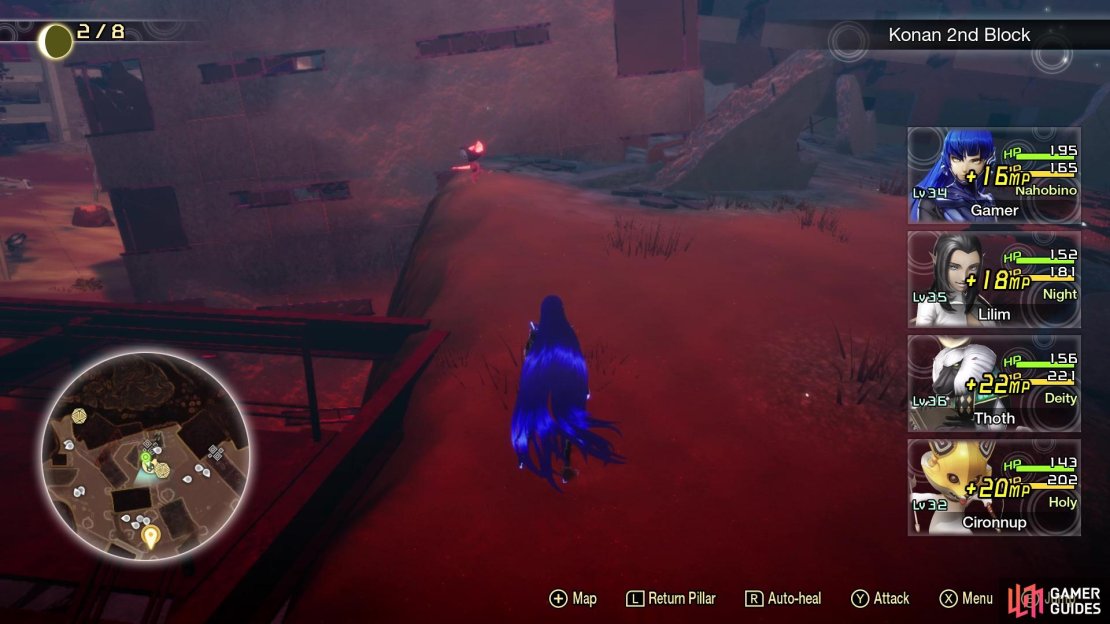
Teleport back to the Leyline in Mitatebashi and return to the Lamia NPC. As mentioned before you can either go north or south here, so let’s check out the northern path first. Right across from the vending machine is a large rock, and if you look behind it, you will find Miman #80. Continue north a little more and look to the east to find an area you can drop down to, so do that. At the southern end of this little area will be a Treasure Box, which contains a Pisaca’s Essence. Follow the trail north and at the northern end will be Demon Statue #7 - Berith. South of the Demon Statue will be a ruined building, so go ahead and enter it.
Look for the second set of stairs inside to reach the second floor, then look behind the wall to your east to find Miman #81. You can either very carefully walk on the beams to reach him, or simply jump the gap. Return to the stairs and exit the building near them to see a slanted building nearby. Ignore that for now and head north of the slanted building to find an opening in that ruined building. Go straight through, to the dead end to the north and bust open the Treasure Box there for a Dispel Charm. Back inside that same building, if you look east, there is another opening that leads to some vending machines and Miman #82.
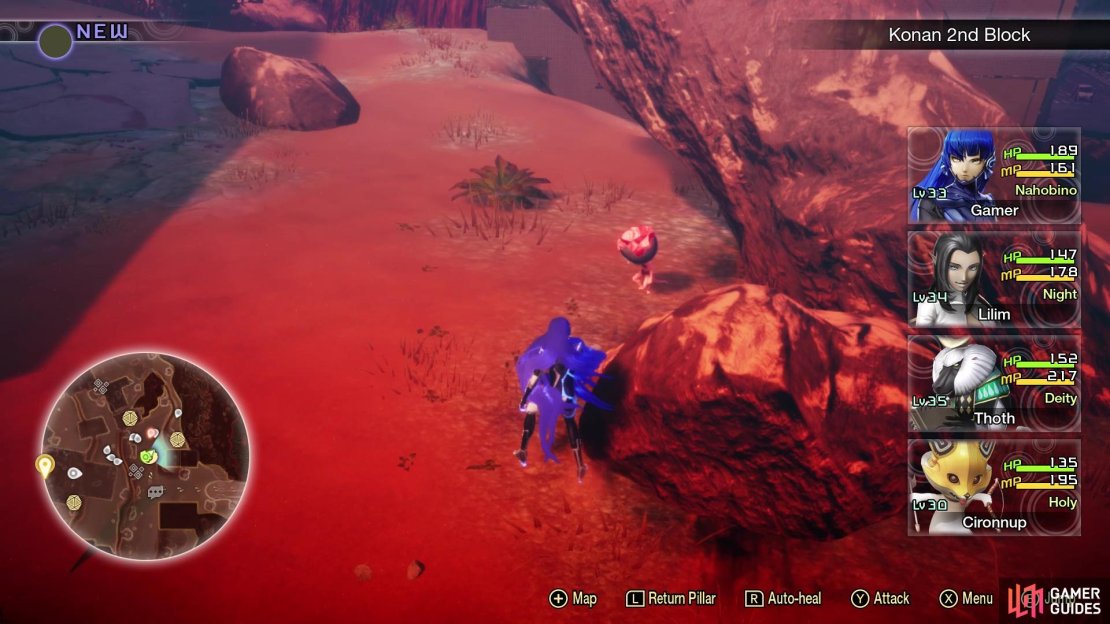
(1 of 4) Miman #80 is behind a rock north of the Lamia NPC
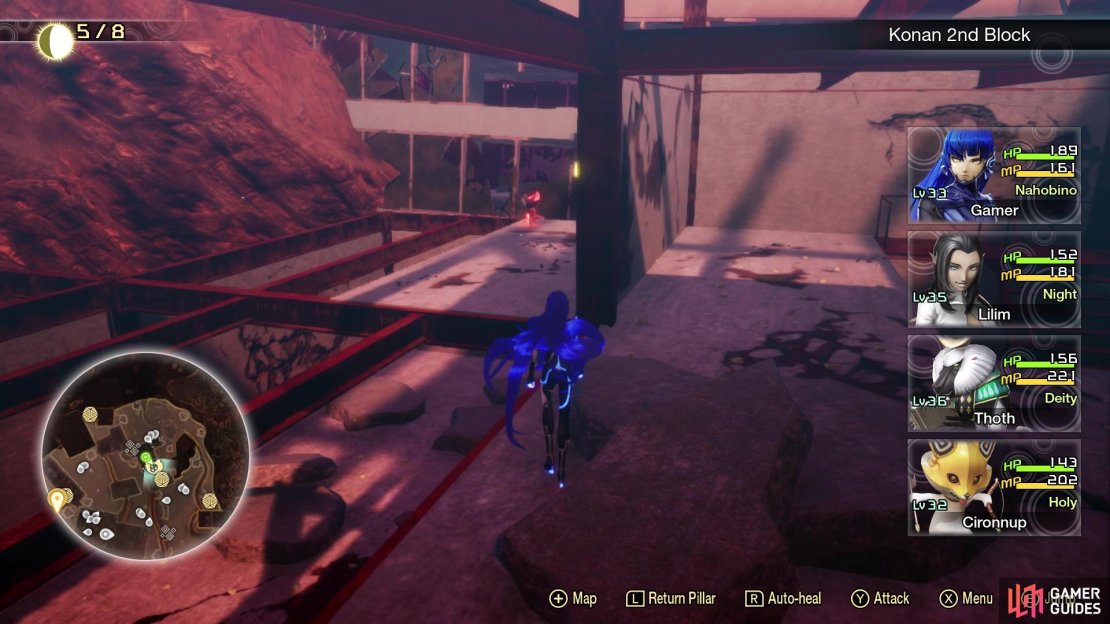
Go to the base of the slanted building and directly east of it will be a ruined building with a Treasure Box inside (Mirage Gem). Double back to the Lamia NPC now and go south this time. A little bit on this path, you should see a lower section to your east, so drop down there. Follow this path until you reach a hill with a Basilisk on it, which will be right next to a building. On the southern side of this building, there is an opening to go inside it, so do that and on the second floor will be Miman #83. South of there, you can go through another ruined building and come out the other side, where you’ll find a Treasure Box in the very corner portion of the map there (Chakra Pot).
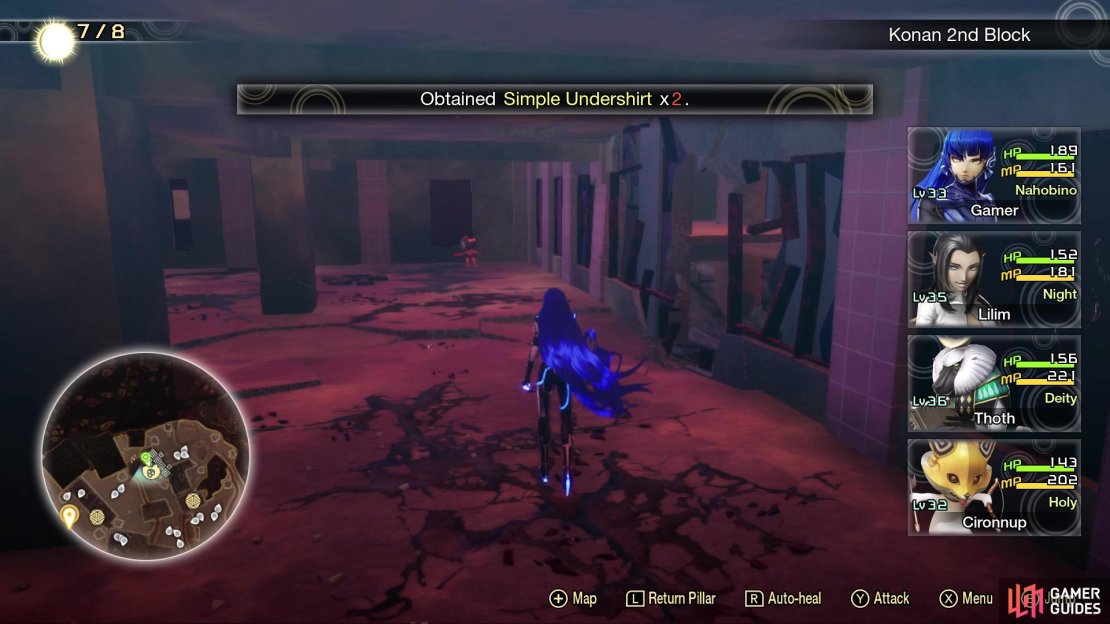
Ignore the next Treasure Box marked on your map for now, as you can’t reach it from here. Find the slanted building in this section and look across from it to see some debris in front of those buildings. There is actually a tiny gap you can squeeze into in between the buildings, which has the debris in front of it, where you’ll find Miman #84. Head up that slanted building and venture southwest, past the group of Yakshini. You will be going behind the buildings where you found the previous Miman now. At the end, you will be able to grab that Treasure Box, which has a Yakshini’s Essence inside it.
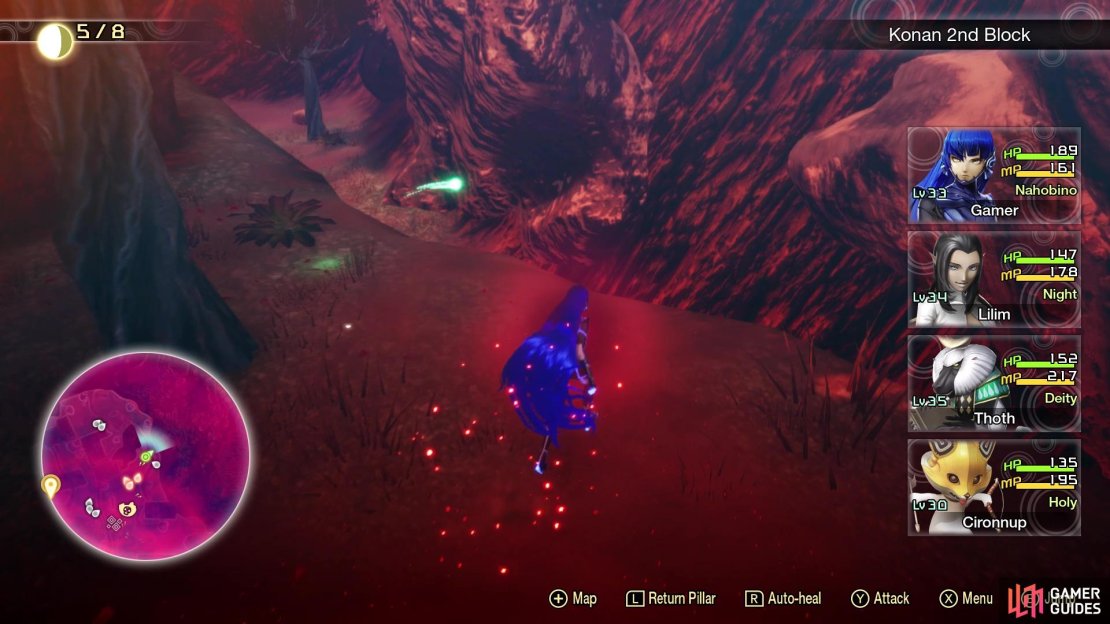
Locate the next hill that has a Basilisk guarding it and follow the path there, until you reach the multi-story garage once more. You can easily lure the Kumbhanda inside to one side of the car near the entrance, then run around the other side so you can reach the ramp to the next floor. Continue climbing the ramps until you get to the one you can’t access, since the floor is broken. There will be a trail of orbs here, so follow them around the corner to find some Poltergeist. Drop down the hole here and go to the southeast corner of the garage to find a Treasure Box (Ice Gem x3). You can drop off right next to the treasure to be back at the entrance of the garage.
(1 of 3) Miman #83 is inside a building to the south of the Lamia NPC
Return to that same hole you dropped down near the Poltergeists, but continue following the path to more orbs that show you a spot where you can jump up to the next floor. As soon as you jump up to the next floor, look east to see the rooftop of a building. Jump over the railing and onto that rooftop to find Miman #85. Return to the garage and look next to the ramp to find another path, where will be able to exit the garage. However, if you look near the exit, you should notice some cars stacked on top of one another. Use these to jump to the upper floor, then go around north to find a ramp that leads to the top floor. Note that behind the wall directly across from that ramp will be some vending machines. On the top floor of the garage, you will be able to secure Amalgam #16.

(1 of 3) Jump on the roof of this building from the garage to get Miman #85
Directly east from the Amalgam will be the Konan 2nd Block Leyline, so go ahead and register it. Next to the Leyline will be a Succubus that will give you the Kumbhanda’s Bottle quest. As the name suggests, you will have to kill the Kumbhanda you saw in the garage. Find those cars back at the garage that allowed you to reach the top floors, and go back to the roof once more. In the northwest corner, jump over the railing and onto the ruined building there, where you can grab the Treasure Box that contains 10000 Macca. If you head to the next building over, you will find some vending machines behind the little piece of building there.
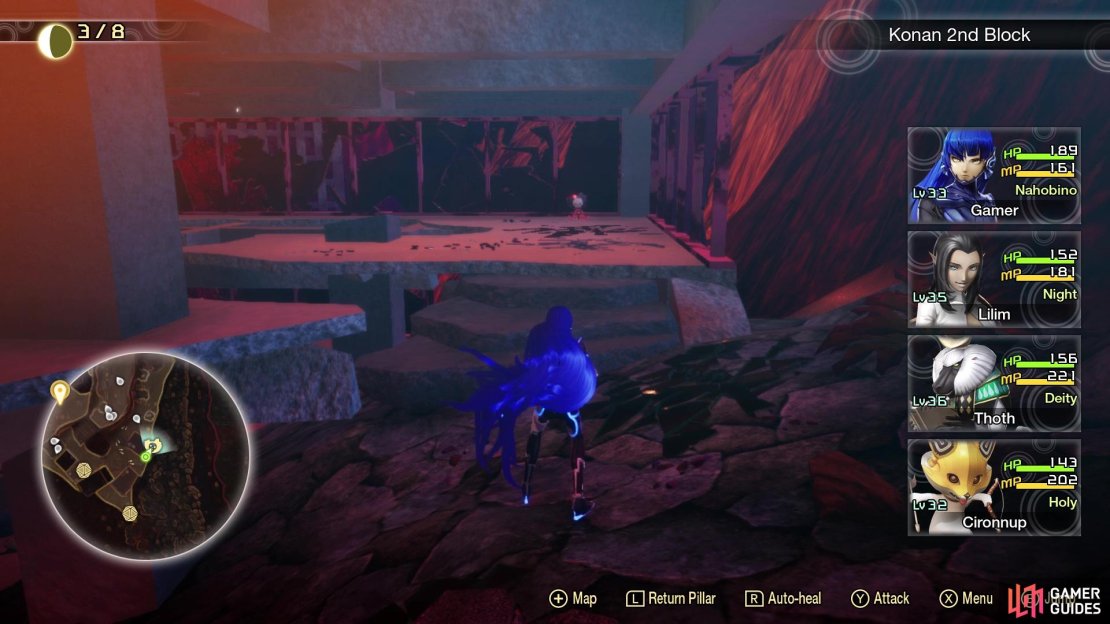
Venture northwest from the Leyline, until you see the shell of a building at the northern end. Climb the stairs inside to reach the top and you should see Miman #86 right in front of you, along the cliff’s edge. Right next to the Miman, you can jump inside that build to bust open the Treasure Box, which contains a Concentrate Gem. Return to the Leyline and continue ignoring the slanted building next to it. Instead, travel south-southwest, where there are two Basilisks on the side of the building. Continue until the very end and you will find Miman #88 on a rock. Right next to the Miman, there is a spot you can drop down to and find a Treasure Box (Hariti’s Essence); teleport back to the Leyline after looting.
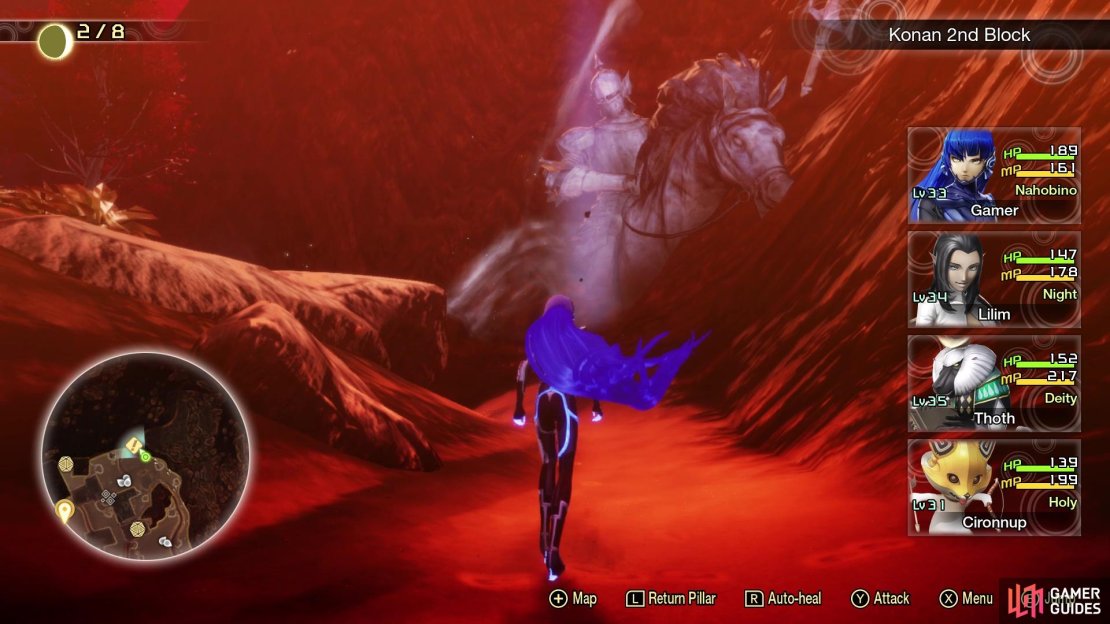
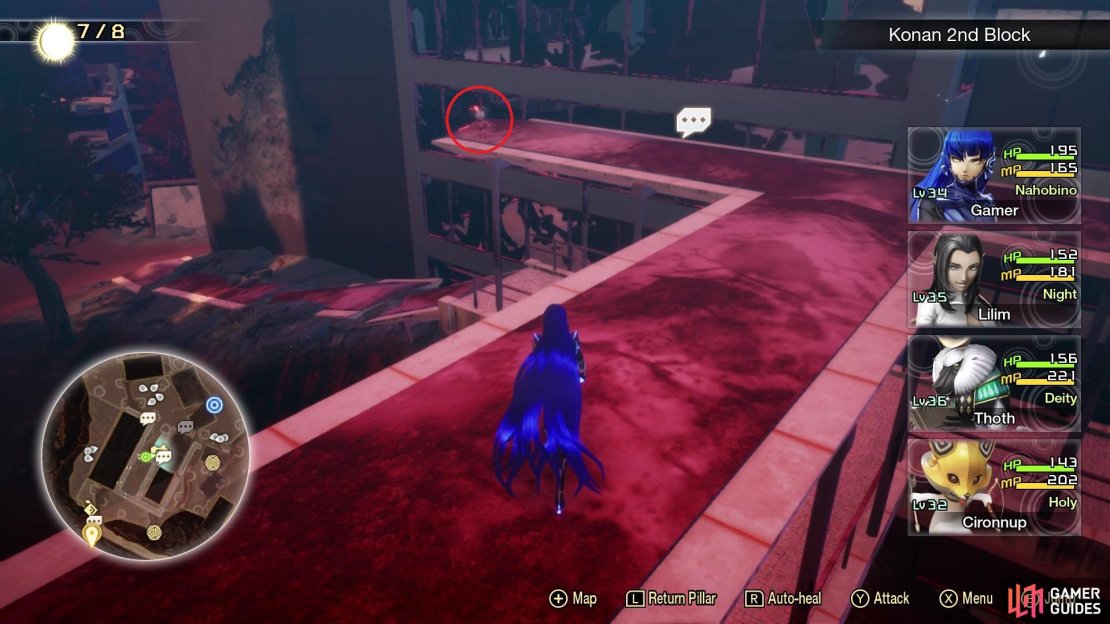
Travel up the slanted building next to the Leyline and you will trigger the cutscene with Ichiro here. To the southwest will be some pedestrian bridges, as well as some Berith and an Eligor on the ground. Ignore the demons and get onto the bridge, follow it until it turns around and you are going northeast. At the end, you will see Ichiro, but you cannot go past him, so you’re stuck here for now. Backtrack a tiny bit until you can jump on top of the bridge. Do that and you should see Miman #87 hanging out at the end. Note that you can’t be sneaky and try to get past Ichiro like this, as the game will stop you.
(1 of 3) Miman #86 is found north of the Leyline, on a cliff at the top of the small building
Return to the split in the bridge path and head east this time, stopping to jump over the rail to smash open the Treasure Box (Ambrosia). Continue follow the bridge, hopping into the building with the NPC demon, who is named Demeter. She will become important a little later, so remember her location. Back on the bridge, go to the end and you can hop over to the building with the Treasure Box (Eligor’s Essence). That about wraps up the exploration here, since any other items you see on the map can’t be acquired right now. Follow the path behind the Eligor go up the hill, and you will eventually reach an area called Yatsuyama. This is a small area that just connects 2nd Block to Gotenyama, the next area for exploration.
No Comments