There are 200 Mimans hidden throughout the four regions of Shin Megami Tensei V. This page will list the locations for the Kuramae and Motoasakusa areas of the Taito region.
Miman 191
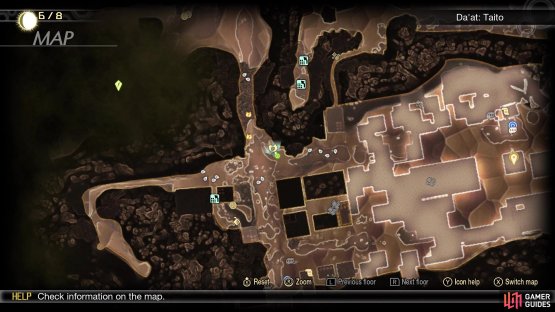
(1 of 2) Miman #191 on the map
Miman #191 on the map (left), Miman #191 in the game (right)
Start from the Umayabashi Leyline and go north, to the four-way intersection with the Thrones. On the northeastern side of the intersection, there is a vending machine and behind it will be the Miman.
Miman 192
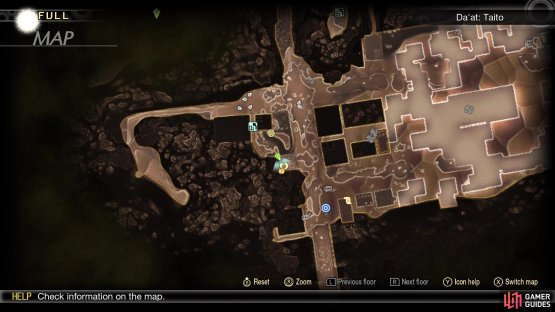
(1 of 2) Miman #192 on the map
Miman #192 on the map (left), Miman #192 in the game (right)
Still at the four-way intersection mentioned above, head west as if you were going to the Abscess, but stop when you see the climbing blocks on your map, just to the south. Climb the blocks and go to the end of this path to see a building. The Miman will be on that rooftop.
Miman 193
(1 of 2) Miman #193 on the map
Miman #193 on the map (left), Miman #193 in the game (right)
Go back at the four-way intersection and head west, as if you were going to the Kuramae Abscess. As you pass the climbing blocks and make the bend, look inside the ruined buildings there to find the Miman.
Miman 194
(1 of 2) Miman #194 on the map
Miman #194 on the map (left), Miman #194 in the game (right)
From the Umayabashi Leyline, head straight north, past the four-way intersection and right beyond the second Thrones in the tiny tunnel. As soon as you pass them, you will see a large area to your west you can explore. Head in that direction, southwest, and you will eventually reach some ruins. In the middle of the ruins are some stairs you can use to reach the upper floor of the one building, which is where the Miman is located.
Miman 195
(1 of 2) Miman #195 on the map
Miman #195 on the map (left), Miman #195 in the game (right)
Return to the four-way intersection from above and head east this time, stopping to go north, through the narrow passageway through the building just north the Thrones. As you emerge on the other side, head straight north to find the Miman on the rooftop.
Miman 196
(1 of 2) Miman #196 on the map
Miman #196 on the map (left), Miman #196 in the game (right)
Teleport to the Ueno Leyline and jump off to the south. There is a building with a large rock in front of it directly south of where you land. It is possible to get on top of the rock and jump onto the building, which is where two Treasure Boxes is located. South of there is a little area in between the buildings, which is where you will find the Miman.
Miman 197
(1 of 2) Miman #197 on the map
Miman #197 on the map (left), Miman #197 in the game (right)
The easiest way to find this one is to teleport to the Ueno Leyline and jump off the building to the south. Follow the road to the south, while keeping an eye out for a gap in the buildings on your western side. Go through that gap to arrive in an area with a collapsed building. Note that a wandering Fafnir will aggro you in that gap, so if you see that demon, you’ll know you’re in the correct spot. Go south in that back alley area and get on top of the collapsed building, where you will find the Miman in the northwest corner.
Miman 198
(1 of 2) Miman #198 on the map
Miman #198 on the map (left), Miman #198 in the game (right)
Go back to the Ueno Leyline and slide down the hill to the north. Follow the road/highway to the southwest, staying underneath it, until you reach the point where you can get on top of it. Behind the last support pillar, on the northern side, before you can jump onto the highway, is where the Miman will be hiding.
Miman 199
(1 of 2) Miman #199 on the map
Miman #199 on the map (left), Miman #199 in the game (right)
Get on the highway right by the previous Miman and jump the small gap over to the next piece, then stop. If you look to your east/southeast, you should see some buildings that form a makeshift bridge. Hop onto those buildings and be careful not to fall through the absent windows at the ends. Go to the end and jump onto the ruined building there to find the Miman.
Miman 200
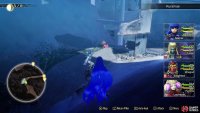
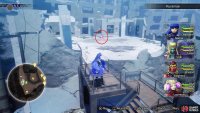
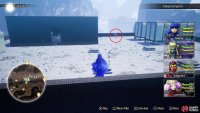
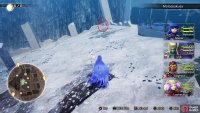
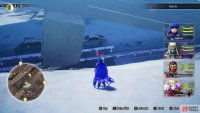
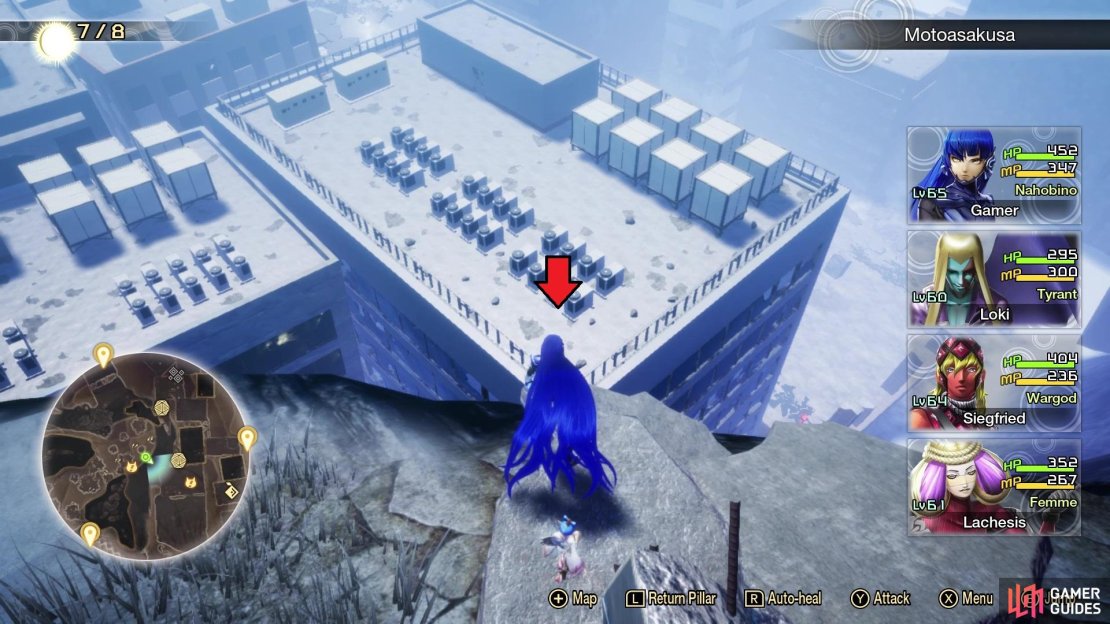
(1 of 3) Jump down to this building from the Garuda perch
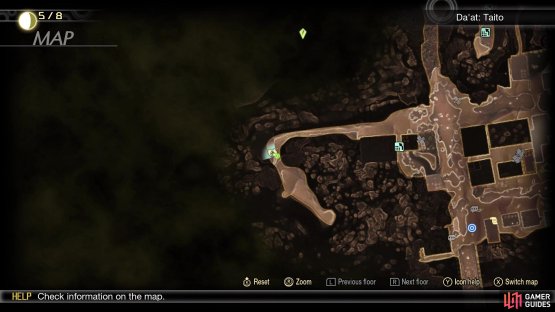
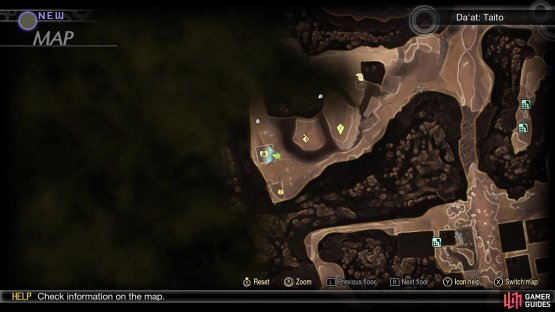
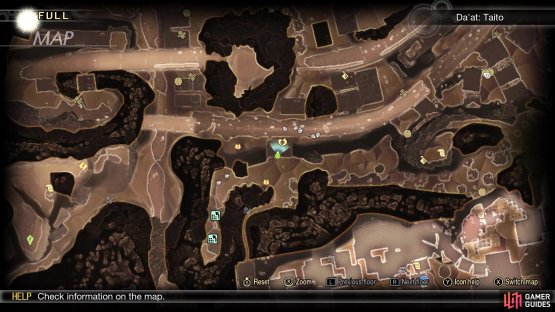
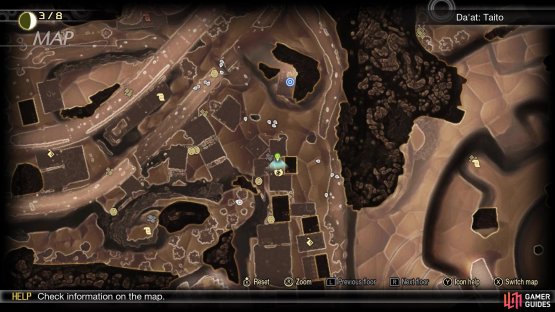
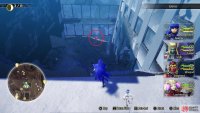
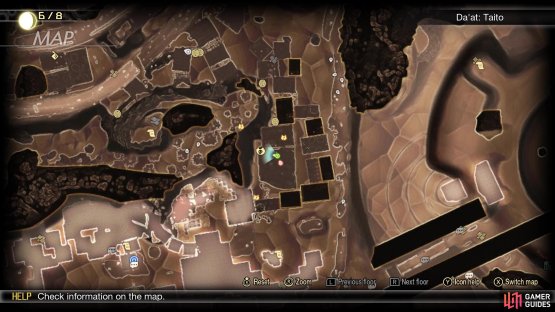
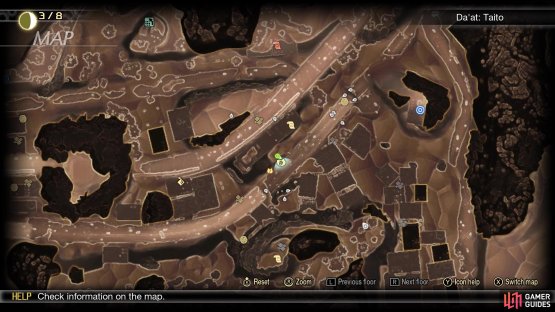
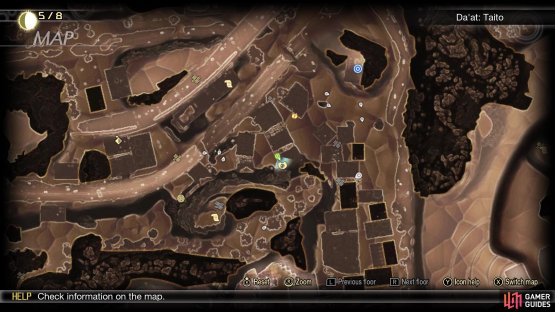
The final Miman will require you to go where the Punishing Foe, Garuda, lands. This is located by first going to the Umayabashi Leyline, then heading north to the four-way intersection. Head east there and through the small passage north of the Thrones, via the hole in the building. Go east at the split and follow this trail all the way to the end, which is where Garuda will land from time to time (it’s level 80, so avoid aggroing it). If you look over the edge behind Garuda, you will see some rooftops below you. Go to the southern side and jump onto the rooftop to the southeast; if you fail, you have to go all the way back to the same spot and try again. Once you land it correctly, hop onto the rooftop directly north, then the next one east. This building will be missing a chunk out of it, but you can drop down inside to find the Miman.





















No Comments