This is a walkthrough for Da’at: Chiyoda of Shin Megami Tensei V, taking place in the Ginza and Miyuki Street areas. How to complete every objective, find every chest and locate every Miman.
The war between Bethel and the demons is escalating
Demons
| Icon | Name | Lv | Weakness |
|---|---|---|---|
| Lamia | 36 | ||
| Narcissus | 38 | ||
| Muu Shuwuu | 38 | ||
| Valkyrie | 40 |
Items
| Name |
|---|
| 15,000 Macca |
| Power’s Essence |
| Lamia’s Essence |
| Revival Bead x2 |
| Idun’s Essence |
Quests
| Subquest | Location | Reward |
|---|---|---|
| Lighting the Way | Next to Ginza Leyline | Chakra Drop |
| Black Frost Strikes Back | Inside building northwest of Ginza Leyline | Health Balm; Black Frost joins party |
| The Path to Myojin Forest | Southwest of Sukiyabashi Leyline | Silky’s Essence |
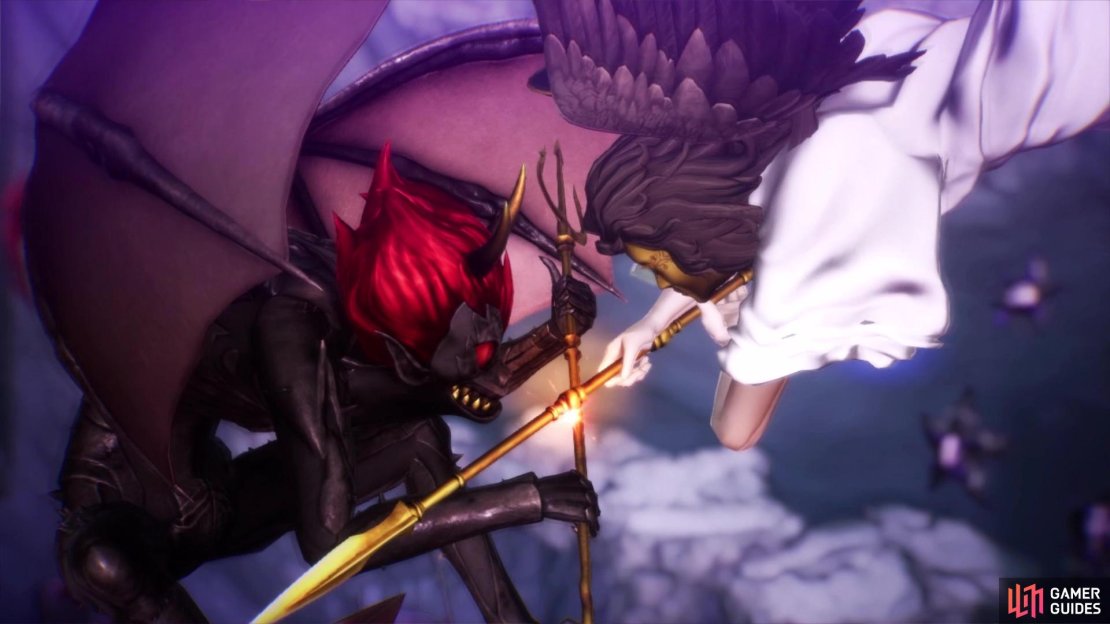
Upon first arriving in Ginza, move forward and you will view a cutscene, showcasing the battle between Bethel and the demons. After the scene is over, head on over to the Leyline to register the Ginza one, allowing you to instantly come to the Chiyoda region without having to go through the tunnel again.
Miyuki Street Abscess
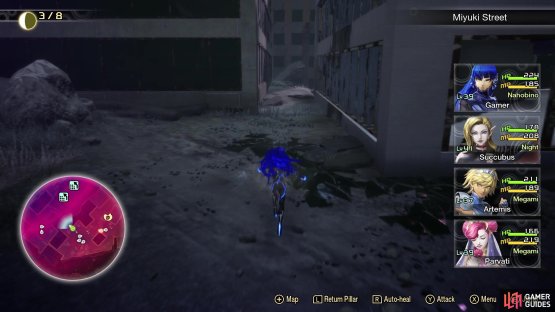
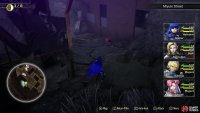
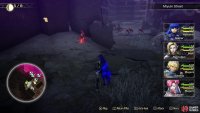
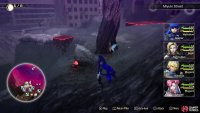
As with all of the other areas, it’s a good idea to go after the Abscess to clear some of the map. From the Leyline, head west, going where you see the Lamia. When you reach the second set of them, look for the path to the northwest (look for the Magatsuhi orbs). As you continue, you will see the path open up on the one side, but you don’t want to drop down here, as you will have to go back to the starting section. Head southwest for a tiny bit and you should be in an area with some more Lamia, as well as a large pack of Narcissus. Past the Narcissus, there will be a Hua Po that will give you The Path to Myojin Forest quest; accept it or not, as it doesn’t really matter right now.
(1 of 2) Head in between these two buildings to get further into the area
Head in between these two buildings to get further into the area (left), The Abscess will be up the two climbing blocks on the left (right)
Immediately beyond the Hua Po, though, will be some climbing blocks. Drop down the first one in front of you, then look to the northwest to find two more. Climb those and you will be on the path that brings you to the Abscess.
| Icon | Name | Lv | Weakness |
|---|---|---|---|
| Naga Raja | 40 |
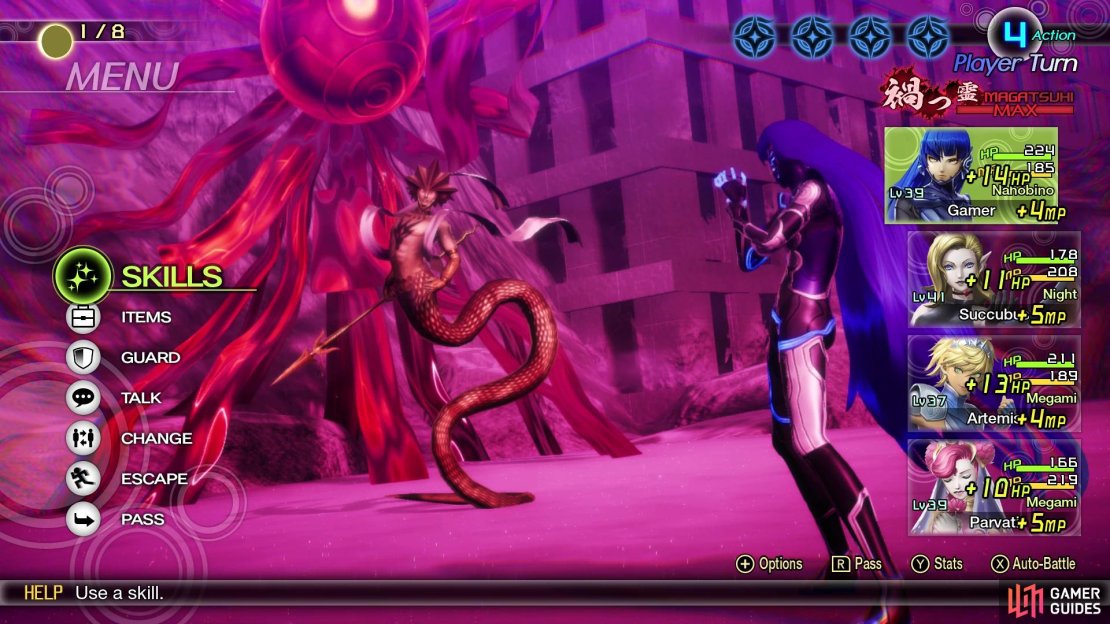
You will be up against a single foe here, a level 40 Raga Naja. If you use a Spyglass to look at its stats, you will see the Raga Naja has a good Vitality, so it will be able to take some punishment. It absorbs Electric attacks and resists Ice, but it will be weak to both Fire and Force, so hopefully you have those in your current party. All other elements that aren’t mentioned will be neutral, so you do have some options for dealing damage. As far as skills go, Critical Slash is a light Physical attack against a single target and while it has low accuracy, it will always be a critical if it connects. Note that while it says it’s a light attack, the damage is pretty damn high and could one-shot someone.
You will be doing battle against a single Naga Raja with this Abscess
You can counter this by either increasing your own evasion with something like Masukukaja, or simply casting Sukunda on the demon. Pierce Armor is another light Physical attack, but the damage isn’t the big issue here, as it will decrease the target’s defense for three turns. It can also use Mabufula, so you probably don’t want anyone weak to Ice on your active team. In fact, if you have Succubus on the team, she blocks Ice and can effectively make this a lot easier of a battle. When it charges its Magatsuhi, it can do anything in the follow-up attacks, so you can’t really do anything to stop things.
| Miracle | Category | Effect | Glory |
|---|---|---|---|
| Pacification | Supremacy | If a demon’s mood sours mid-negotiation, they may forgive you. | 90 |
| Demon Proficiency III | Awakening | Increases demon ally’s skill slots by 1. | 150 |
| Divine Proficiency III | Awakening | Increases the Nahobino’s skill slots by 1. | 100 |
| Physical Mastery II | Cosmos | Increases the Nahobino’s Physical skill potential by 2. | 160 |
| Almighty Mastery II | Cosmos | Increases the Nahobino’s Almighty skill potential by 2. | 160 |
Ginza/Miyuki Street Exploration
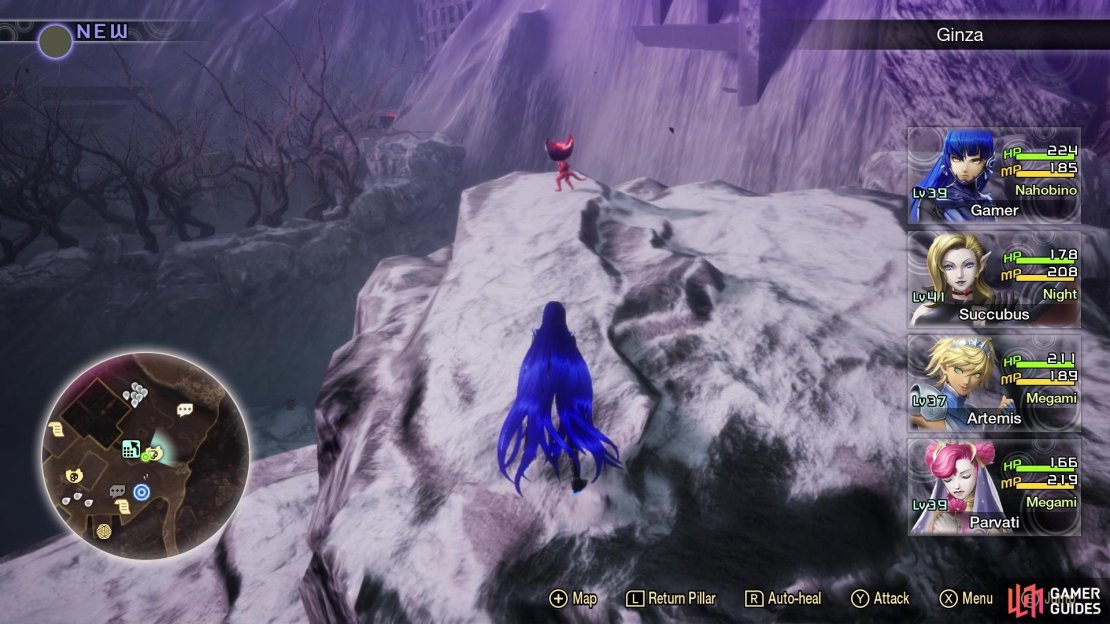
Teleport back to the Leyline after destroying the Abscess and let’s get to exploring this area. Immediately north and a tiny bit east of the Leyline, on the rocks, will be Miman #101. Previously, you may recall that going from Minato to Shinagawa, the Glory you received from Mimans increased; in the Chiyoda region, each Miman will give you 8 Glory. From the Leyline again, look northwest to spot a slanted building and at the top of this little building will be Miman #102. Just north of that second Miman there, you will see a giant hole in the side of a building, with some vending machines on the outside of it.
(1 of 3) Miman #101 is a little north of the Leyline, on some rocks
Inside that building will be Miman #103, as well as a giant Black Frost. If you speak to the Black Frost, you will receive the Black Frost Strikes Back quest. He wants you to defeat the Dionysus across the way, but you should know that this quest is mutually exclusive with the one that Dionysus can give you, so you will only be able to do one of those two. If you return to the Leyline, just west of it, you will find another quest waiting for you from the Jack-o’-Lantern, Lighting the Way. Jack only wants two Fire Gems, so if you have them, hand them over for an easy quest. If not, then don’t worry, as you will be getting a Navigator soon (if you didn’t already while going to the Abscess).
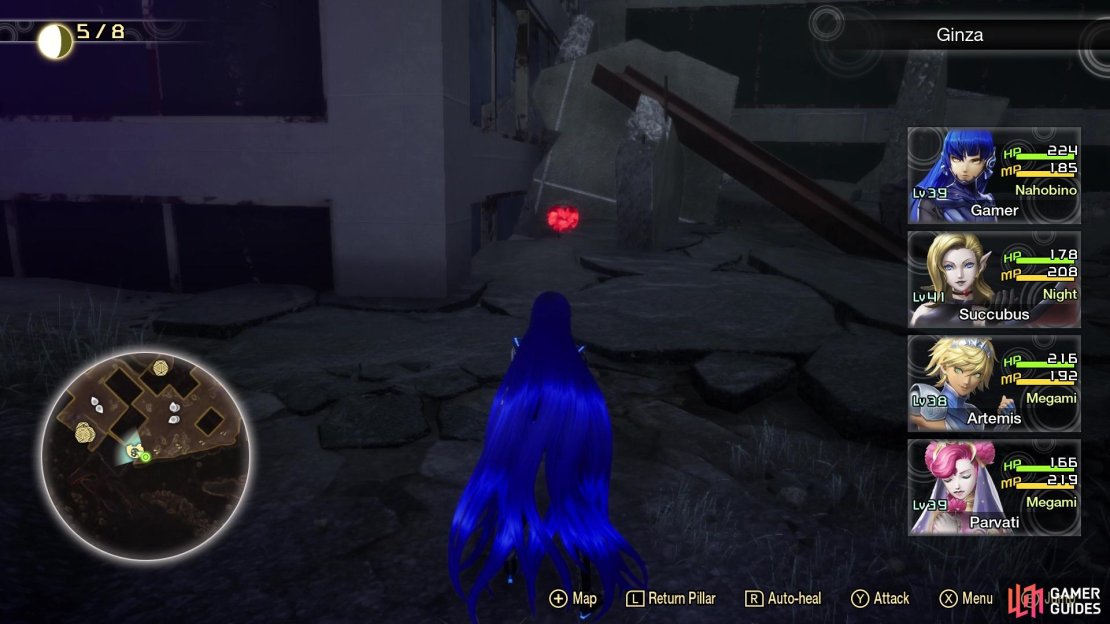
Behind Jack is a busted building you can enter, which is housing a Treasure Box that contains 15,000 Macca. Continue west-southwest from there, past a group of Lamia, and into the corner in that little area, where you will find Miman #104 behind some rubble. Find the path in between the buildings, which you took earlier while on the way to the Abscess, but stop at the point by the pit to the northeast. Jump down into the pit and go up the climbing block, onto the building on its side. From there, you can get into the building to your south that is holding a Treasure Box (Power’s Essence). Go back over that turned building (there’s a lone vending machine on the other side) and follow the path until you see another large group of Narcissus.
If you see the Punishing Foe opposite of them, ignore it, as it is level 50 and quite strong, physically. Run past the Narcissus and there will be some climbing blocks nearby, allowing you to get back up to the original area. Make your way back to where you dropped off to the lower area, to reach the initial large group of Narcissus you encountered on the way to the Abscess. South of them, there is a building that has three Treasure Boxes inside it, as well as some more vending machines. The Treasure Boxes will give you a Lamia’s Essence, Revival Bead x2 and an Idun’s Essence. Just outside of that building, on the northern side, will be Miman #105.
(1 of 4) Miman #104 is behind some rubble southwest of the first set of Lamia
Sprint past the group of Narcissus now, and check behind the rubble at the dead end behind them for Miman #106. If you didn’t grab the quest from the Hua Po earlier, do that now. She wants you to take her to the Myojin Forest, so accept her offer to start The Path to Myojin Forest quest. This will also prompt Hua Po to become your navigator here, so you can run around and gather some items thanks to her. Just beyond Hua Po are the series of climbing blocks, so drop down from the first one and climb the first one to your west, as if you were going back to the Abscess to the northwest. Ignore the second one and follow this little path to the tree nearby, then look behind the rock next to the tree for the cleverly hidden Miman #107. Double back a little bit and hop over to the Eligor NPC, then climb the block near him to find the Sukiyabashi Leyline, bringing this page to an end.




No Comments