Amalgams are special items that can be found while exploring, which when interacted with, will grant you a large amount of Glory. Their icons will always appear on the map, unless there is an Abscess nearby obstructing the view. This page will detail all of the Amalgams found in the Taito region.
Amalgam 30
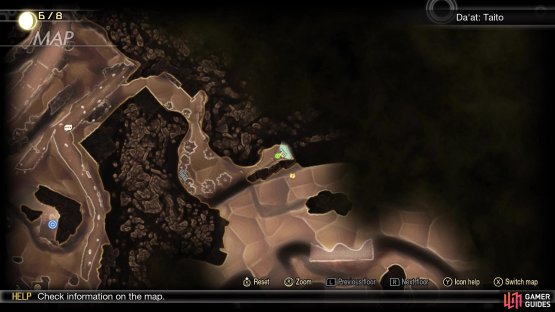
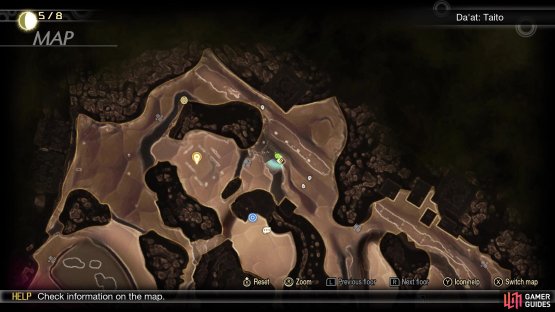
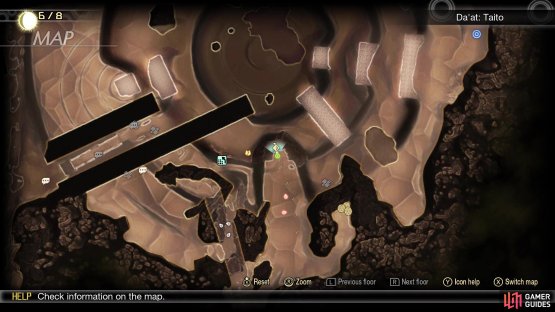
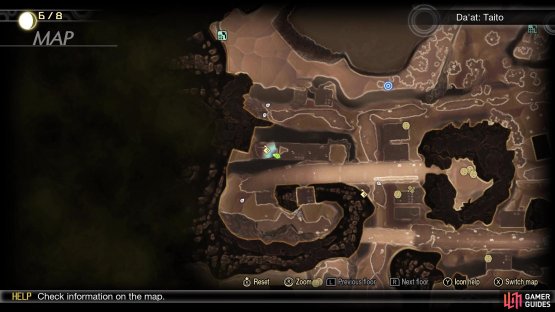
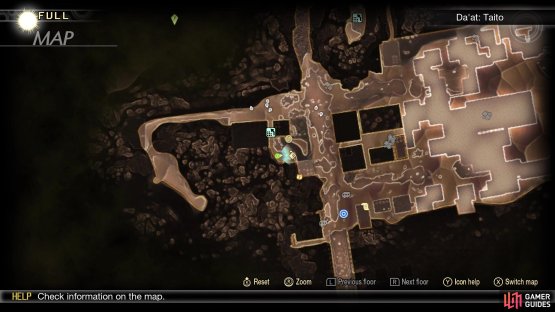
(1 of 2) Amalgam #30 on the map
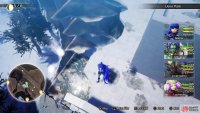
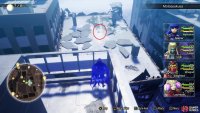
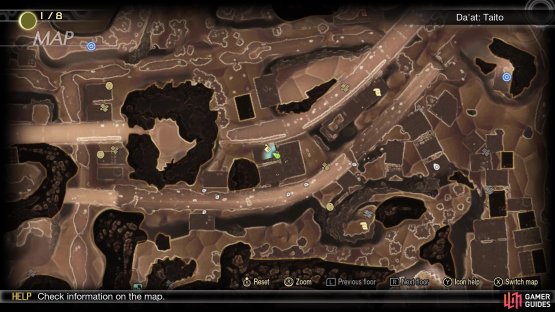
Amalgam #30 on the map (left), Amalgam #30 in the game (right)
Located in Taito - Iriya. From the Ueno Leyline, slide down the hill on the northern side and continue north at the bottom. Once you pass the first set of Hecatoncheires, there will be a path branching off to the northeast. Follow this trail to the end to find the Amalgam.
Amalgam 31
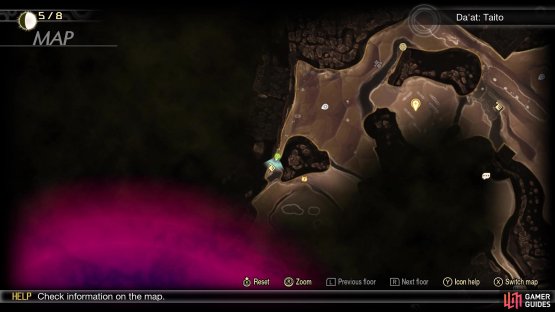
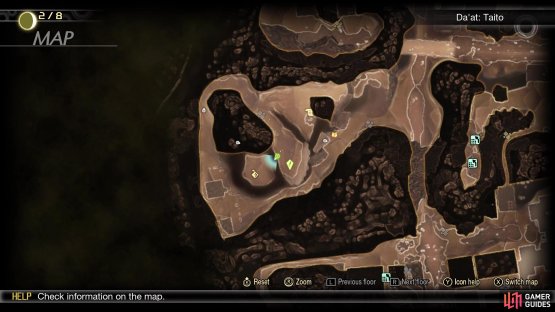
(1 of 2) Amalgam #31 on the map
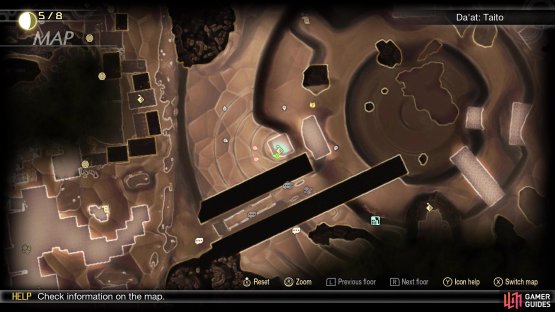
Amalgam #31 on the map (left), Amalgam #31 in the game (right)
Located in Taito - Ueno Park. You will find this one in the same area as the Abaddon Punishing Foe. To get there, go north from the Ueno Leyline, past the Hecatoncheires and up some hills to train tracks, where you will be heading north. Climb the hill at the end of the tracks, then immediately continue north, where you will find the Bishamonten Punishing Foe. Follow the path beyond him and you will reach the area with Abaddon. In the southwest corner, there is a dead end and it is there you will find the Amalgam.
Amalgam 32
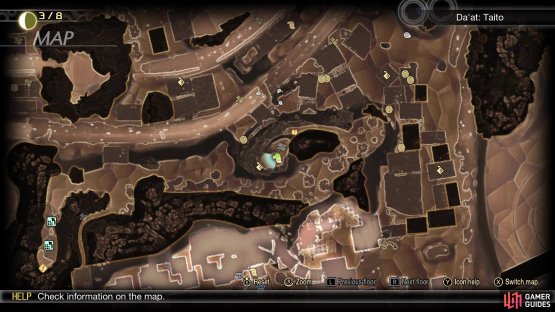
(1 of 2) Amalgam #32 on the map
Amalgam #32 on the map (left), Amalgam #32 in the game (right)
Located in Taito - Shinobazu Pond. In the southeast corner of the area with Abaddon, there is a narrow passageway that has some Hecatoncheires impeding your progress. Go south from there to arrive at a body of water that is shallow. Drop down into the water as soon as you arrive and go to the southern end to find the Amalgam. Note that Sui-Ki demons will pop up out of nowhere, as you approach their territory, so be careful of them.
Amalgam 33
(1 of 2) Amalgam #33 on the map
Amalgam #33 on the map (left), Amalgam #33 in the game (right)
Found in Taito - Ueno Park. Start from the Ueno Park Leyline and head north a little bit, making sure to not venture too far north to trigger the battle with Zeus. Right before his area, there is a path off to the east, so take it and head to the northeastern edge. You should see a rooftop you can drop down to, which is where you find Miman #165. Right next to that will be a ruined section of a building, where you can drop down and grab the Amalgam.
Amalgam 34
(1 of 2) Amalgam #34 on the map
Amalgam #34 on the map (left), Amalgam #34 in the game (right)
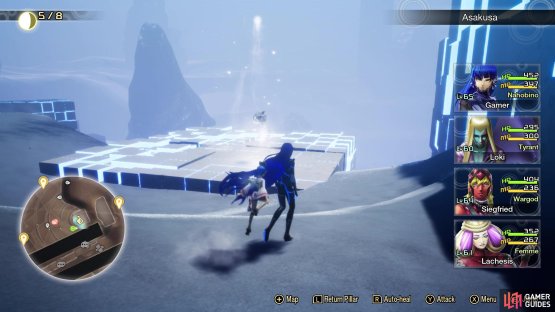
Located in Taito - Asakusa. From where you first enter this area, follow the path north and around to a narrow trail on your map. Go up this hill, then head west, until you reach another hill to climb. At the top of this one, continue west and then south, when you can. Go all the way to the southern end, then look in the southeastern corner of the area to spot the Amalgam on a big block.
Amalgam 35
(1 of 2) Amalgam #35 on the map
Amalgam #35 on the map (left), Amalgam #35 in the game (right)
Located in Taito - Asakusa. From the Asakusa Leyline, head southwest and down the hill at the end, then go to the dead end just west at the bottom. There are some vending machines here, but you will want to jump off the ledge just north of them. Head west from there, up the climbing blocks, then run up the hill. Follow the path until you reach the area with the Cironnup. Go back to the Rangdas just southeast of the above NPC, and drop off to the little area below you. Take the path to the east, which will put you underneath the train tracks. While venturing south, look for the trail on the eastern side that will bring you to a larger area. On the northern tip of this larger area will be the Amalgam.
Amalgam 36
(1 of 2) Amalgam #36 on the map
Amalgam #36 on the map (left), Amalgam #36 in the game (right)
Located in Taito - Okachimachi. Teleport to the Shinobazu Pond Leyline and drop off to the south. Continue straight south and stop when you’re underneath the train tracks. Look west to see a tunnel, so take it and keep going until you see the hole in the building on your south. Follow the trail to the train tracks and get on them, then stop when you can jump onto the building on your northern side. Do that, then continue to the west to find the Amalgam.
Amalgam 37
(1 of 2) Amalgam #37 on the map
Amalgam #37 on the map (left), Amalgam #37 in the game (right)
Located in Taito - Okachimachi. From the previous Amalgam, get back on the train tracks and head a little more to the east. Stop before reaching the trains and look over the wall to your south. The Amalgam will be on some rocks and is only reachable by jumping down to it, so if you miss, you will have to try again from this spot.
Amalgam 38
(1 of 3) Go through this narrow passage and drop down to find the Amalgam
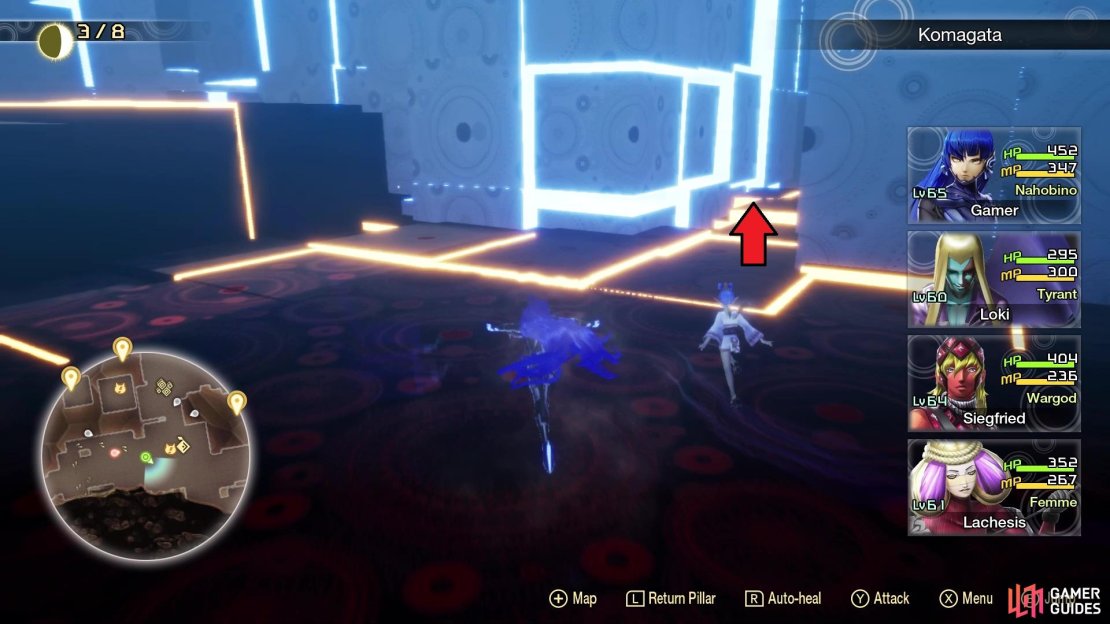
Located in Taito - Komagata. This Amalgam, as well as the next one, will require you to climb the various blocks as you make your way up the Komagata area. To begin, head to the Asakusa Main Street Leyline, then go north, skipping the first entry point to the west, until you see the second one (the one with nearby Fafnirs). Sprint all the way to the west, until you see a Macabre NPC and some orange blocks on the northern end. Behind the NPC is where you will begin your ascent, with stairs magically appearing as you get close. Keep climbing, until you have to jump across some platforms, then go up two flights of stairs before reaching the next section. As you head east here, there will be a small gap between the two blue blocks. Go in between them, drop down to the other blocks, then descend the stairs to arrive in the area with the Amalgam.
Amalgam 39
(1 of 2) Amalgam #39 on the map
Amalgam #39 on the map (left), You will have to jump down by the leyline to reach the Amalgam pointed out here (right)
Located in Taito - Komagata. It is best to come at this Amalgam via the top of Komagata, after touching the leyline up there. Go to the northwest corner of the platform with the leyline and look towards the ground. You will be able to jump down to the blue blocks, which is where the Amalgam is located.
Amalgam 40
(1 of 2) Amalgam #40 on the map
Amalgam #40 on the map (left), Amalgam #40 in the game (right)
Located in Taito - Kuramae. Start from the Umayabashi Leyline and head north to the four-way intersection. If you look at your map, there are some climbing blocks just west if the intersection, which are accessible via going in between the buildings. Once you find them, climb the blocks and you will see the Amalgam right out in the open.
Amalgam 41
(1 of 2) Amalgam #41 on the map
Amalgam #41 on the map (left), Amalgam #41 in the game (right)
Located in Taito - Kuramae. From the previous Amalgam, return to the four-way intersection and continue north, until you see a large area off to your west. Go in this direction, heading southwest and around, up to the point where you might see Demeter (provided you’ve done the necessary quests). To the southwest of her location, there is a spot you can drop down to find the Amalgam.
Amalgam 42
(1 of 2) Amalgam #42 on the map
Amalgam #42 on the map (left), Amalgam #42 in the game (right)
Located in Taito - Motoasakusa. Report back to the four-way intersection mentioned above and head east, stopping when you reach the Thrones. There will be a hole in the building to the north, which is the location of the Motoasakusa Abscess. Once you reach the open area, head east and follow the path all the way past the two normal demons there. At the end, there will be a narrow ledge off to the west, so carefully navigate the path to reach the top, where you will find the Amalgam near Fionn mac Cumhaill.
Amalgam 43
(1 of 3) Jump down to this building from the Garuda perch
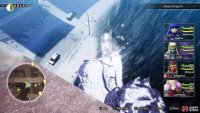
Located in Taito - Ueno. While still in the same area as the previous Miman, return back to the main area and you will eventually see the flying Punishing Foe, Garuda, land at the top of the hill there. After looking around for a few seconds, the creature will fly off and that is your cue to get moving. Off of the eastern edge just past Garuda, you will see a bunch of buildings below you. You will need to jump off this ledge and onto specific buildings in order to reach this Amalgam, as well as the next one. From the ledge, you will want to jump northeast and land on the one building below you, which will allow you to reach the Amalgam on the next building.
Amalgam 44
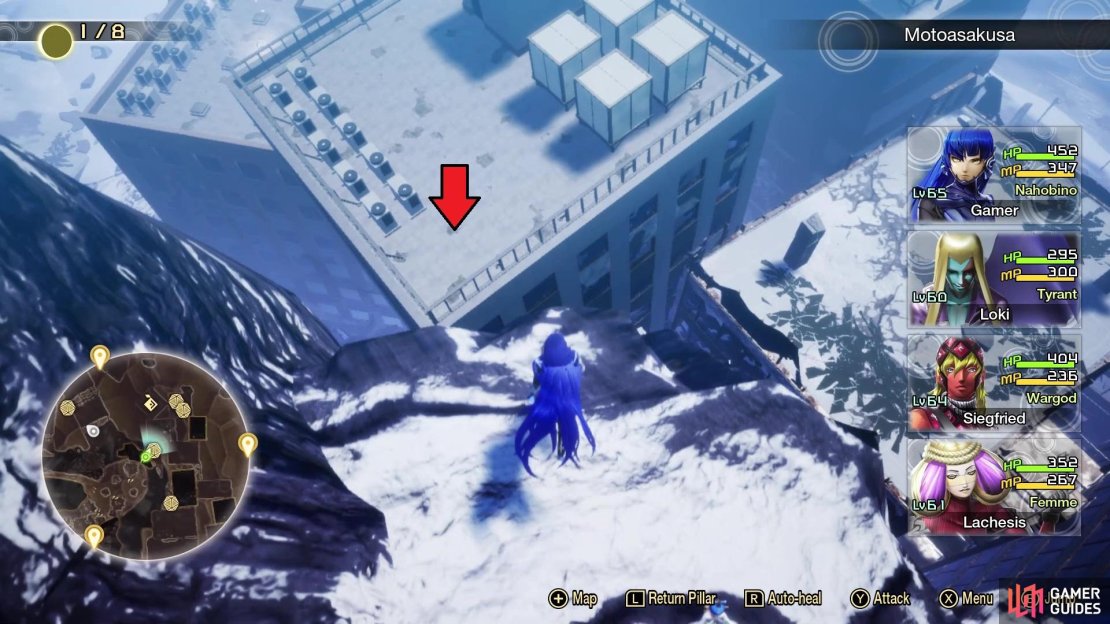
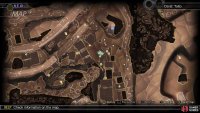
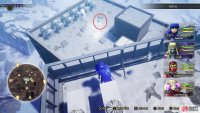
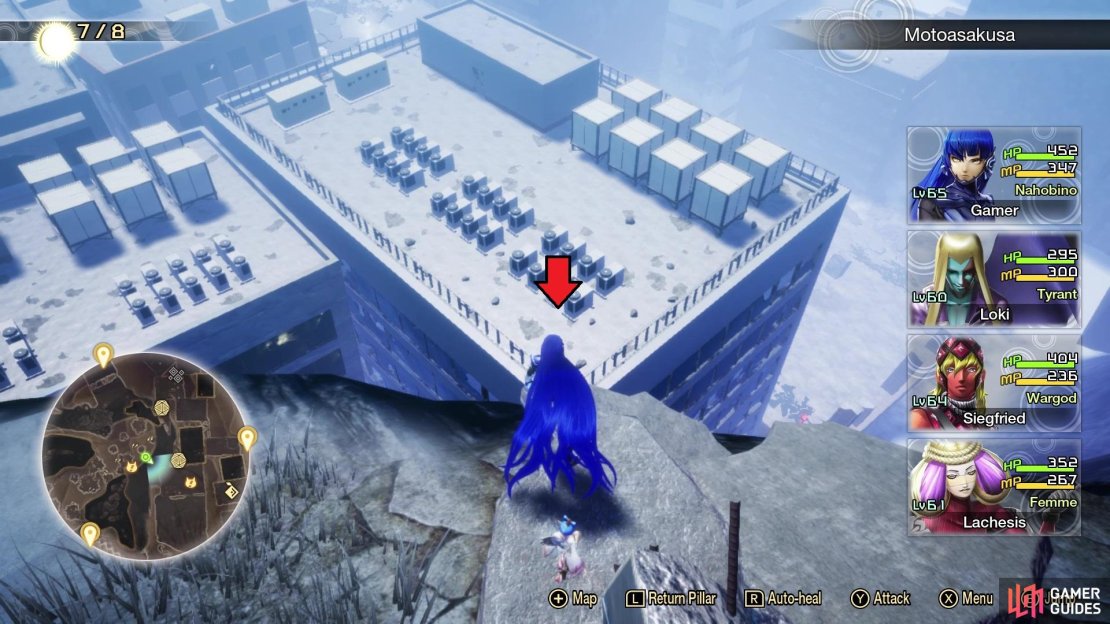
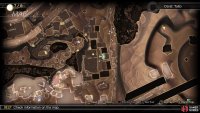
(1 of 3) Jump down to this building from the Garuda perch
Located in Taito - Motoasakusa. As mentioned above, you will need to jump off the cliff next to where Garuda lands in order to reach this Amalgam. Go to the edge and look to the southeast, where you should notice a building that is connected to the cliff there. Aim for this building when you jump off, then when you land, jump to the building to the east to reach the Amalgam.
Amalgam 45
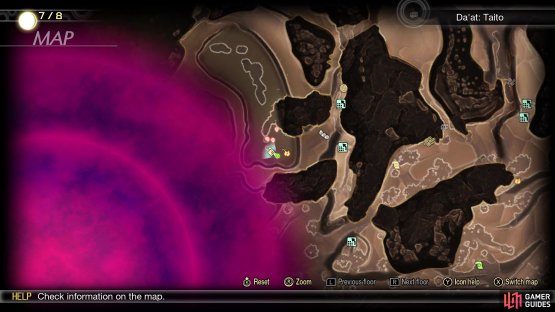
(1 of 2) Amalgam #45 on the map
Amalgam #45 on the map (left), Amalgam #45 in the game (right)
Located in Taito - Ueno. The final Amalgam in the Taito region will have you starting from the Umayabashi Leyline. Head straight north from it, past all of the Thrones, until you reach the highway that is slightly northeast of where you went for Amalgam #41. Get on the fallen highway to the east, then follow it until you see a piece of a ruined building forming a bridge on your northern side. Cross the “bridge” and you will be able to reach the Amalgam from there.






































No Comments