At the start of Chapter 7 in Resident Evil 4 Remake, you can purchase the Treasure Map from the Merchant for 3 Spinels who is in the first door to the right. This will display all the treasure locations on the map for the entire Castle section including Chapter 10 as well as give you a small progression counter in the bottom right corner of the map. Although this will show you their general location, it won’t show you how to get them. Read below how to get all ten treasures in Chapter 10.
Treasure: 1 - CQBR Assault Rifle
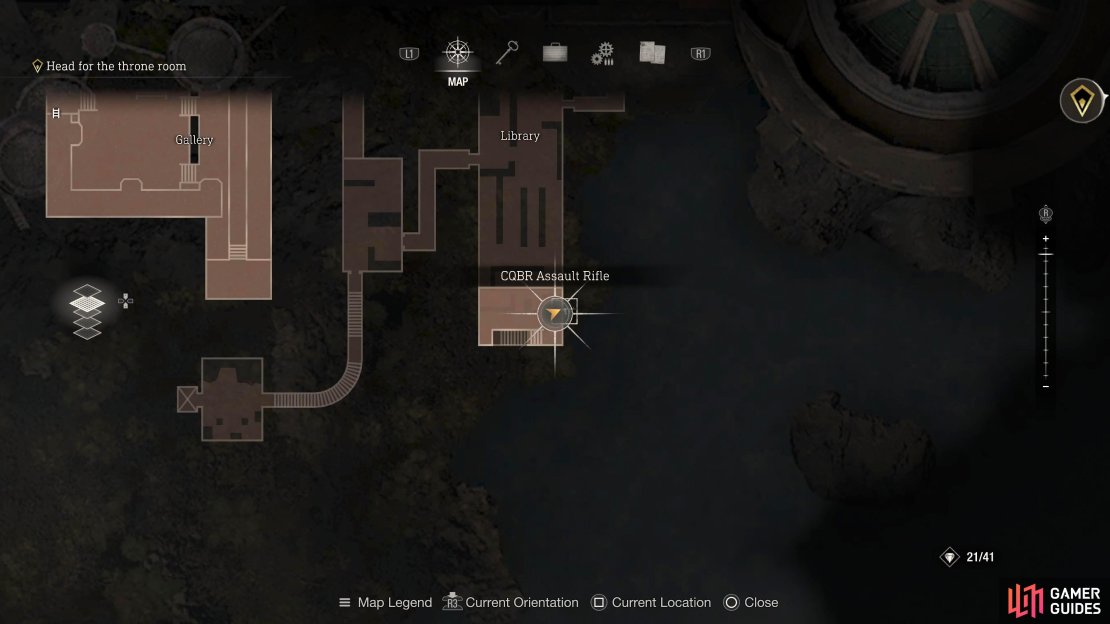
Not a bad way to start off the treasure hunt! Although the CQBR Assault Rifle is a weapon, it still counts towards the all treasure/weapon trophies/achievements. Do you remember playing as Ashley, and lowering some stairs in the south part of the library? If you do, you can now use the Cubic Device on the Square Lock Box up there to acquire the Assault Rifle.
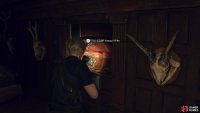
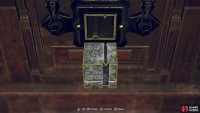
If you can’t remember this when playing as Ashley. Head to the library, and head south. Walk around the bookcases while heading towards the west side of the room to find the stairs. In the room at the top, there is a Square Lock Box against the wall. Place the Cubic Device in there to unlock the box, and obtain the weapon.
(1 of 3) The CQBR Assault Rifle can be found up the hidden stairs in the south of the library.
Treasure: 2 - Golden Lynx
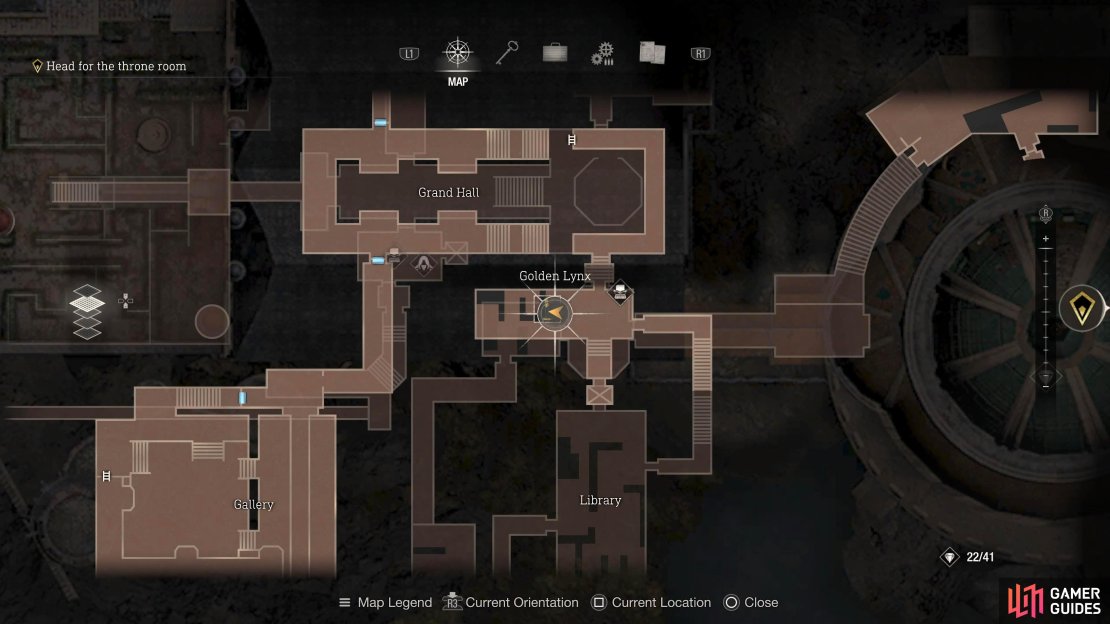
From the library, head up to the room with the typewriter by either using the elevator or going through the hallway to the right of the elevator which was where you found the shortcut door behind the clock as Ashley. Up here, you’ll find the Square Lock Box, and within it, the Golden Lynx.
(1 of 3) The Golden Lynx can be found in a Square Lock Box in the room where Ashley saved Leon, then got captured…again.
Treasure: 3 - Ruby
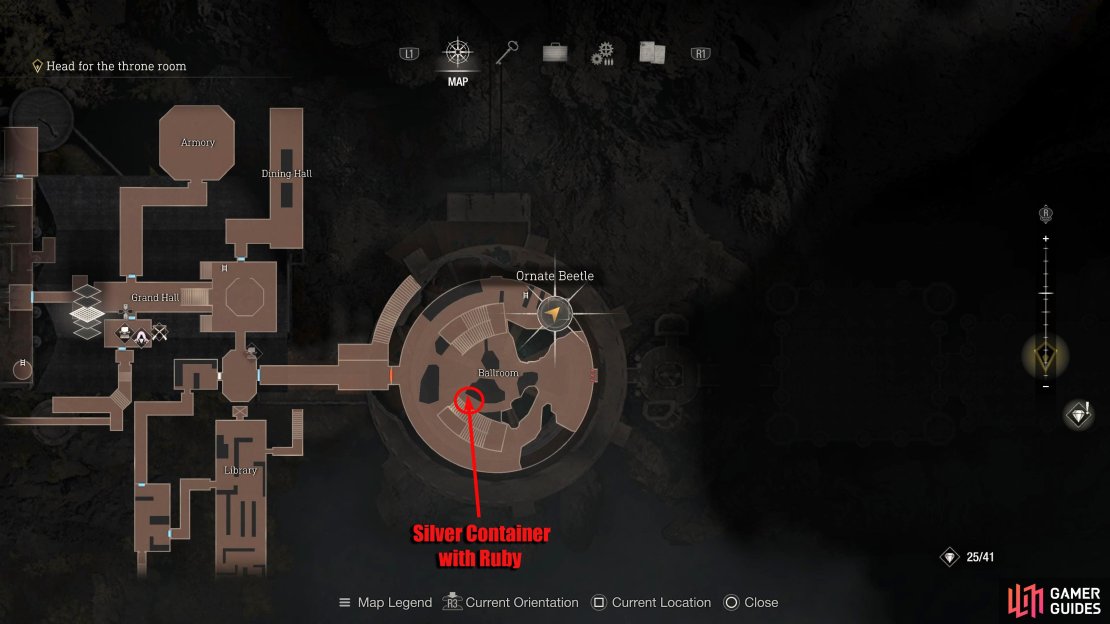
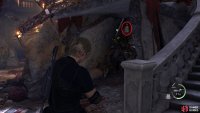
Progress through the story until you reach the large circular Ballroom area. There are a couple of treasures here, but the one you’re looking for here is in a silver container hanging under the rubble to the right of the stairs on the lower floor.
(1 of 3) The Ruby can be found under the rubble to the right of the stairs.
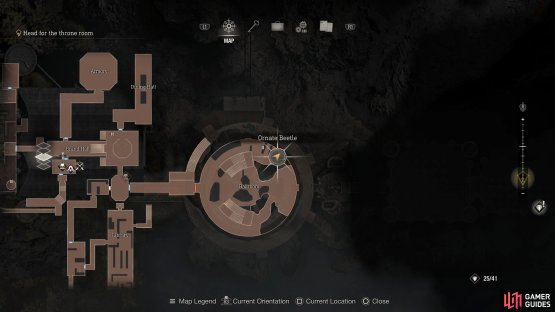
Treasure: 4 - Ornate Beetle
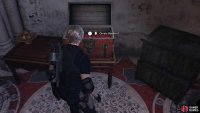
In the same area, on the lower floor. Walk around the edge of the area until you go through the area with the wooden scaffolding where you’ll find a ladder leading up. Continue past the ladder to find a treasure chest behind it containing the Ornate Beetle.
(1 of 2) Head along the northern edge of the lower floor, and go through the area with wooden scaffolding.
Head along the northern edge of the lower floor, and go through the area with wooden scaffolding. (left), Continue past the ladder to find a treasure chest behind it. (right)
Treasure: 5 - Elegant Crown
Progress the story until you end up in the Depths area. Proceed through the area and head towards the room at the back. Make your way around to the right side of the room and continue walking forward until you hit a dead end. The Elegant Crown will be on the floor, next to a corpse. This is just after the gap you can create to get inside the room, near the Prisoner Notes file. DO NOT SELL this until you get the Astute Appraiser trophy/achievement which you can read about here.
(1 of 2) In the depths, make your way to the small building in the northwest, and go around the right side of it.
In the depths, make your way to the small building in the northwest, and go around the right side of it. (left), The Elegant Crown will be at the back, next to a corpse. (right)
Treasure: 6 - Red Beryl
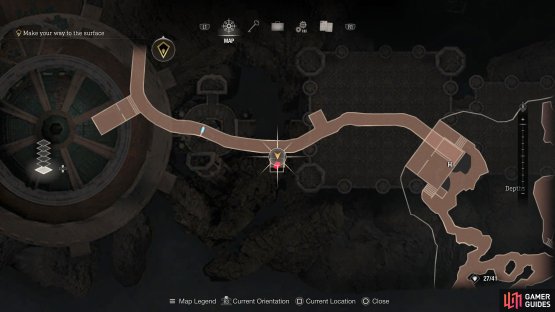
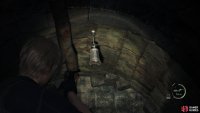
In the same area, break the nearby wall to create a gap to enter the room. Climb the nearby ladder, and walk through the drab tunnel until you reach an alcove on your left. Look up to find a silver container hanging above, and shoot it to release the Red Beryl.
(1 of 2) Continue west through the tunnels until you reach an alcove on your left.
Continue west through the tunnels until you reach an alcove on your left. (left), Look up to find a silver container. Shoot it to release the Red Beryl. (right)
Treasure: 7 - Yellow Diamond
From the previous treasure, continue on and you’ll find the Merchant. After the Merchant, continue through the area, and it’s clear that you’re not the only one down here. As you continue to move west, you’ll find a small room which looks like an underground lab with an elevator in the back. Typically, the elevator needs to be powered up, and the place to do that can be found in the far west corner.
Keep heading west, and you can see the treasure in a room to your right. Head through the small gate, and use the switch to open the large gate blocking your way. As you head through the gate, you’ll start to get attacked by a tendril which can be evaded by pressing the button prompt. You’ll need to turn the power on before you can get the treasure, so head over to it while avoiding the numerous attacks you’ll encounter.
Pull the switch, and get ready for a miniboss/boss fight. The idea for this fight is to use the numerous switches laid around the area which produces a liquid nitrogen steam which will freeze the boss briefly. Only shoot it when you’ve hit it with that as you’ll deal double damage to it. Note: You don’t have to defeat the boss here, and you can progress through the area and switch on the elevator you saw earlier. The problem is, you’ll have to wait a bit as it takes a while to get to you. If you choose this method, you’ll miss out on the Wave Goodbye, Right Hand trophy/achievement. You can read our full guide on how to defeat this boss here.
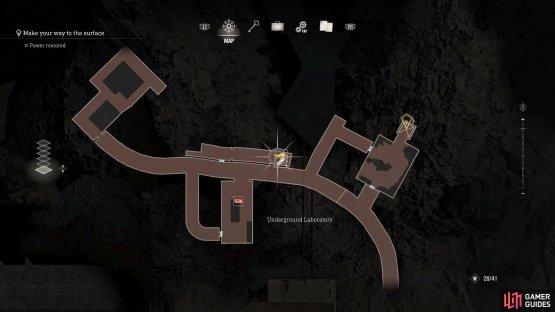
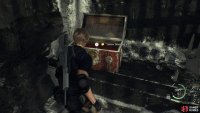
Whatever method you decide, you’ll still want the treasure, right? Head back to the switch you used to open the large gate, and the wall blocking the treasure would have moved now that the power is on. Head to the end where you’ll find the Yellow Diamond in a chest next to a much-needed First-Aid Spray.
(1 of 2) Head back to this location after restoring the power.
Head back to this location after restoring the power. (left), This will remove the wall blocking your way to the treasure. (right)













No Comments