Assassin's Creed: Valhalla
Xbox Achievements

| Service: | |
|---|---|
| Difficulty: | 3.5 / 10 |
| Playthroughs: | 1 |
| Hours: | 100+ |
| Total: | 81 Achievements |
| Breakdown: | 50 : 1 40 : 9 30 : 19 20 : 29 10 : 23 |
| Rarest: | See No Evil (0.13% Ultra Rare) |
| Icon | Achievement | Rarity | Score | ||||||||||||||||||||||||||||||||||||||||||||
|---|---|---|---|---|---|---|---|---|---|---|---|---|---|---|---|---|---|---|---|---|---|---|---|---|---|---|---|---|---|---|---|---|---|---|---|---|---|---|---|---|---|---|---|---|---|---|---|

|
See No EvilTeleport-Assassinate two enemies and fly away without being detected (Dawn of Ragnarök) |
0.13% Ultra Rare | 20 | ||||||||||||||||||||||||||||||||||||||||||||
|
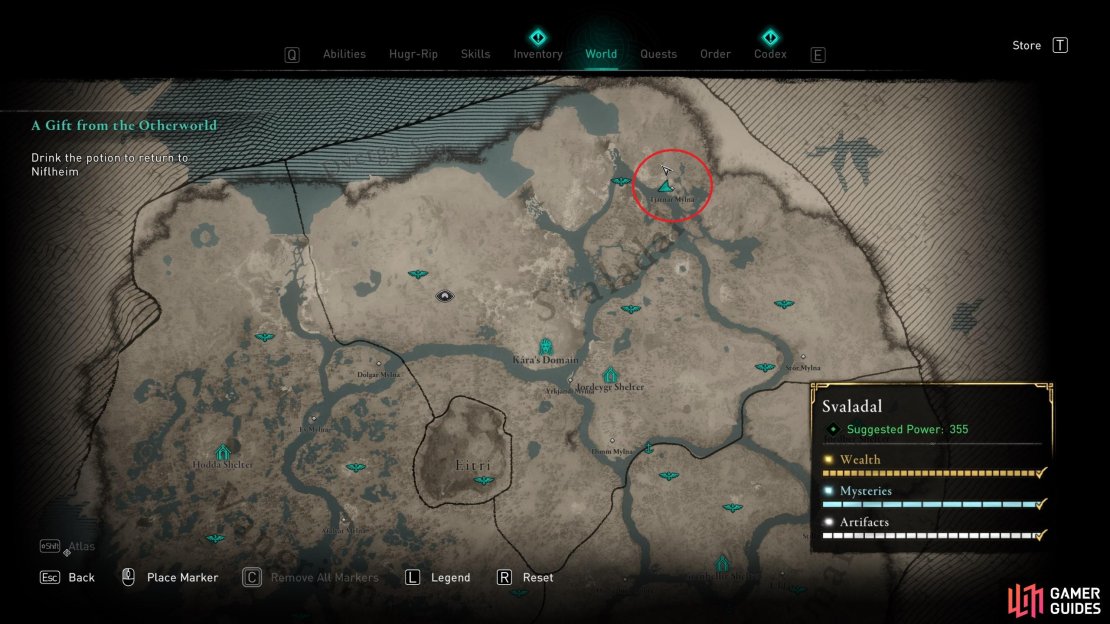
To unlock this Trophy / Achievement, you’ll need to upgrade the Power of Jotunheim ability by purchasing the Jotunheim Assassin upgrade. You can then use this to teleport assassinate enemies and then quickly teleport away without being seen. You’ll need to do this near a Jotnar World Knot portal, which you can use to fly away with after assassinating two targets. One of the best places to do this is at the Jotnar settlement of Tjarnar Mylna in northern Svaladal, as shown in the screenshot below. The location of Tjarnar Mylna in northern Svaladal, where you’ll find plenty of Jotnar. |
|||||||||||||||||||||||||||||||||||||||||||||||

|
Hugr IncarnateFully upgrade the Hugr-Rip (Dawn of Ragnarök) |
0.30% Ultra Rare | 40 | ||||||||||||||||||||||||||||||||||||||||||||
|
This Trophy / Achievement is unlocked by fully upgrading the Hugr-Rip bracelet in Svartalfheim, part of the Dawn of Ragnarök DLC. To do this, you’ll need to unlock all upgrades for the following Hugr-Rip abilities with the associated materials required:
|
|||||||||||||||||||||||||||||||||||||||||||||||

|
A True MasterEarn all Gold Medals available in Mastery Challenge |
0.35% Ultra Rare | 30 | ||||||||||||||||||||||||||||||||||||||||||||
|
To unlock this achievement, you’ll need to earn all the gold medals for each mastery challenge. How to Obtain Gold Medals in Mastery ChallengesSciropescire - Wenlocan Outpost
Lunden - Lolingestone Bandit Camp
Snotinghamscire - Odin Mine Hideout |
|||||||||||||||||||||||||||||||||||||||||||||||

|
Over the Hills…Complete all territories of Svartalfheim (Dawn of Ragnarök) |
0.42% Ultra Rare | 40 | ||||||||||||||||||||||||||||||||||||||||||||
|
This Trophy / Achievement is unlocked once you complete all four territories of Svartalfheim, part of the Dawn of Ragnarök DLC. You will need to complete all Mysteries, Wealth, and Artifacts for the following regions: GullnámarSvaladalVangrinnEitri |
|||||||||||||||||||||||||||||||||||||||||||||||

|
Motsognir's BlessingPurify Hreidmar's Cursed Armor (Dawn of Ragnarök) |
0.49% Ultra Rare | 20 | ||||||||||||||||||||||||||||||||||||||||||||
|
To unlock this Trophy / Achievement, you’ll need to purify Hreidmar’s Cursed Armor by applying Motsognir’s Clarity Runes to each piece. This is done by completing Jotnar Blight artifacts in Svartalfheim. See our page on How to Use Hreidmar’s Cursed Armor for a full guide on where to find them all. |
|||||||||||||||||||||||||||||||||||||||||||||||

|
Pat the CatsPat all the cats in Evreux (The Siege of Paris). |
0.55% Ultra Rare | 20 | ||||||||||||||||||||||||||||||||||||||||||||
|
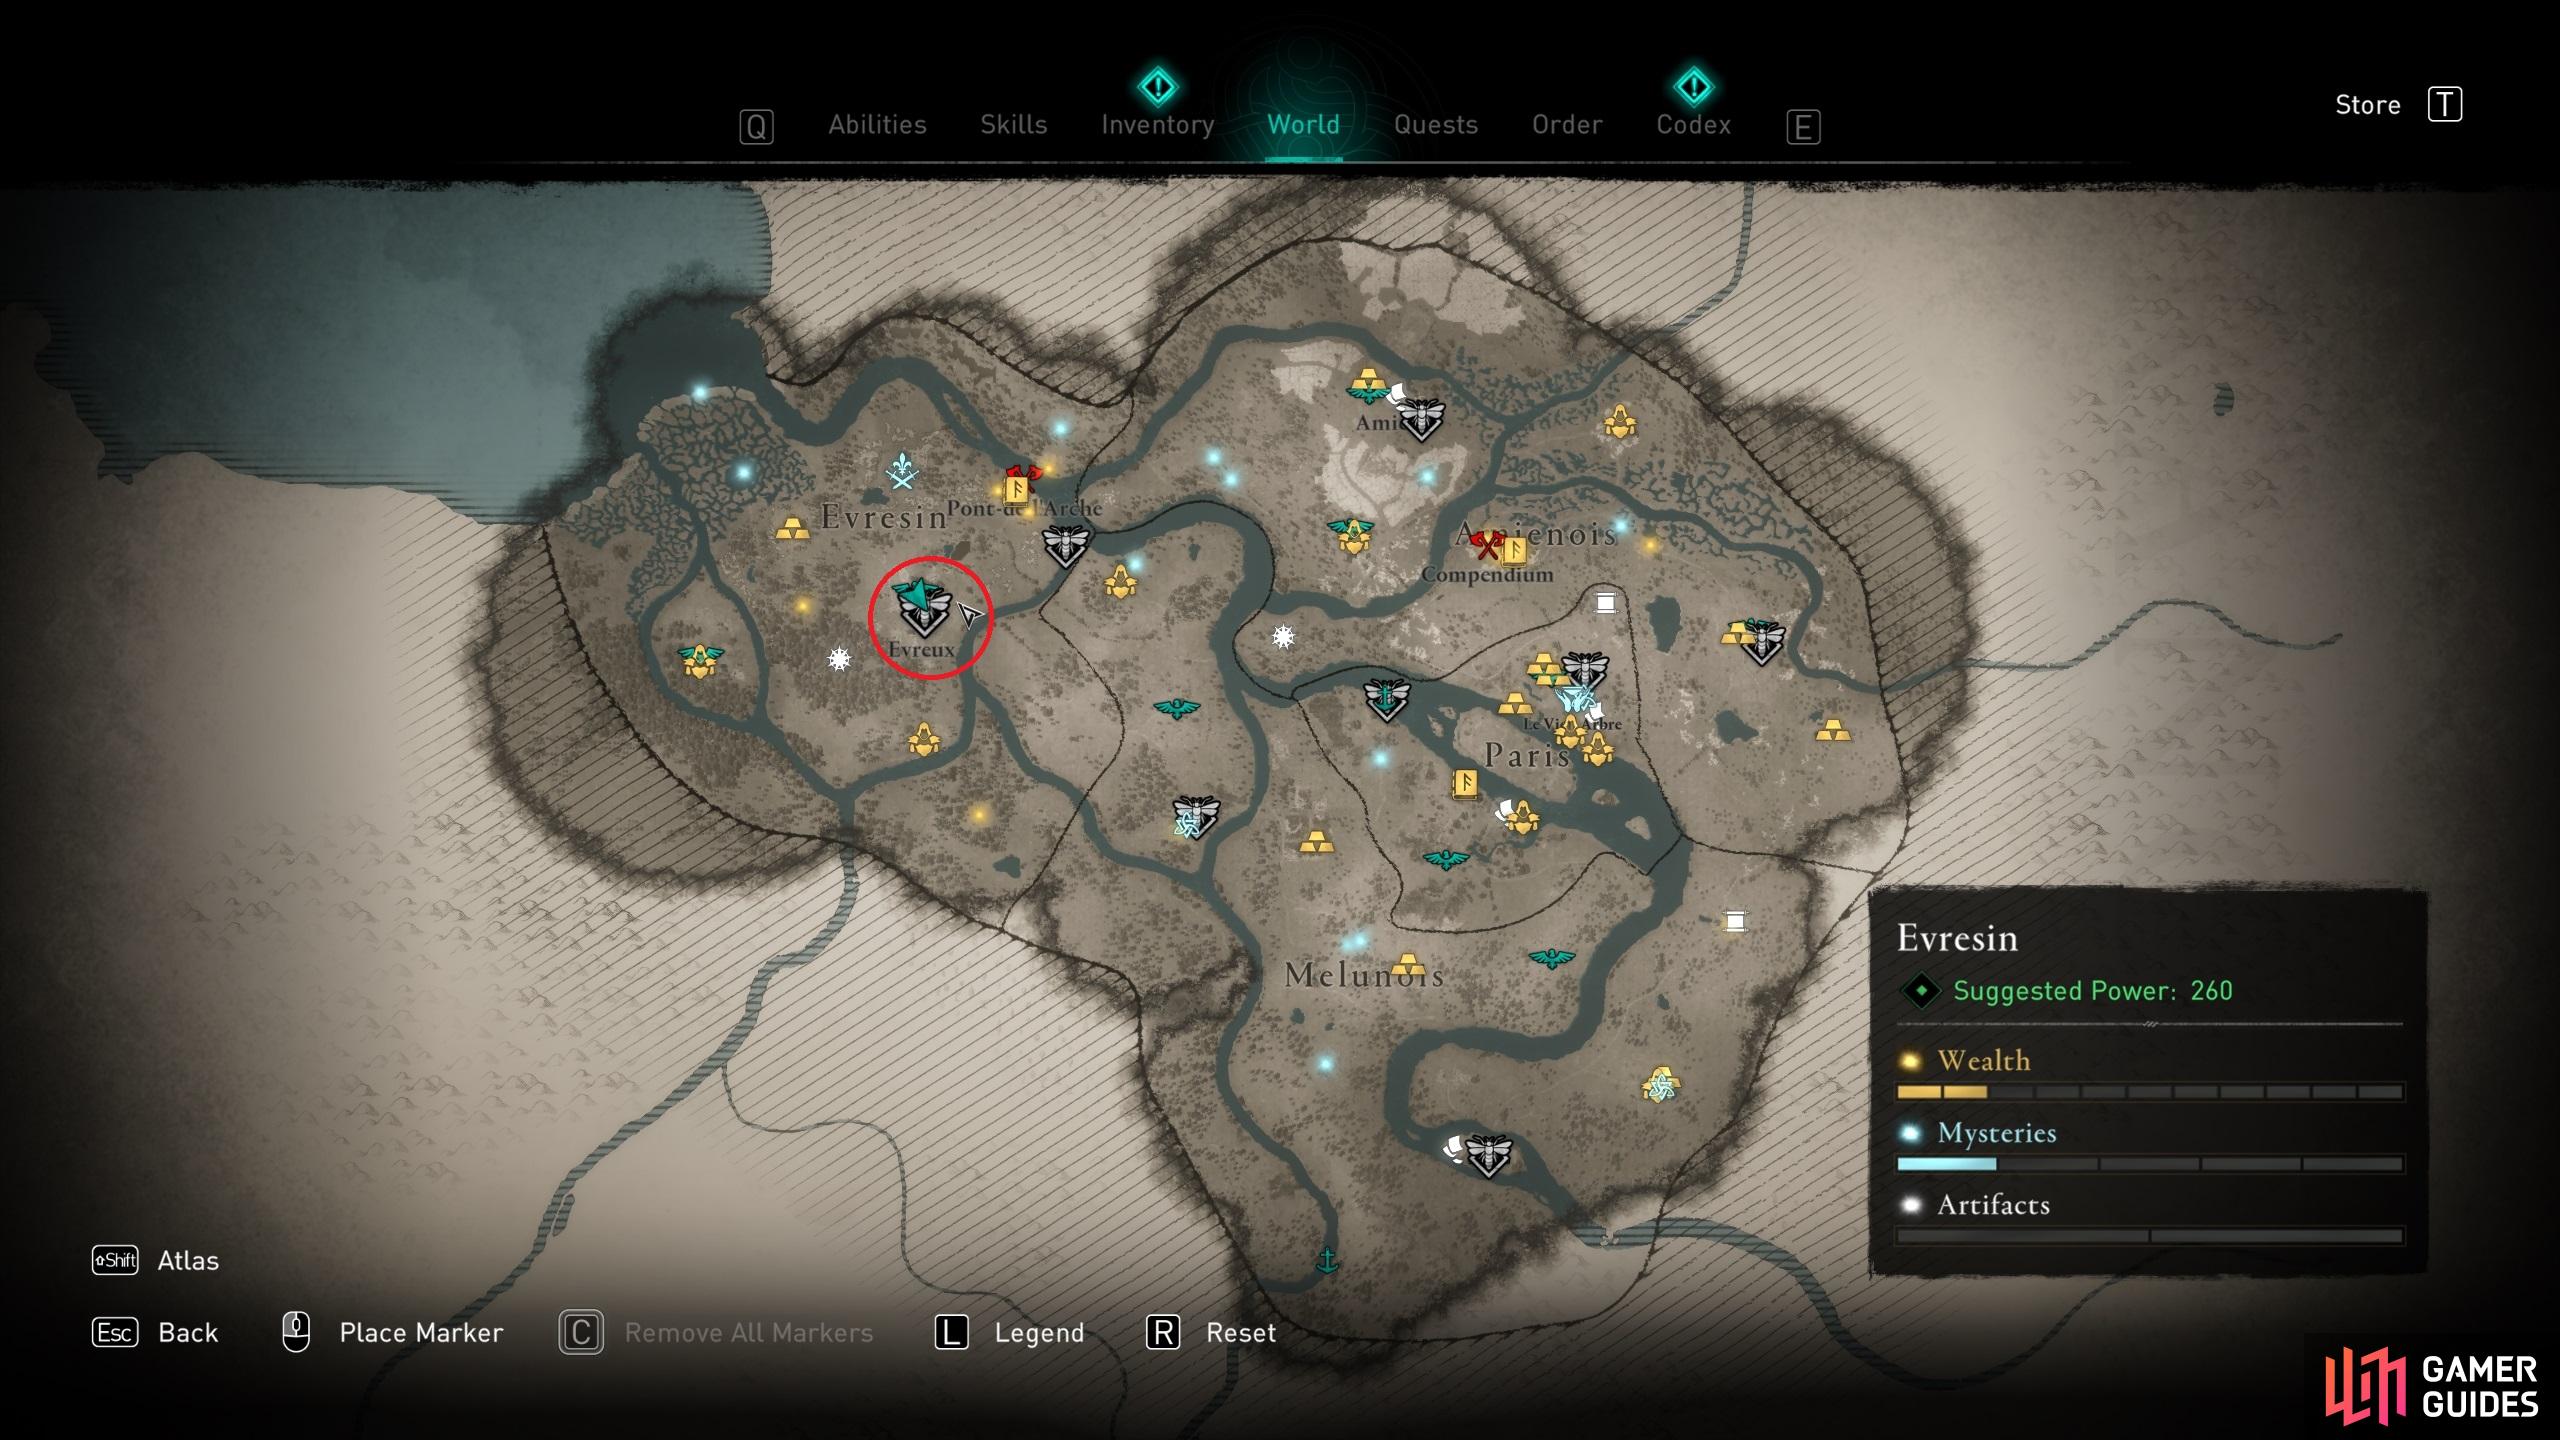
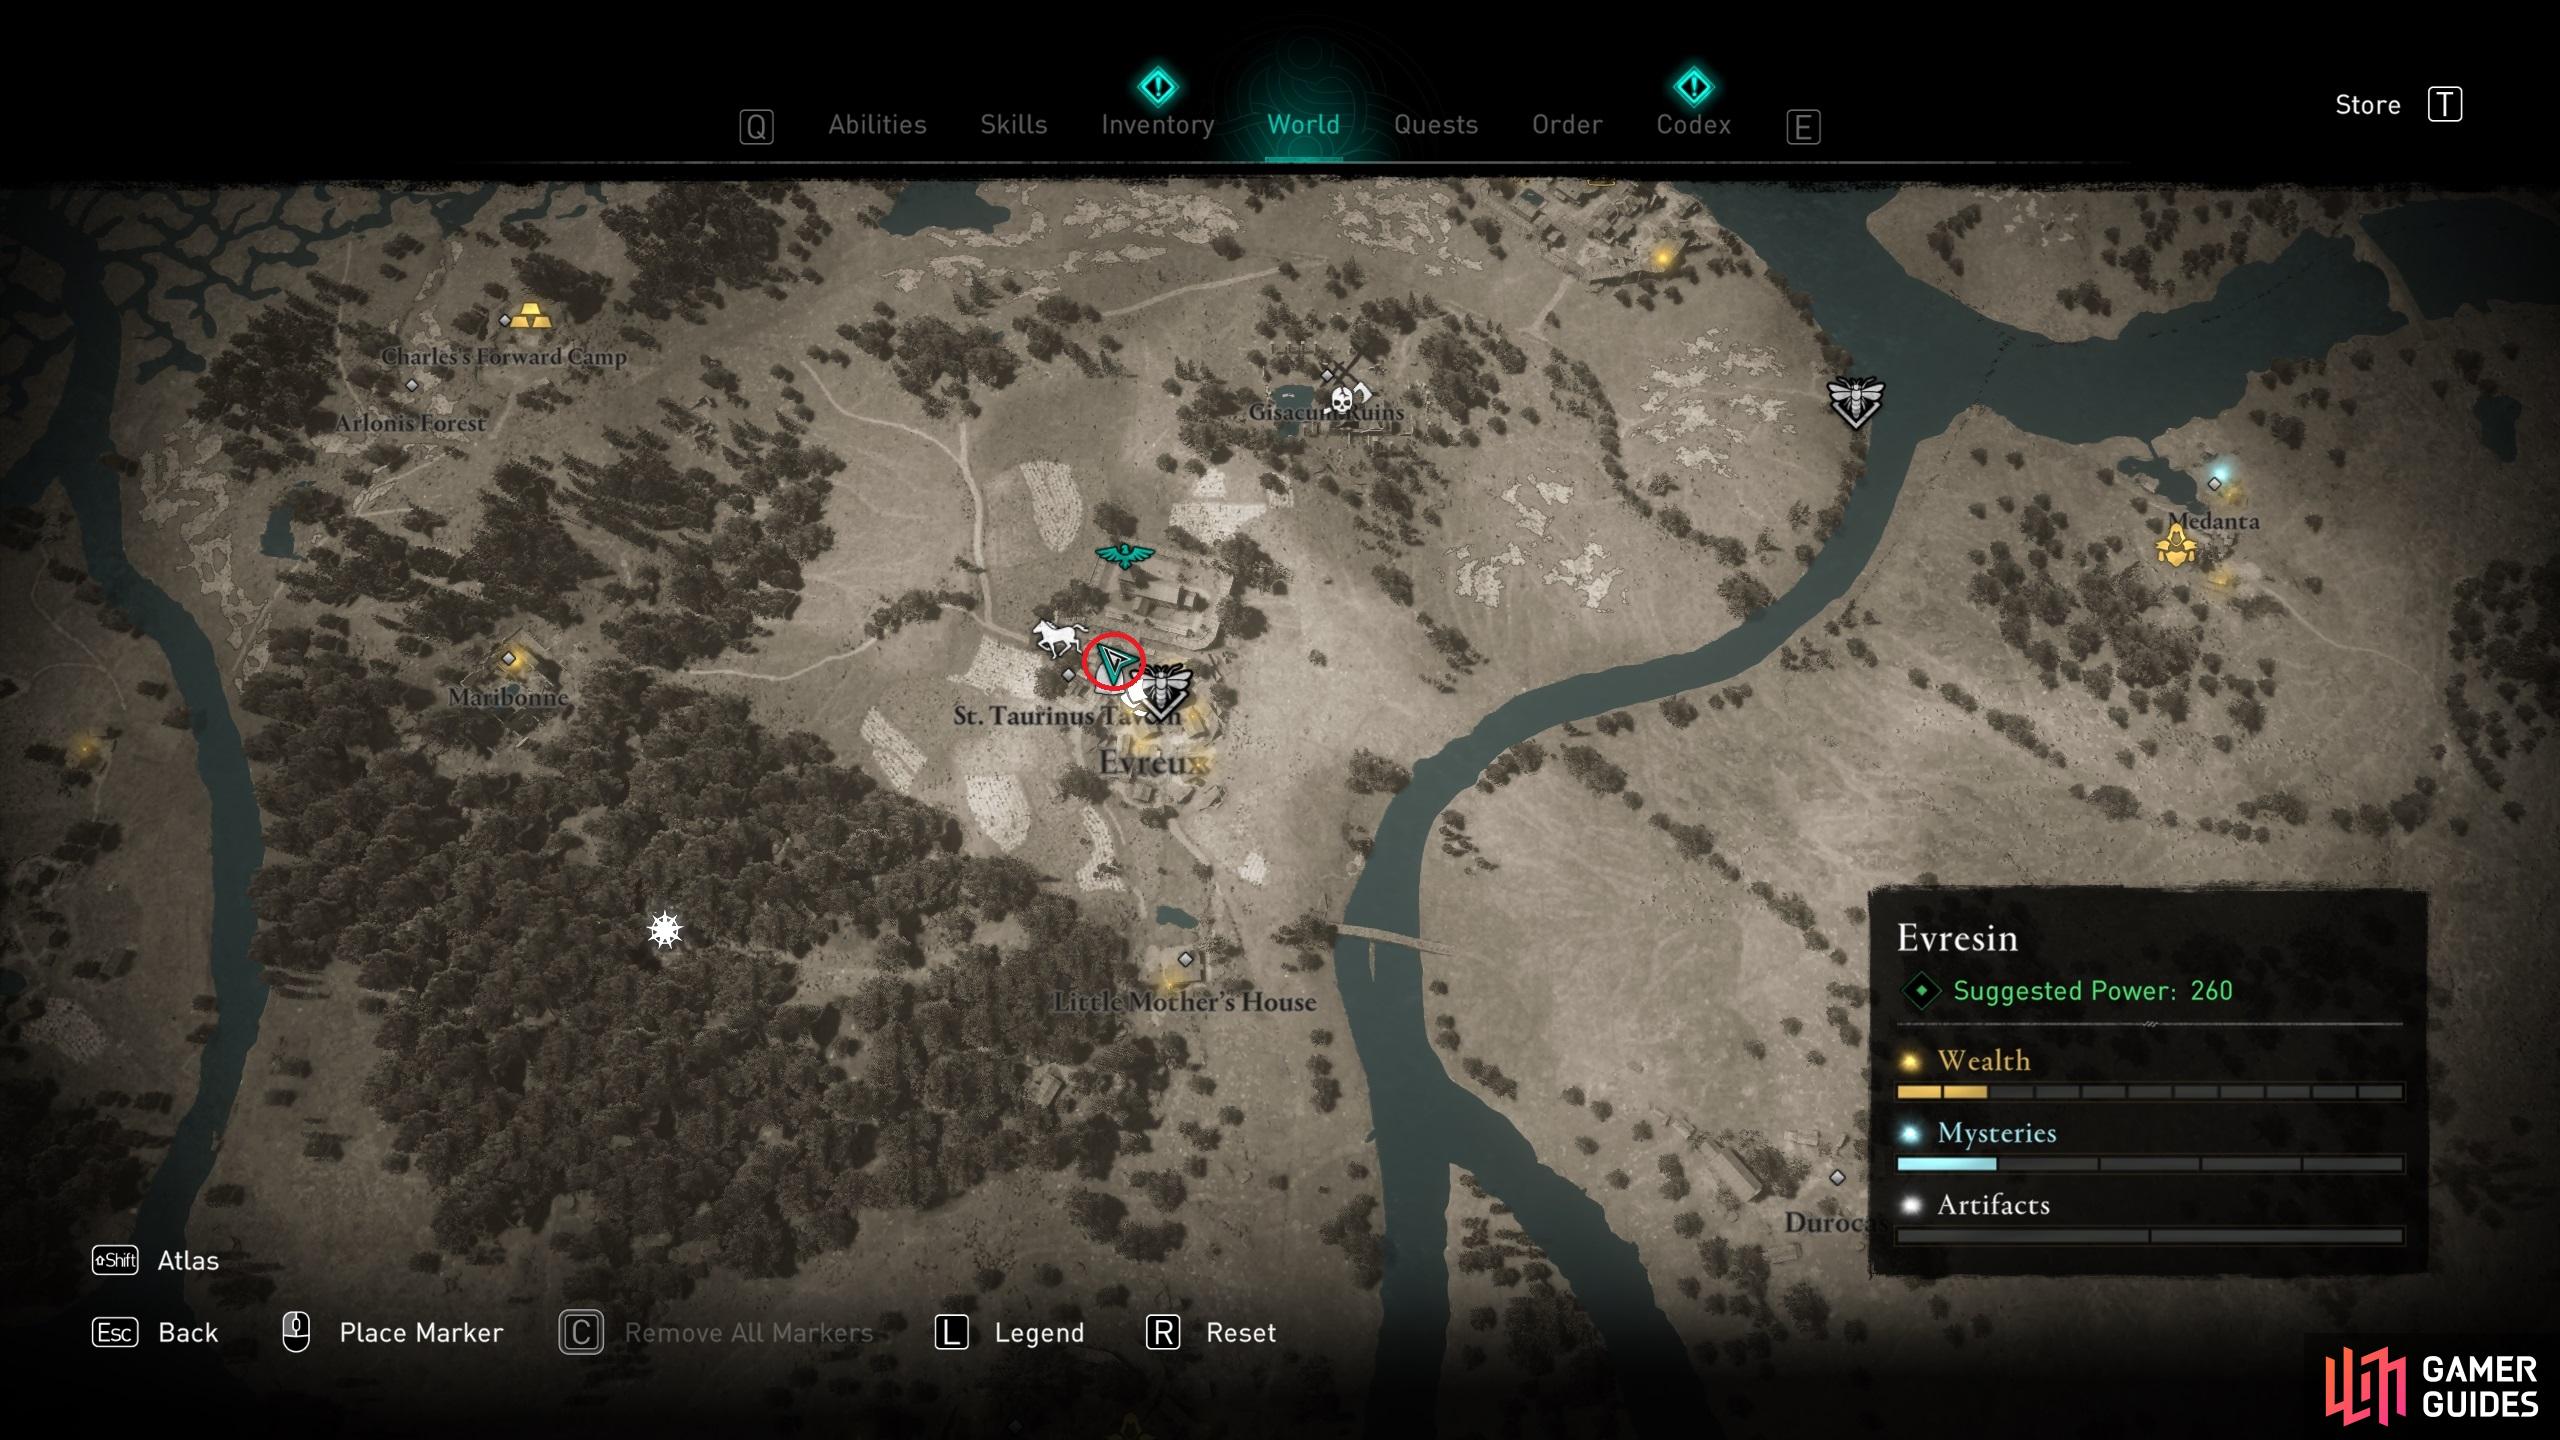
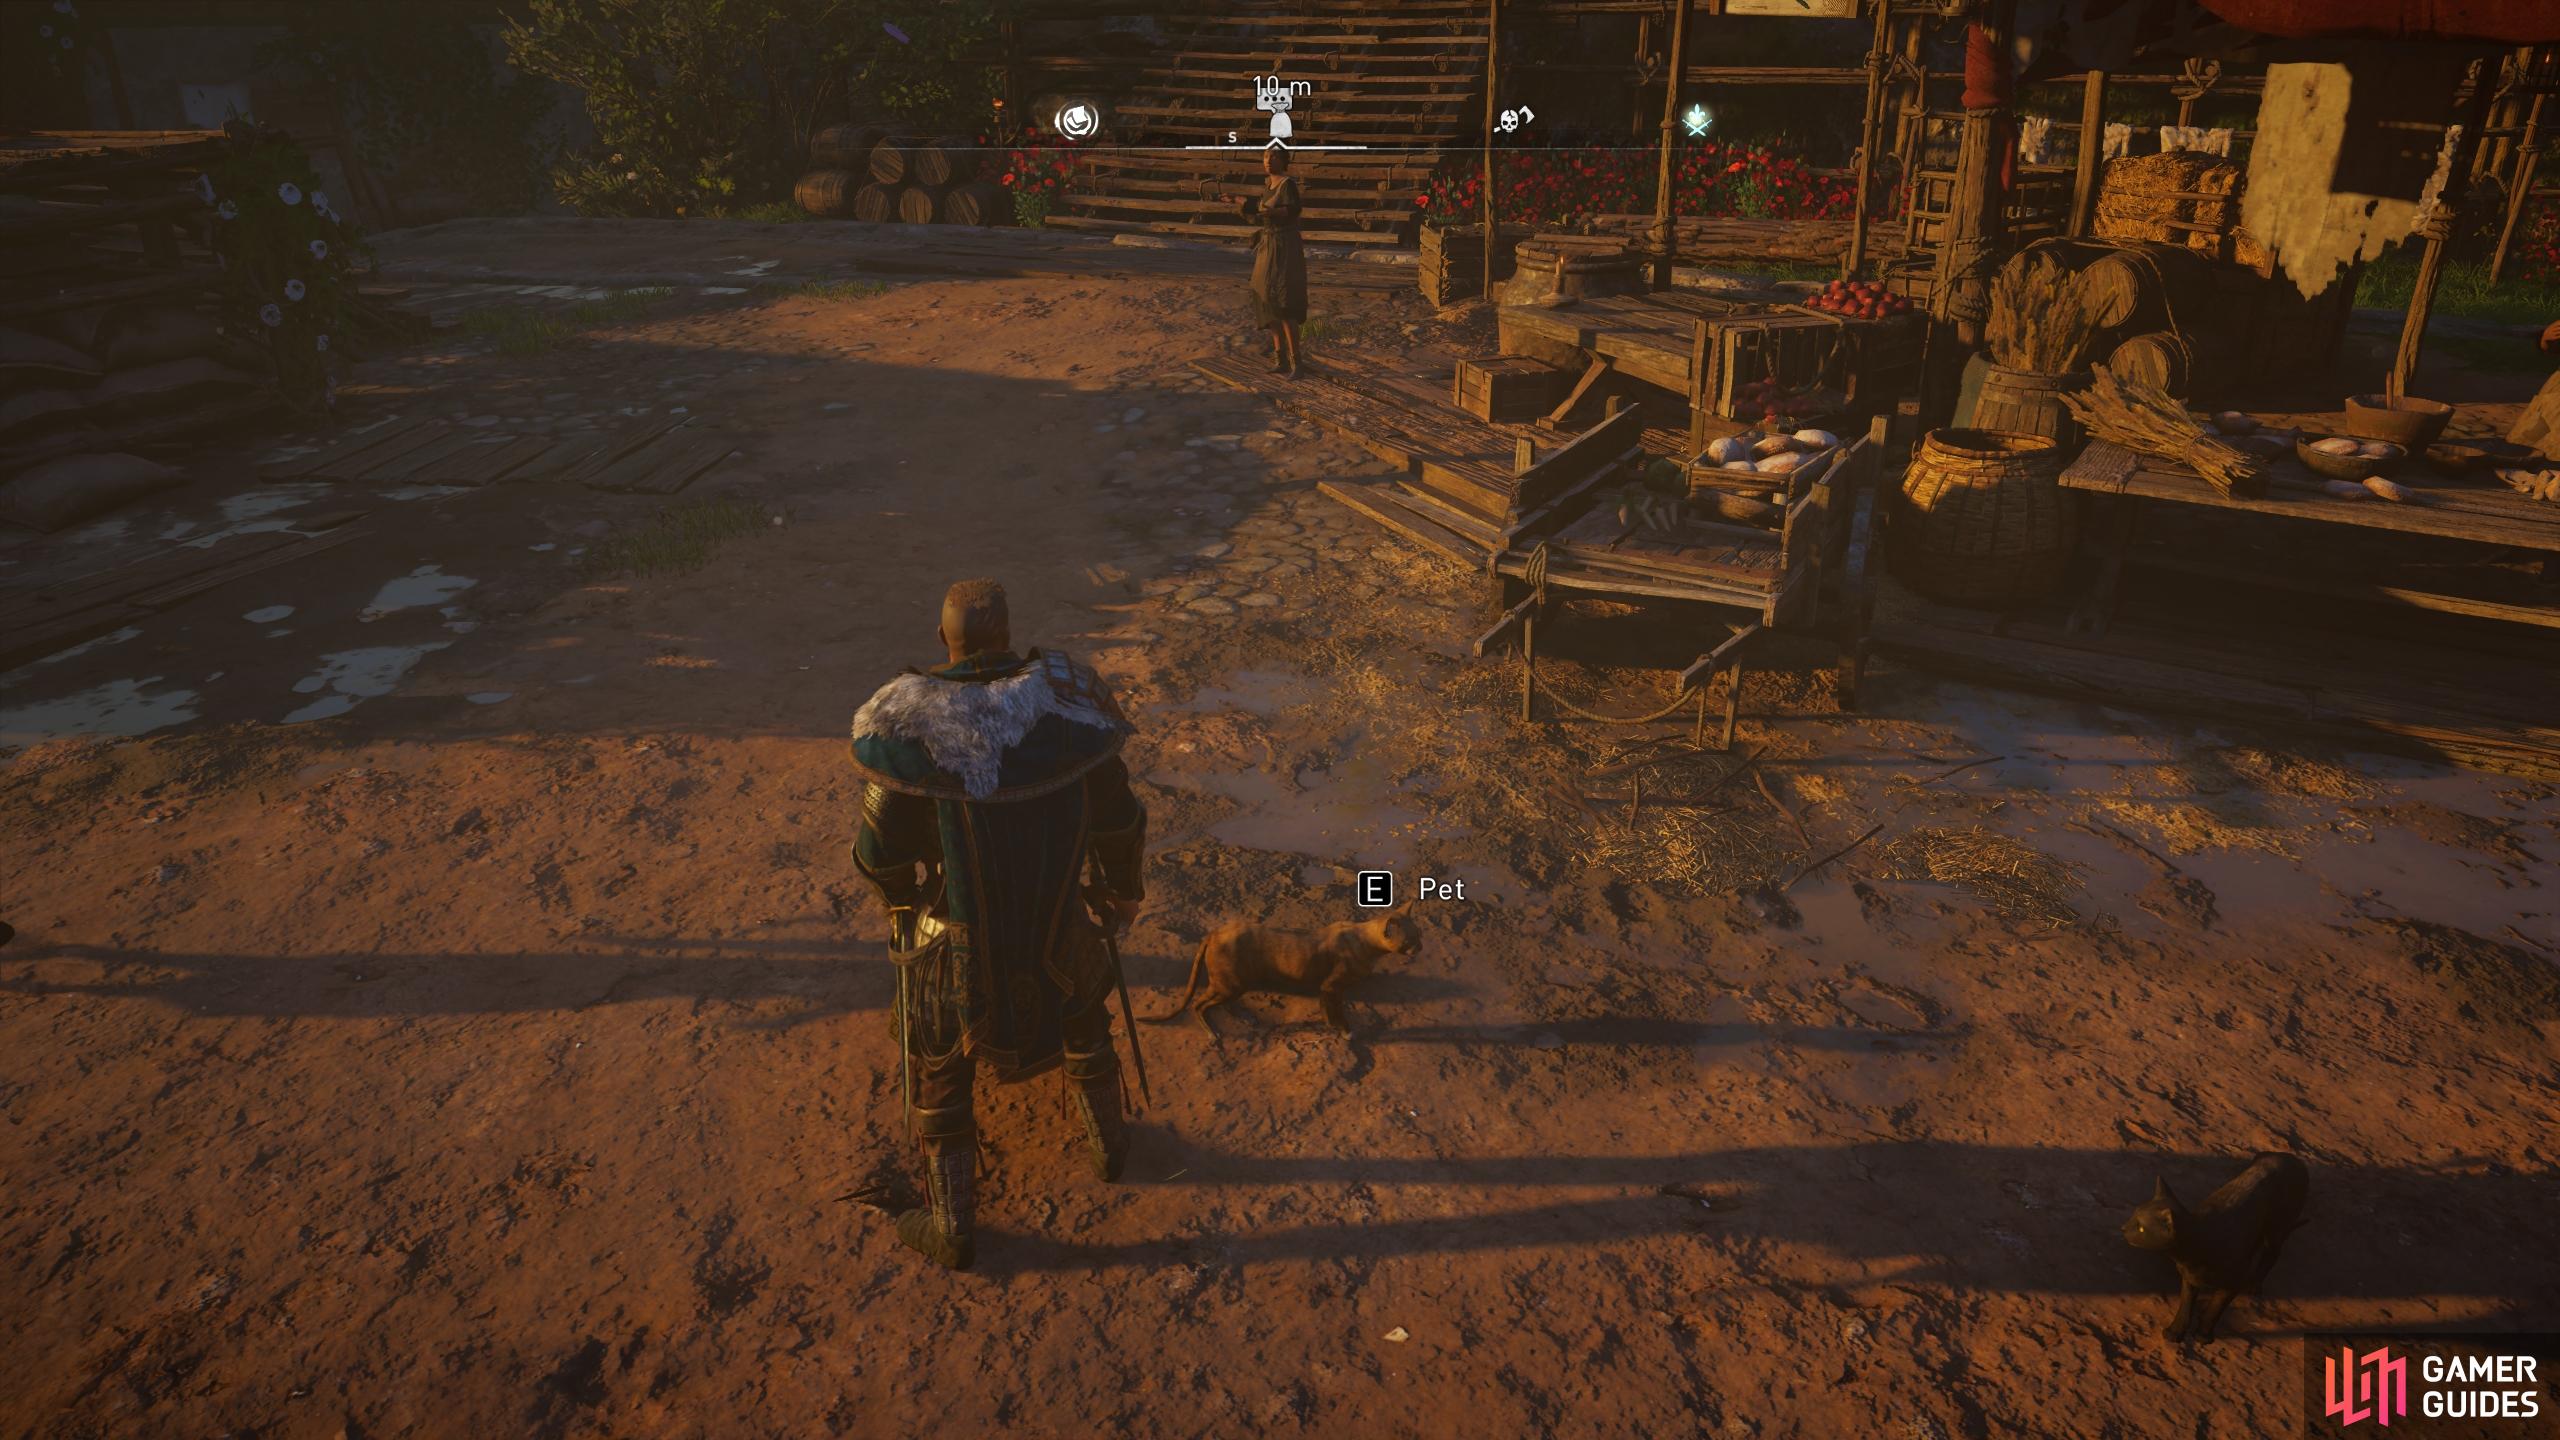
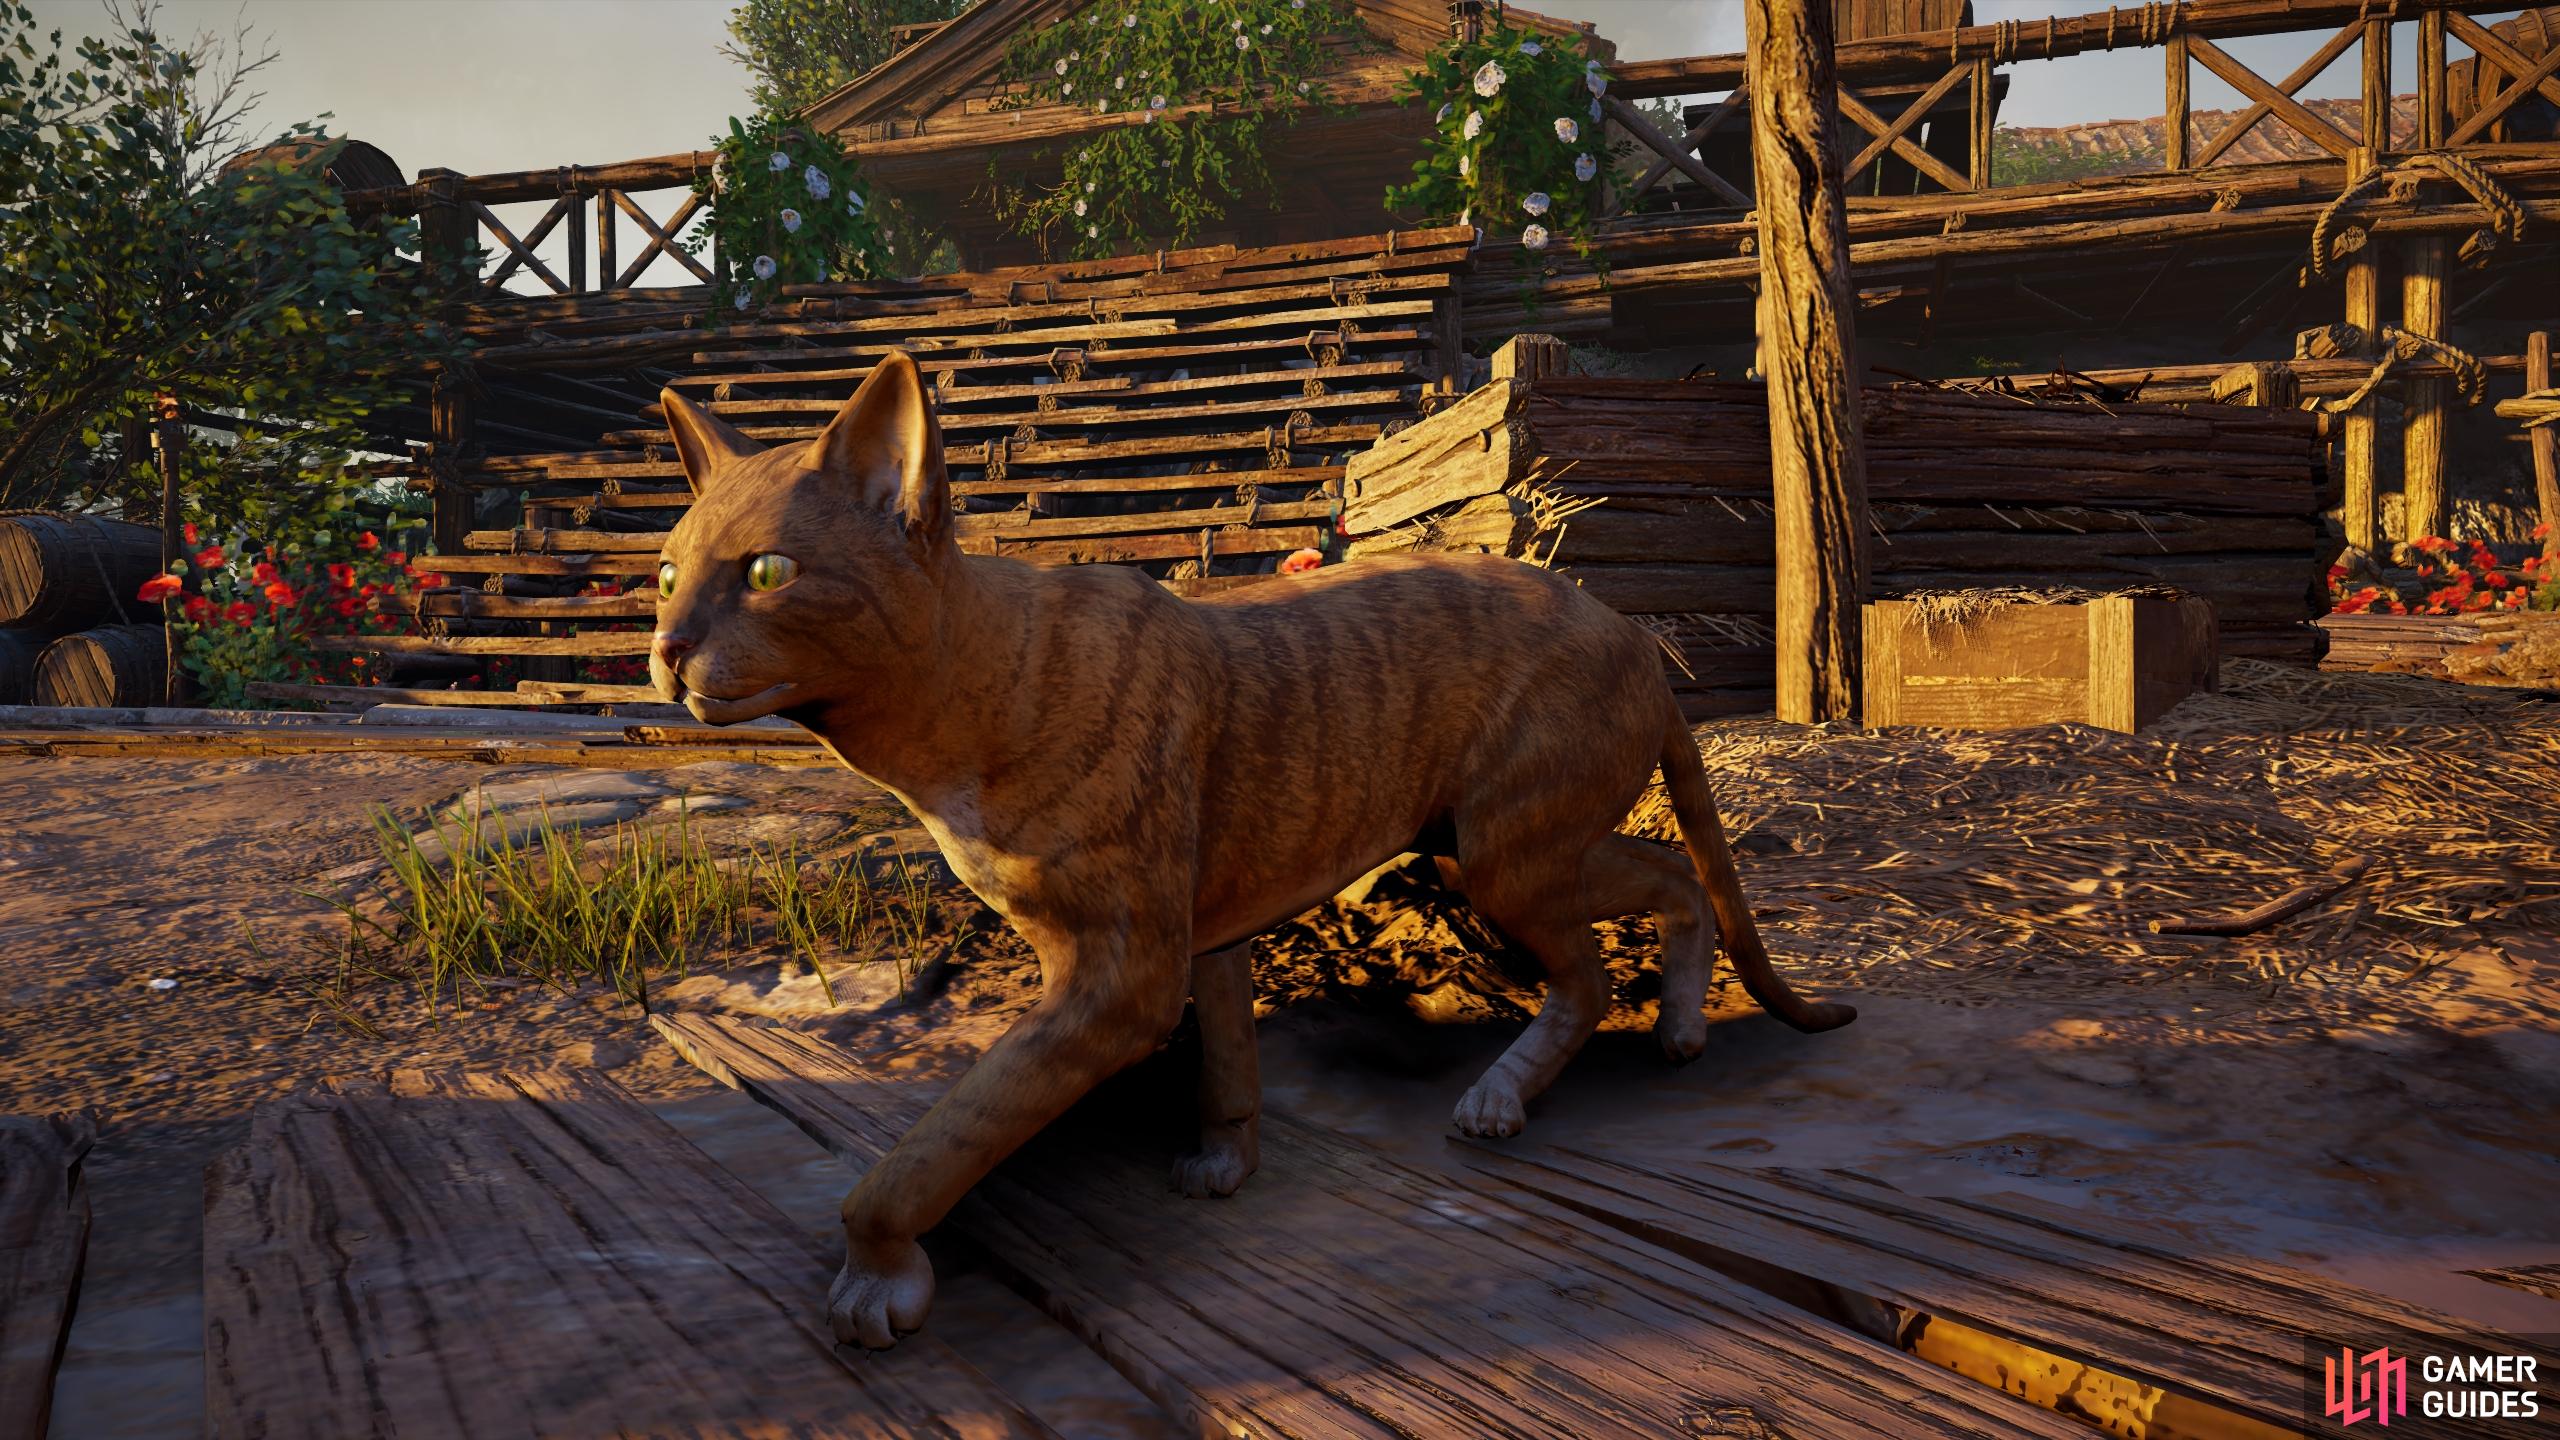
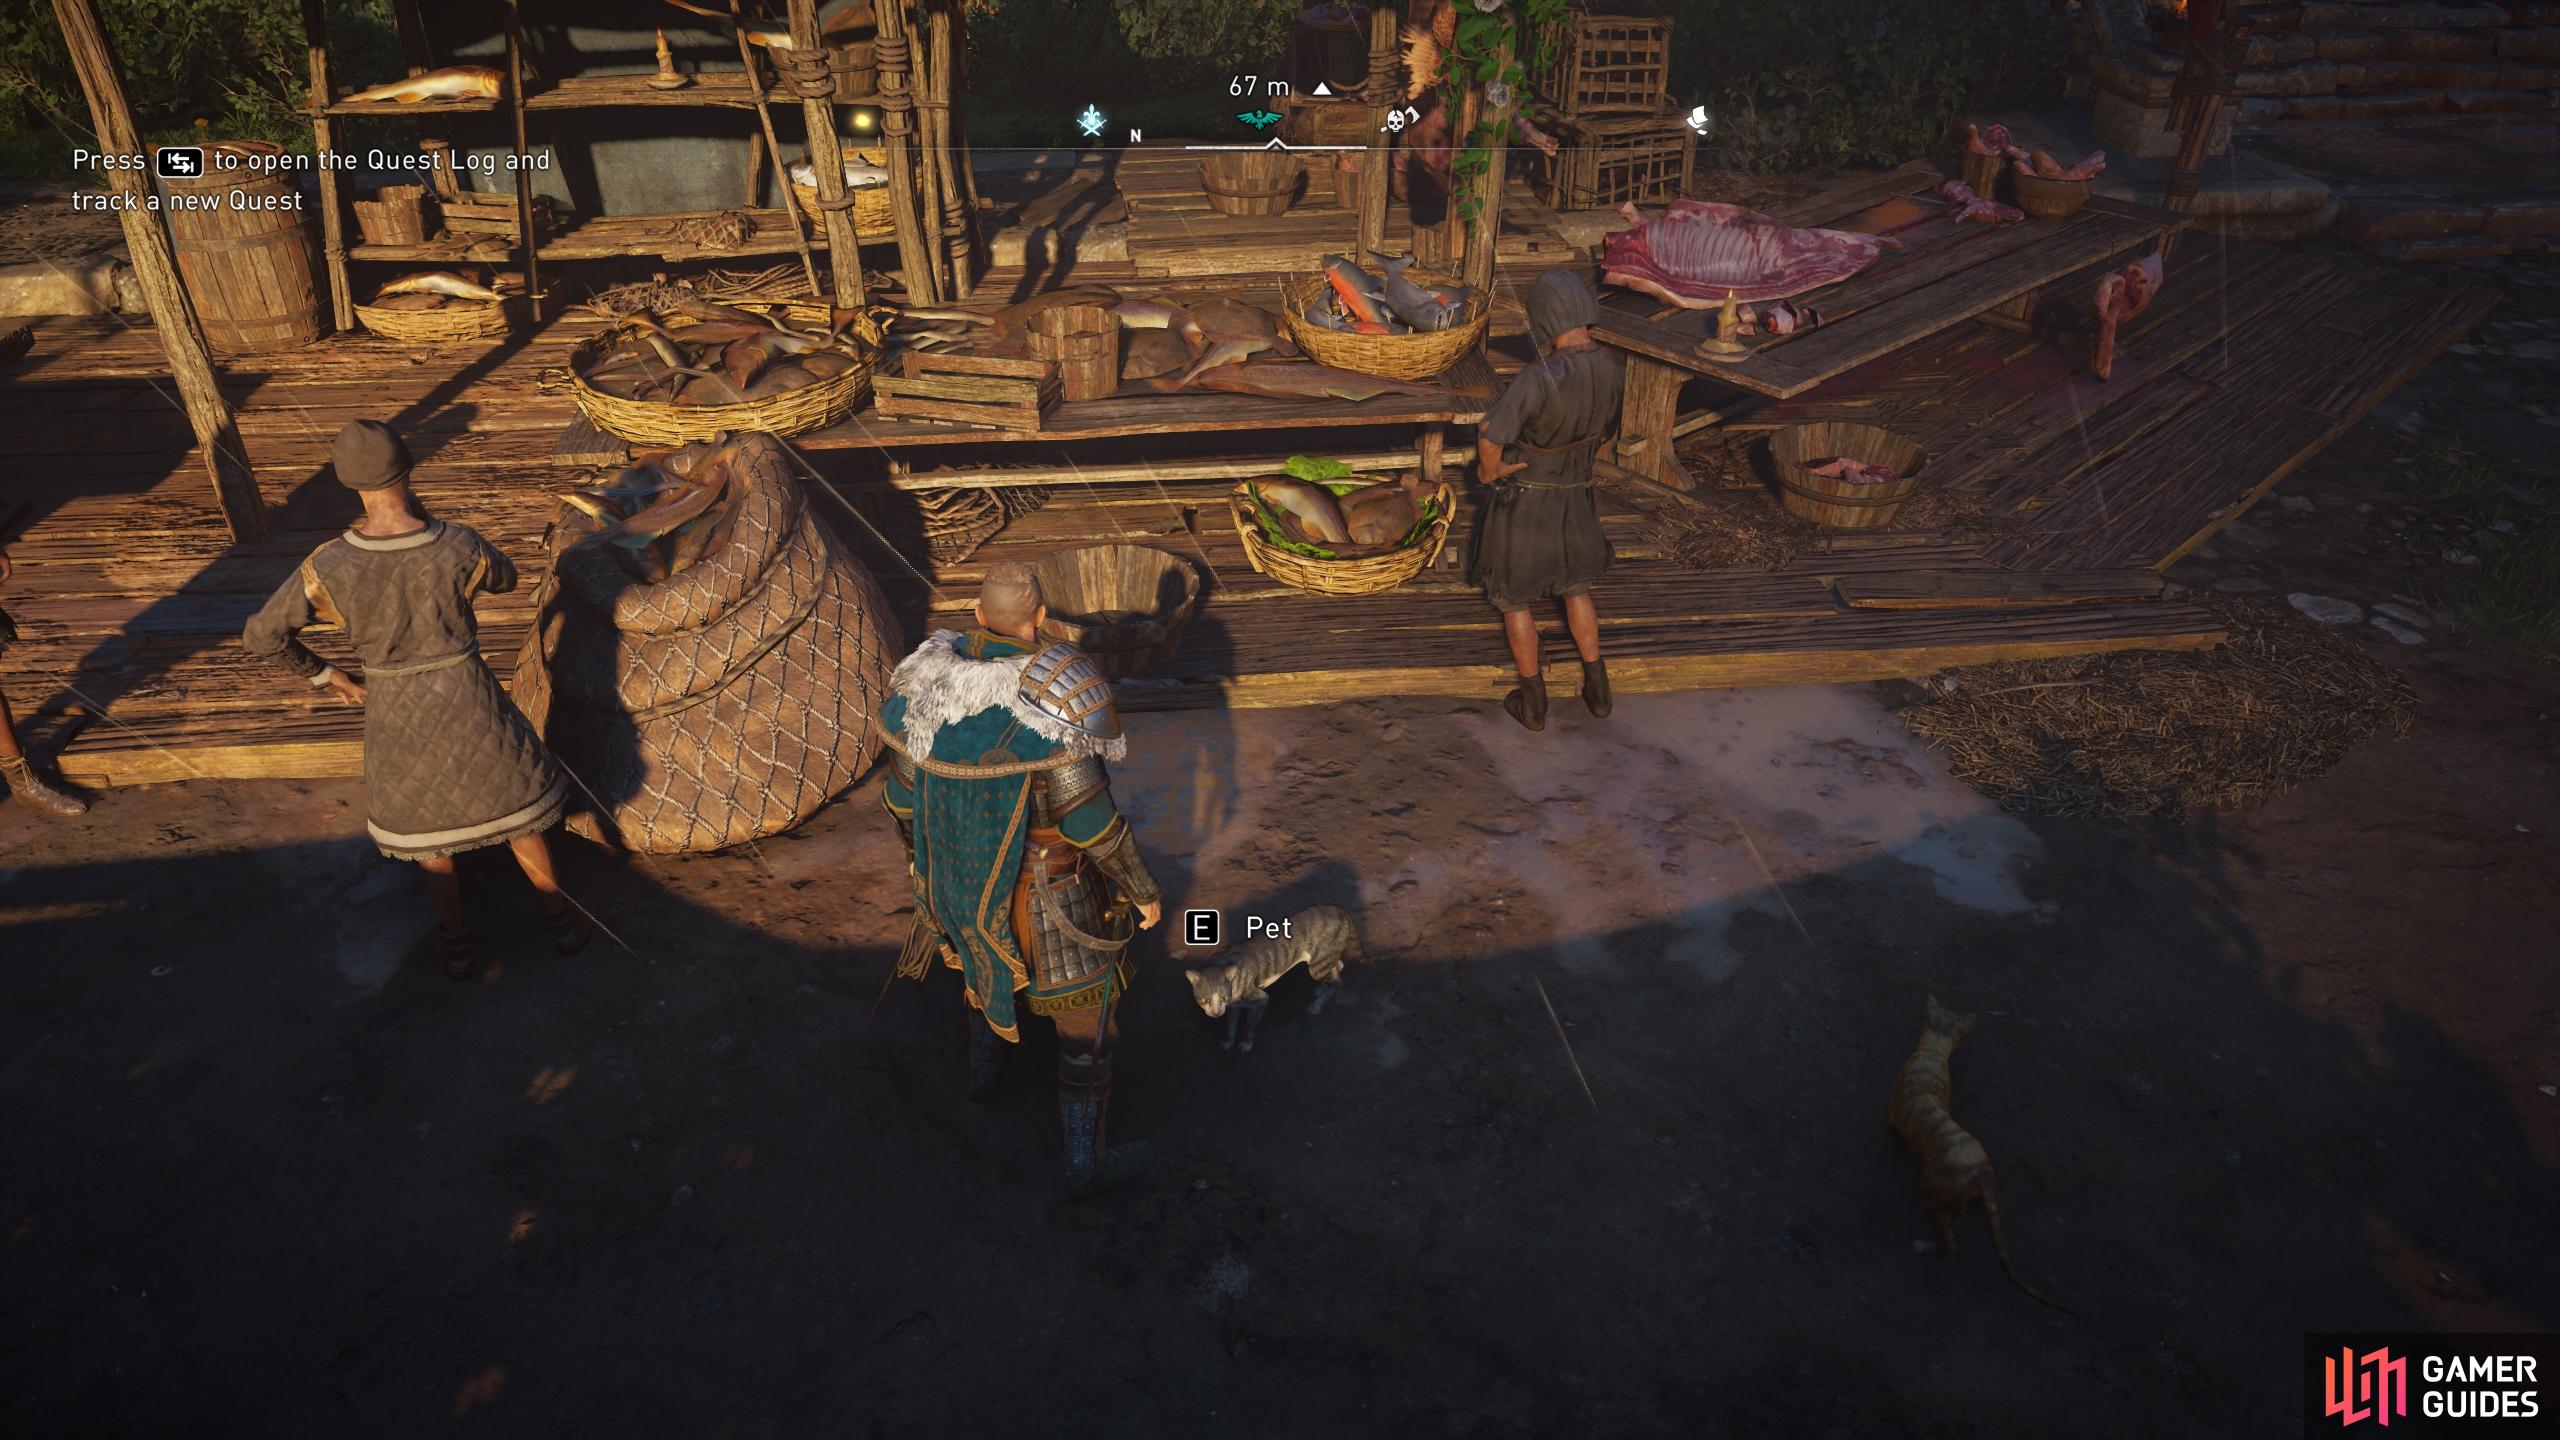
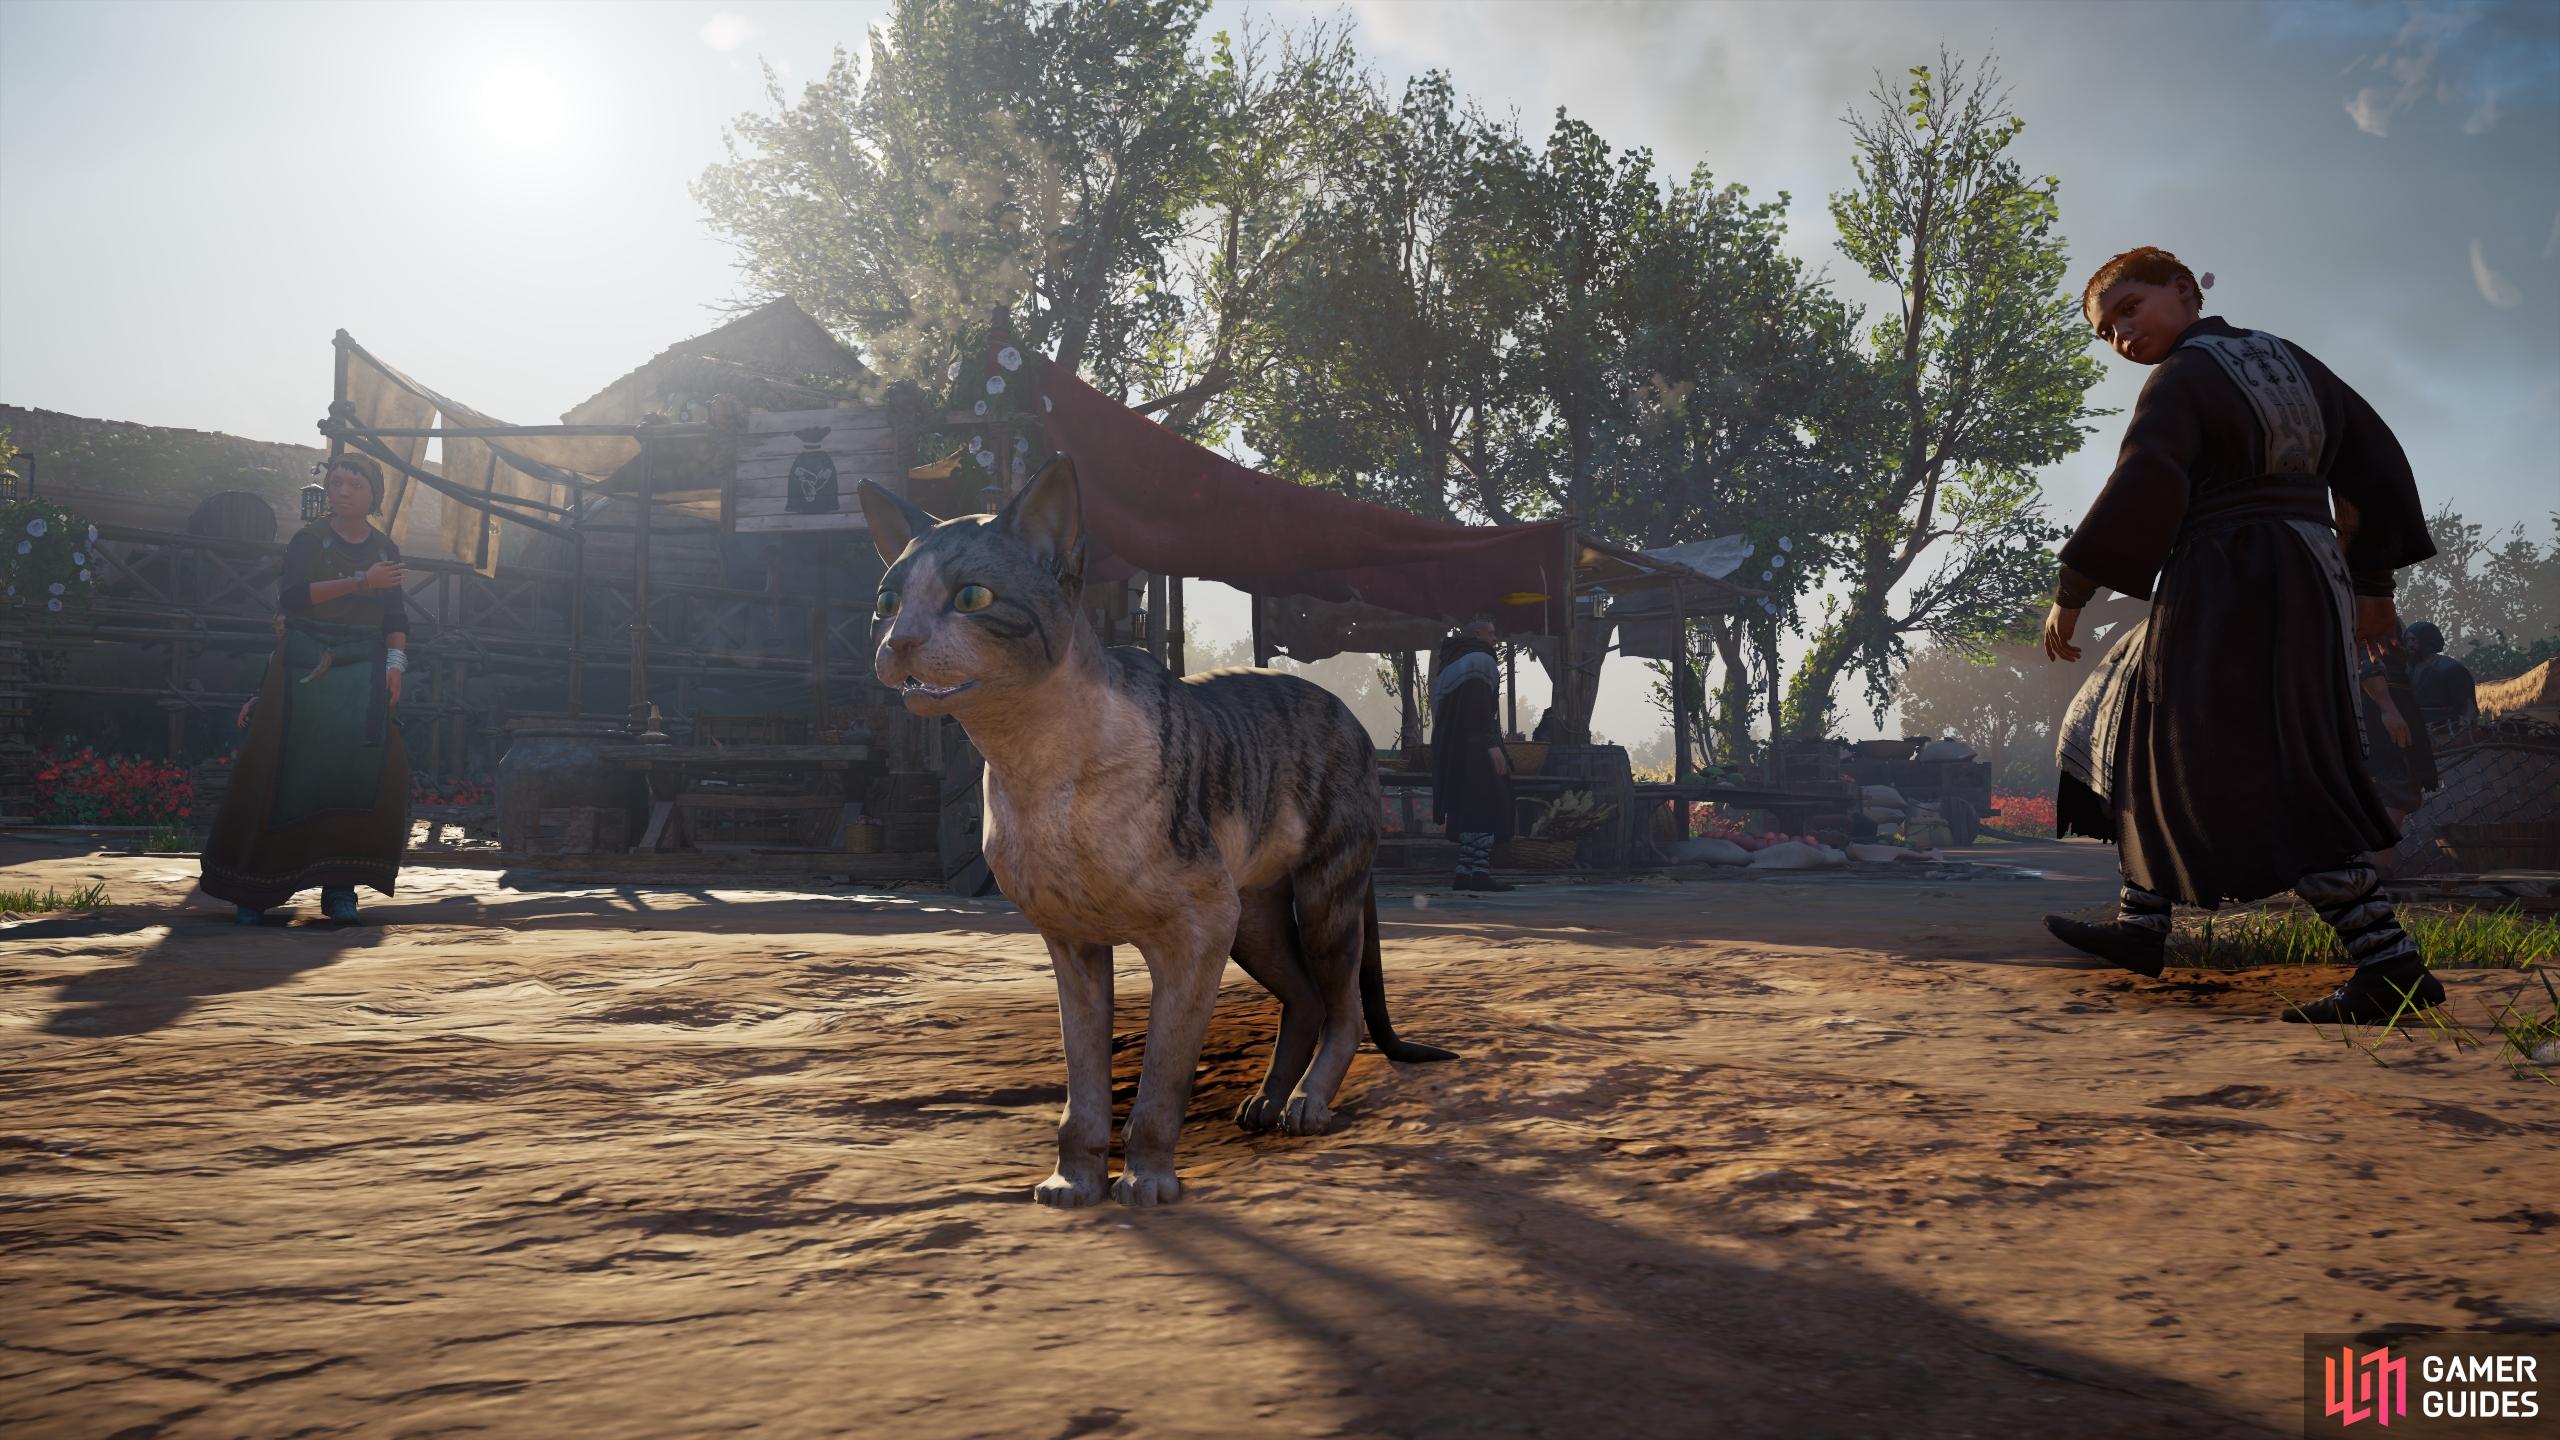
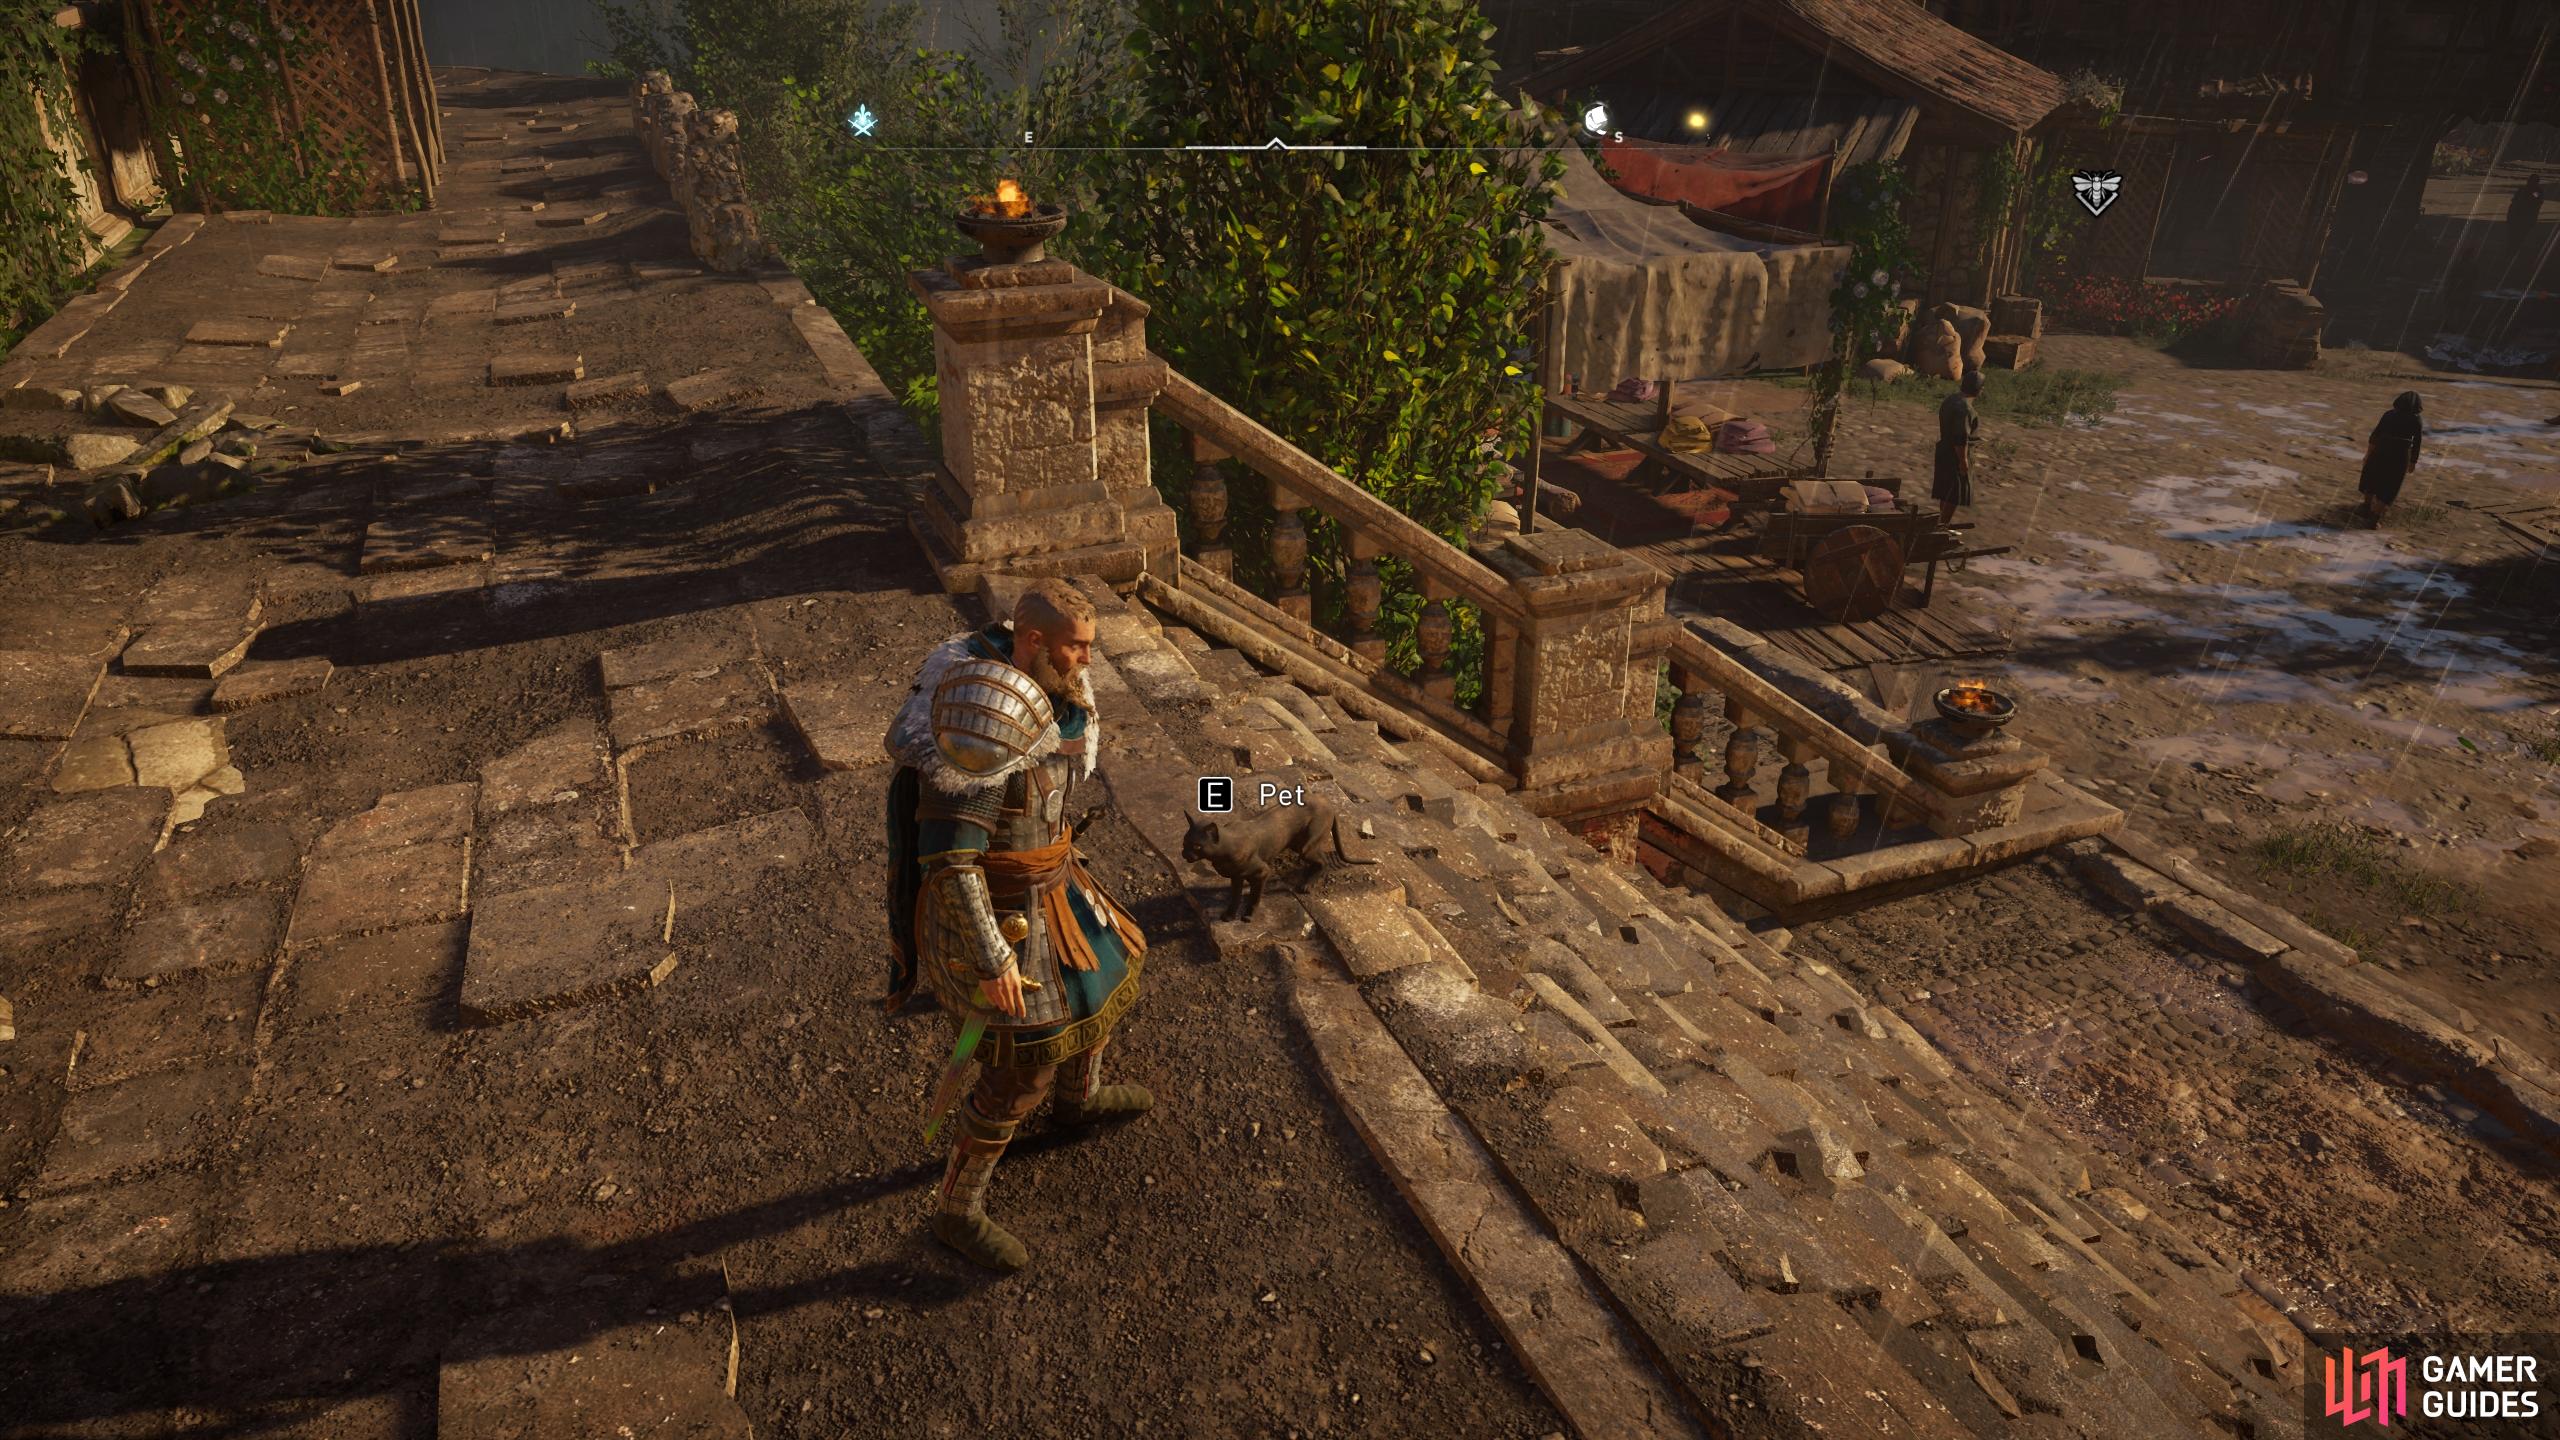
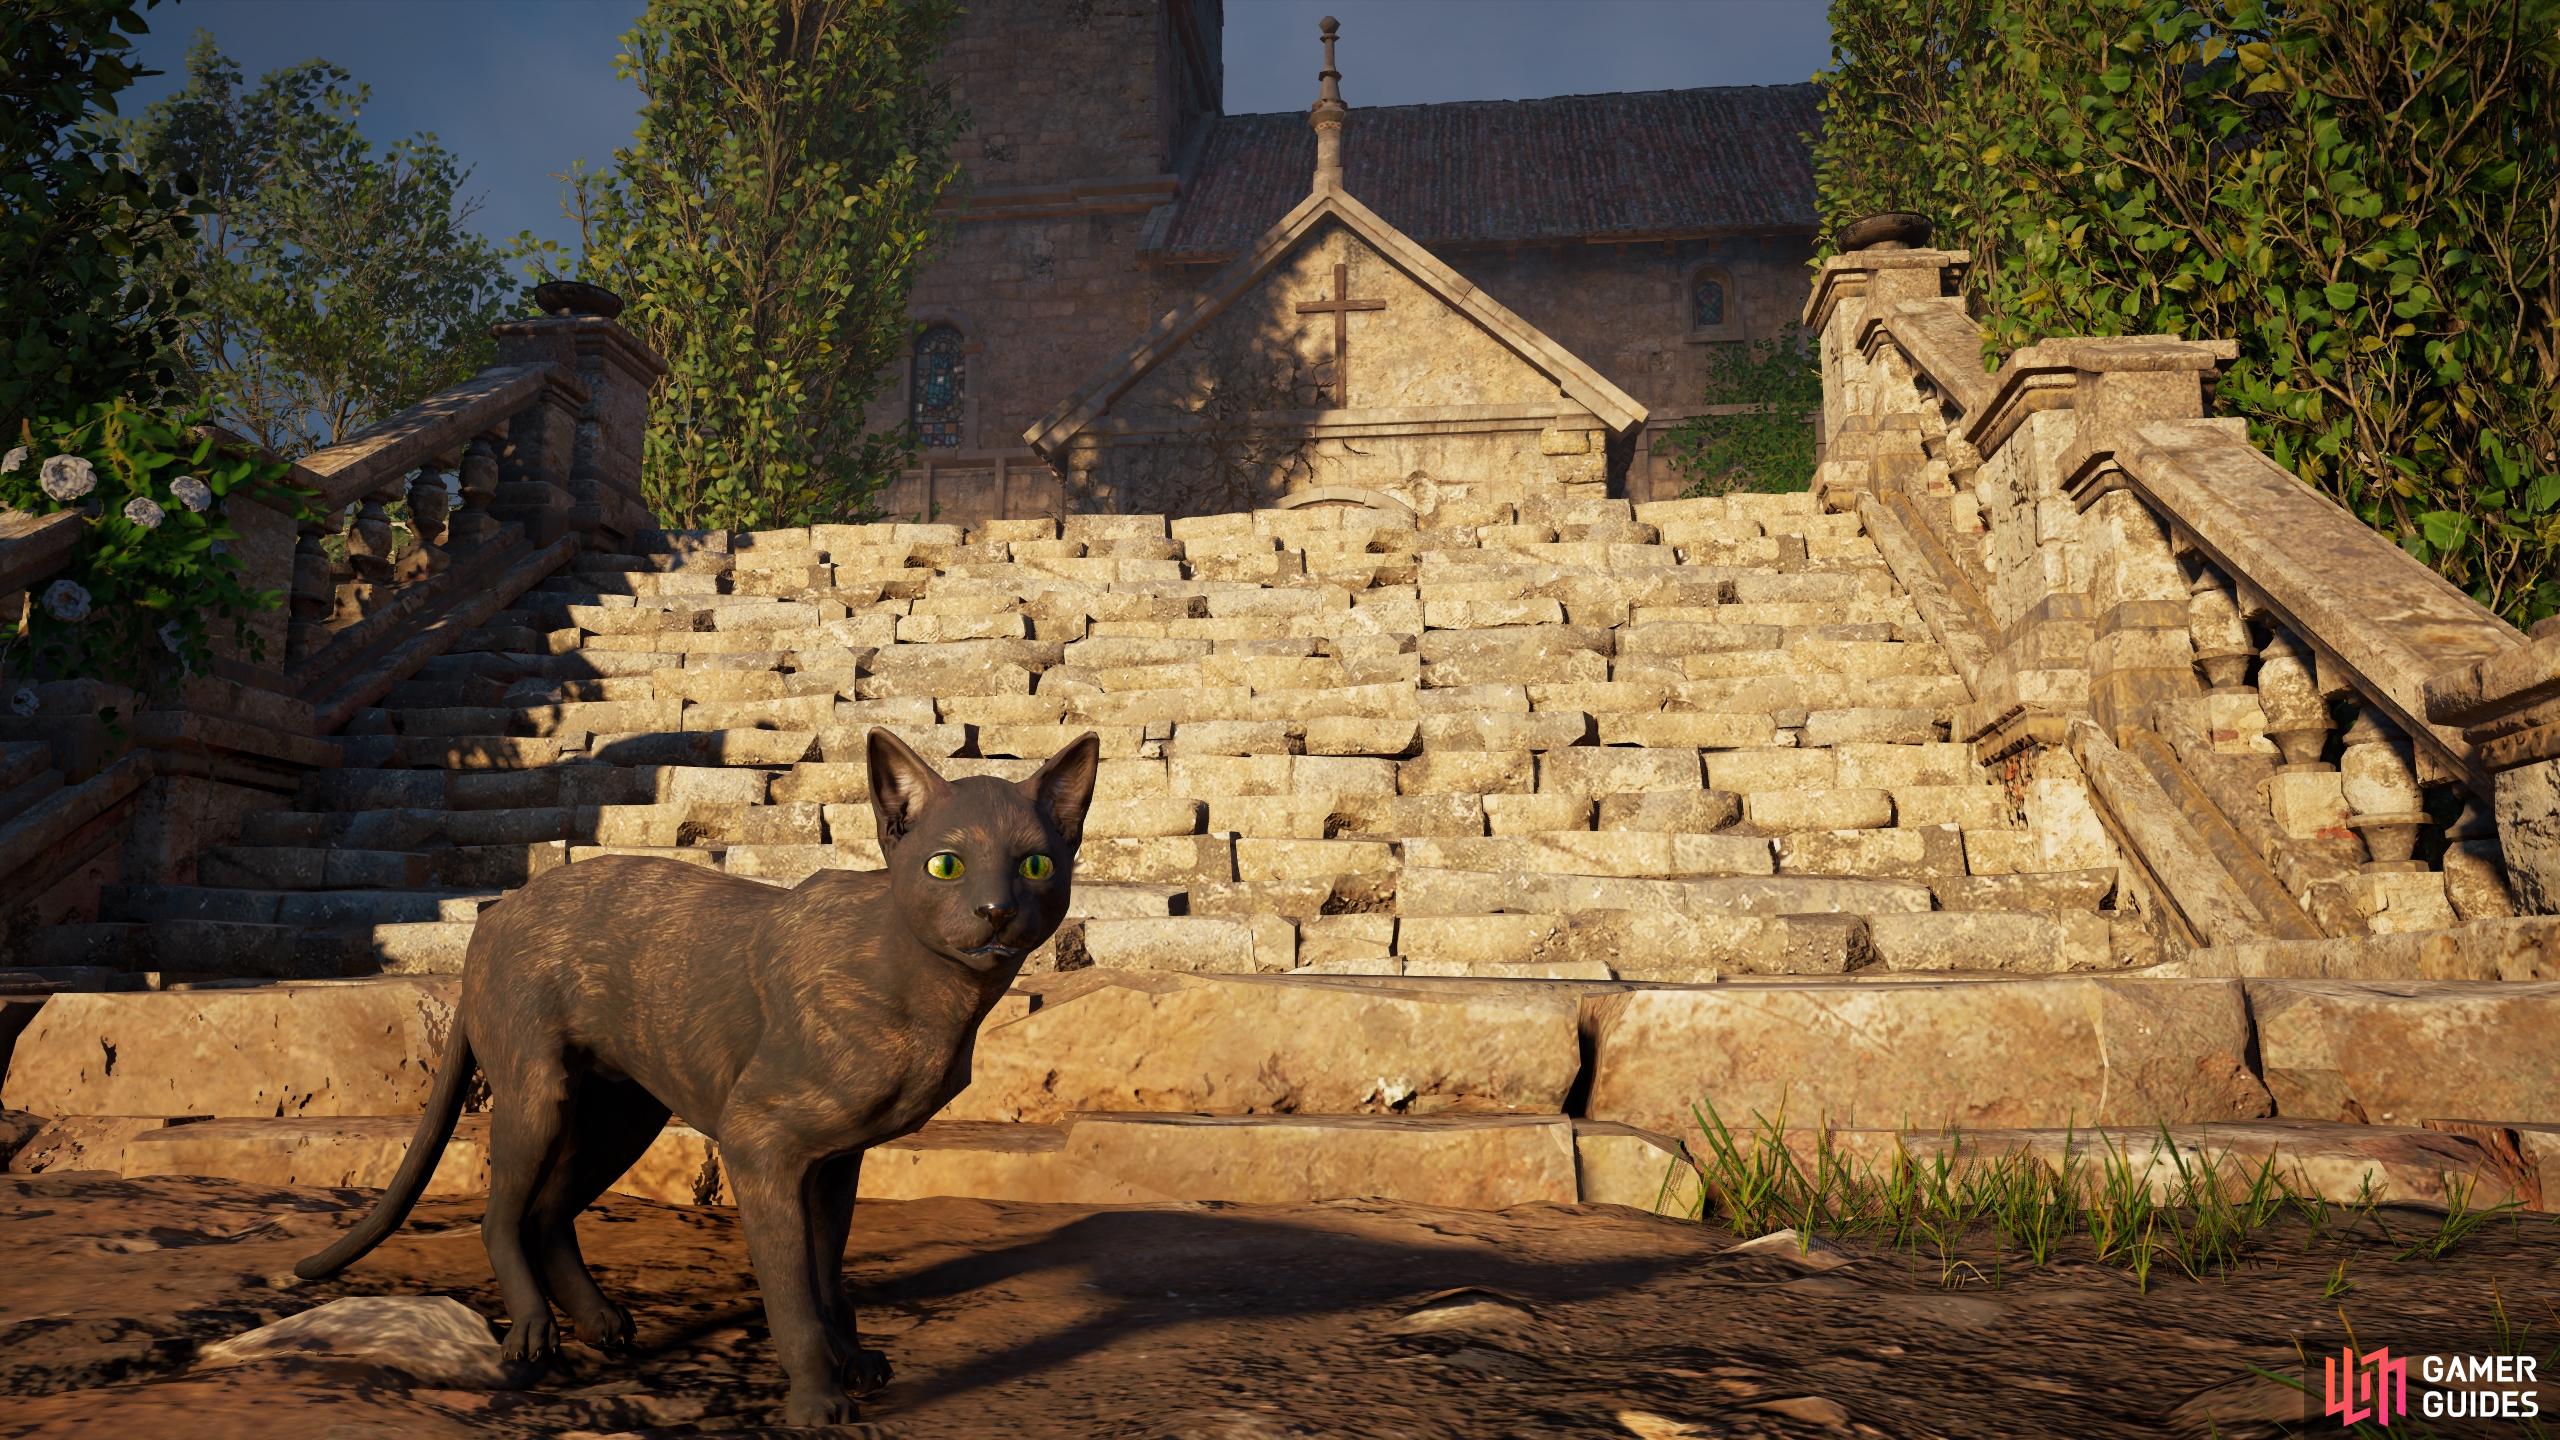
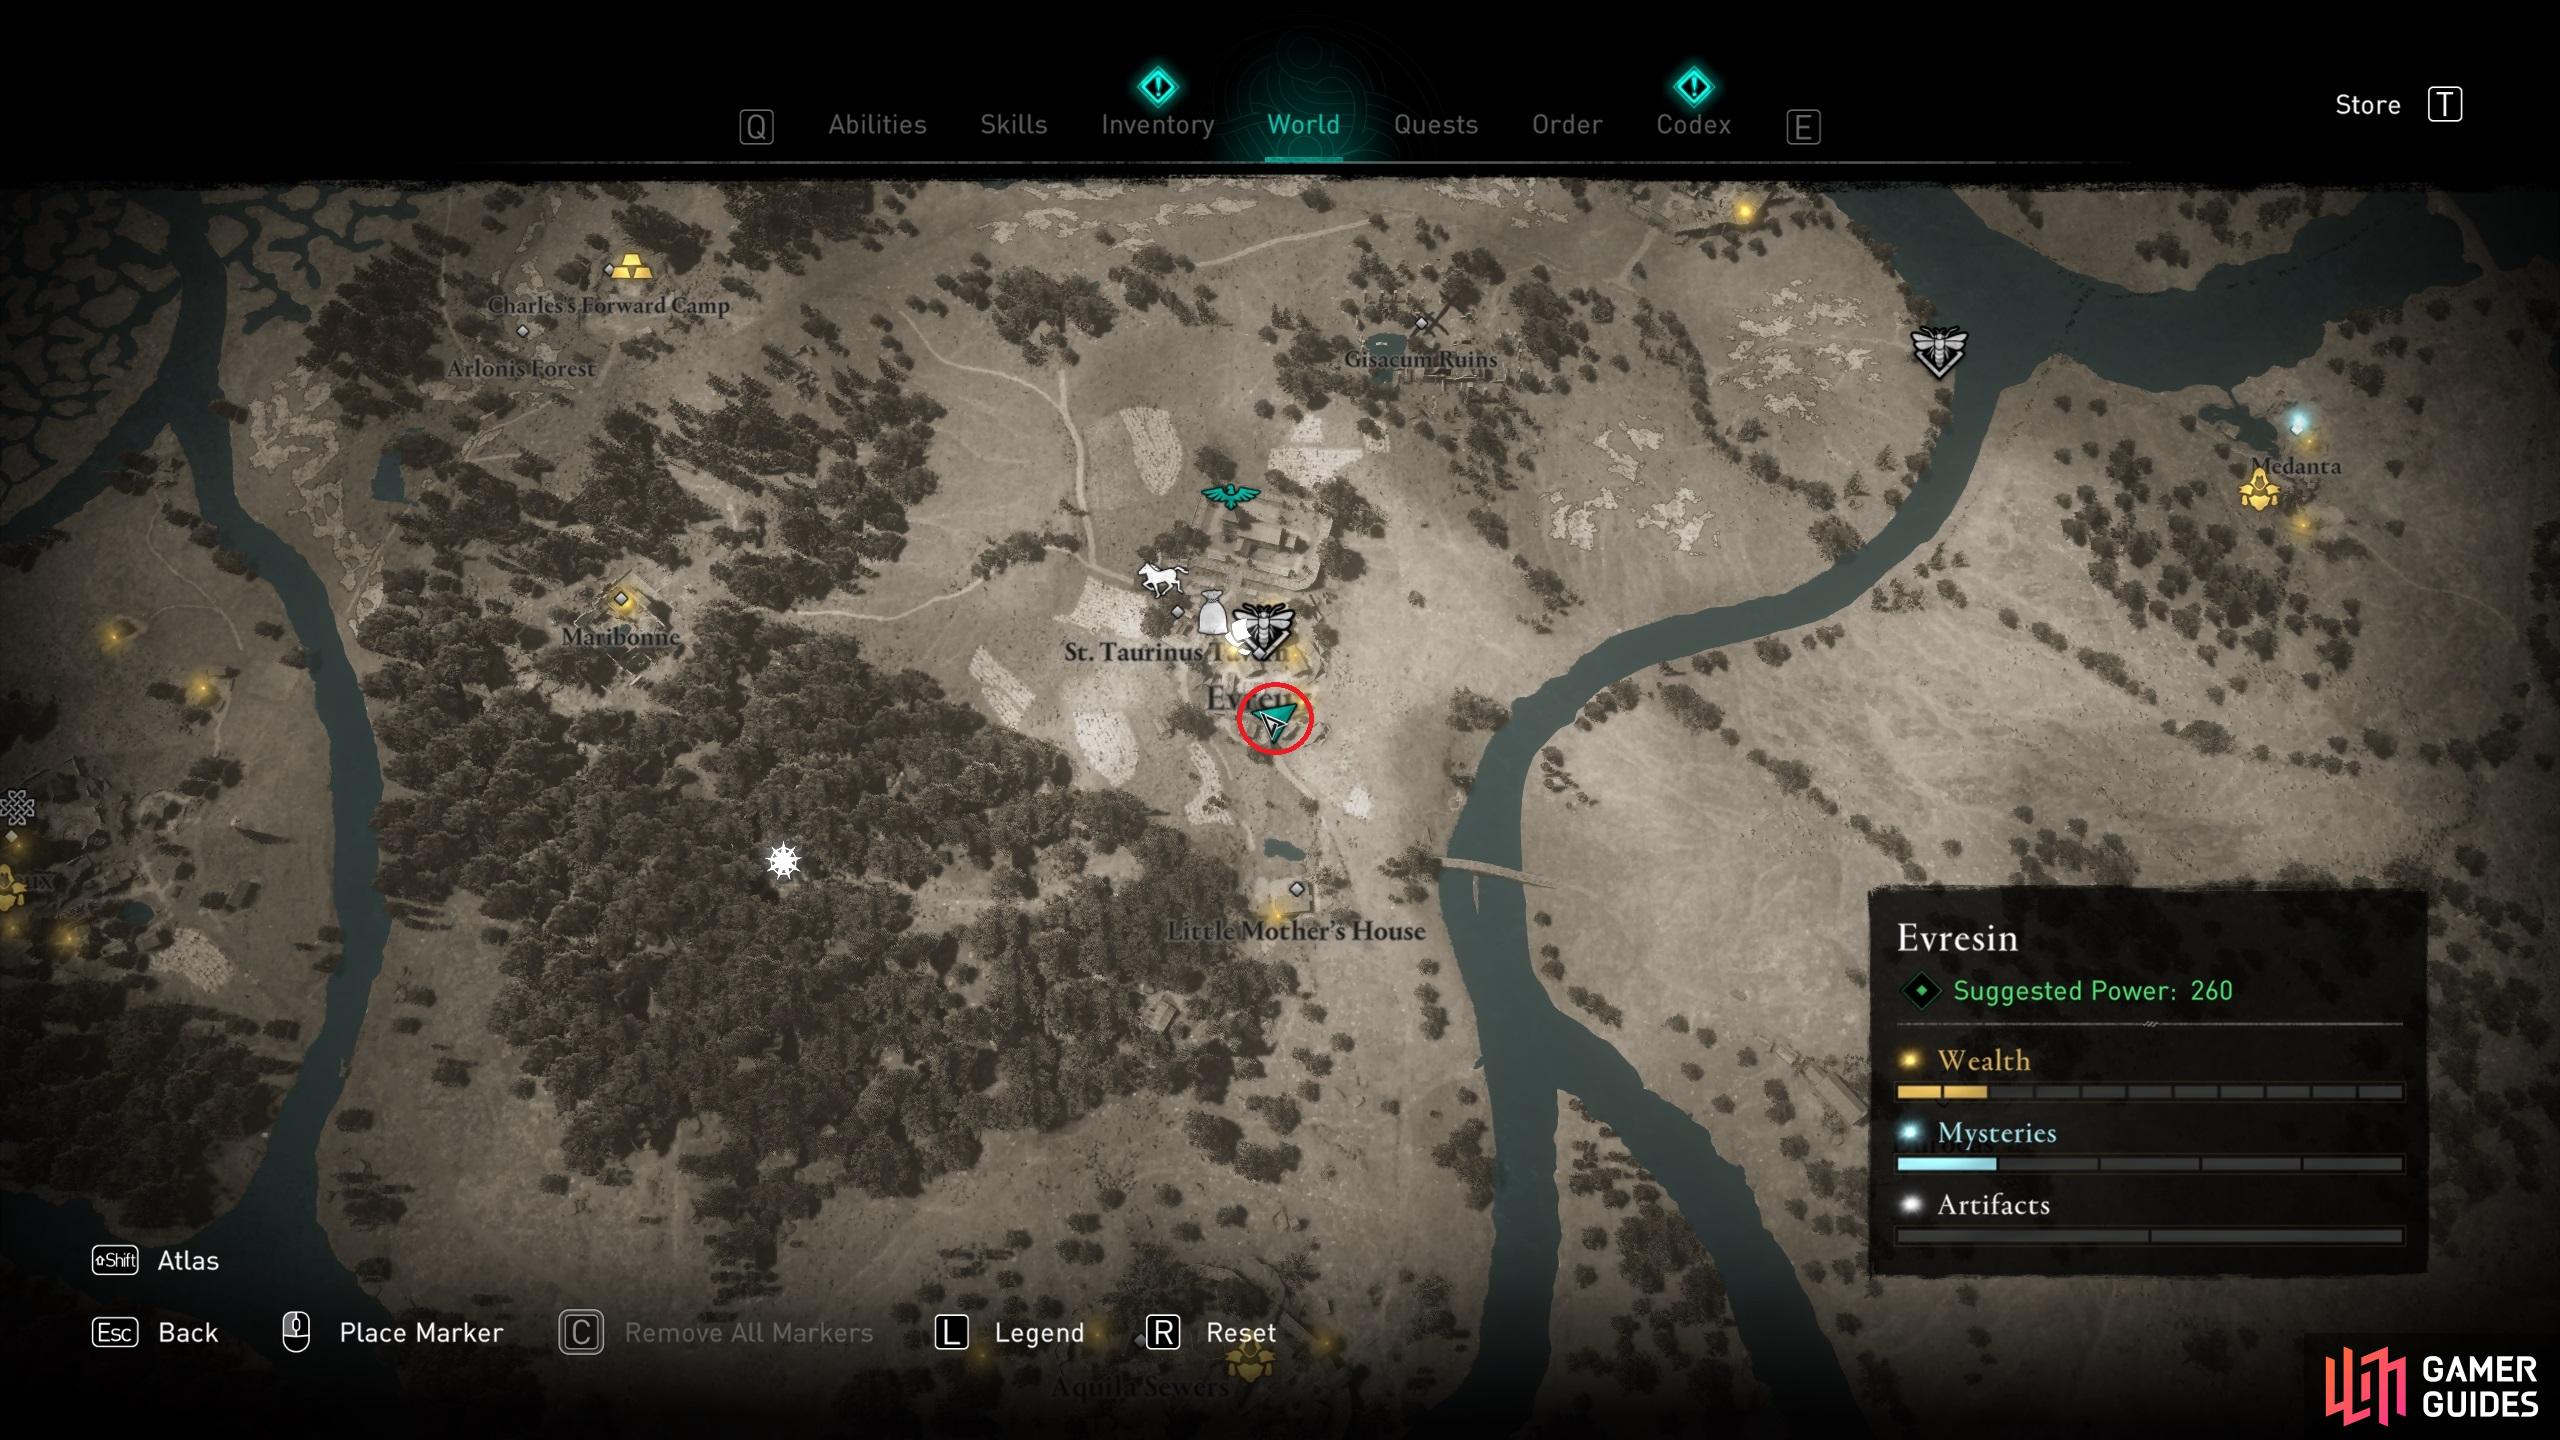
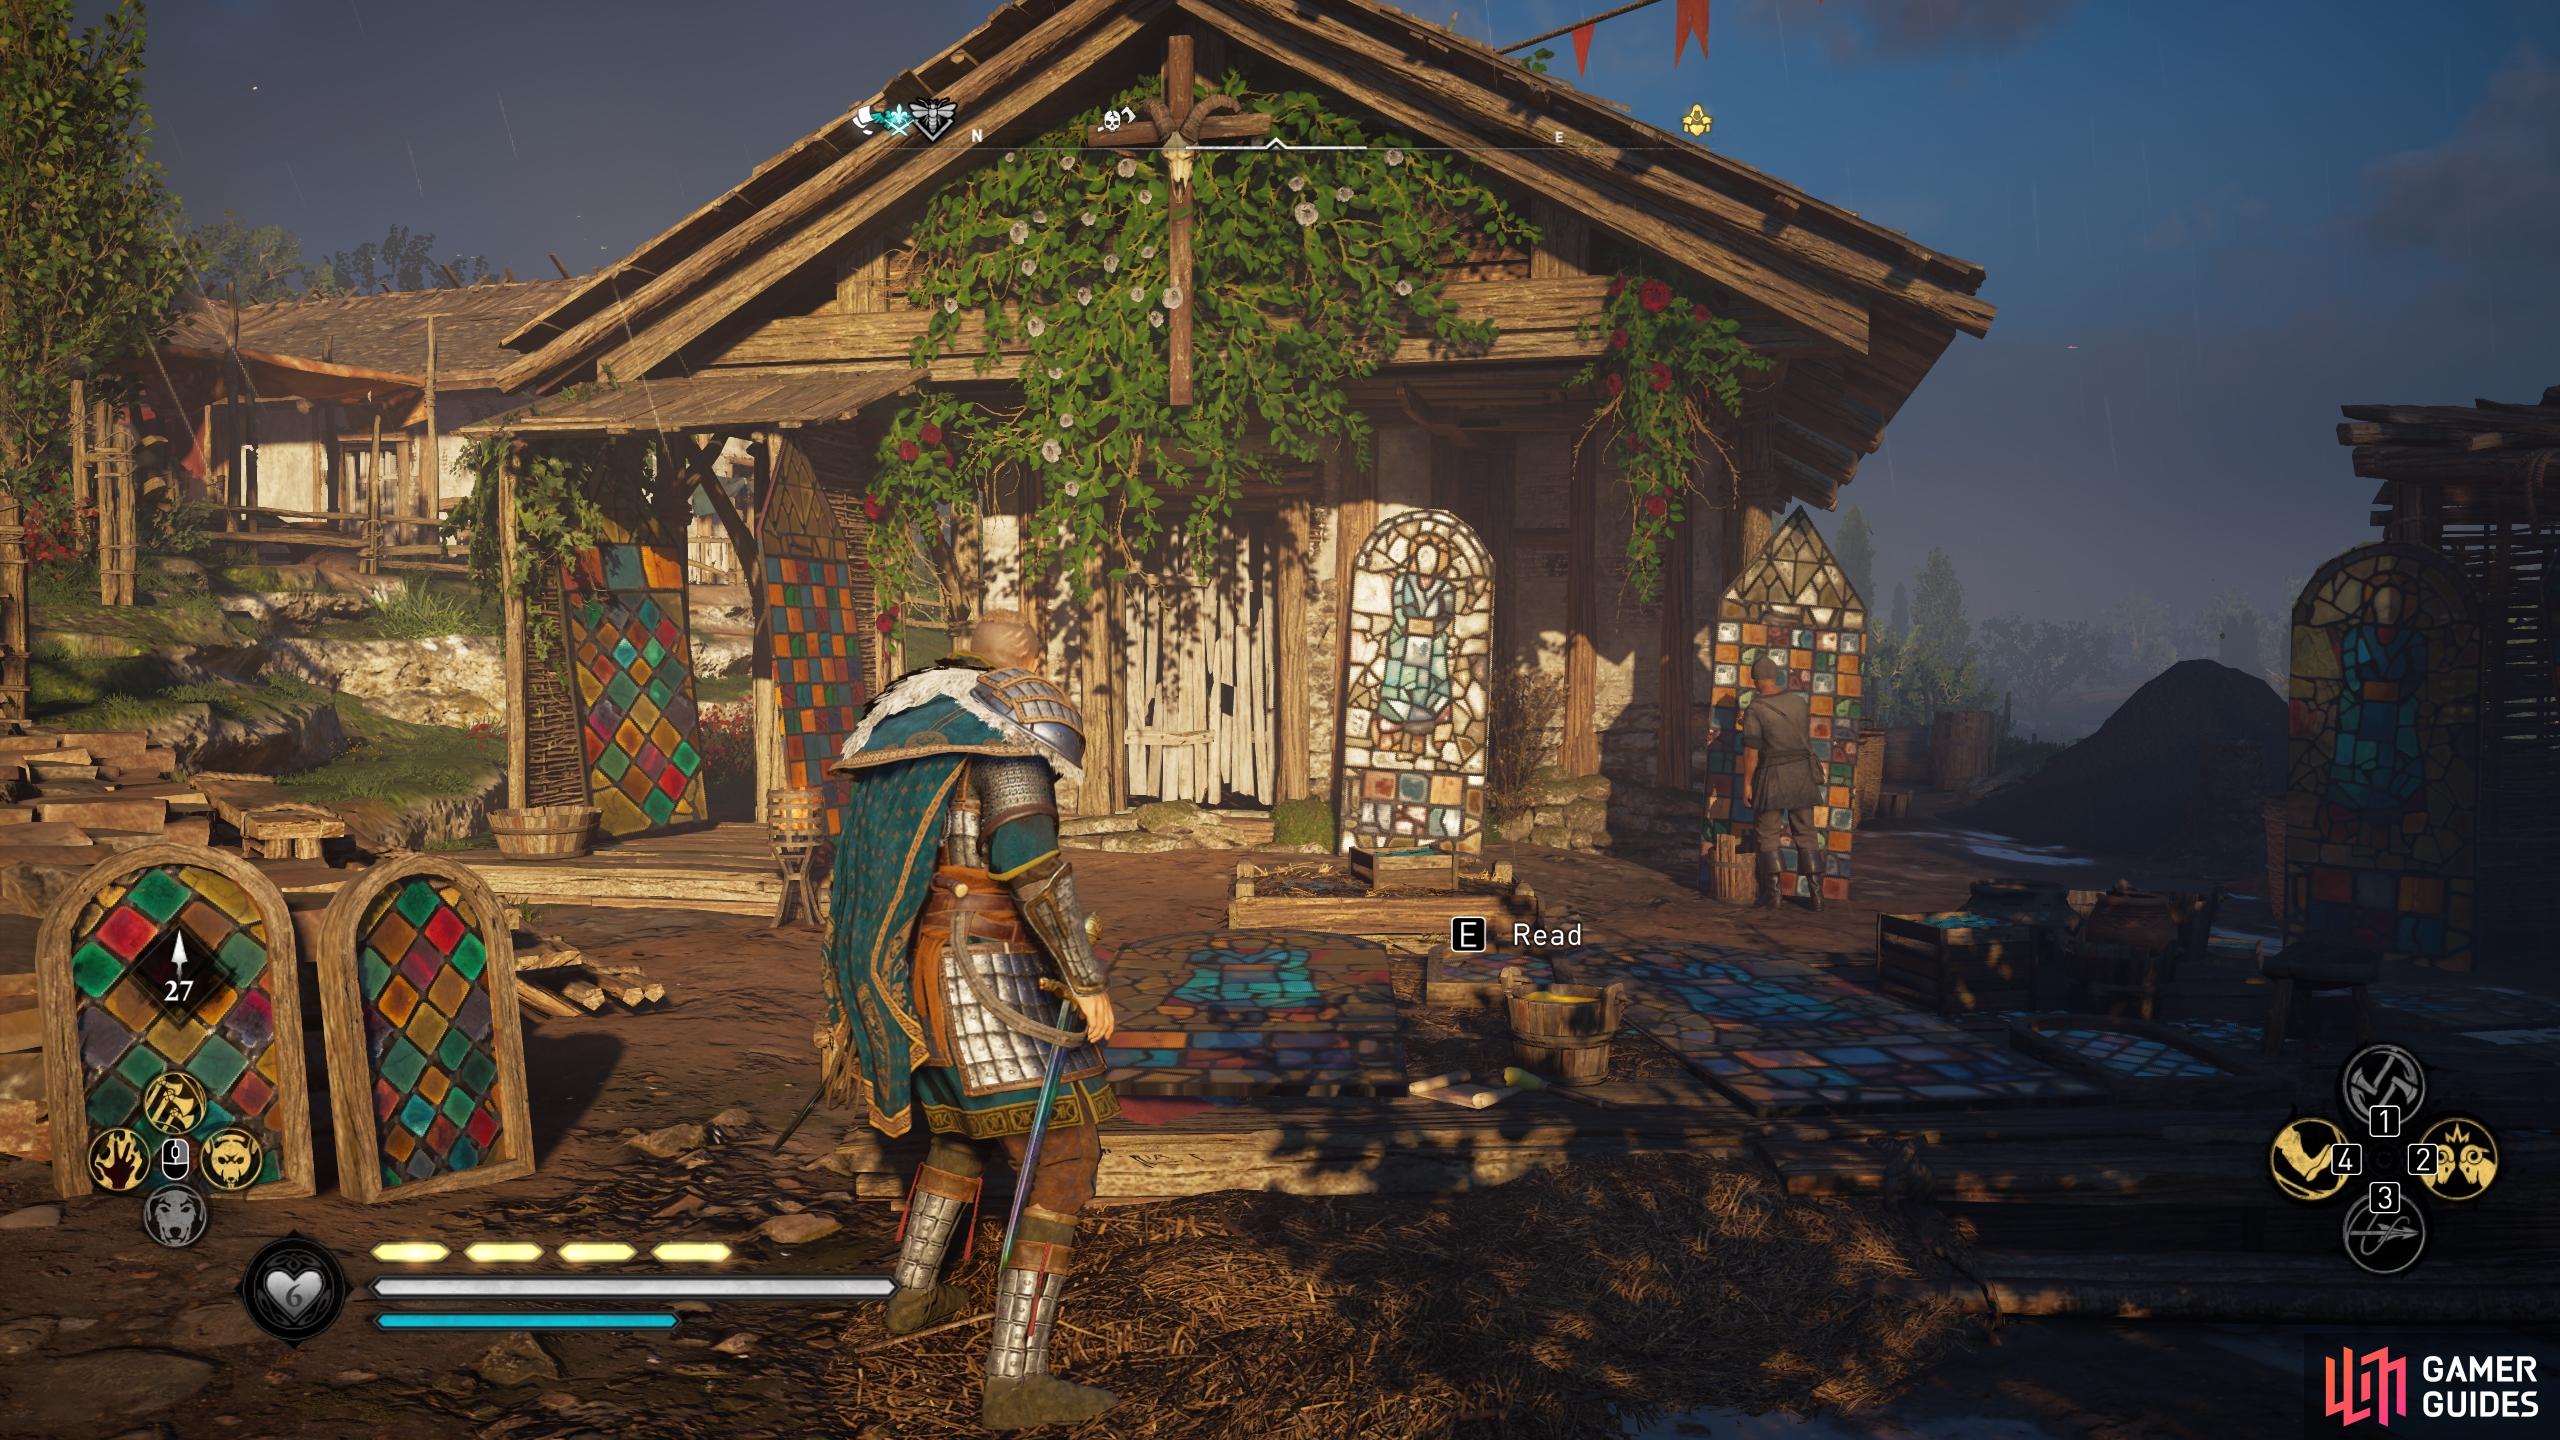
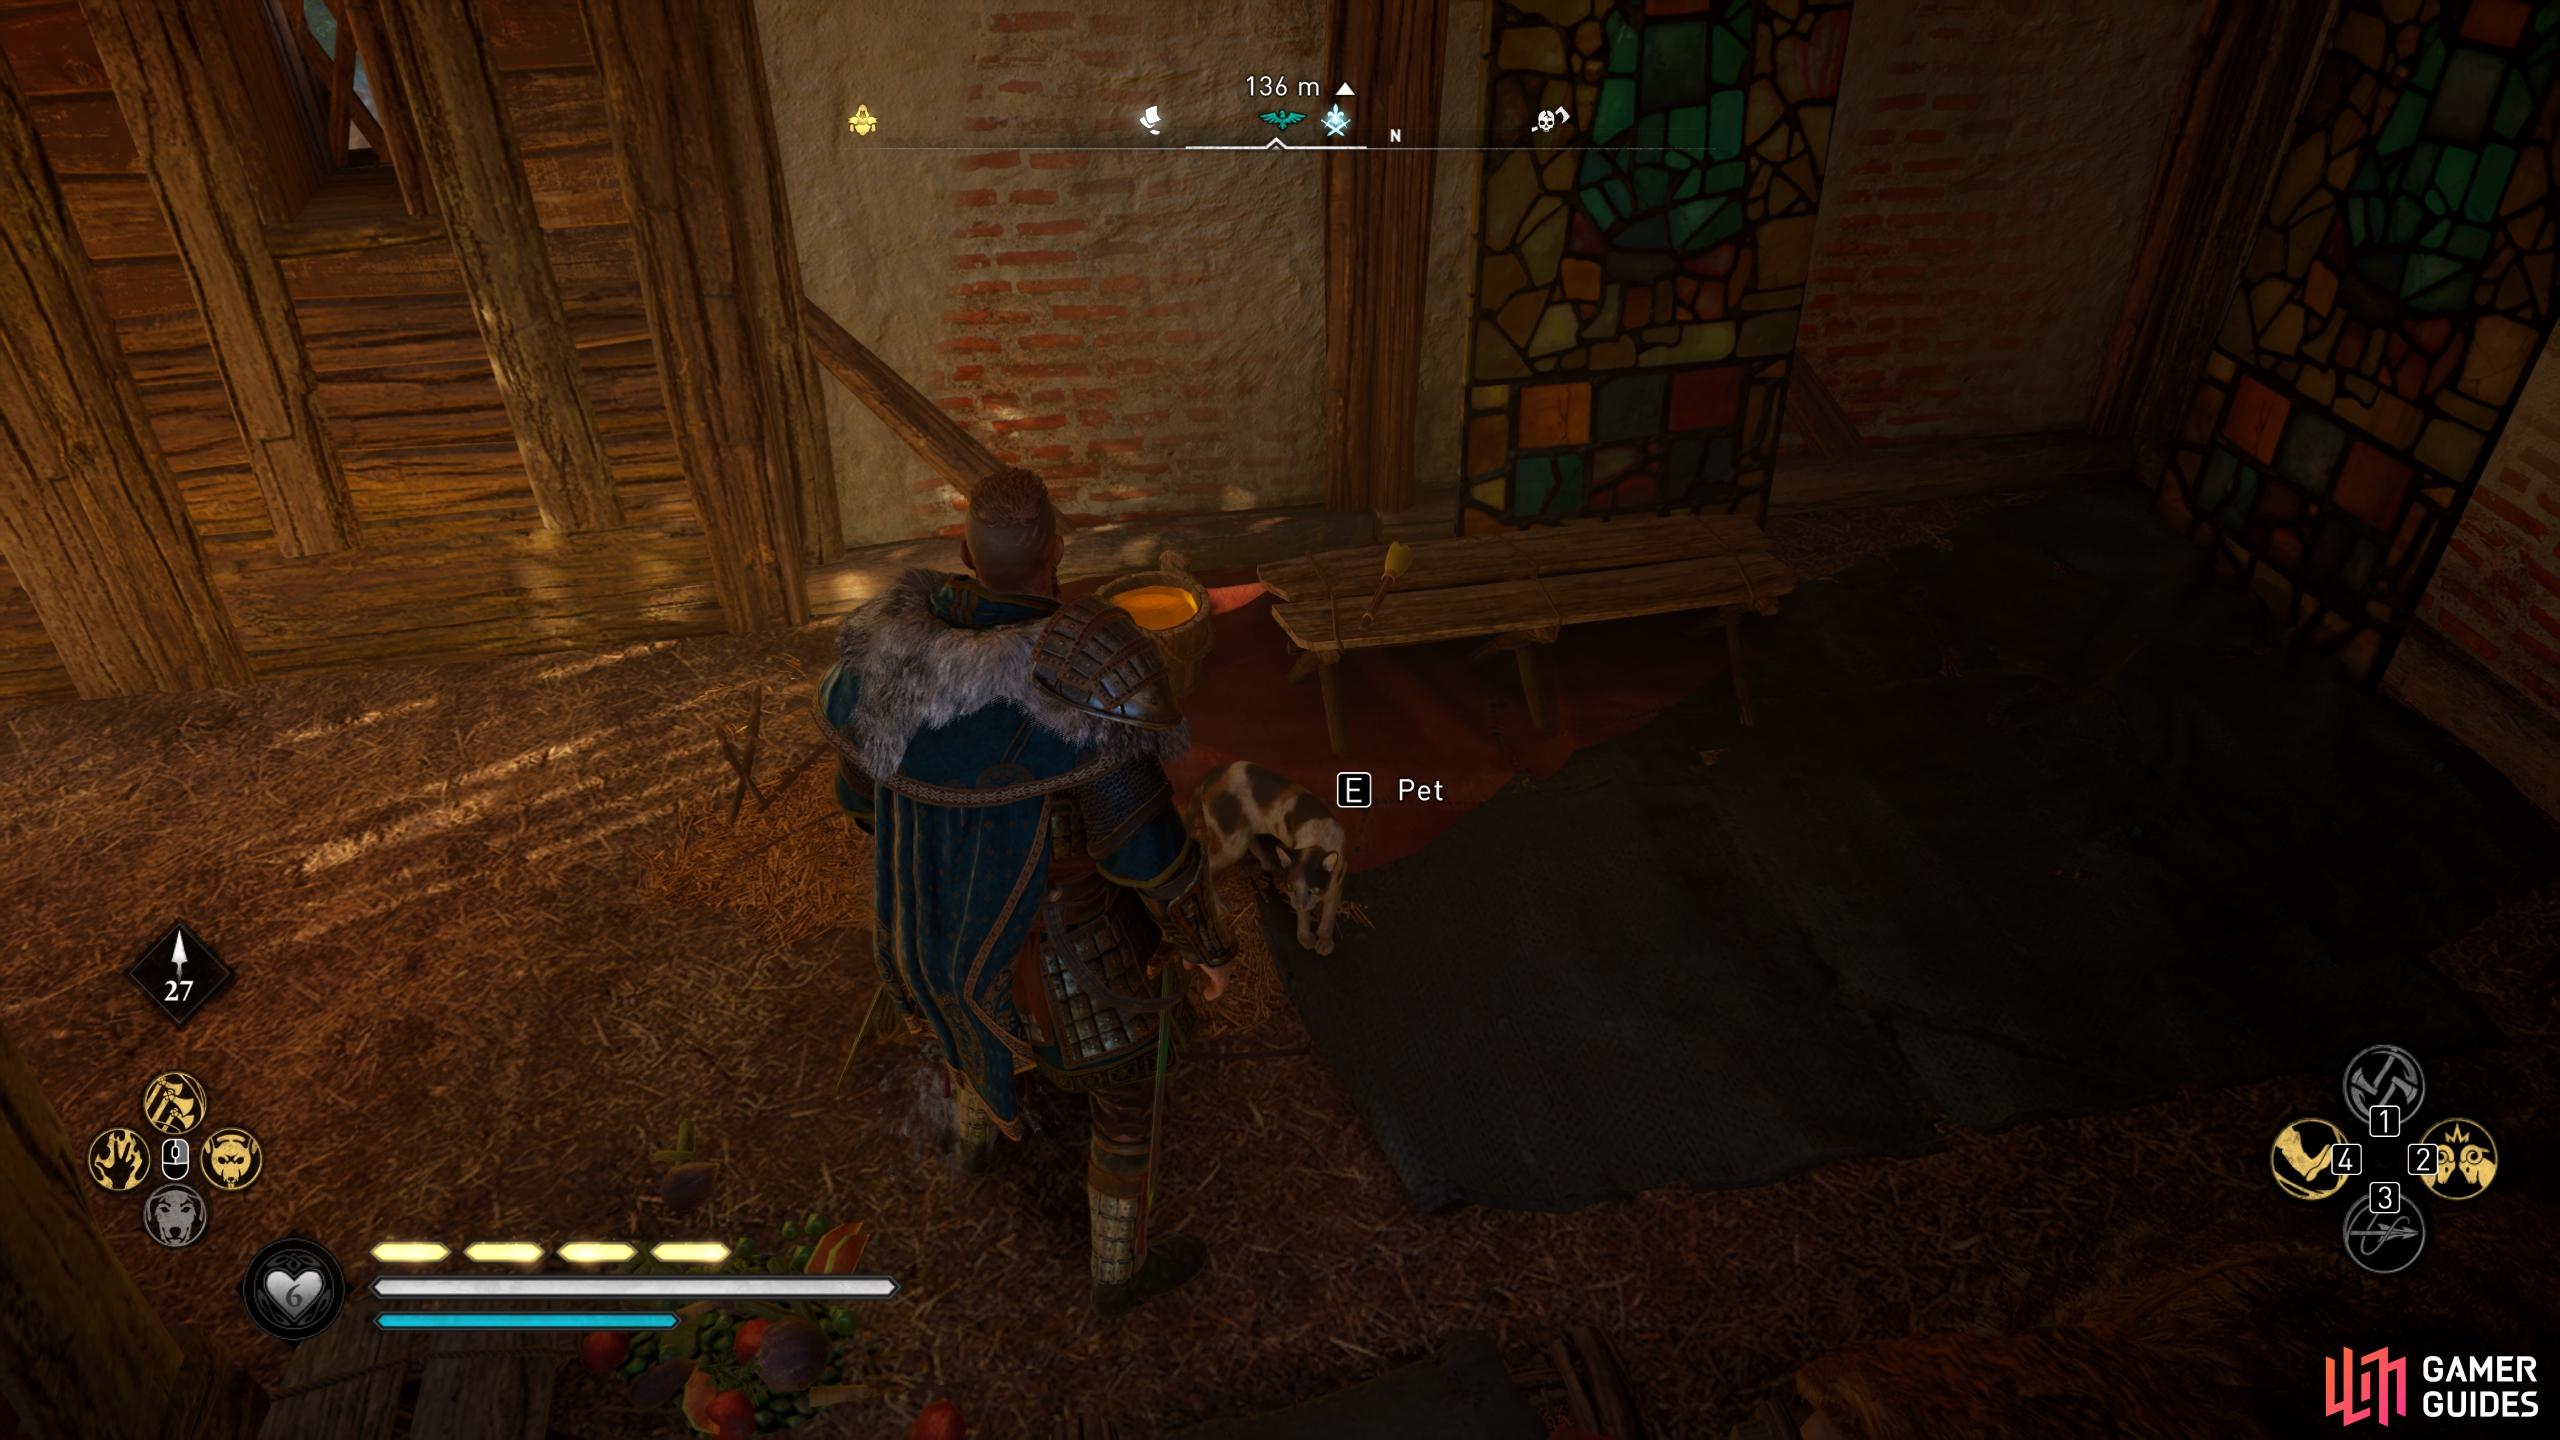
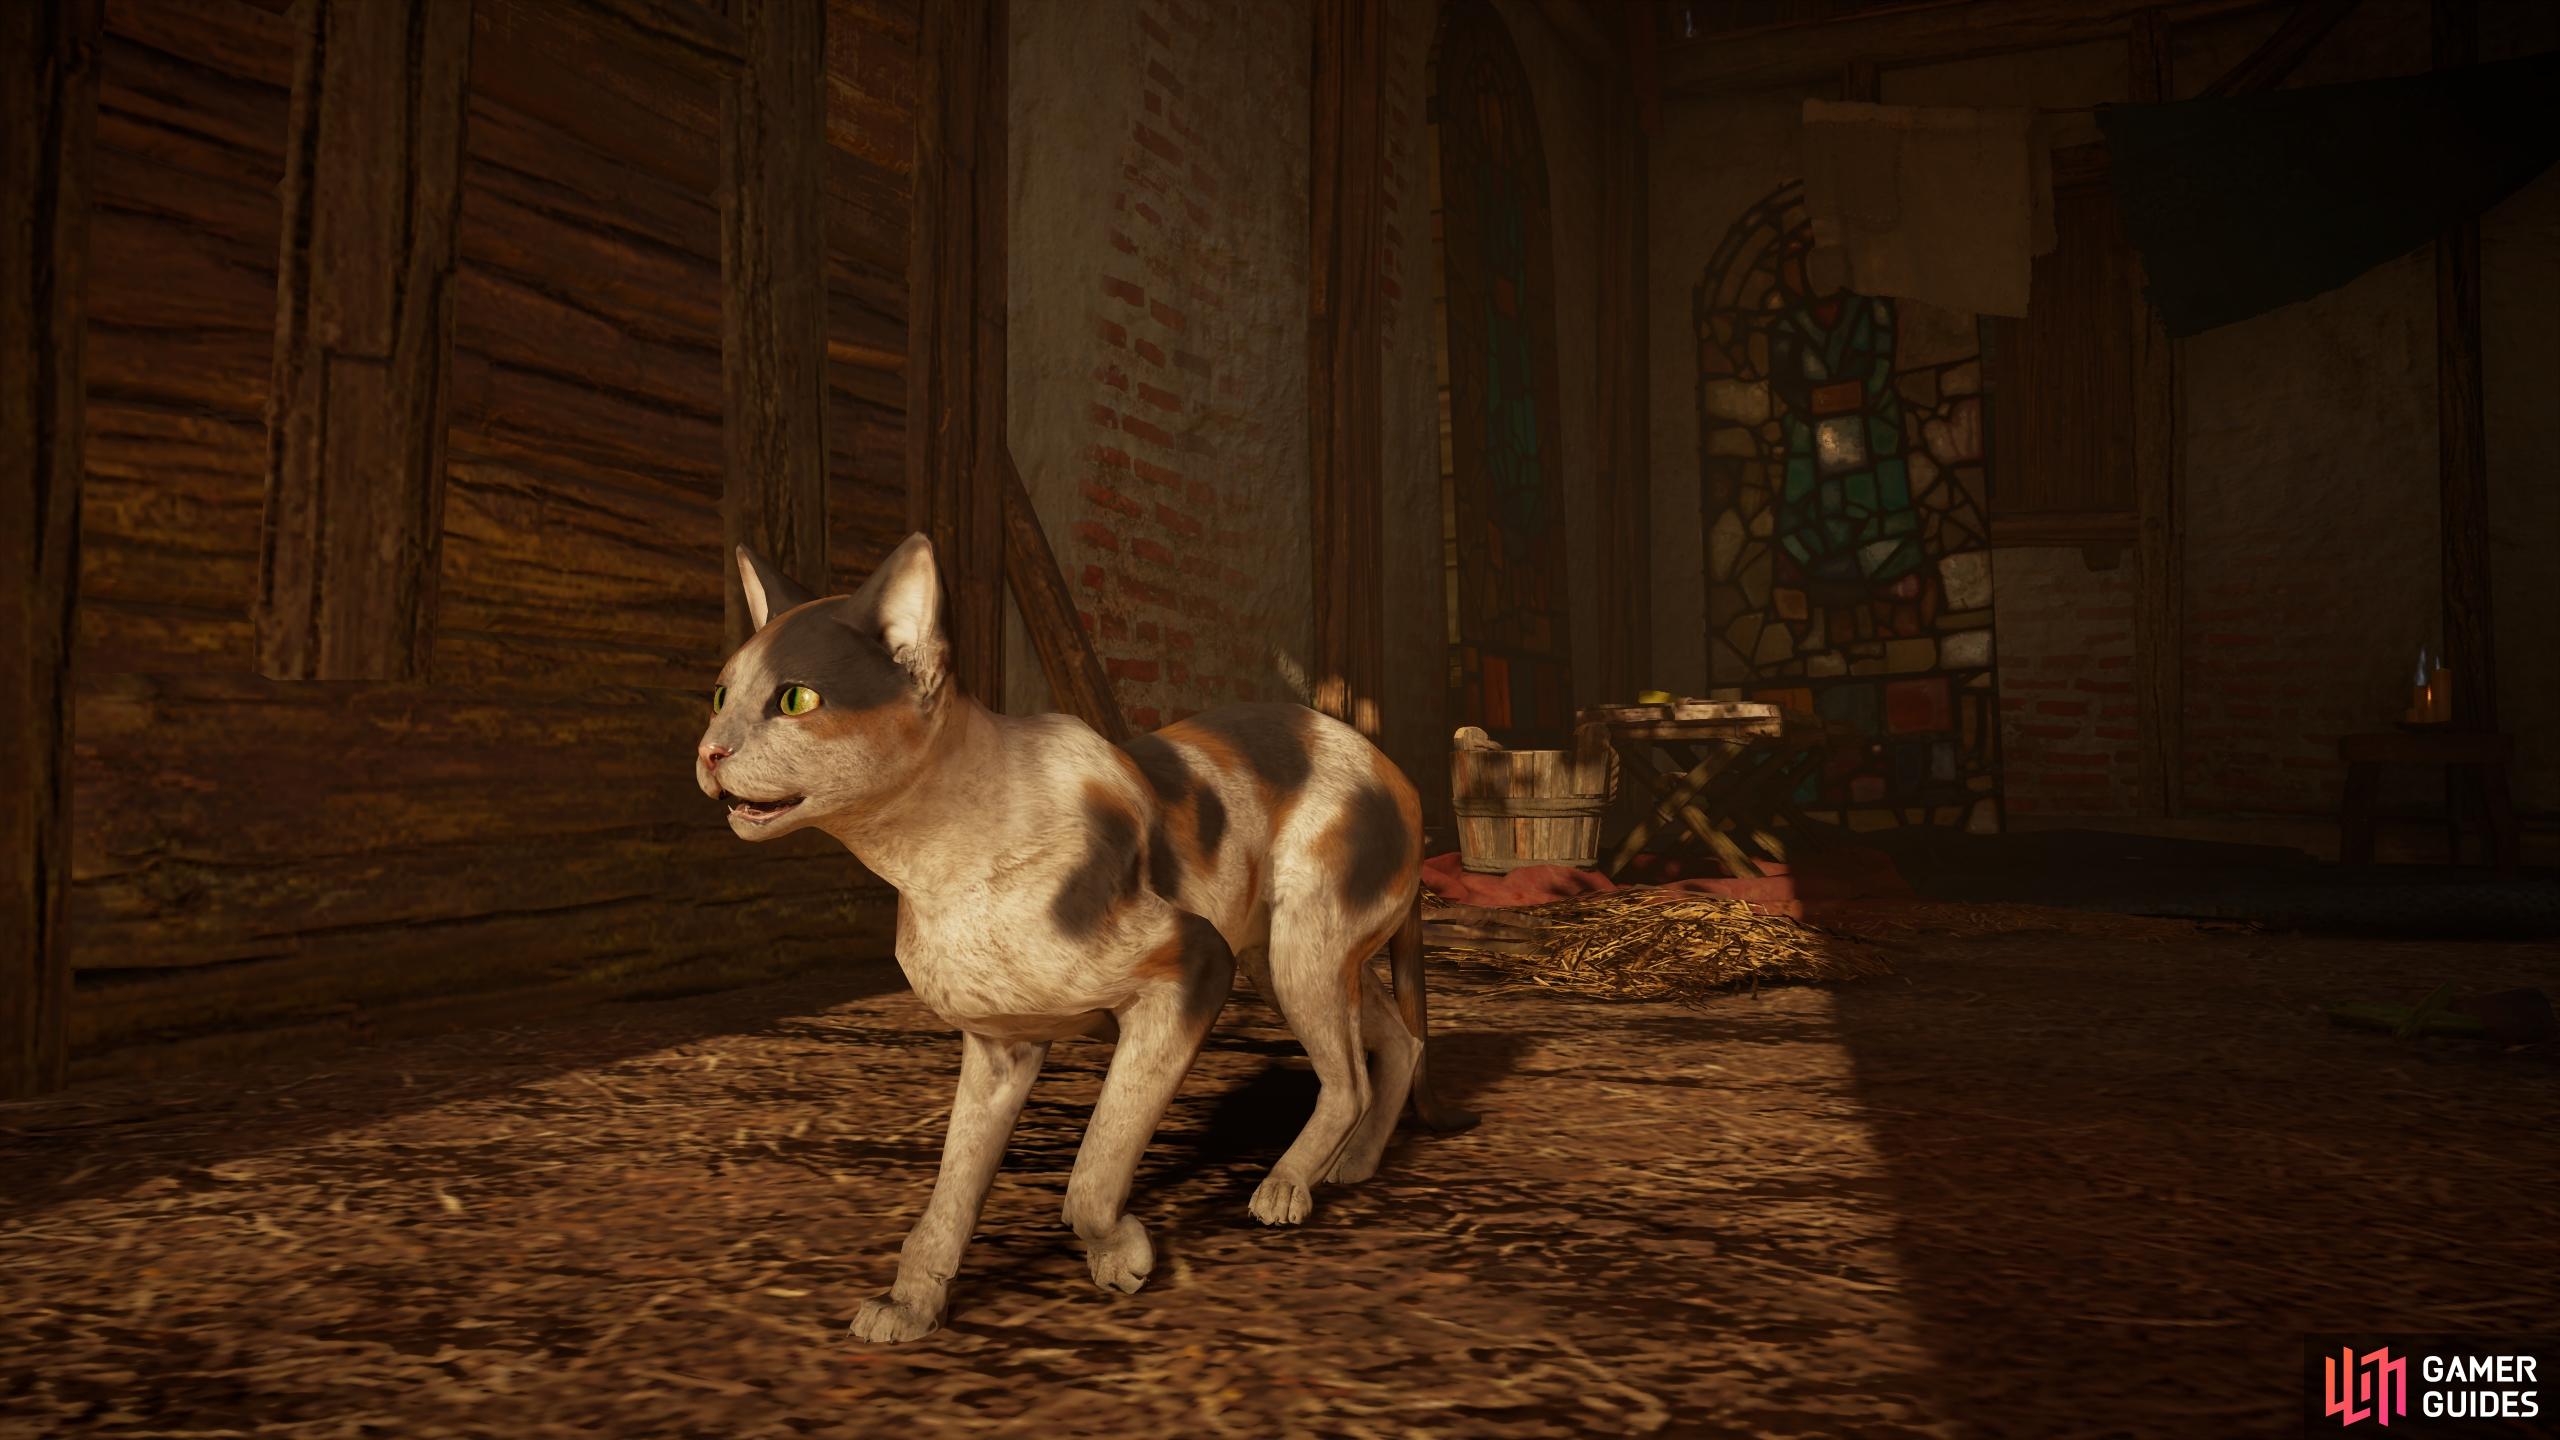
To unlock this achievement, you’ll need to pat all four cats which can be found in Evreux, Francia, part of the Siege of Paris DLC. Where to Find the Cats of EvreuxThere are four cats to be found in Evreux, and three of them can often be found in the same place, walking around the main square of Evreux, just south of the church steps and around the market to the west. The cats will sometimes venture away from this area, but if you’re having any trouble finding them, you can reload to the synchronization point and they should appear back at the market. In any case, since there are only four cats to be found, each with distinctive colors, you shouldn’t have much trouble finding them all. The fourth cat can be found in a house surrounded by stained glass, commissioned by Count Odo. We’ll show you exactly where to find the house below. (1 of 2) You’ll find Evreux in the west of Francia. You’ll find Evreux in the west of Francia. (left), Three of the cats can be found near the main square, in the north of the town. (right) Where to Find the Orange CatYou’ll find this cat walking around the market and the steps to the church at the northern side of the town. (1 of 2) The orange cat can often be found walking around the market and the church steps. The orange cat can often be found walking around the market and the church steps. (left), The colors of the orange cat. (right) Where to Find the Grey-White Cat with Black StripesThis one can also be found walking around the church and the market, but is most often found in the market stalls. (1 of 2) The grey-white cat with black stripes is most often found by the market stalls in the north of Evreux. The grey-white cat with black stripes is most often found by the market stalls in the north of Evreux. (left), The colors of the grey-white cat. (right) Where to Find the Black-Brown CatIn our experience, this cat mostly enjoys walking at the bottom of the church steps in the north of Evreux. (1 of 2) You’ll most likely find the black-brown cat on the steps to the church. You’ll most likely find the black-brown cat on the steps to the church. (left), The colors of the black -brown cat. (right) Where to Find the White, Orange, and Dark Brown CatThis is the only cat in Evreux that will stay in the same place: in a small house in the south of the town. The house is surrounded by stained glass, so it’s easy to spot. You can enter the house by shooting through the wooden barricade on its southwestern side, or by jumping through the window on the southeastern side. You’ll probably need to wake the cat with a whistle before you can pat it. (1 of 4) The location of the house with the cat in the south of Evreux. |
|||||||||||||||||||||||||||||||||||||||||||||||

|
It's All in the WristKill 30 enemies with an Atgeir (Dawn of Ragnarök) |
0.69% Ultra Rare | 30 | ||||||||||||||||||||||||||||||||||||||||||||
|
This Trophy / Achievement is as simple as they get. All you need to do is acquire an Atgeir during the Dawn of Ragnarök DLC, then use it to kill at least 30 enemies in Svartalfheim. There are a number of Atgeir’s to be found in this region, but Thorgrim’s Dying Breath may be the easiest to obtain early on. |
|||||||||||||||||||||||||||||||||||||||||||||||

|
Overdesign IIWhile on fire during a fight, kill 3 hard difficulty soldiers without breaking their shields |
0.74% Ultra Rare | 30 | ||||||||||||||||||||||||||||||||||||||||||||
|
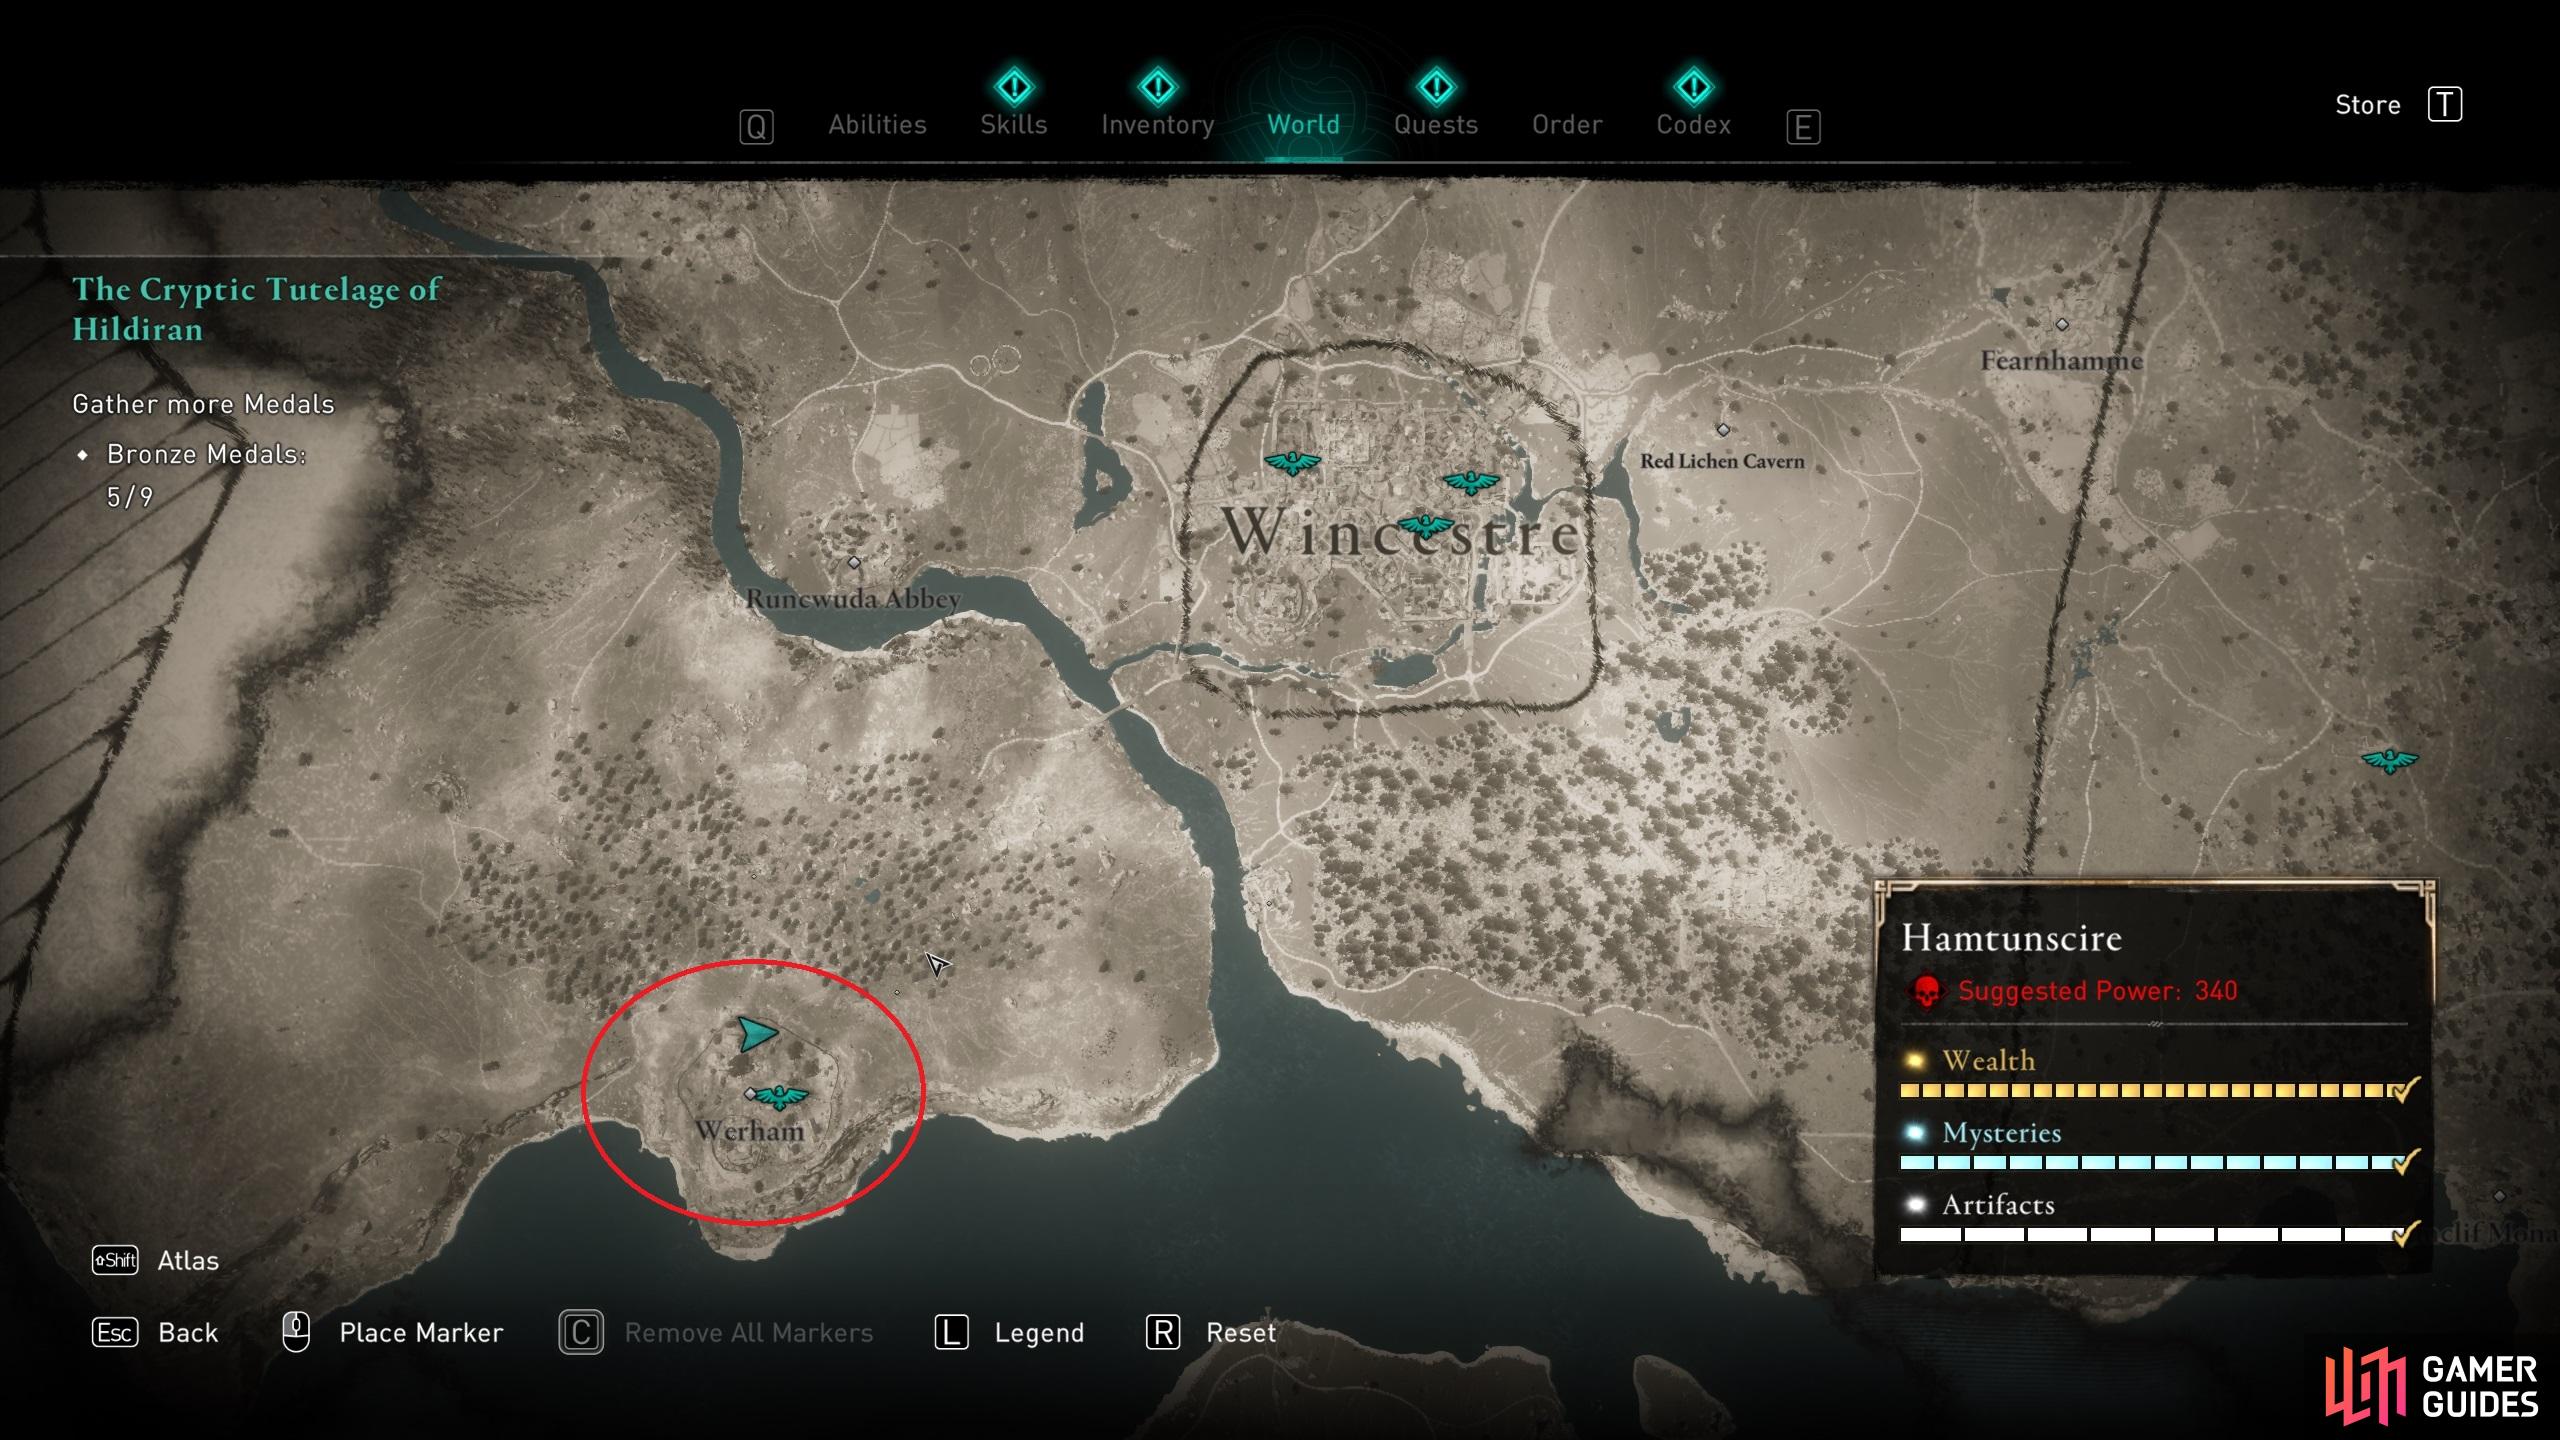
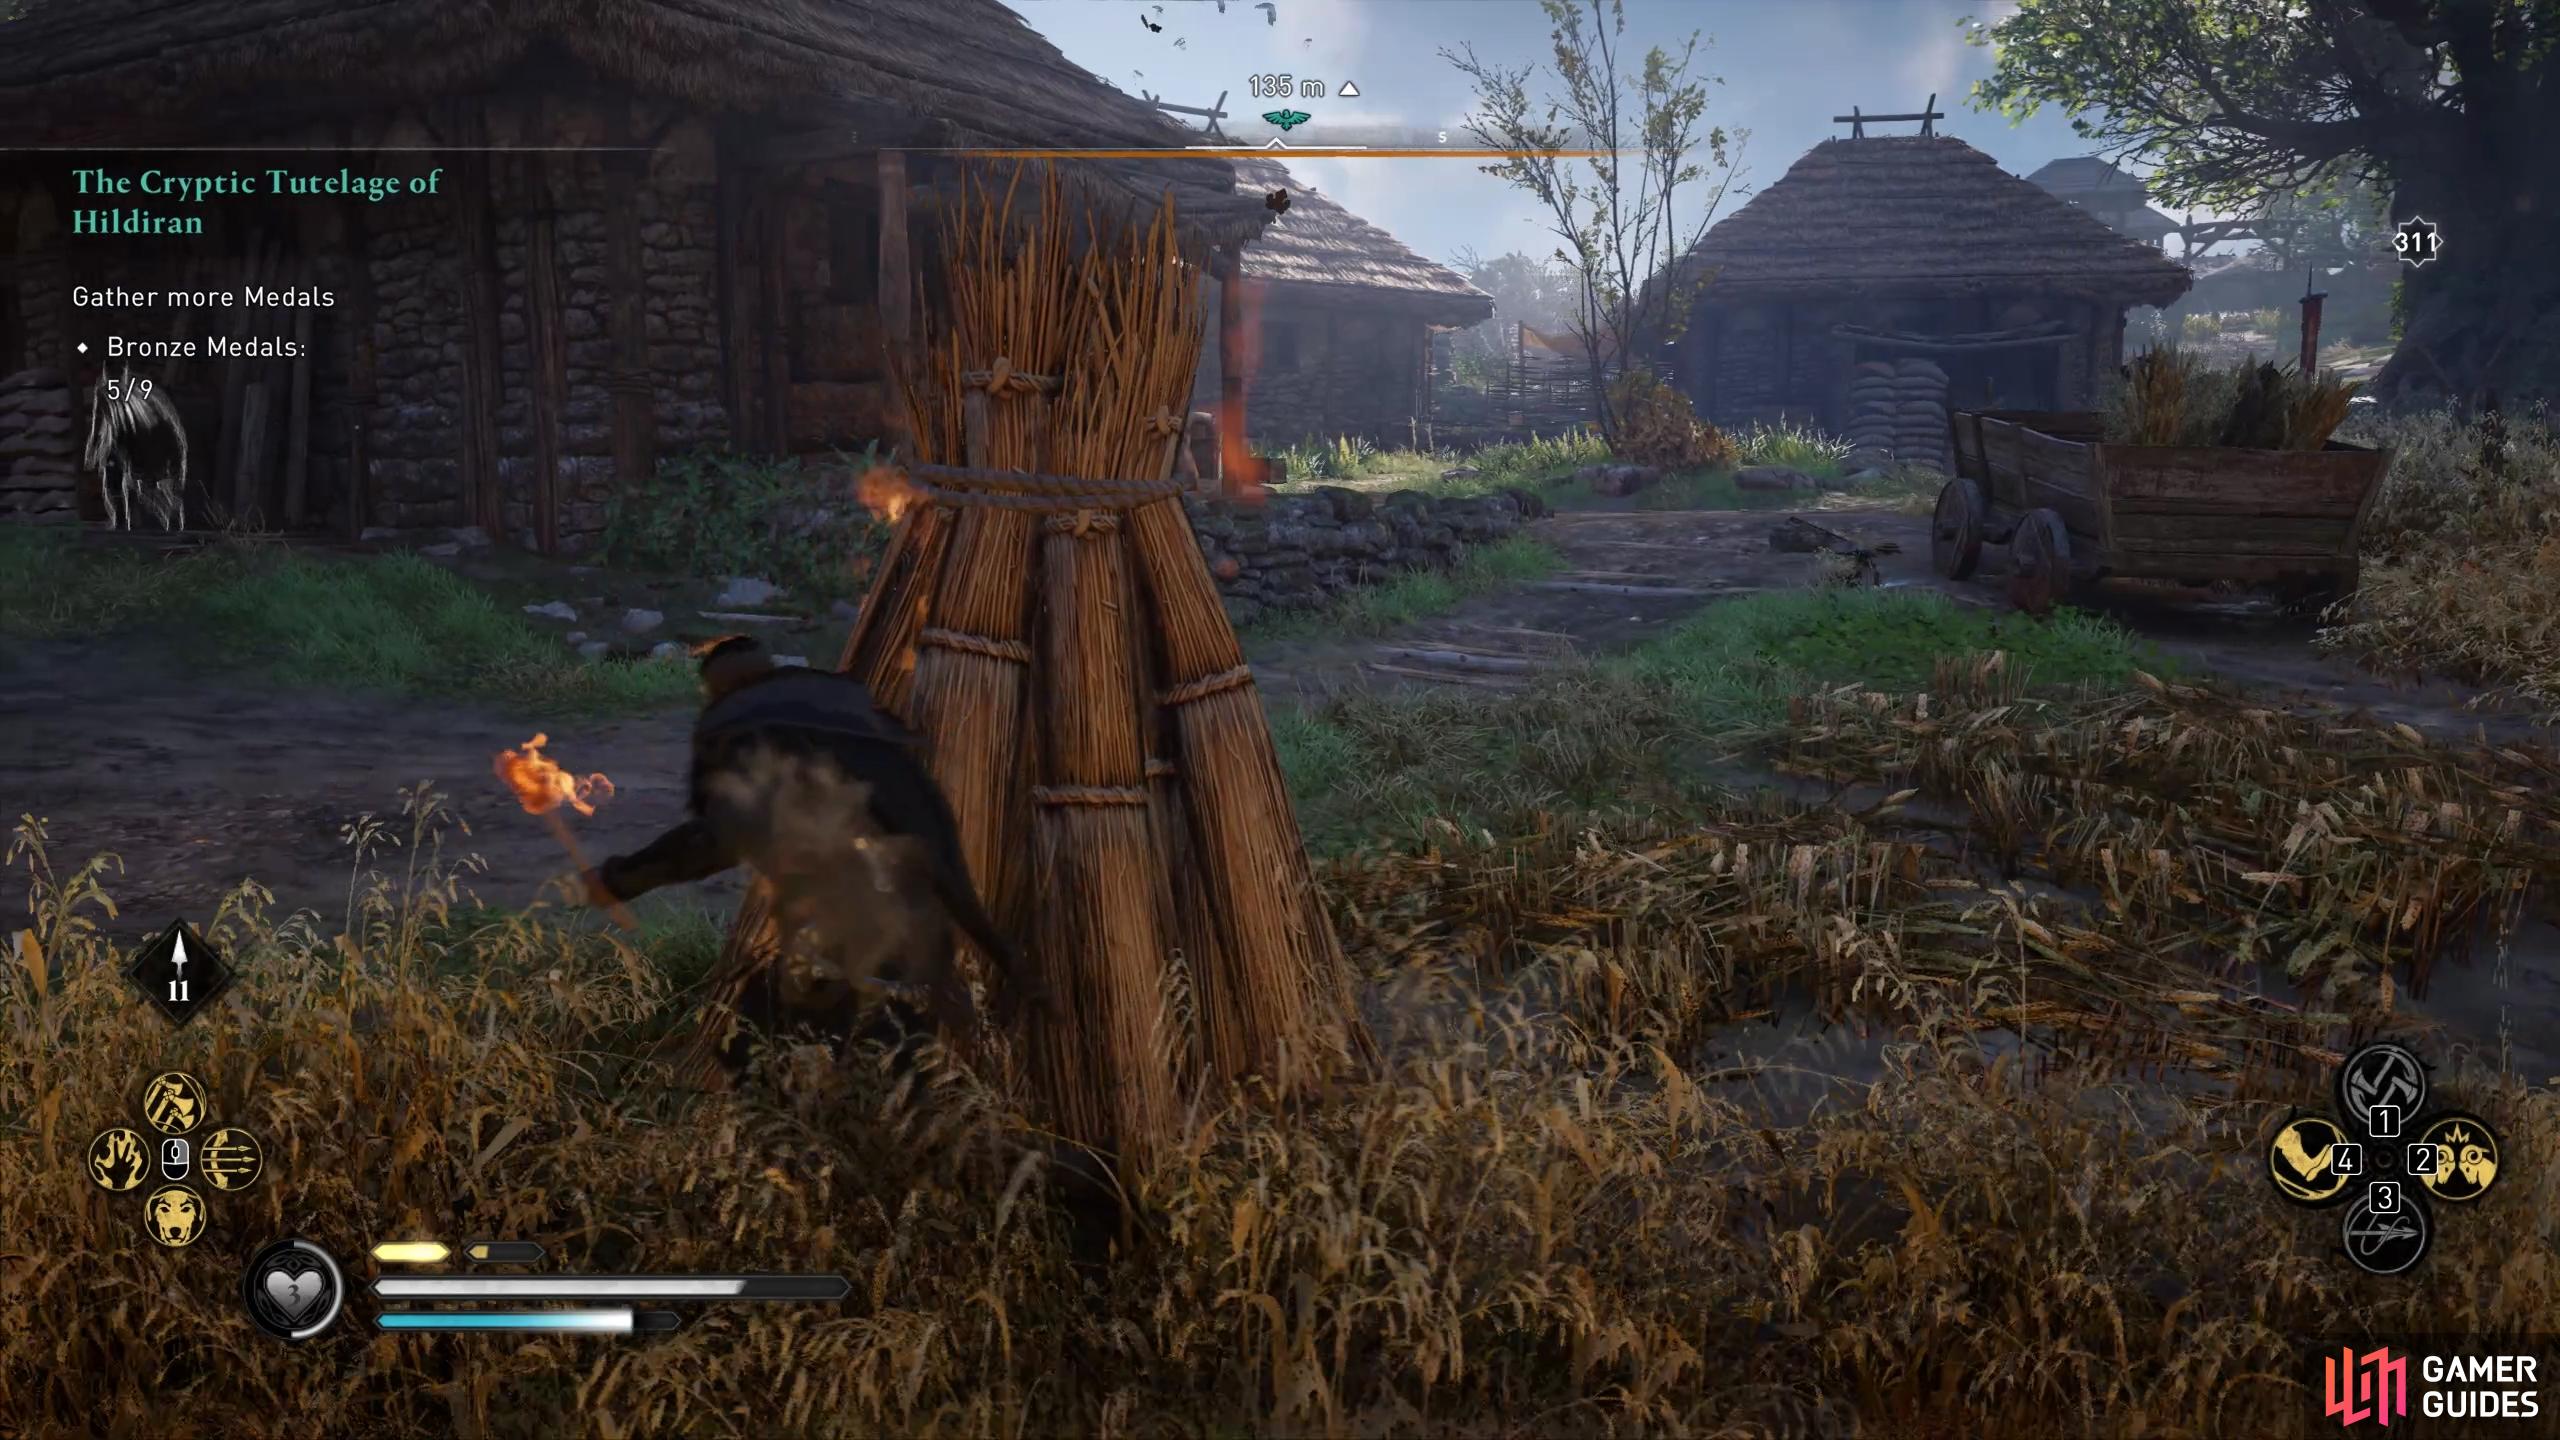
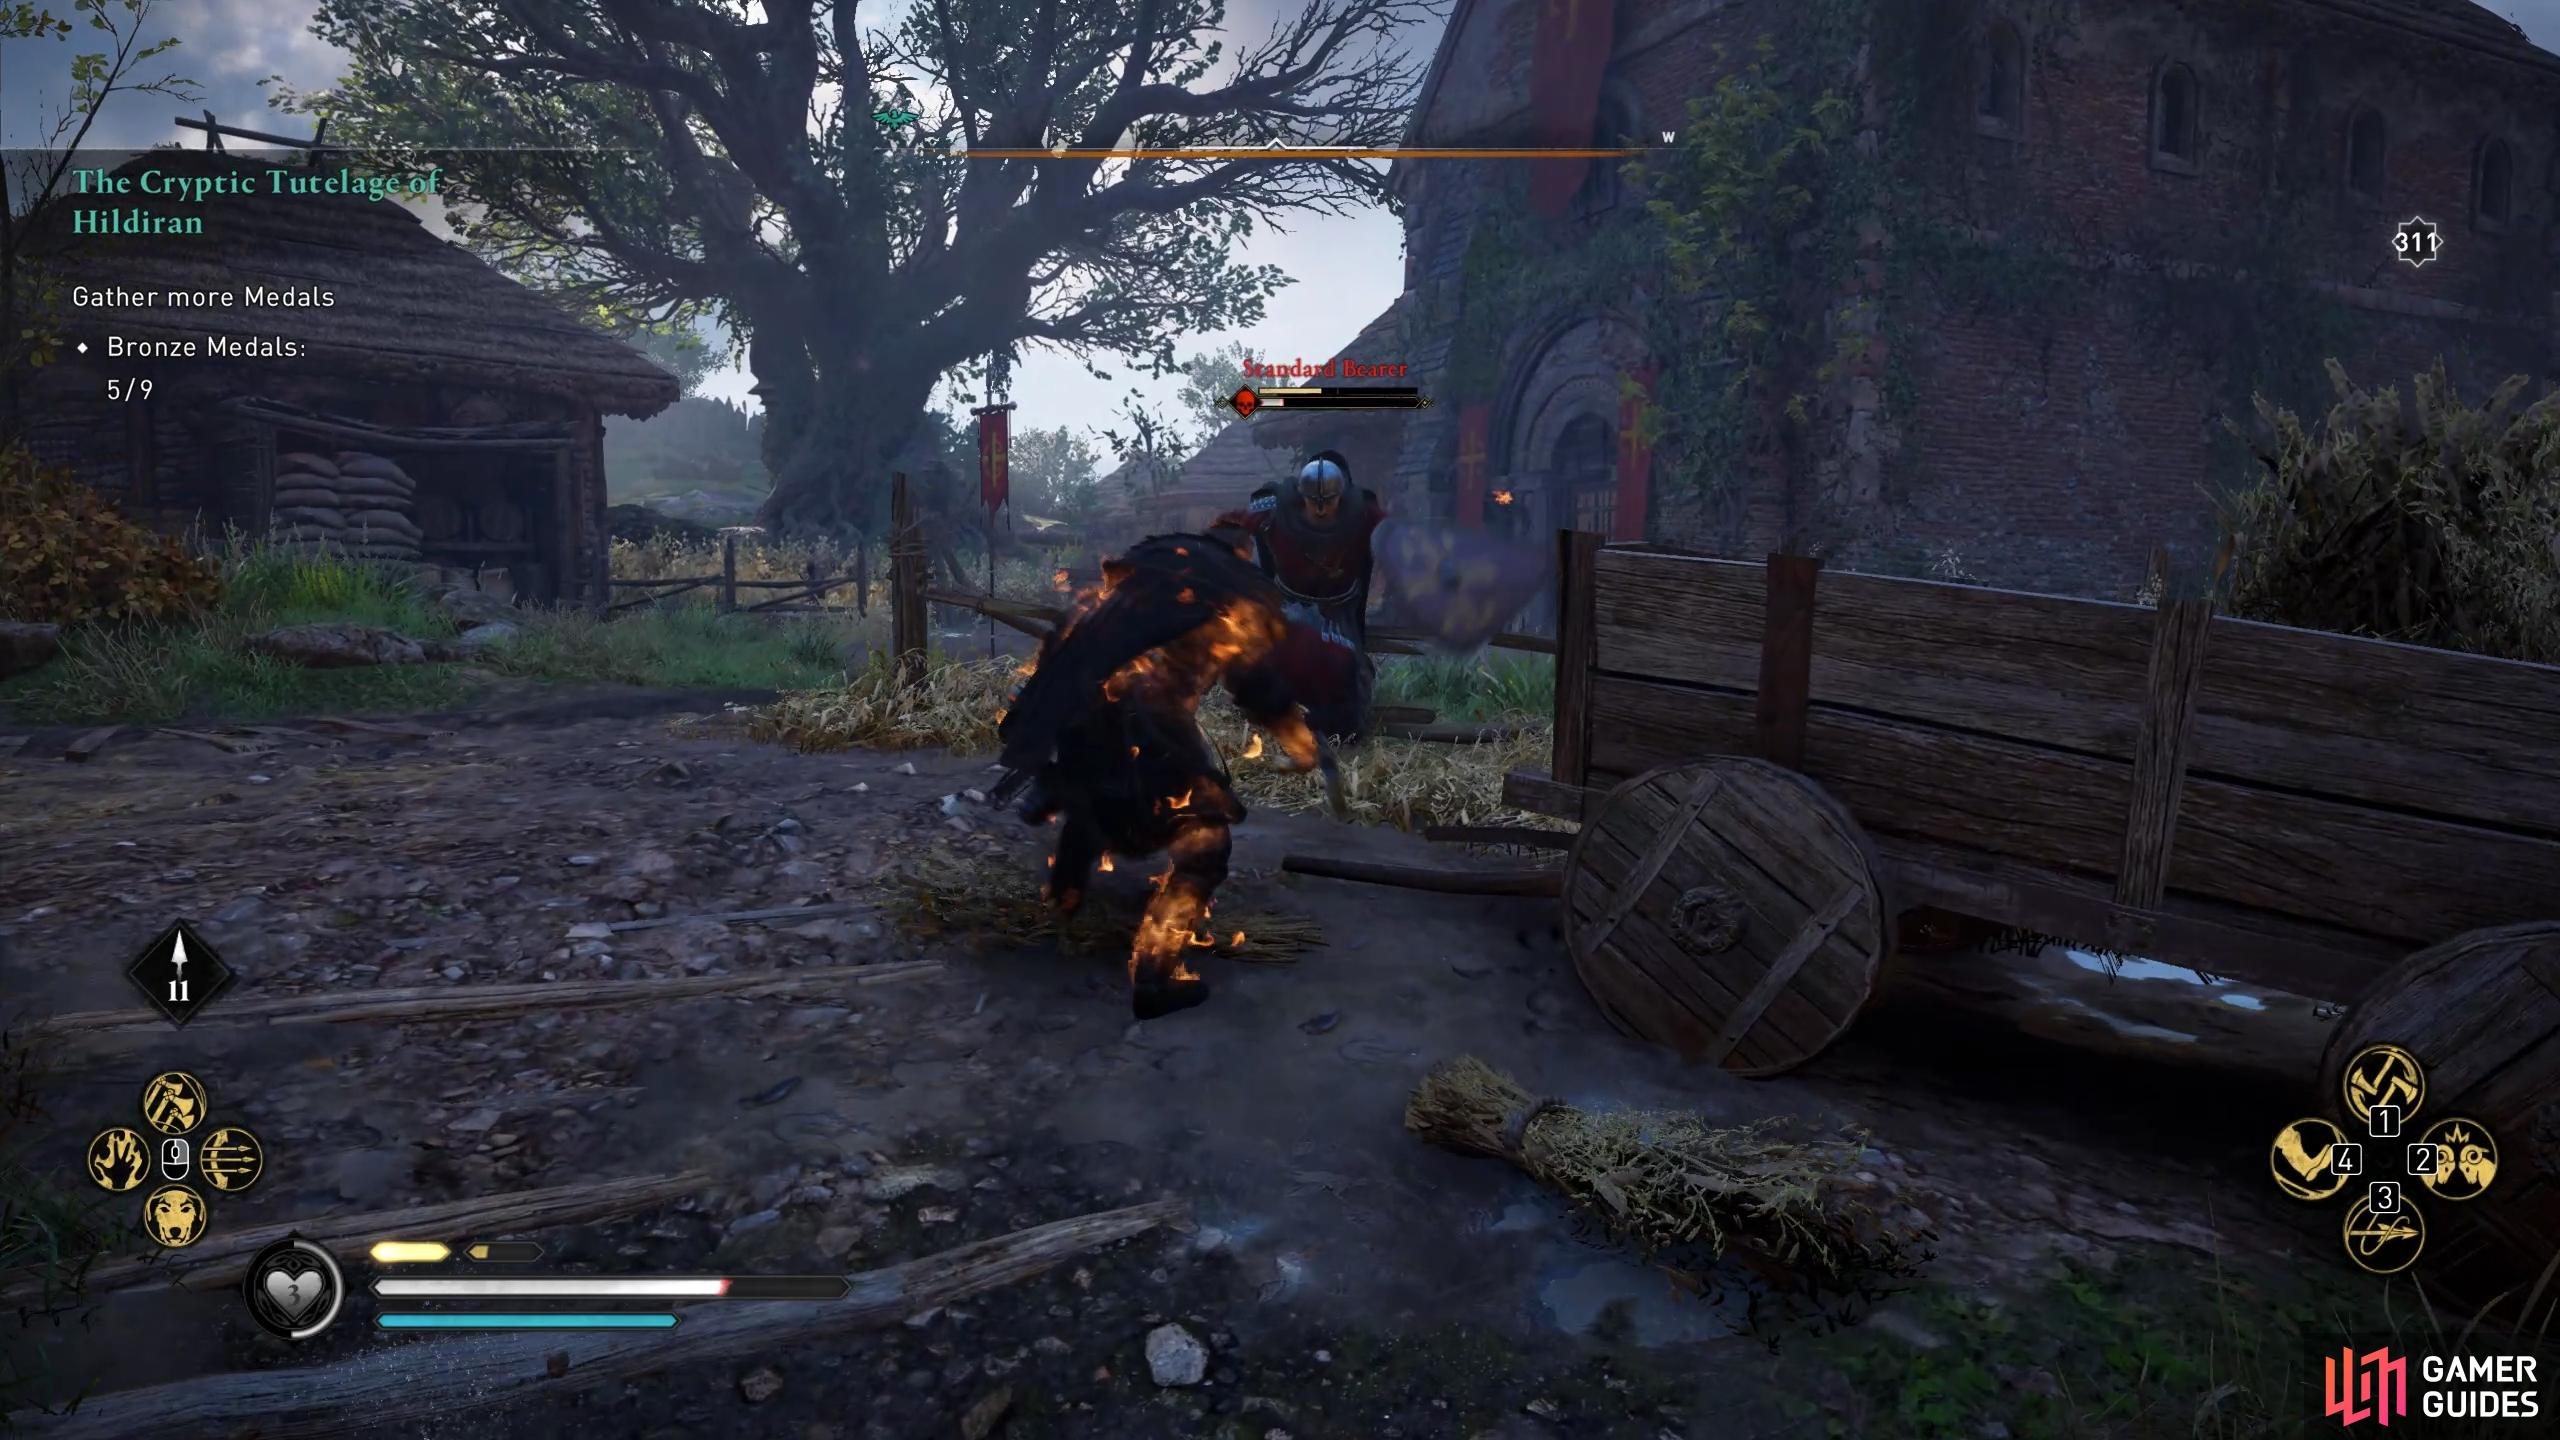
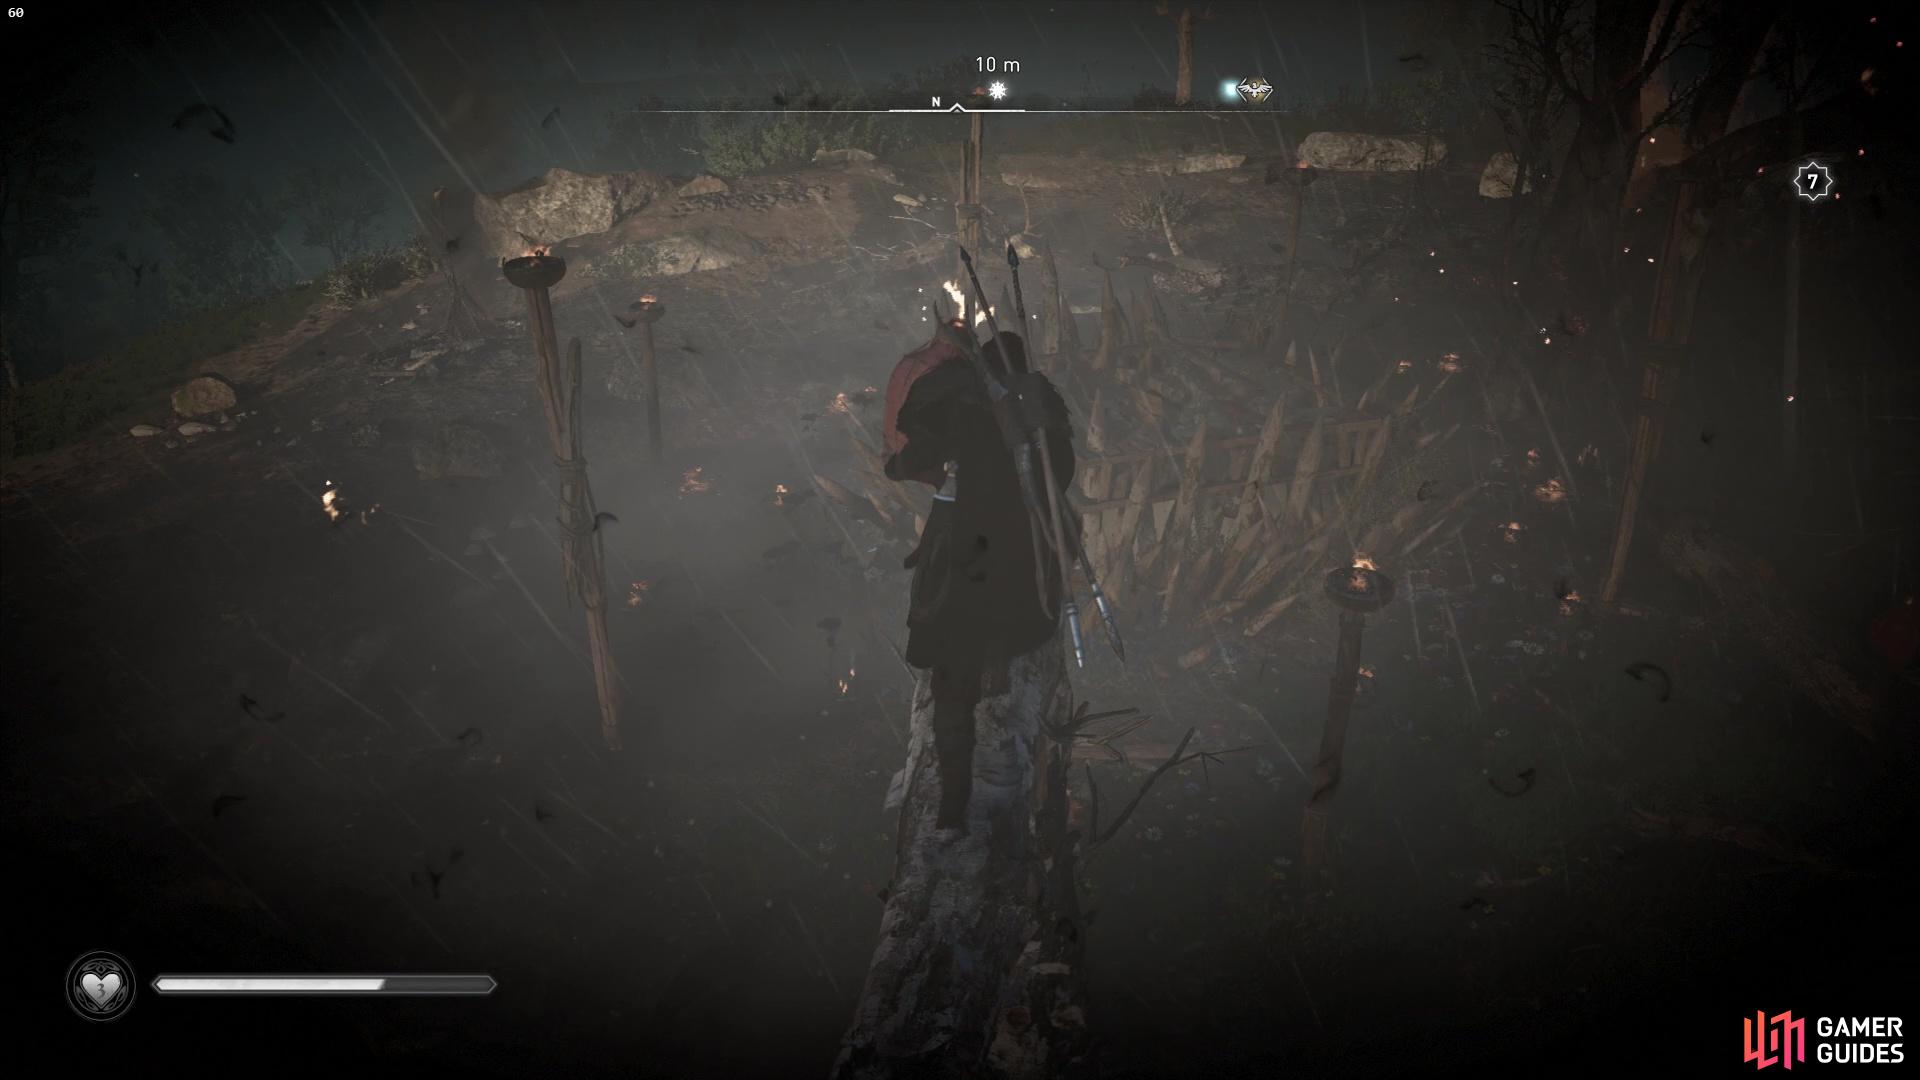
This Trophy / Achievement is obtained by killing 3 hard difficulty soldiers while on fire during a fight. A hard difficulty soldier is any soldier which is significantly higher level than you, to the point where a red skull is shown at the side of their health bar, as shown in the screenshot below. One of the easiest places to get this trophy done is at Werham, the small village and military barracks located southwest of Wincestre. Here you’ll find at least 4 Standard Bearers, mobs that always carry shields, which you can kill for the trophy. The first thing you should do is weaken the Standard Bearers by damaging them until they have only a small amount of their health remaining. You should do this in ways which don’t risk destroying their shields, so try attacking them from behind, shooting them from the side, or waiting for them to strike to then retaliate with a series of swift light attacks. You don’t need to bring all 3 down to a low health at once, since there’s no time limit between each kill. You can even come out of combat and then back into it after killing the first mob while on fire. To get yourself on fire, use your torch to set fire to the nearby haystacks. You can then stand near them until you catch fire. At this point you can shoot at the Standard Bearers or charge them from the side / behind to finish them off while you remain on fire. The Sprint Attack (Way of the Wolf) skill will be useful to briefly break the defences of the mobs, allowing you to finish them off quickly. Make sure you attempt to kill the Standard Bearers as soon as you’re on fire, to avoid the risk of the fire going out just before you kill them. (1 of 3) The location of Werham, southwest of Wincestre, where you’ll find Standard Bearers. |
|||||||||||||||||||||||||||||||||||||||||||||||

|
VendangeKill an enemy with a scythe while wearing the full Reaper armor set (The Siege of Paris). |
0.84% Ultra Rare | 20 | ||||||||||||||||||||||||||||||||||||||||||||
|
To unlock this achievement, you need to equip the full Reaper armor set along with a scythe, then kill an enemy while using them. You can obtain the full Reaper armor set by completing Rebel Missions and then trading with Pierre. A scythe can be looted from wealth chests in Francia, including the Bloodied Scythe, the Wretched Scythe, the Scythe of Tribulation, and the Scythe of Revolt, which is obtained during the Majesty in the Dark main quest. |
|||||||||||||||||||||||||||||||||||||||||||||||

|
Flying FortressReach a Muspelheim Monolith (Dawn of Ragnarök) |
0.99% Ultra Rare | 10 | ||||||||||||||||||||||||||||||||||||||||||||
|
To unlock this Trophy / Achievement, you’ll need to use the Power of the Raven ability. This will allow you to fly up to a Muspelheim Monolith in Svartalfheim, part of the Dawn of Ragnarök DLC. These monoliths are scattered throughout the region, hovering in the sky, so you can miss them. On each one you’ll find a landing area near the centre, where you will encounter some Muspel enemies. However, all you need to do to unlock the achievement is fly to one of these landing platforms. You can kill the Muspels there to regain some Hugr if necessary. |
|||||||||||||||||||||||||||||||||||||||||||||||

|
Expert StorytellerTell Kára a Tale with at least four Boasts (Dawn of Ragnarök) |
1.02% Ultra Rare | 40 | ||||||||||||||||||||||||||||||||||||||||||||
|
This Trophy / Achievement is unlocked after you complete a battle tale using at least four Boasts at the Valkyrie Arena with Kára. You can see our How to Complete Kara’s Tale Challenges for a full breakdown of all tales, boasts, and everything else related to the arena battles. |
|||||||||||||||||||||||||||||||||||||||||||||||

|
Row RageRam and destroy 5 boats in under 2 minutes with your longship |
1.26% Ultra Rare | 20 | ||||||||||||||||||||||||||||||||||||||||||||
|
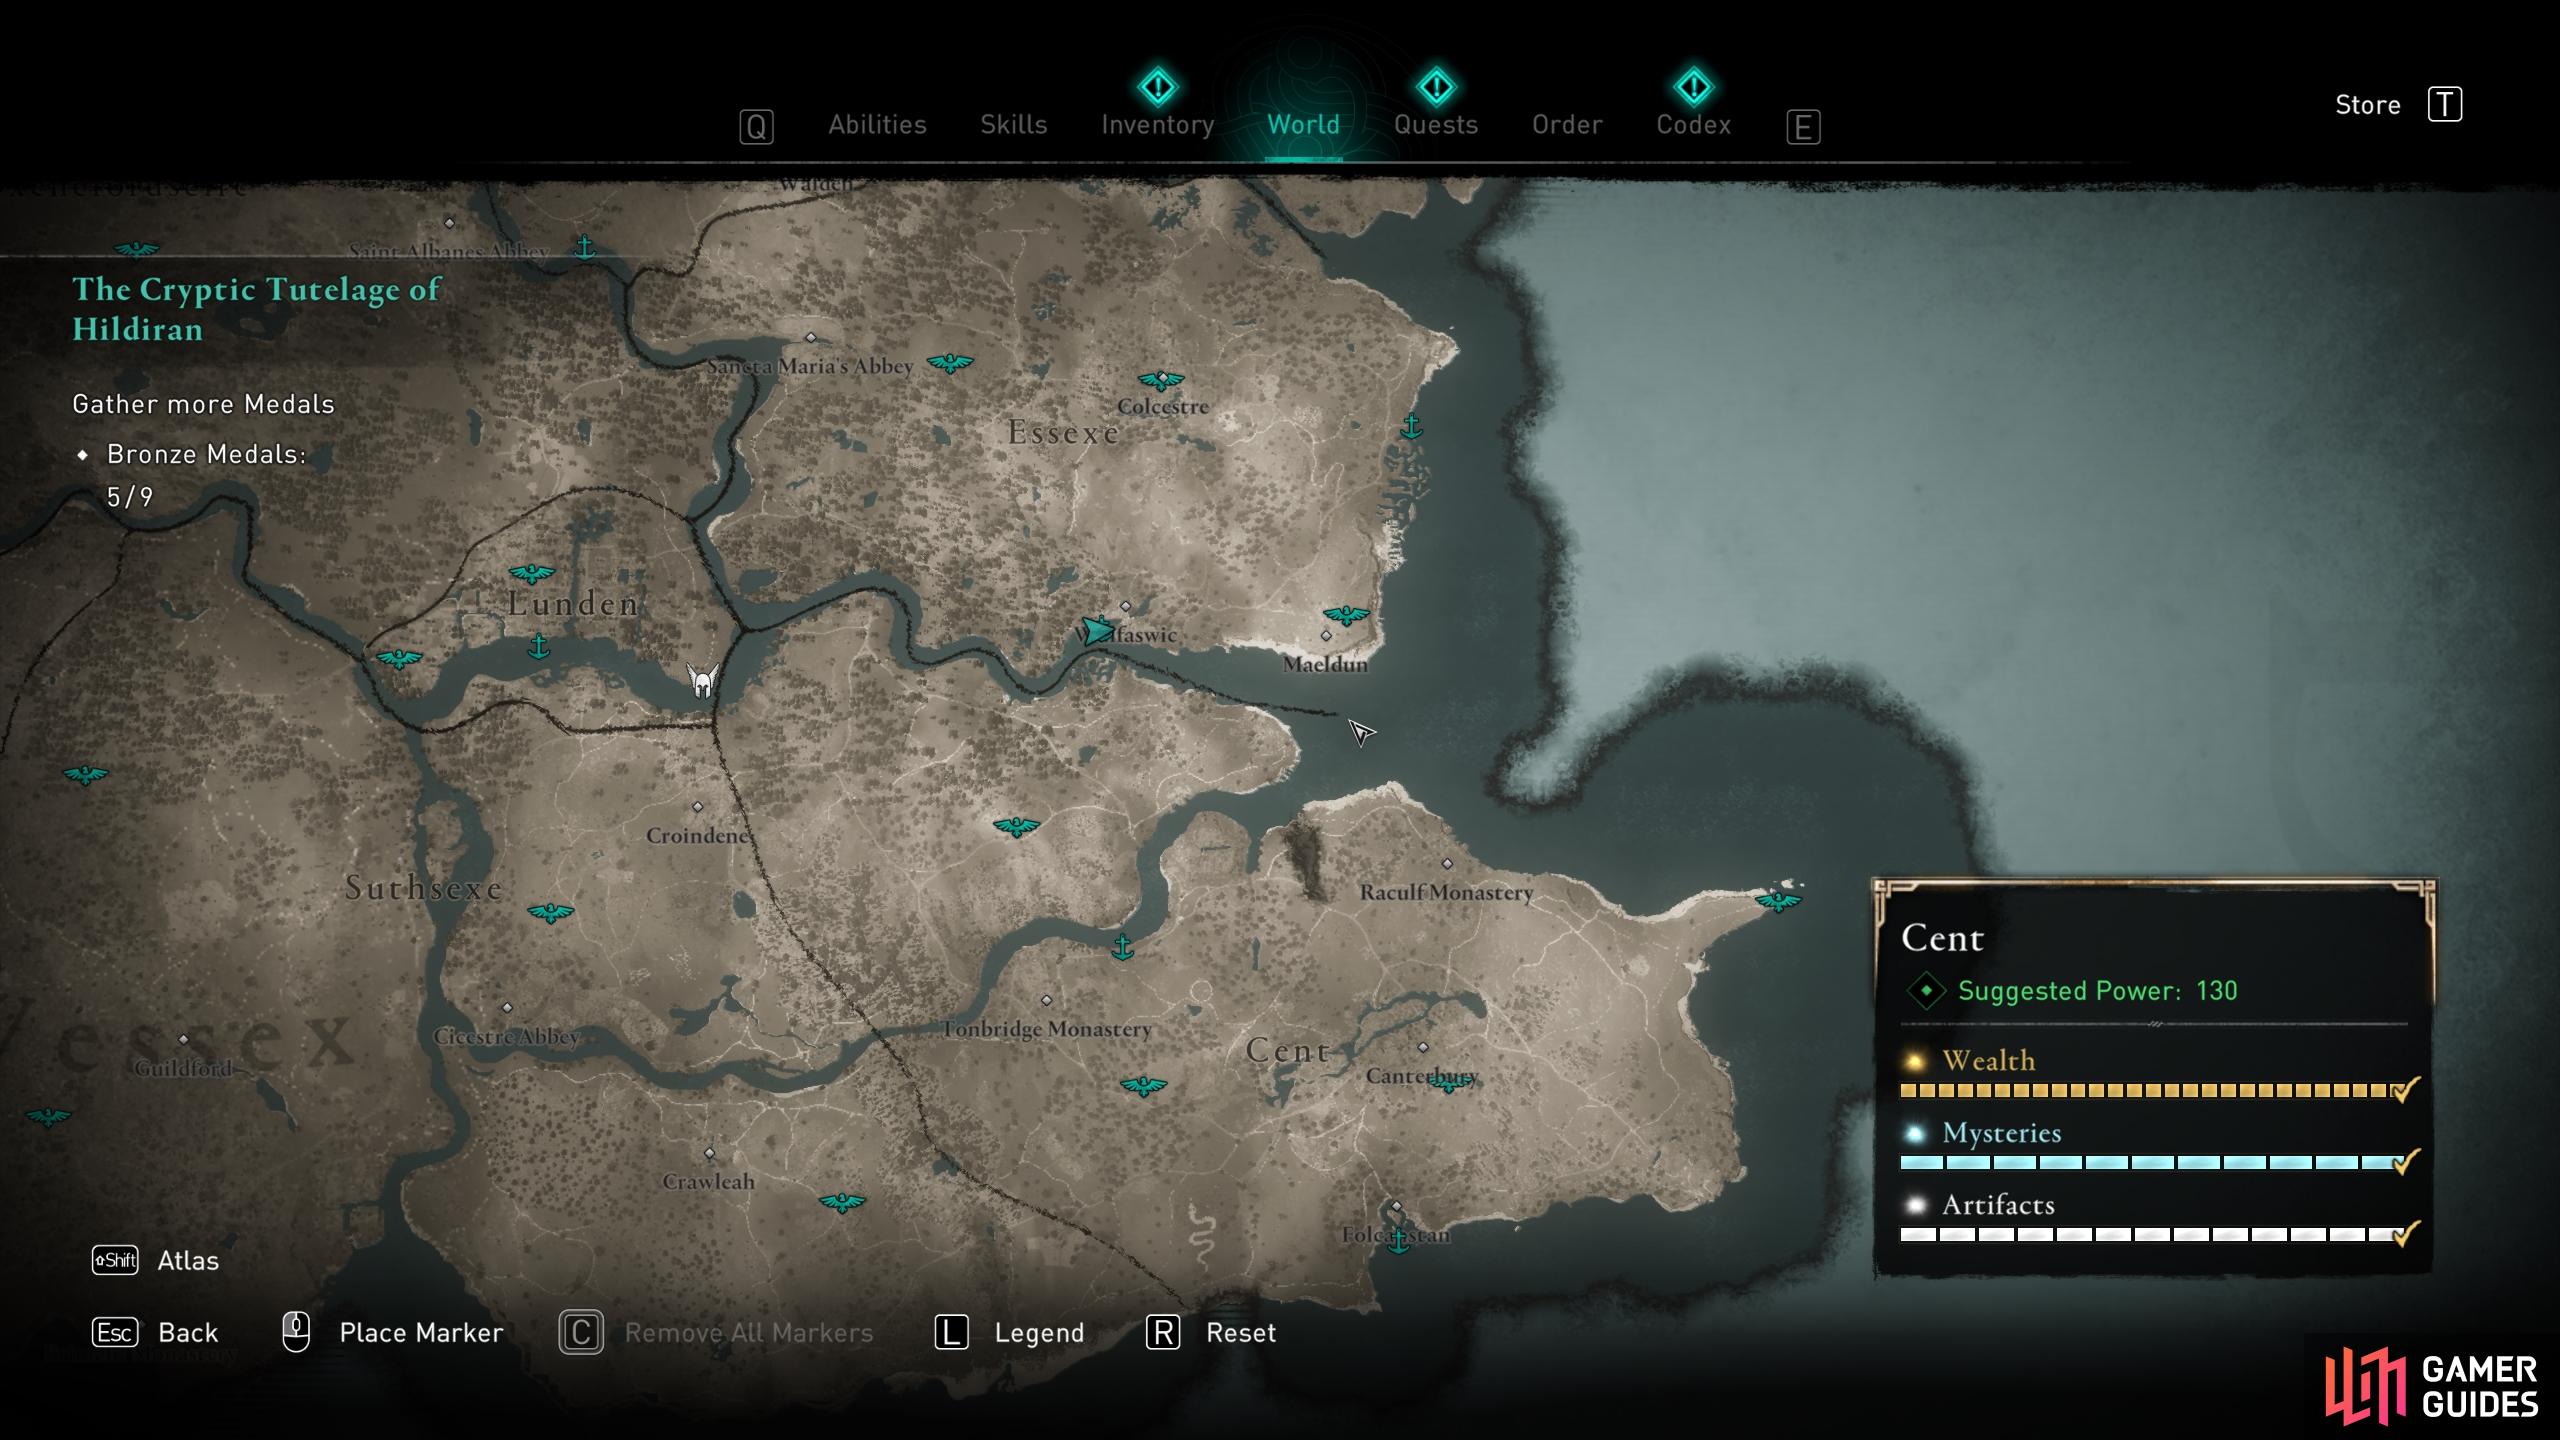
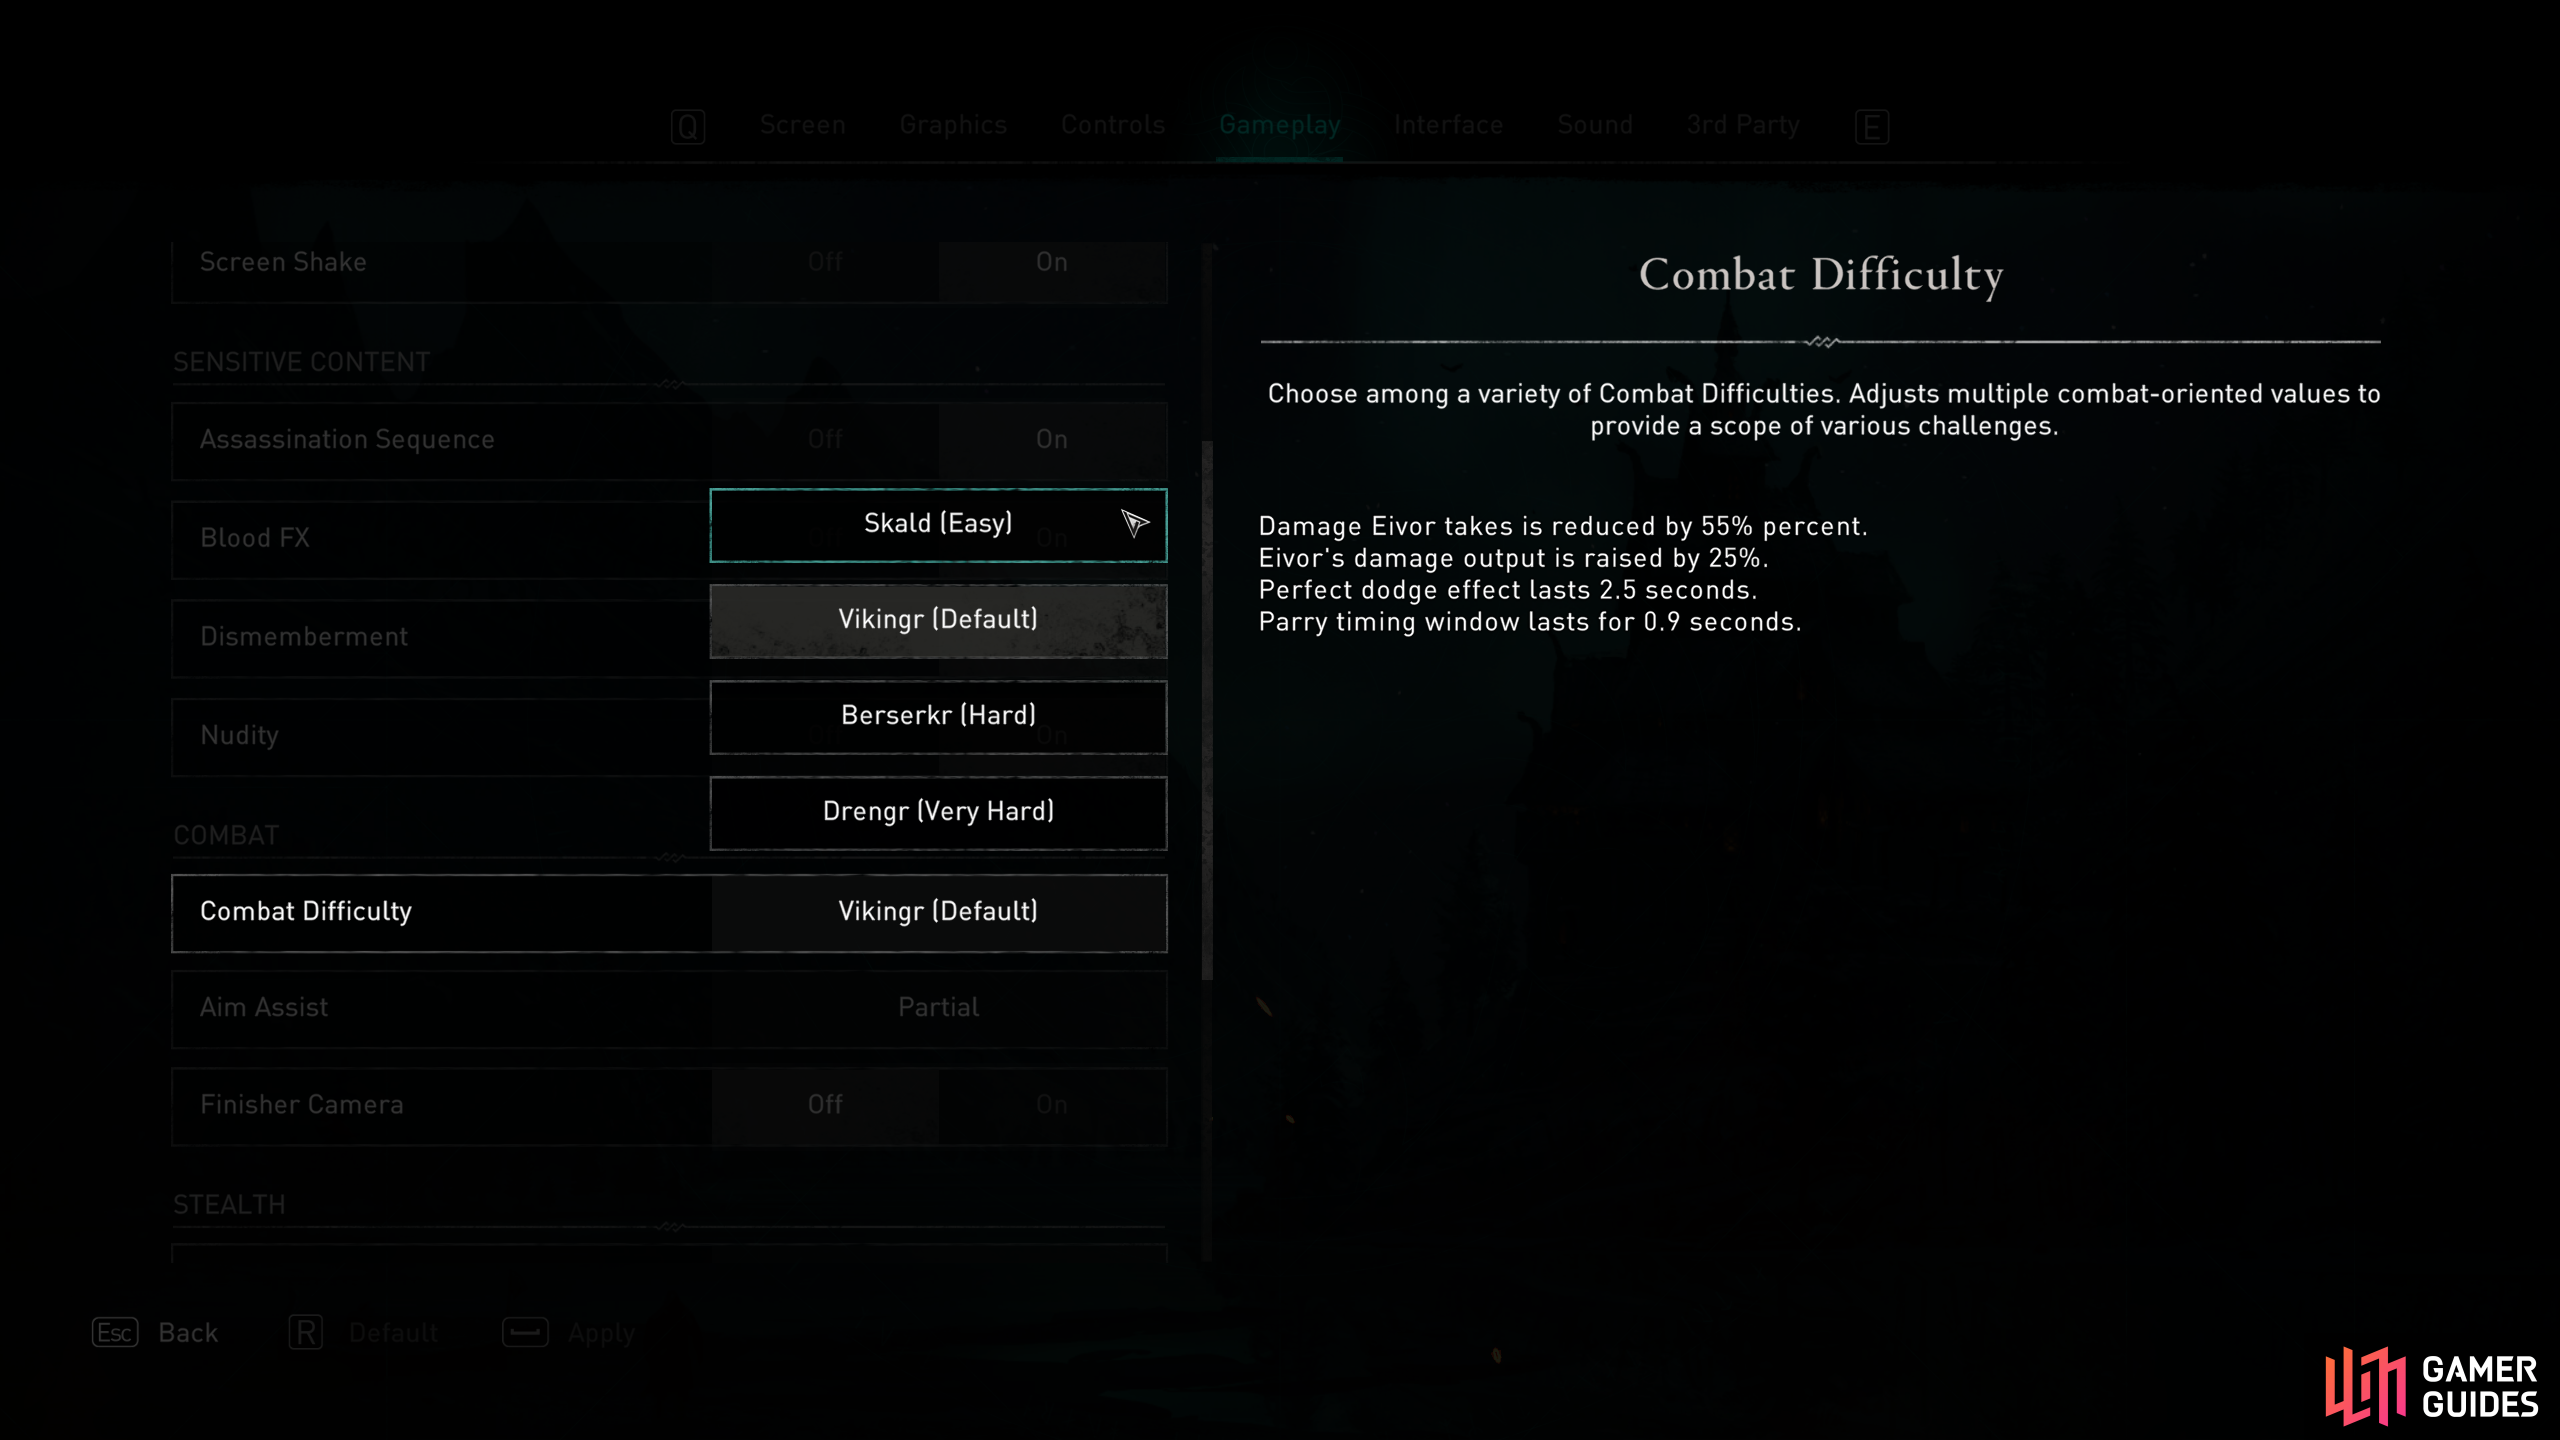
This Trophy / Achievement is obtained by ramming 5 boats with your longship to destroy them within 2 minutes. You can do this anywhere in the game world, but some of the best places to find enough boats are along the eastern coast of England. In particular, you’ll find plenty of rowing boats in the bays east of Lincolnscire, between Essexe and Cent, off the coast of East Anglia, and Eurviscire. You’ll find it much easier to ram the boats first time if you set the combat difficulty to Easy. If the combat difficulty is anything above Easy, you may need to ram some of the boats more than once before they’re destroyed, which will slow you down between each boat. As soon as you’ve hit one boat, be sure to raise your sail and move on to the next, thereby wasting no time being immobile. (1 of 3) You’ll find plenty of boats in the bay between Essexe and Cent. |
|||||||||||||||||||||||||||||||||||||||||||||||

|
Ashes of SvartalfheimComplete the Dawn of Ragnarök campaign (Dawn of Ragnarök) |
1.28% Ultra Rare | 40 | ||||||||||||||||||||||||||||||||||||||||||||
|
This Trophy / Achievement is unlocked once you complete all of the main story quests in Svartalfheim, part of the Dawn of Ragnarök DLC campaign. Below is a list of all the relevant story missions associated with the trophy: Restless Dreams QuestsThe Relic QuestsVessel of Souls QuestsInto the Fire Quests |
|||||||||||||||||||||||||||||||||||||||||||||||

|
Good Catch!Catch a fish of each type using the fishing line |
1.35% Ultra Rare | 20 | ||||||||||||||||||||||||||||||||||||||||||||
|
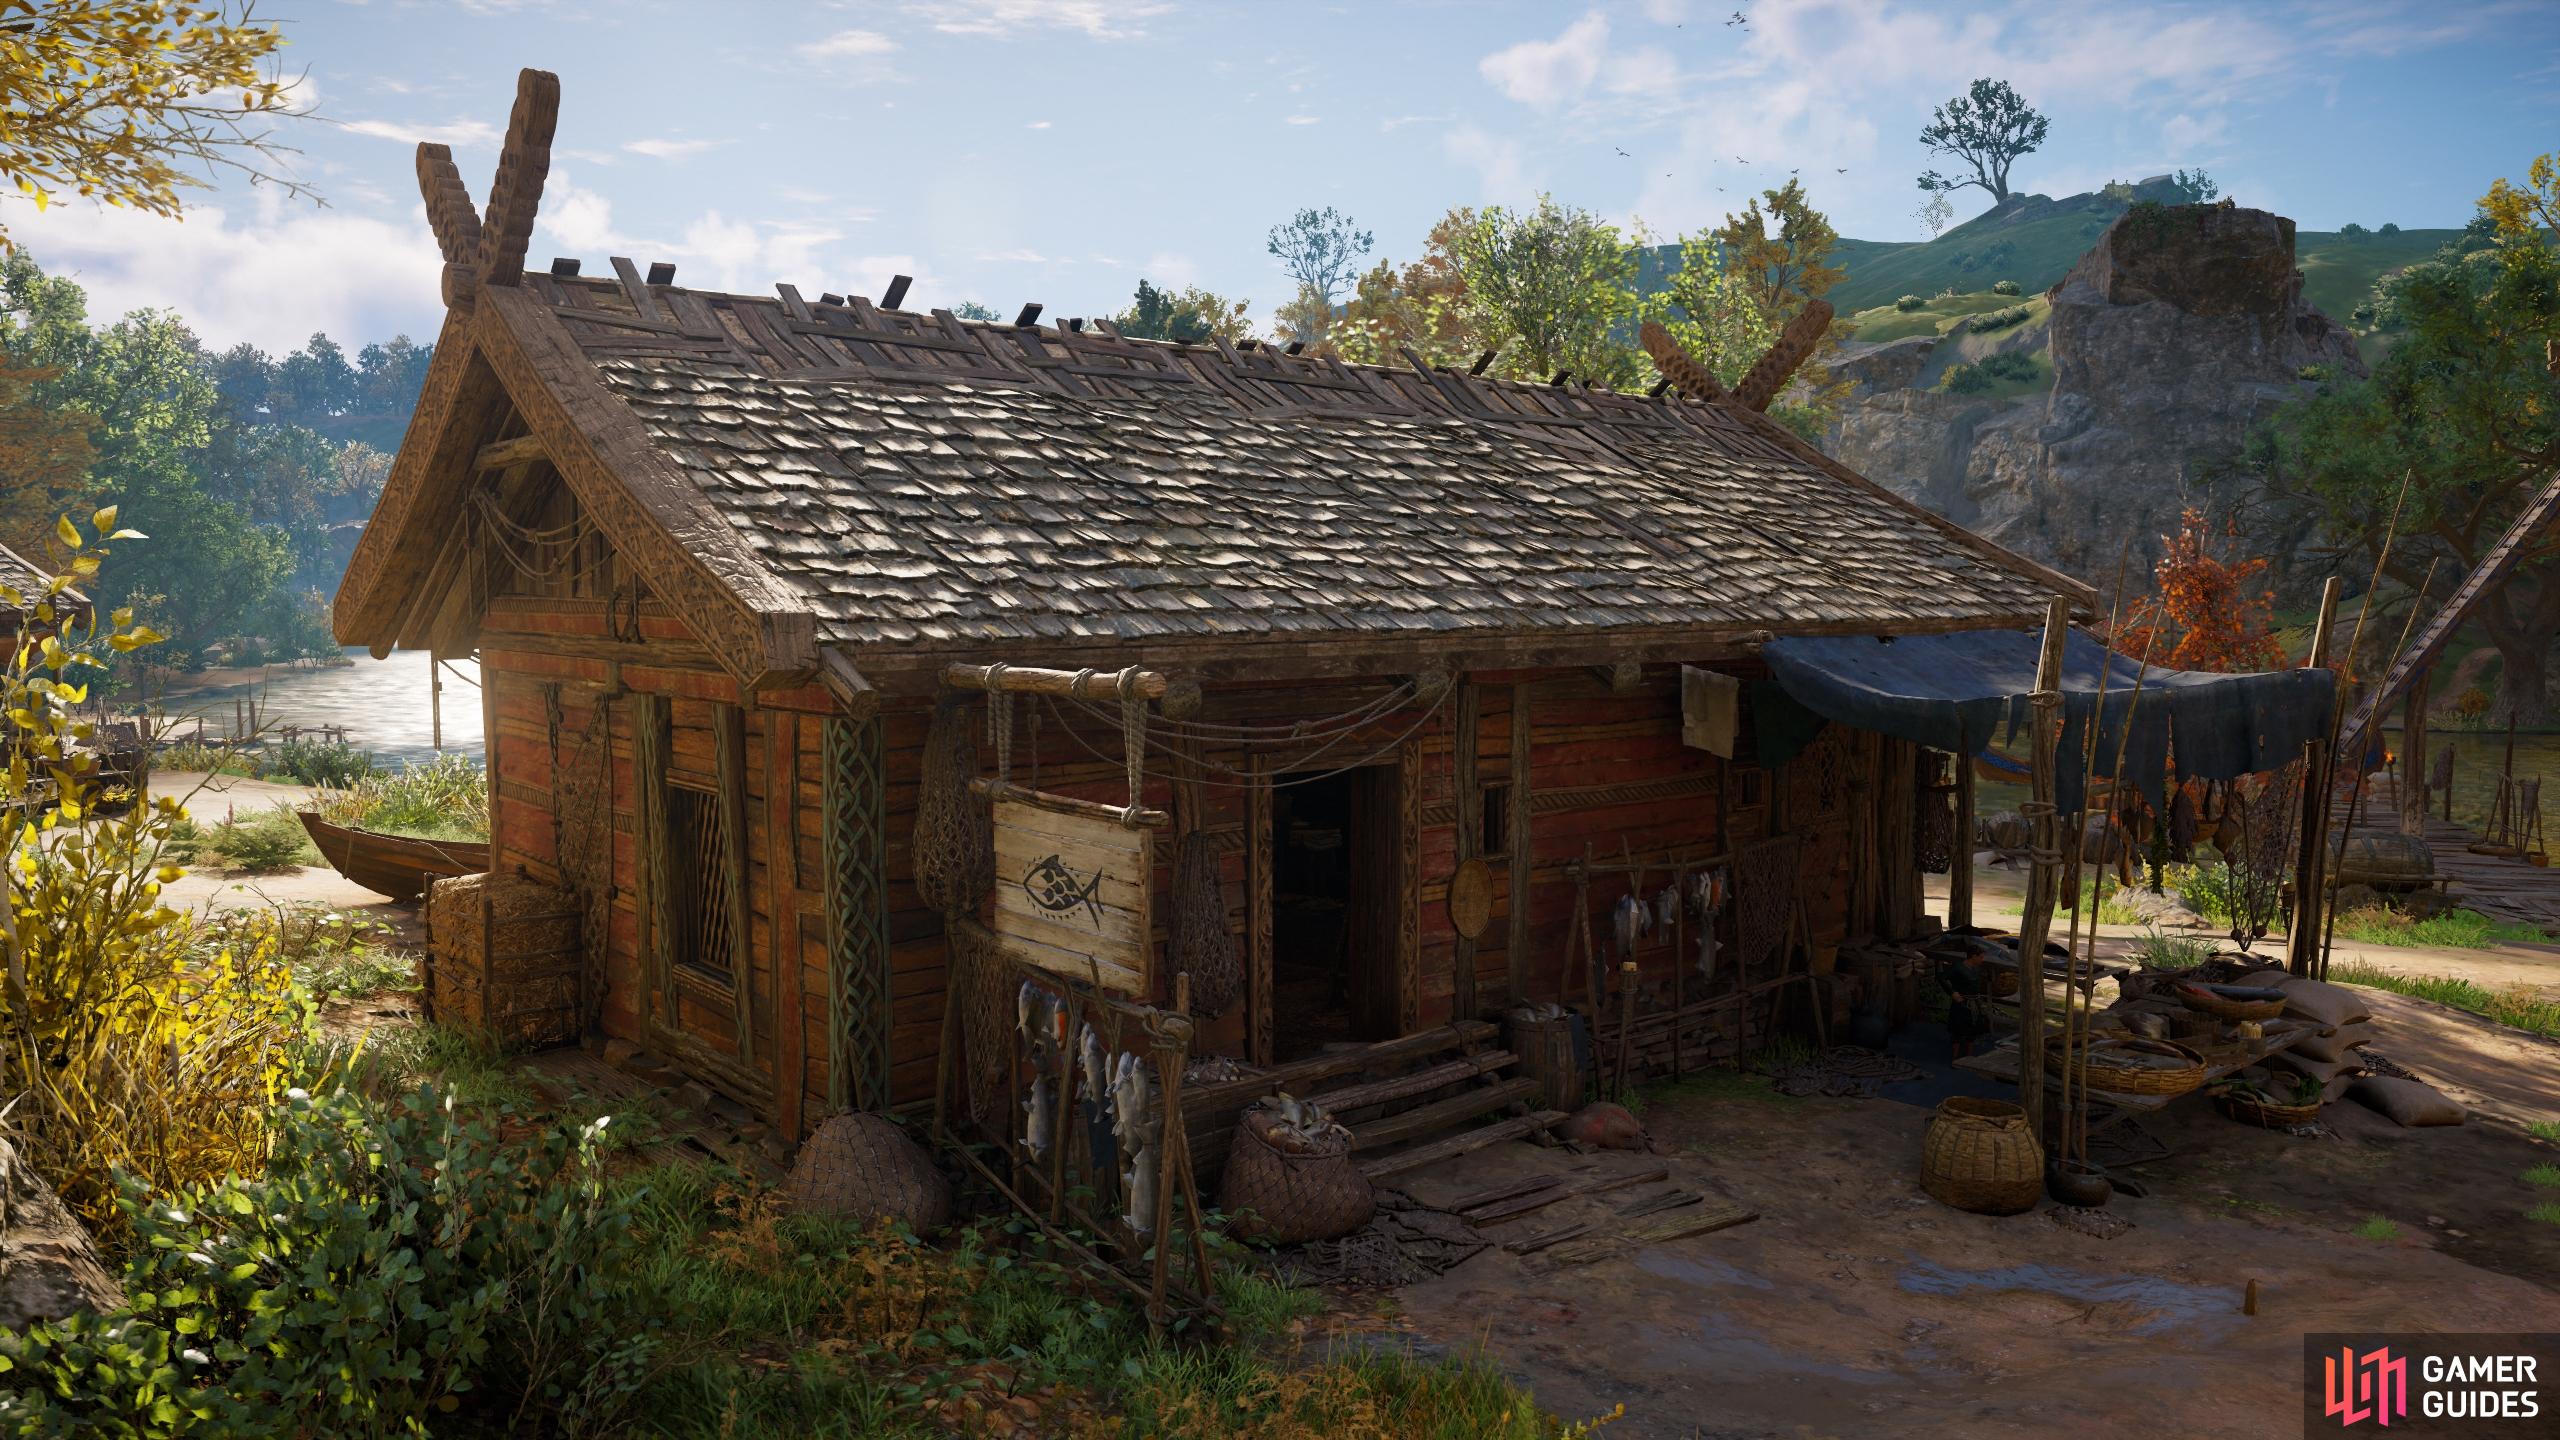
This trophy is obtained when you catch every single type of fish in the base game (not Ireland!). This is, of course, no easy feat, but there are some steps you can take to make the task a little easier. Firstly, you’ll want to know how to fish, which you can either do with a fishing line or your melee/ranged weapons. Whatever you decide to choose will be a personal preference. To get the fishing line, you’ll also need to build the Fishing Hut in Ravensthorpe. Next, it’d be wise to know the location of every single different fish, which can either be discovered via purchasing the Fantastic Fishes and Where to Find Them books from the Fishing Hut in Ravensthorpe, or you can also find a convenient list below of all fish locations which saves you having to buy the books!
Fishing Hut. |
|||||||||||||||||||||||||||||||||||||||||||||||

|
Know What Is RightComplete all territories of Francia (The Siege of Paris). |
1.40% Ultra Rare | 40 | ||||||||||||||||||||||||||||||||||||||||||||
|
To unlock this achievement, you’ll need to complete all the territories of Francia, Siege of Paris DLC. This includes all mysteries, wealth, and artifacts for the following regions: MelunoisParisEvresinAmienois |
|||||||||||||||||||||||||||||||||||||||||||||||

|
Aesir SpelunkerDiscover all Shelters (Dawn of Ragnarök) |
1.61% Ultra Rare | 20 | ||||||||||||||||||||||||||||||||||||||||||||
|
This Trophy / Achievement is unlocked by discovering all Dwarven Shelters in Svartalfheim, part of the Dawn of Ragnarök DLC. There are only four shelters to be found: the Jordber Shelter, Grenhellir Shelter, Jordegyr Shelter, and Hodda Shelter. You can see our page on the Seeking Shelter quest for a full guide on how and where to find them. |
|||||||||||||||||||||||||||||||||||||||||||||||

|
Skadi's HobbyPerform a 150m slide in the snow |
1.62% Ultra Rare | 10 | ||||||||||||||||||||||||||||||||||||||||||||
|
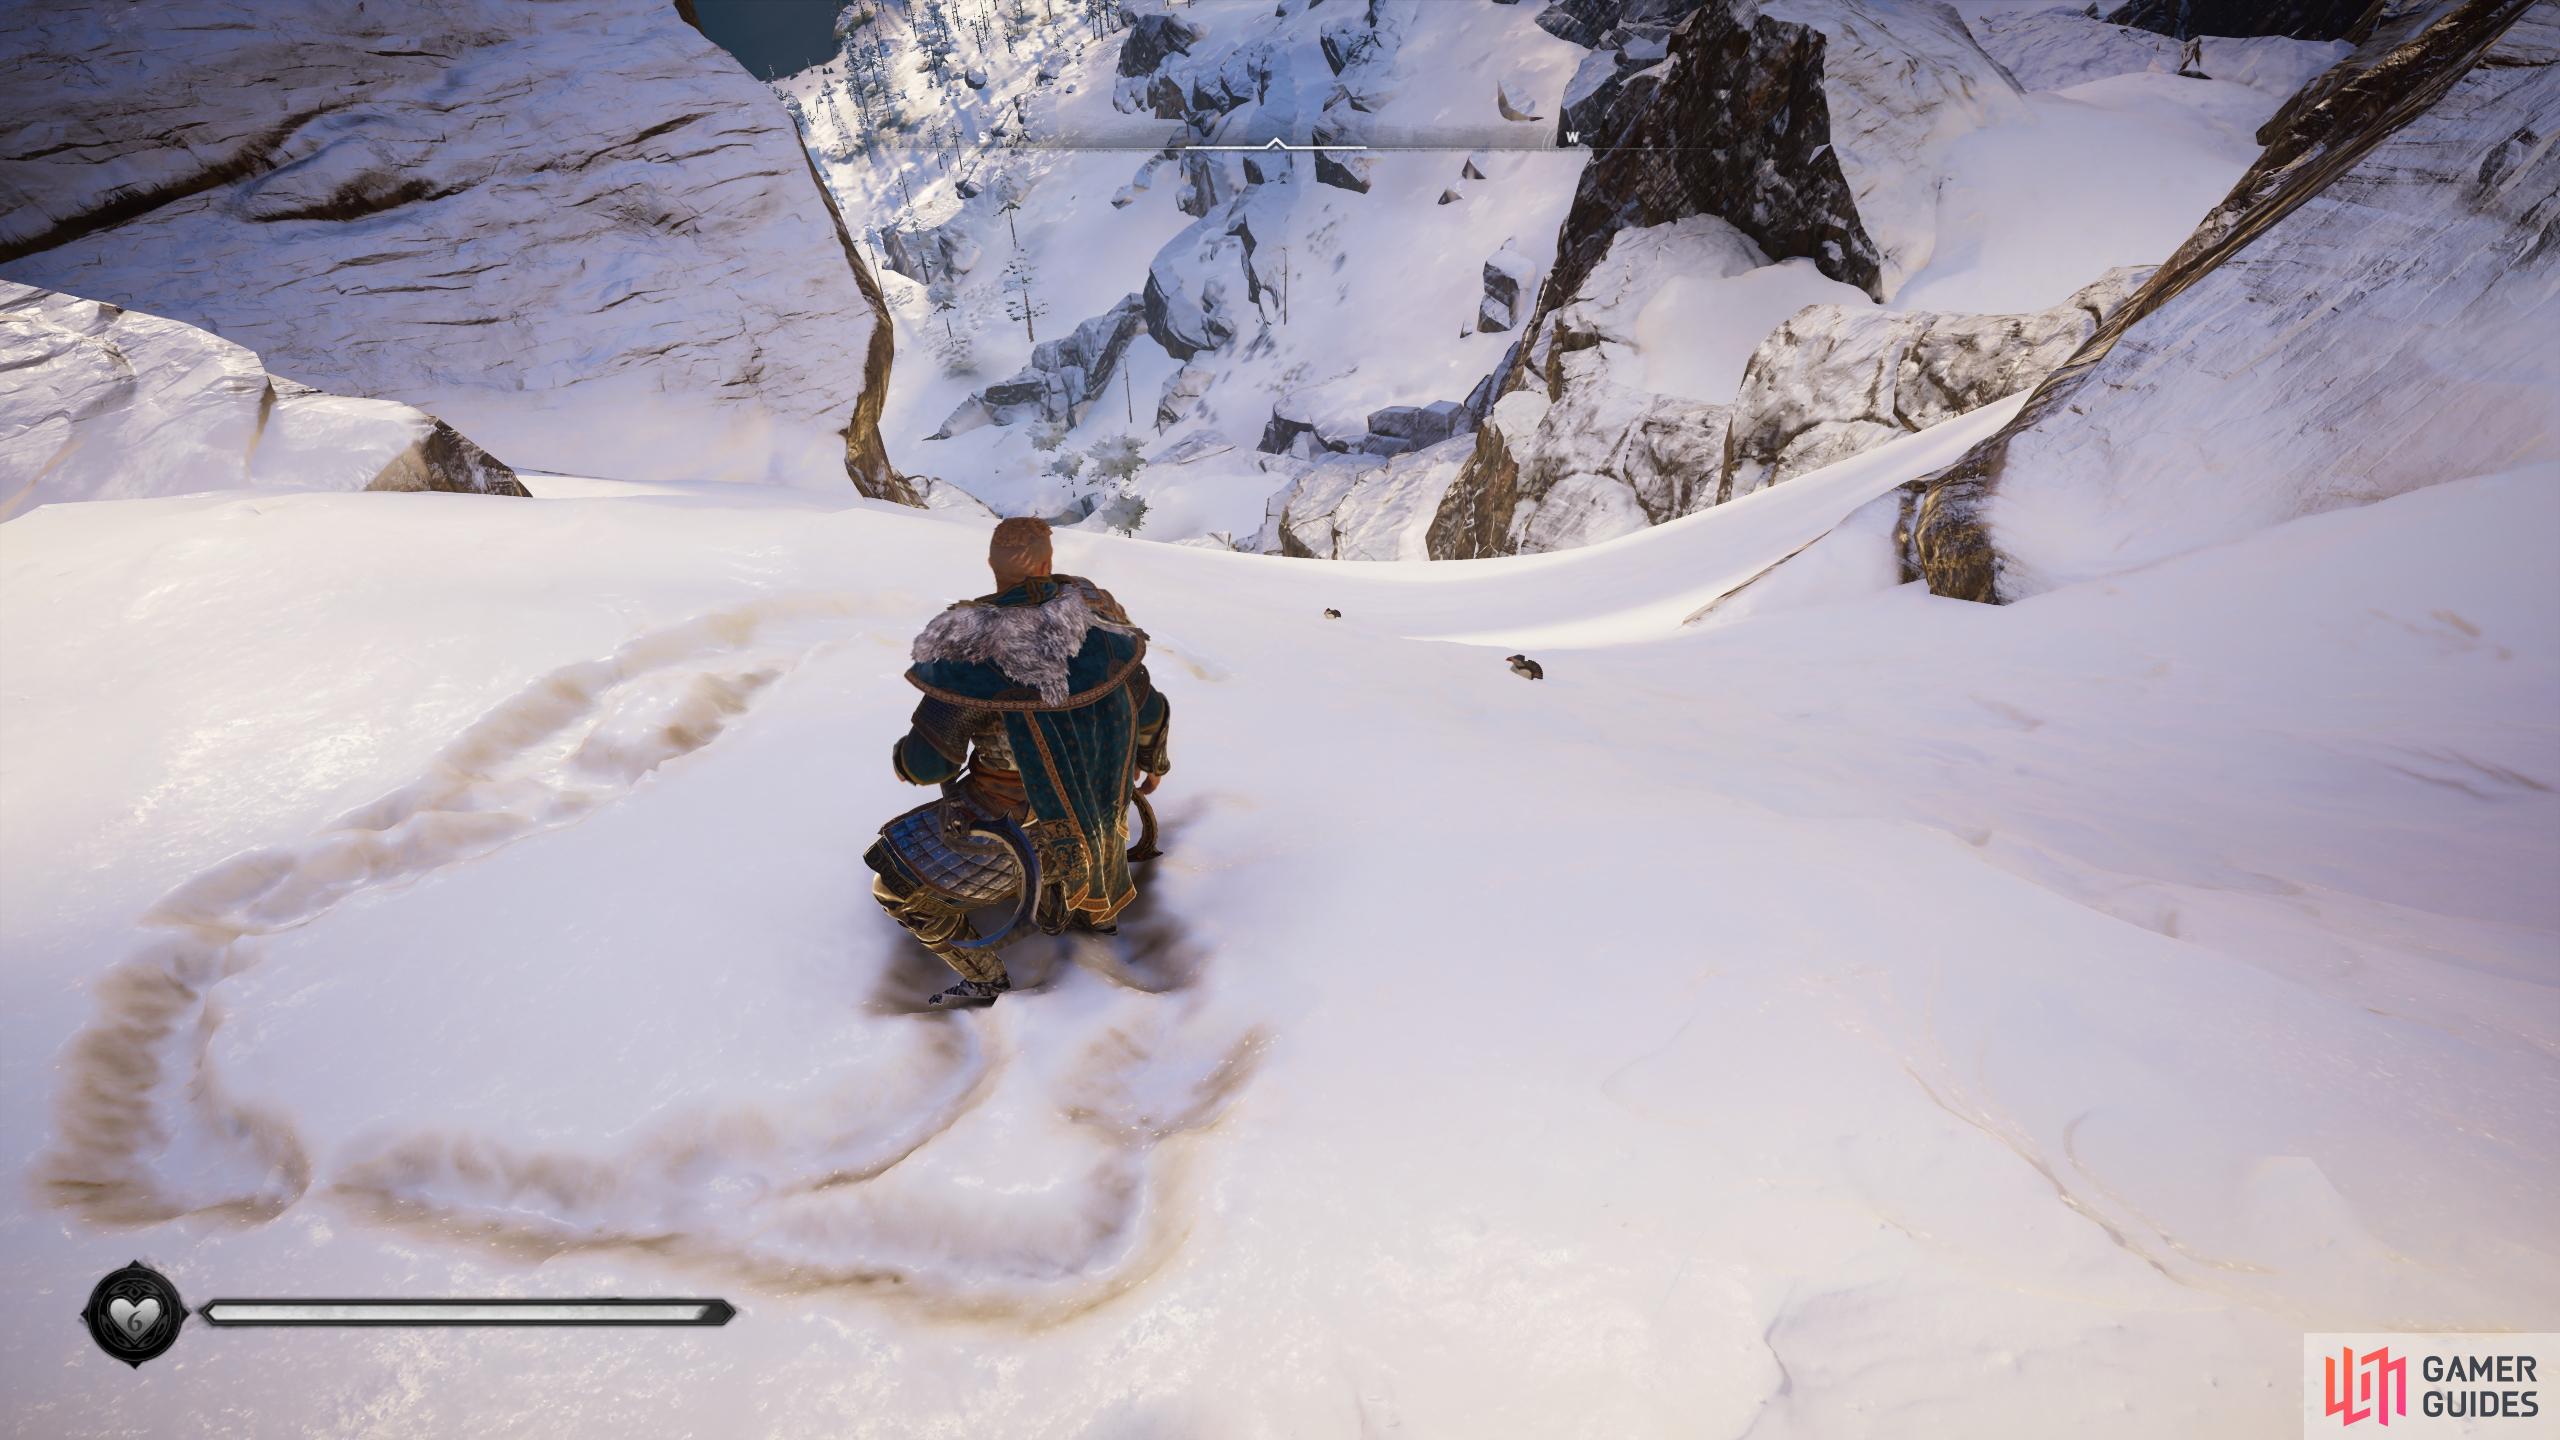
This Trophy / Achievement is obtained once you’ve performed a 150m slide in the snow. The best place to do this is in Norway, and more specifically on the side of a mountain located south of Fannaraki Summit, as shown in the screenshot below. All you need to do is approach the edge of the snowy slope to begin the slide, then manoeuvre around any objects including rocks and animals, to avoid being stopped. By the end of the slope you will have slid at least 150m, and probably a bit more, thereby unlocking the trophy. (1 of 3) The top of the slope in the mountainside, where you can begin sliding down. |
|||||||||||||||||||||||||||||||||||||||||||||||

|
Irish LegendComplete all territories of Ireland (Wrath of the Druids). |
1.91% Ultra Rare | 40 | ||||||||||||||||||||||||||||||||||||||||||||
|
This is a simple achievement, but a big one. To unlock it, you’ll need to complete all the mysteries, wealth, and artifacts in the Ireland territories of Dublin, Meath, Connacht, and Ulster. We’ve listed and linked to their sections below. DublinMeathConnachtUlster |
|||||||||||||||||||||||||||||||||||||||||||||||

|
Completionist All the Way!Complete all territories |
2.24% Ultra Rare | 30 | ||||||||||||||||||||||||||||||||||||||||||||
|
This Trophy / Achievement is obtained by completing all the Mysteries, Wealth, and Artifact collectables in all territories. This includes all regions of England and Norway, but also Asgard and Jotunheim. It does not include DLC content. Below is a list of all collectables in order of type and region, with links to relevant pages which provide detailed guides of how and where to find them: Mysteries
Wealth
Artifacts
You can track the progress of collectables in each region from the tracker in the bottom right when you view the map. |
|||||||||||||||||||||||||||||||||||||||||||||||

|
Orlog ChampionBeat all the Orlog players |
2.27% Ultra Rare | 20 | ||||||||||||||||||||||||||||||||||||||||||||
|
This Trophy / Achievement is obtained once you’ve beaten all the Orlog players in the base game. There are 19 in total, with 2 in Norway and 17 in England. You’ll find them in the following locations: Orlog Players in Norway
Orlog Players in England
Your chances of winning will depend on appropriate die choices, and a good bit of luck. There are two main principles that you should keep in mind to increase your chances of success:
These die faces should be prioritised because the first will provide you with hands that can be used for god favors, which are your most powerful attacks. The second will allow you to take tokens from the opponent, thereby limiting their ability to use god favors. God favors can be used to inflict massive damage to your opponent, as with Thor’s Strike, or to heal yourself, as with Idun’s Rejuvenation. You’ll earn more and different types of god favors each time you beat a new opponent. They are the key to winning games quickly and reliably, but be aware that if your opponent obtains enough god tokens to utilize their own powerful god favors, they won’t be shy in putting them to good use. As a result, the first player to have the most tokens to utilize their god favors is often the key to winning a game. |
|||||||||||||||||||||||||||||||||||||||||||||||

|
Vive la RésistanceReach maximum Infamy in the Rebel Missions (The Siege of Paris). |
2.64% Ultra Rare | 40 | ||||||||||||||||||||||||||||||||||||||||||||
|
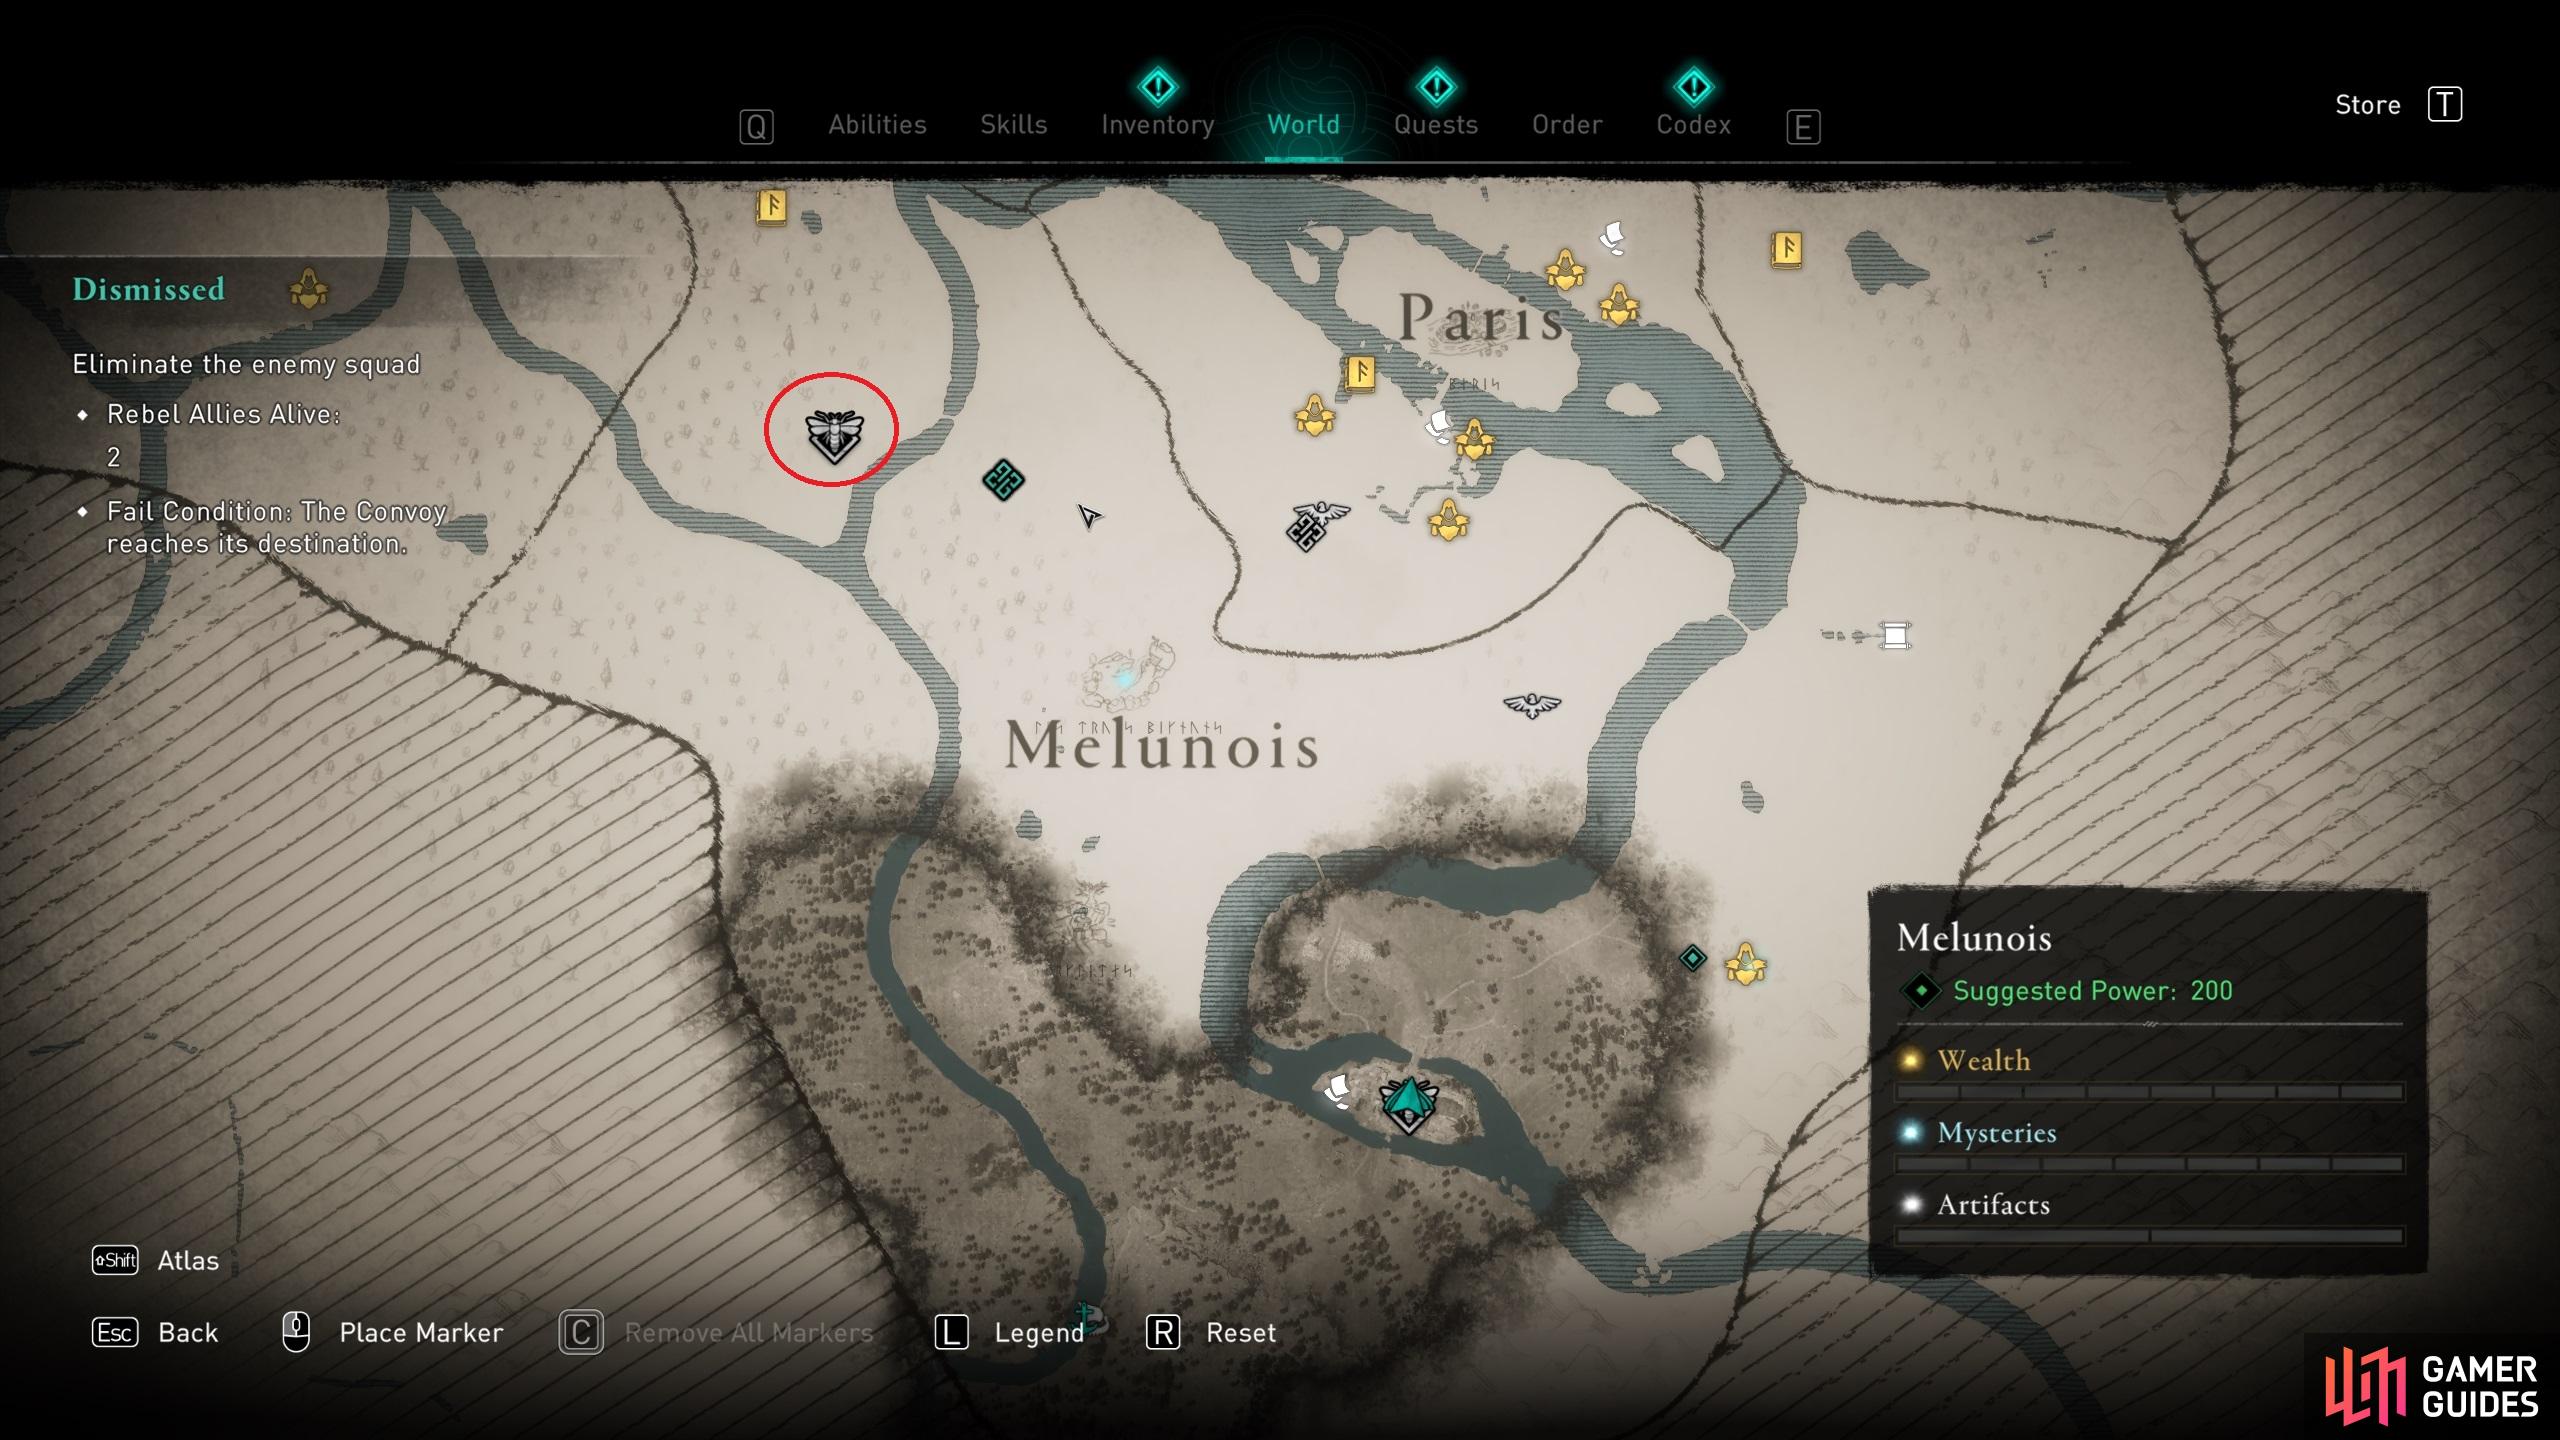
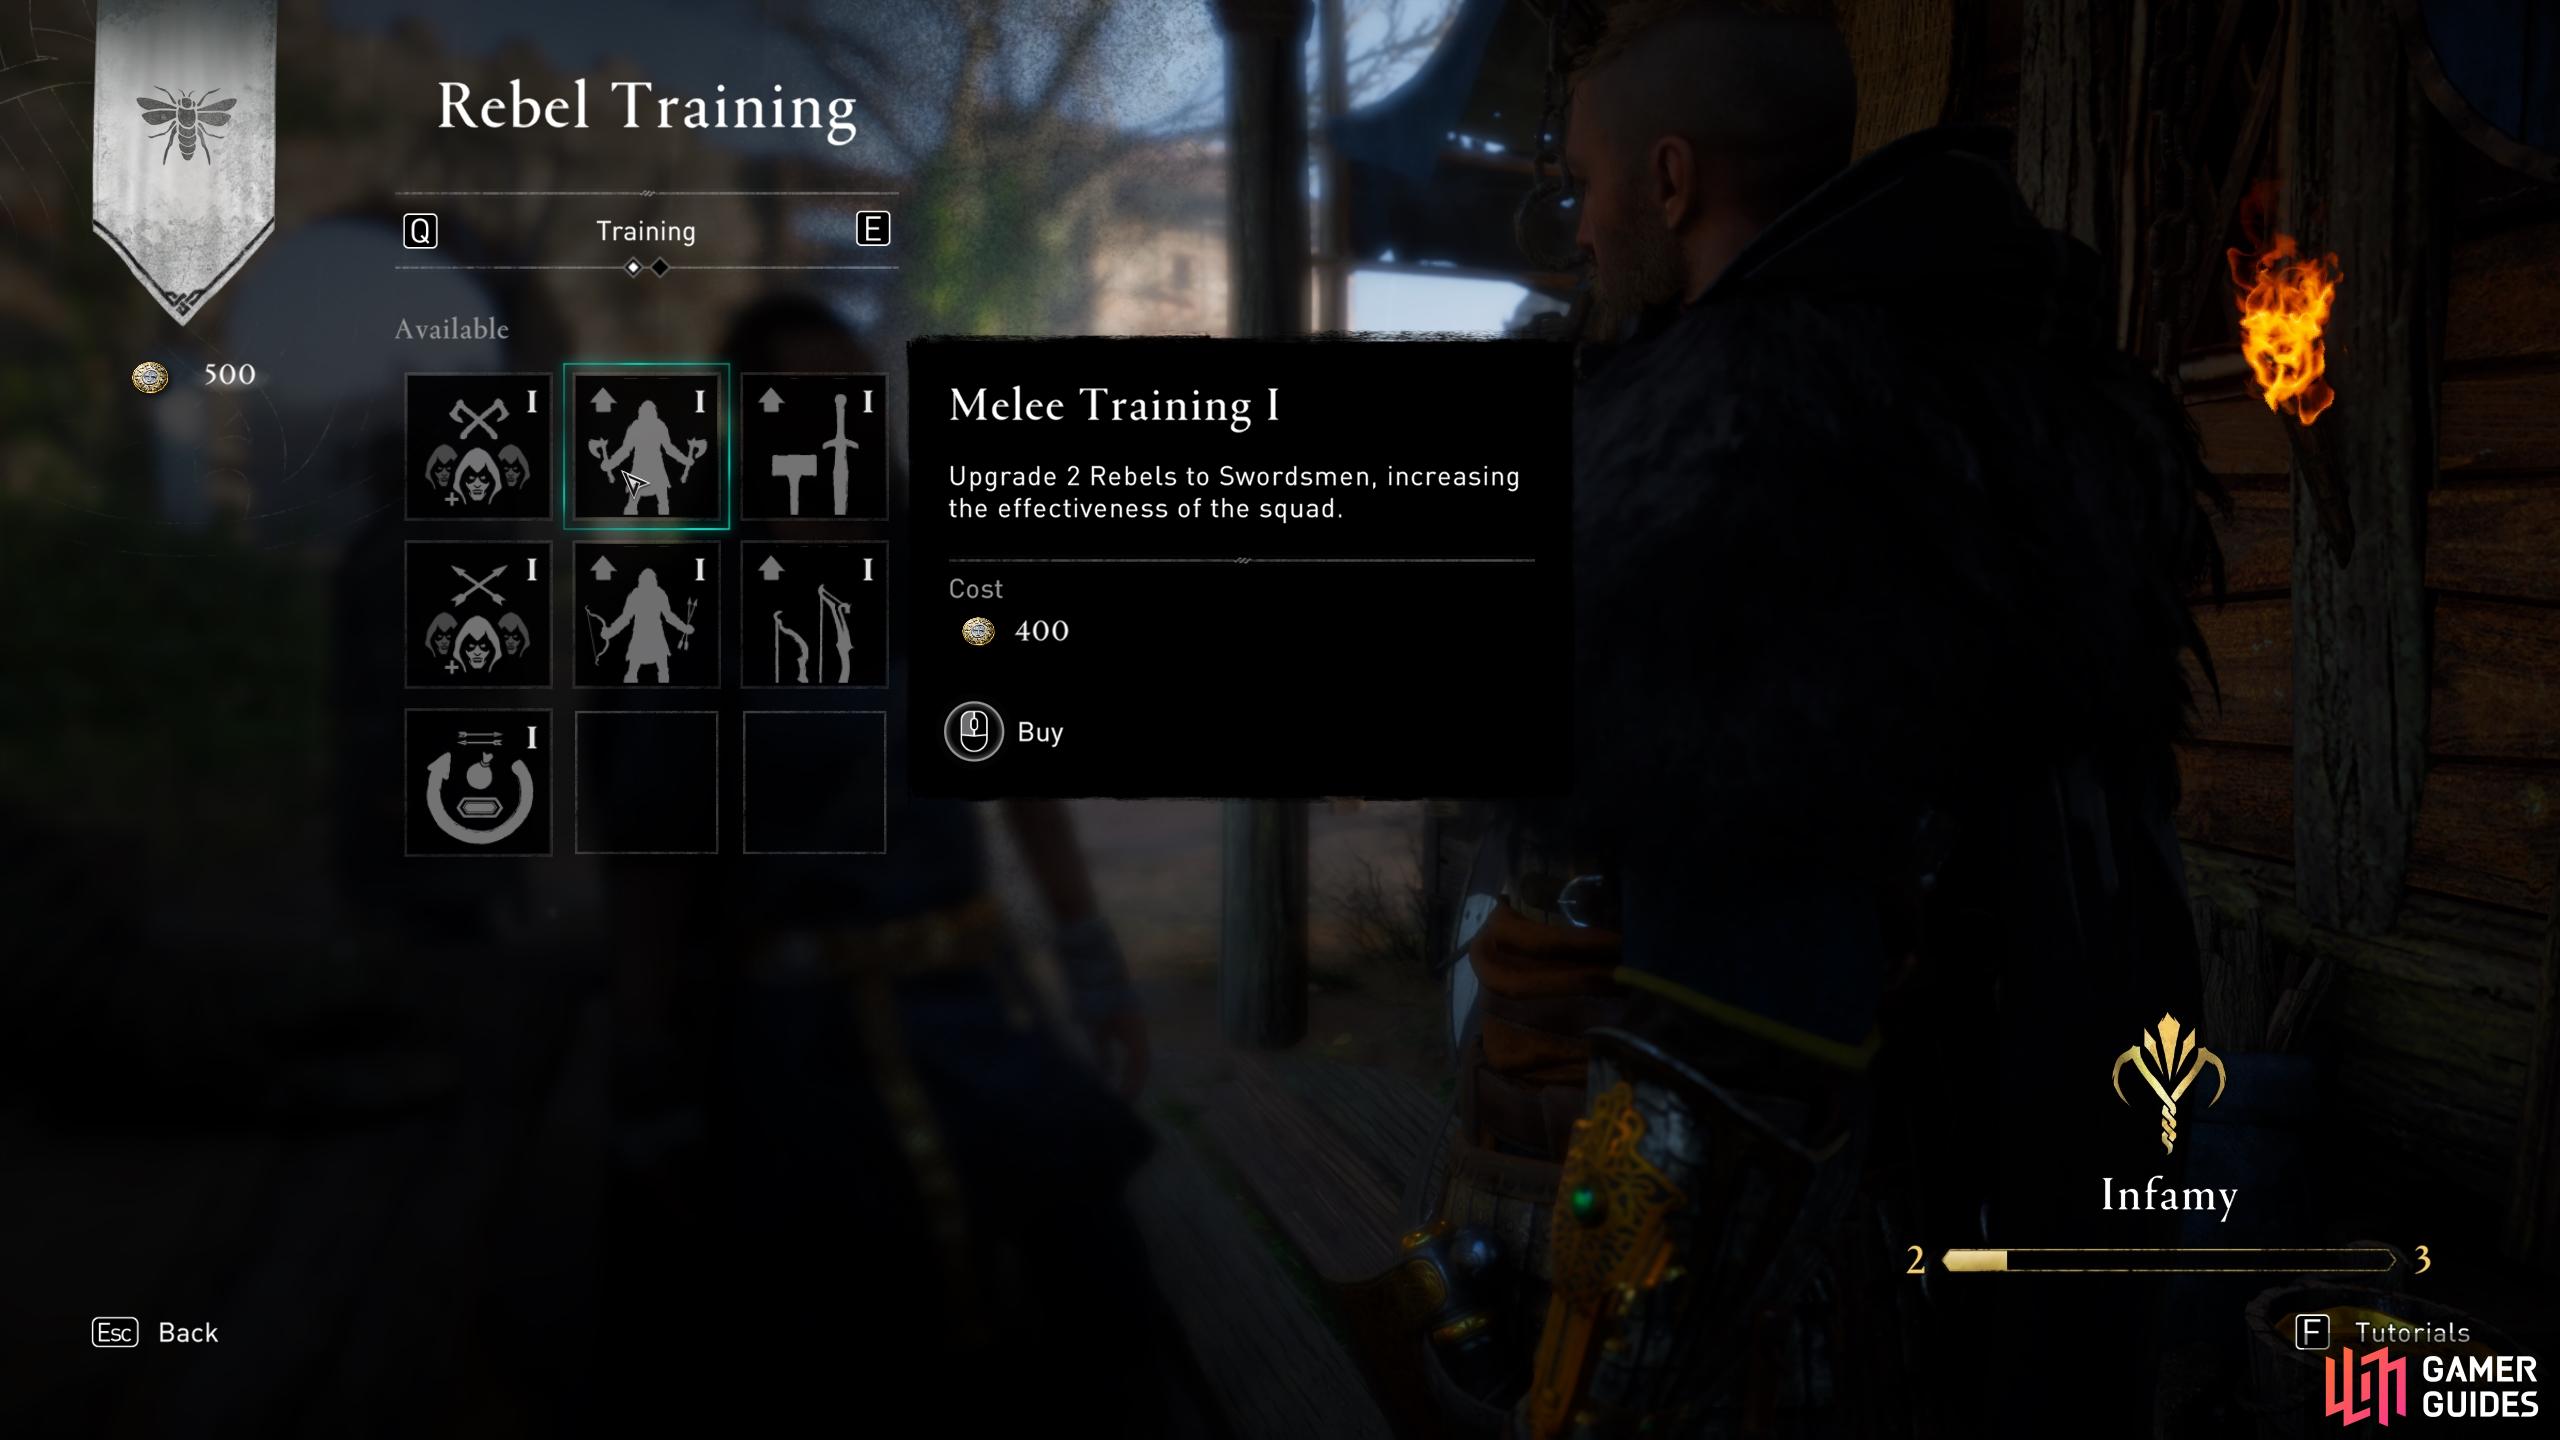
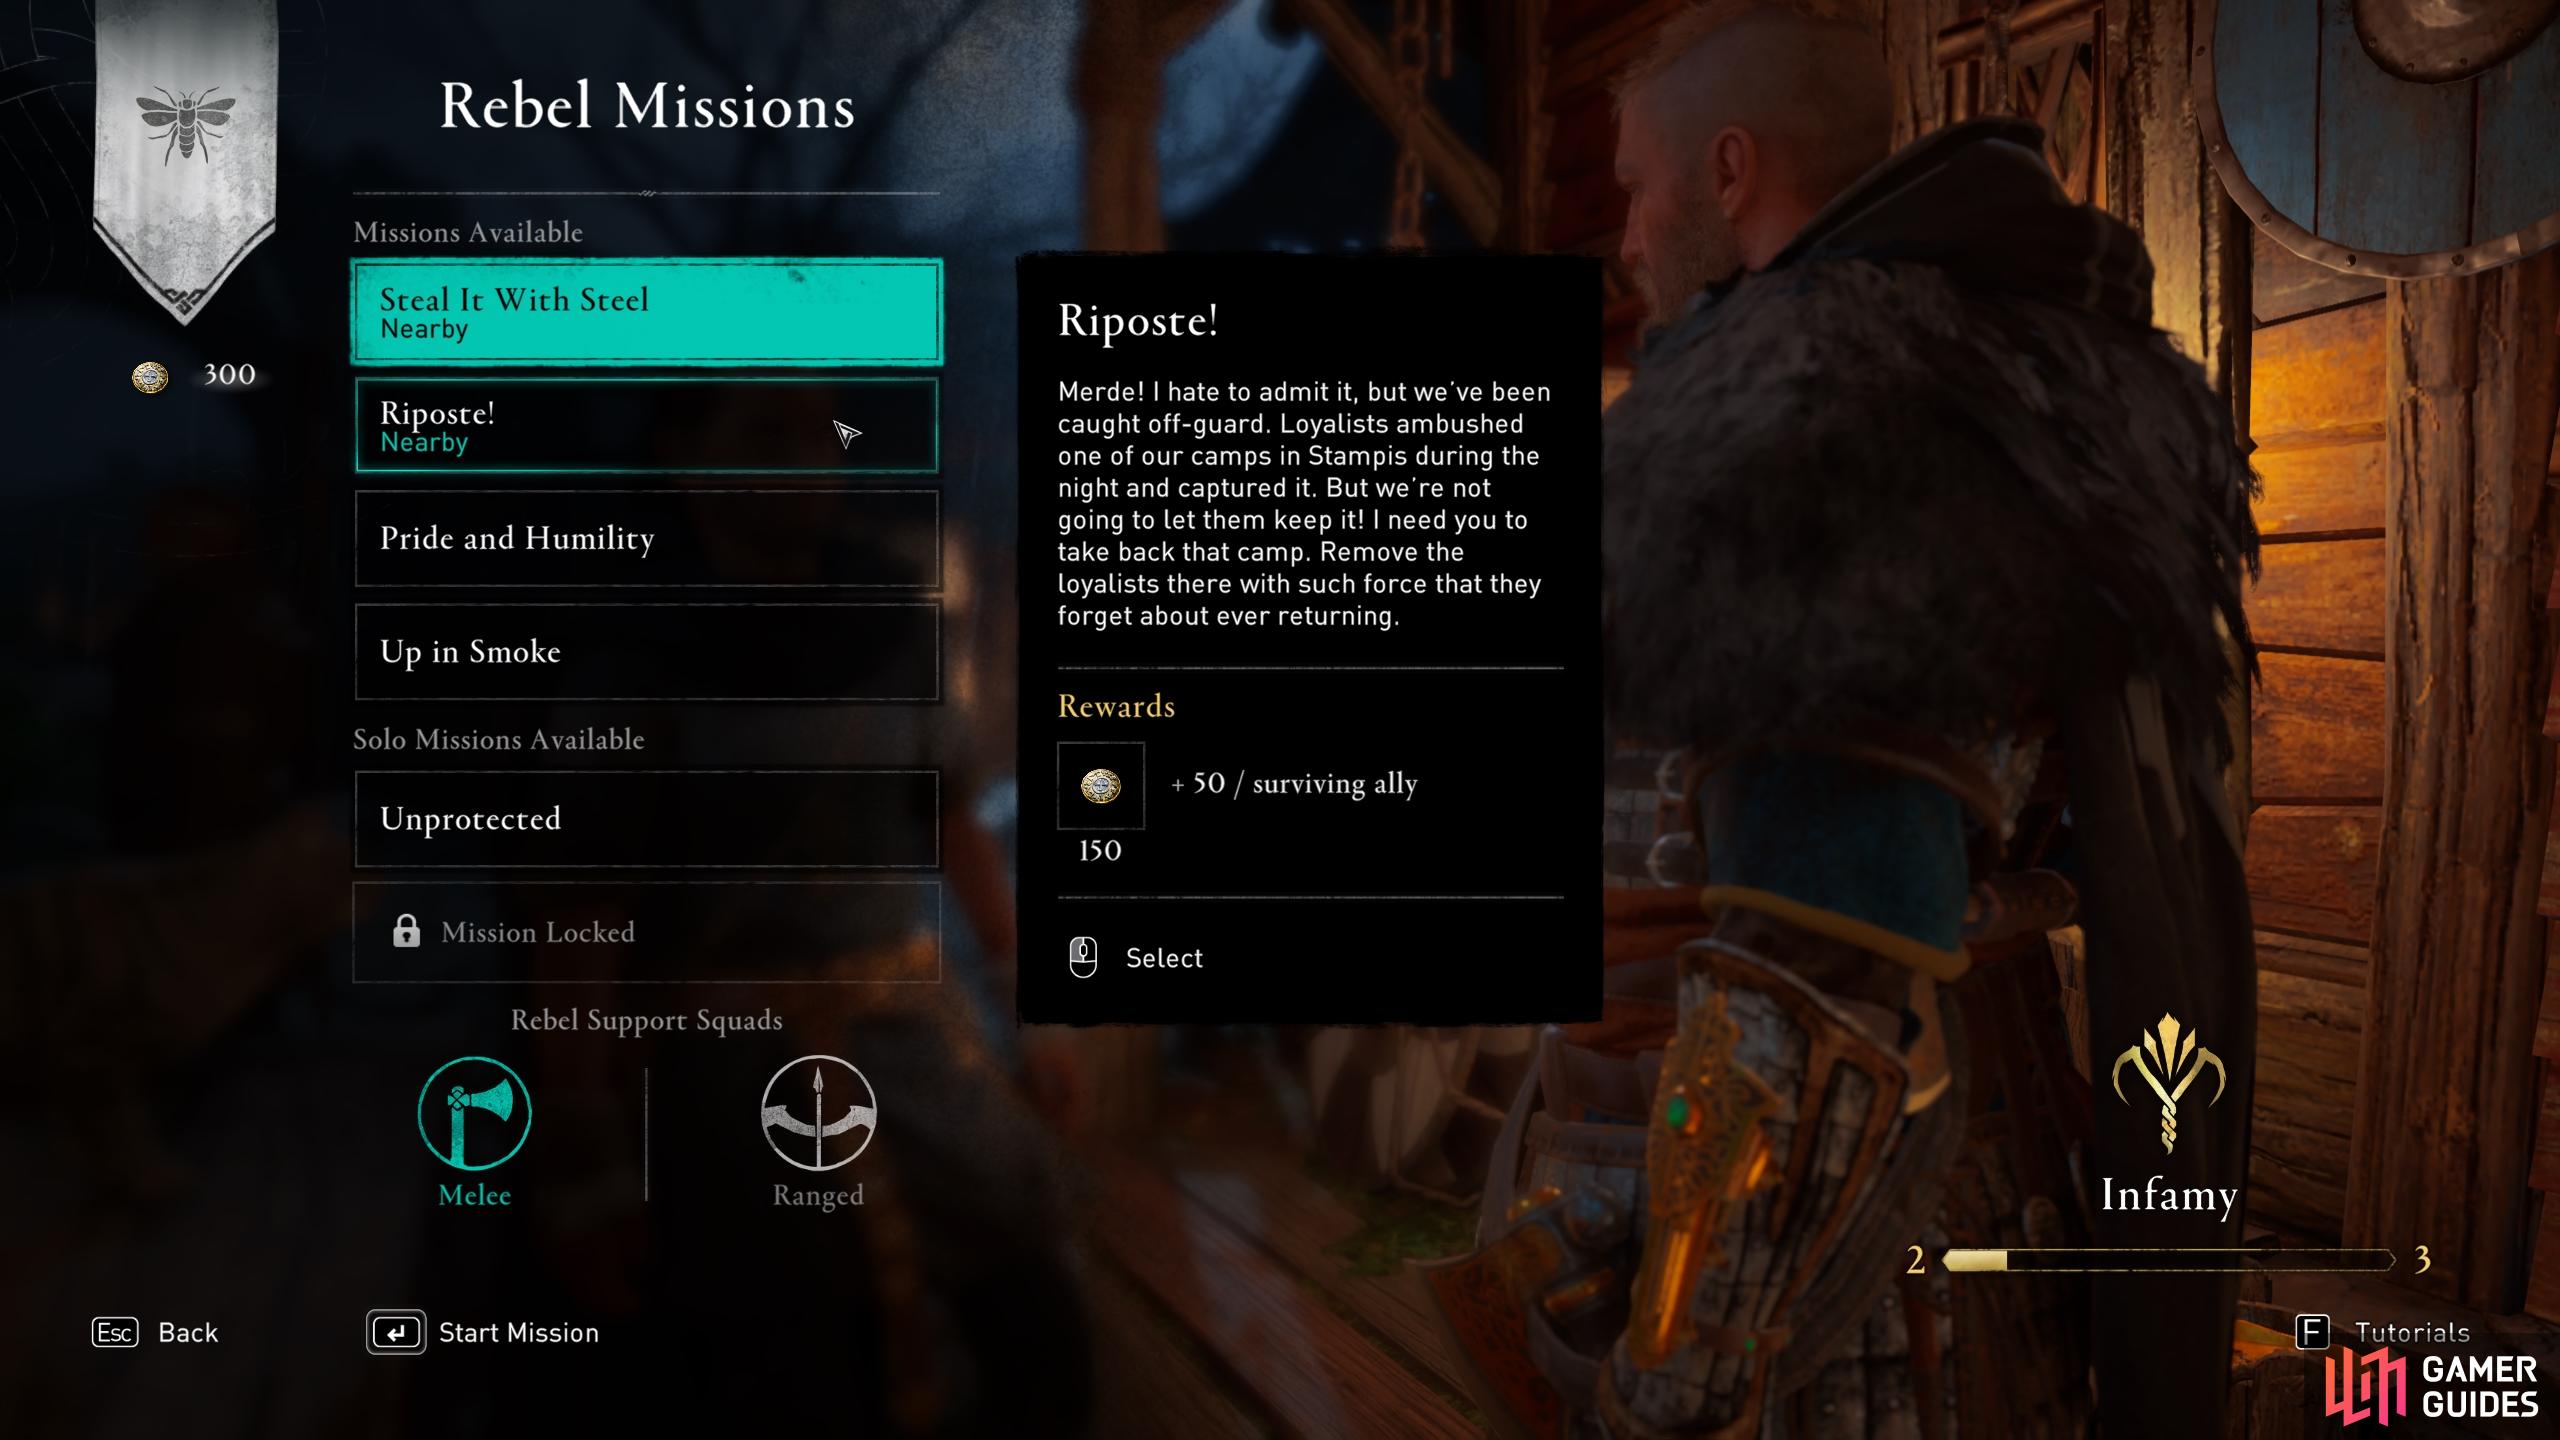
To unlock this achievement, you need to reach the max infamy level in Rebel Missions, part of the Siege of Paris DLC. Siege of Paris: What Are Rebel Missions?The Siege of Paris DLC introduces a new game mode called Rebel Missions. These are first given to you by Pierre in Melun, after you’ve completed Warlord of Melun. A Rebel Mission is essentially a contract to weaken the Frankish loyal forces. You can do this by eliminating patrols, camps, specific individuals who are causing trouble in a particular area, or by stealing information from them. You can speak with Pierre at any time to accept a new quests, and each time you complete a quest you’ll find that new ones become available to you. Rebel Missions, Siege of Paris DLC. There are two main types of allies that you can choose to fight alongside you during a Rebel Mission. These are defined by being either melee or ranged focused troops. You start off with two rebel allies available to you, but you can upgrade the amount by purchasing upgrades from Pierre with Silver Deniers. In addition to missions fought alongside allies, you’ll gain access to solo missions as you progress through the Infamy ranks. How to Level InfamyThe measure of progression for Rebel Missions is tracked as Infamy. You’ll have level 1 Infamy to begin with, and this will jump to level 2 when you complete your first mission. After this the Infamy level progression will be much slower, with a max level of 4. The only way to earn Infamy is by completing Rebel Missions. Each mission provides an unspecified amount of Infamy, but the amount of Infamy that you have contributes to the Silver Deniers which you earn from a mission. The higher the Infamy level, the more reward in terms of silver deniers. To begin with, it doesn’t matter whether you complete Rebel Missions with allies or solo, since you’ll earn the same bonus from each in the form of +50 Silver Deniers for each ally that survives, or +100 Silver Deniers when you complete a solo mission. You can increase the silver deniers bonus earned after each mission once you upgrade to get more allies in your squad, providing you with additional +50 Silver Deniers for each ally that survives. The solo missions can be more reliable however, as you only need to look out for yourself, and not take care of NPCs who can sometimes get themselves into some very sticky situations. How to Maximize Silver DeniersAs silver deniers are the key to your rewards from Rebel Missions, you’ll want to maximize the amount that you earn. You can do this by ensuring that all of your allies remain alive during each Rebel Mission, since you earn an extra +50 Silver Deniers for each ally that survives a mission. The best way to do this is to kill the enemy as quickly as possible, and use stealth where possible so that you don’t have to bring any allies into the fight needlessly. If you’re on a stealth focused mission and you’re detected, your allies will rush into the fight. If this happens you should focus on eliminating all the enemies before they get a chance to kill one of your allies, thereby reducing your overall silver deniers gain. As you level through Infamy ranks, you’ll earn a multiplier of your silver deniers reward after completing a Rebel Mission. Rebel Mission RewardsSilver deniers are the currency that you earn from completing Rebel Missions. You can use this currency to purchase upgrades for your rebel forces, such as adding allies to the squad (both melee and ranged types) or improving their effectiveness in combat. You can also use silver deniers to purchase unique gear such as the Reaper’s set, unique runes, and unique rebel cosmetics in the form of hairstyles and a raven. In addition, you’ll find some basic supplies such as arrows and rations from Pierre and his associates. The more Infamy you earn, the more rewards will become available to you, including more pieces of the Reaper set. How to Get the Reaper Armor SetThe below table details the Infamy level at which you can purchase pieces of the Reaper armor set, and how much they cost in terms of Silver Deniers. You’ll receive each armor piece upgraded to Flawless quality, but the stats below are those reflected at Mythical quality, without any material upgrades.
The set bonuses for the Reaper Set are the following:
|
|||||||||||||||||||||||||||||||||||||||||||||||

|
Is There Anybody Out There?Light the unlit braziers on Hadrian's Wall |
2.67% Ultra Rare | 10 | ||||||||||||||||||||||||||||||||||||||||||||

|
We Nobles ThreeDefeat all three Frankish Nobles (The Siege of Paris). |
2.70% Ultra Rare | 40 | ||||||||||||||||||||||||||||||||||||||||||||
|
To unlock this achievement, you need to defeat all three Frankish Nobles in Francia. We’ve listed each below, including links to the pages which detail where to find them and how to defeat them. |
|||||||||||||||||||||||||||||||||||||||||||||||

|
Double TroubleEquip a Sickle in both hands (Wrath of the Druids). |
2.92% Ultra Rare | 20 | ||||||||||||||||||||||||||||||||||||||||||||
|
To unlock this achievement, you’ll need to equip a sickle in both hands. You can find one, the Bone Sickle, by completing the Black Stout mystery in Connacht. Another, the Ceremonial Sickle, can be looted from Lackanscaul, which is a Druid camp west of Clonfert Abbey. Once you have both sickles, all you need to do is equip one in each hand so that you’re dual-wielding them. The achievement should then unlock, however you may need to reload the game if it doesn’t unlock immediately. |
|||||||||||||||||||||||||||||||||||||||||||||||

|
The Legend of St. PatrickKill the only snake in Ireland (Wrath of the Druids). |
3.13% Ultra Rare | 30 | ||||||||||||||||||||||||||||||||||||||||||||
|
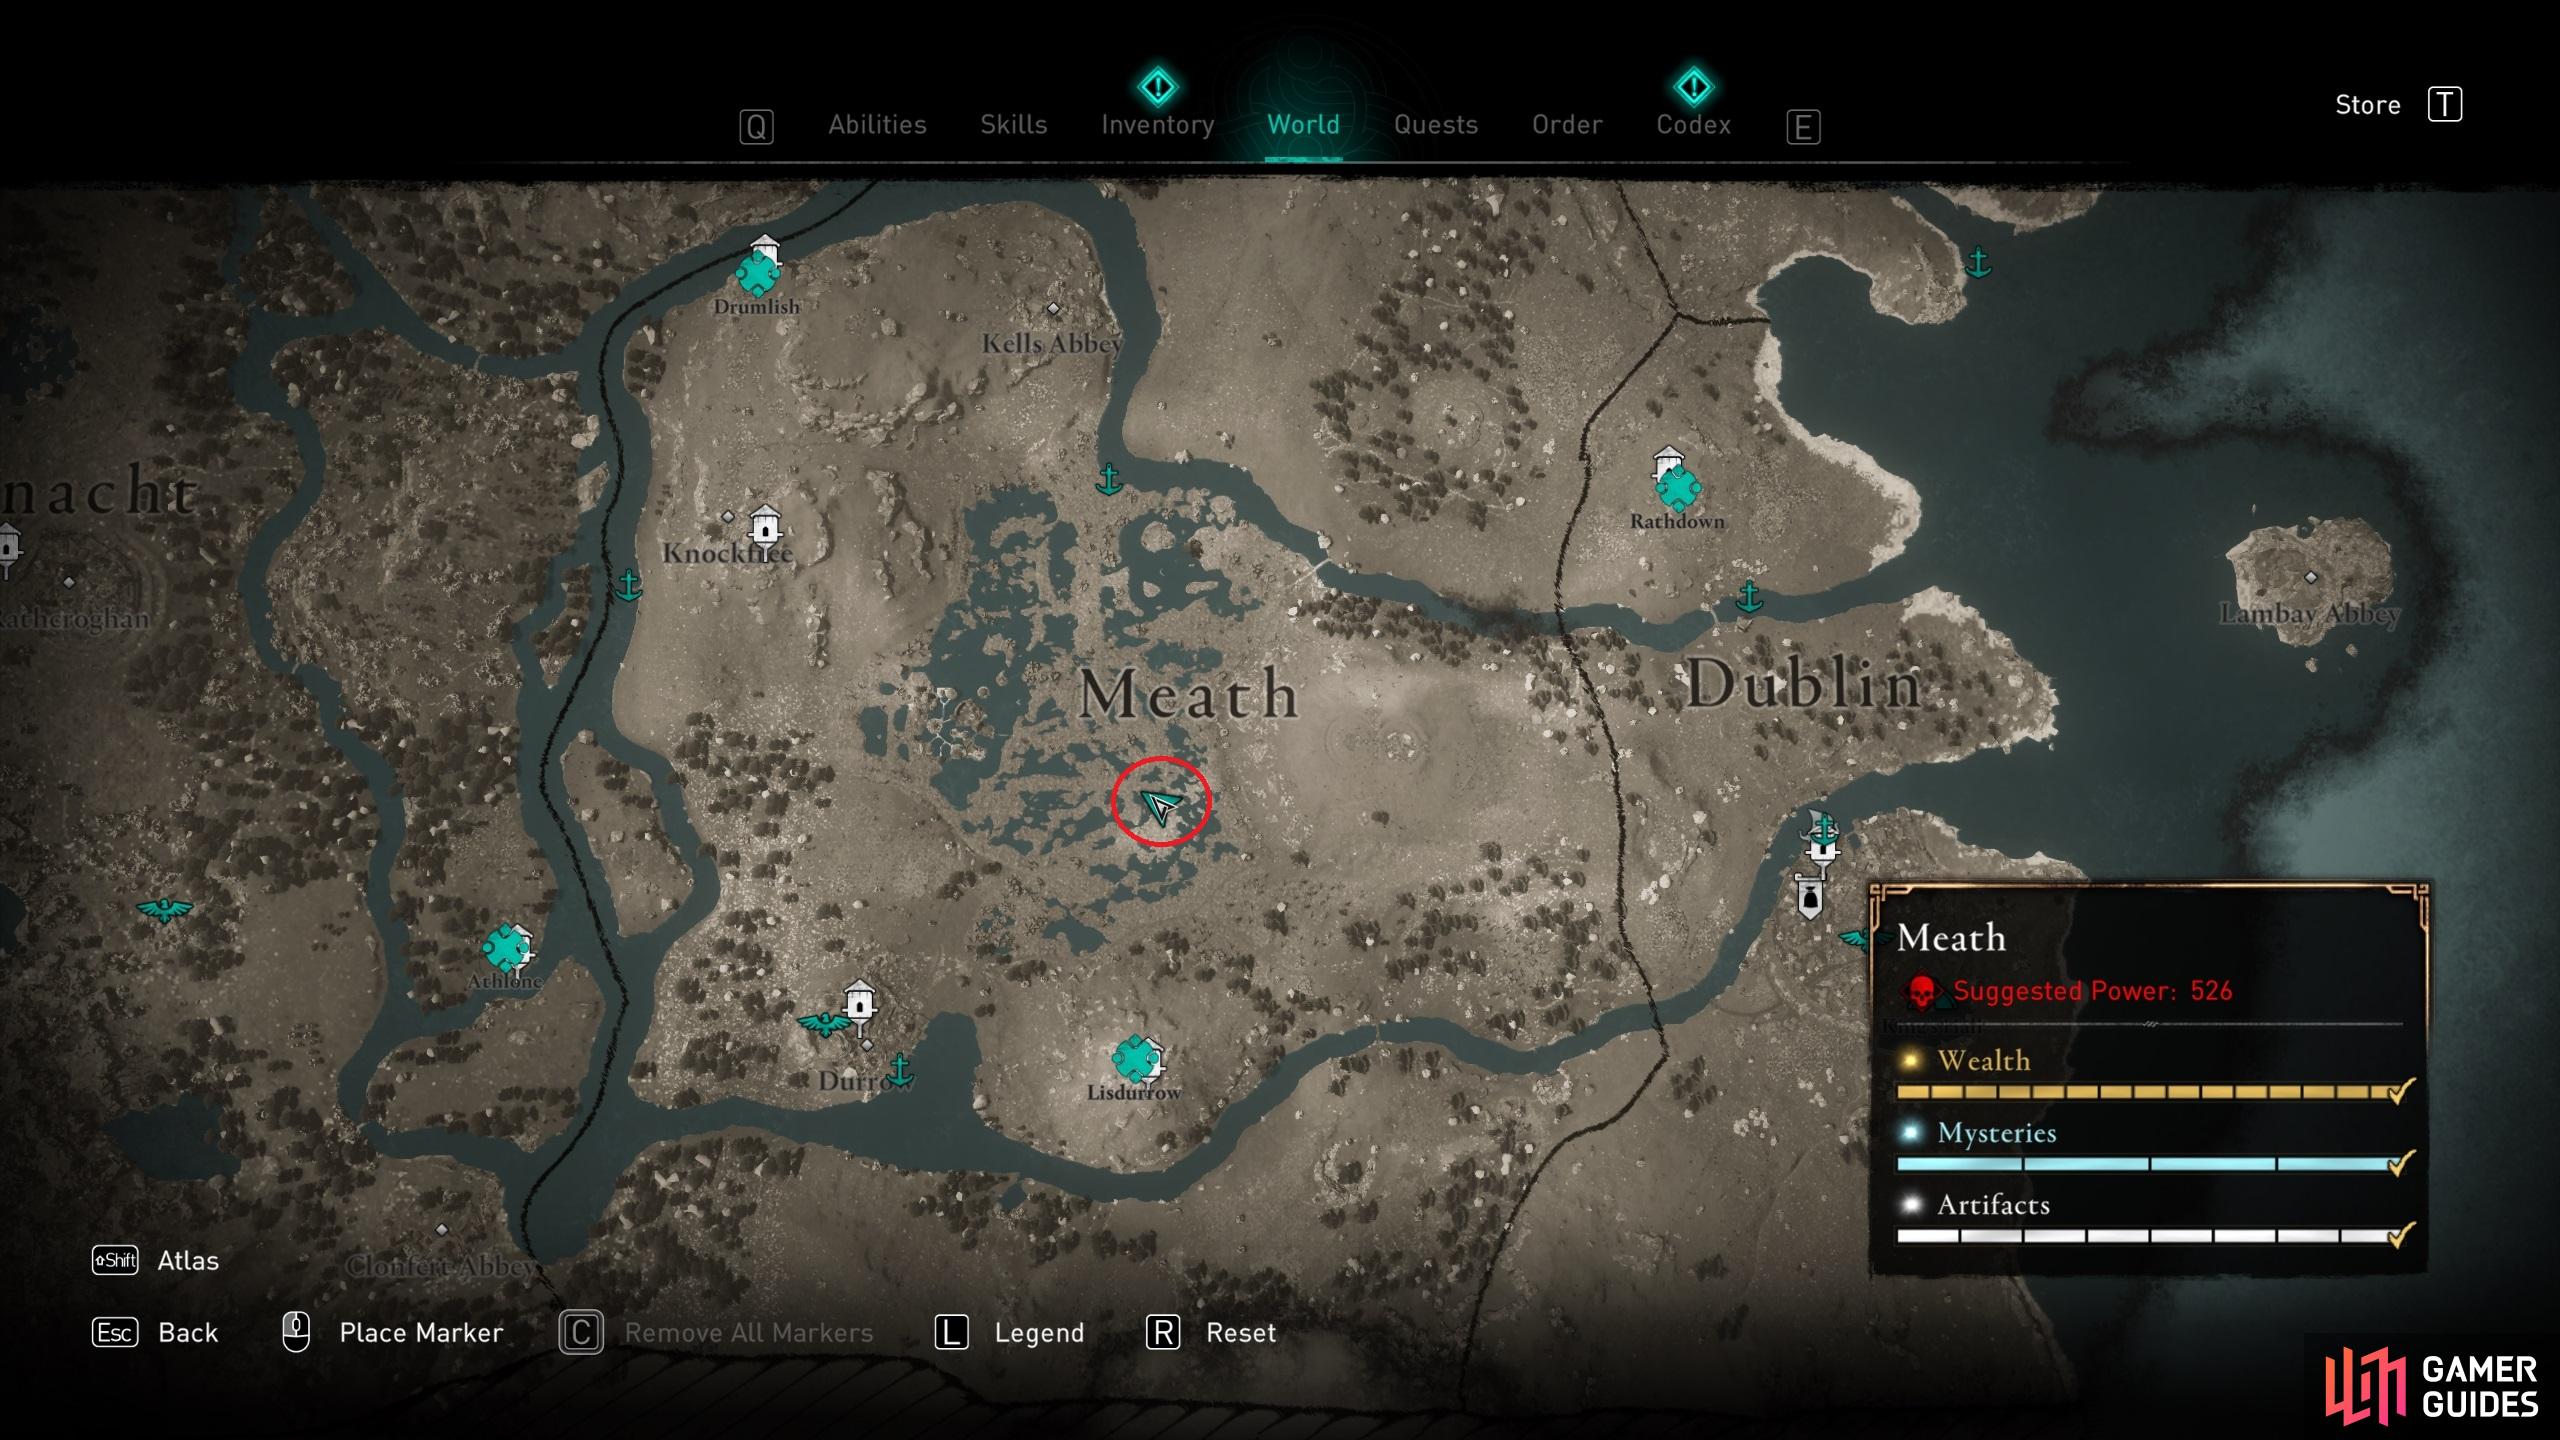
To unlock this achievement, you’ll need to kill the only snake that can be found in the Ireland region. You’ll find the snake inside a small chapel in the marshland of Meath, as shown in the screenshots below. You’ll need to destroy the large pot inside the chapel to reveal the snake, then kill it. (1 of 3) The location of the chapel in the marshland of Meath, where the snake can be found. |
|||||||||||||||||||||||||||||||||||||||||||||||

|
Lèse-majestéComplete 10 Rebel Missions (The Siege of Paris). |
3.26% Ultra Rare | 10 | ||||||||||||||||||||||||||||||||||||||||||||
|
To unlock this achievement, you need to complete at least 10 Rebel Missions in Francia, part of the Siege of Paris DLC. What Are Rebel Missions?The Siege of Paris DLC introduces a new game mode called Rebel Missions. These are first given to you by Pierre in Melun, after you’ve completed Warlord of Melun. A Rebel Mission is essentially a contract to weaken the Frankish loyal forces. You can do this by eliminating patrols, camps, specific individuals who are causing trouble in a particular area, or by stealing information from them. You can speak with Pierre at any time to accept a new quests, and each time you complete a quest you’ll find that new ones become available to you. Rebel Missions, Siege of Paris DLC. There are two main types of allies that you can choose to fight alongside you during a Rebel Mission. These are defined by being either melee or ranged focused troops. You start off with two rebel allies available to you, but you can upgrade the amount by purchasing upgrades from Pierre with Silver Deniers. In addition to missions fought alongside allies, you’ll gain access to solo missions as you progress through the Infamy ranks. How to Level InfamyThe measure of progression for Rebel Missions is tracked as Infamy. You’ll have level 1 Infamy to begin with, and this will jump to level 2 when you complete your first mission. After this the Infamy level progression will be much slower, with a max level of 4. The only way to earn Infamy is by completing Rebel Missions. Each mission provides an unspecified amount of Infamy, but the amount of Infamy that you have contributes to the Silver Deniers which you earn from a mission. The higher the Infamy level, the more reward in terms of silver deniers. To begin with, it doesn’t matter whether you complete Rebel Missions with allies or solo, since you’ll earn the same bonus from each in the form of +50 Silver Deniers for each ally that survives, or +100 Silver Deniers when you complete a solo mission. You can increase the silver deniers bonus earned after each mission once you upgrade to get more allies in your squad, providing you with additional +50 Silver Deniers for each ally that survives. The solo missions can be more reliable however, as you only need to look out for yourself, and not take care of NPCs who can sometimes get themselves into some very sticky situations. How to Maximize Silver DeniersAs silver deniers are the key to your rewards from Rebel Missions, you’ll want to maximize the amount that you earn. You can do this by ensuring that all of your allies remain alive during each Rebel Mission, since you earn an extra +50 Silver Deniers for each ally that survives a mission. The best way to do this is to kill the enemy as quickly as possible, and use stealth where possible so that you don’t have to bring any allies into the fight needlessly. If you’re on a stealth focused mission and you’re detected, your allies will rush into the fight. If this happens you should focus on eliminating all the enemies before they get a chance to kill one of your allies, thereby reducing your overall silver deniers gain. As you level through Infamy ranks, you’ll earn a multiplier of your silver deniers reward after completing a Rebel Mission. Rebel Mission RewardsSilver deniers are the currency that you earn from completing Rebel Missions. You can use this currency to purchase upgrades for your rebel forces, such as adding allies to the squad (both melee and ranged types) or improving their effectiveness in combat. You can also use silver deniers to purchase unique gear such as the Reaper’s set, unique runes, and unique rebel cosmetics in the form of hairstyles and a raven. In addition, you’ll find some basic supplies such as arrows and rations from Pierre and his associates. The more Infamy you earn, the more rewards will become available to you, including more pieces of the Reaper set. |
|||||||||||||||||||||||||||||||||||||||||||||||

|
Bad BullDefeat the Ghost Auroch Boss (The Siege of Paris). |
3.35% Ultra Rare | 20 | ||||||||||||||||||||||||||||||||||||||||||||
|
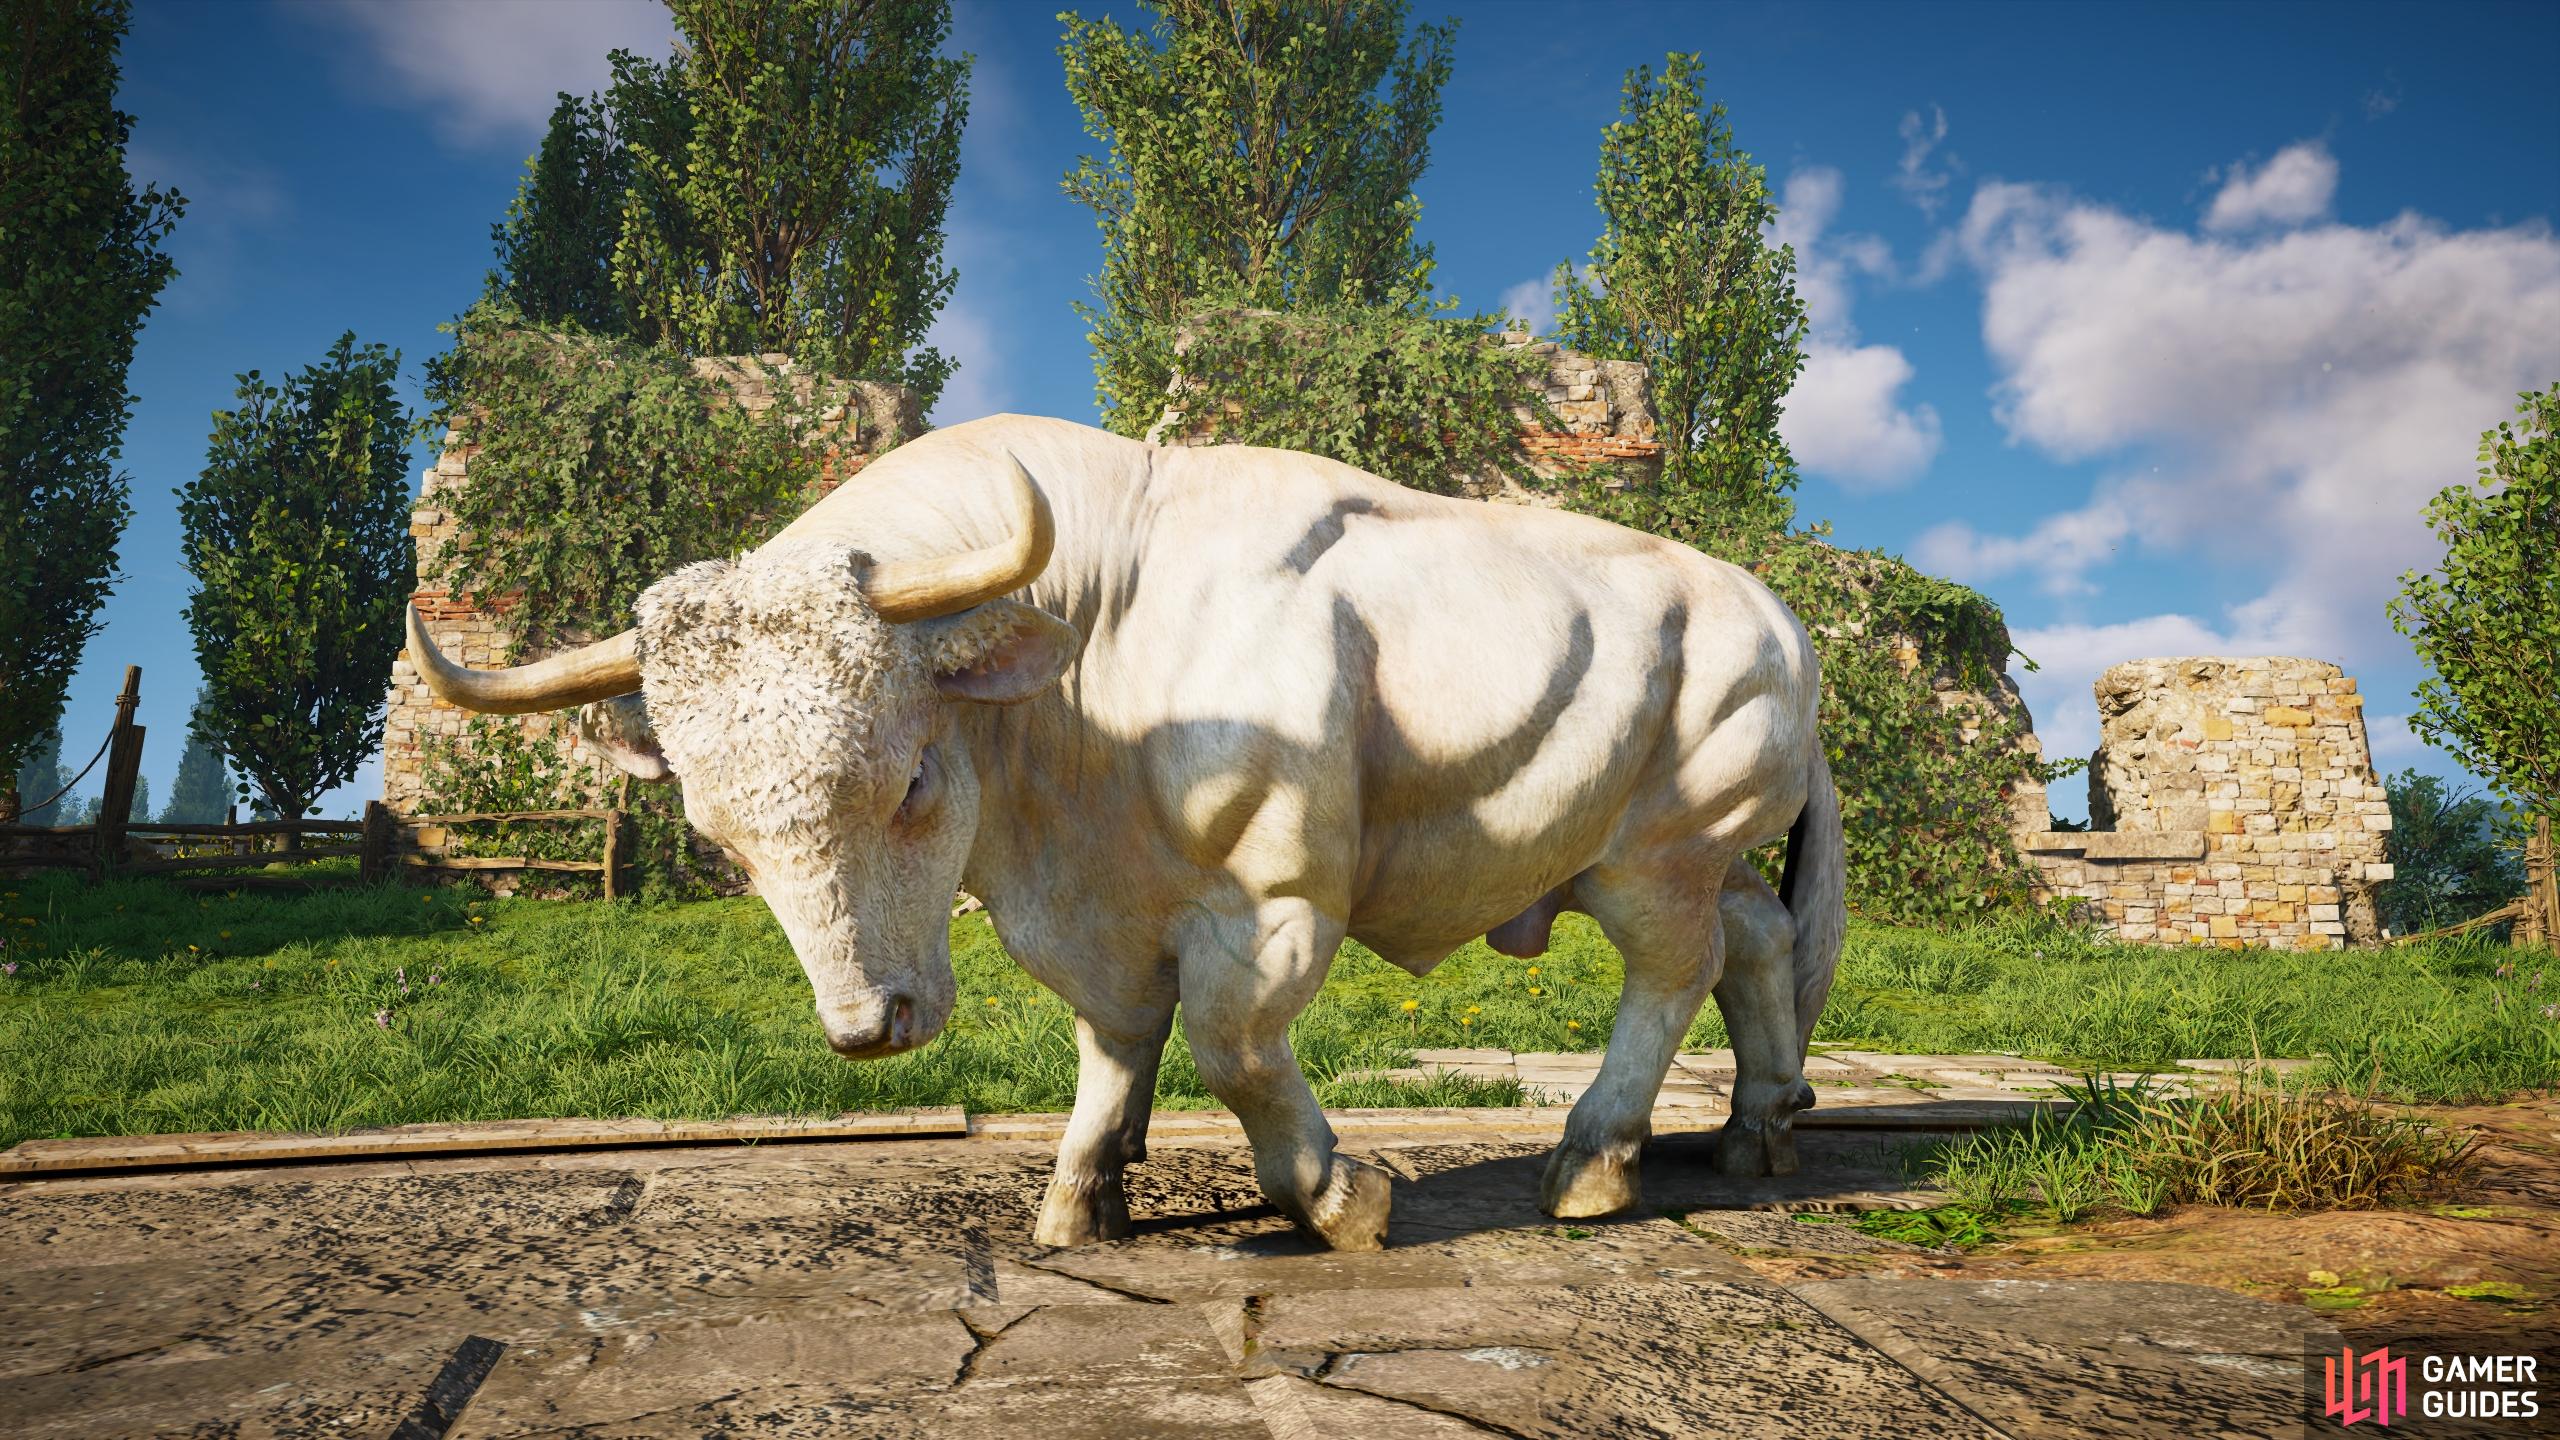
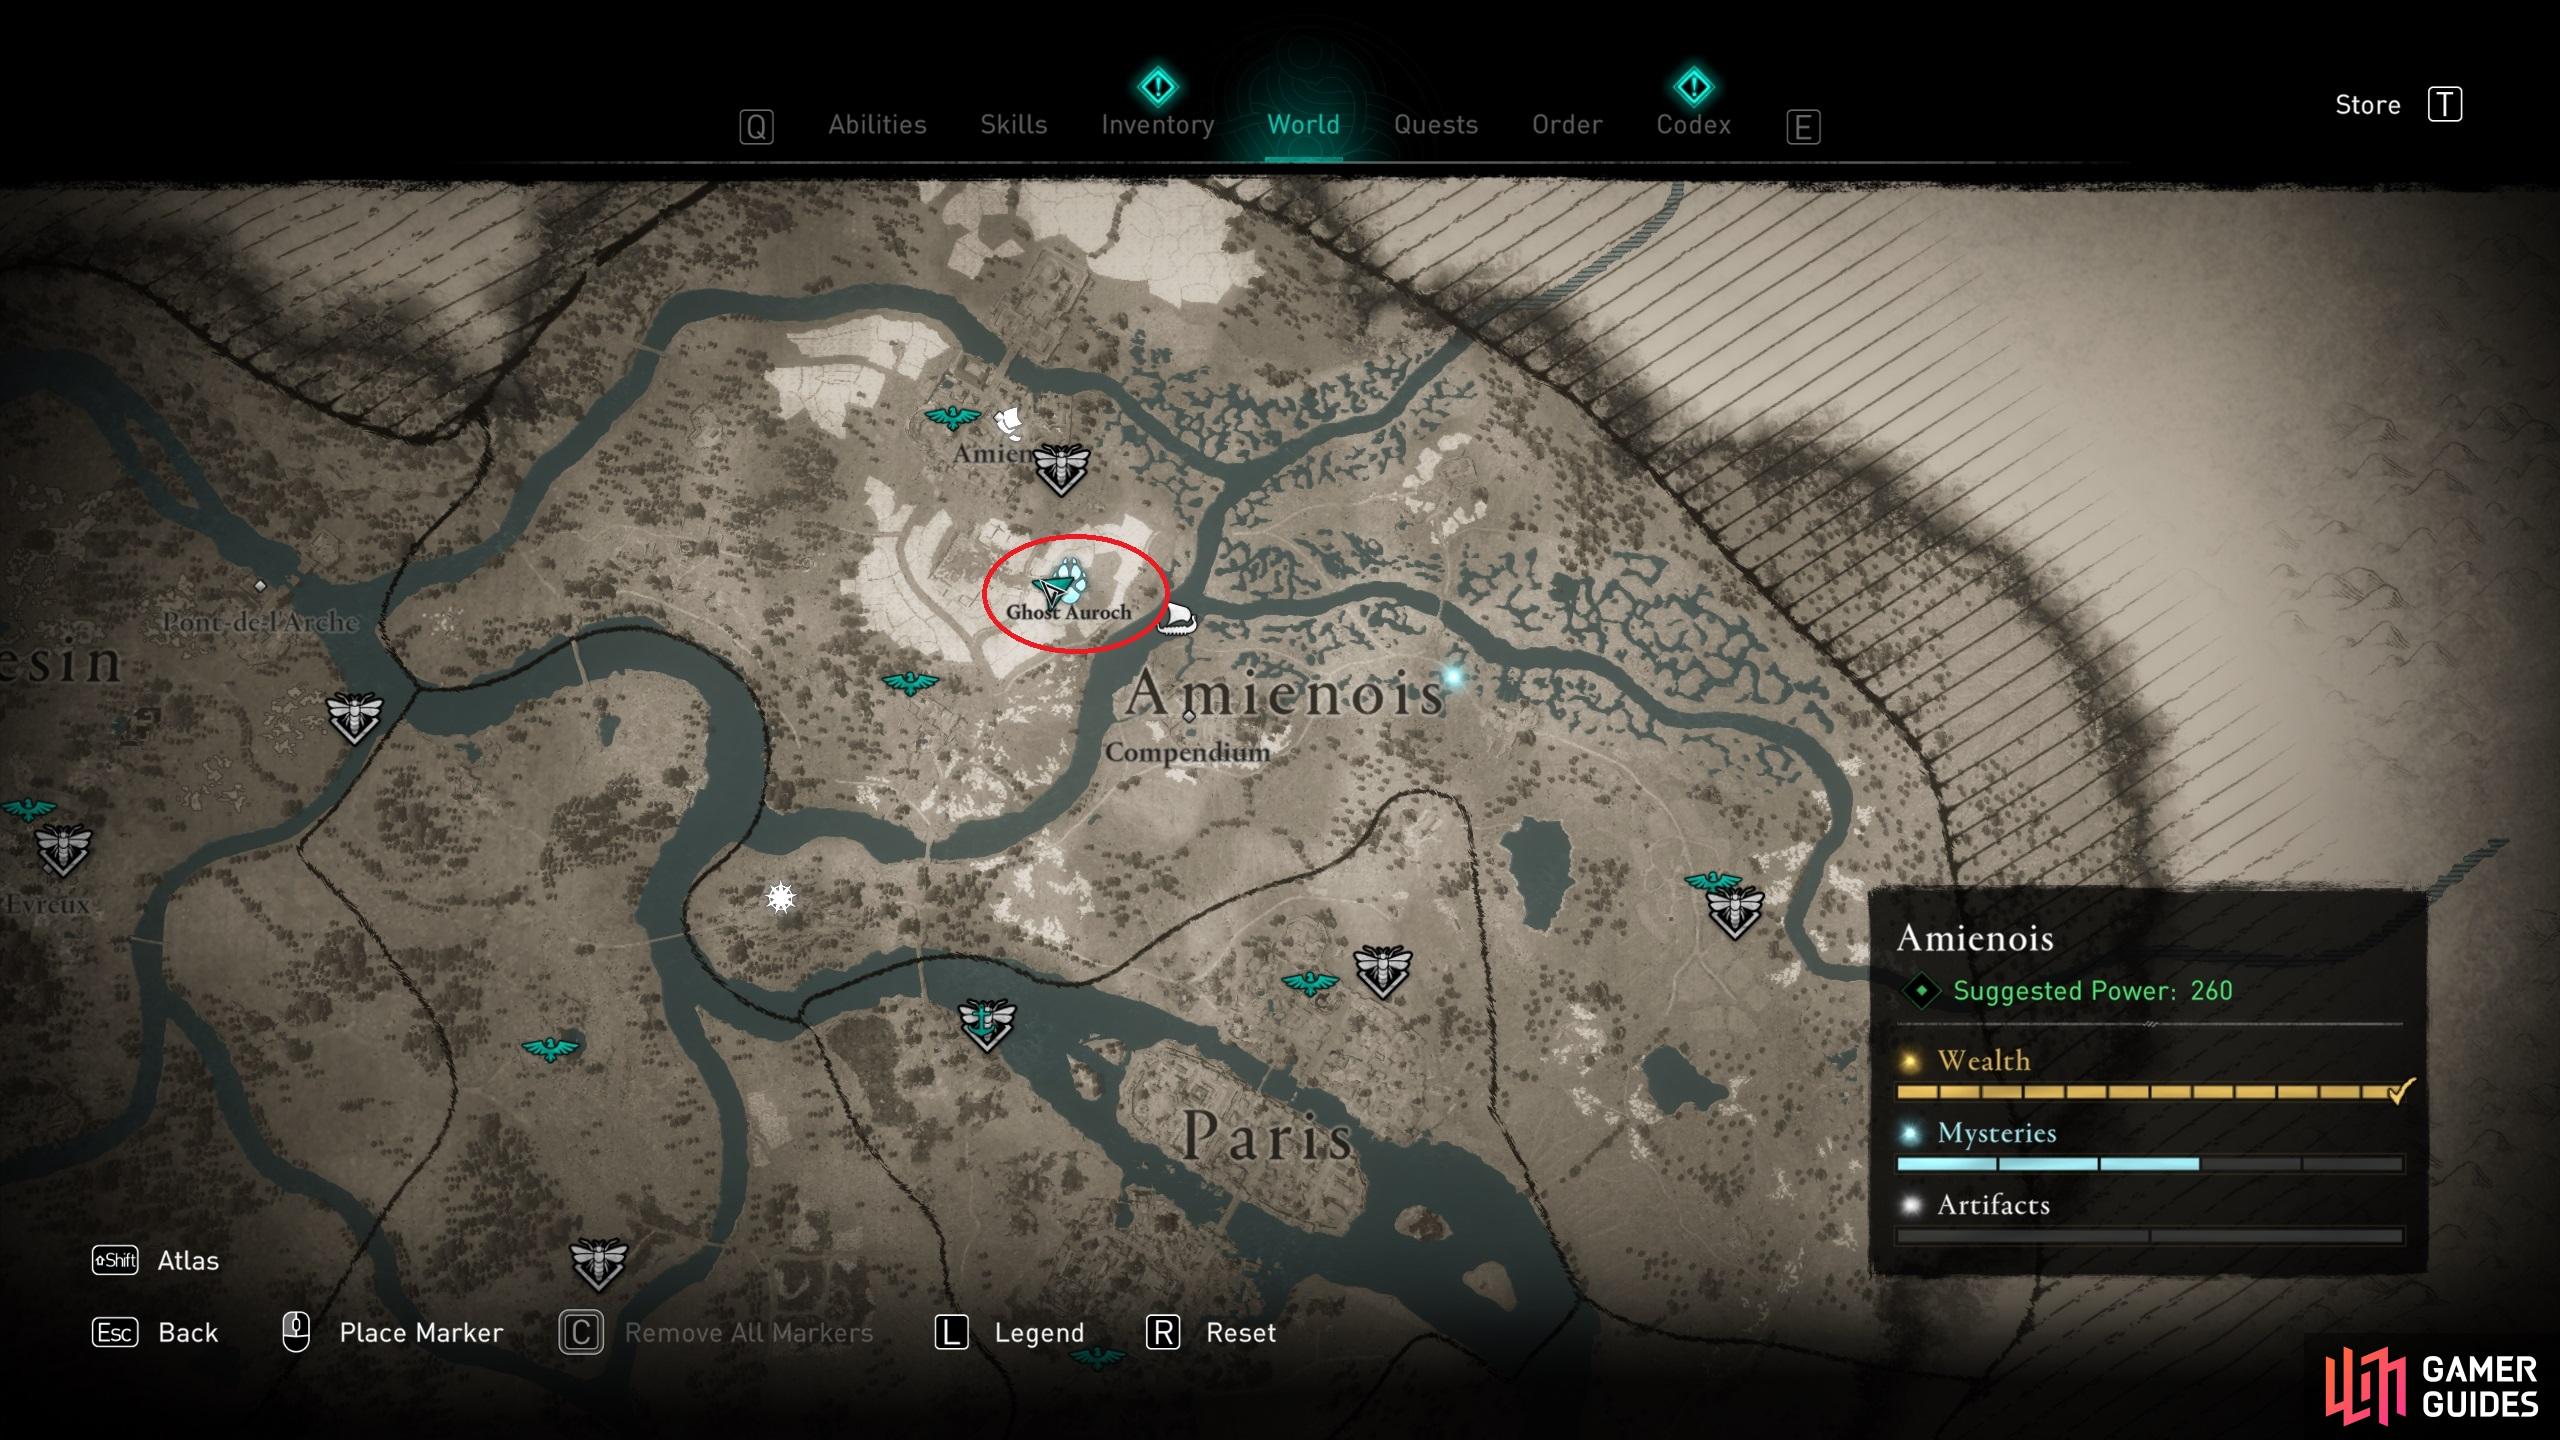
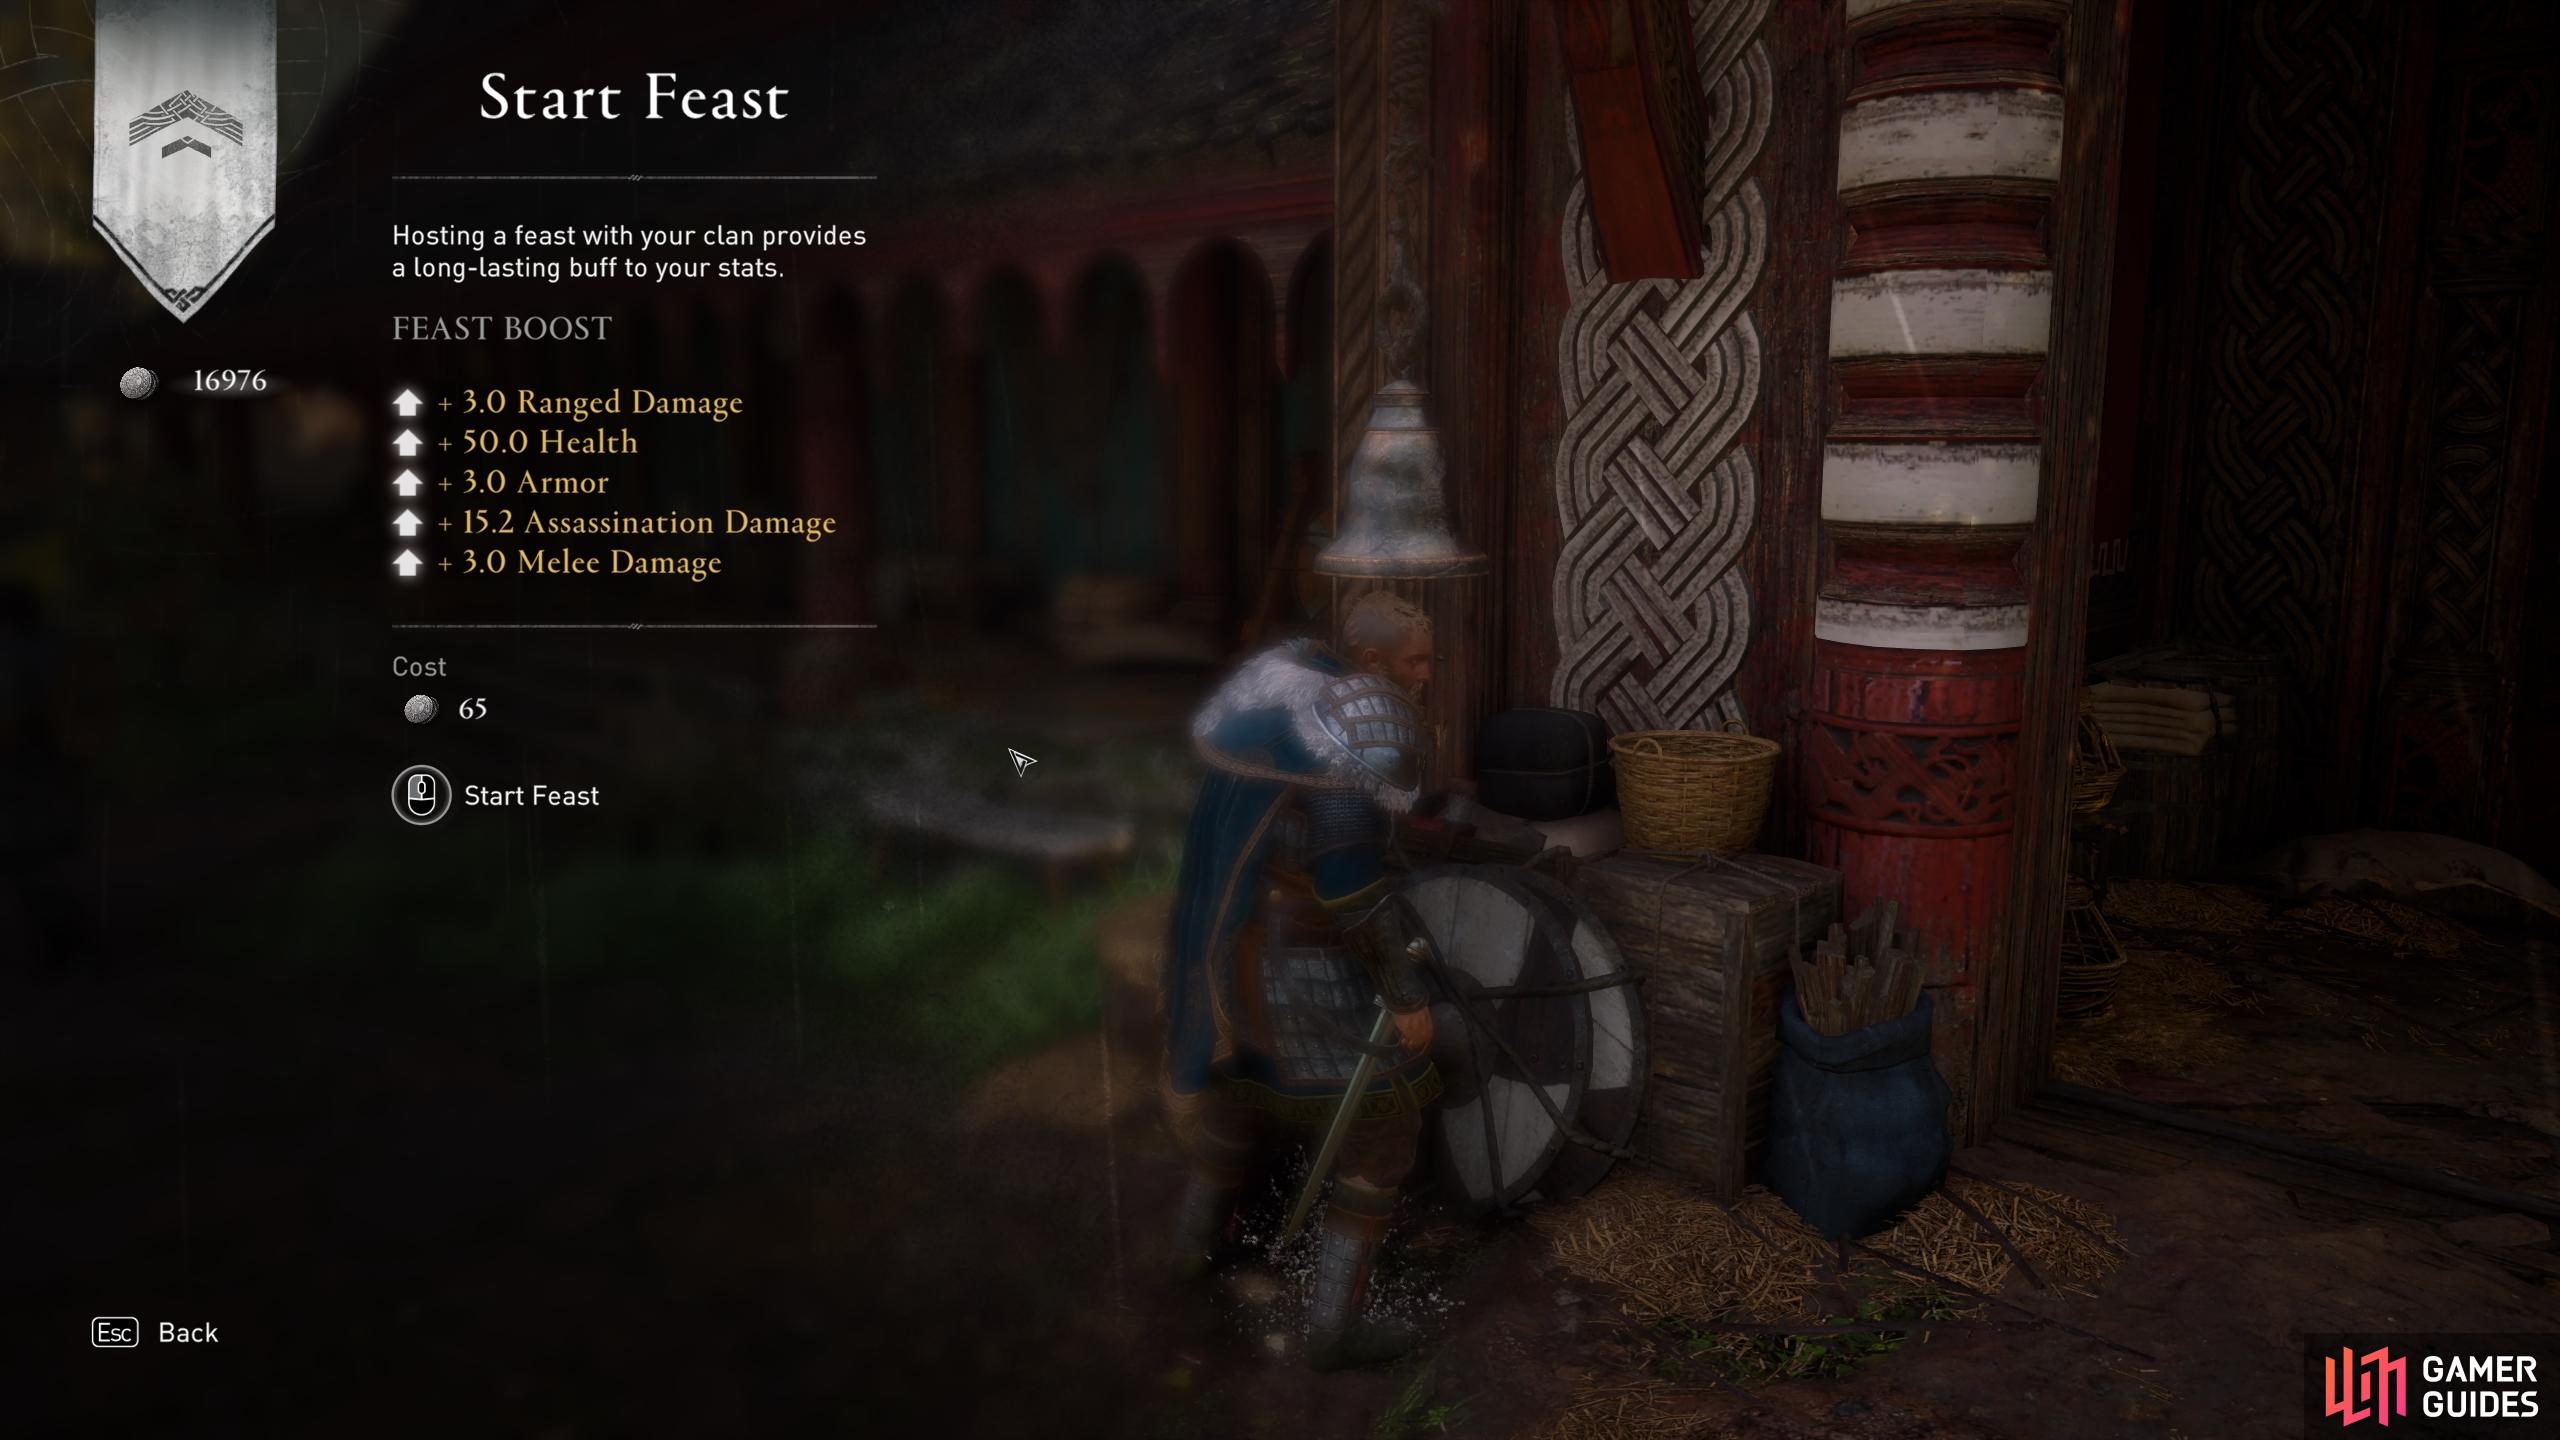
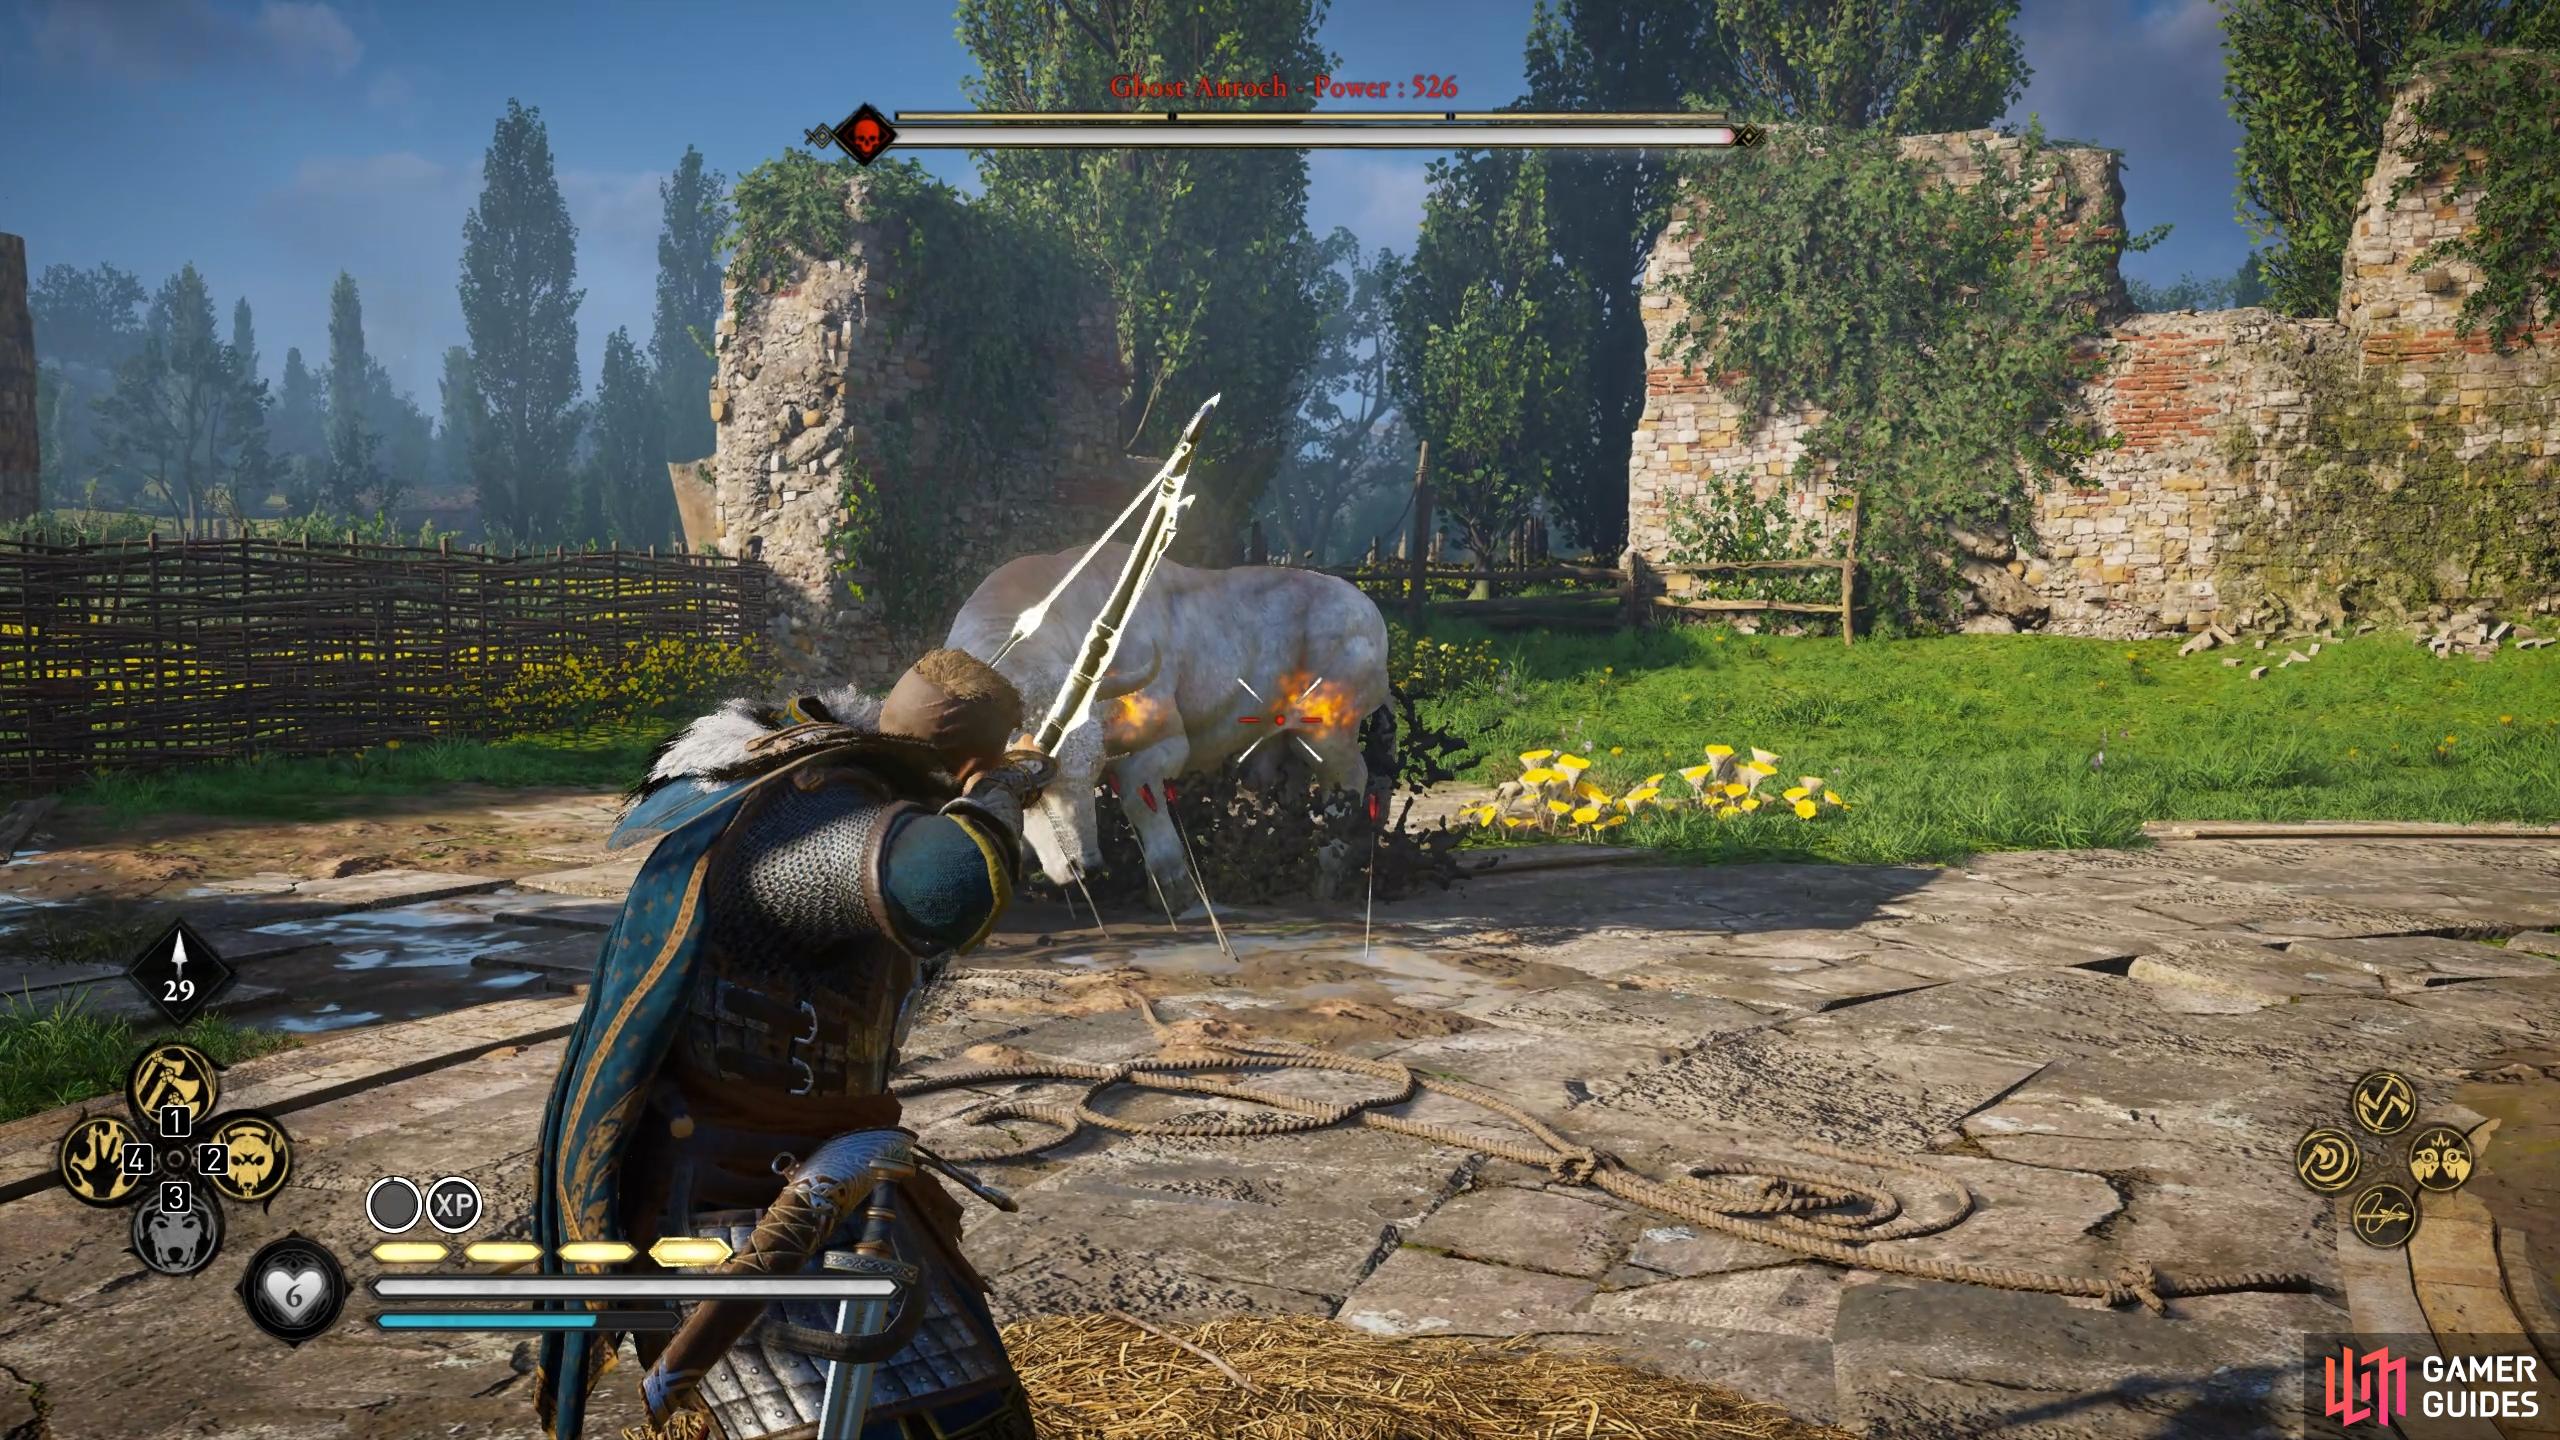
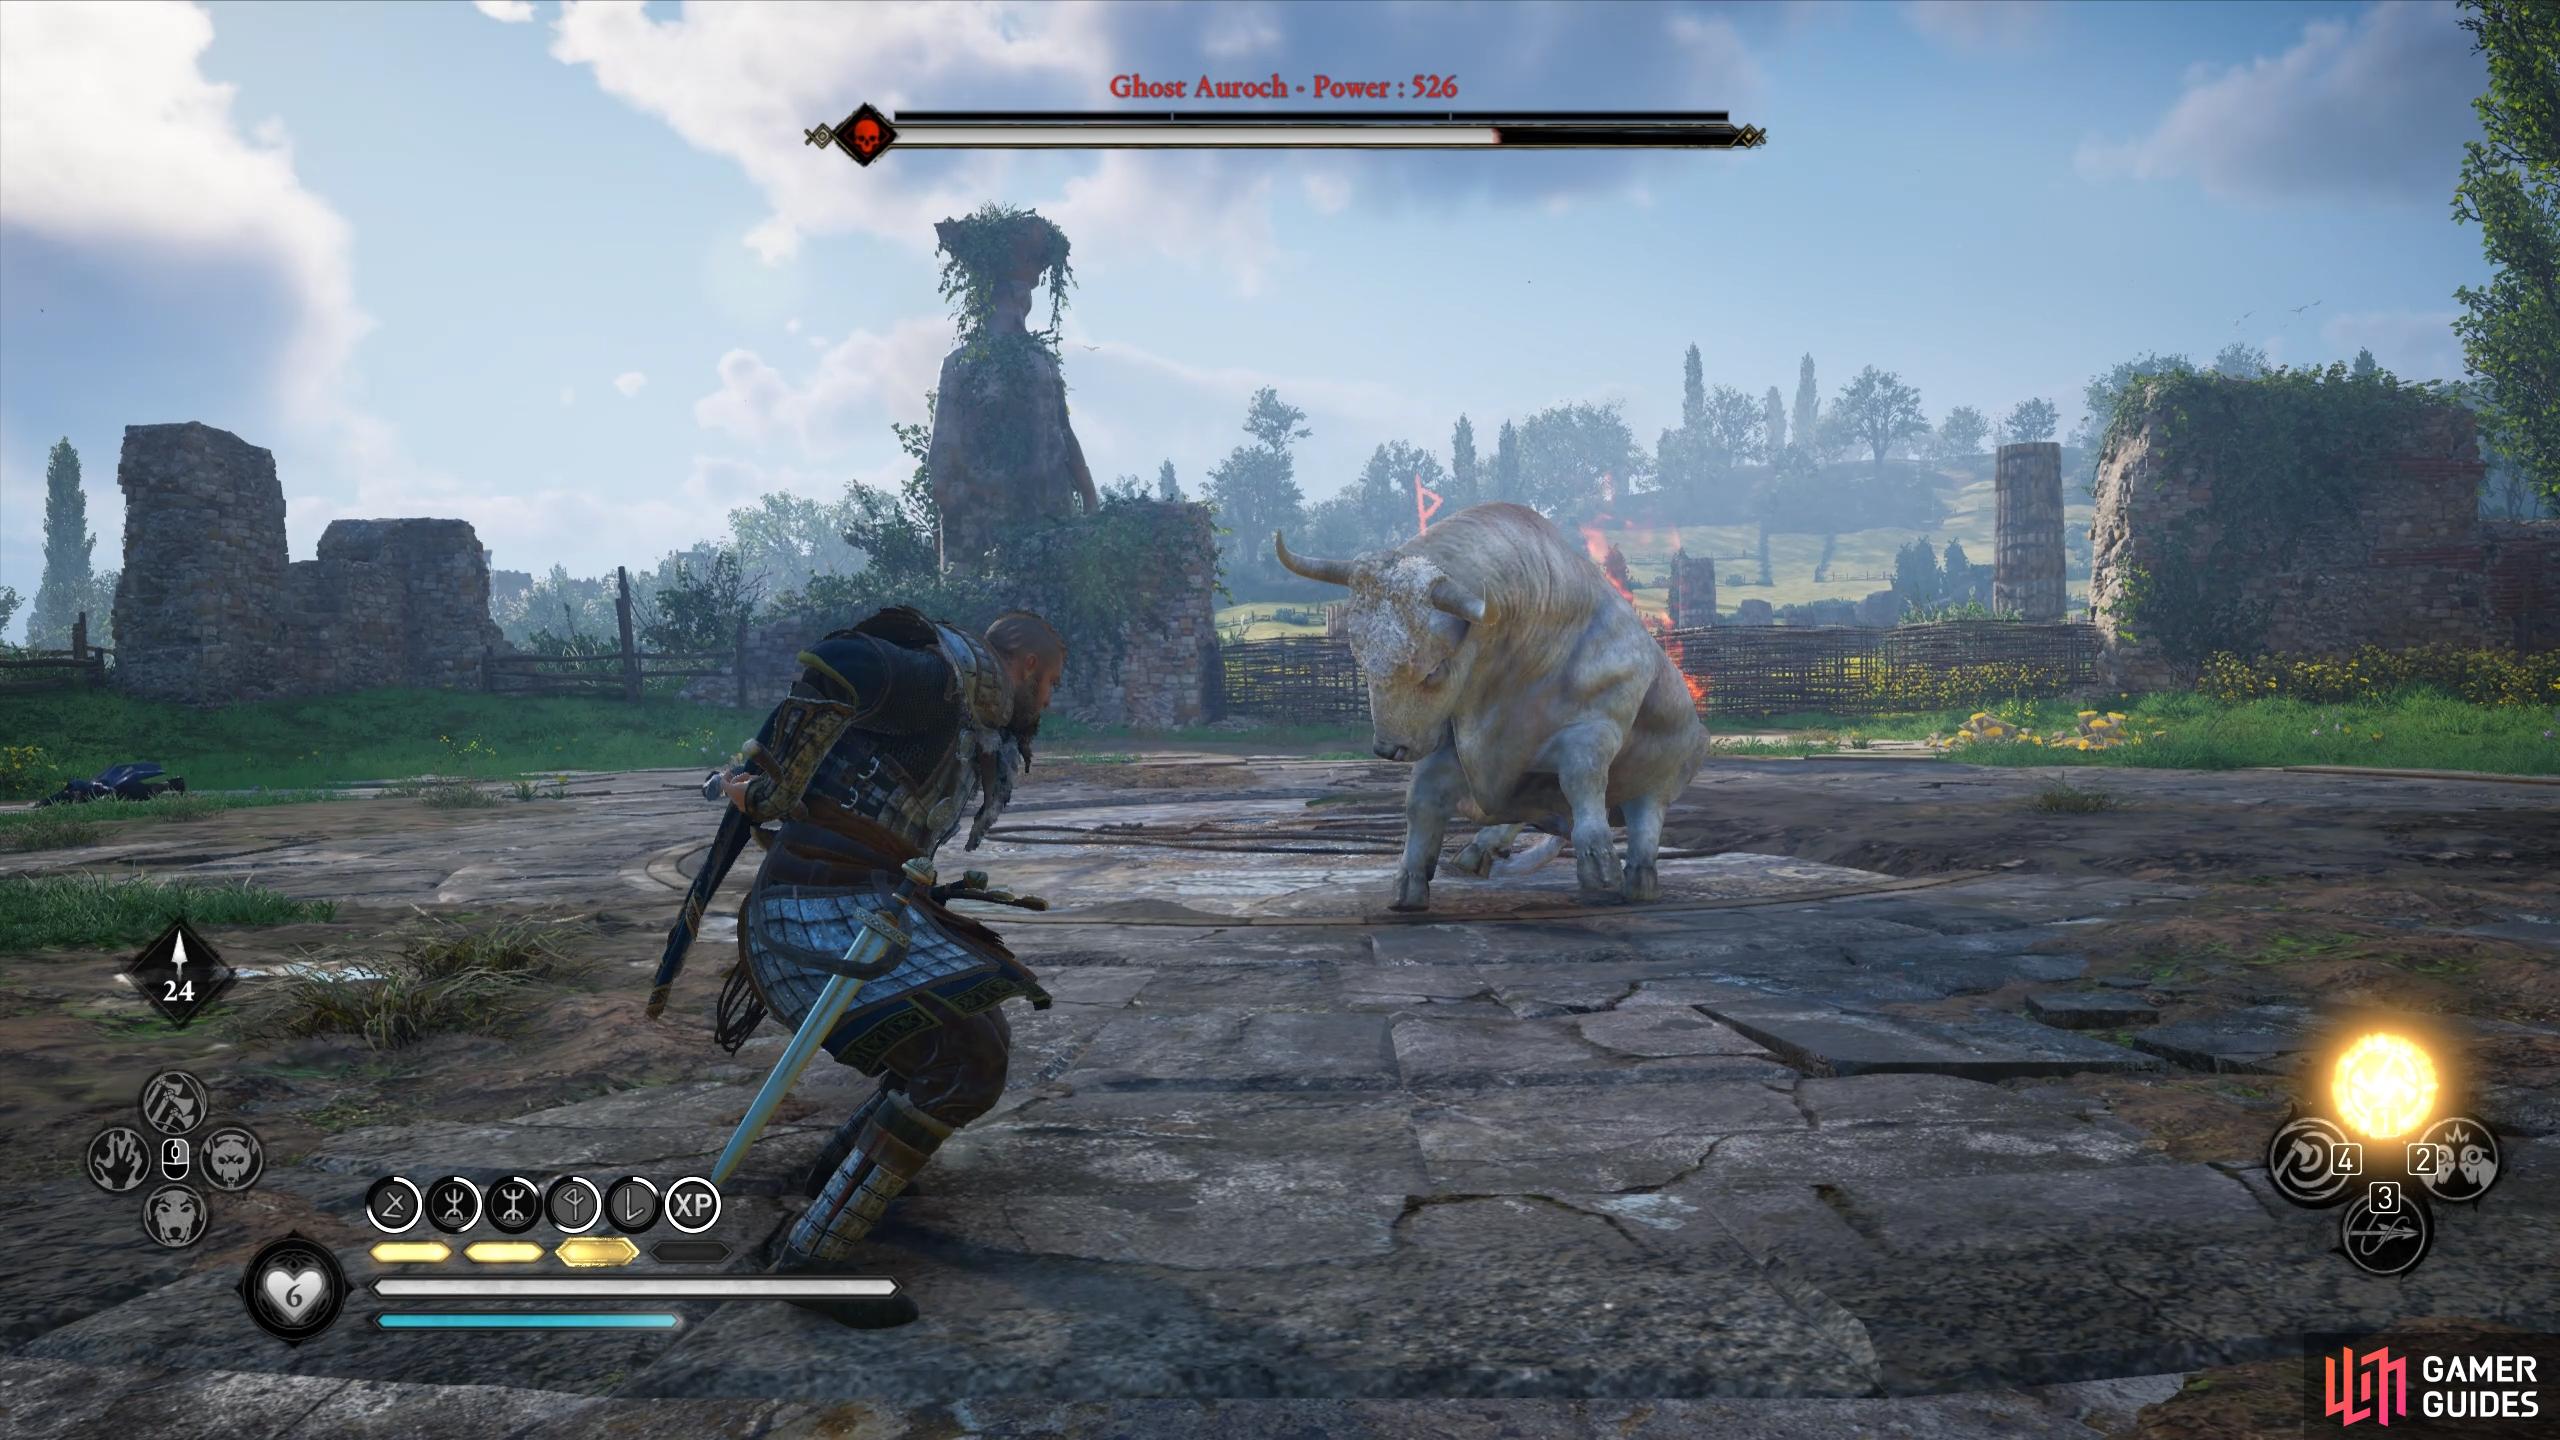
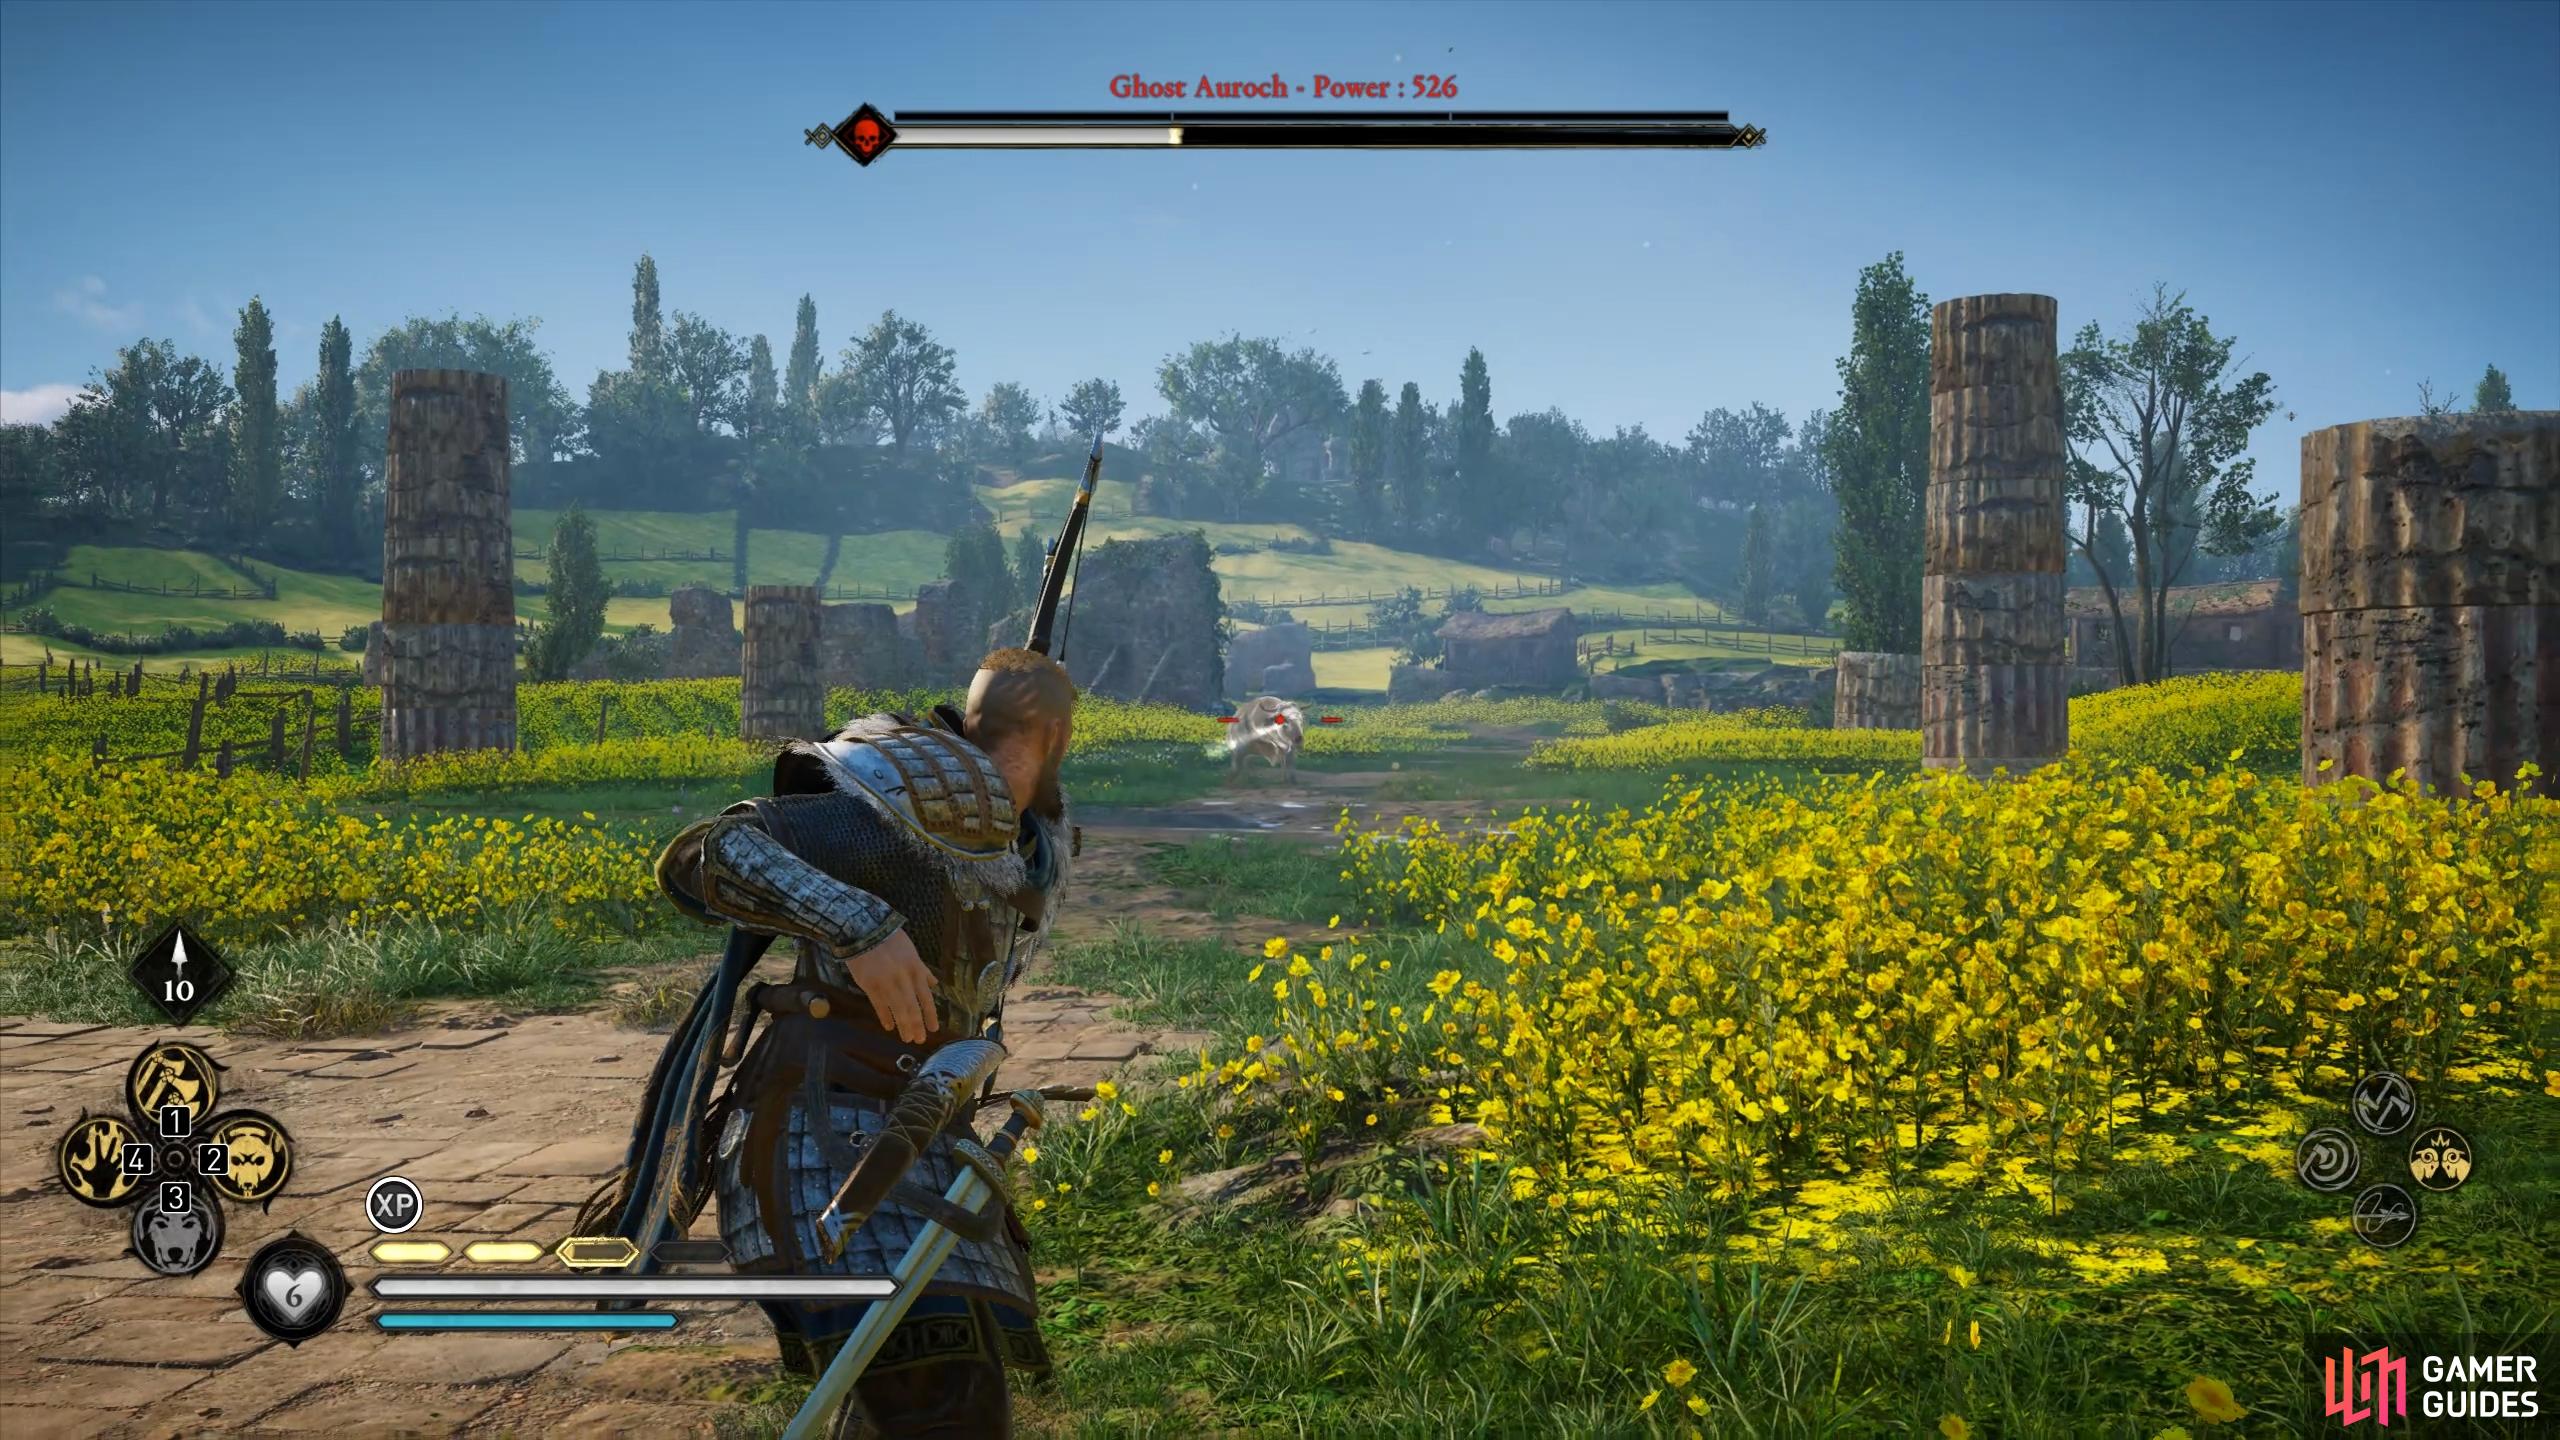
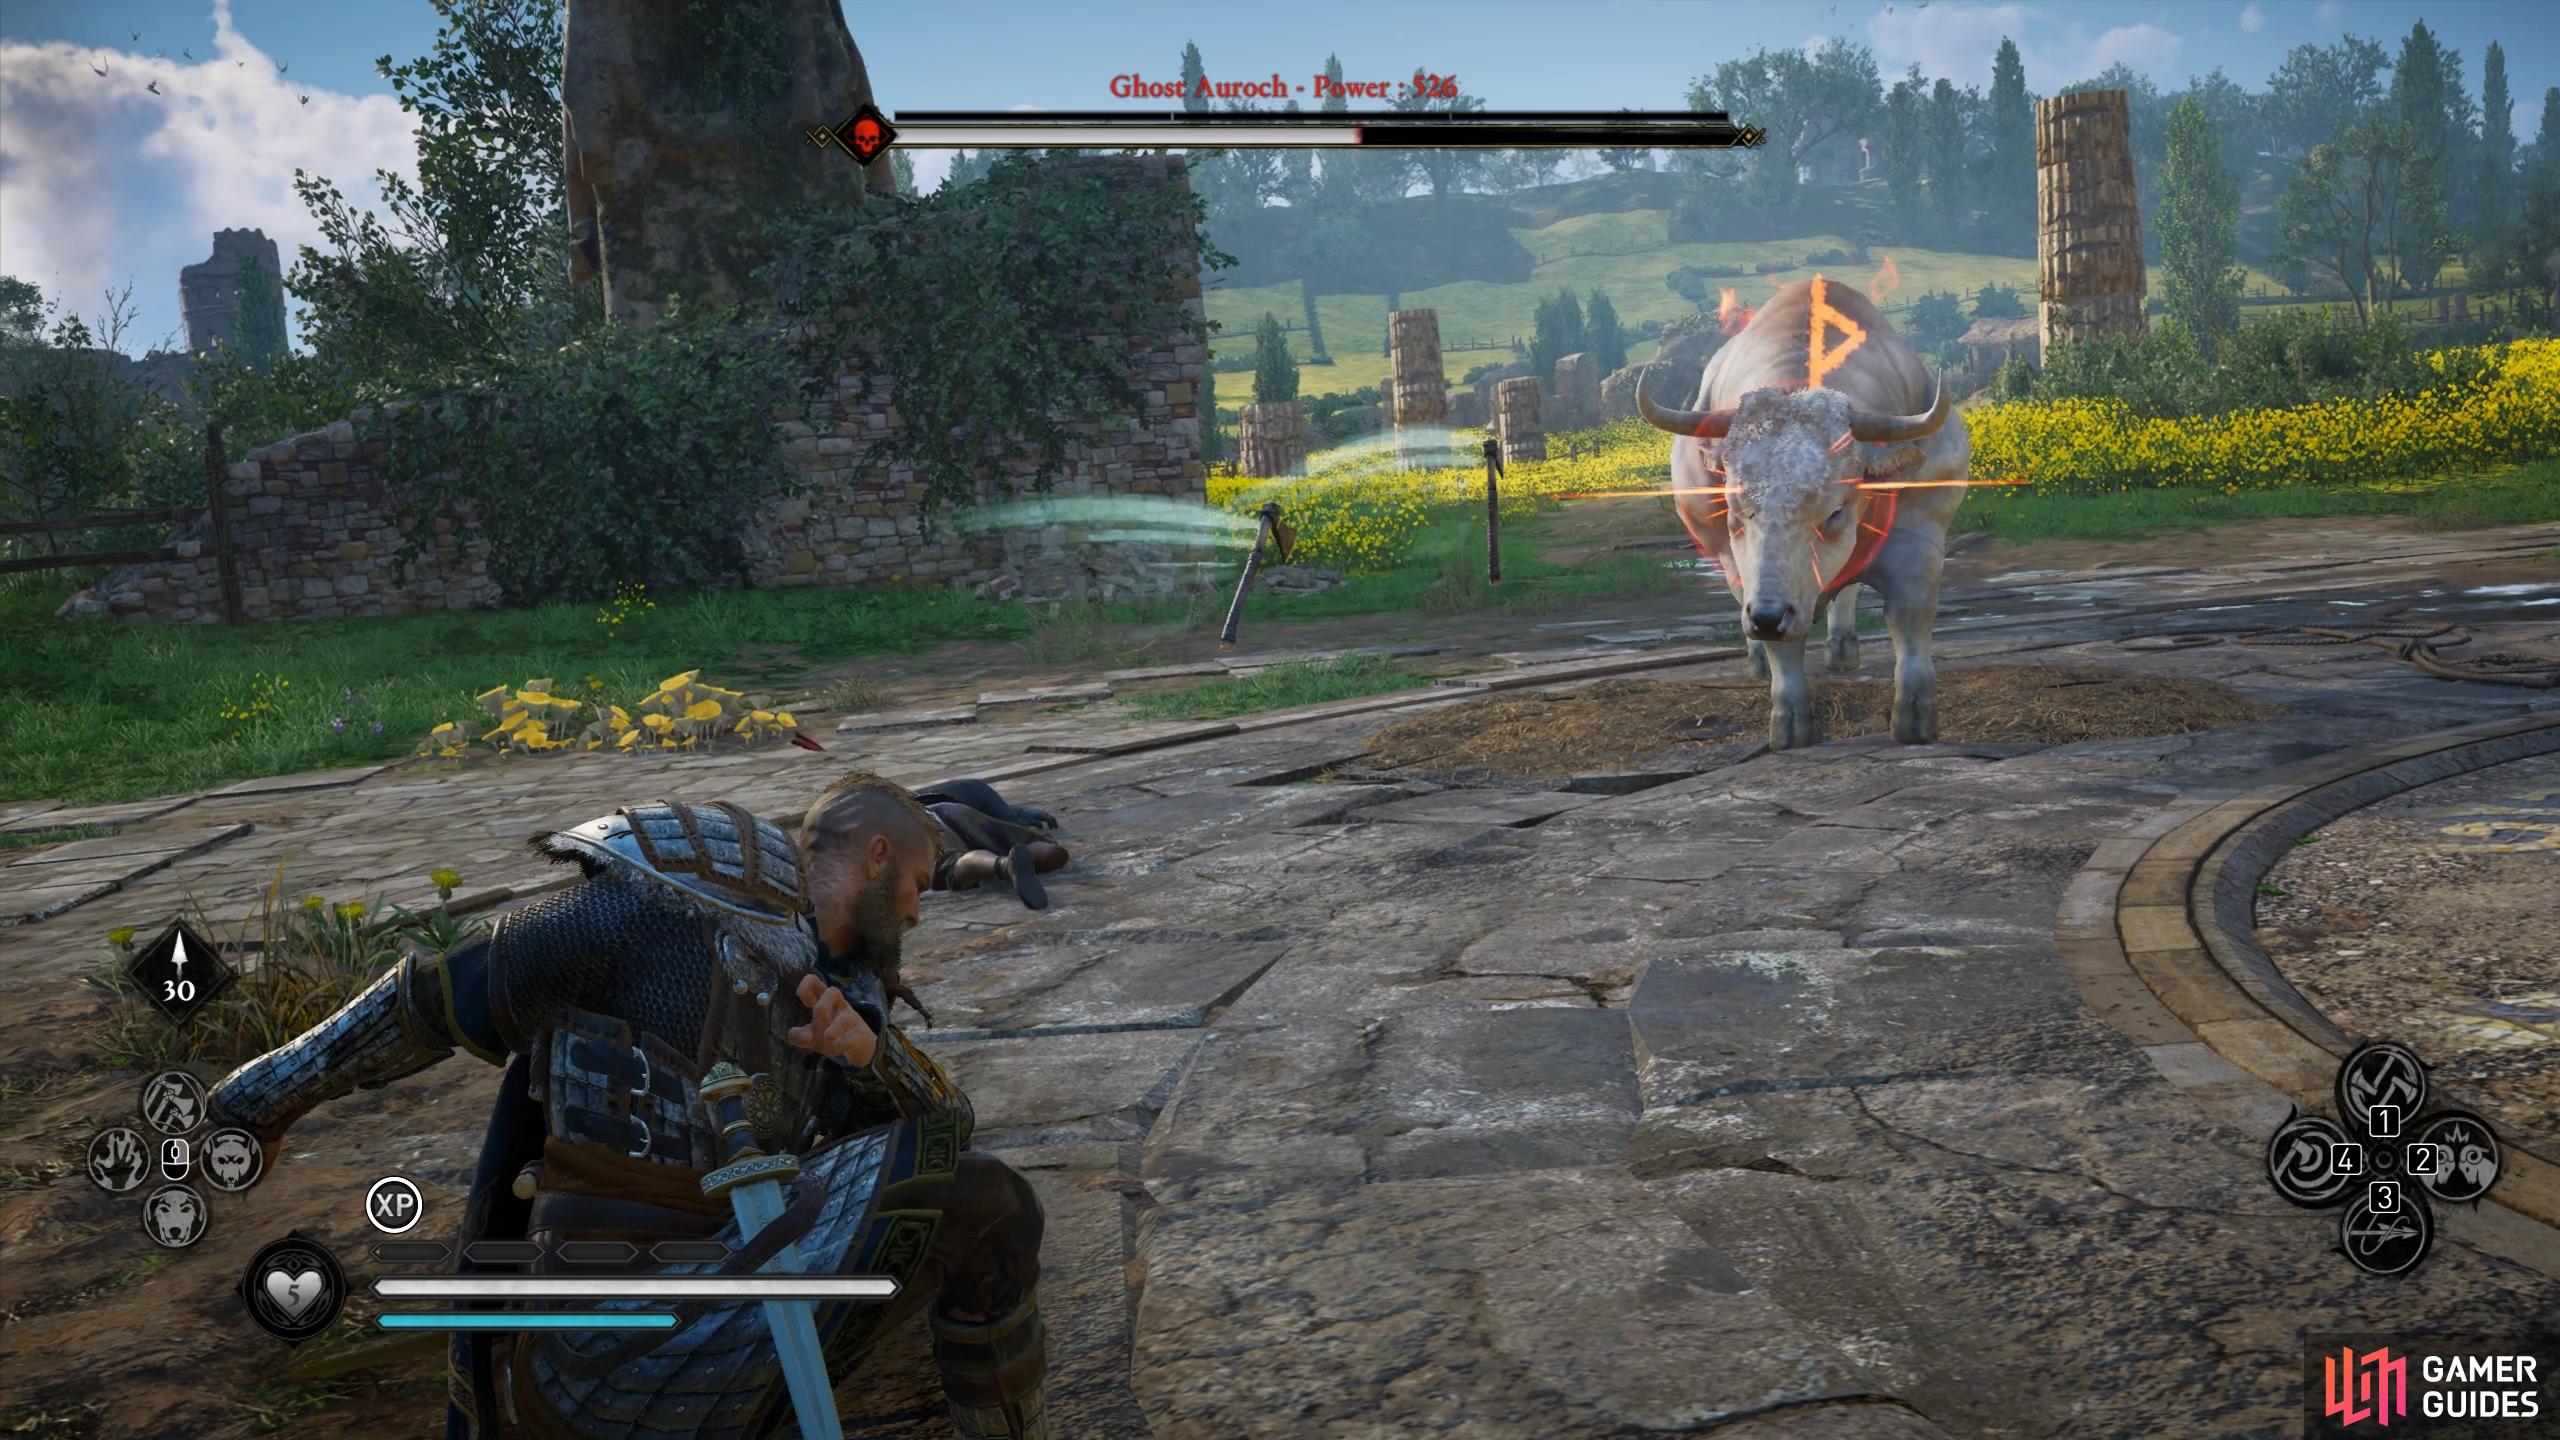
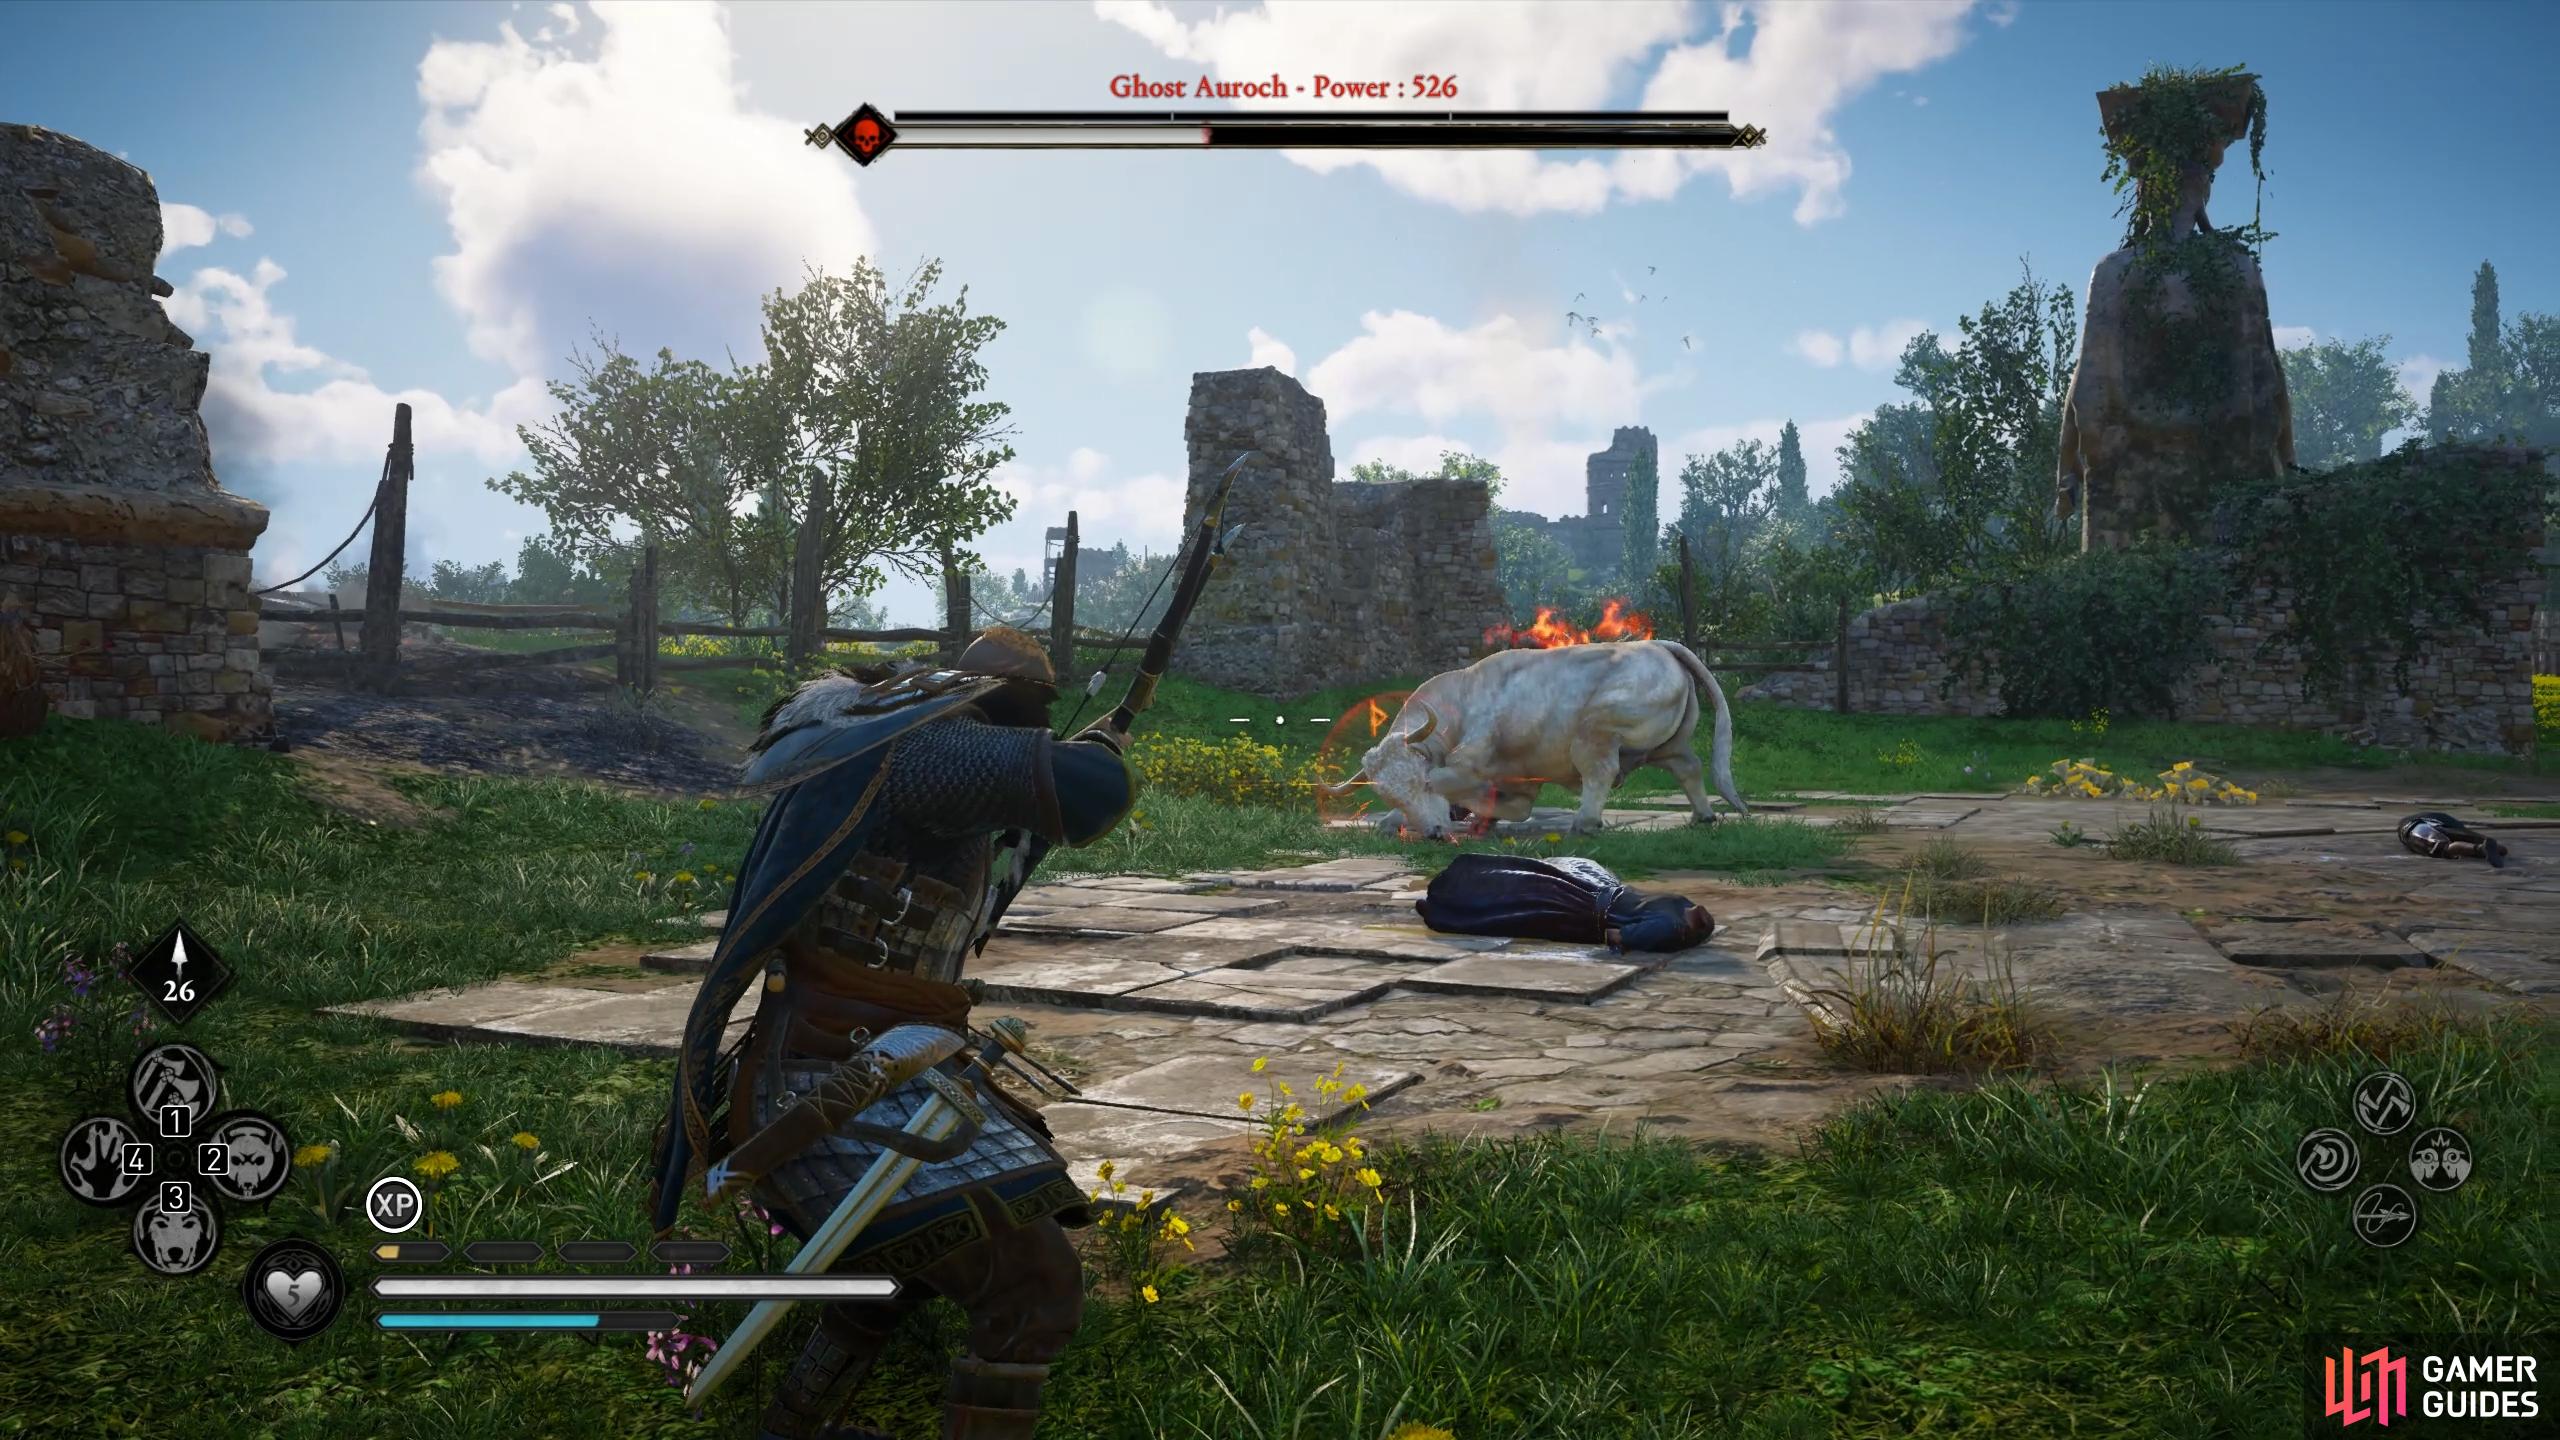
To unlock this achievement, you need to defeat the legendary animal known as the Ghost Auroch, which can be found in Amienois, Francia, part of the Siege of Paris DLC. Where to Find and How to Defeat the Ghost AurochGhost Auroch, Siege of Paris DLC. Where to Find and How to Defeat the Ghost AurochThe Ghost Auroch is located in the northwest of Amienois, Francia. You’ll find it waiting in some Roman ruins, but as soon as you enter the circle it will attack. The Ghost Auroch is one of the more difficult legendary animal fights, especially if you’re playing on the highest difficulty settings. This is because the auroch spams unpredictable chain attacks, which can easily catch you off guard. A hit from the standard charge can be enough to kill you in one hit, so you’ll need to be extremely careful when avoiding attacks. If you’re playing on high difficulty settings and want to maximize your chances of success, don’t forget to use the Feast Buff by hosting a feast at your longhouse in Ravensthorpe. A fully upgraded settlement will increase your melee and ranged damage, armor, and health. (1 of 2) The location of the Ghost Auroch in western Amienois. The location of the Ghost Auroch in western Amienois. (left), Use the Feast Buff from your longhouse in Ravensthorpe to boost your stats. (right) The auroch has three weak points located on its right hind leg, left hind leg, and left front leg. You should aim to hit these as soon as possible, as the first phase of the fight is the easiest. You should be able to hit them relatively easily with your bow, but if you’re struggling you can try to dodge an attack to slow time briefly (the time slow will only occur if you have the Brush with Death skill). This will give you more time to aim for each weak point before time resumes its normal pace. If you’re still struggling to hit the weak points, the new Precision Axe Throw ability from the River Raids will allow you to hit them automatically. Once you’ve each all three weak points, you can execute a stun attack to inflict massive damage. If you’ve hit all the weak points and executed a stun attack, it’ll only take a few more hits before you deplete about a quarter of the auroch’s health. At this point a new phase of the fight will begin, during which the auroch crashes through a fence and runs onto the nearby road. Eivor will automatically call their mount at this point, prompting you to chase the auroch while mounted. You should avoid doing this, as it isn’t necessary and could leave you in a vulnerable position when the auroch begins to charge you later. Instead, chase after the auroch on foot and aim to shoot it as soon as it stops. You’ll notice a white aura appearing around the auroch when it stops, indicating that it’s healing. Shooting it once will stop the healing process. As soon as you hit the auroch and interrupt its healing, it will begin a charge toward you. You’ll need to be ready to dodge or roll away from this, since one hit at this point can kill you immediately. You won’t be able to block or parry these charge attacks, so don’t bother trying. The use of a special ability of your own will only briefly interrupt the auroch before it begins to charge again. At this stage, your best option is to fire as many arrows into the auroch’s head as possible before it reaches you. Arrow shots to the head will inflict a lot more damage if you charge the shot first, but you could opt to spam with a light bow instead if you prefer. As you move from the road to the arena throughout the fight, you’ll find it useful to use some abilities over others. Harpoon Impalement is essentially useless here, since it inflicts very little damage without the ability to pull the aurochs in a specific direction. Instead, we recommend using Throwing Axe Fury whenever you can, which will inflict high damage and interrupt the aurochs briefly. The melee and ranged version of Poison Strike and Fire Strike abilities can also be useful, as they apply damage over time to the aurochs while you kite it around the battleground. The Thrill of War (Way of the Raven) skill will allow you to replenish adrenaline throughout the fight, but you can also consume the yellow mushrooms scattered around if necessary. Once you’ve seen the aurochs run into the road once, the aim here is to make the fight as short as possible, while still being conscious of avoiding the deadly charge attacks. This means that you should create as much distance between yourself and the aurochs as possible, striking with your bow when you can, and using special abilities when you have the time. You should avoid using special abilities when you’re too close to the aurochs, as this will lock you in an animation for a few seconds, allowing the aurochs to catch you off guard. It’s a good idea to roll away from the aurochs rather than dodge sometimes, since one dodge will not be enough to distance yourself from the chain attacks. A roll also gives you enough distance to fit in a quick Throwing Axe Fury, a few arrow shots, or a series of swift strikes with the spear. If you find yourself running low on stamina after rolling, using Throwing Axe Fury will replenish your stamina bar. It may take a few attempts to kill the Ghost Auroch on high difficulty settings, but so long as you err on the side of caution to avoid the charge attacks and don’t take too many risks when attacking, you should be able to grind it down fairly quickly. |
|||||||||||||||||||||||||||||||||||||||||||||||

|
King’s MakerComplete 10 Royal Demands (Wrath of the Druids). |
3.36% Ultra Rare | 20 | ||||||||||||||||||||||||||||||||||||||||||||
|
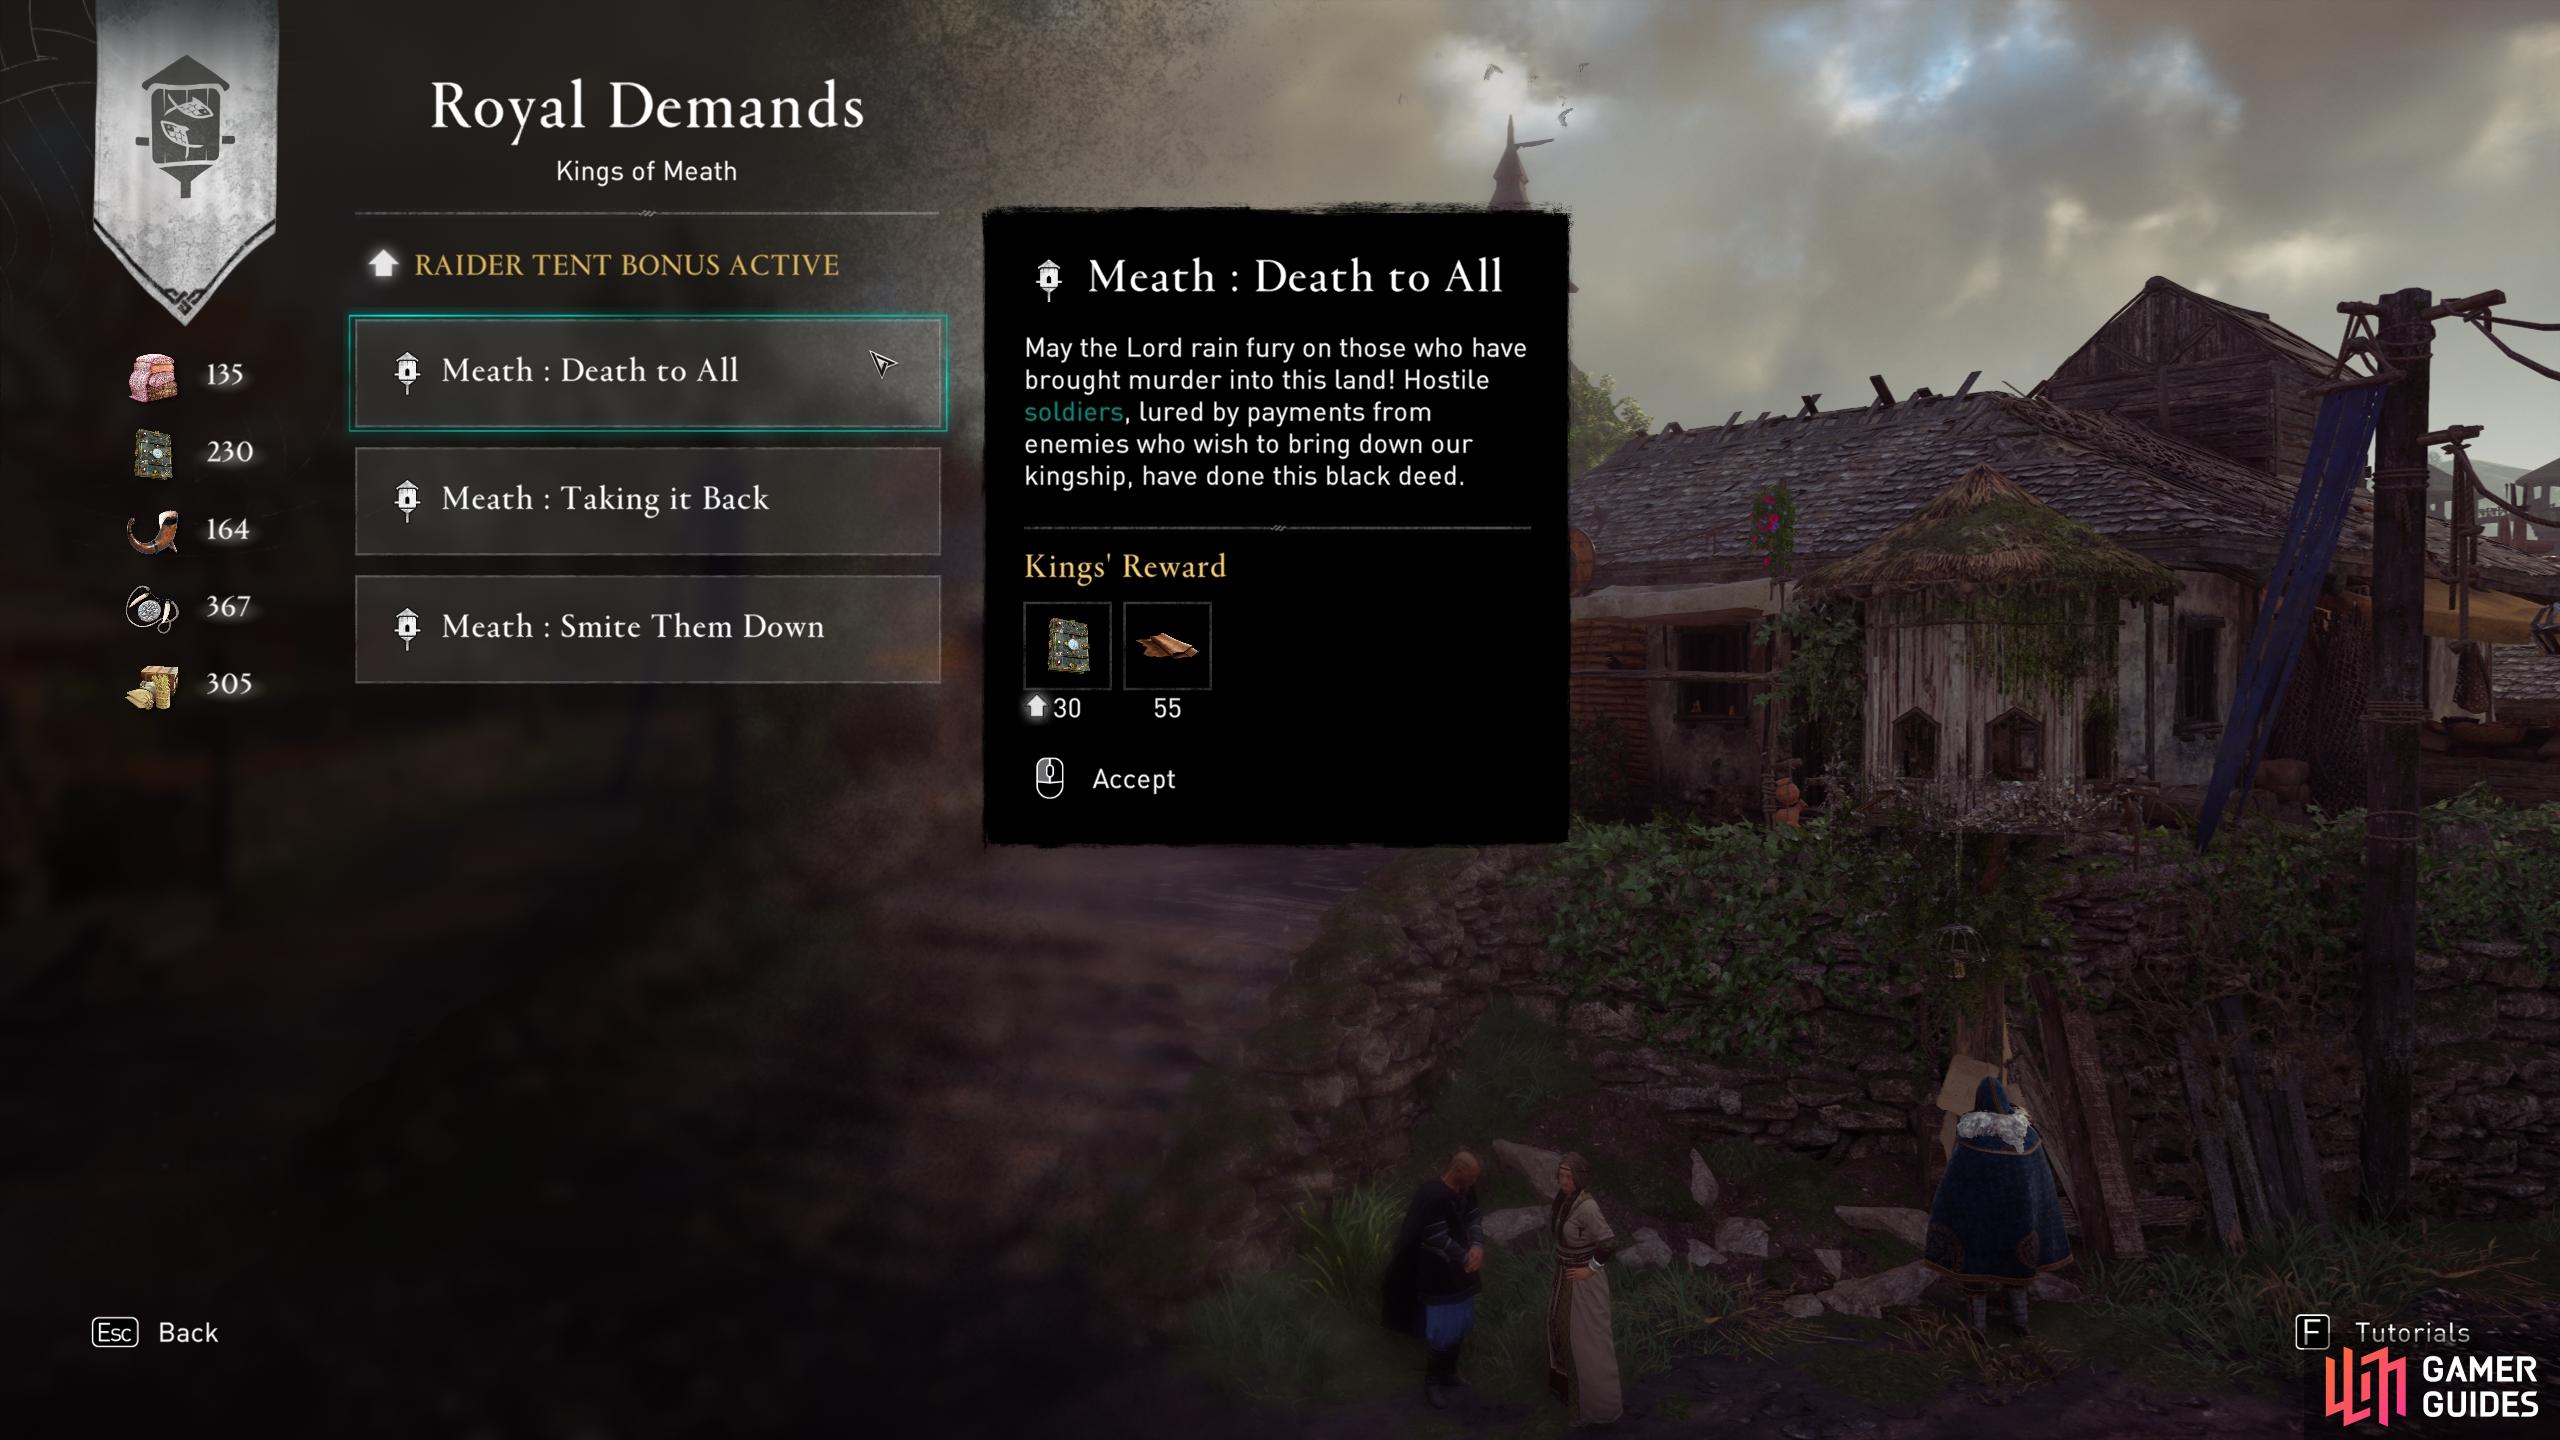
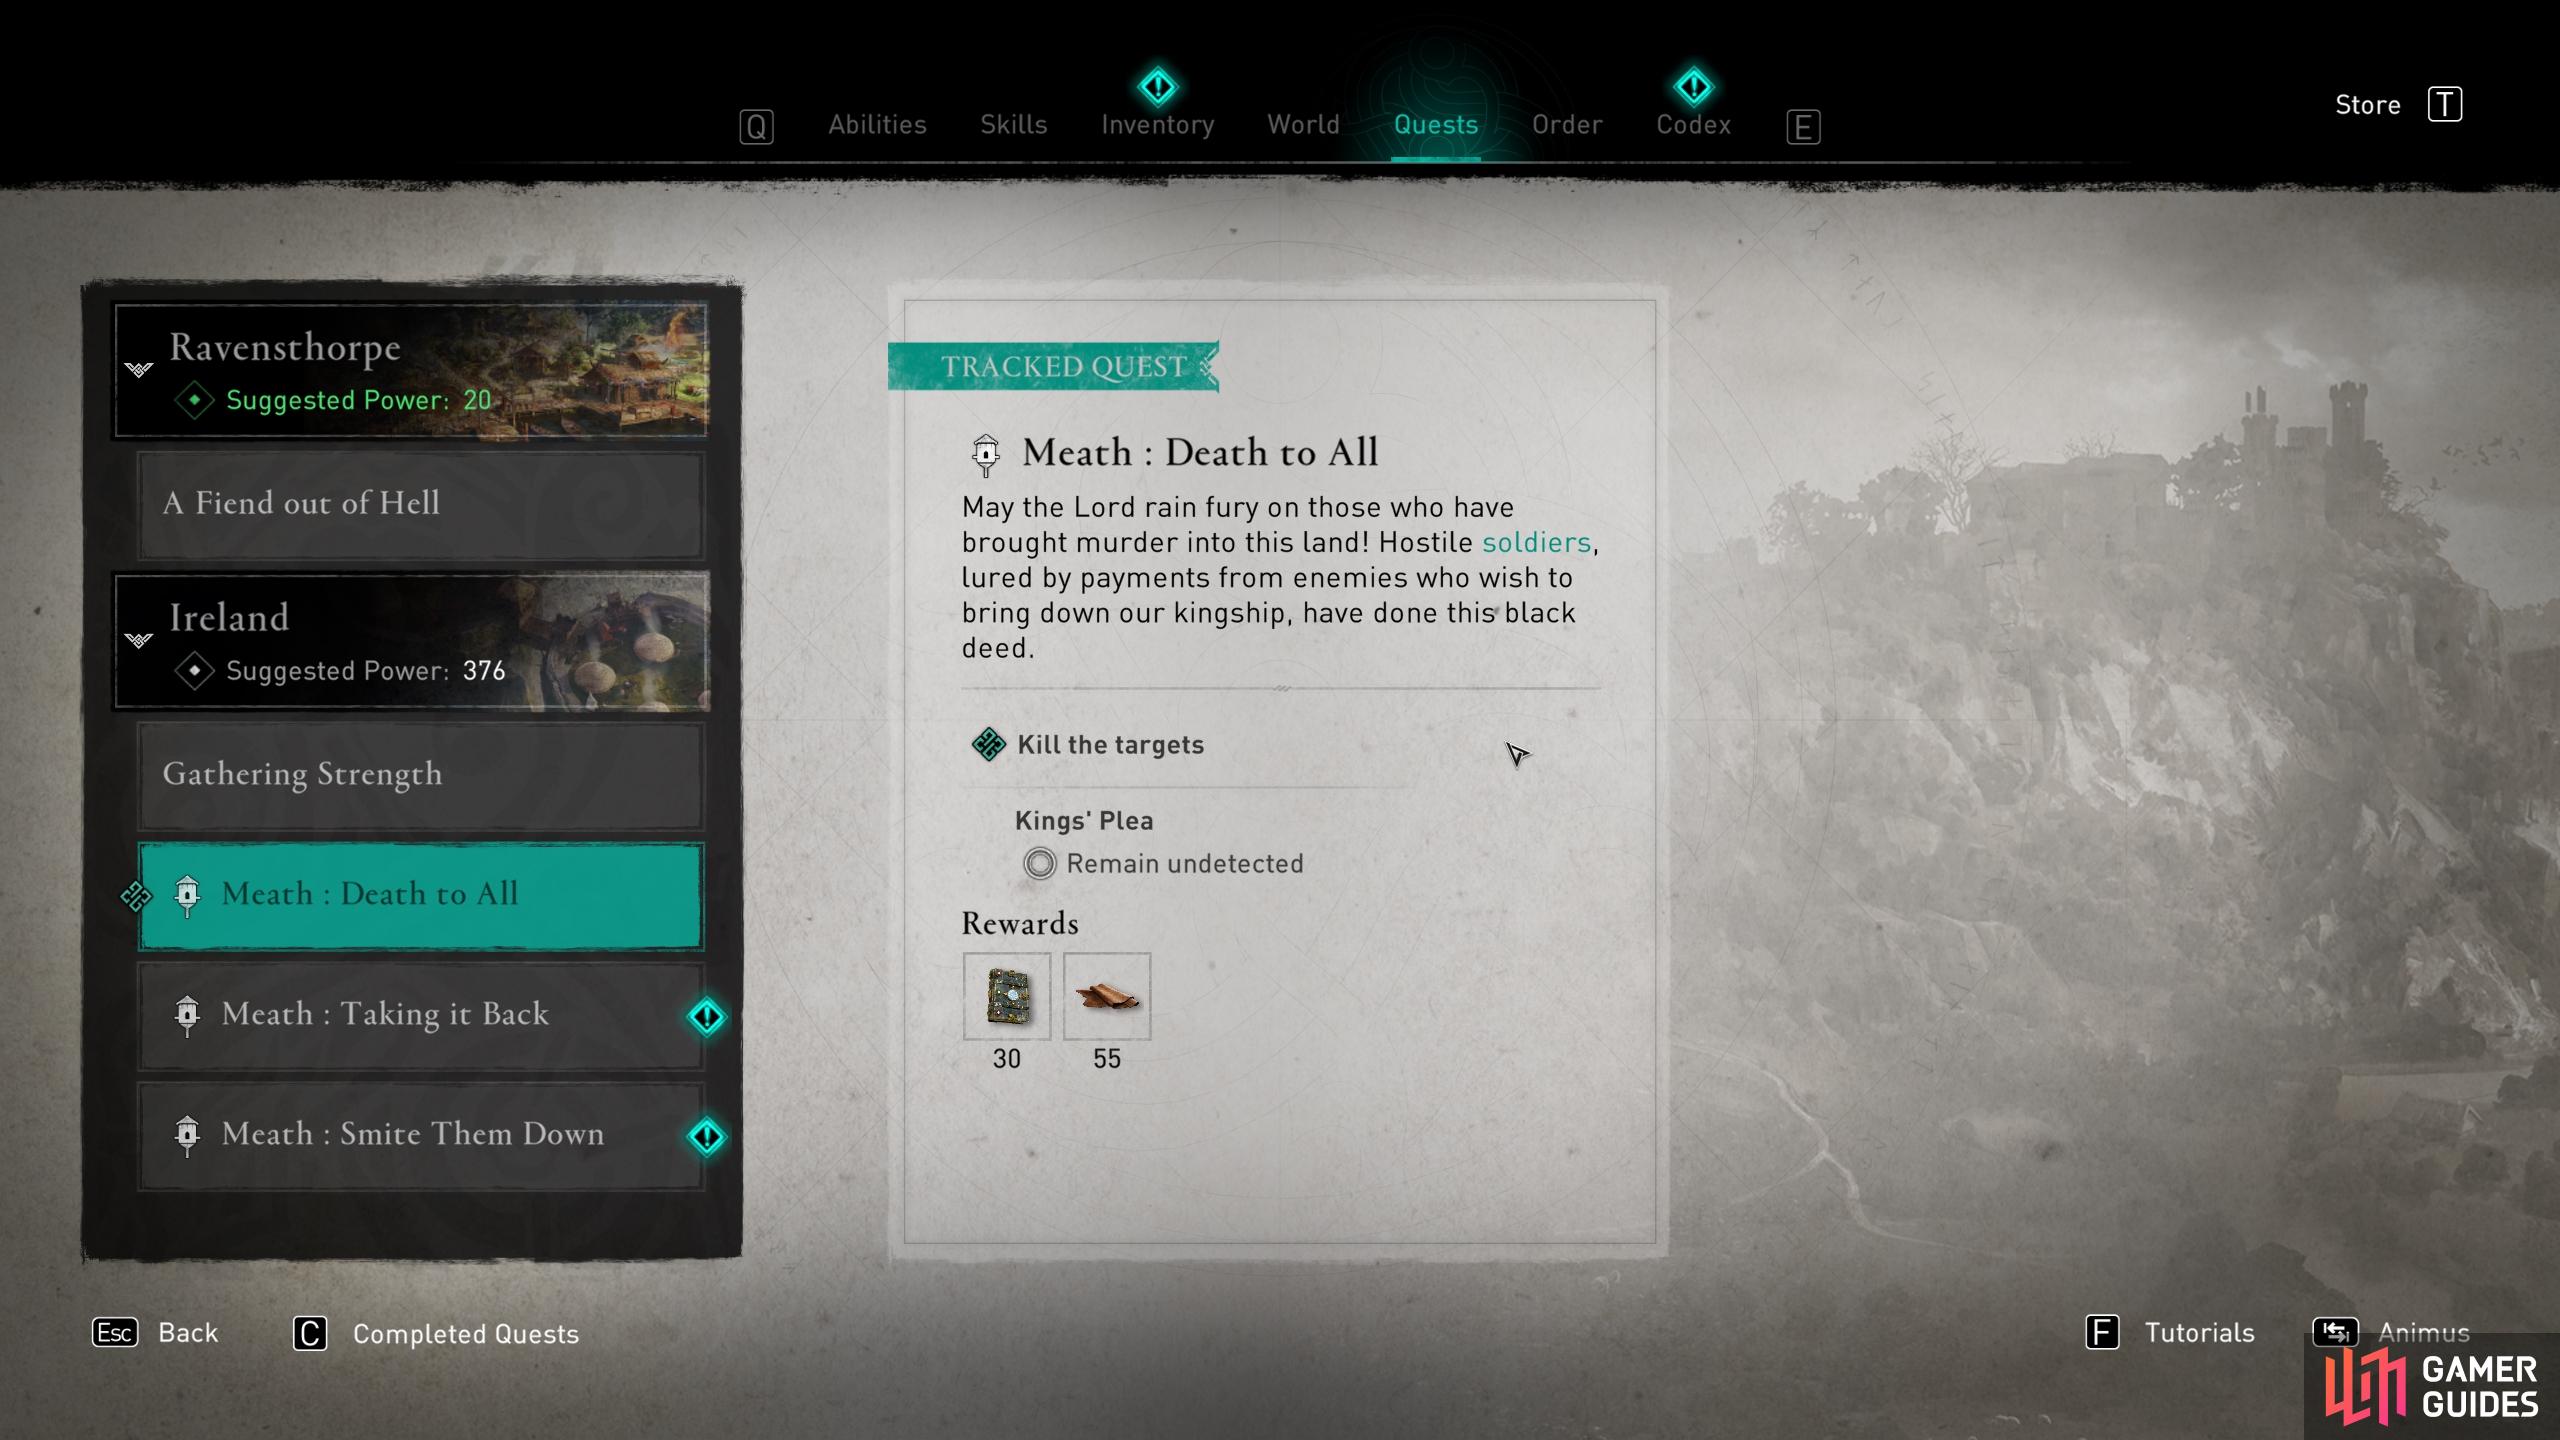
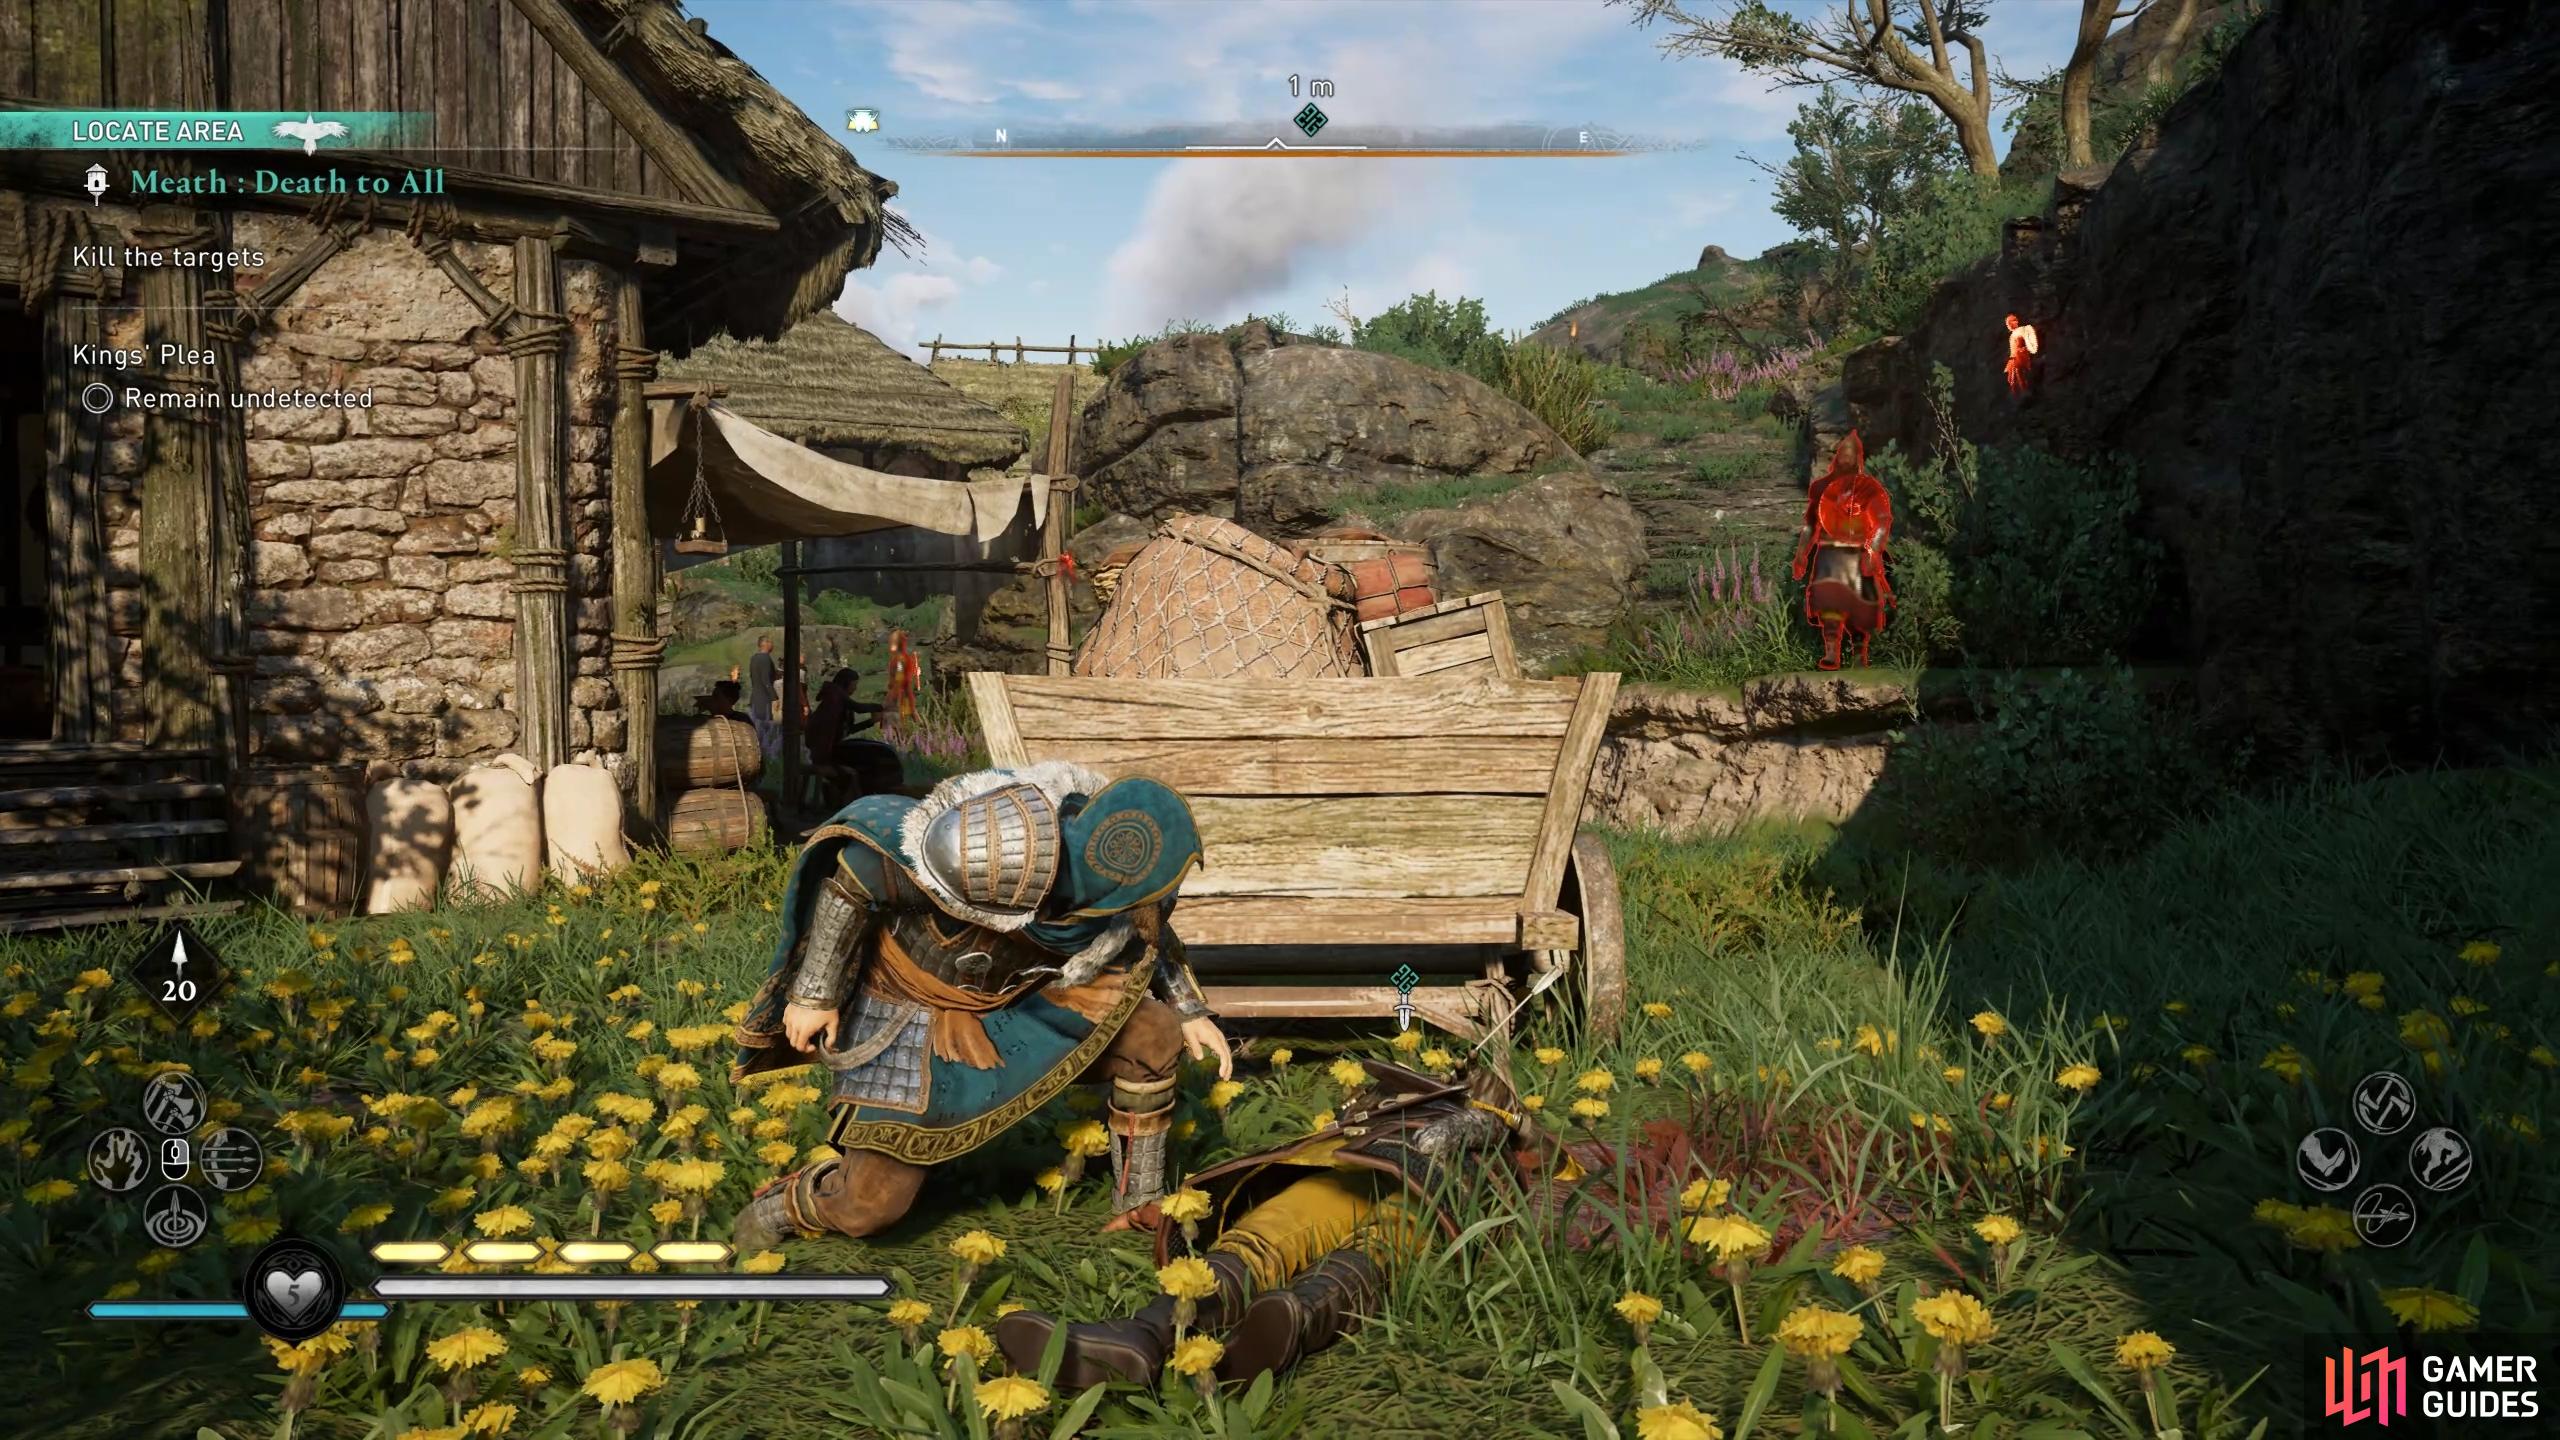
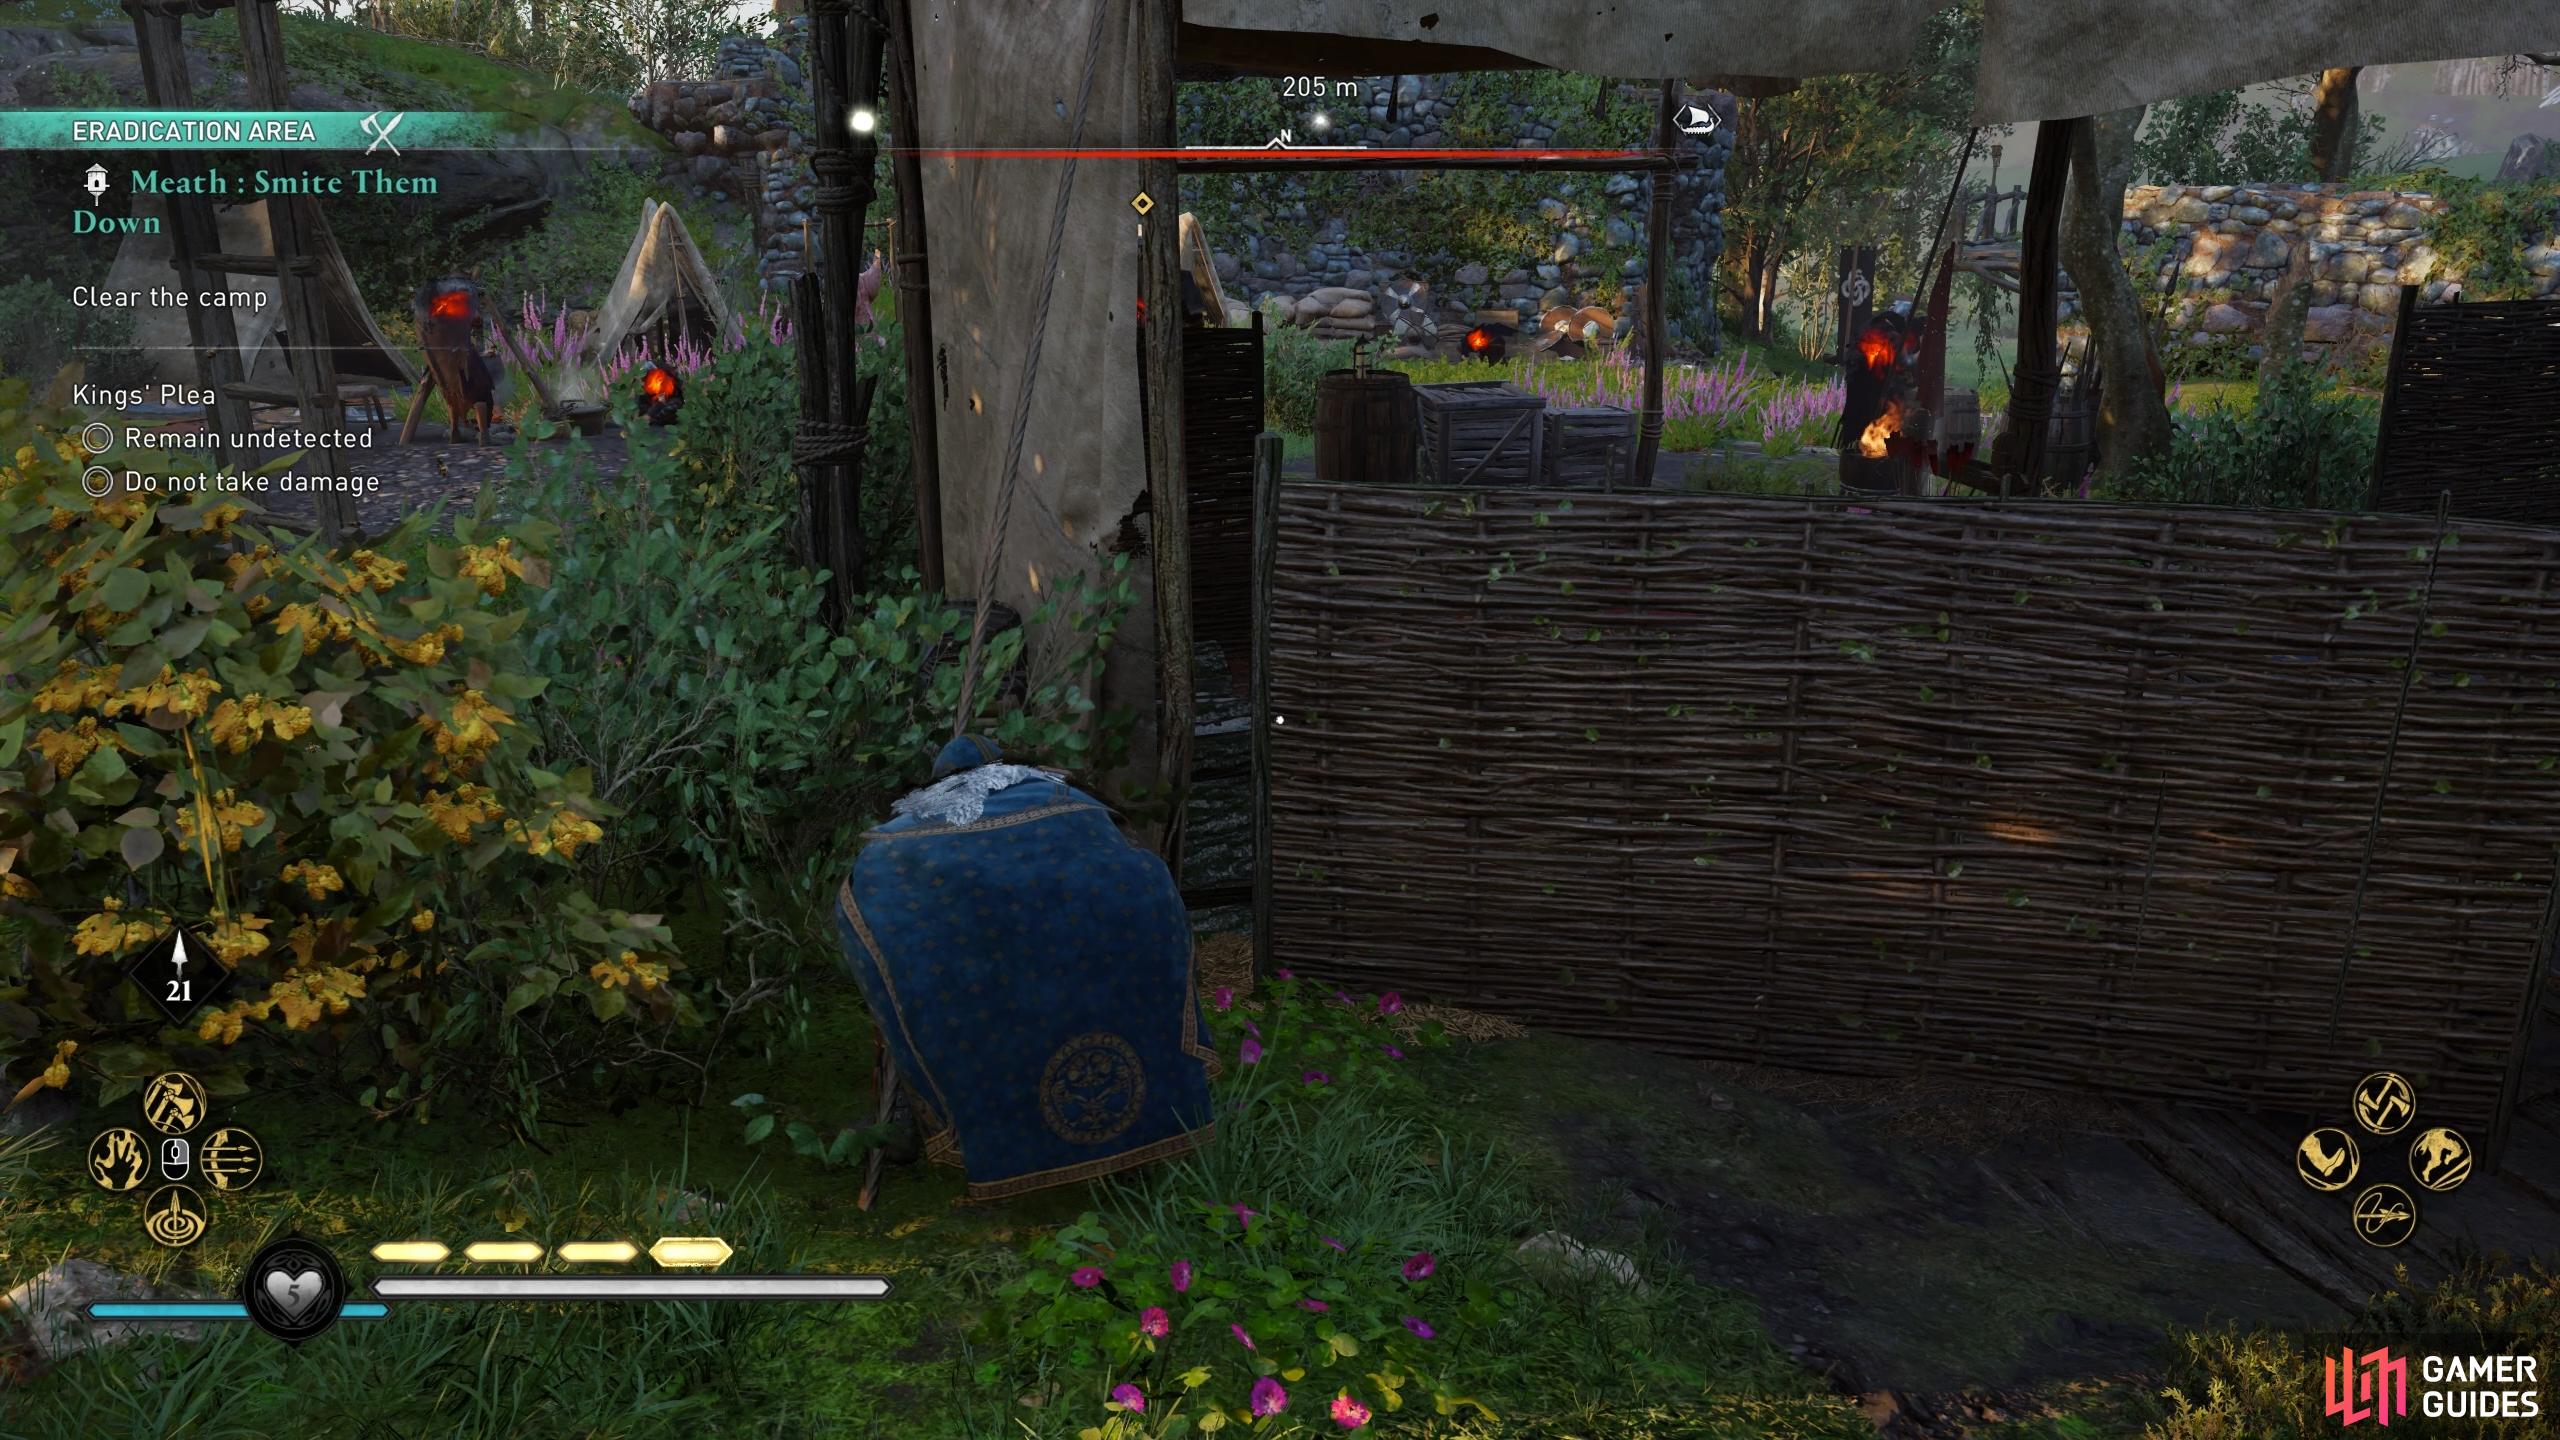
To unlock this achievement, you’ll need to complete at least 10 Royal Demands in Ireland. Where to Find Royal Demands and How to Complete ThemThe Wrath of the Druids DLC introduces the new feature of Royal Demands during the War Efforts quest. Ciara will inform Eivor that the various kings of Ireland have different tasks (Royal Demands) that they want fulfilled. You can find Royal Demands by interacting with pigeon coops, which can be found in most settlements throughout Ireland, and also at Trade Posts which are under your control. When you interact with a pigeon coop, you’ll find three Royal Demands on offer. You can accept just one, or you can take all three at the same time. Each Royal Demand has a primary objective, usually related to eliminating an entire camp of enemies, killing specific enemies within a settlement, or retrieving royal jewellery of some kind. You can complete these primary objectives without having to worry about the method, but if you’re interested in earning a bit more for your time, you should pay attention to the Kings’ Pleas associated with each Royal Demand. What Are Kings’ Pleas?Whenever you accept a Royal Demand, you can view it from your quest log. Here you’ll find a brief description of the primary objective, but also an overview of any Kings’ Pleas associated with it. The nature of a Kings’ Plea will vary between each Royal Demand, but are usually one of the following:
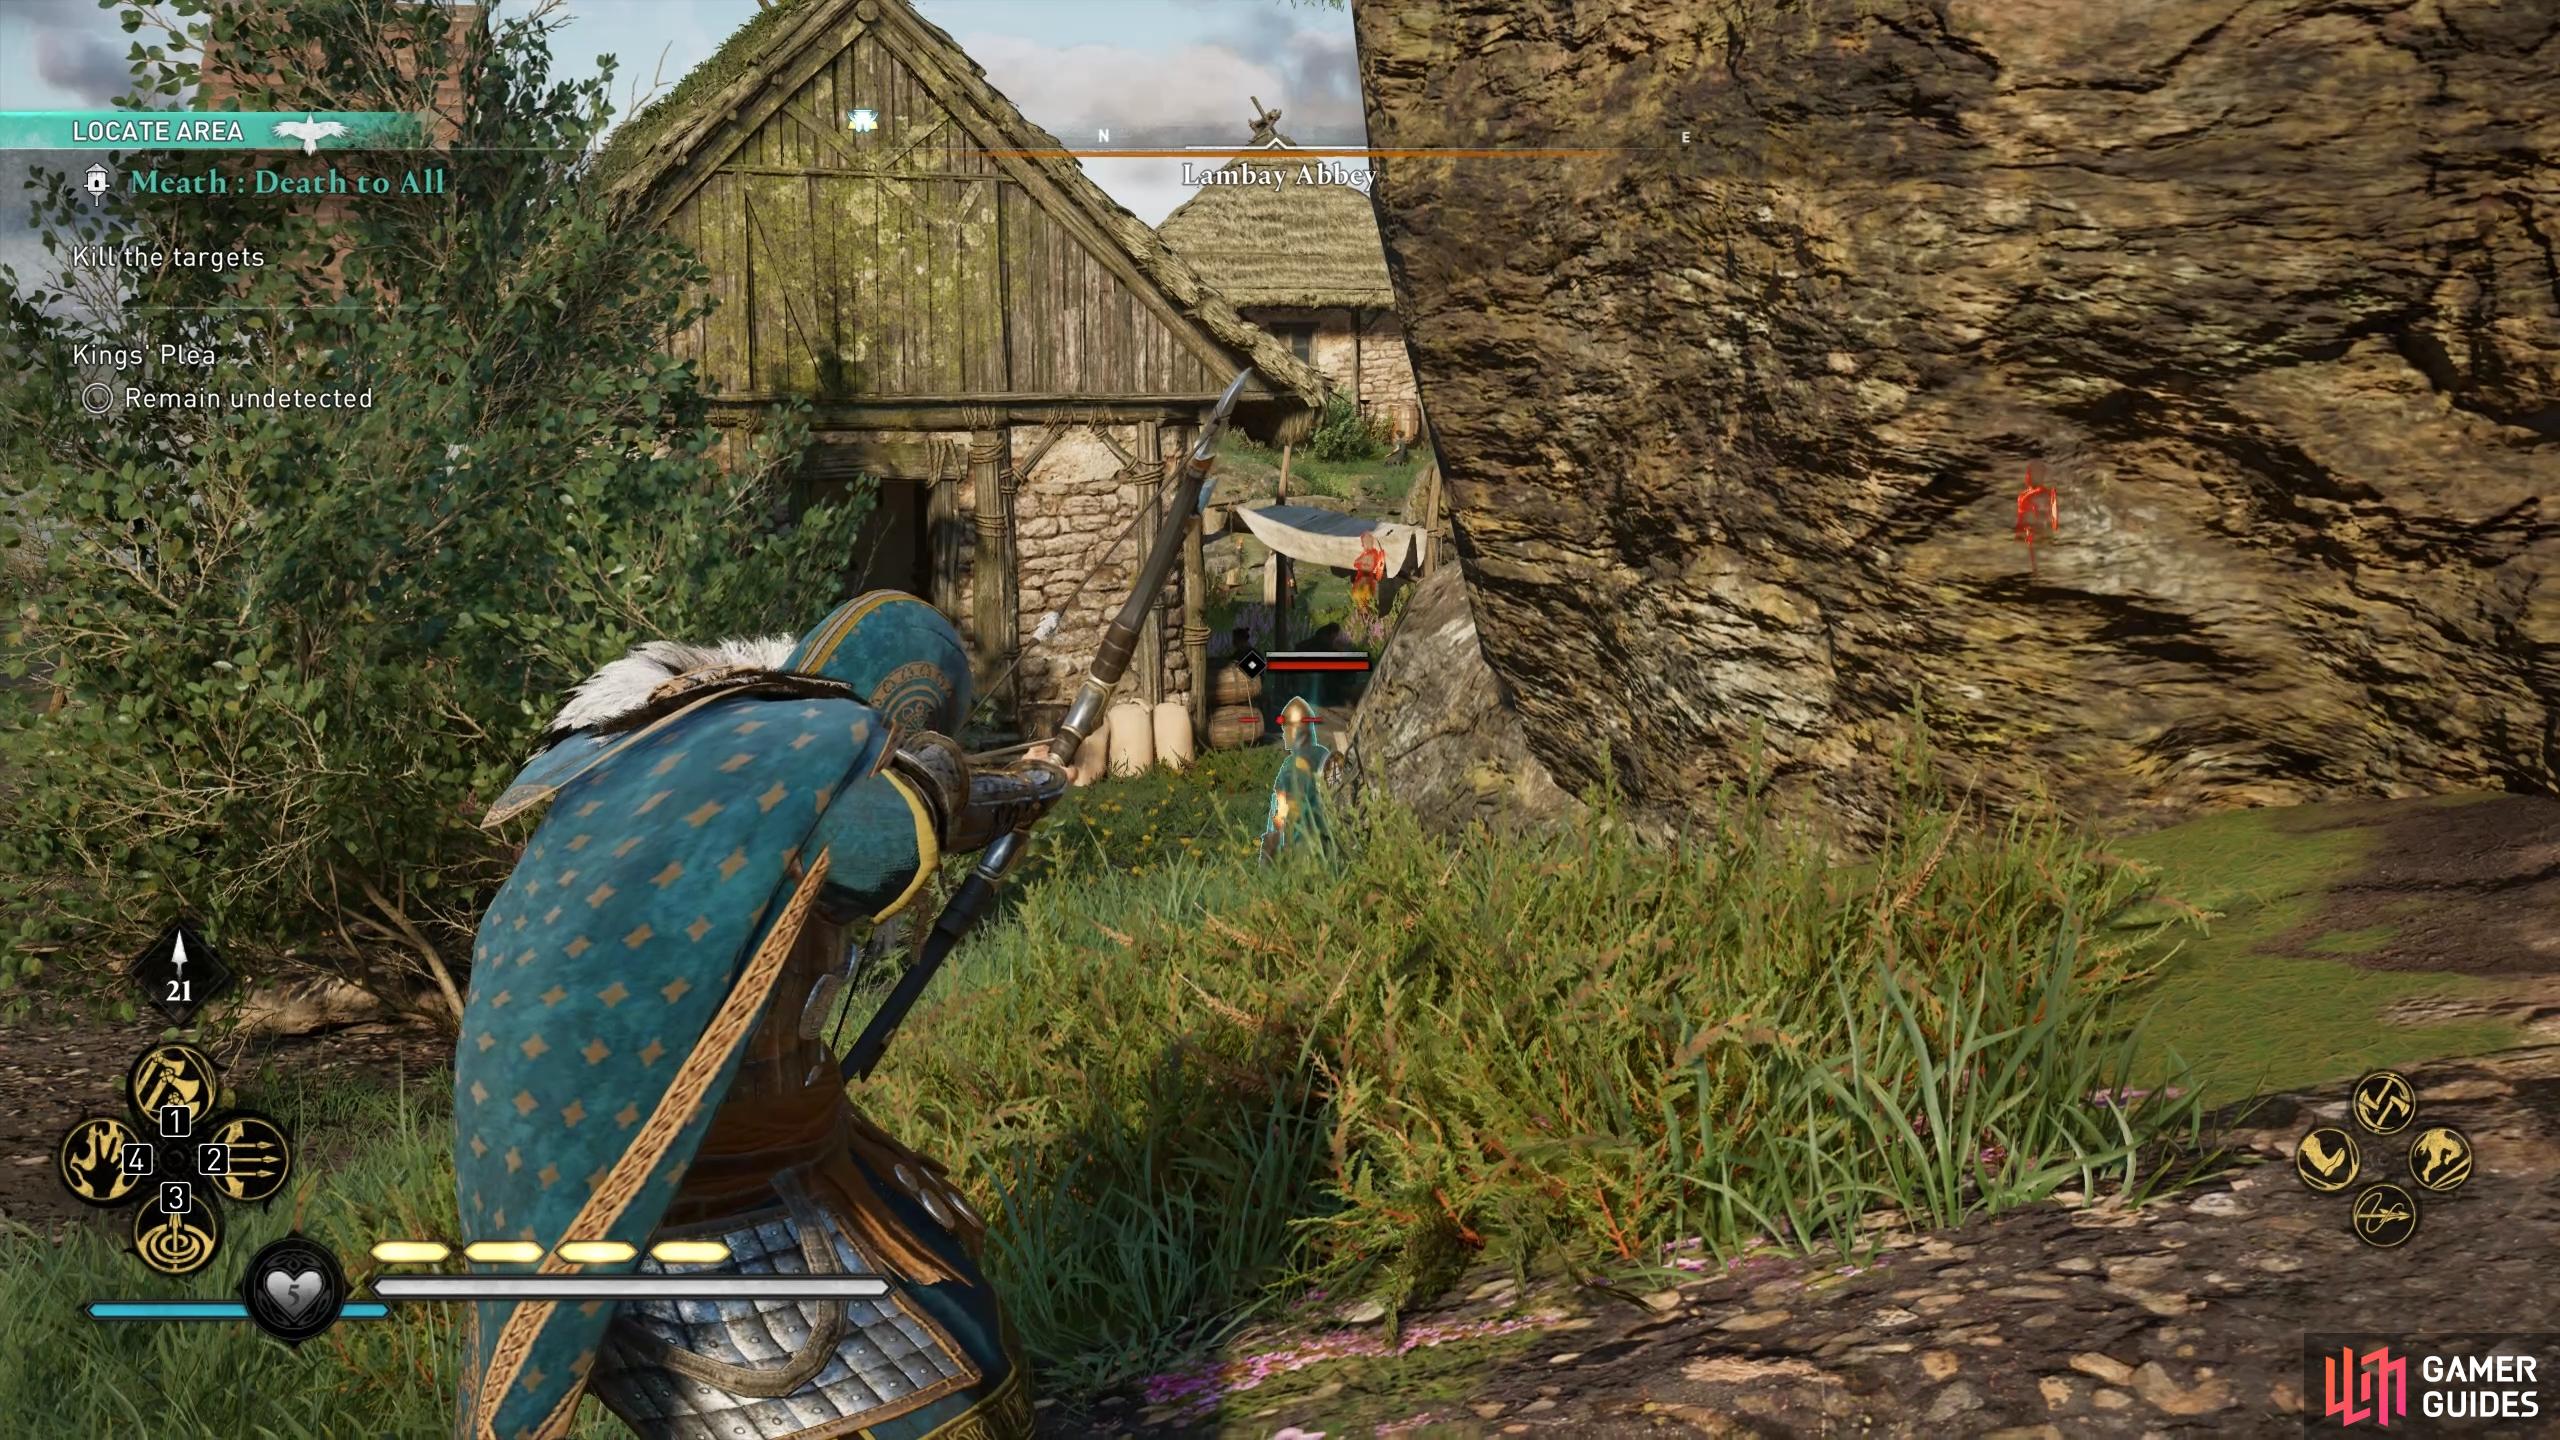
These are the three most common types of Kings’ Pleas, earning you extra rewards in the form of more trade items (Clothing, Texts, Delicacies, Luxuries) if you manage to fulfil them. You’ll want to take your time when you have a Kings’ Plea which requires that you remain undetected, and one useful way of achieving this is by paying attention to the patrols of guards, then attacking when they’re in their most vulnerable positions. Sometimes you might have two Kings’ Pleas associated with one Royal Demand. For example, you may be asked to eliminate all enemies in a specific camp while remaining undetected and without taking any damage. These can be particularly challenging, but thankfully you can repeat them as many times as you want, so there will be plenty of opportunity for practice! |
|||||||||||||||||||||||||||||||||||||||||||||||

|
Crypt-ologistComplete three Tombs of the Fallen |
3.36% Ultra Rare | 10 | ||||||||||||||||||||||||||||||||||||||||||||
|
This Trophy / Achievement is unlocked once you complete three of the Tombs of the Fallen. The below table lists the currently available tombs that you can complete, with their location and rewards: Where to Find the Tombs of the Fallen
|
|||||||||||||||||||||||||||||||||||||||||||||||

|
Old School Treasure HuntCollect 5 Treasure Hoard rewards |
3.87% Ultra Rare | 20 | ||||||||||||||||||||||||||||||||||||||||||||
|
This Trophy / Achievement is obtained once you’ve collected at least 5 Treasure Hoard rewards, which can be found after you’ve collected their associated Treasure Hoard Maps. There are a total of 21 Treasure Hoard throughout the game, in nearly every region. Below is a list of regions where you’ll find Treasure Hoard Maps, with links to pages which detail where to find the maps and treasure.
|
|||||||||||||||||||||||||||||||||||||||||||||||

|
ArchaeologistComplete all Roman collector challenges |
3.90% Ultra Rare | 20 | ||||||||||||||||||||||||||||||||||||||||||||
|
This Trophy / Achievement is obtained once you’ve completed all Roman collector challenges. This requires you to collect all of the Roman Artifacts located throughout the regions of England, and then hand them in to Octavian at his museum in the north of Ravensthorpe. Below is a list of all Roman Artifacts by region, with links to pages which detail how to find them:
Each time you hand in a set of Roman Artifacts to Octavian, you’ll receive a reward in the form of a settlement cosmetic. The final reward is a shield named Gorgon Shield. |
|||||||||||||||||||||||||||||||||||||||||||||||

|
Decked OutFind the full Dublin Champion armor set (Wrath of the Druids). |
4.54% Ultra Rare | 20 | ||||||||||||||||||||||||||||||||||||||||||||
|
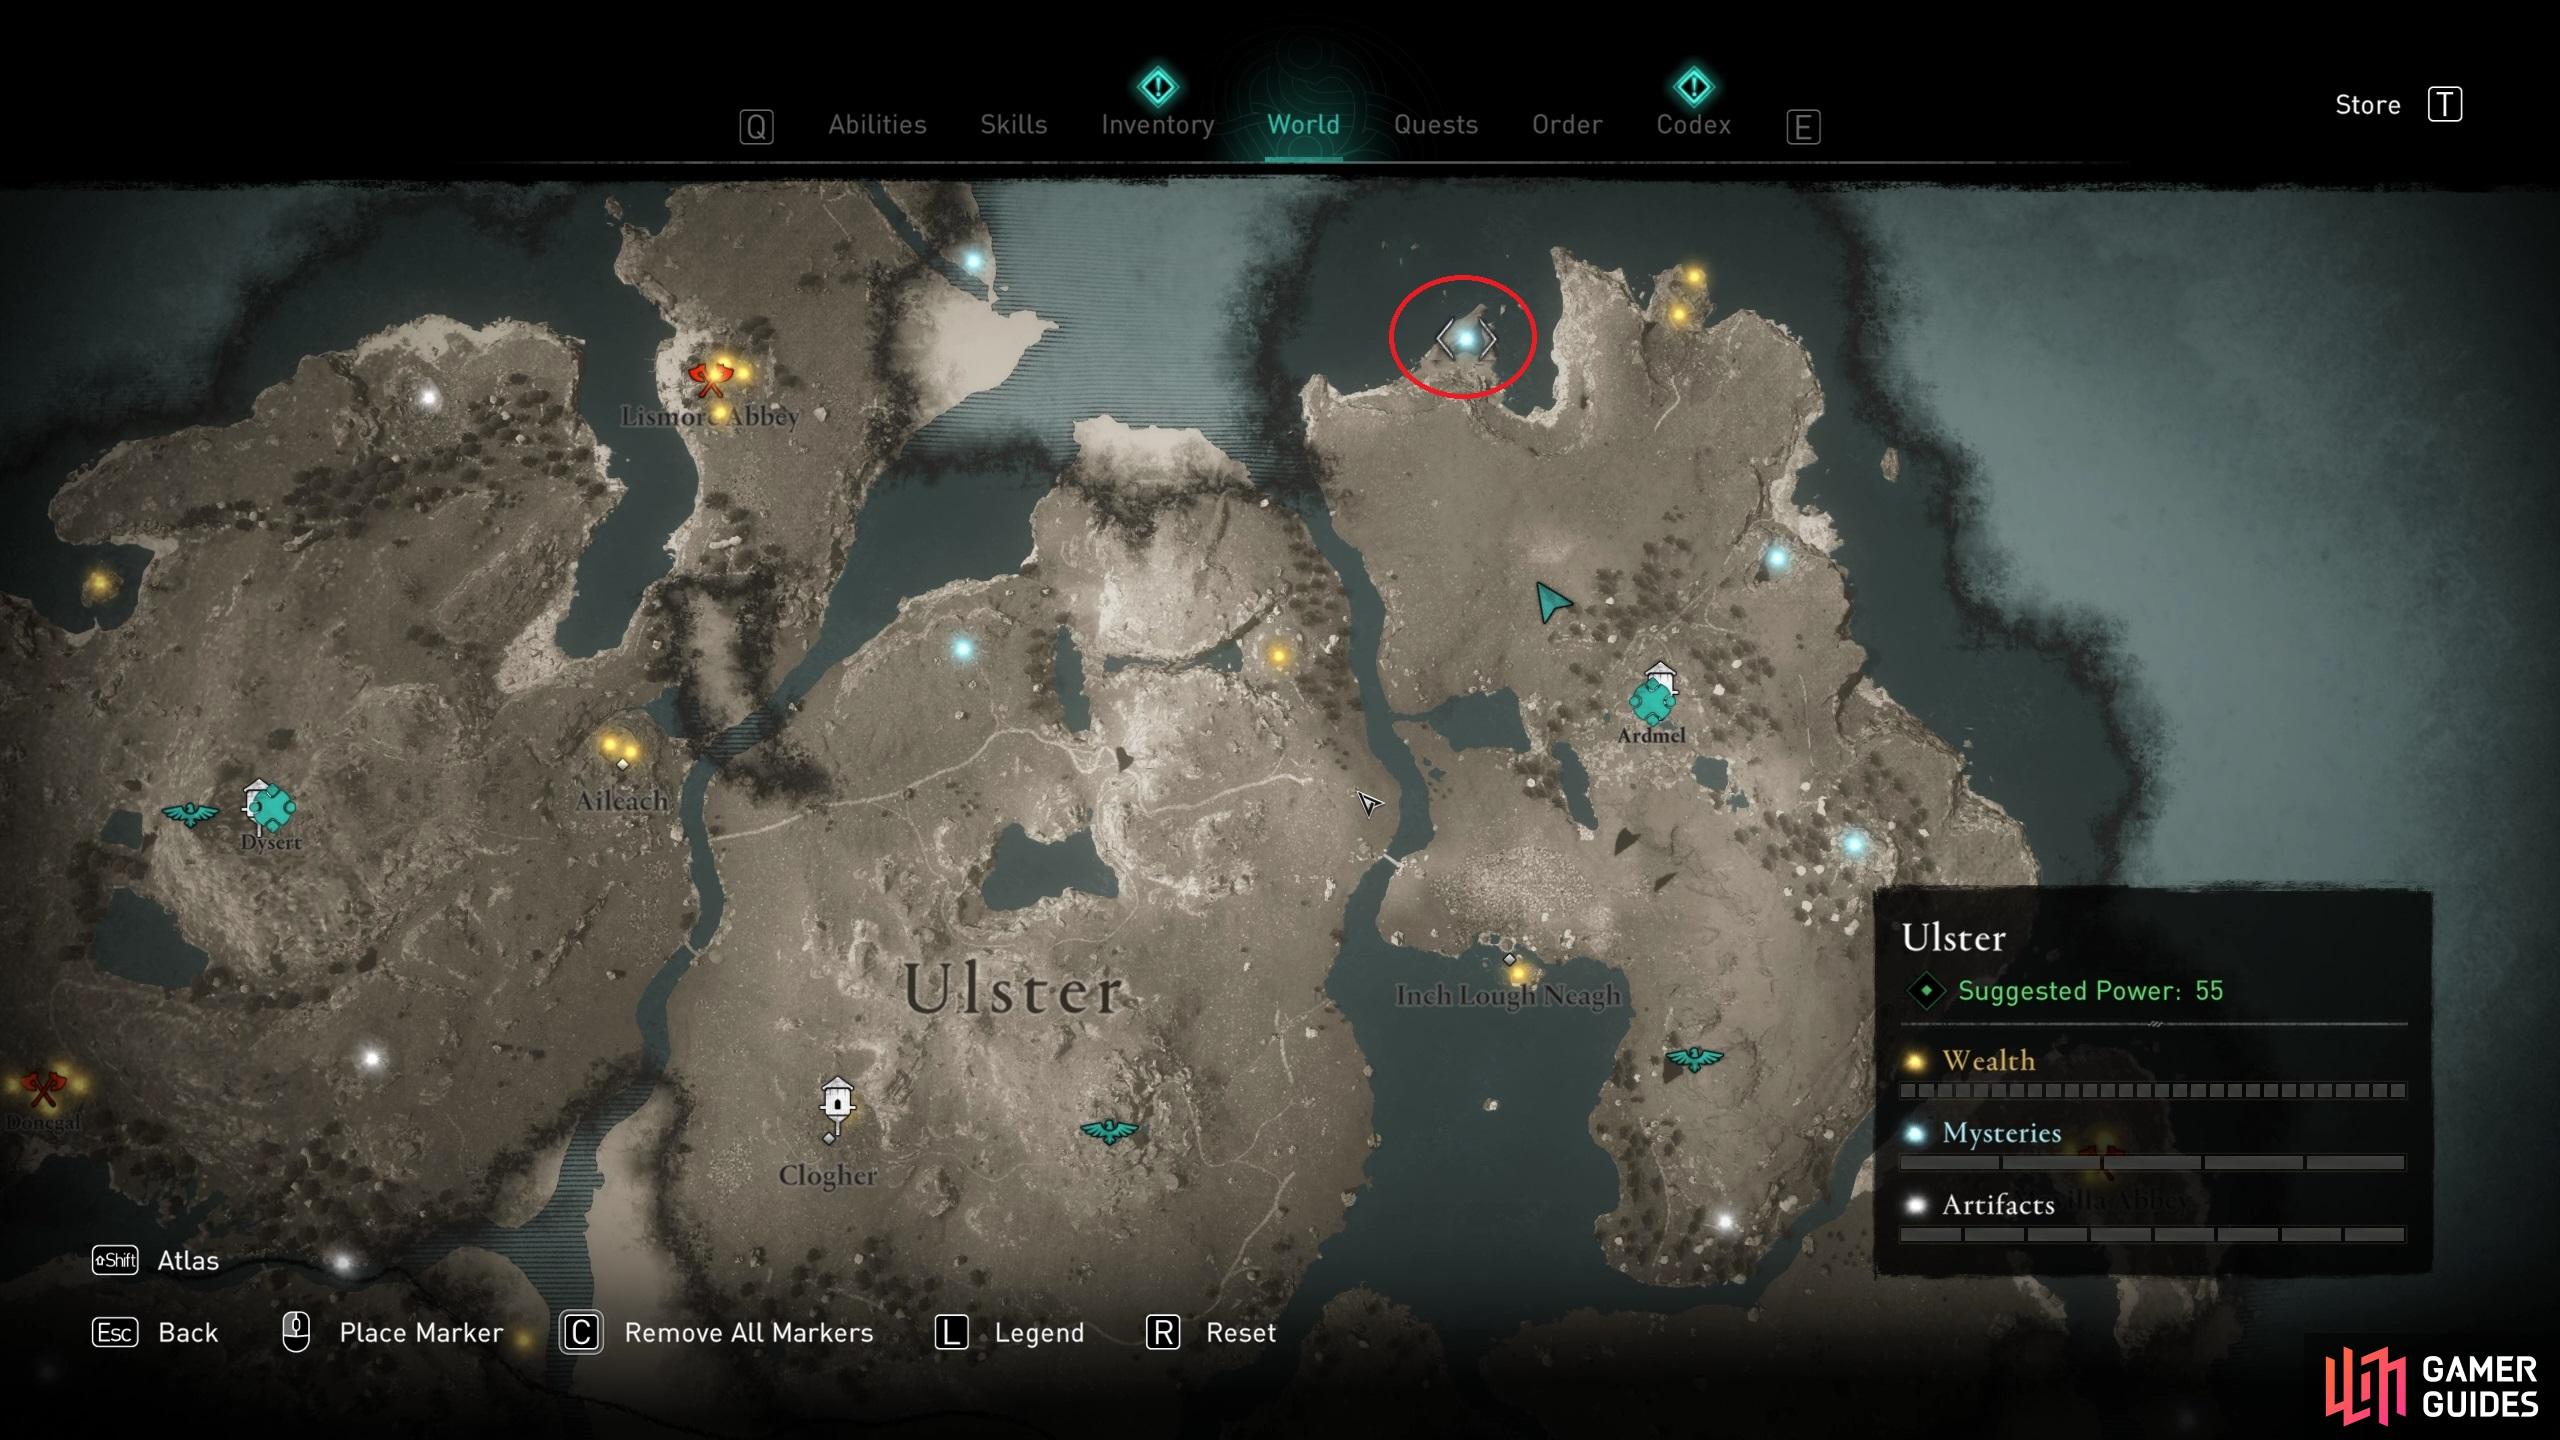
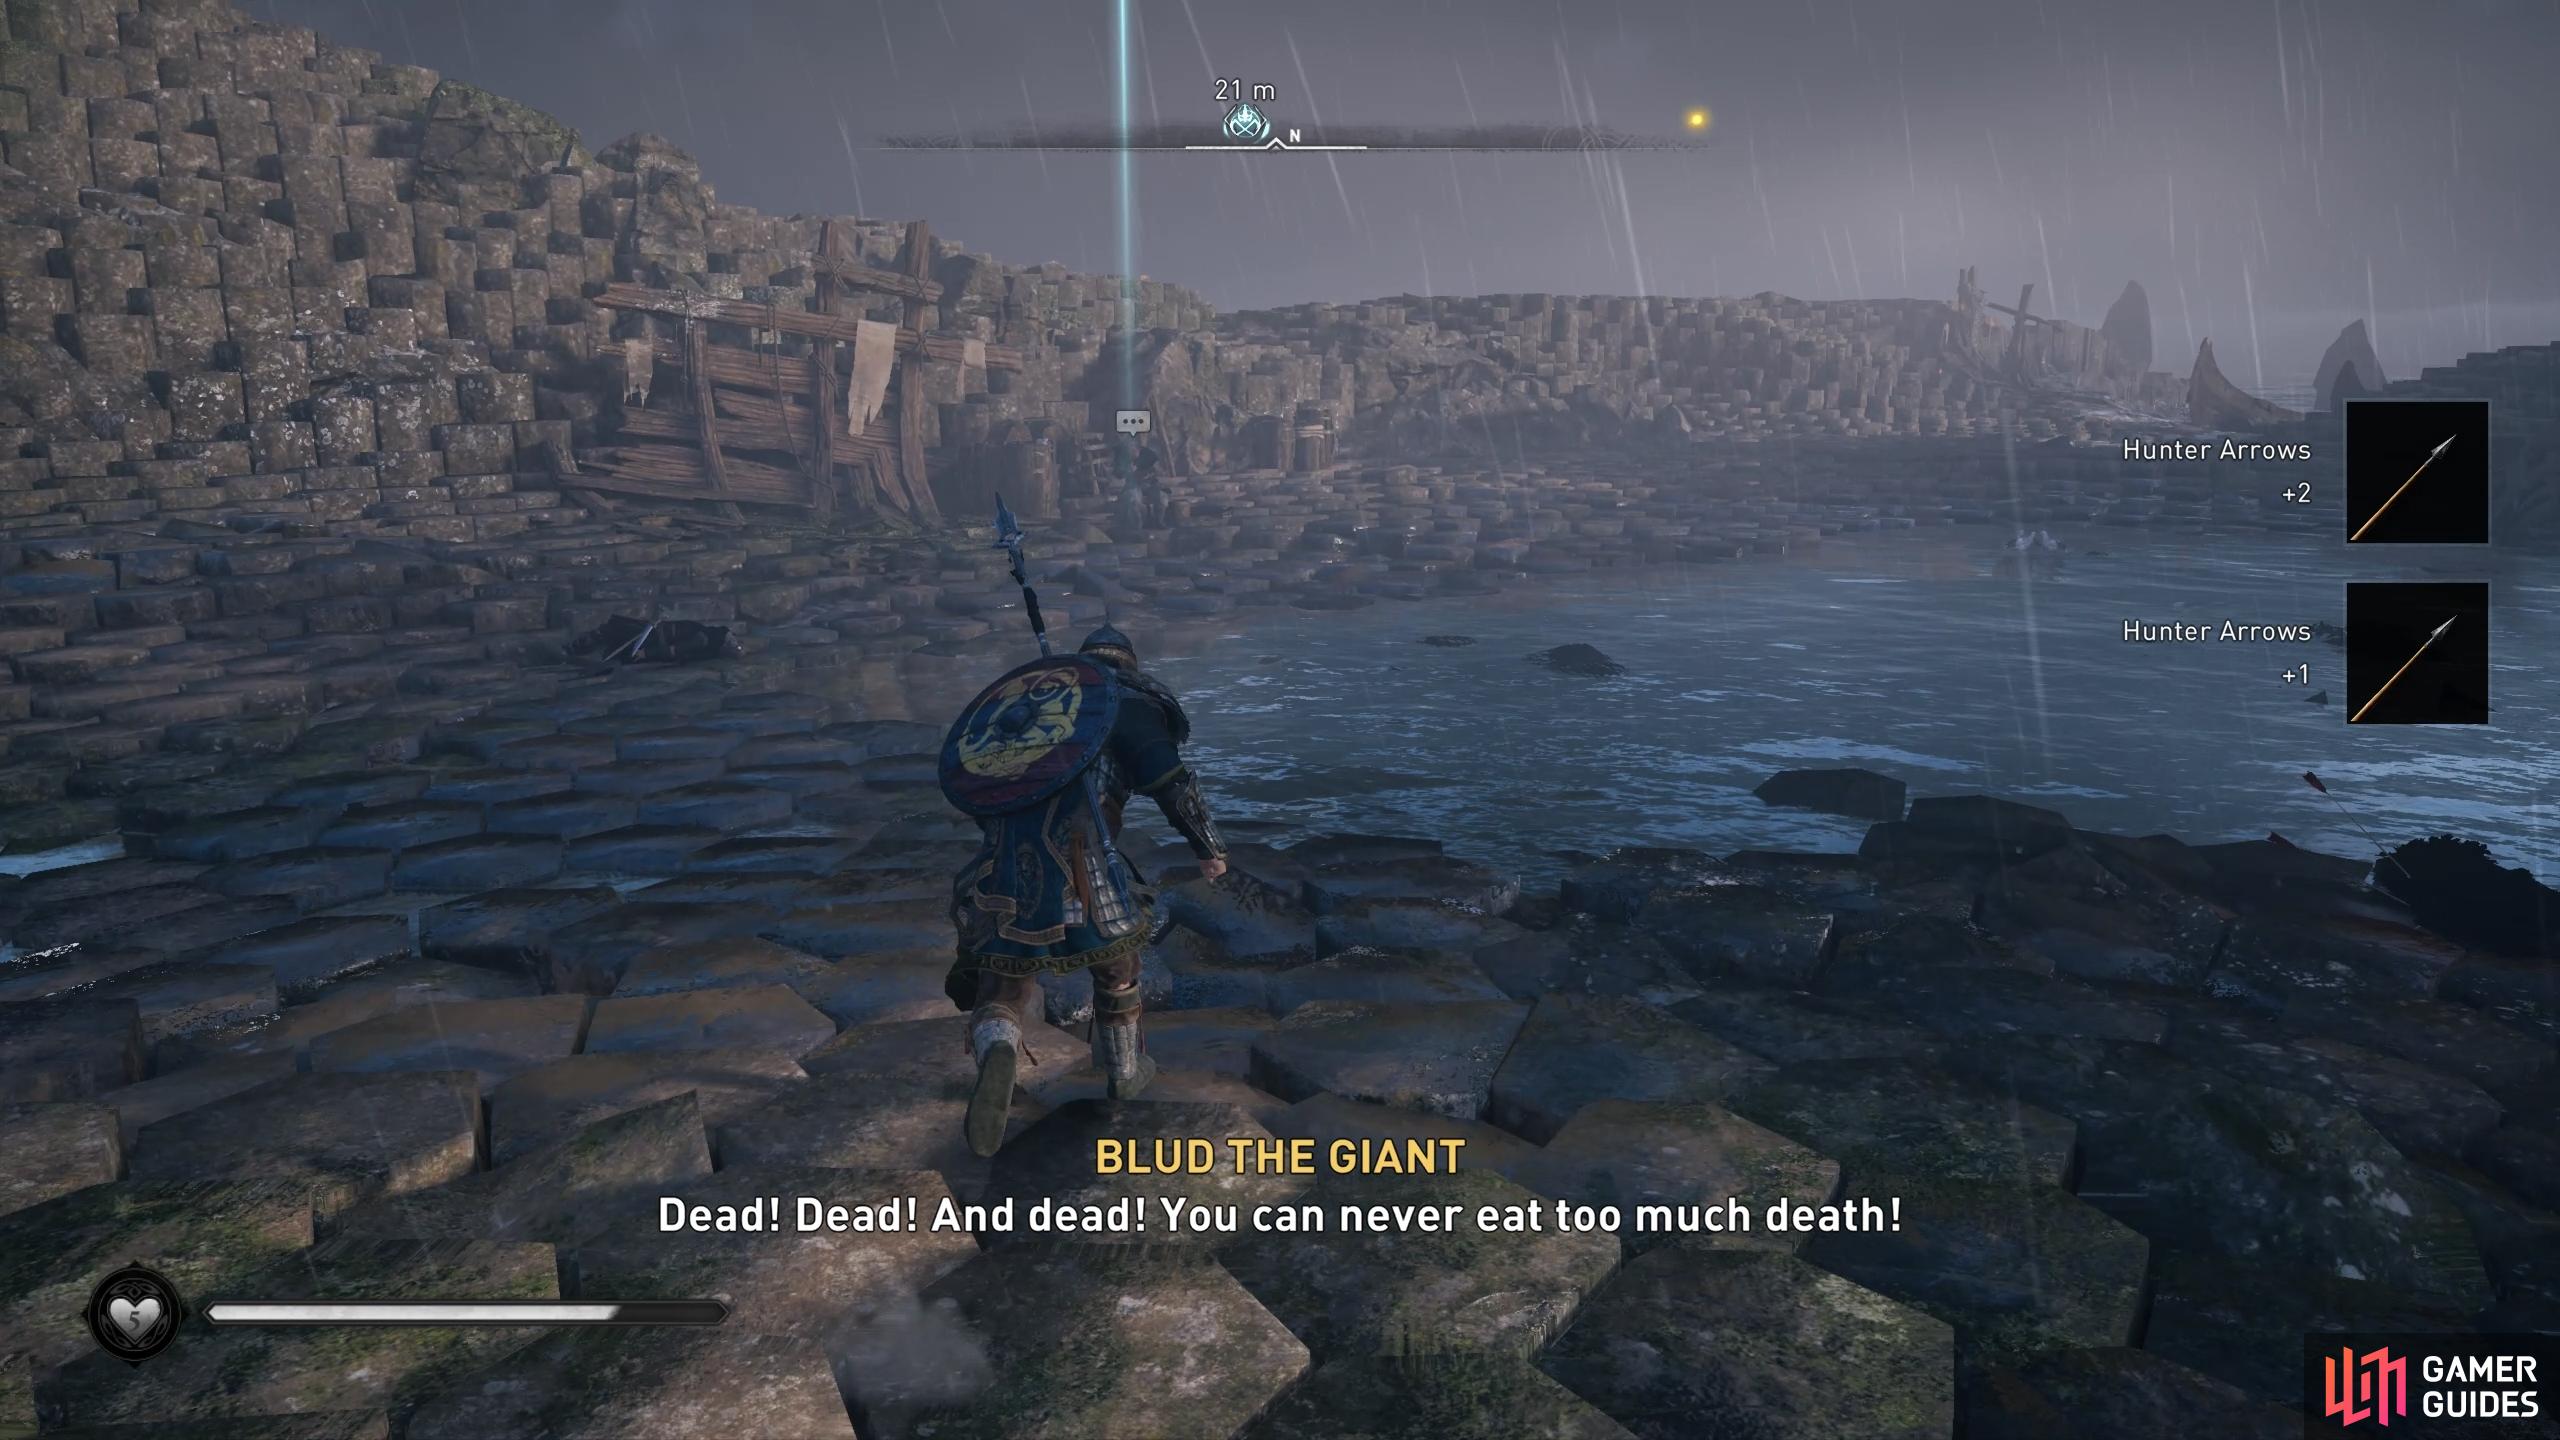
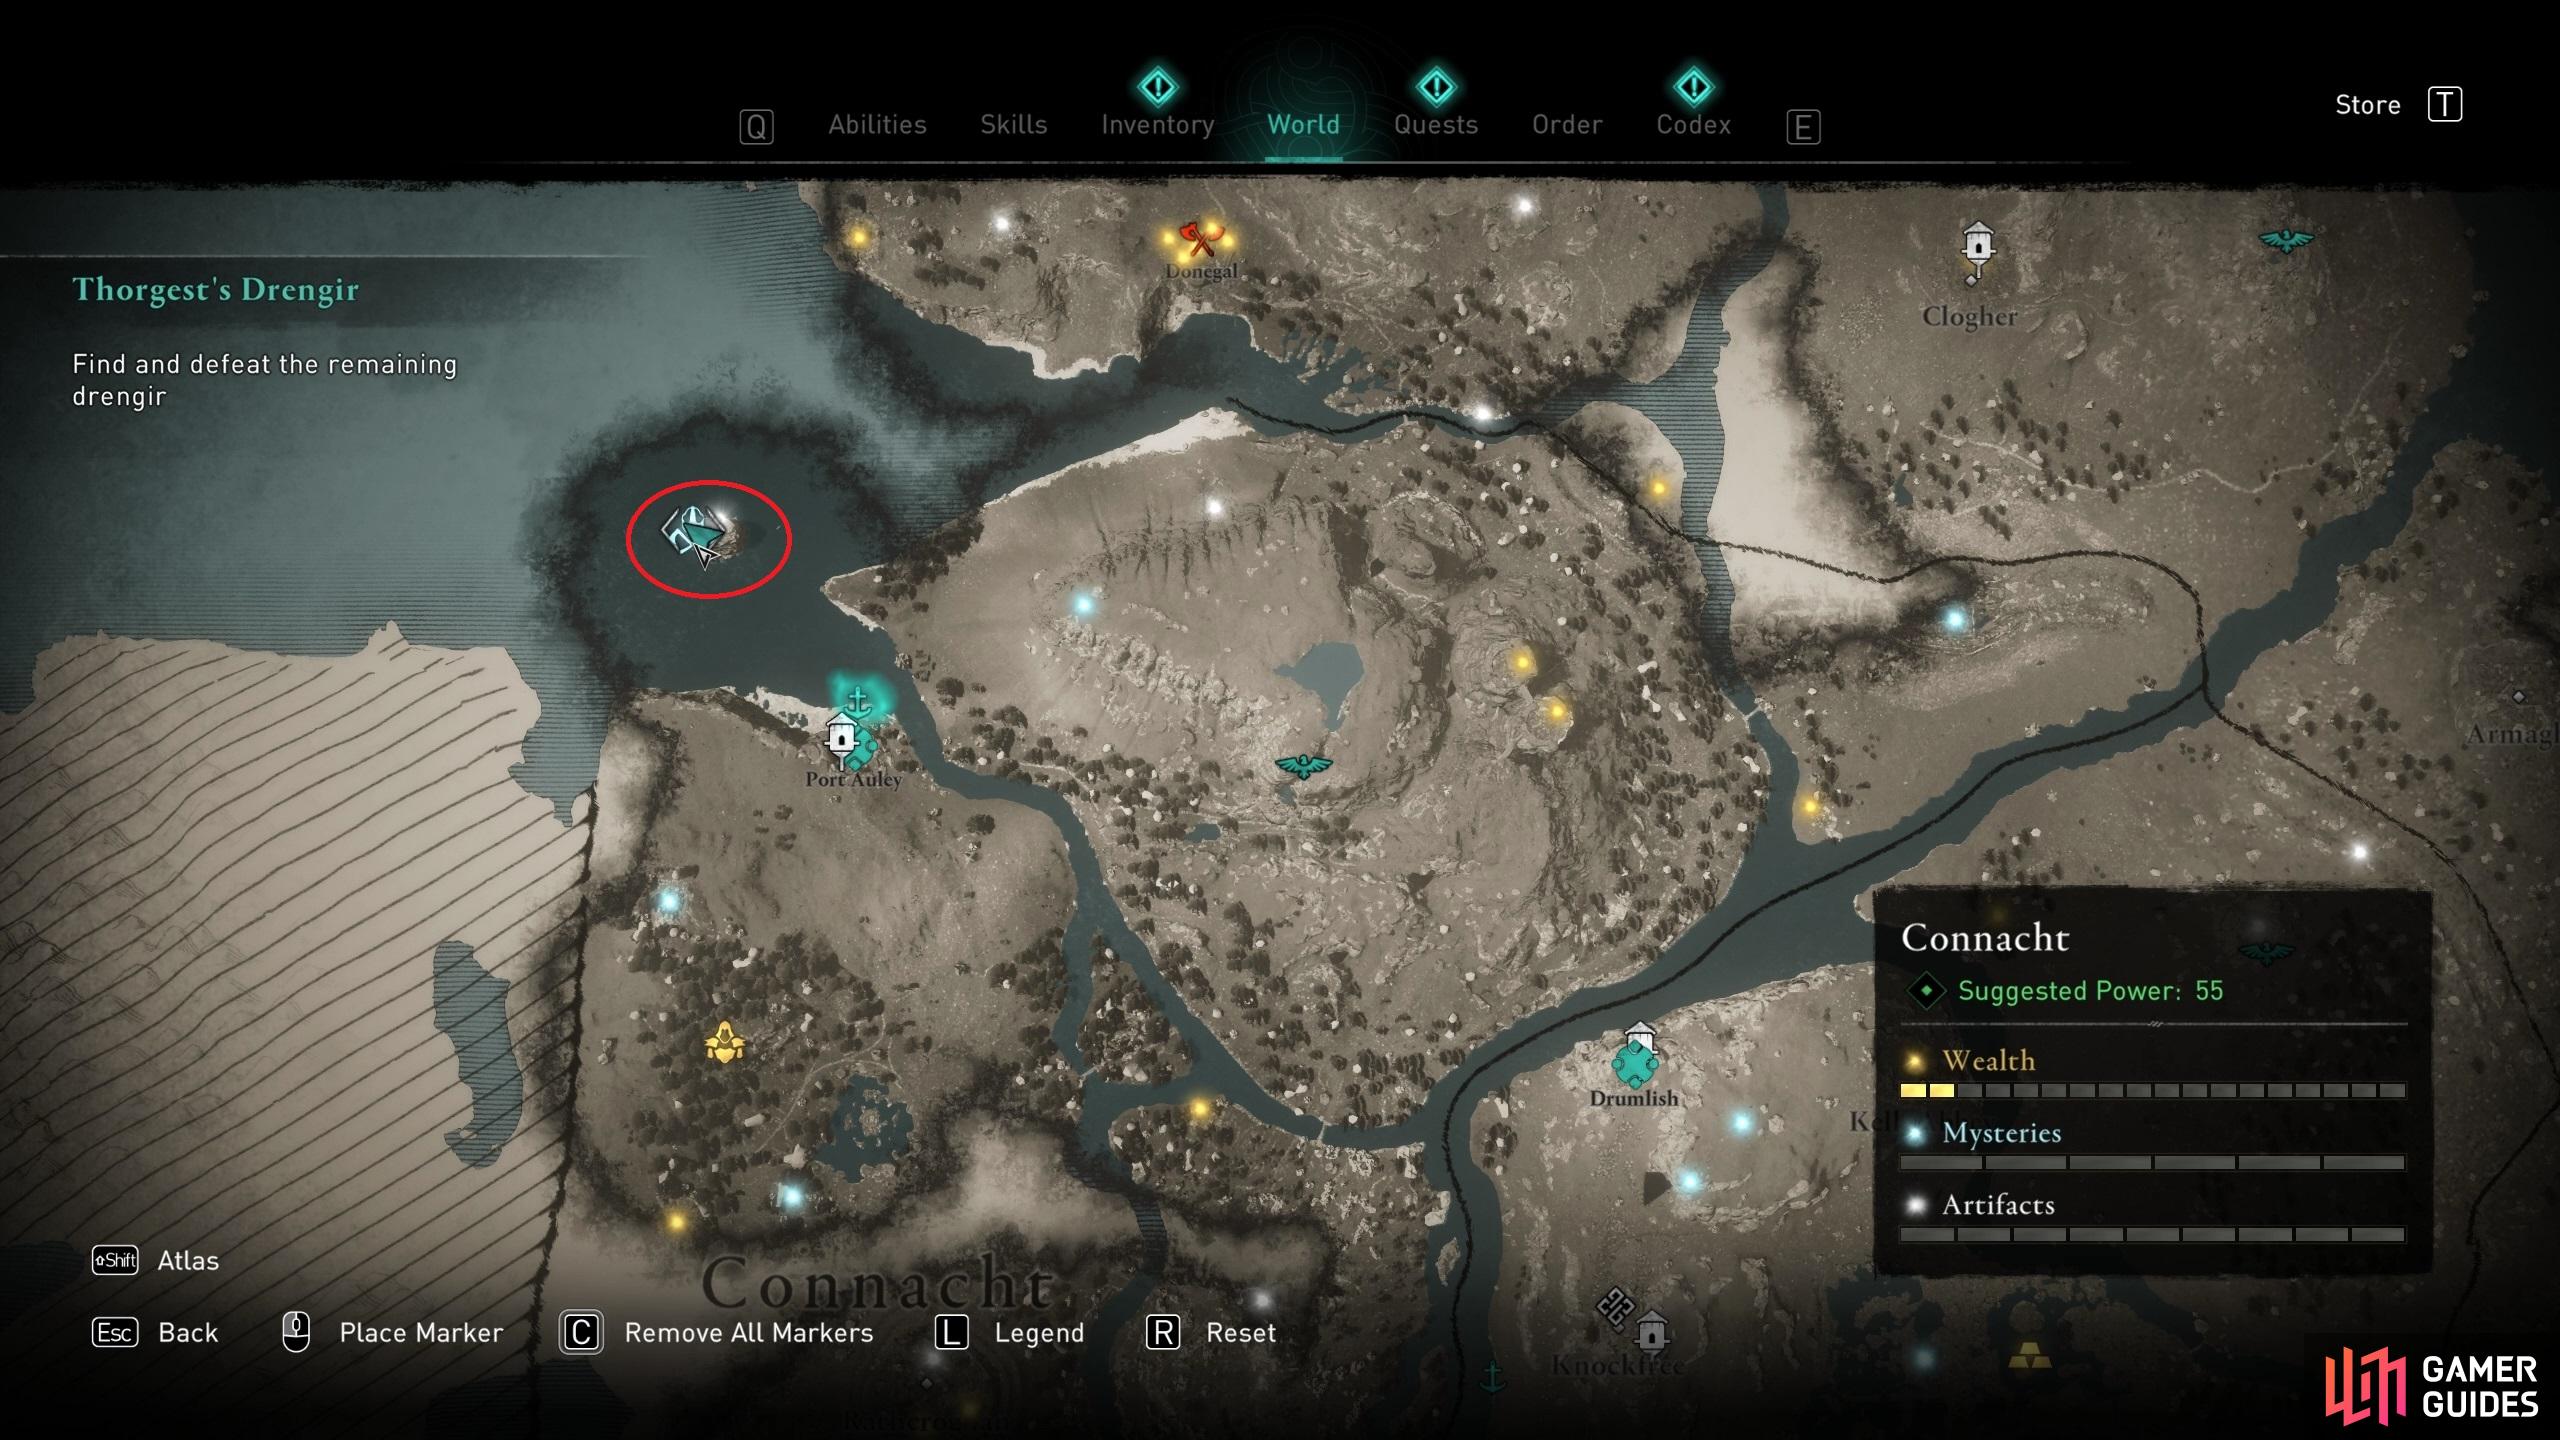
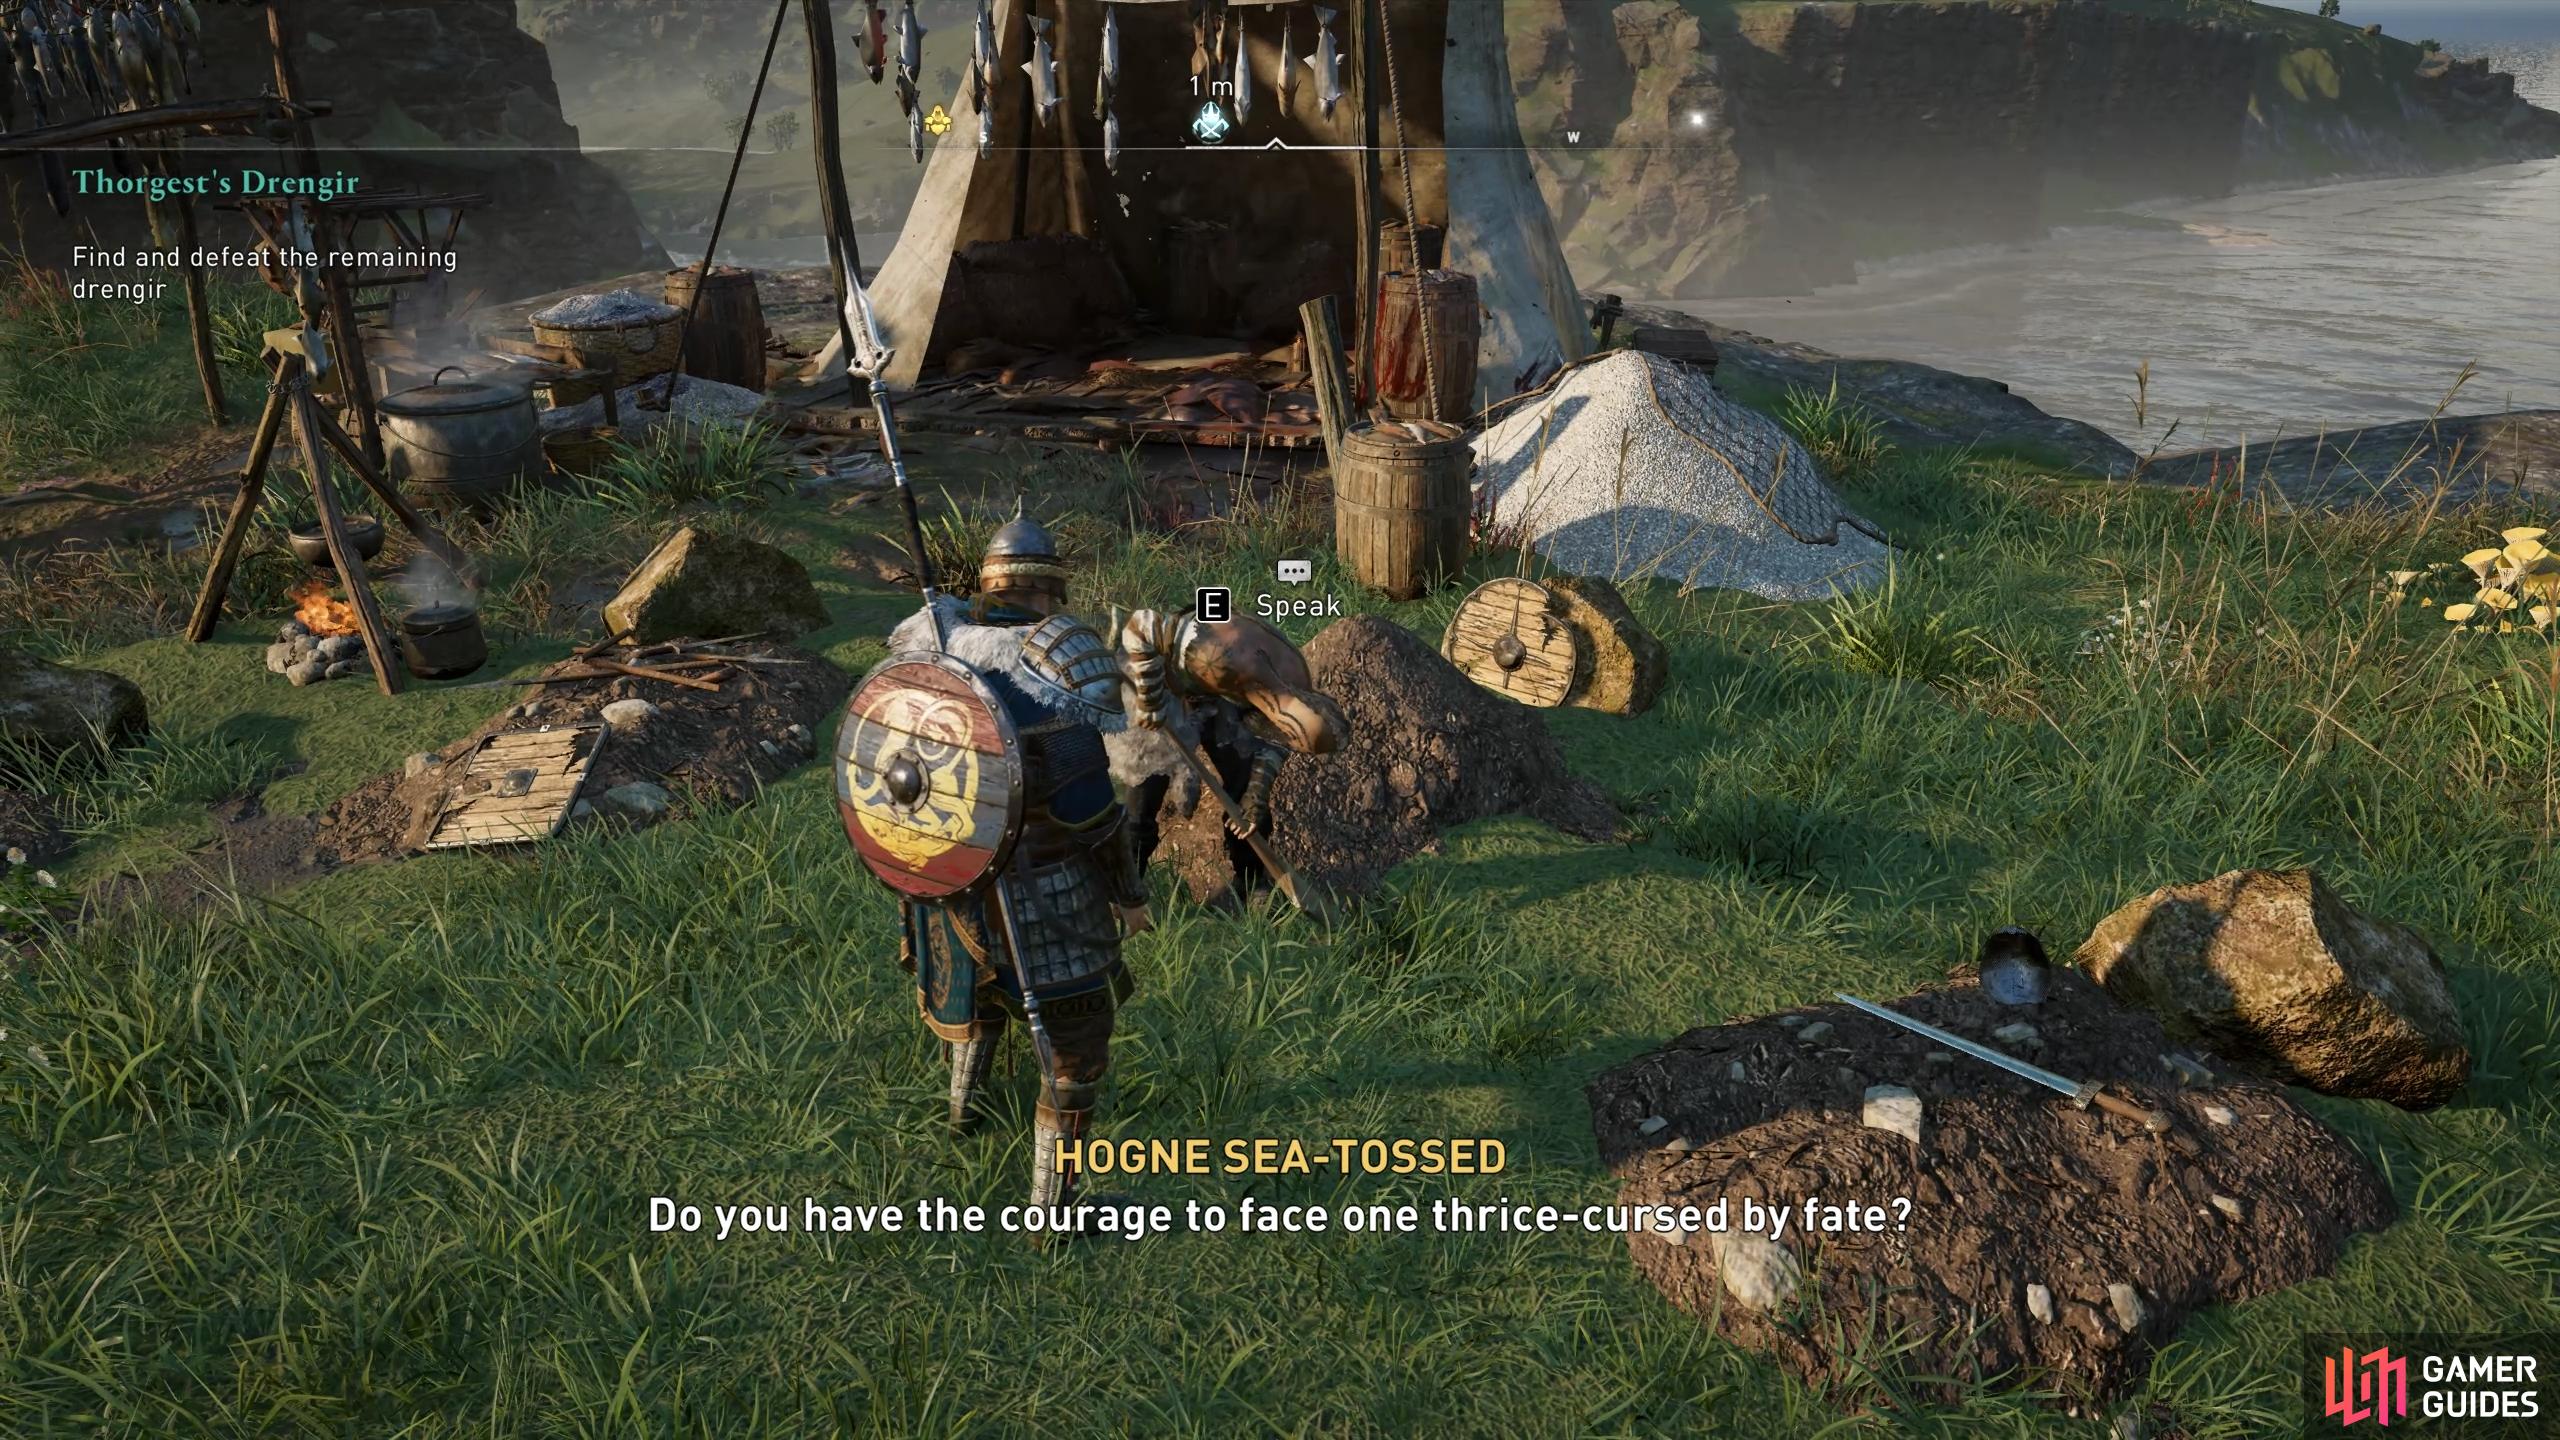
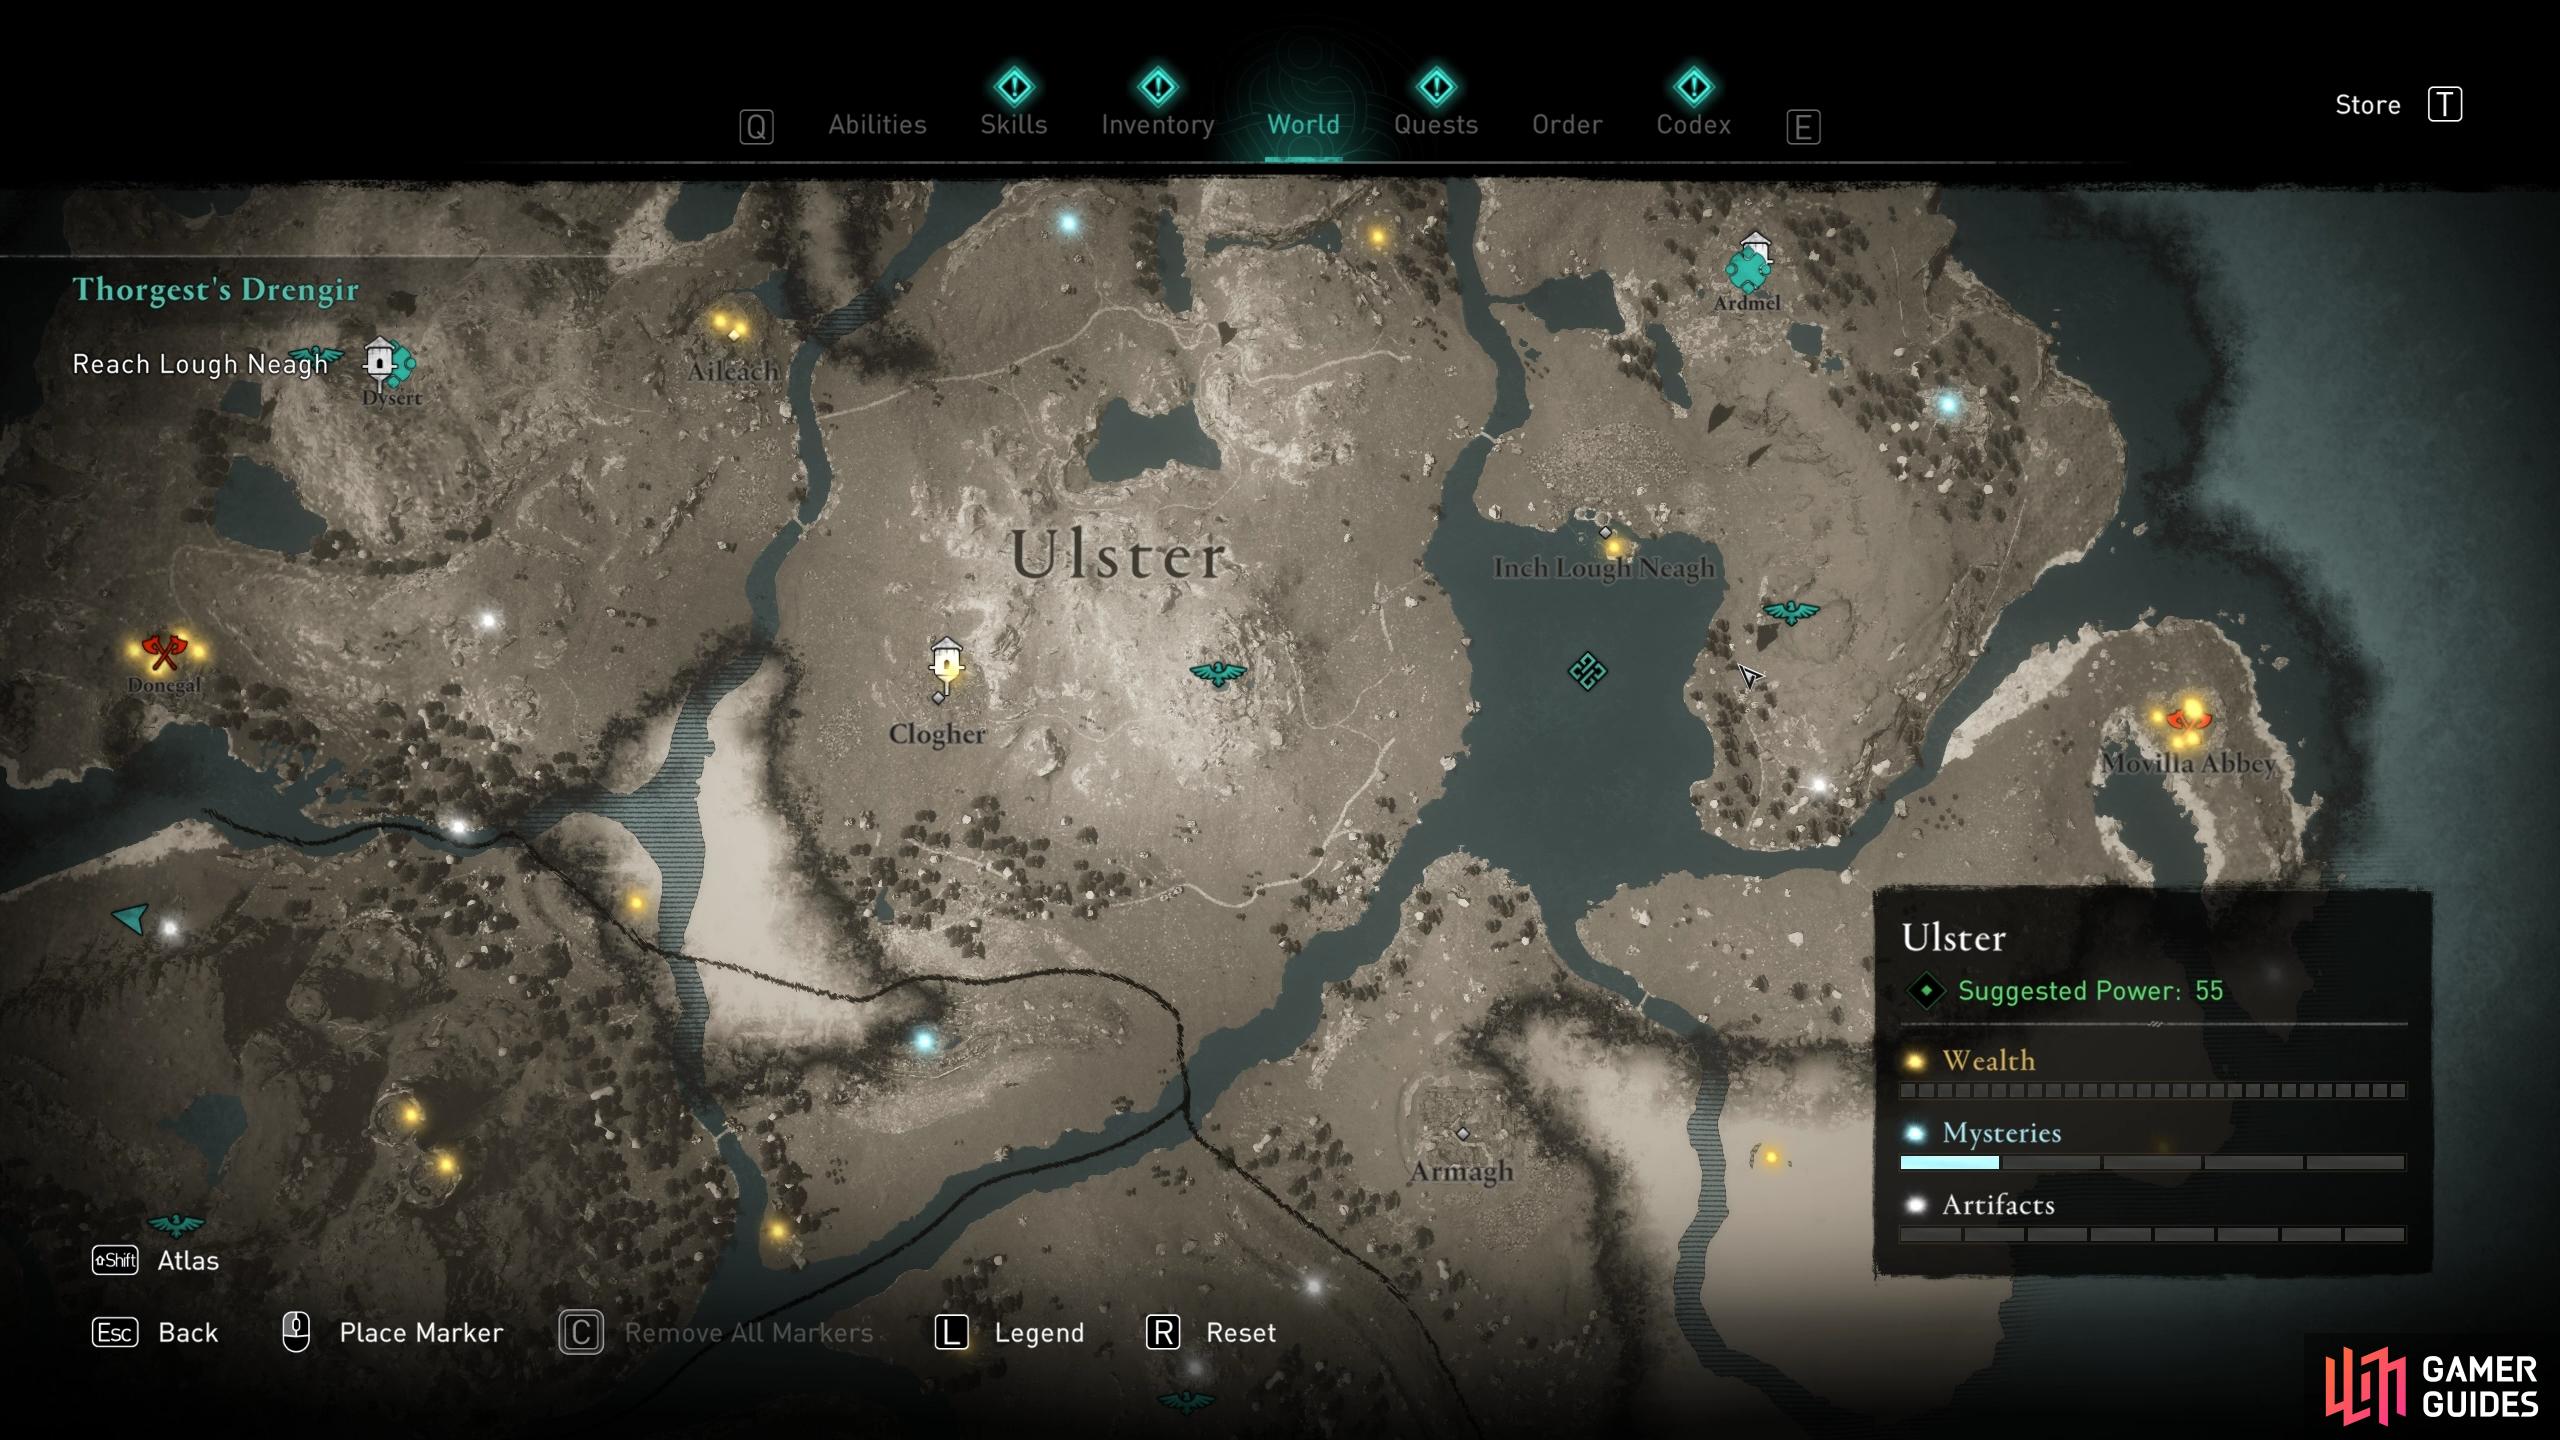
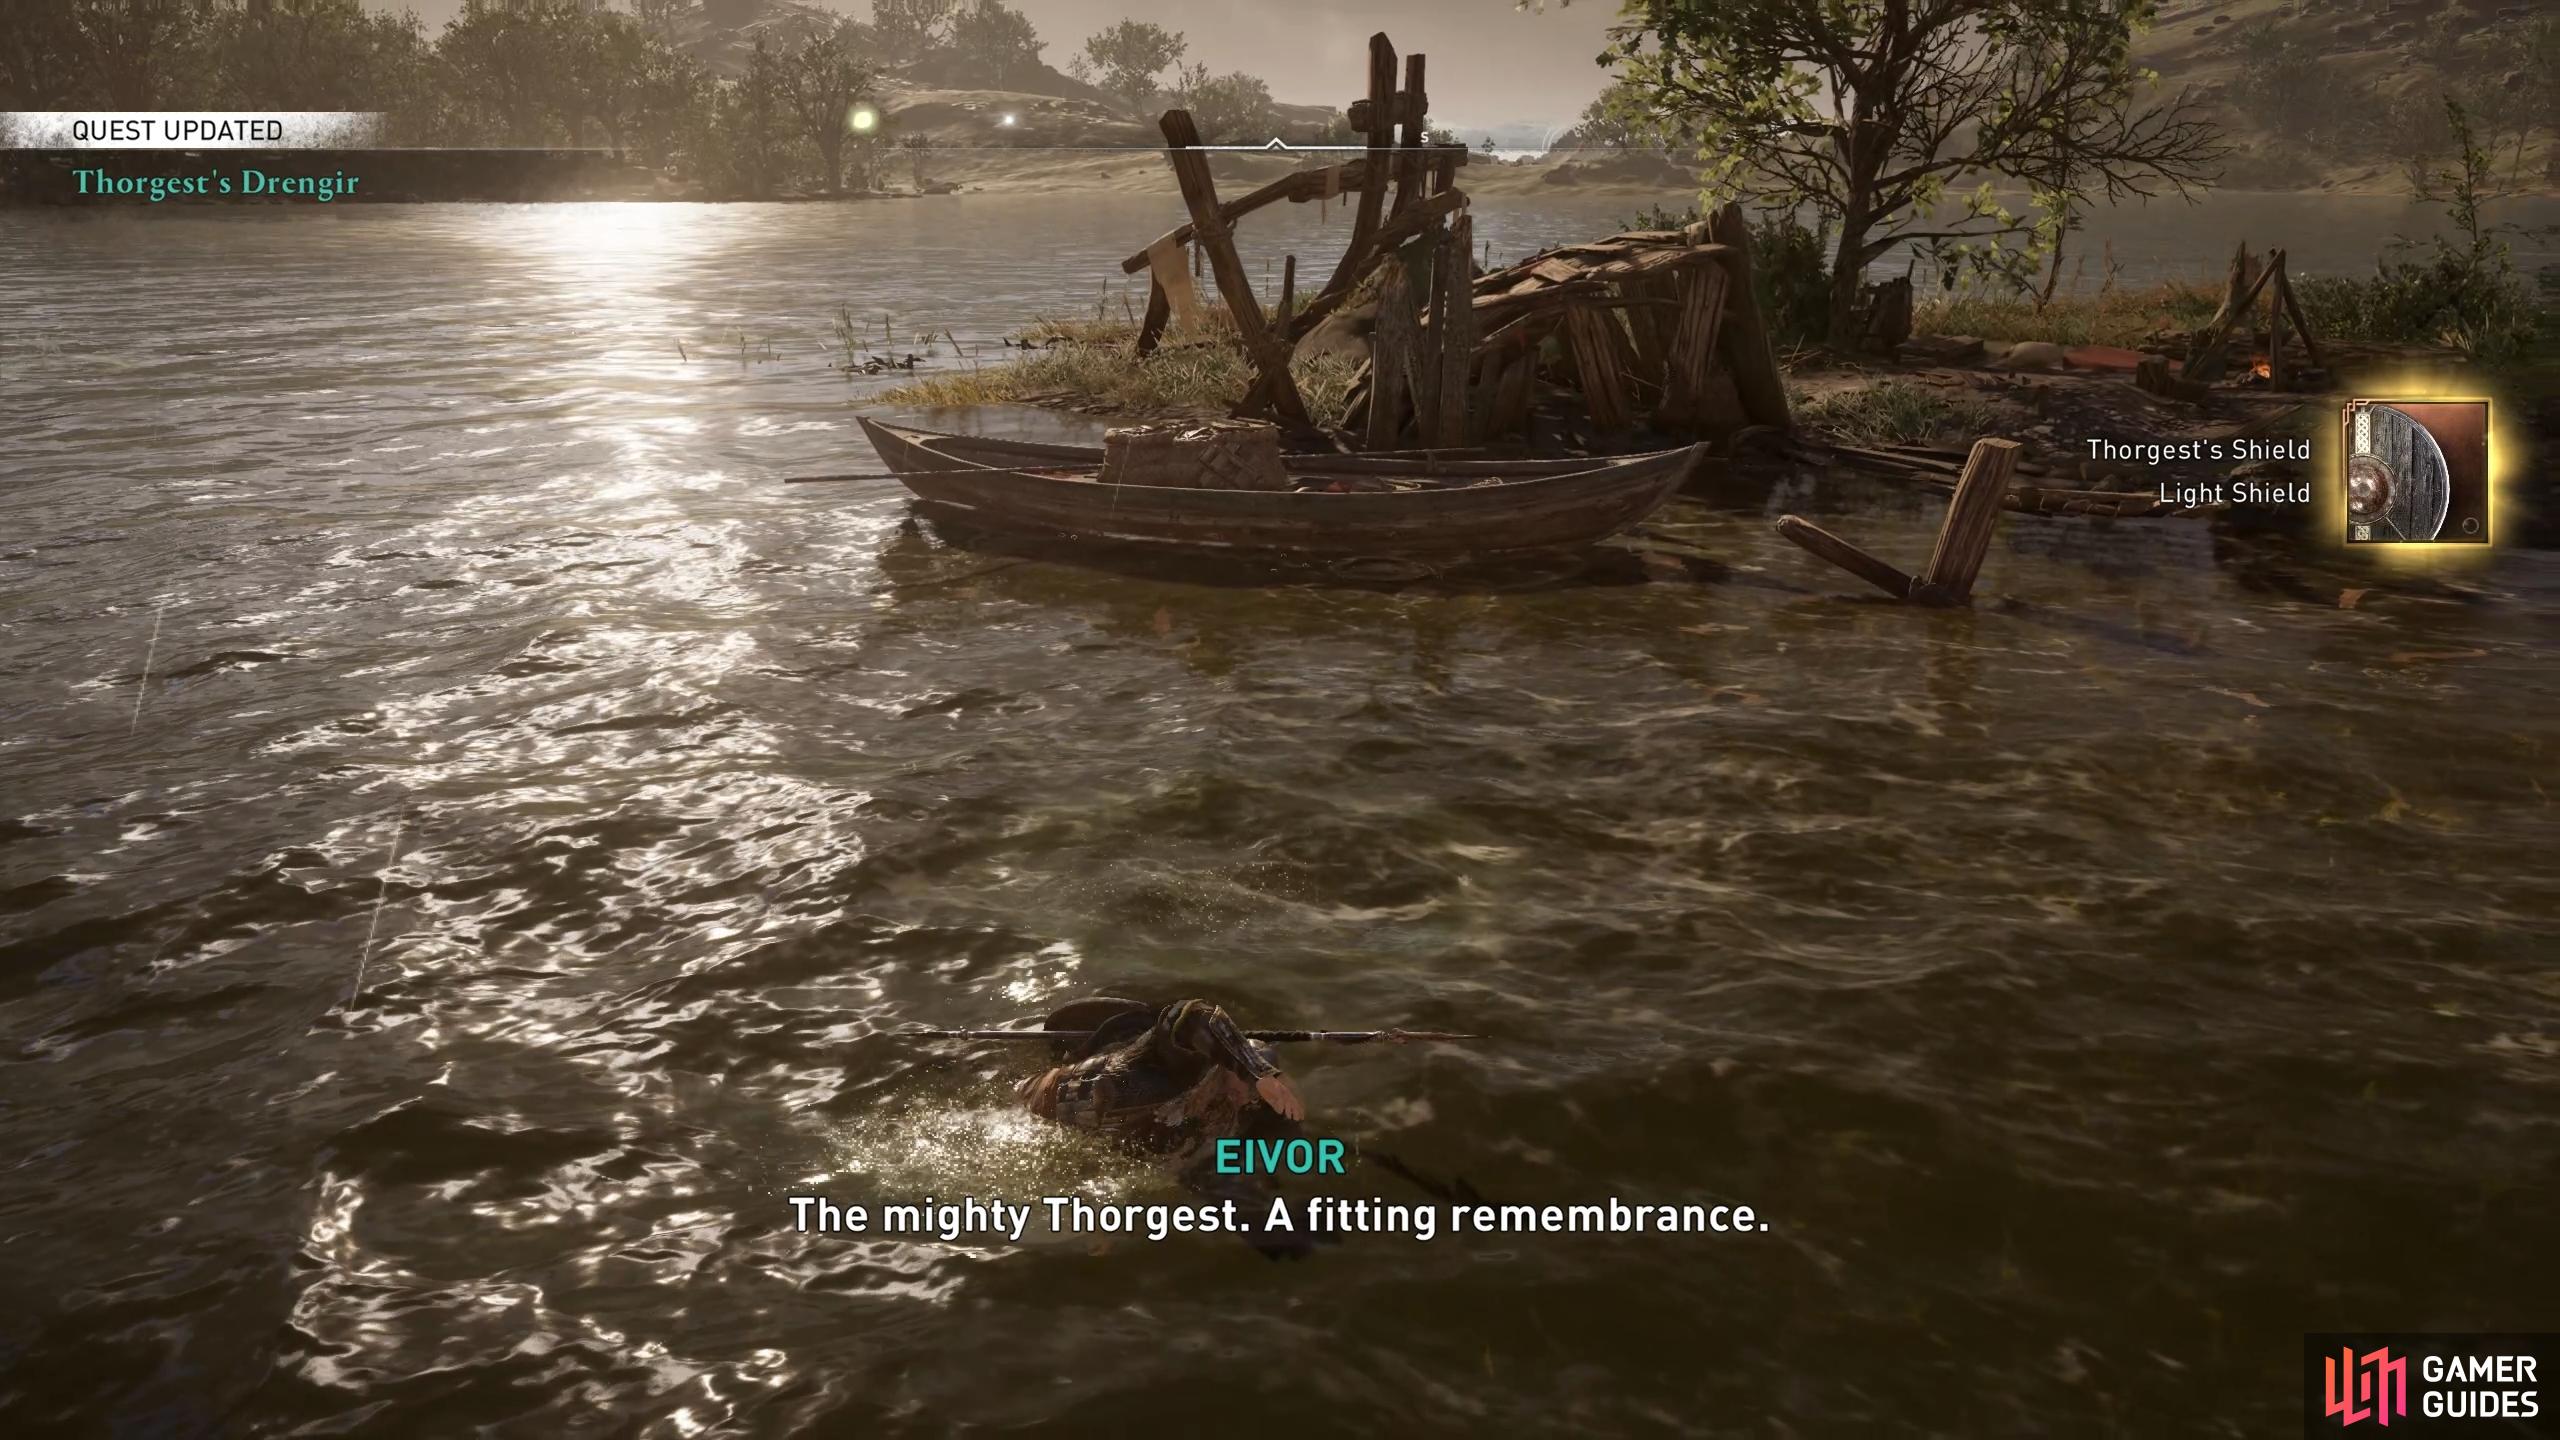
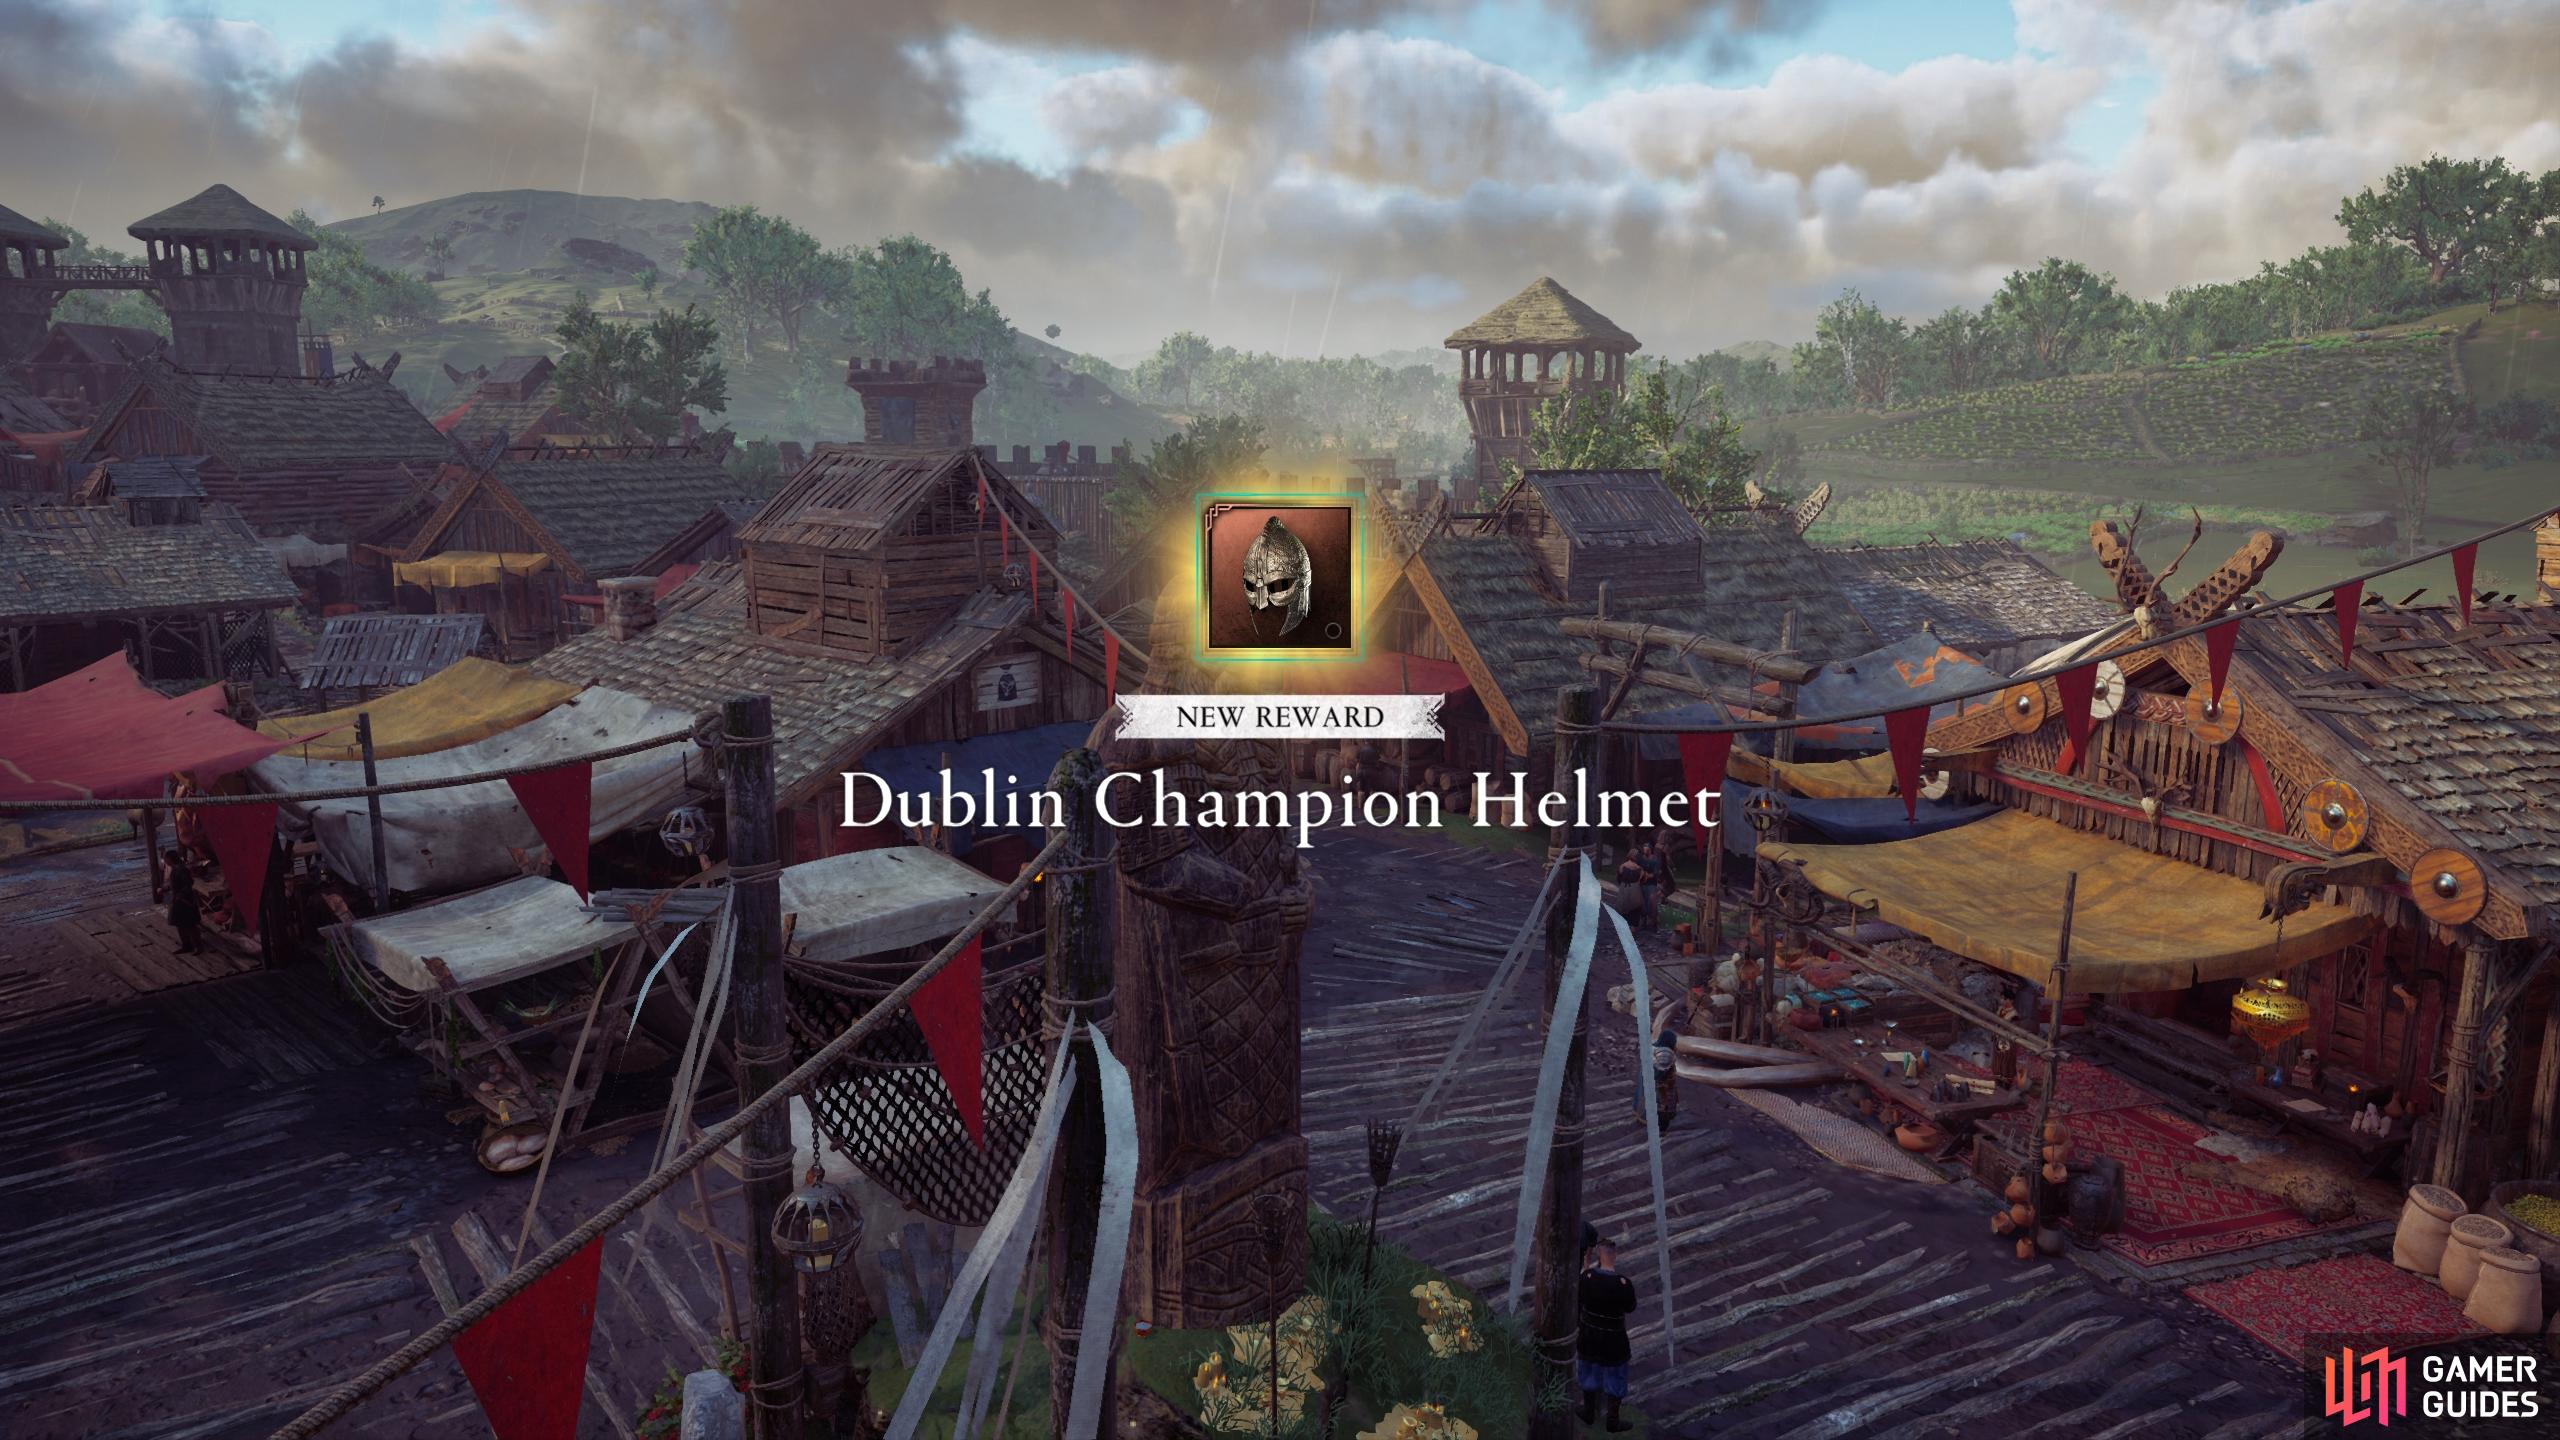
To unlock this achievement, you’ll need to find the full Dublin Champion armor set in the Wrath of the Druids DLC. We’ve included where you can find each piece below including the optional Thorgest’s Shield. You don’t need to equip the shield to unlock the achievement. Where to Find Dublin Champion Bracers, Cloak, and HelmetThe first three pieces of the Dublin Champion set that you’re likely to encounter are rewarded when you reach specific Dublin renown ranks by trading with Azar at her Overseas Trading Post in Dublin. You’ll receive the Dublin Champion Bracers when you reach rank 2, the Dublin Champion Cloak when you reach rank 4, and the Dublin Champion Helmet when you reach rank 5. To learn more about how to obtain the armor pieces and increase Dublin’s renown, see What Are Trade Posts? and Dublin’s Reach. Where to Find the Dublin Champion Armor and BreechesYou won’t be able to obtain the Dublin Champion Armor and Dublin Champion Breeches from trading with Azar. Instead, you’ll need to defeat two of Thorgest’s Drengir - Blud the Giant and Hogne Sea-Tossed - both of whom can be found as mysteries in Ireland. Where to Find Blud the Giant - Giants CausewayYou’ll find Blud the Giant in the northeasternmost part of the Ireland map, at the Giants Causeway in the region of Ulster. You’ll need to defeat her to obtain the Dublin Champion Armor. Once she’s dead you’ll receive the Thorgest’s Drengir quest, which will prompt you to find the remaining drengr in Ireland: Hogne Sea-Tossed. (1 of 2) You’ll find Blud the Giant at the Giant’s Causeway, in the northern part of Ulster. You’ll find Blud the Giant at the Giant’s Causeway, in the northern part of Ulster. (left), Speak with Blud the Giant and then defeat her to obtain the Dublin Champion Armor. (right) Where to Find Hogne Sea-Tossed - Downpatrick HeadYou’ll find Hogne Sea-Tossed on a small island (or headland) at the westernmost point of the region of Connacht. You’ll need to take a boat from the coast or use your longship to reach the headland (or you can swim if you’re not in a hurry). When you reach the top of the rock you’ll find Hogne. Speak with him and then defeat him to receive the Dublin Champion Breeches. (1 of 2) You’ll find Hogne Sea-Tossed on an island in the western part of Connacht. You’ll find Hogne Sea-Tossed on an island in the western part of Connacht. (left), Speak with Hogne and defeat him to obtain the Dublin Champion Breeches. (right) Completing Thorgest’s Drengir - Where to Find Thorgest’s ShieldOnce you’ve defeated both Blud the Giant and Hogne Sea-Tossed, you’re not quite done with the Thorgest’s Drengir quest. The final thing you need to do is recover Thorgest’s Shield from his body. The body can be found on a small island at Lough Neagh, in the region of Ulster. (1 of 2) You’ll find Thorgest’s Shield on an island at Lough Neagh, in the eastern part of Ulster. You’ll find Thorgest’s Shield on an island at Lough Neagh, in the eastern part of Ulster. (left), You’ll need to loot the shield from Thorgest’s body in the water. (right) |
|||||||||||||||||||||||||||||||||||||||||||||||

|
Slam MasterComplete all the flytings |
5.01% Very Rare | 30 | ||||||||||||||||||||||||||||||||||||||||||||
|
This trophy is obtained by completing all Flyting events found across England and Norway. Below, you’ll find a list of all 16 Flyting contests as well as their locations and links to pages where the perfect answers are provided.
Ove the Scarred. |
|||||||||||||||||||||||||||||||||||||||||||||||

|
The Hidden TruthObtain all video fragments and watch the hidden truth video |
5.10% Very Rare | 30 | ||||||||||||||||||||||||||||||||||||||||||||
|
This trophy requires that you complete all 10 Animus Anomaly mysteries found in the world (9 in England, 1 in Norway). Once you’ve completed the 10th, in whatever order you like, you’ll earn this achievement. Below, you’ll find a list of all Animus Anomalies and their regions, as well as a link to a detailed walkthrough of each mystery.
|
|||||||||||||||||||||||||||||||||||||||||||||||

|
Future PastEnter the Assassin Bureau in Francia (The Siege of Paris). |
5.24% Very Rare | 30 | ||||||||||||||||||||||||||||||||||||||||||||
|
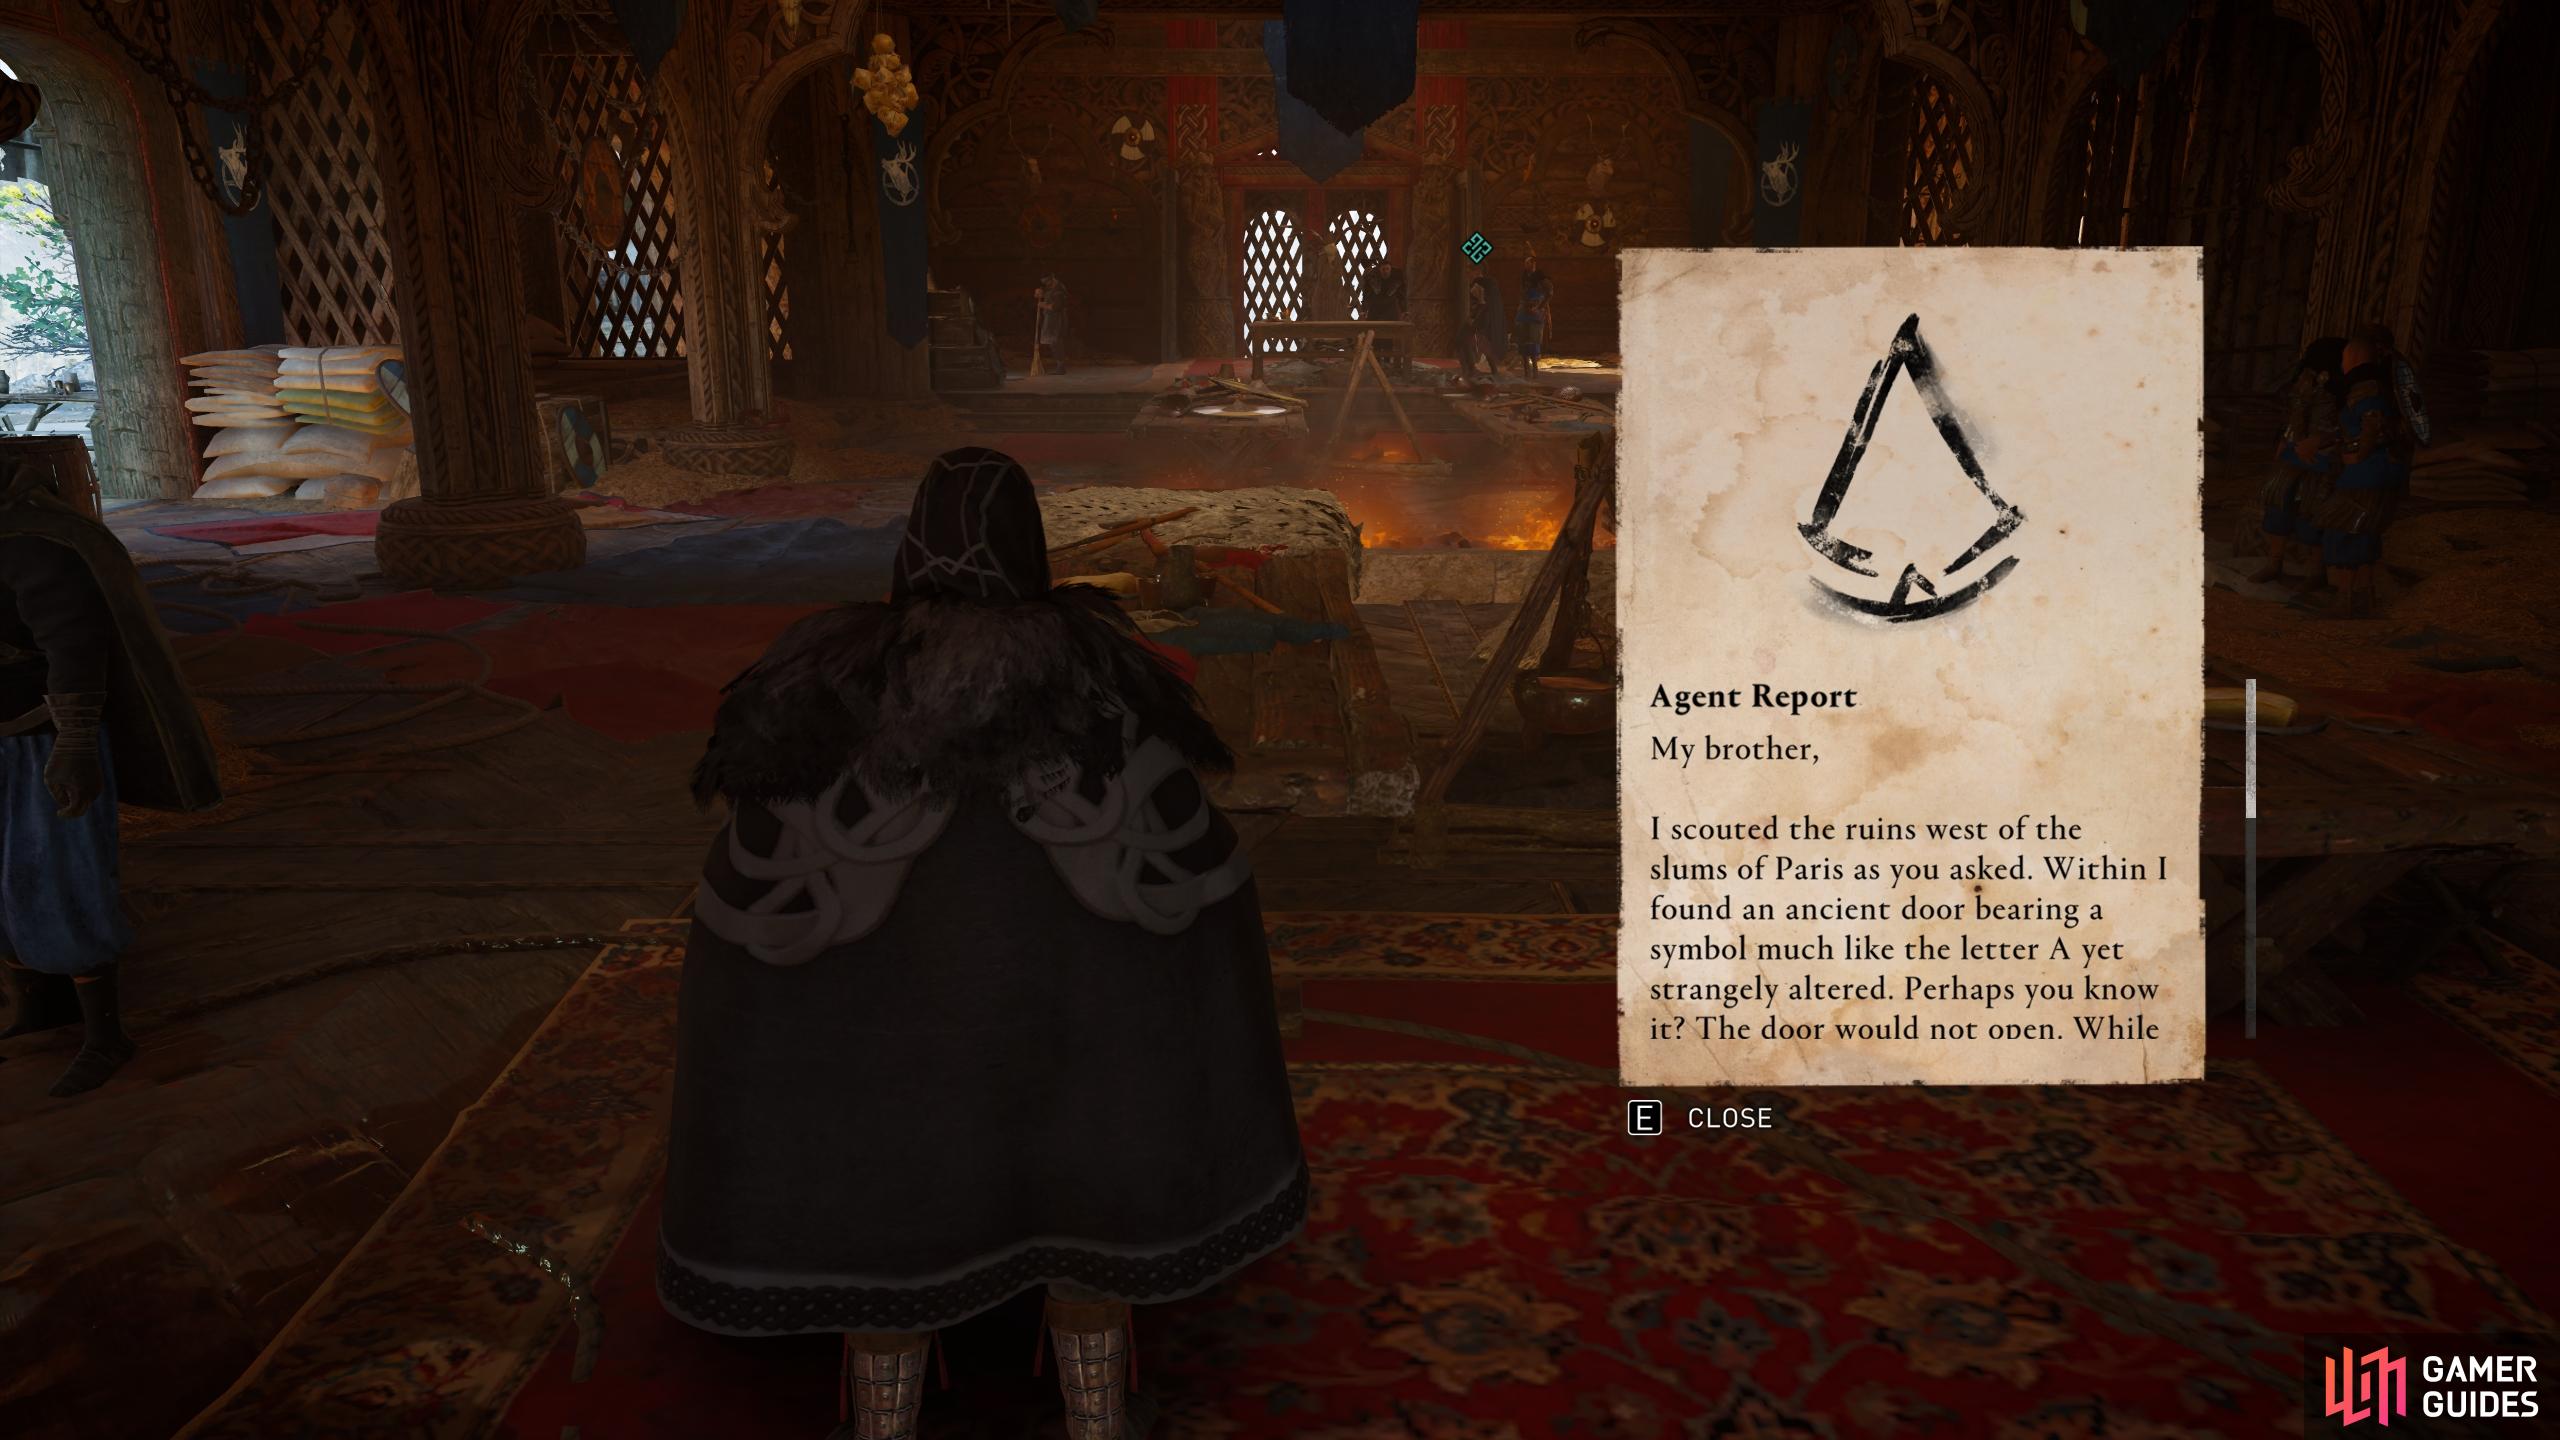
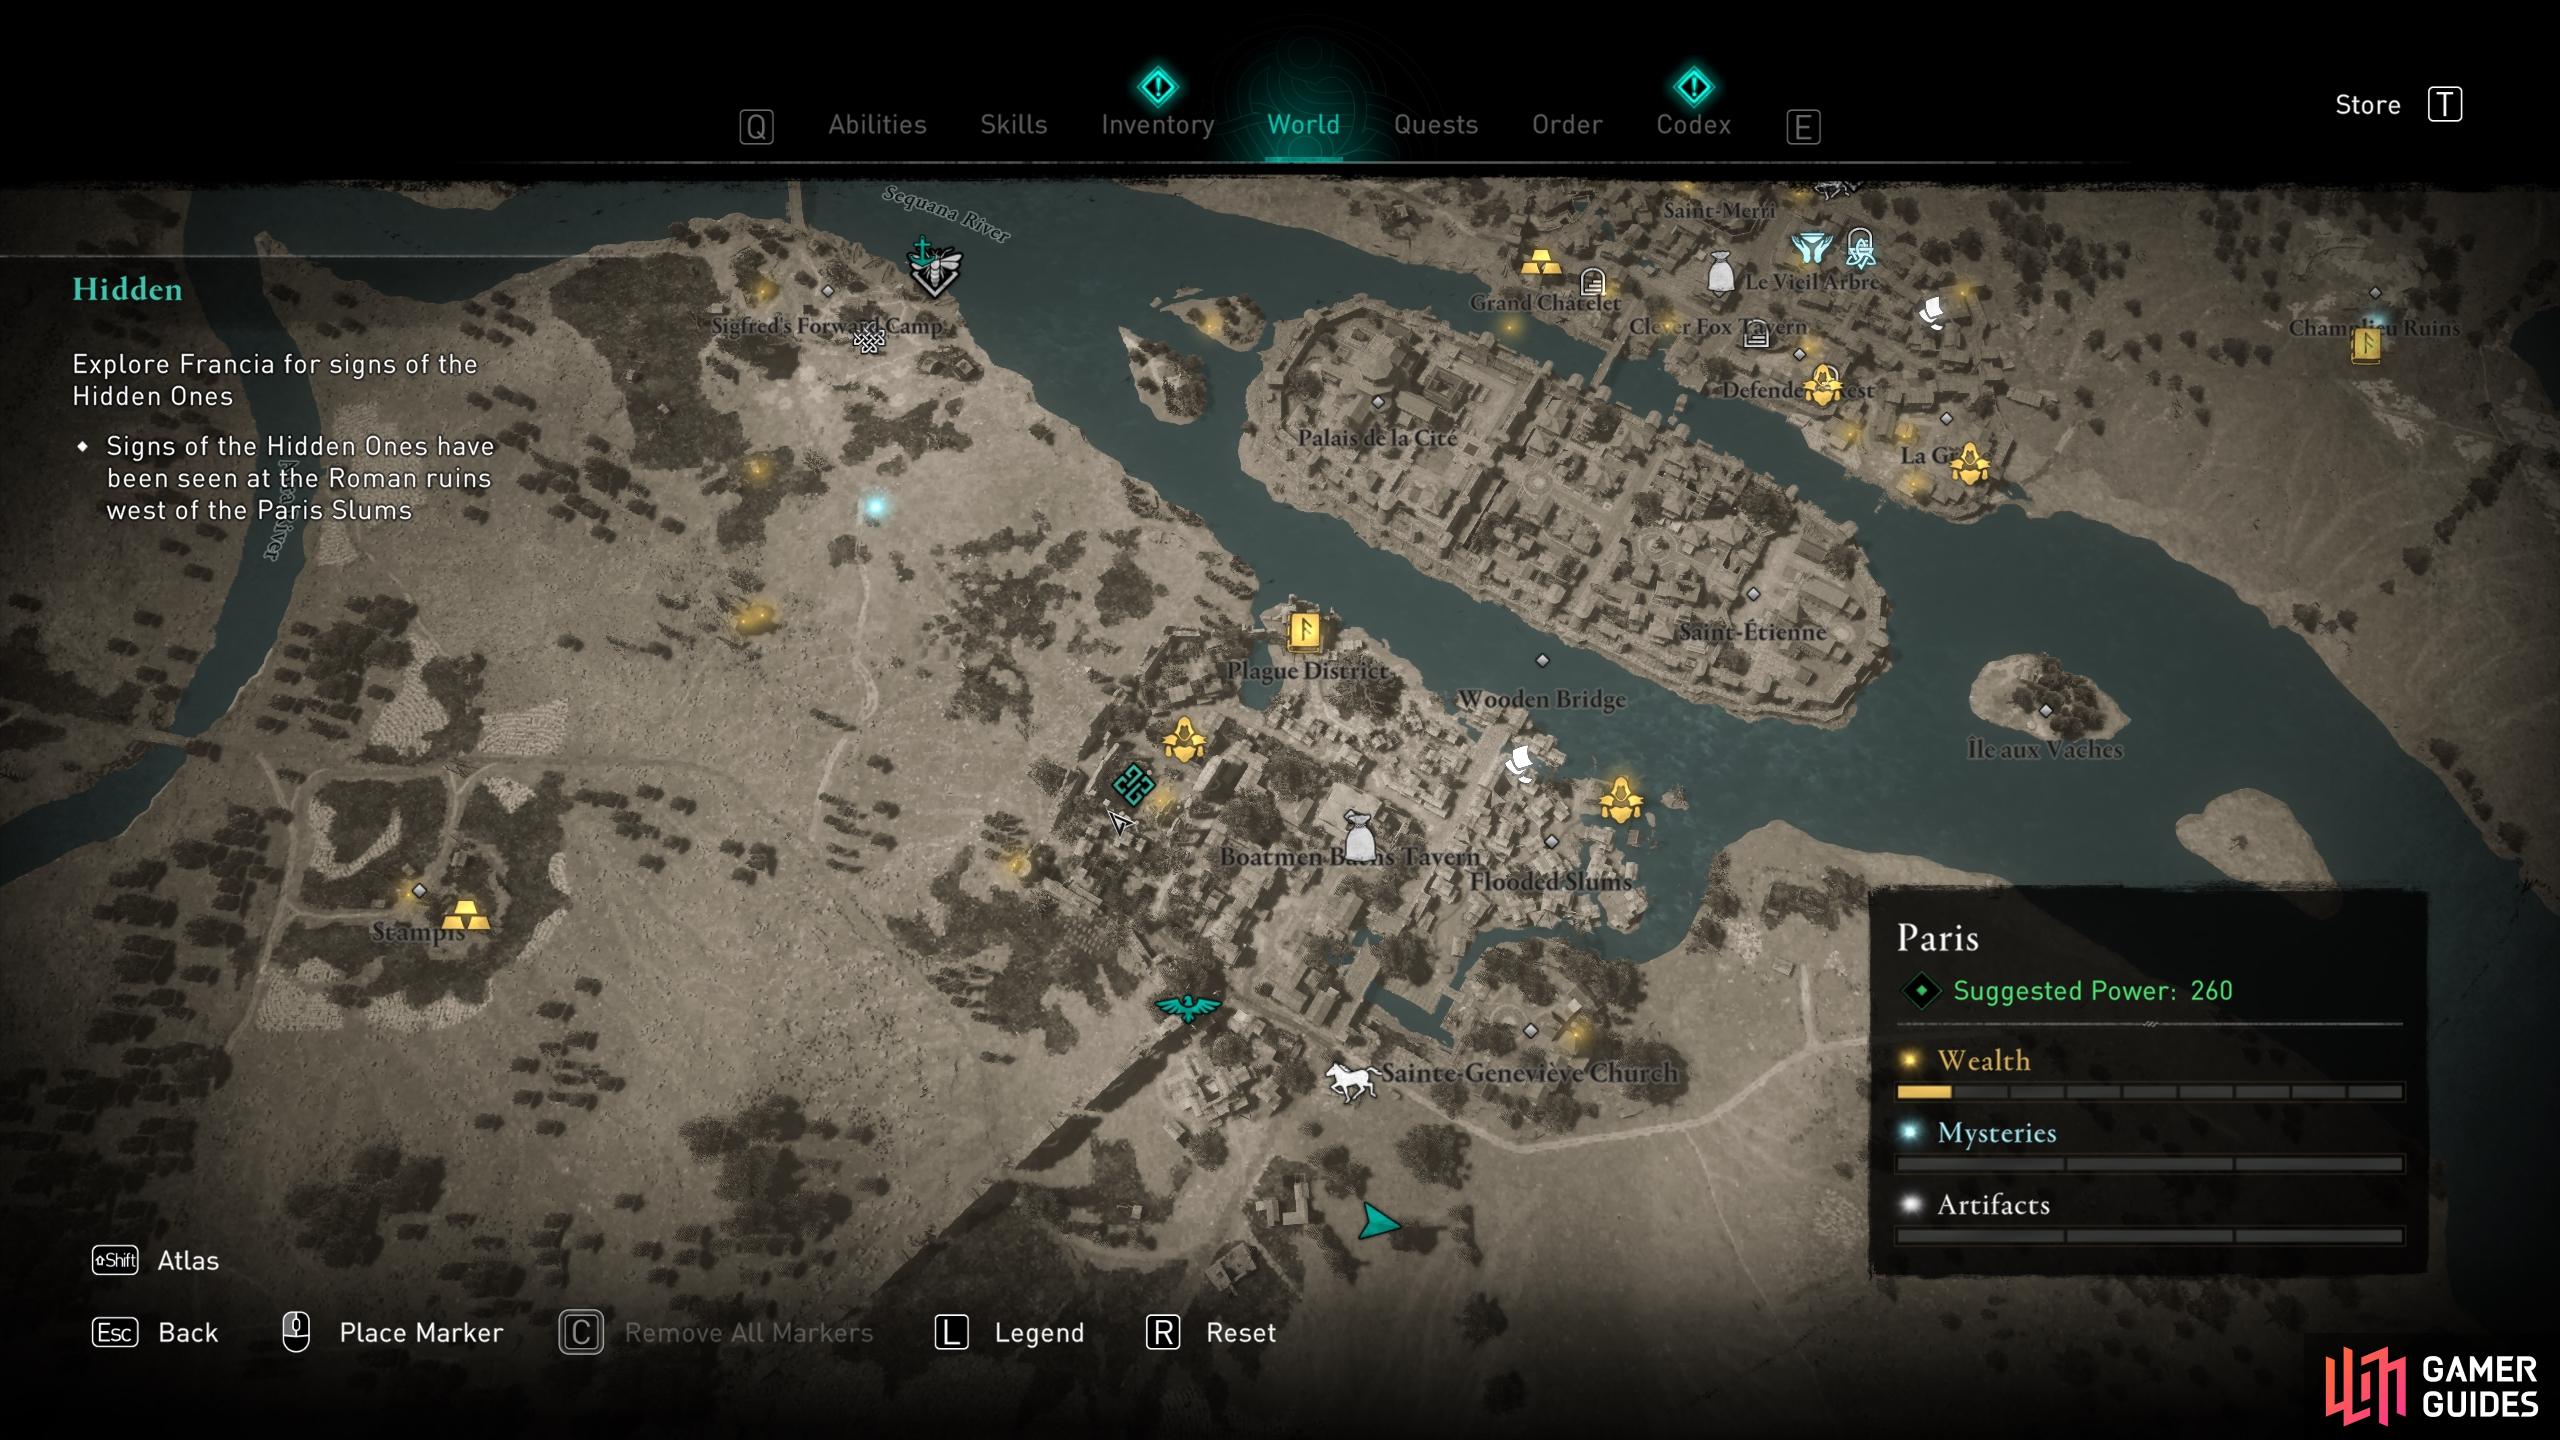
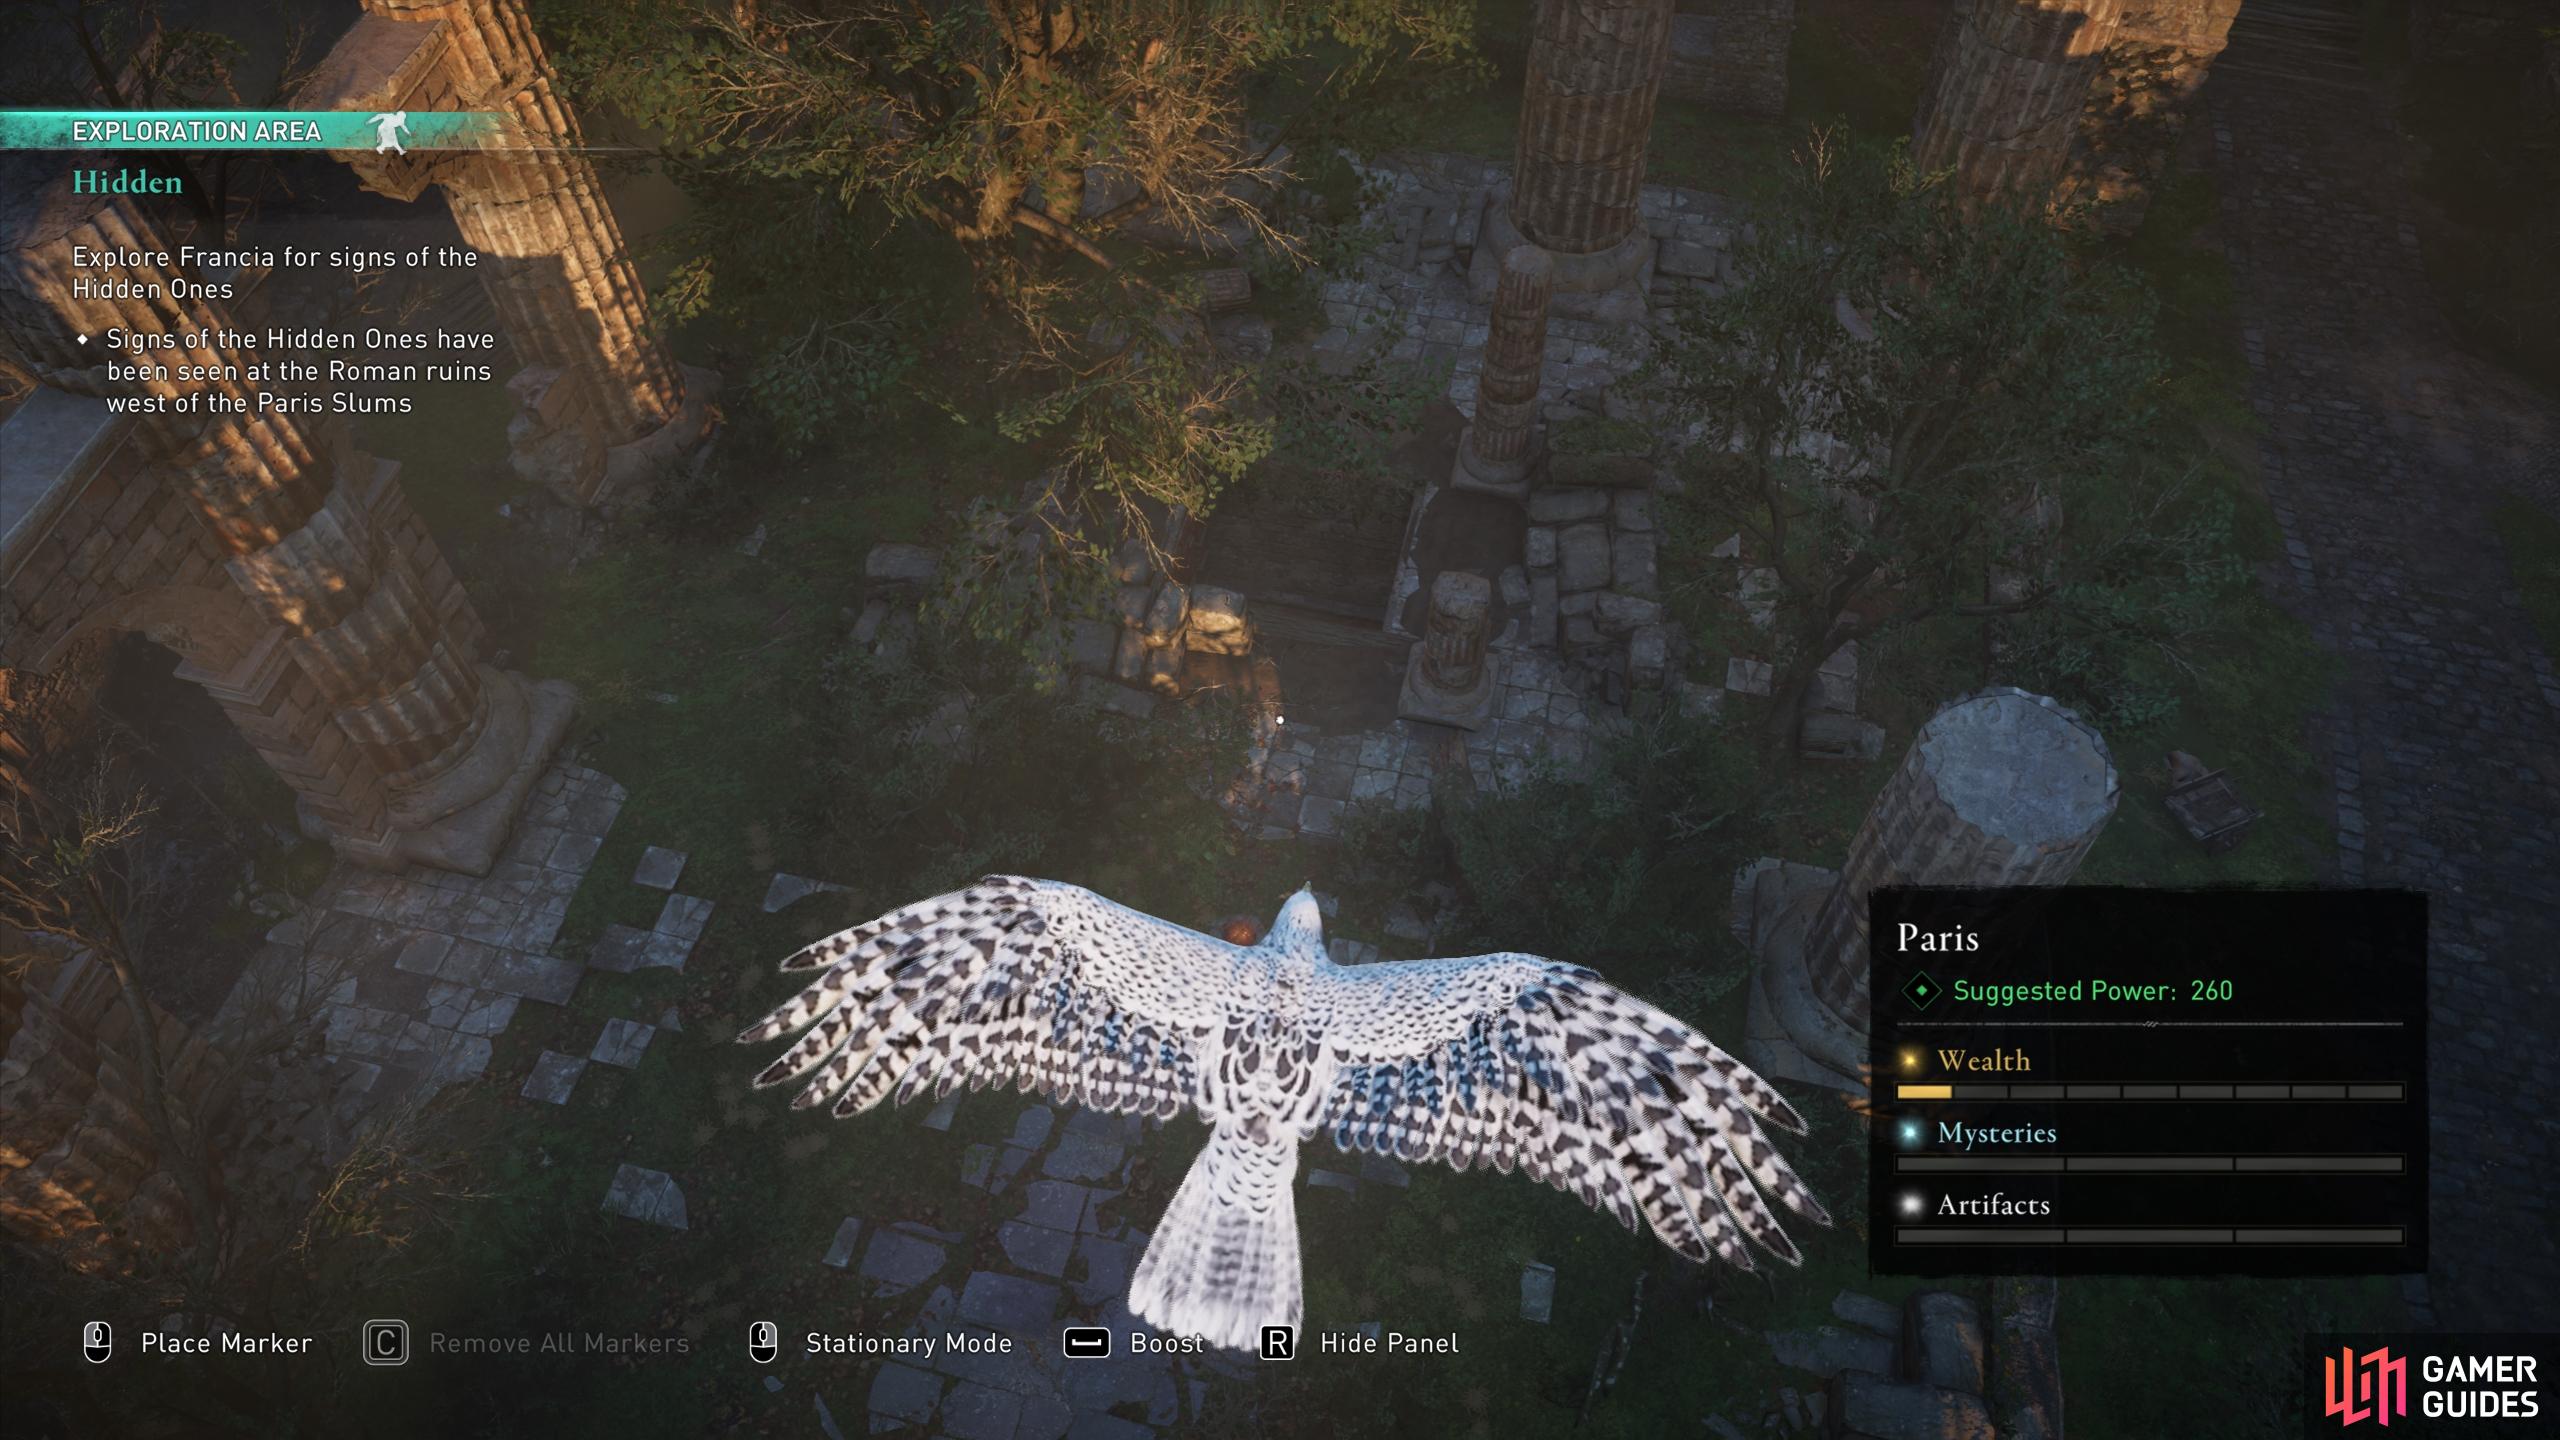
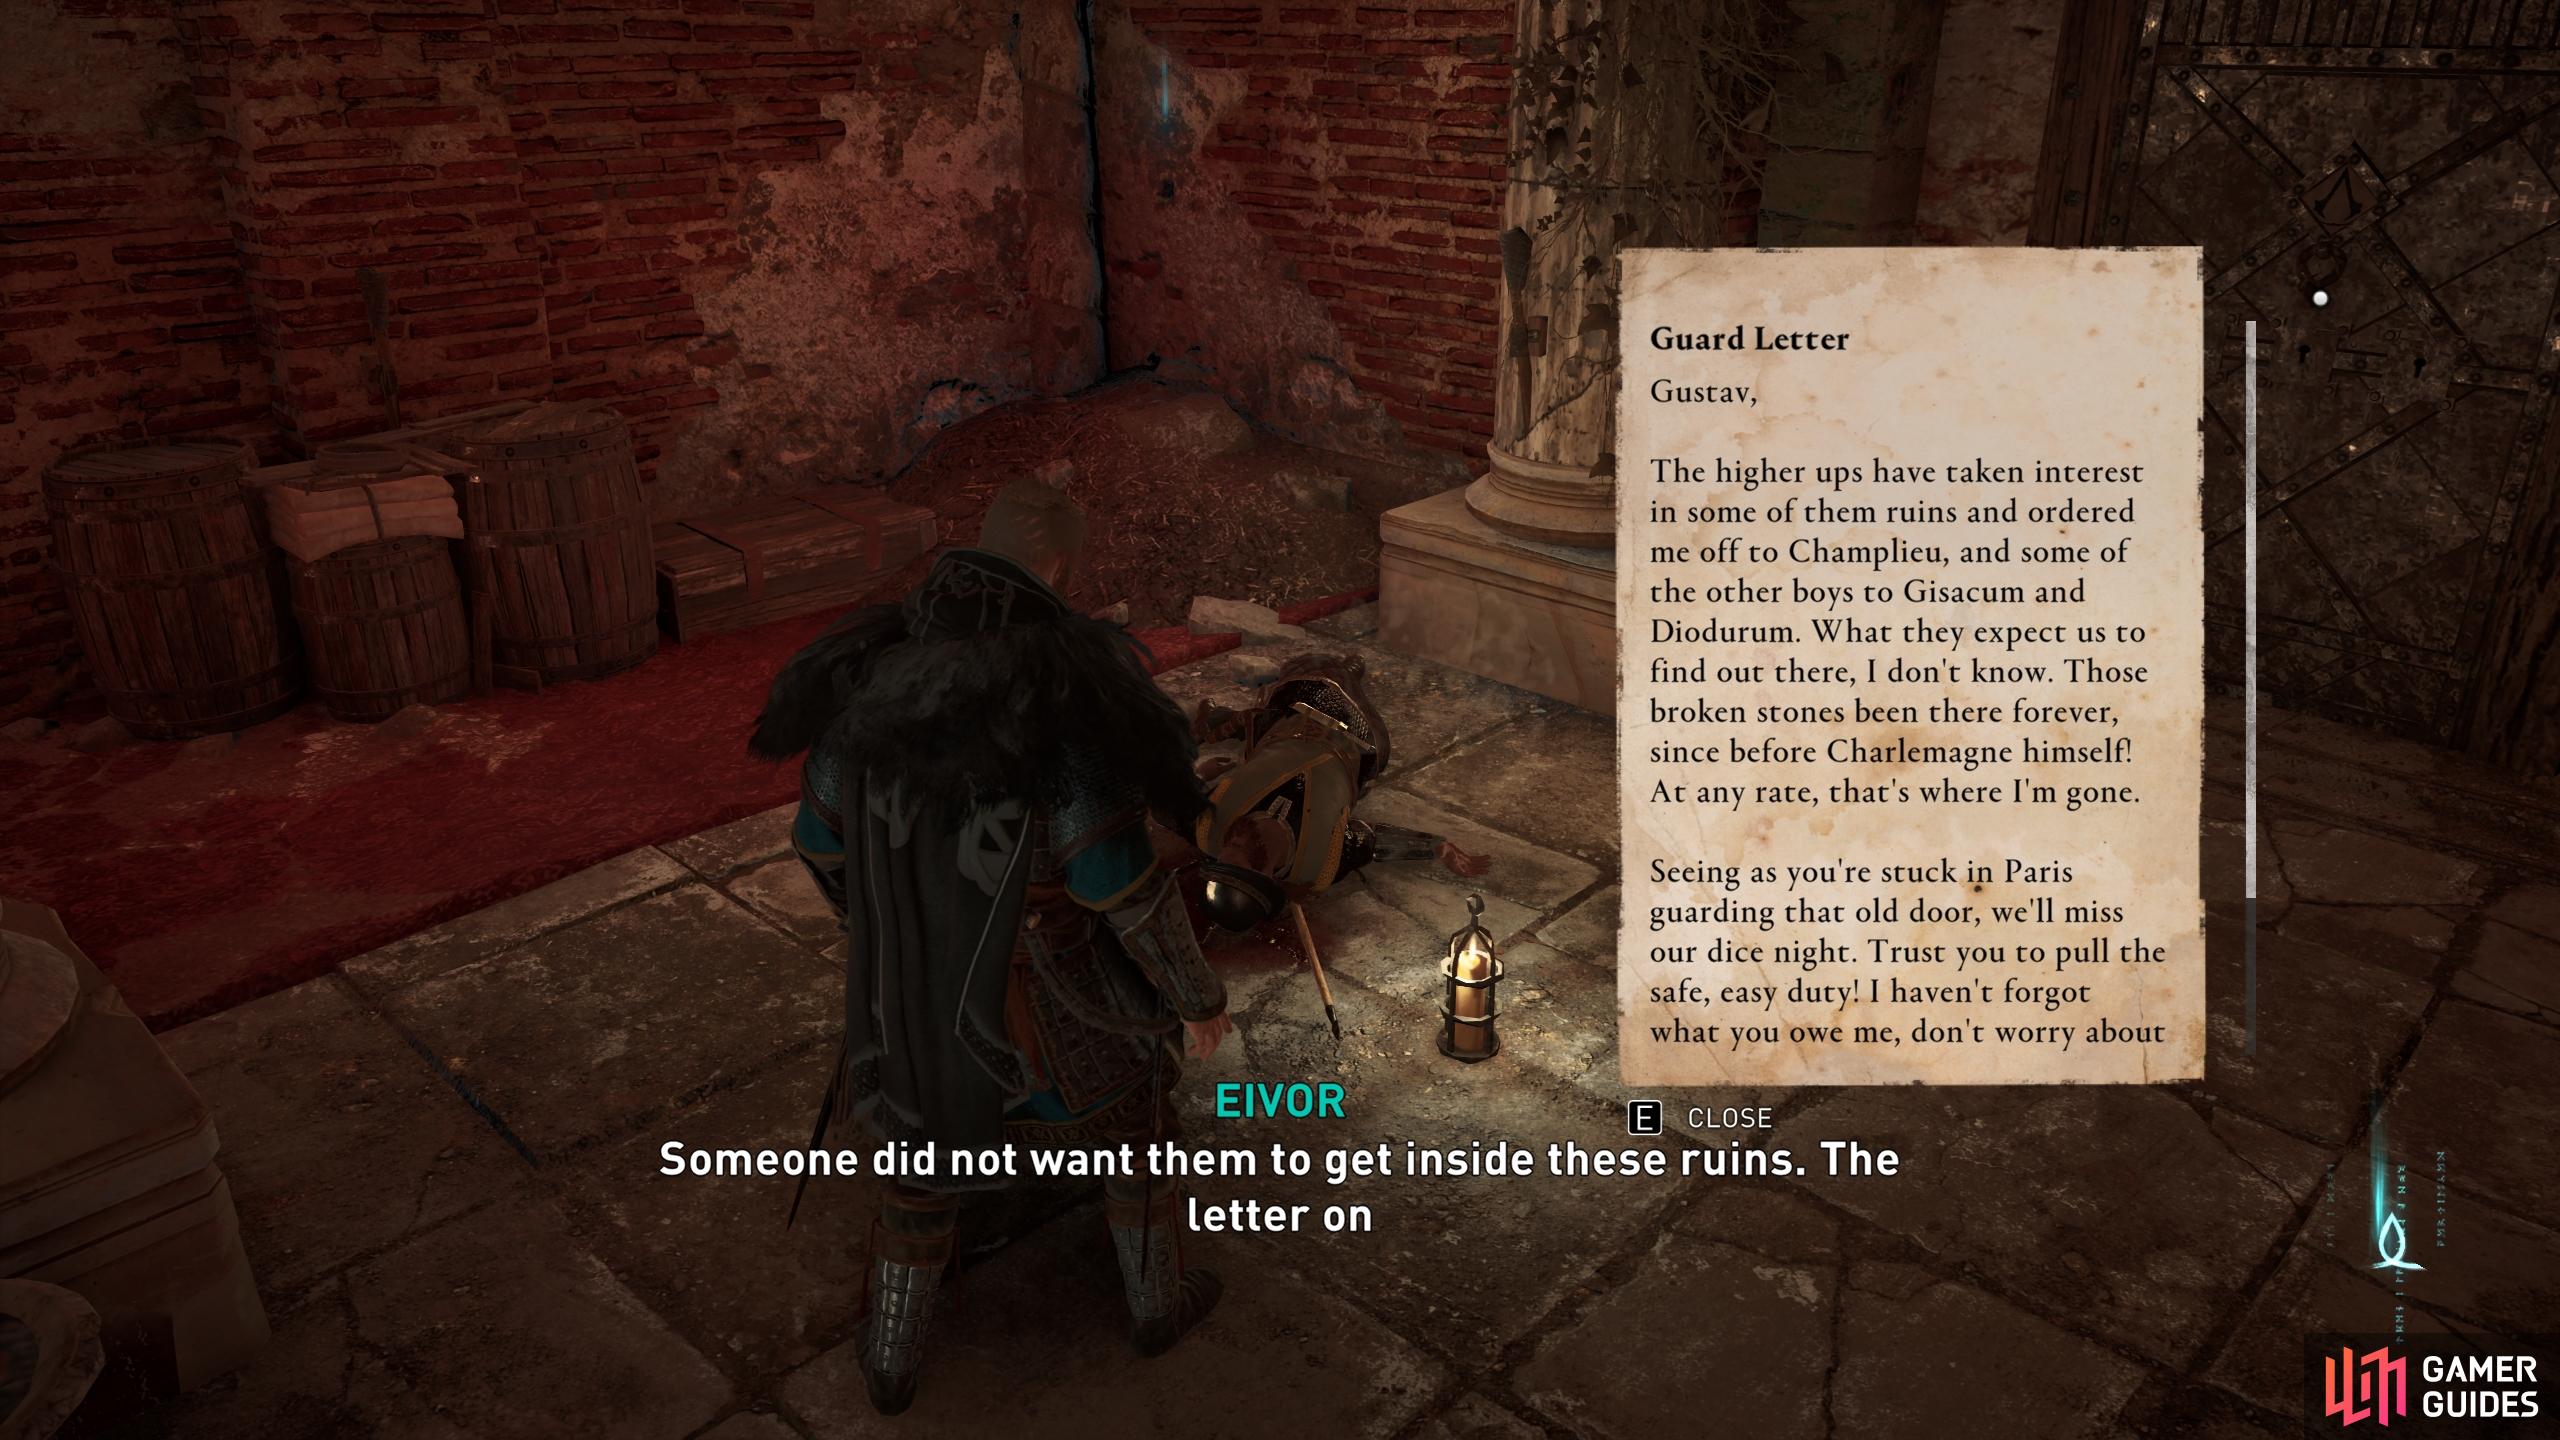
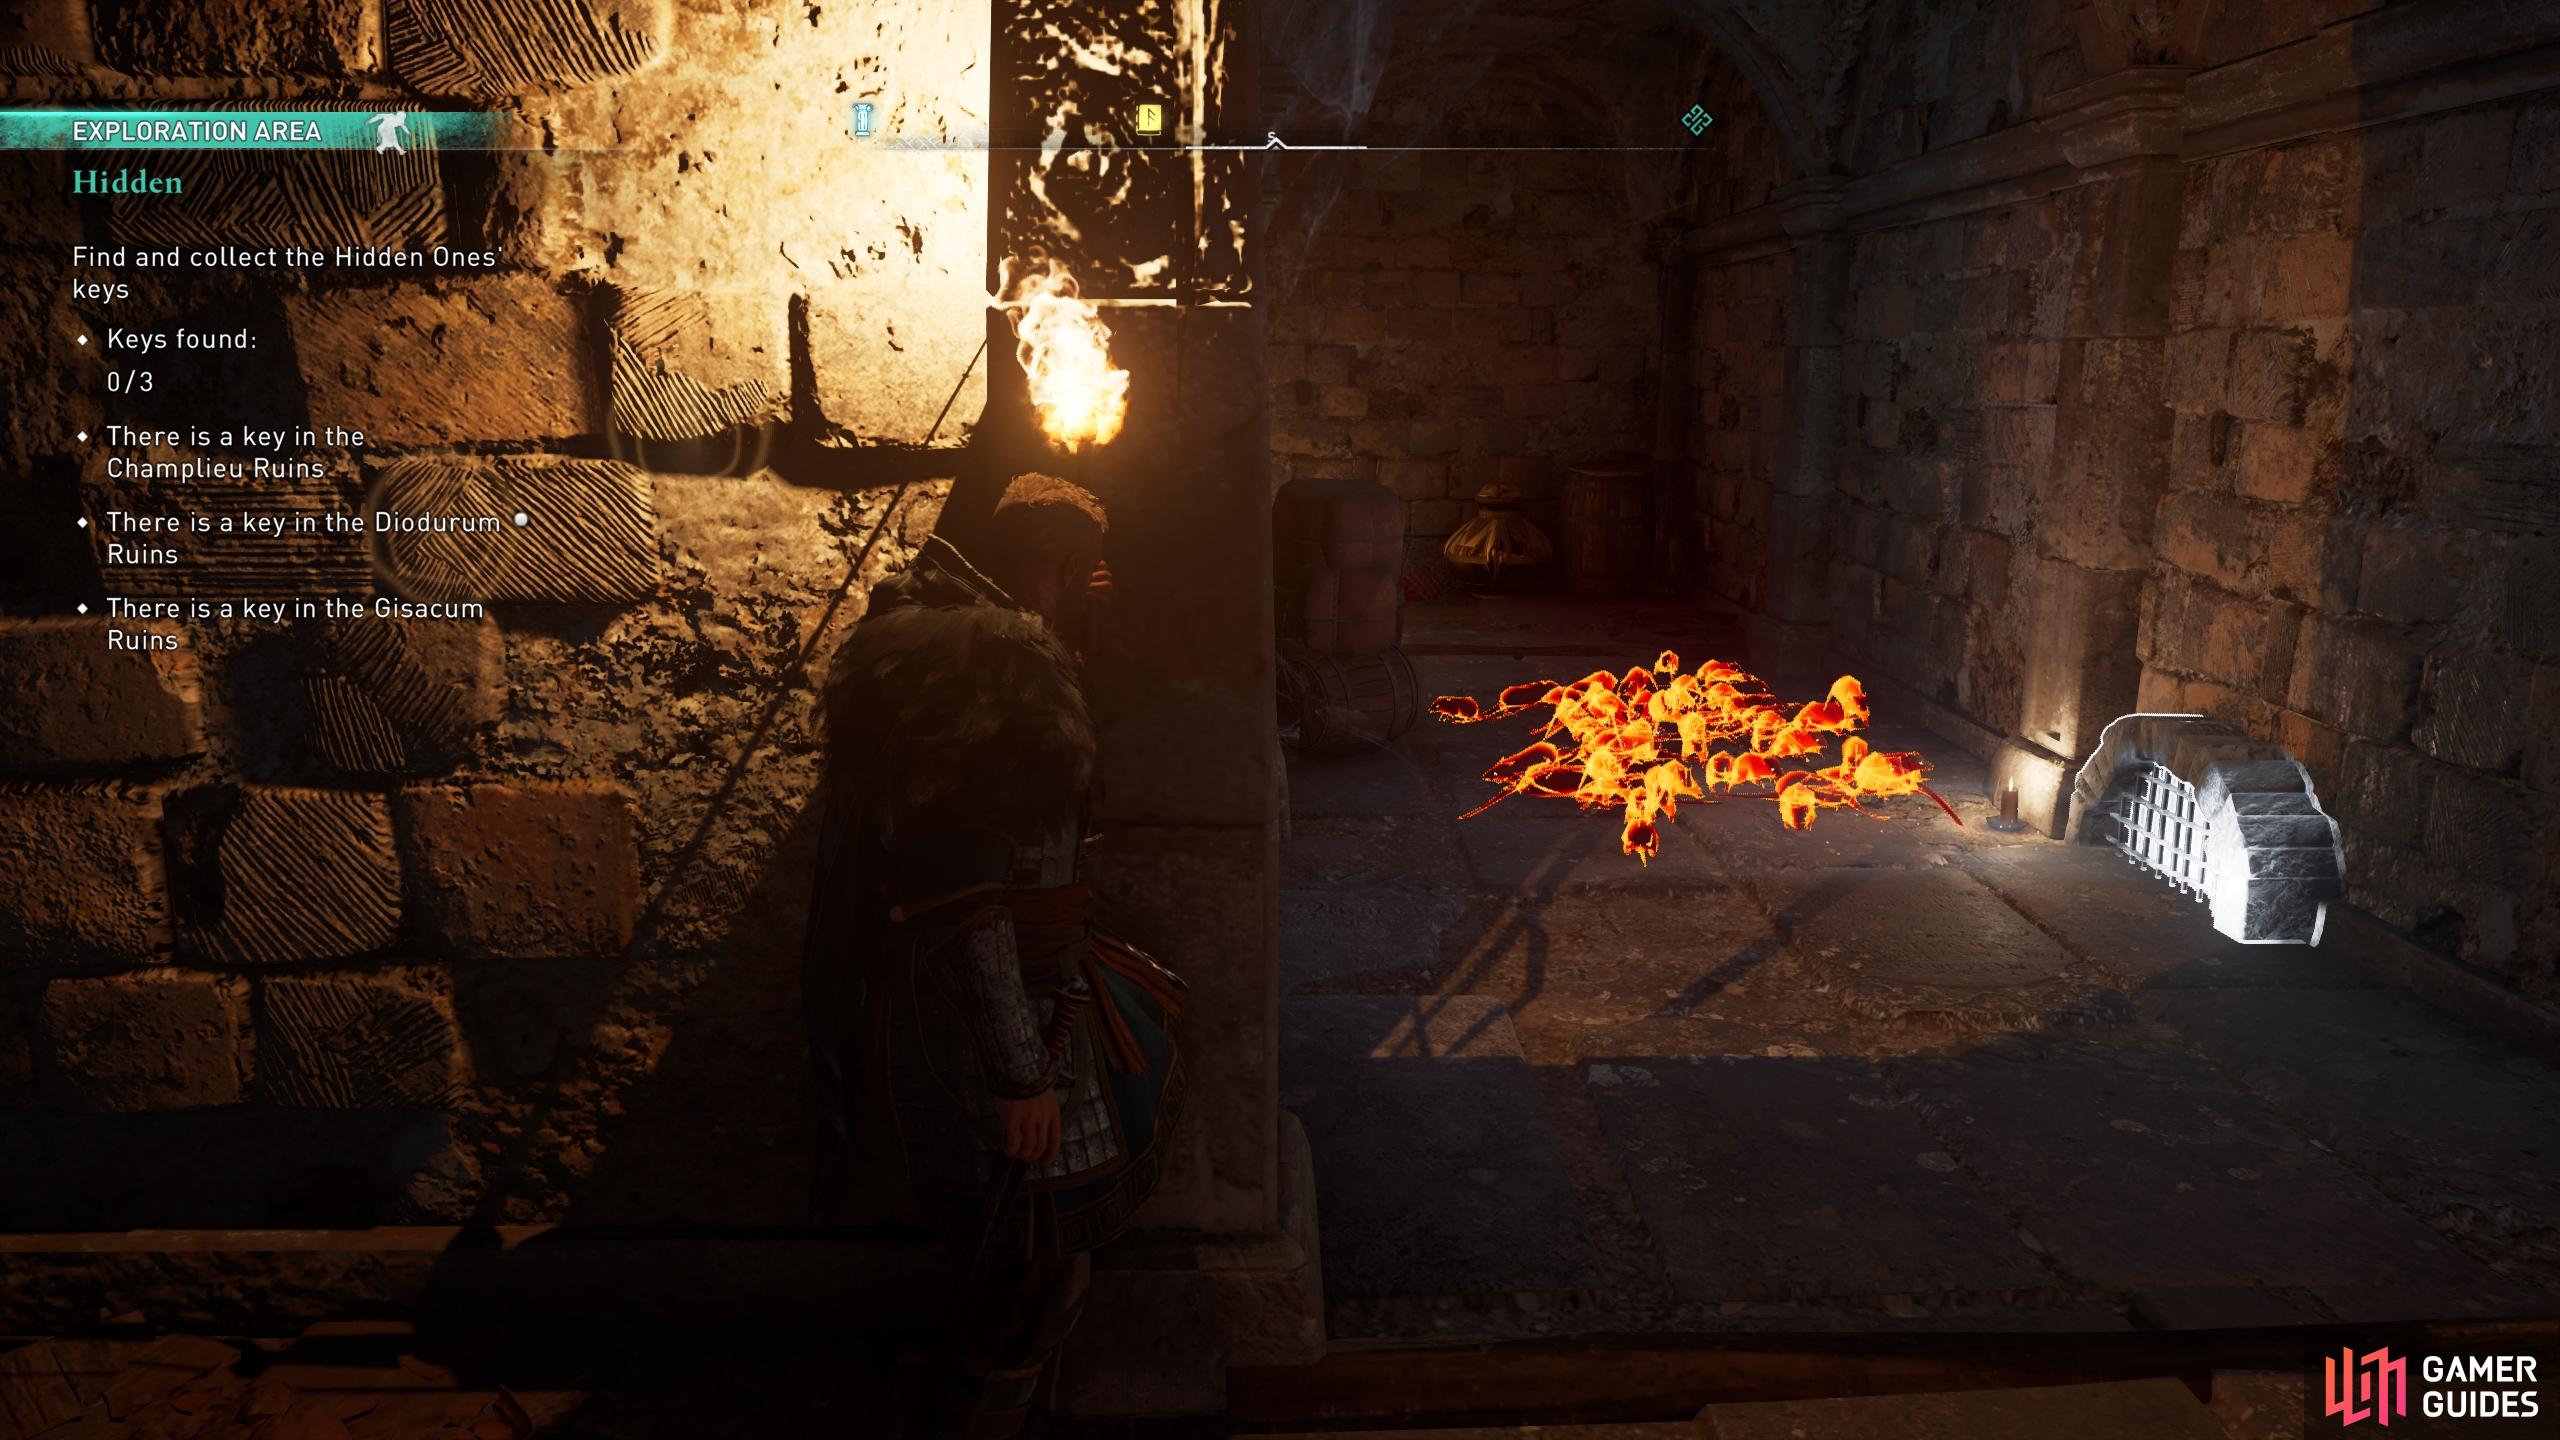
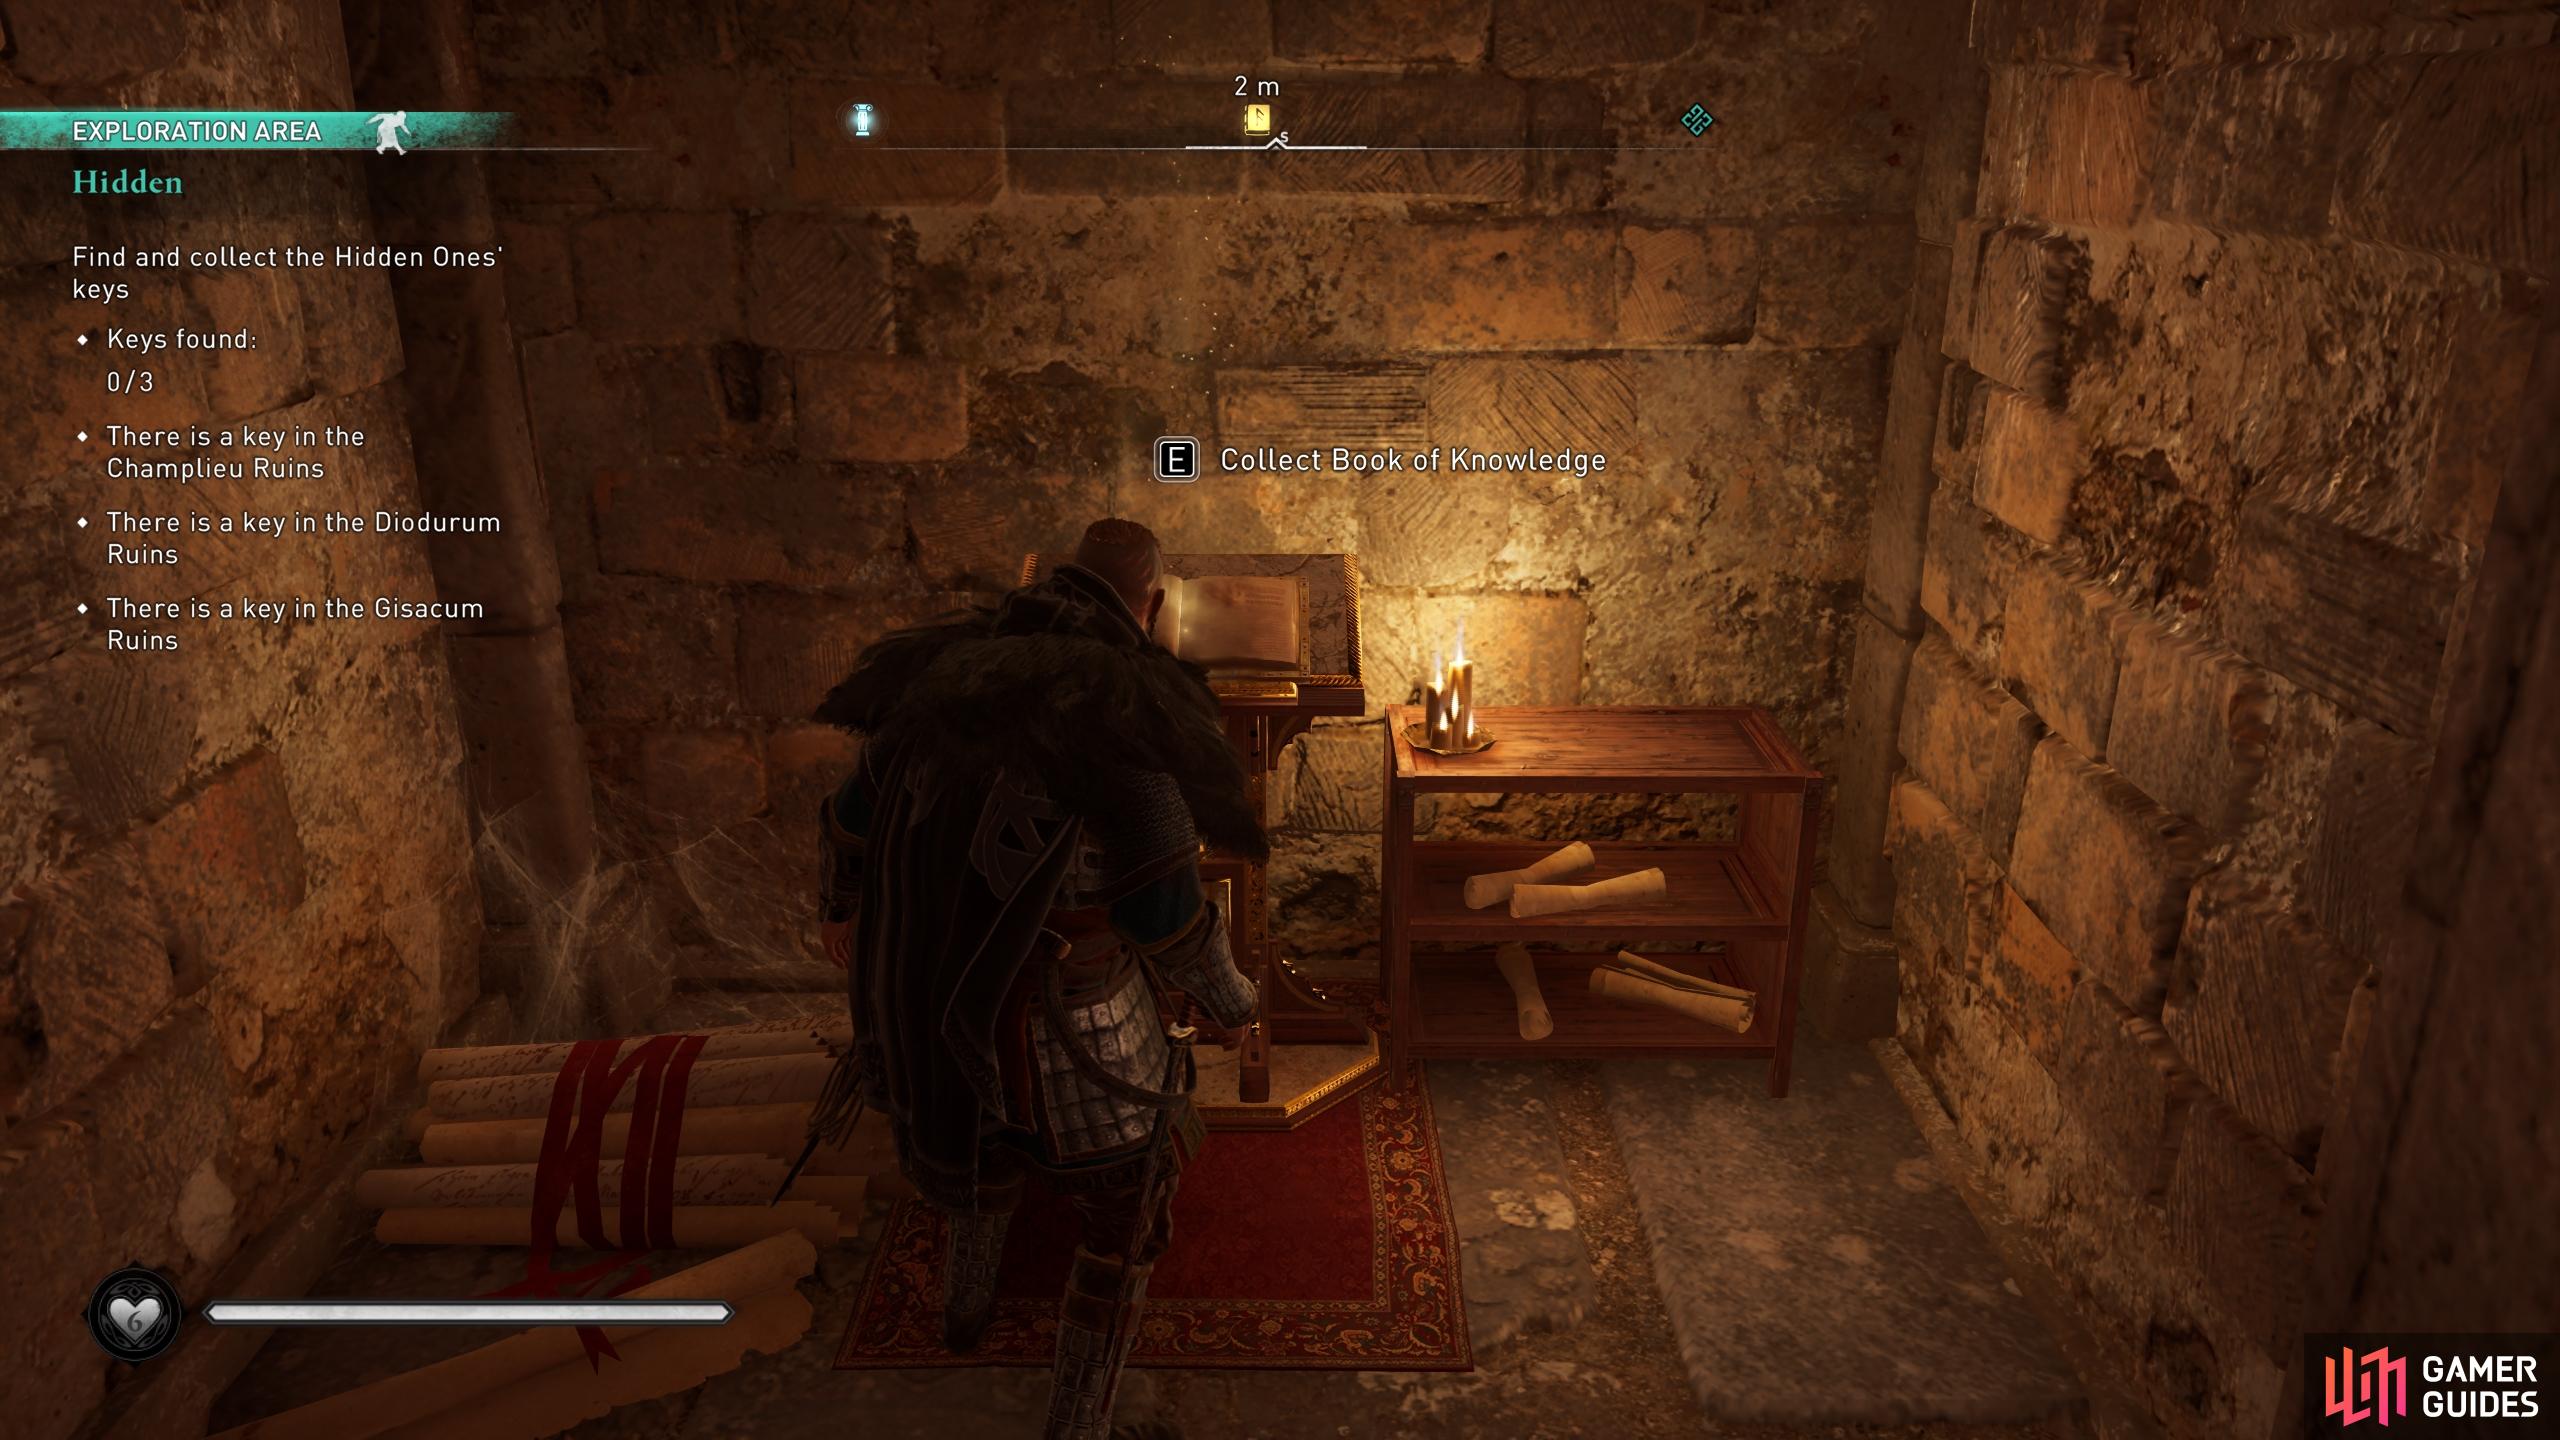
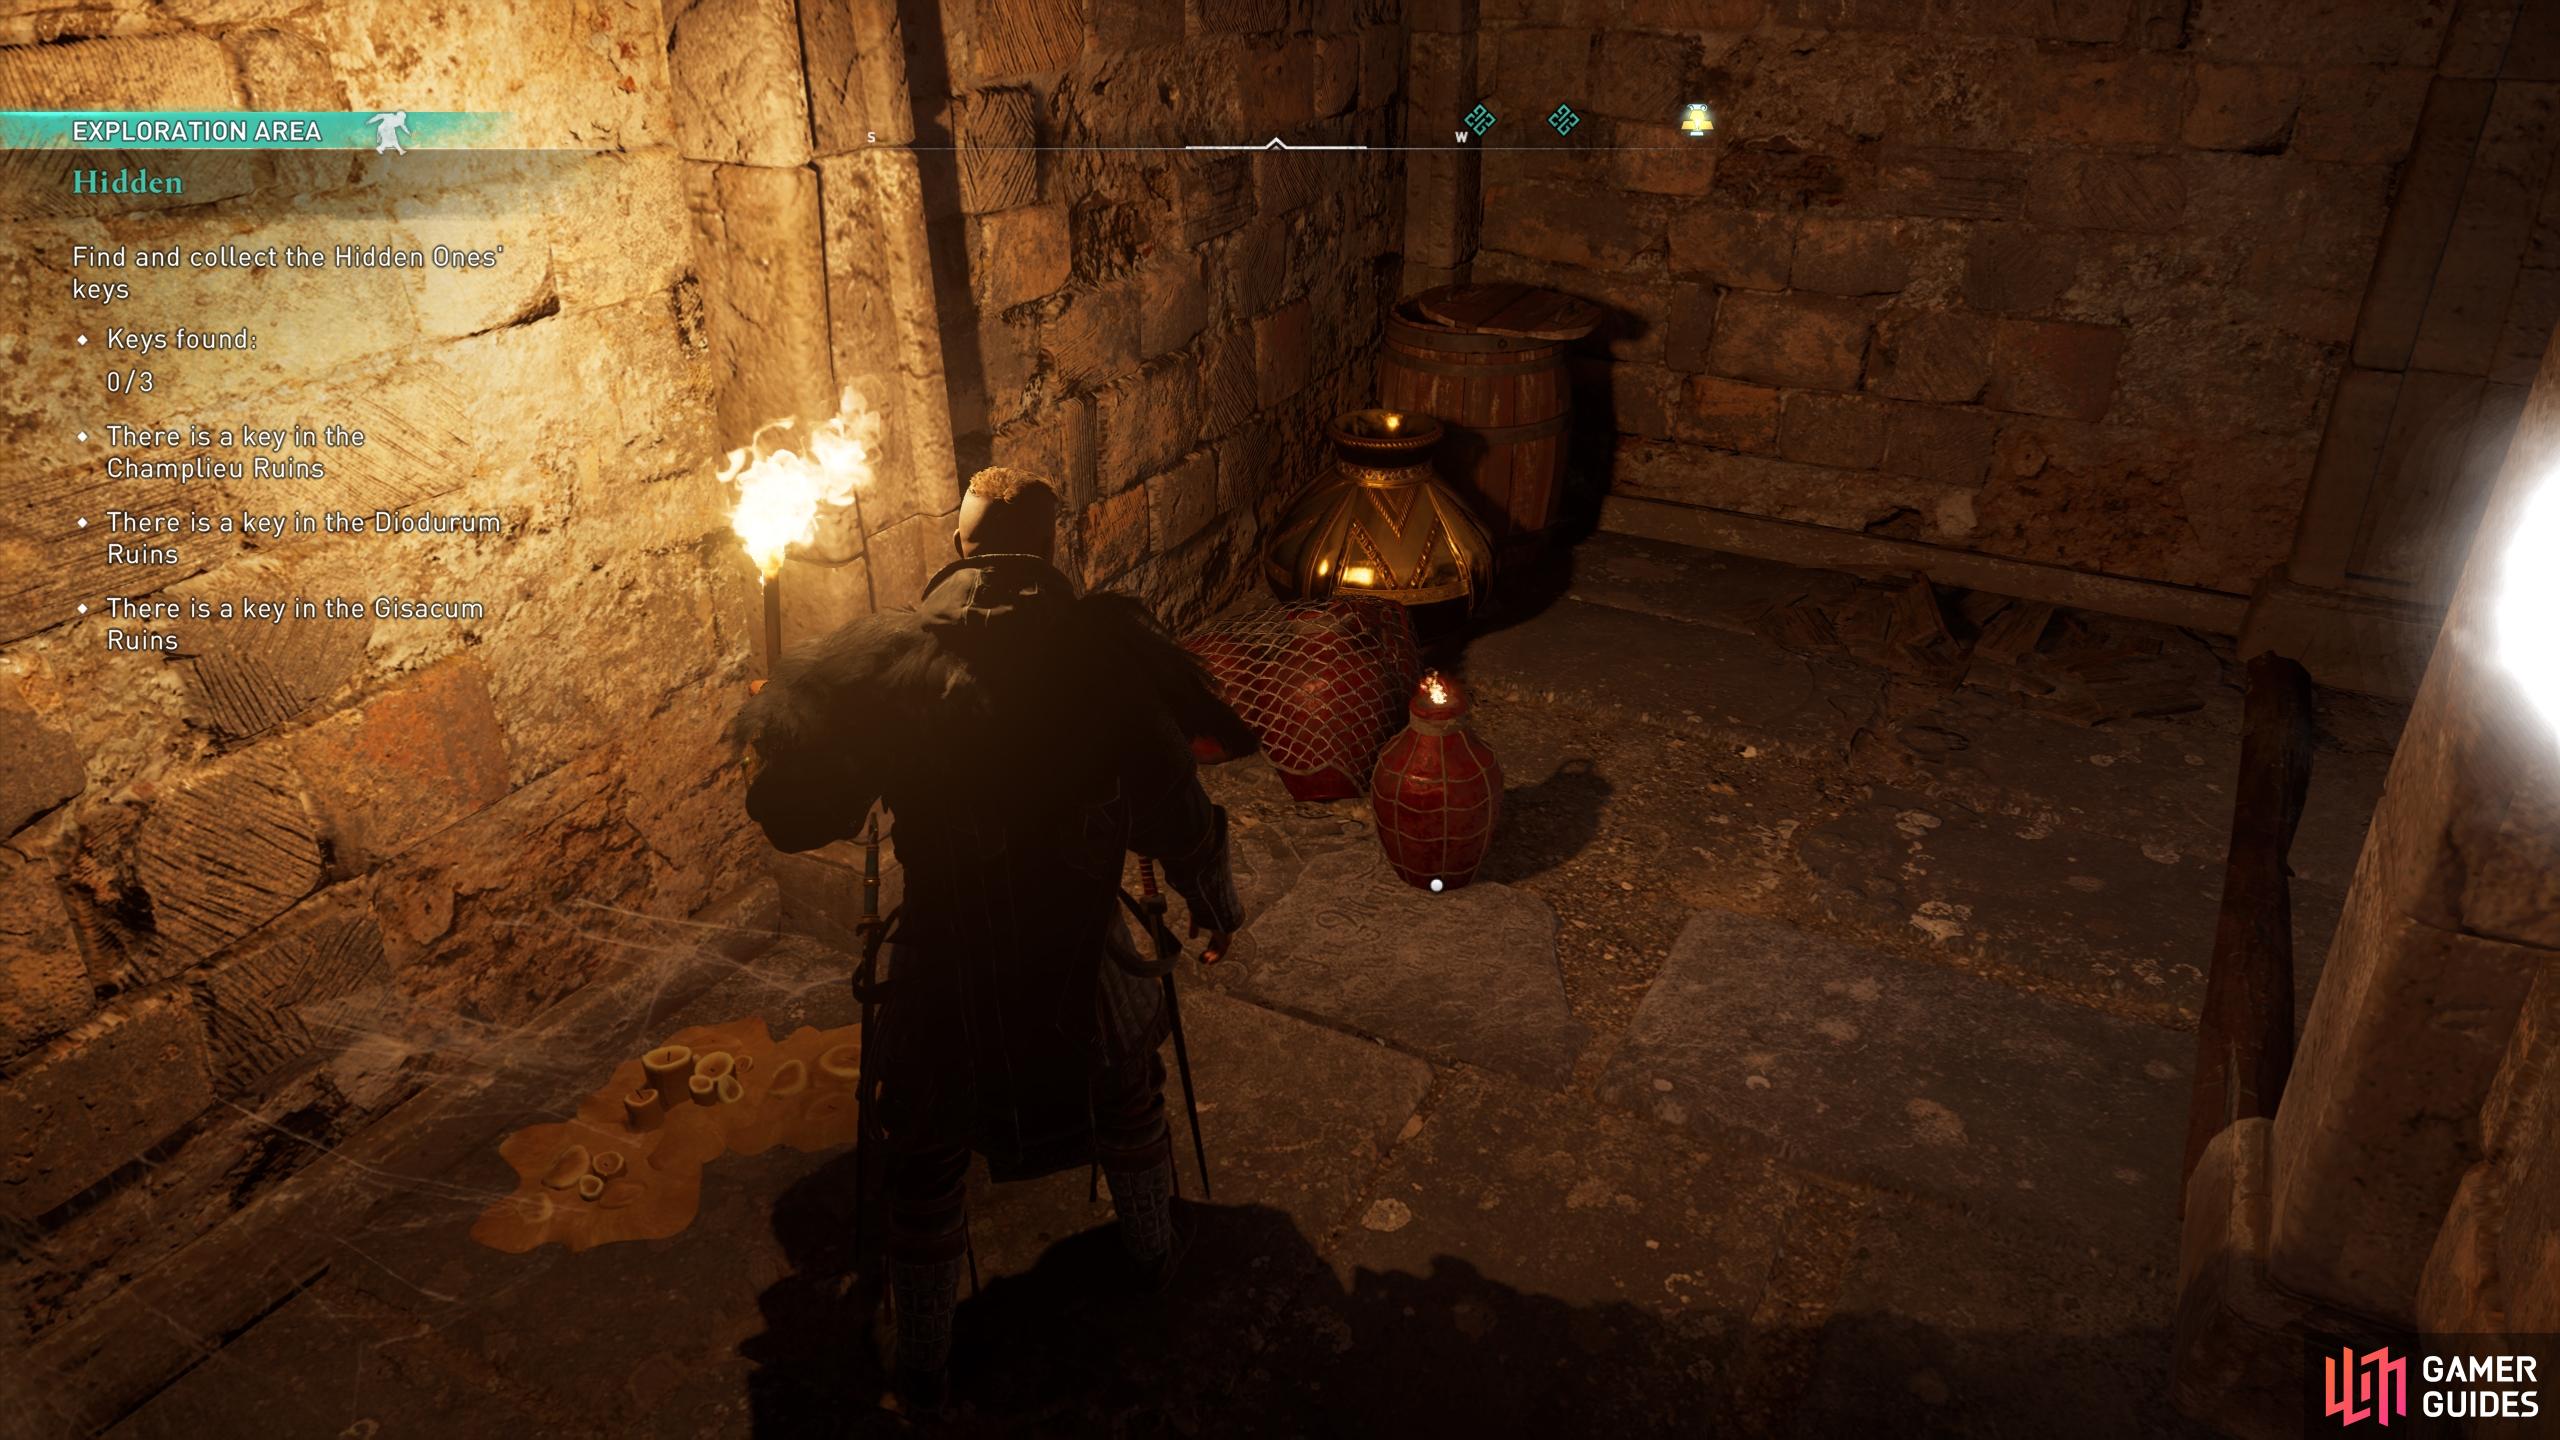
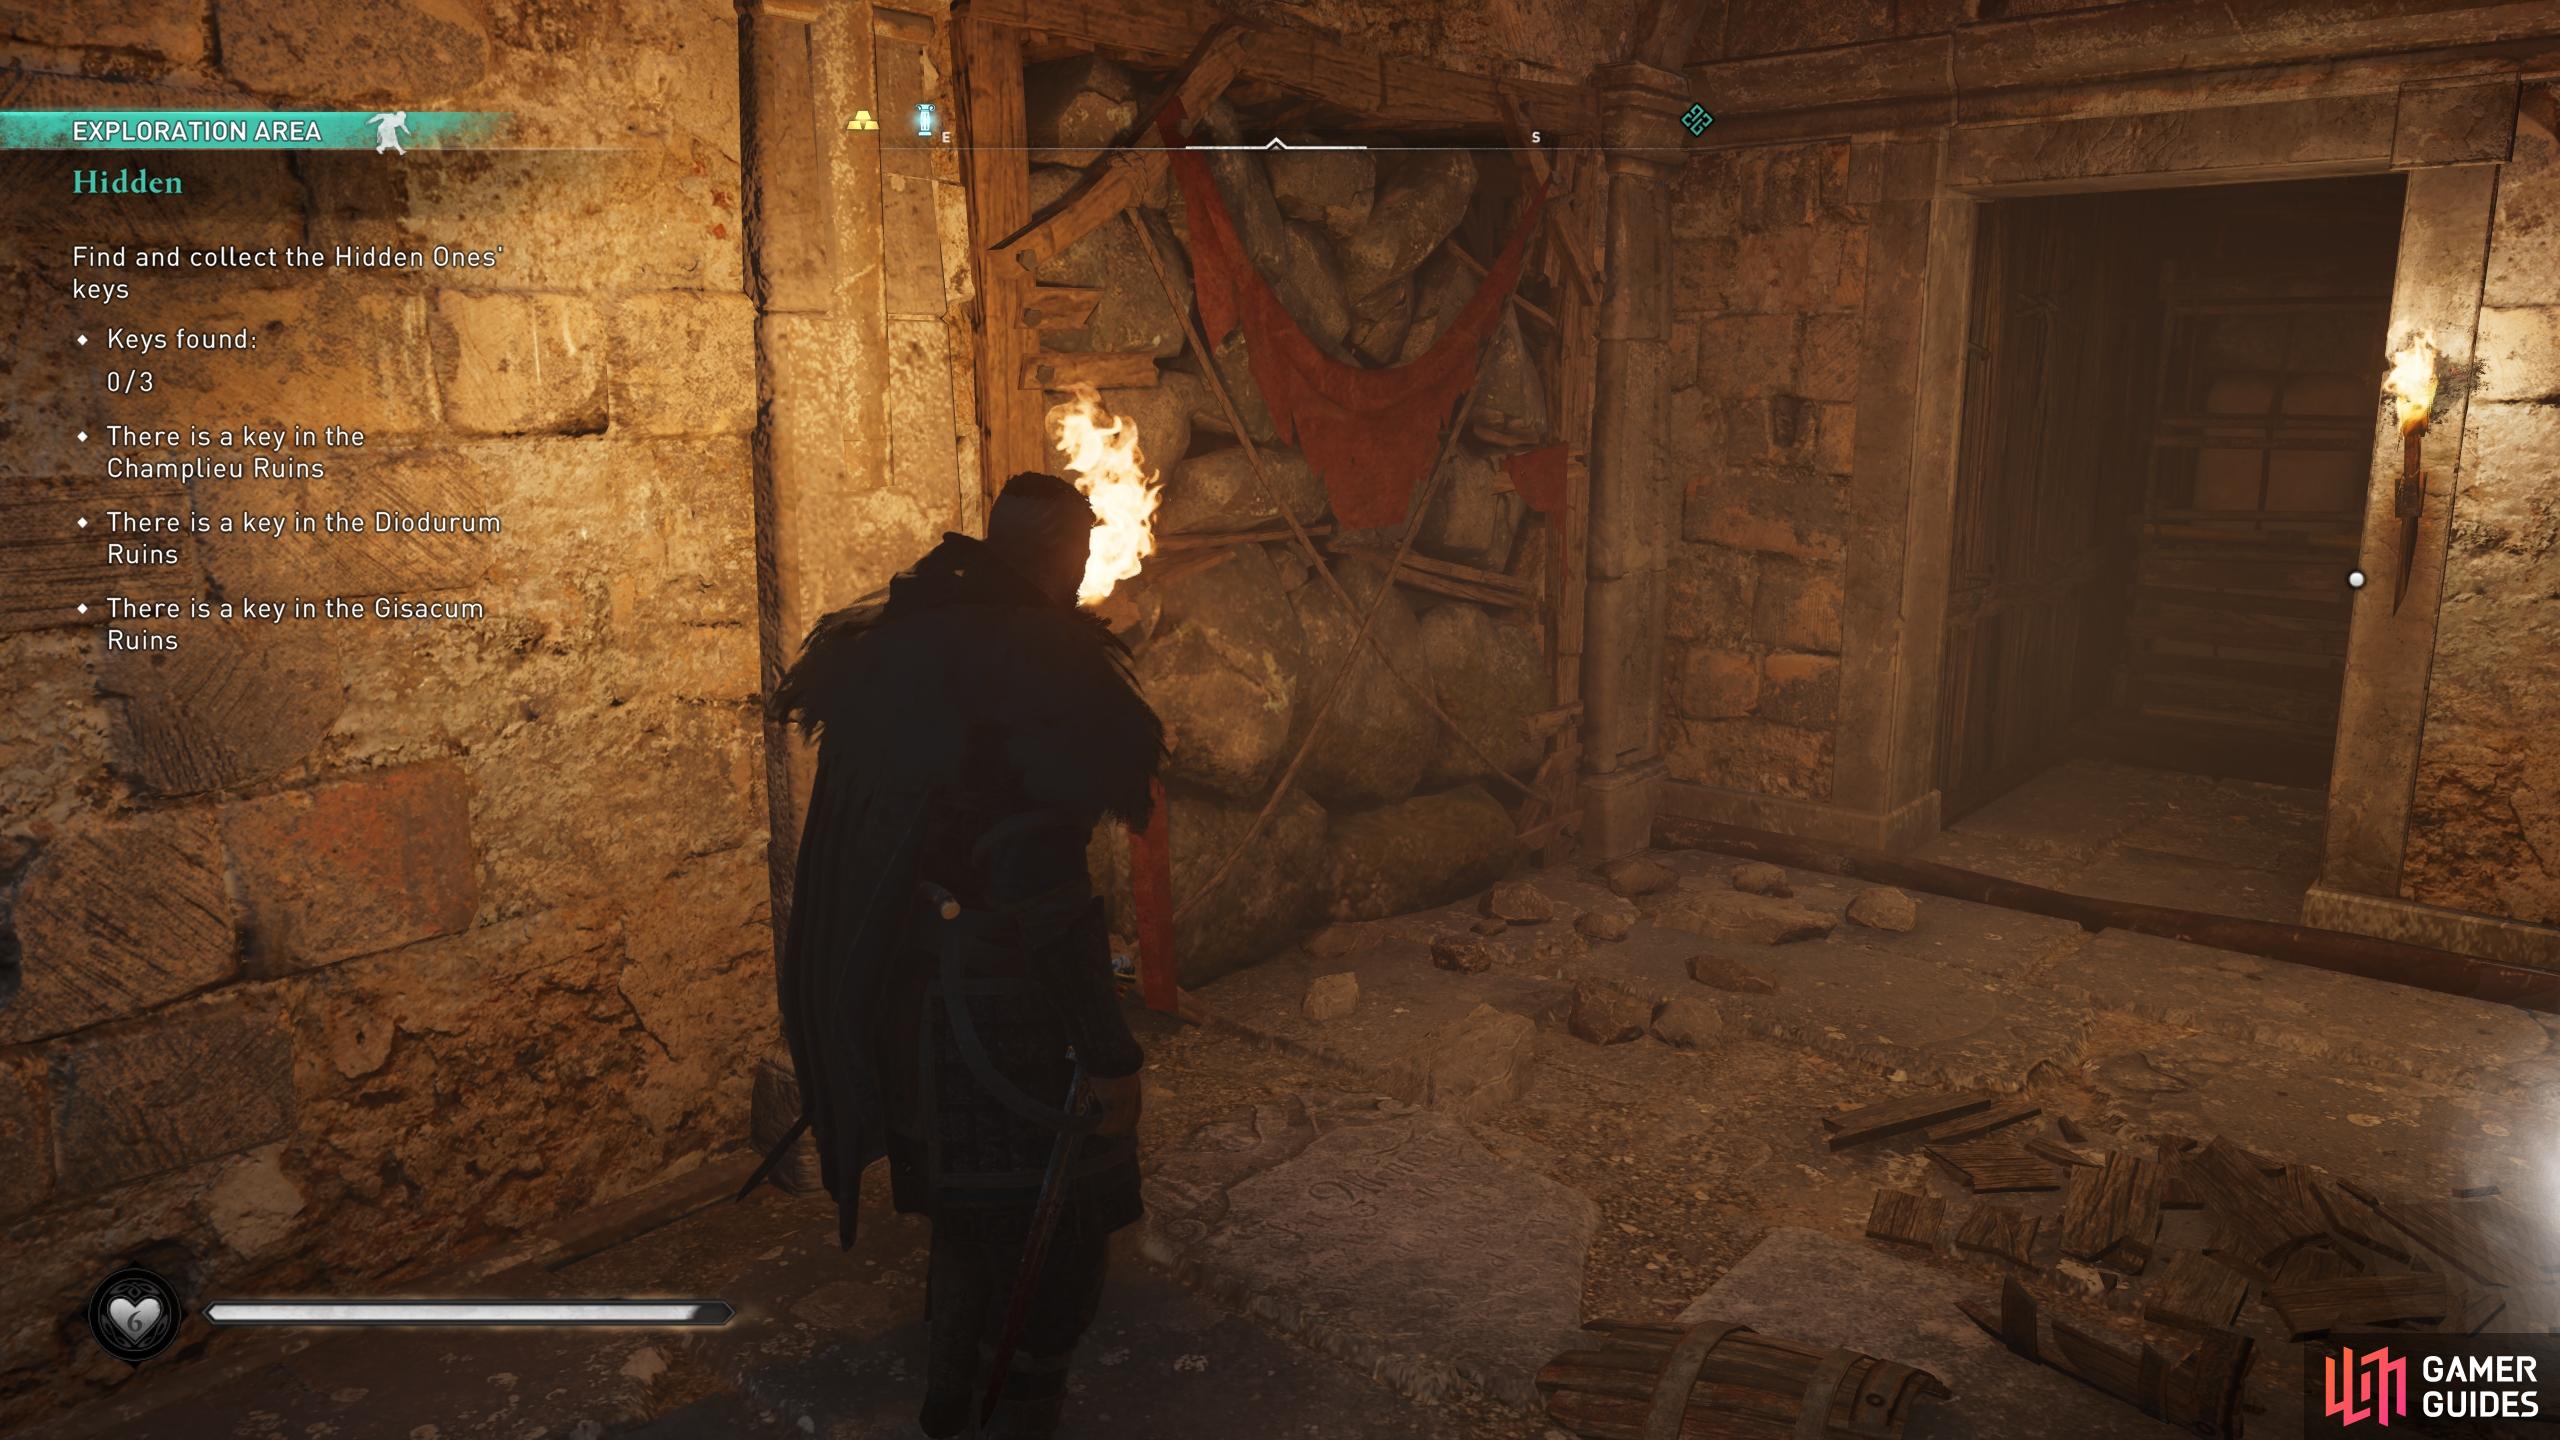
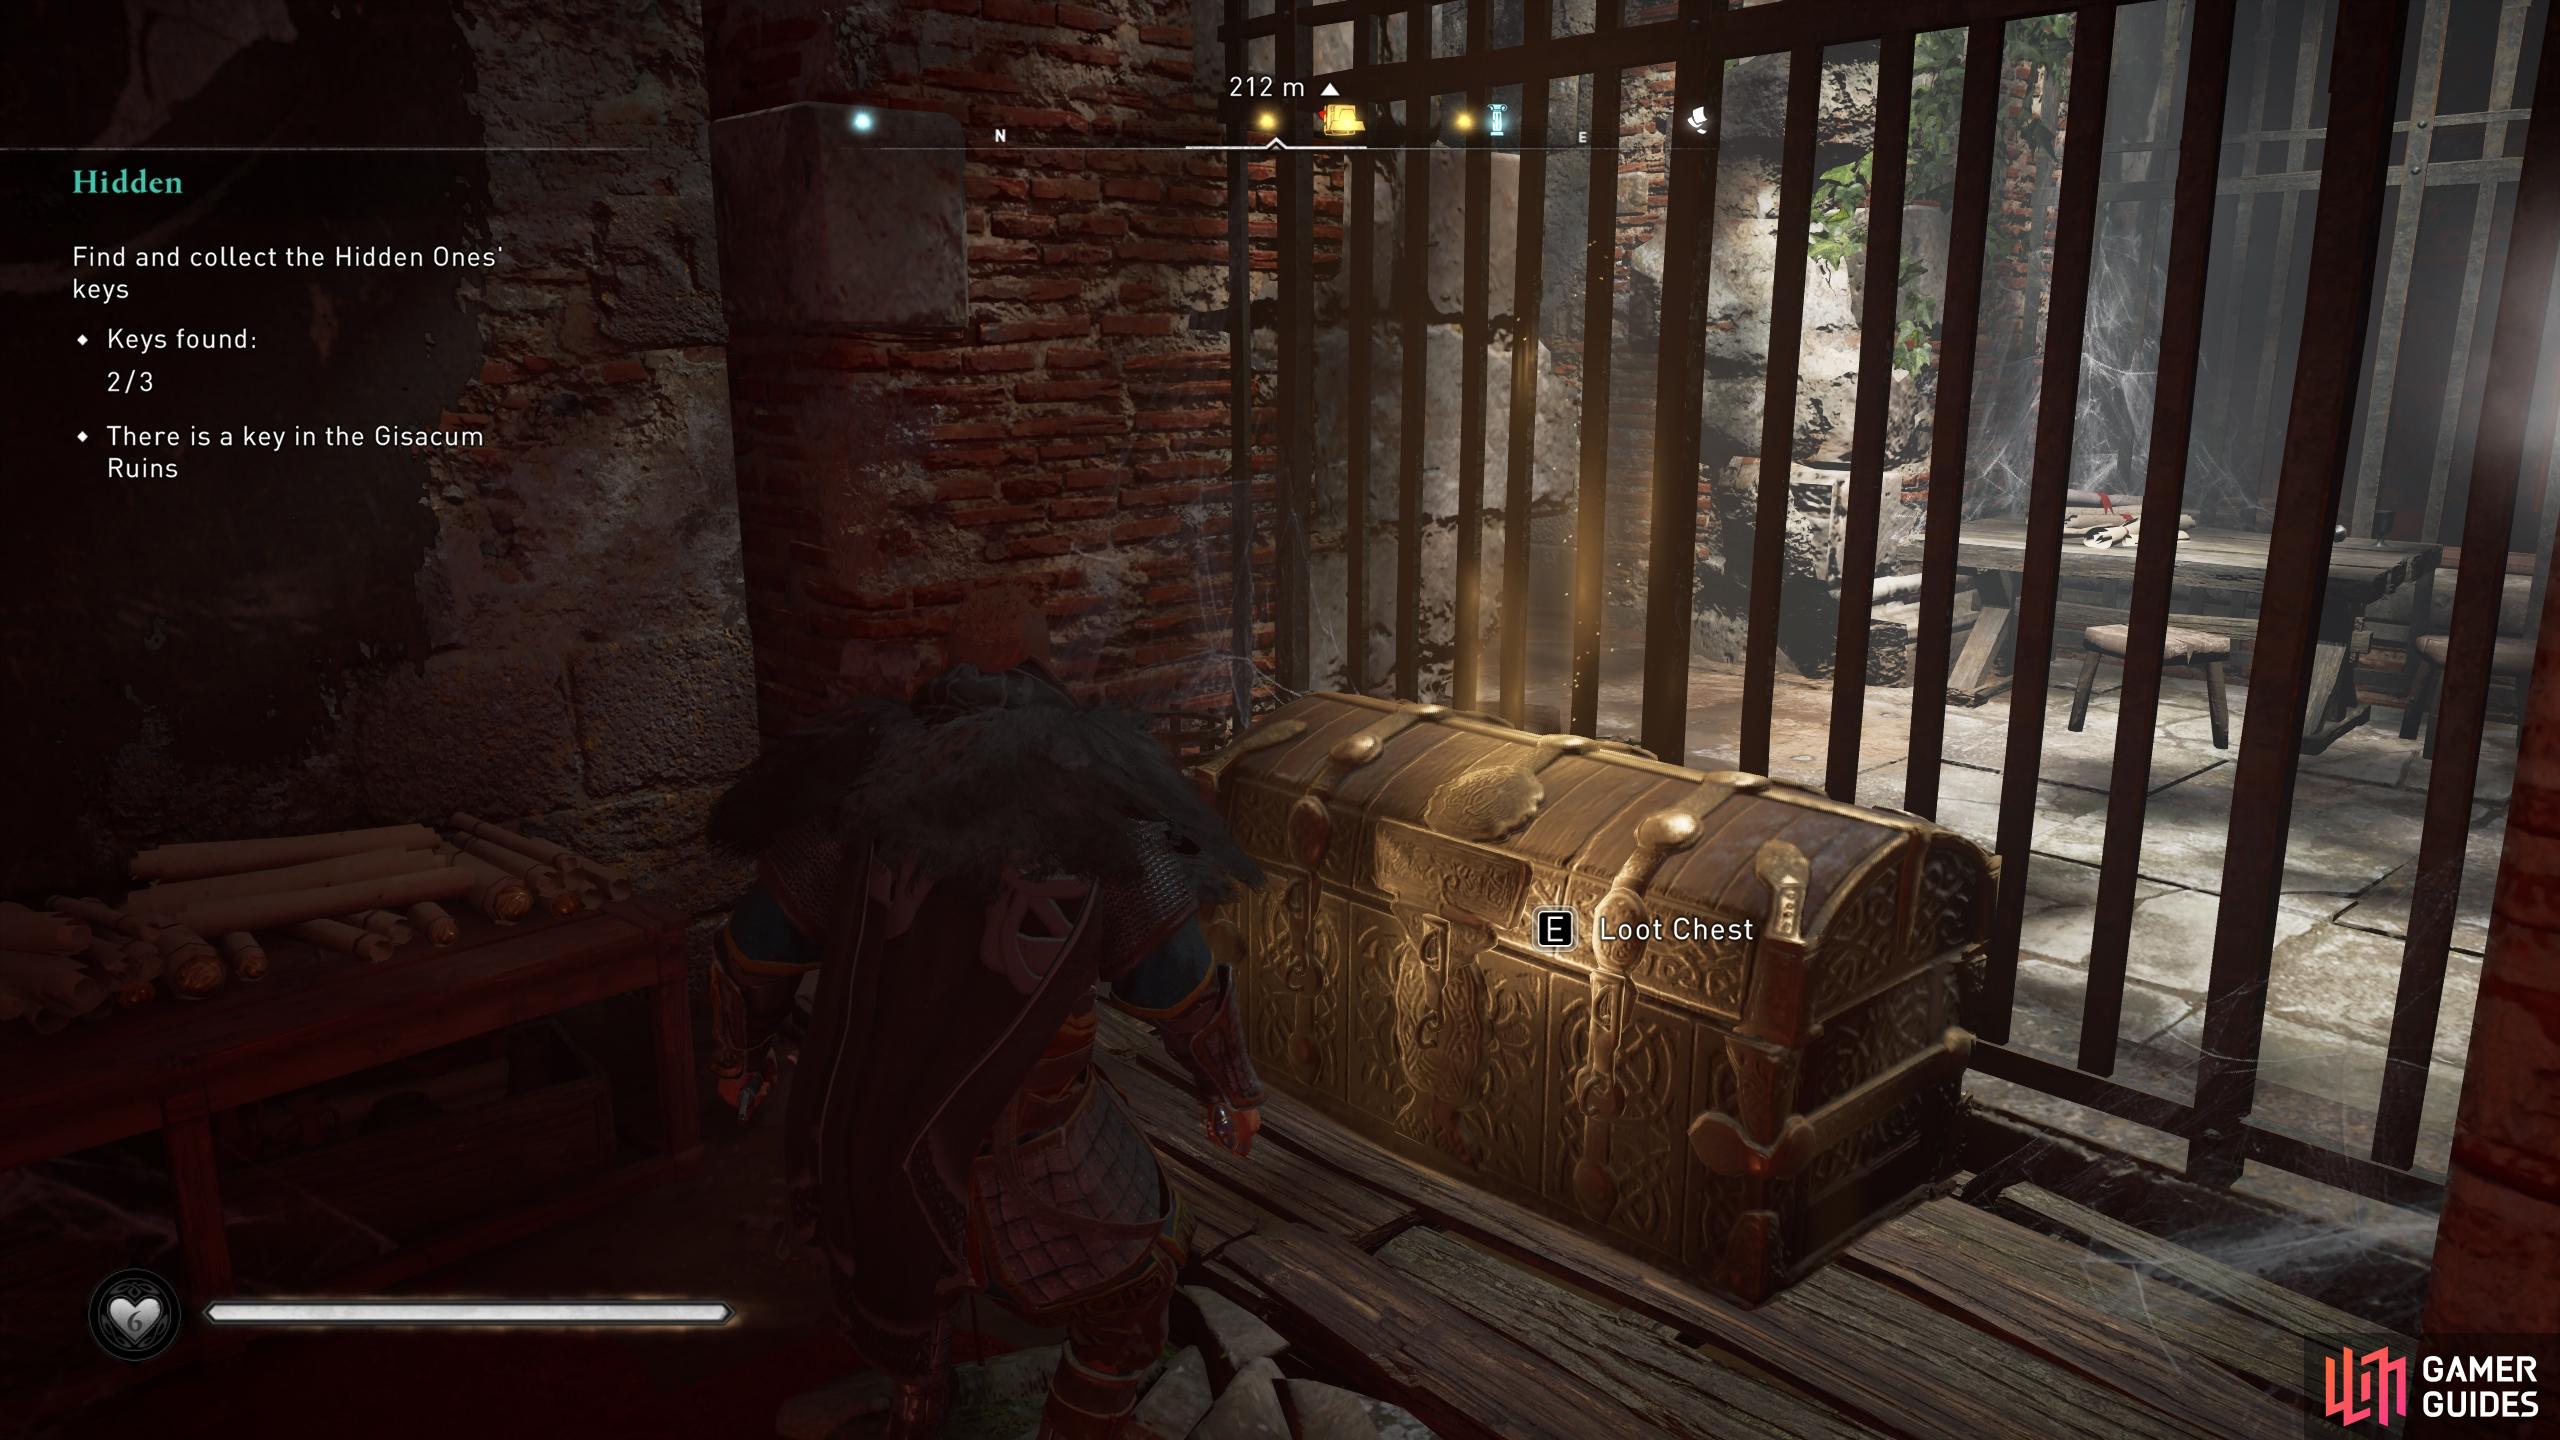
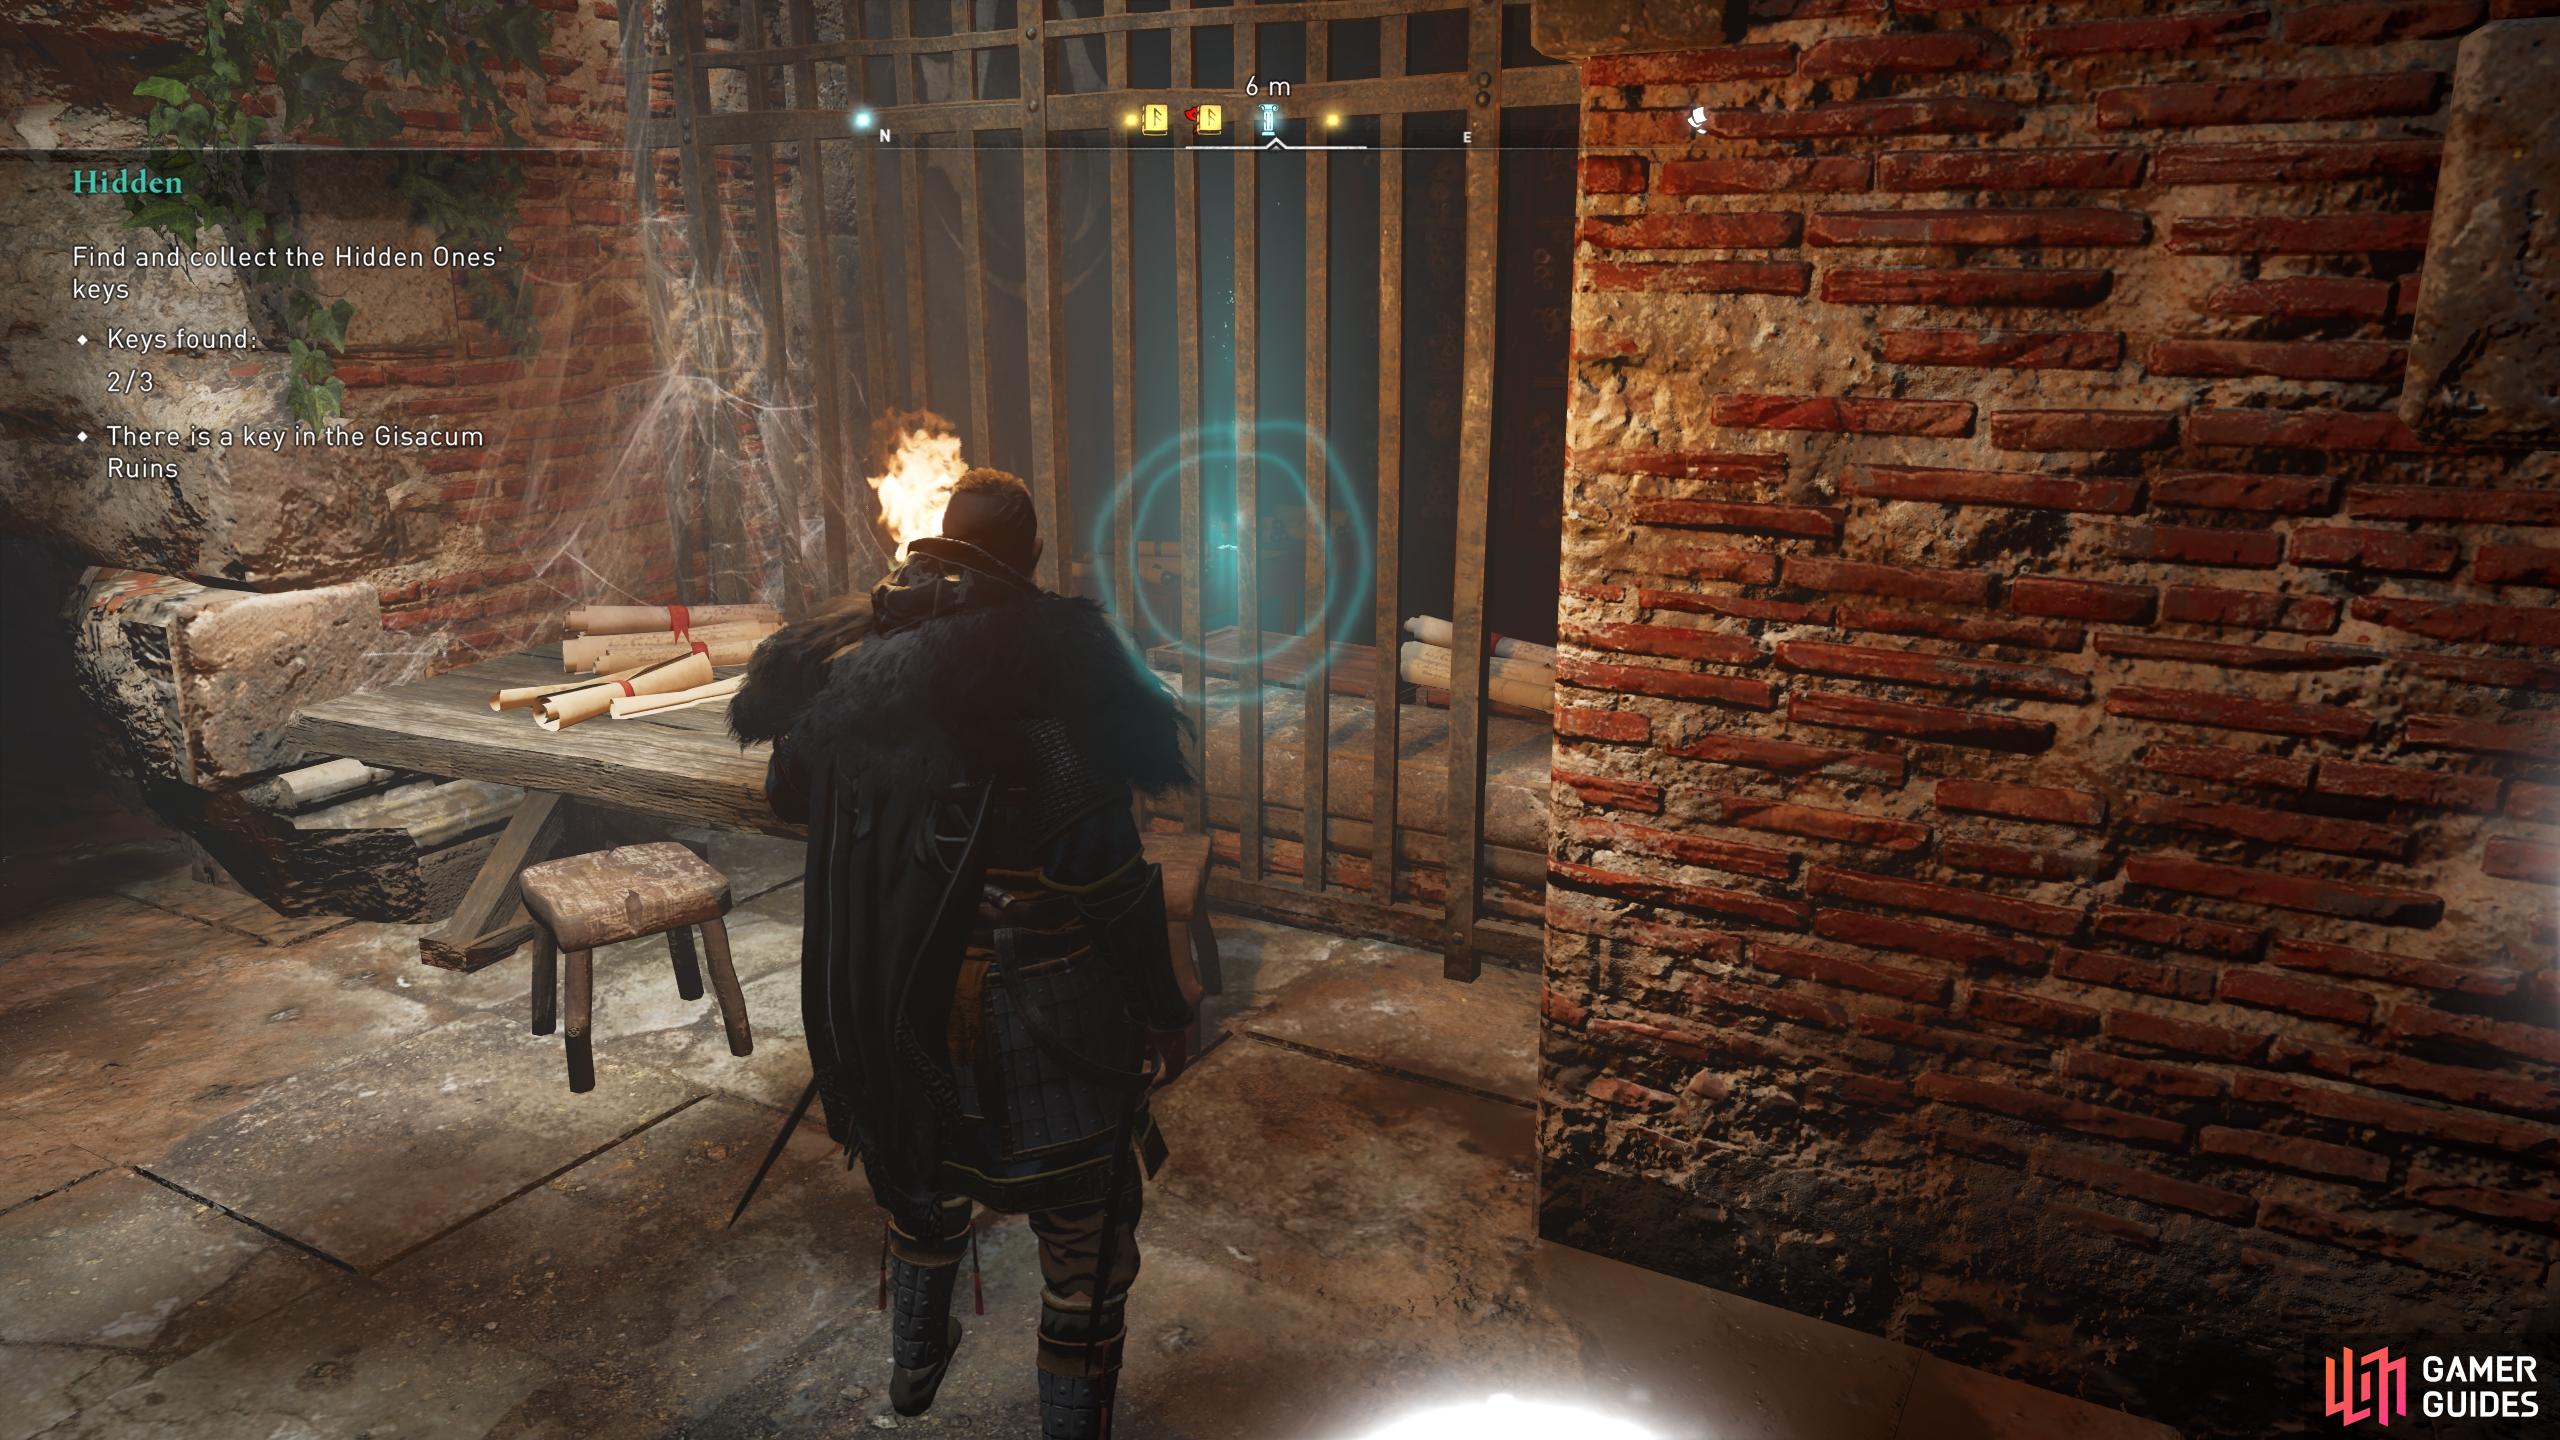
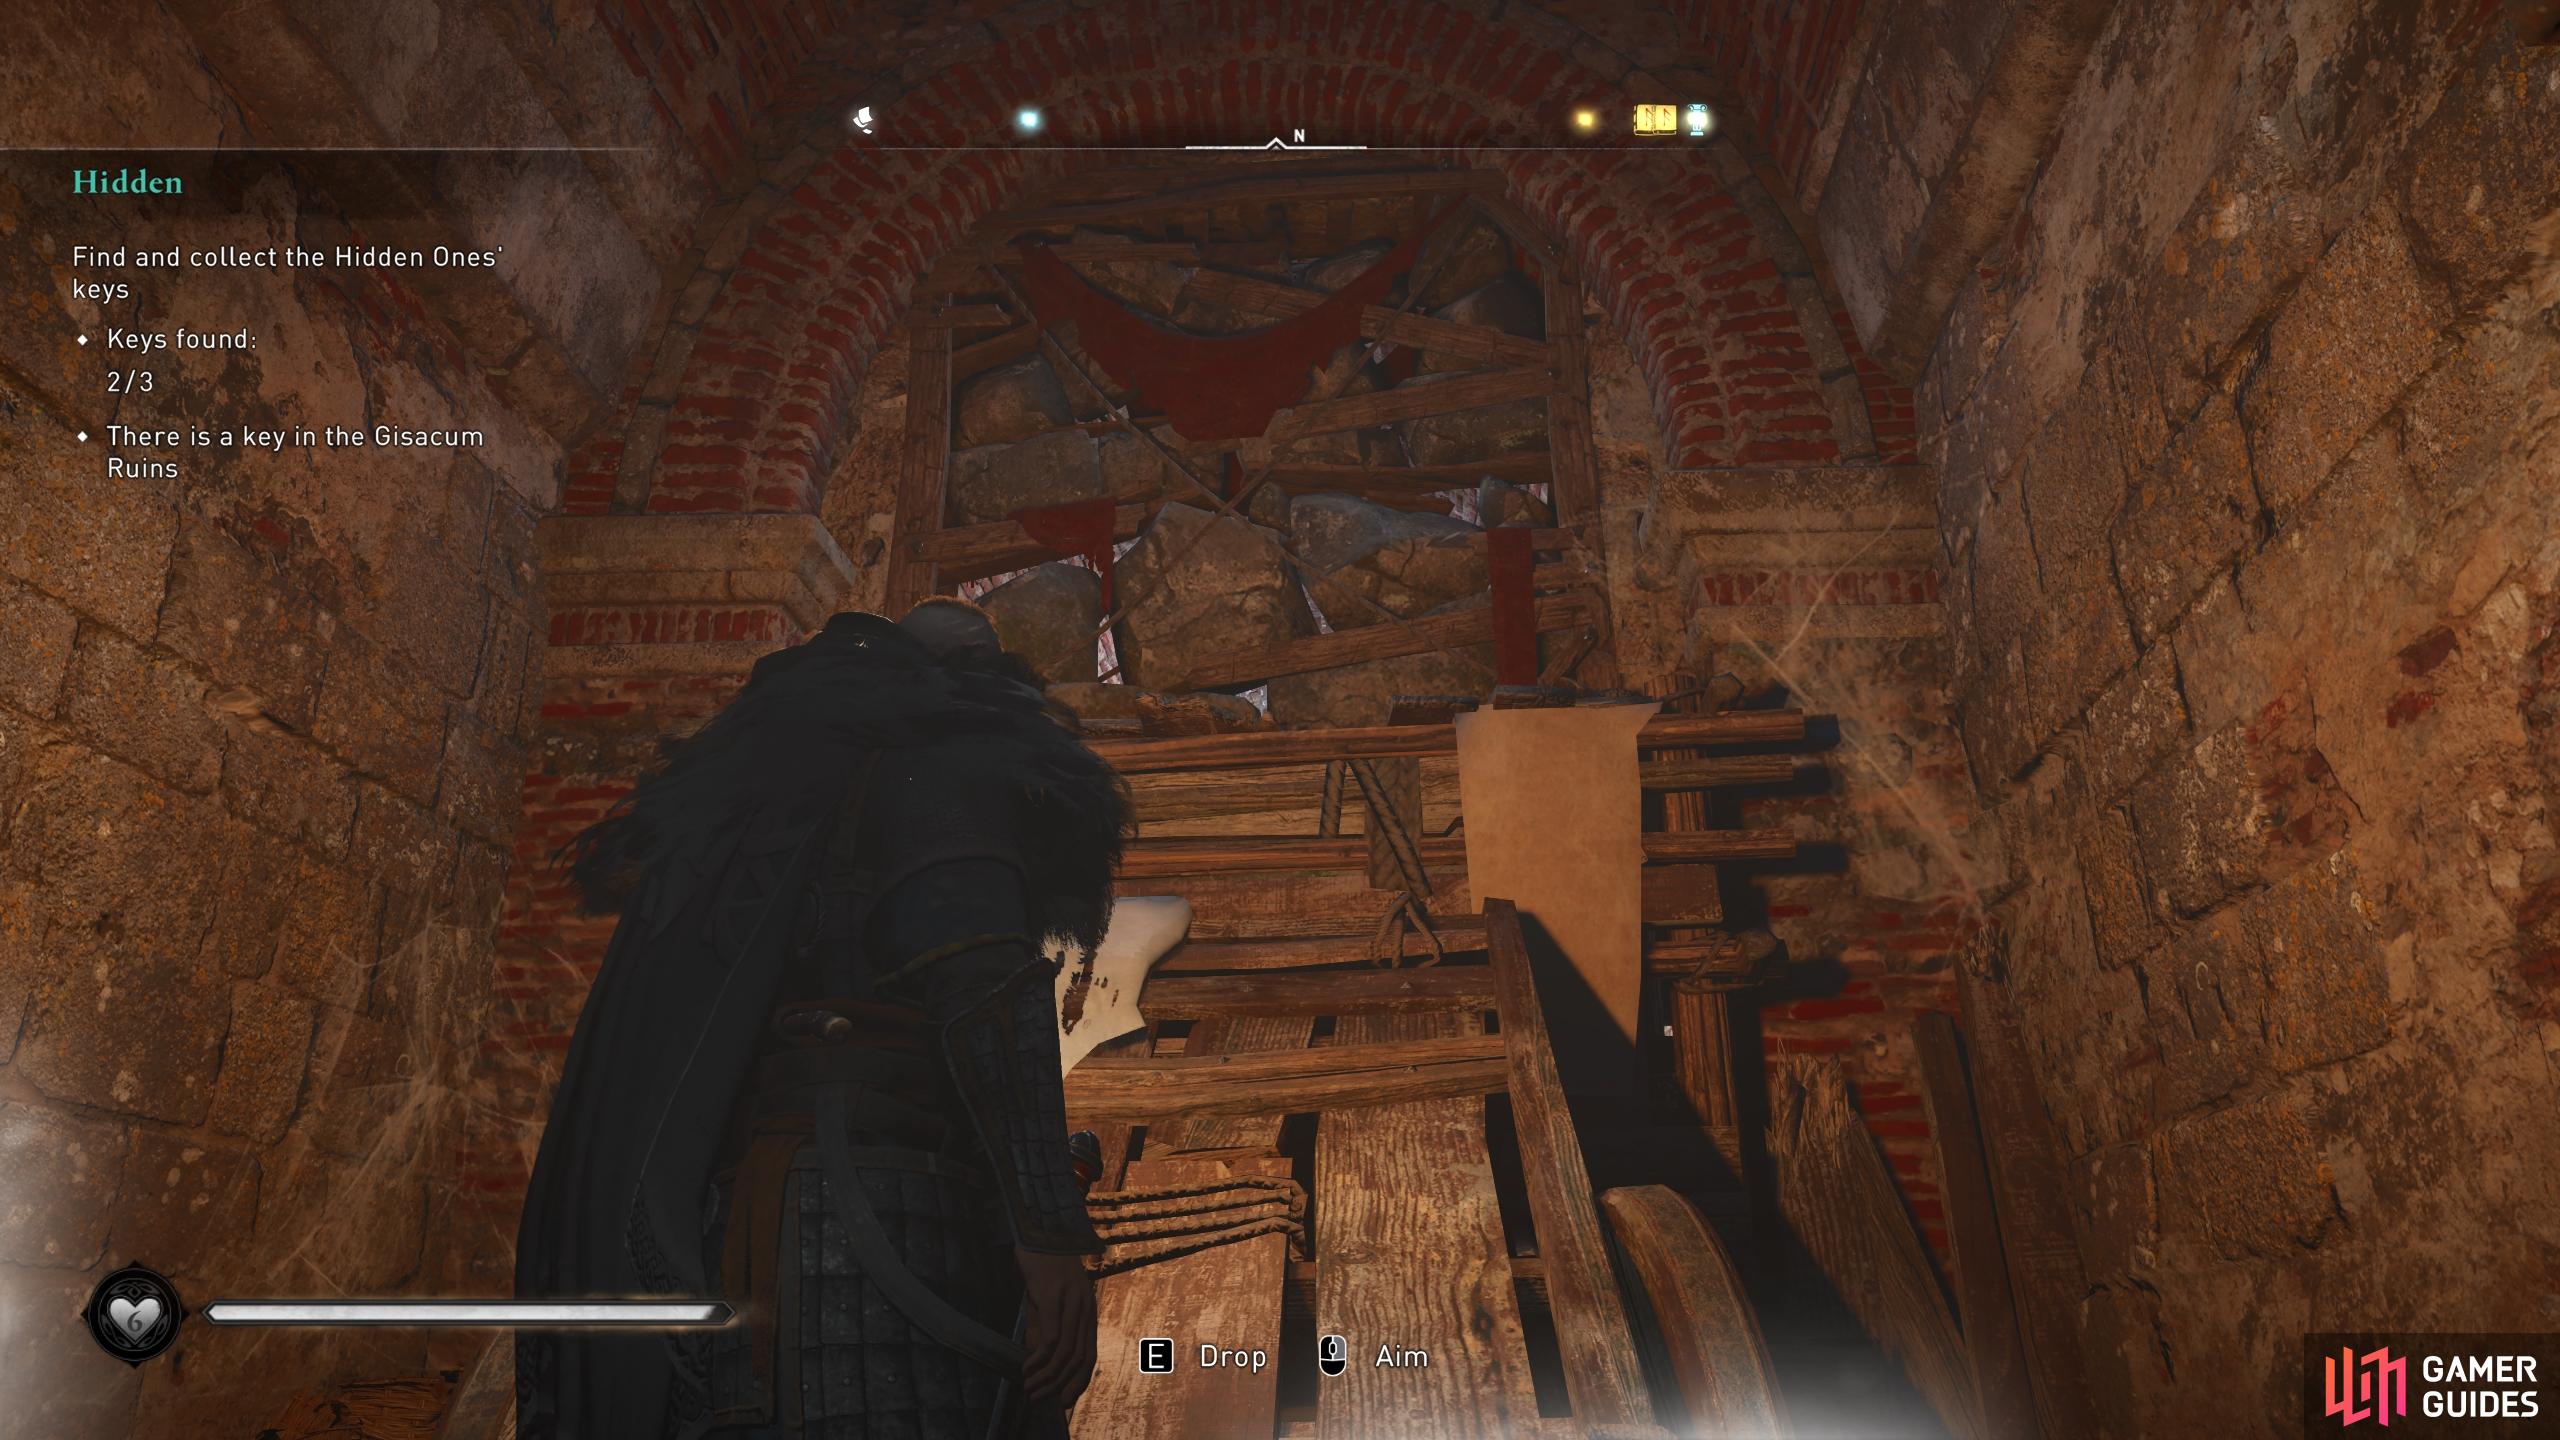
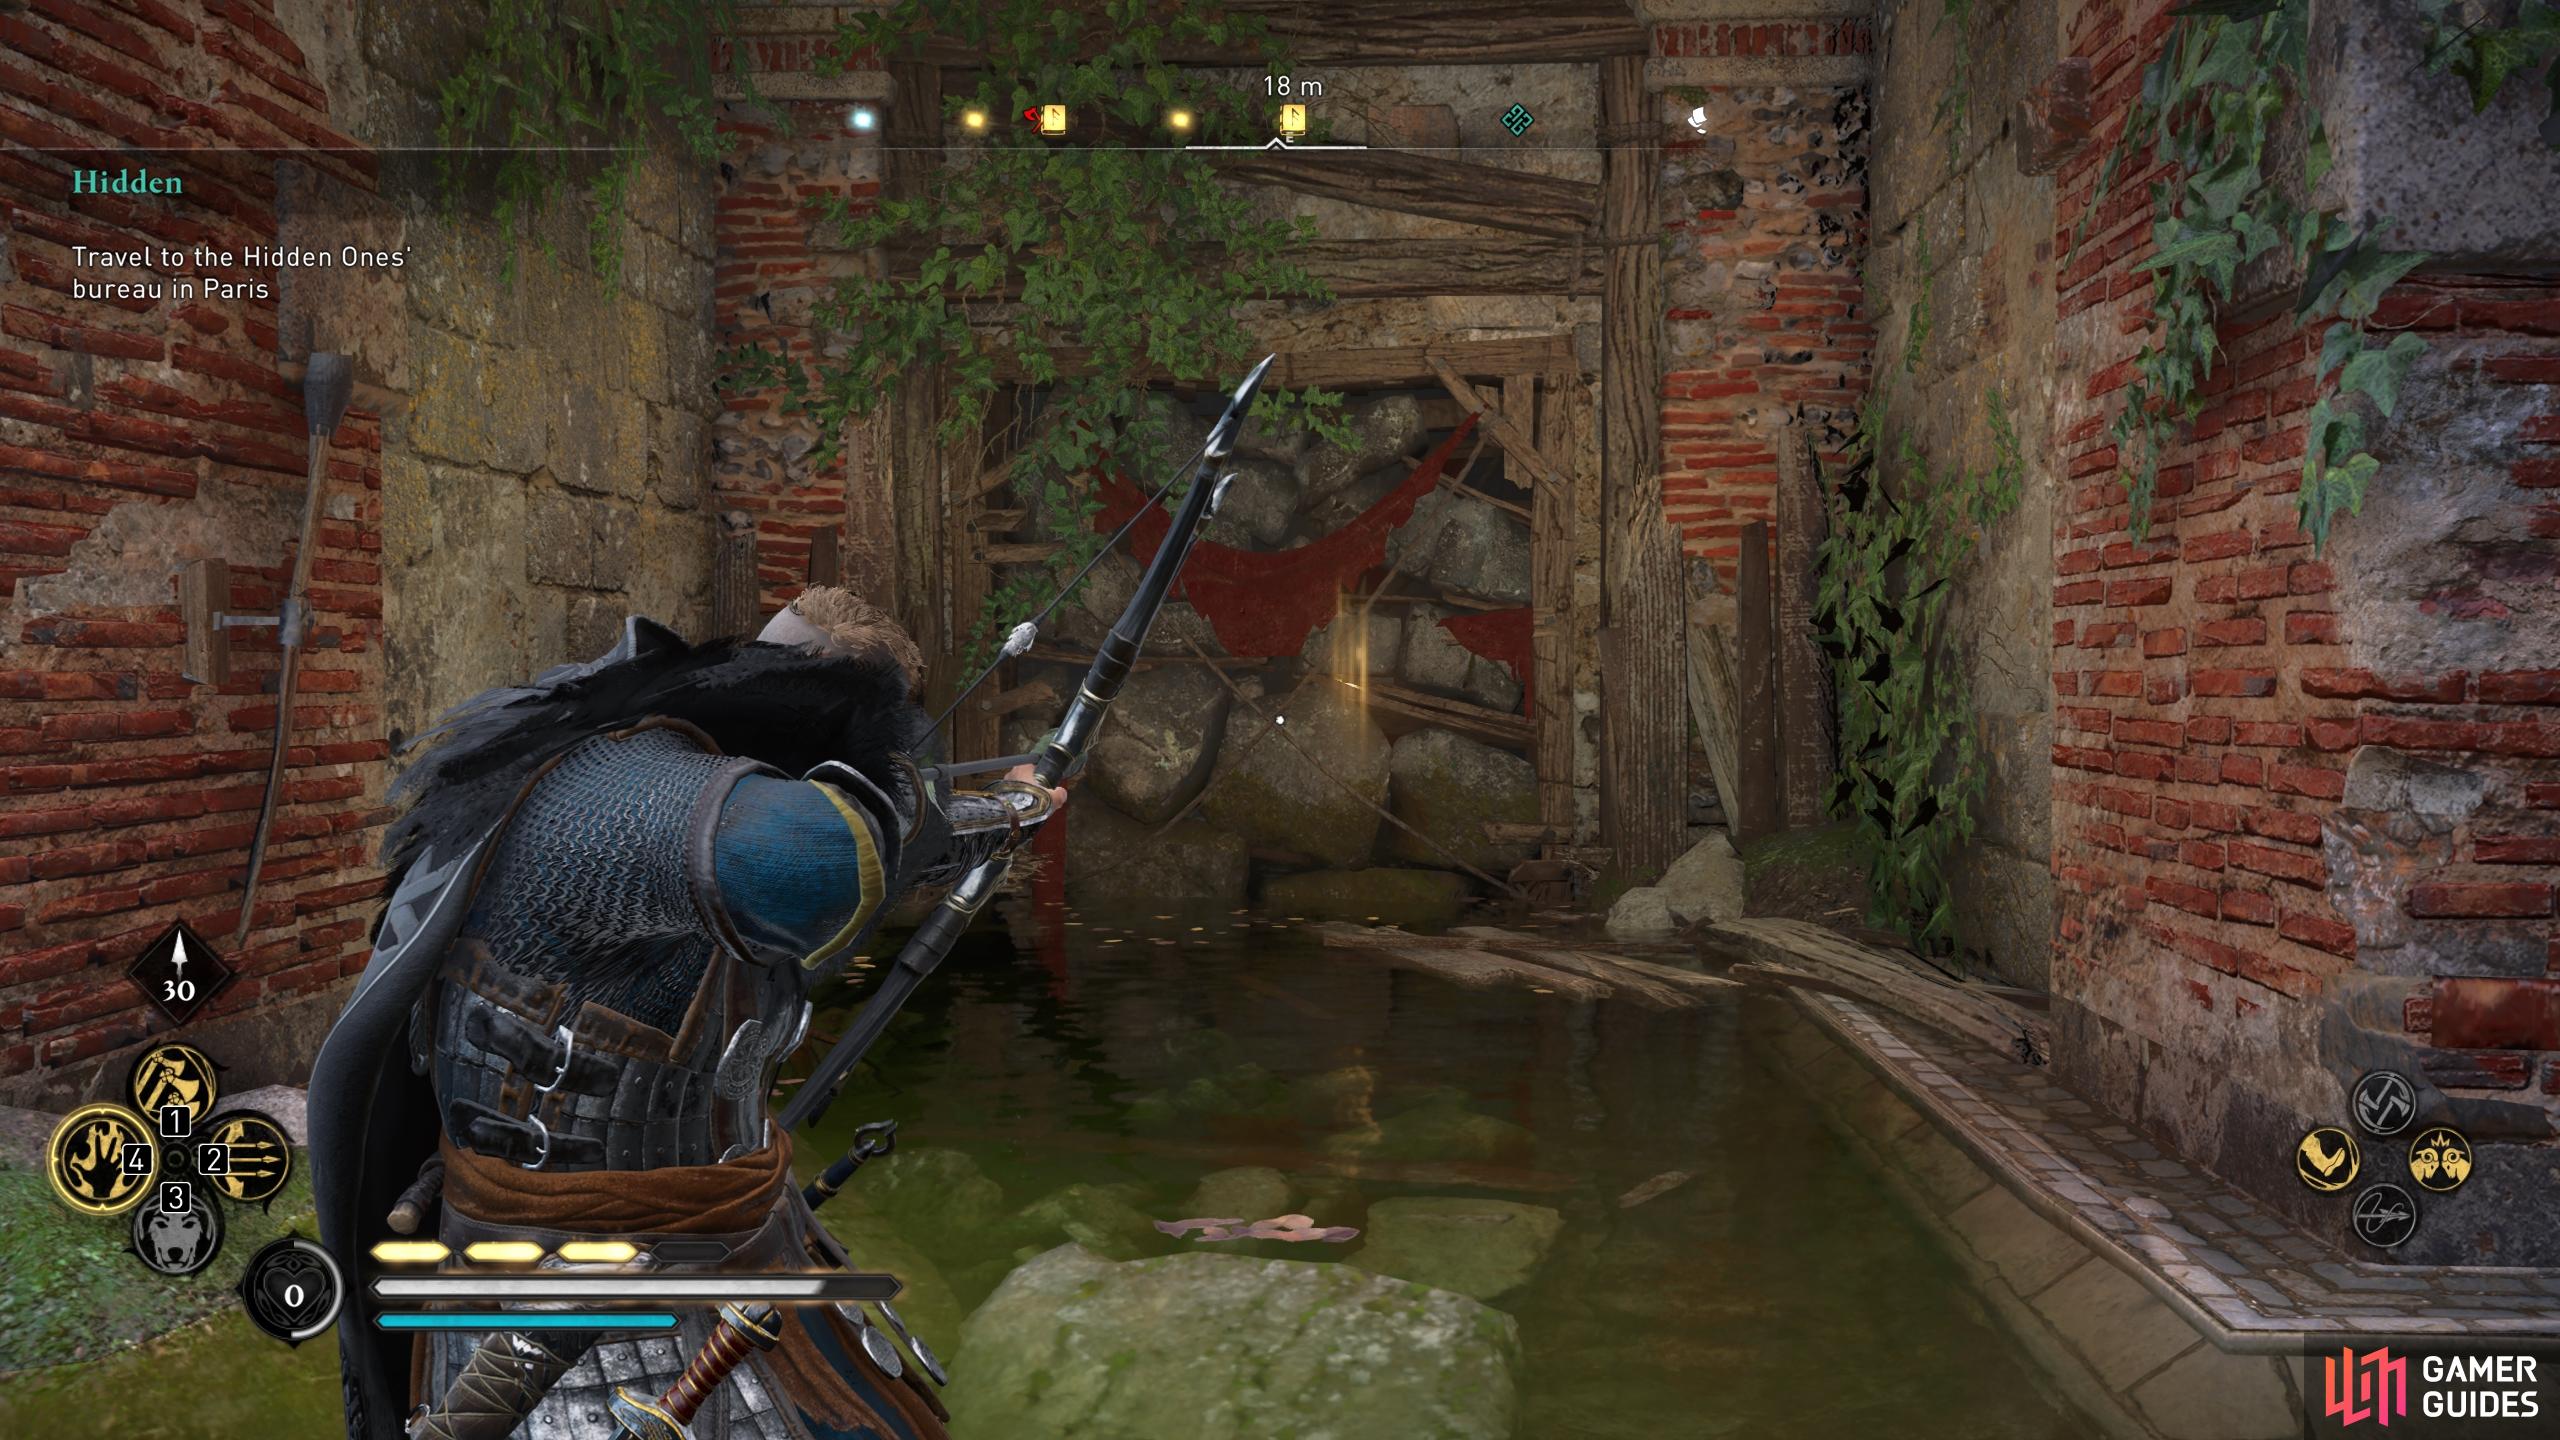
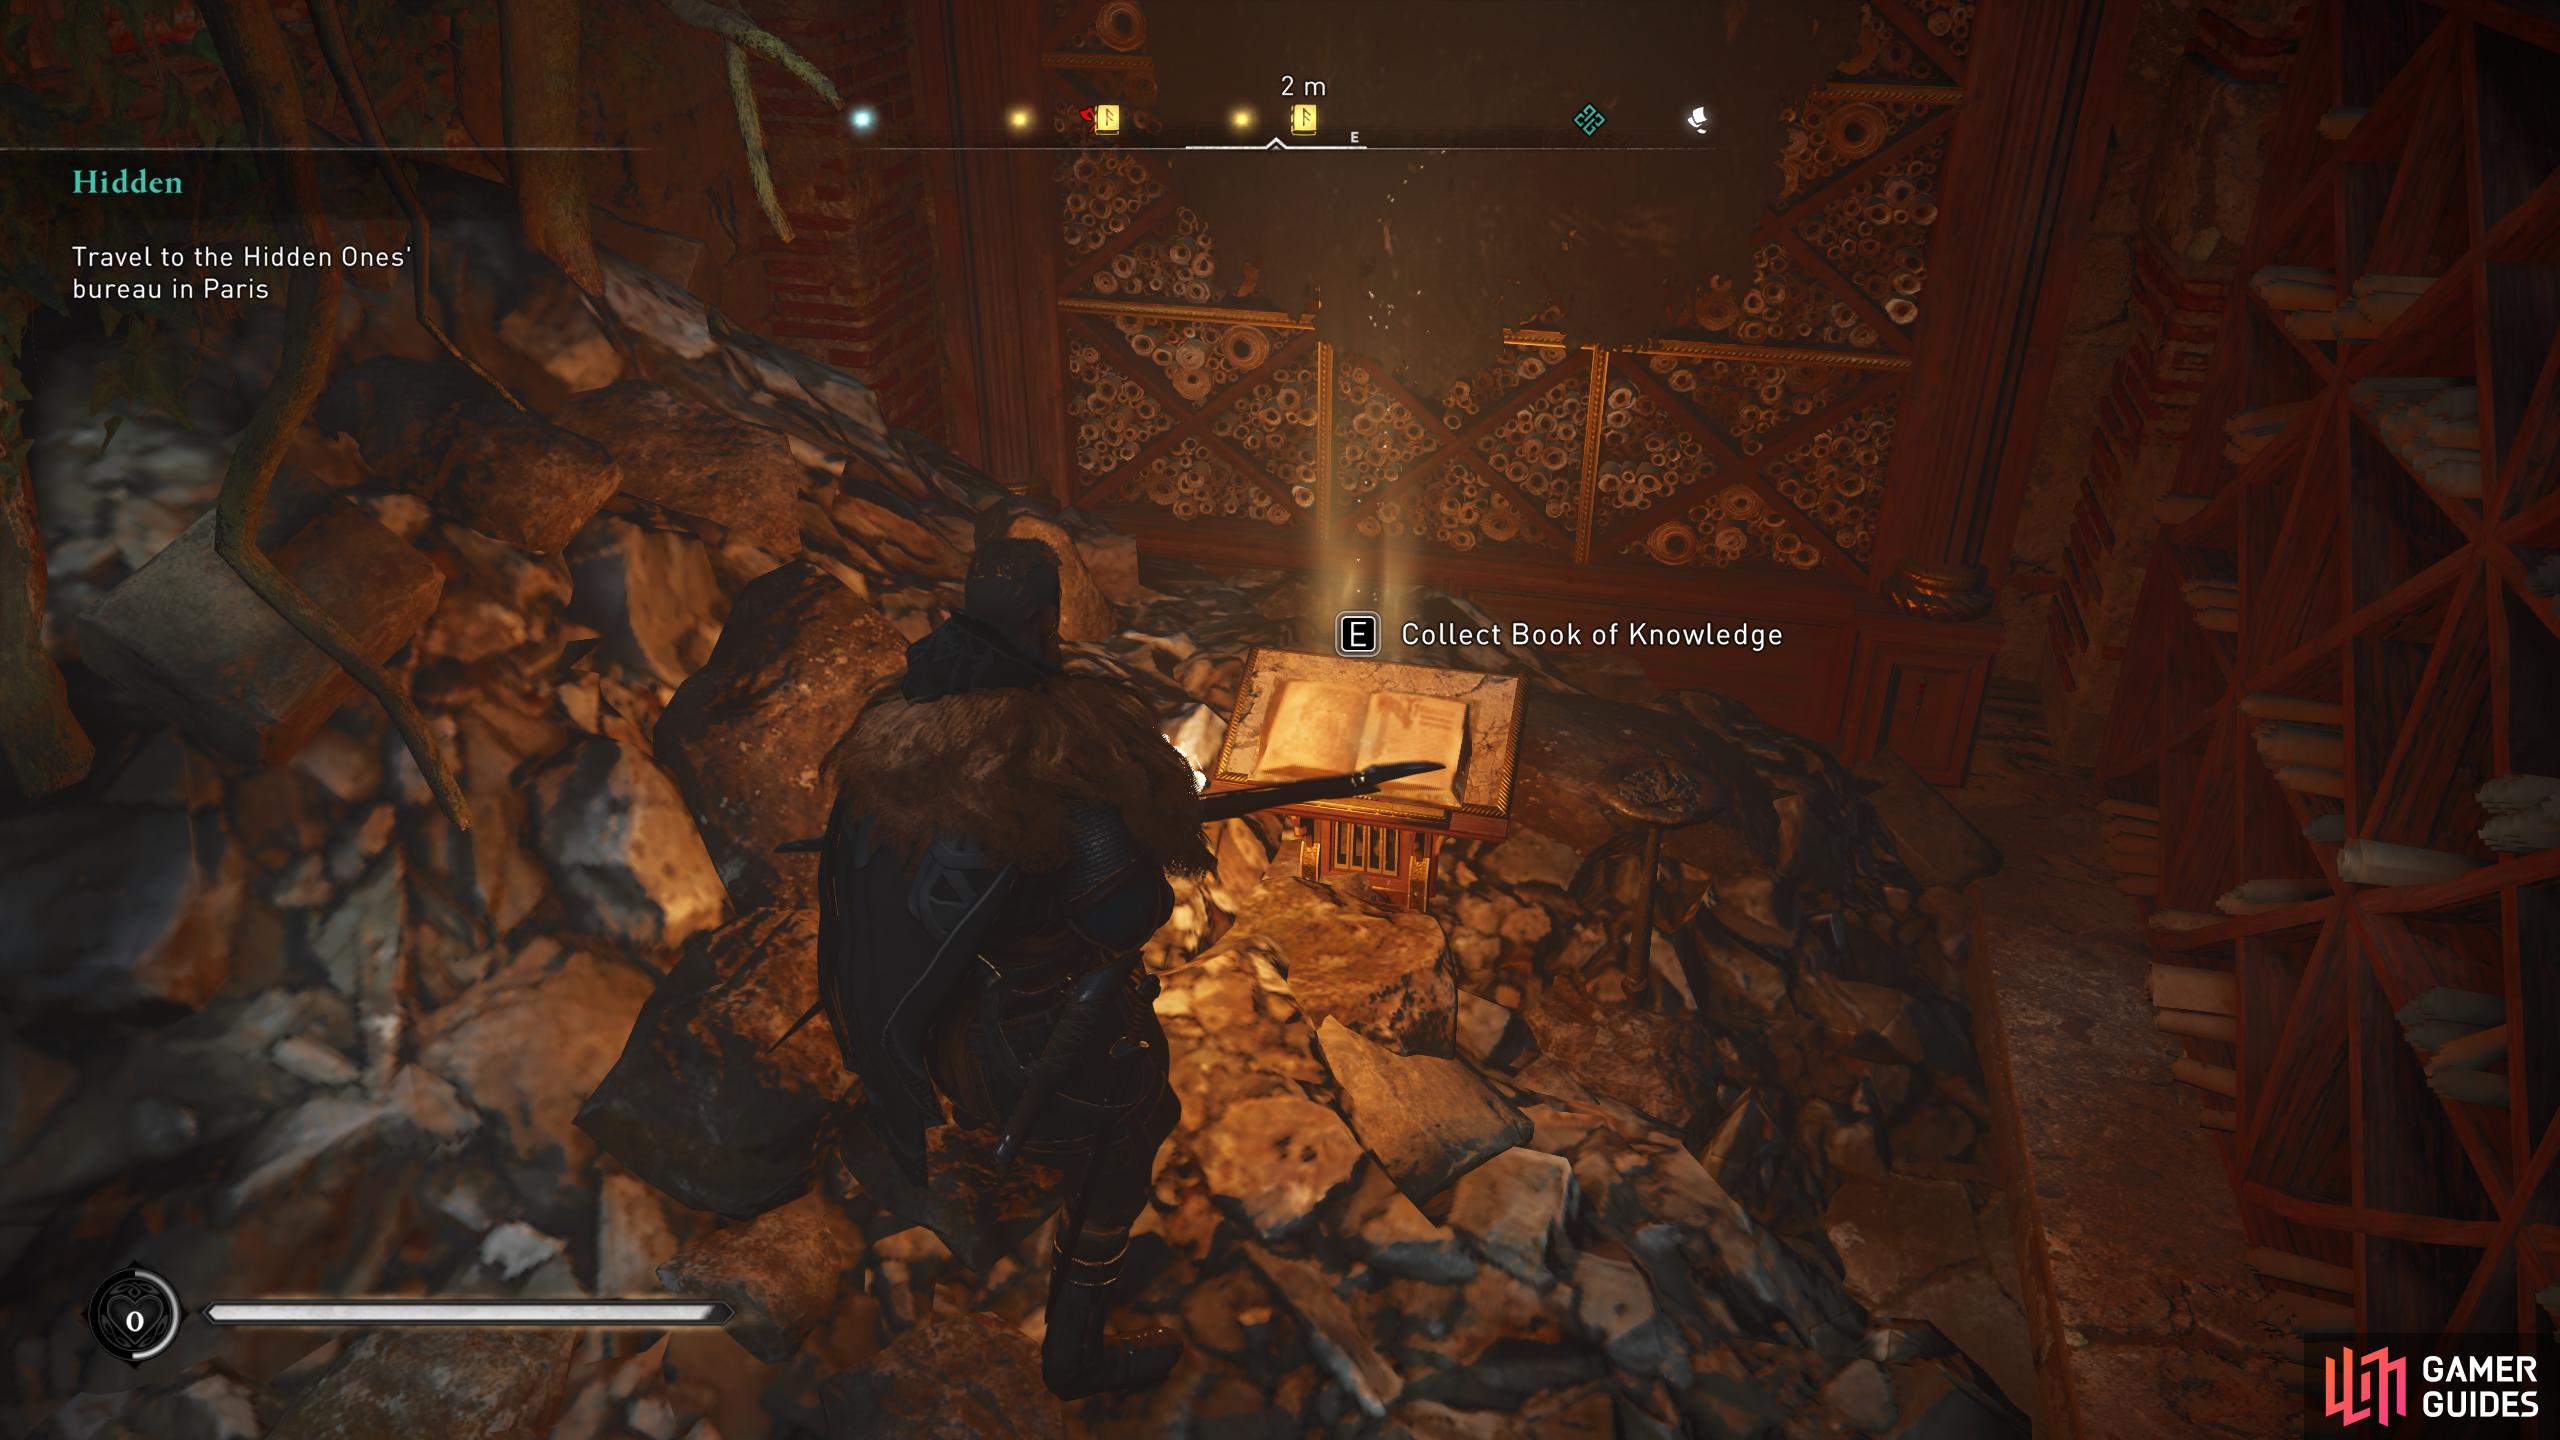
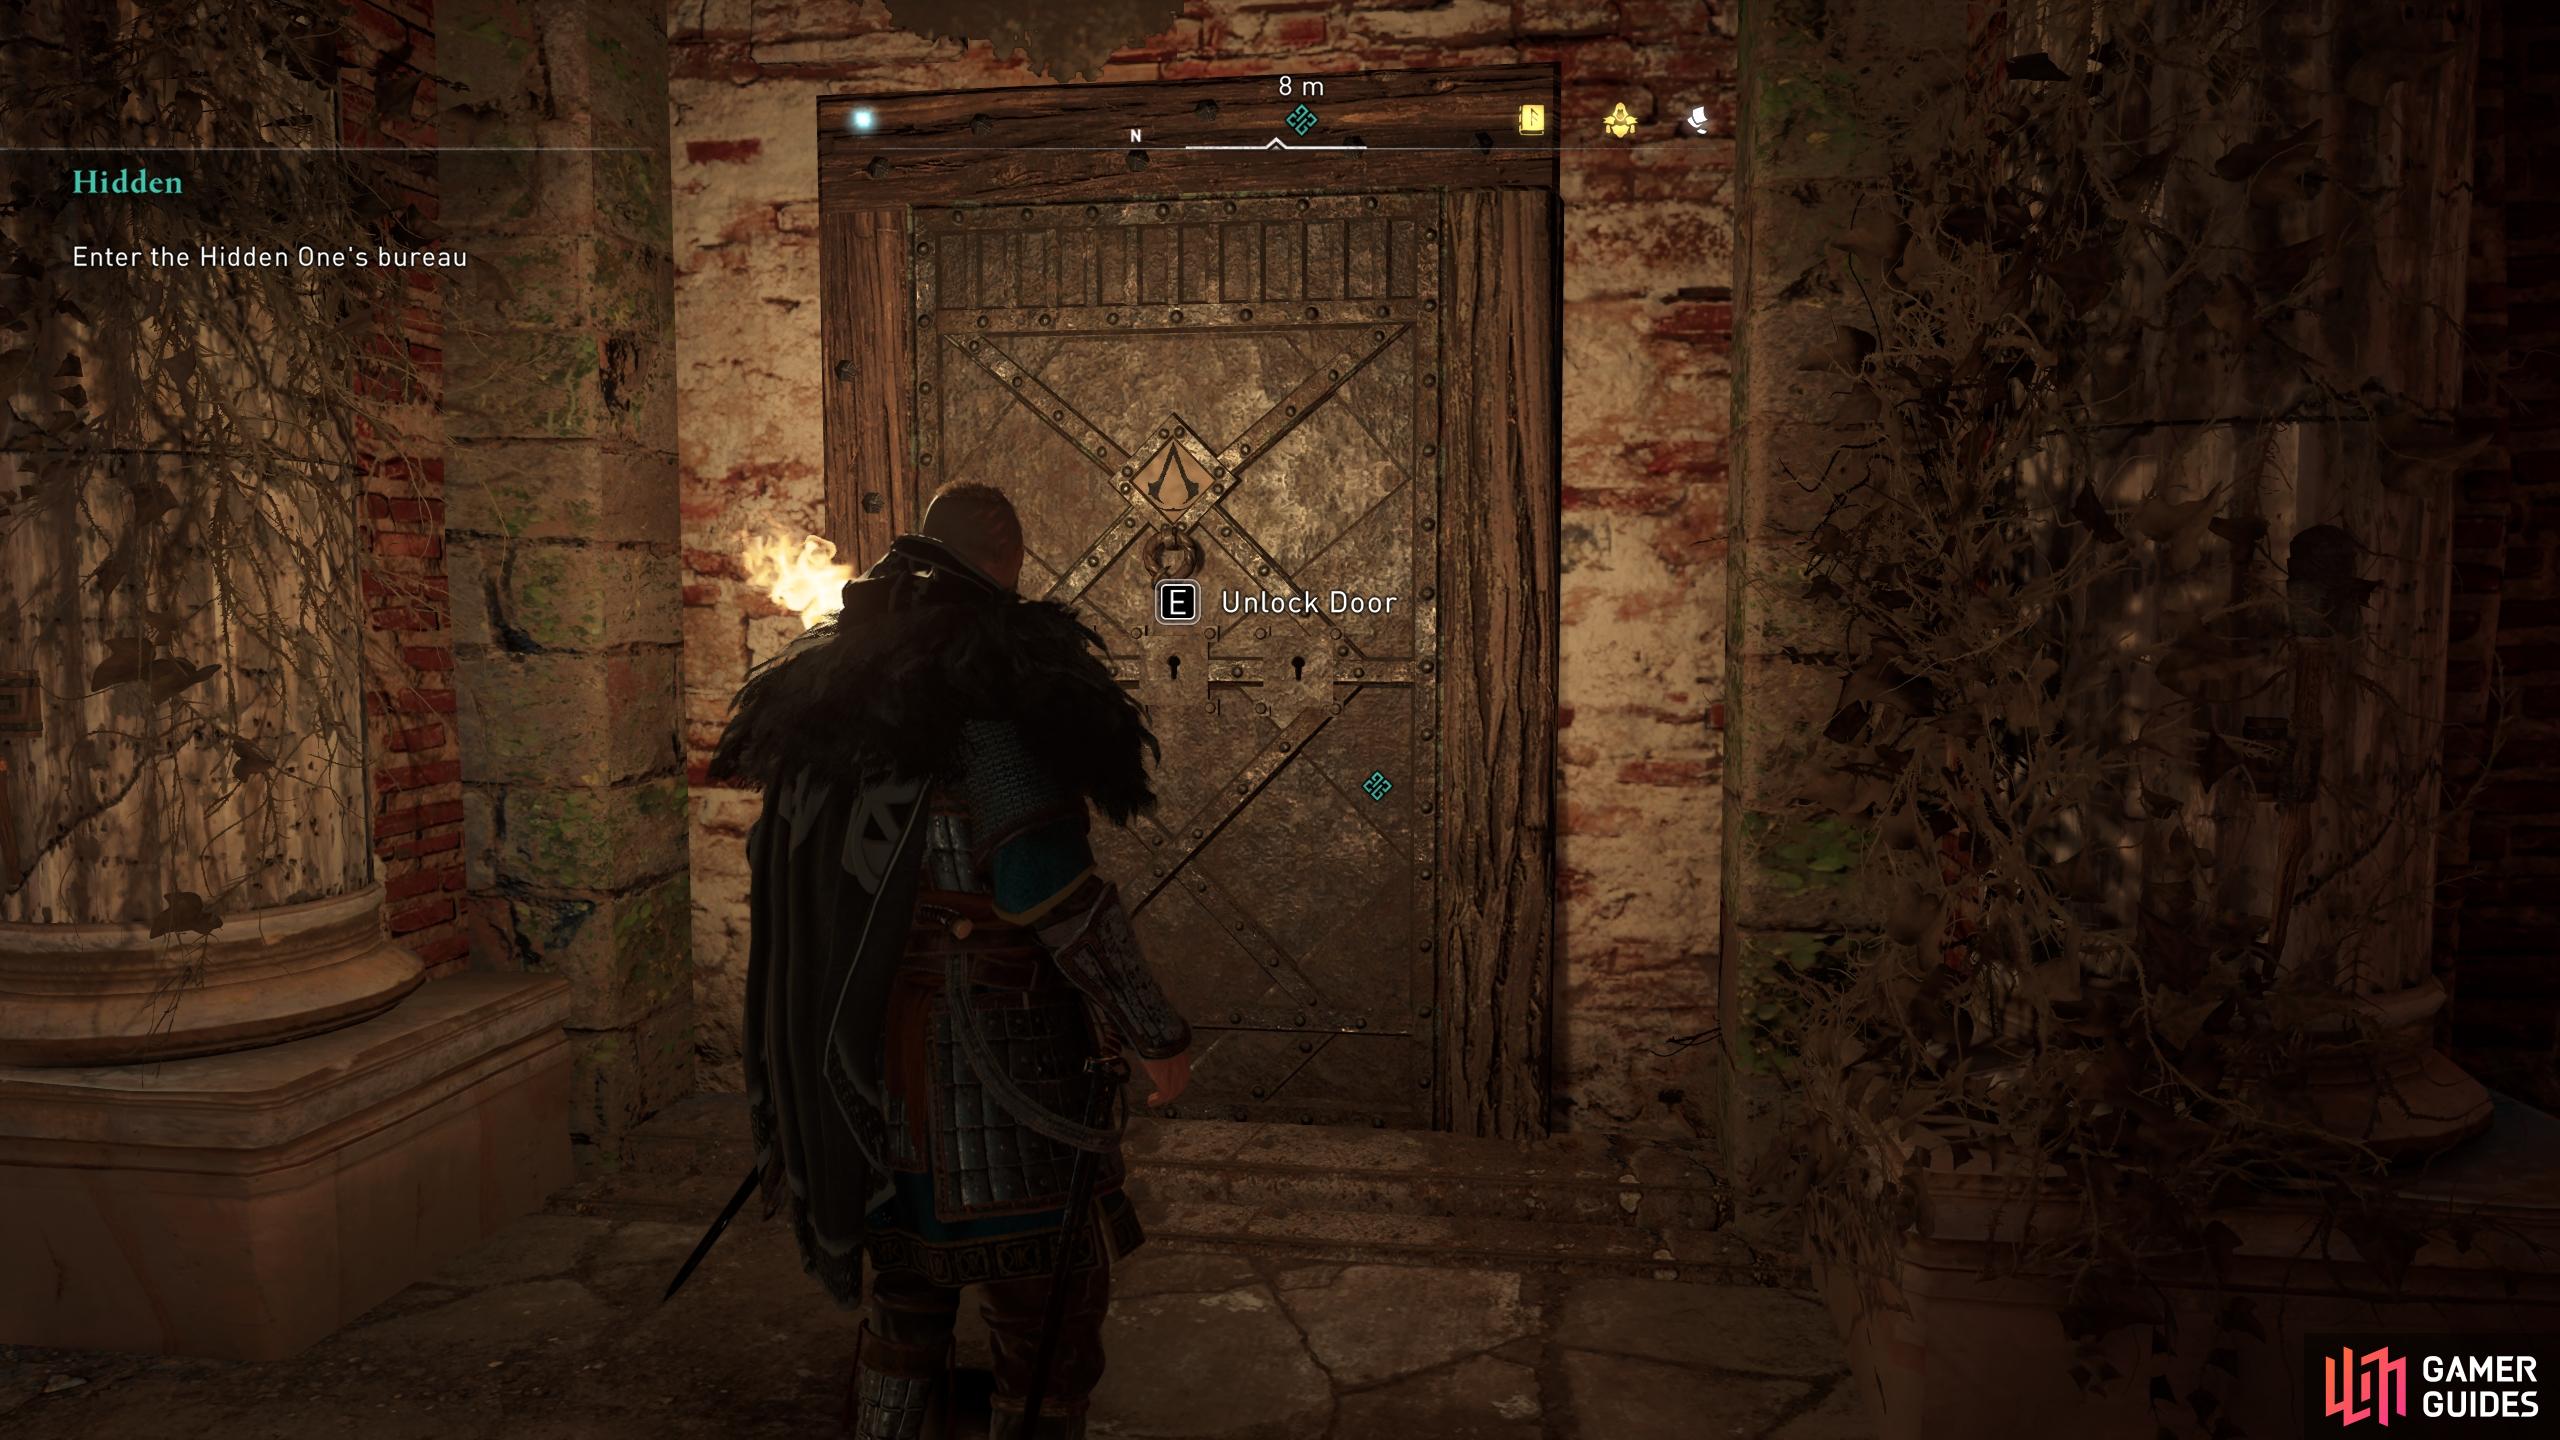
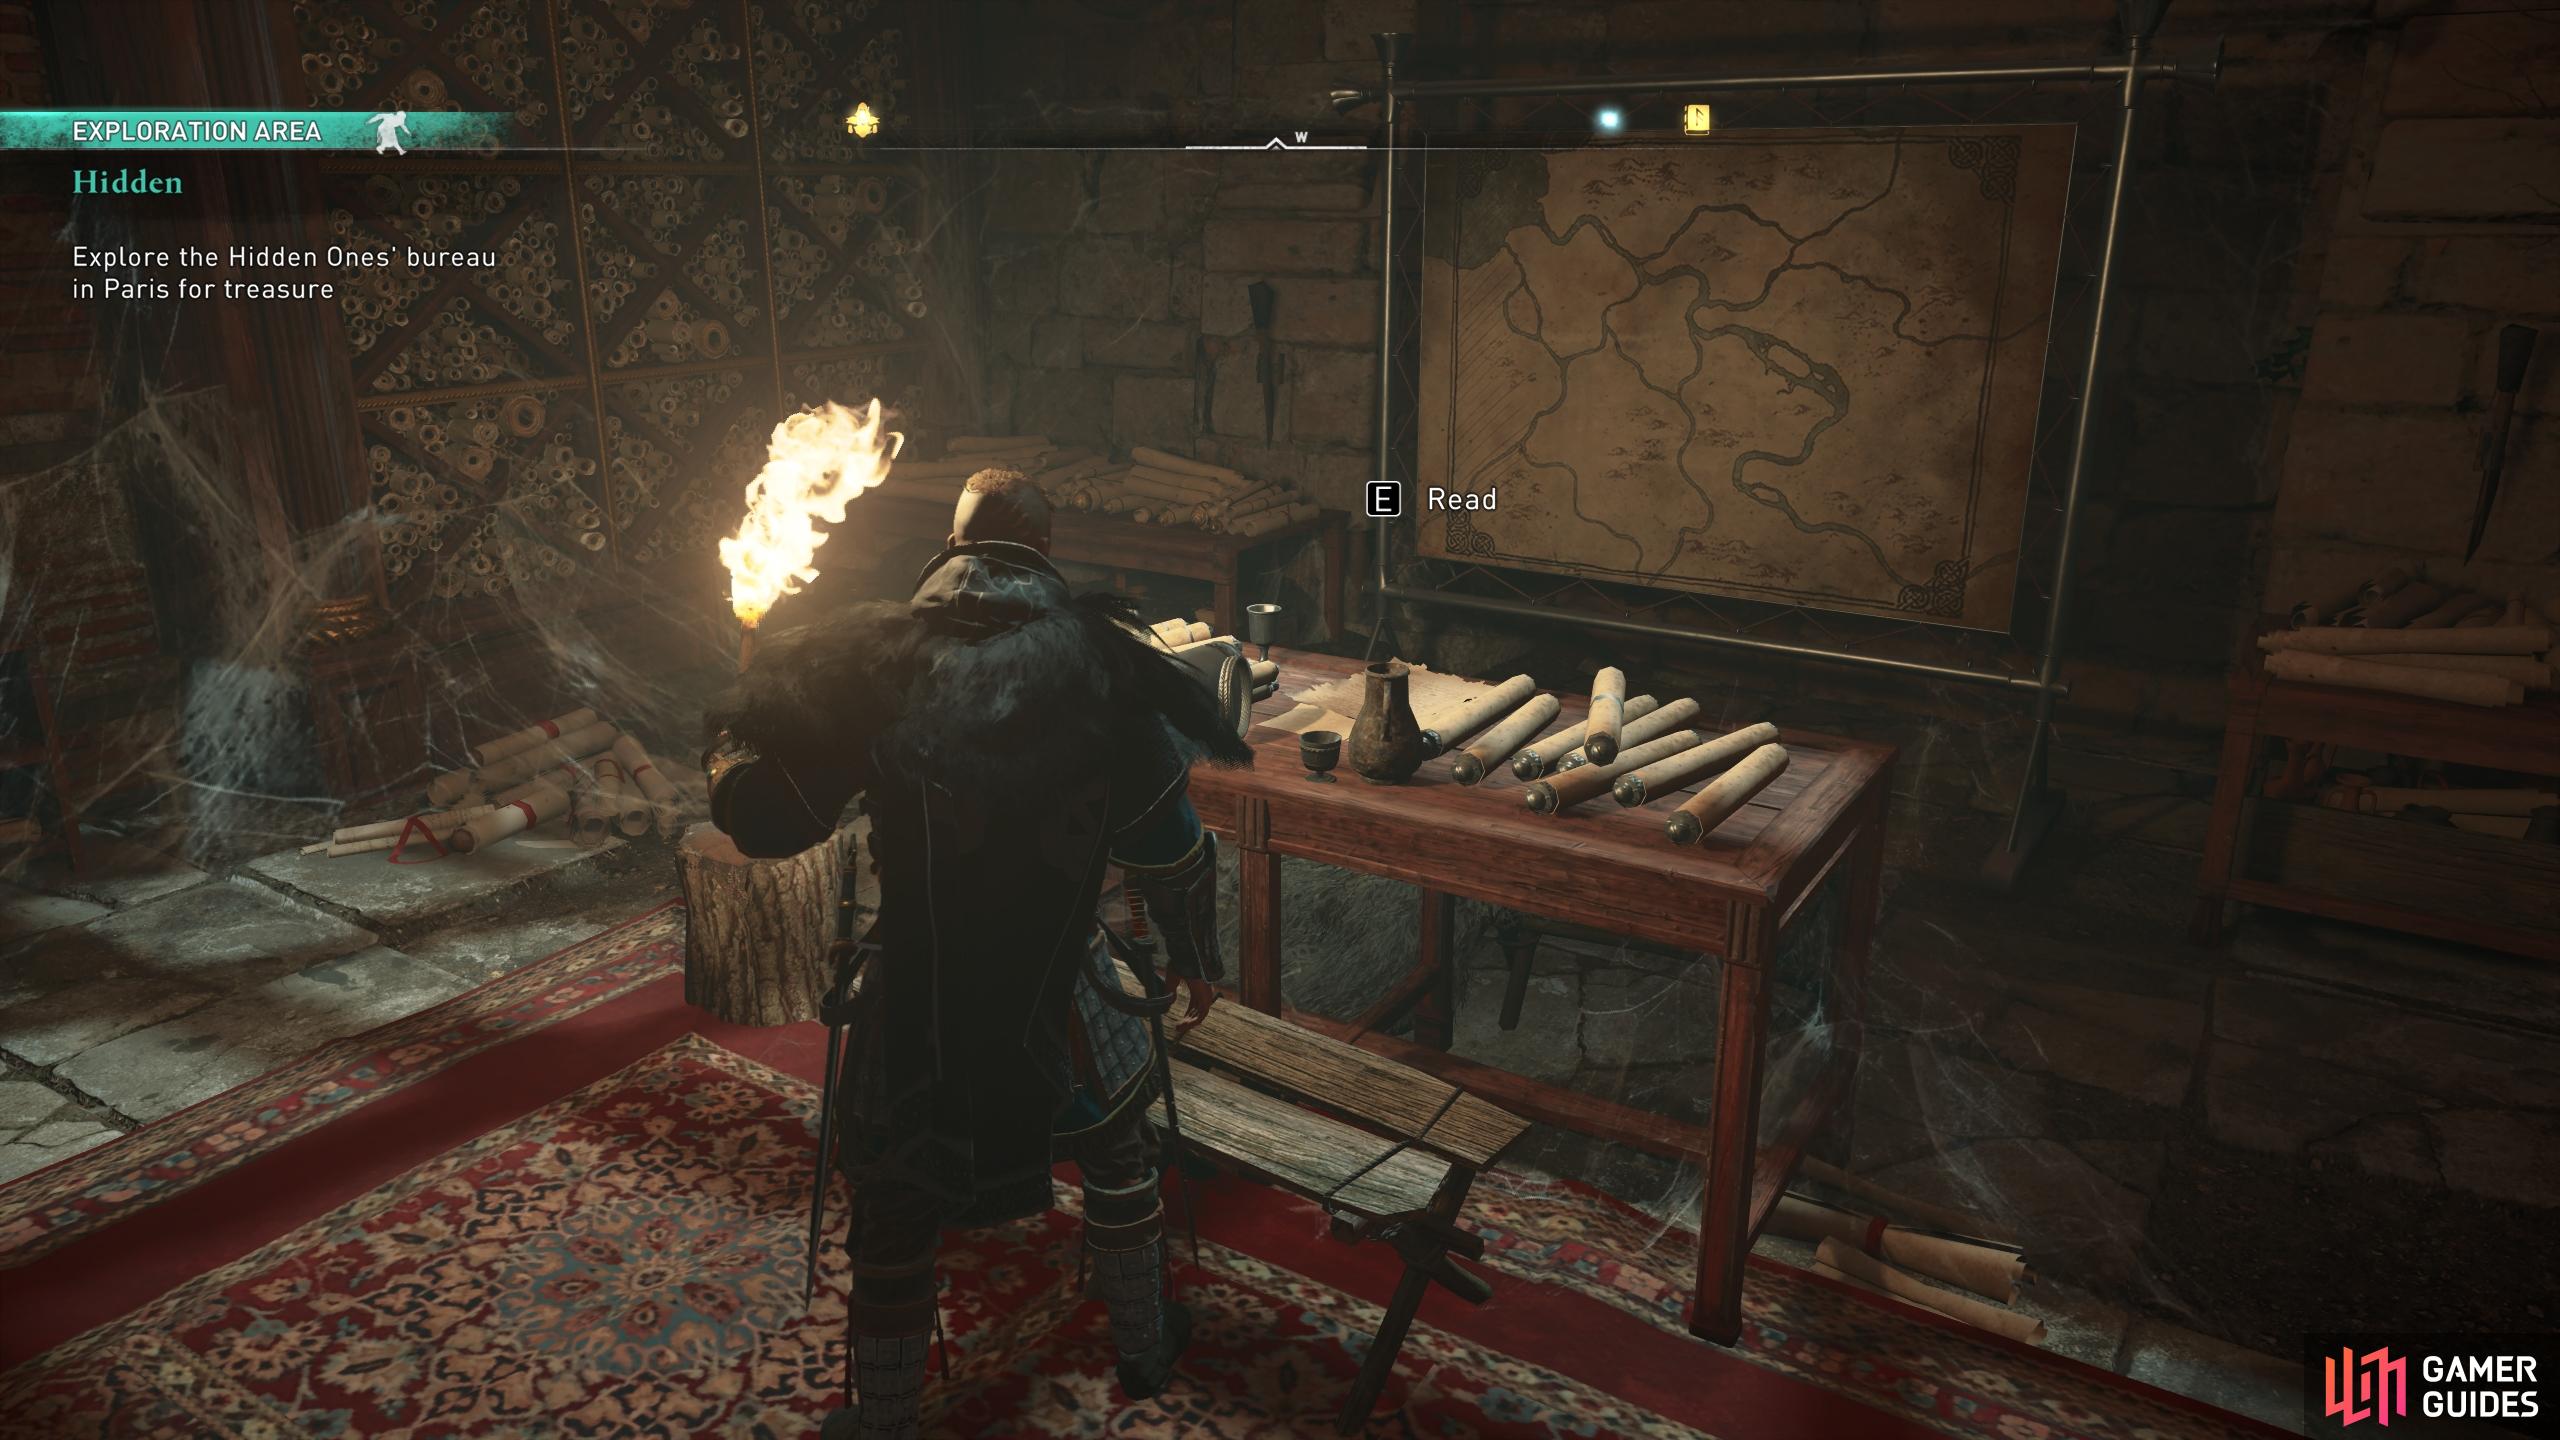
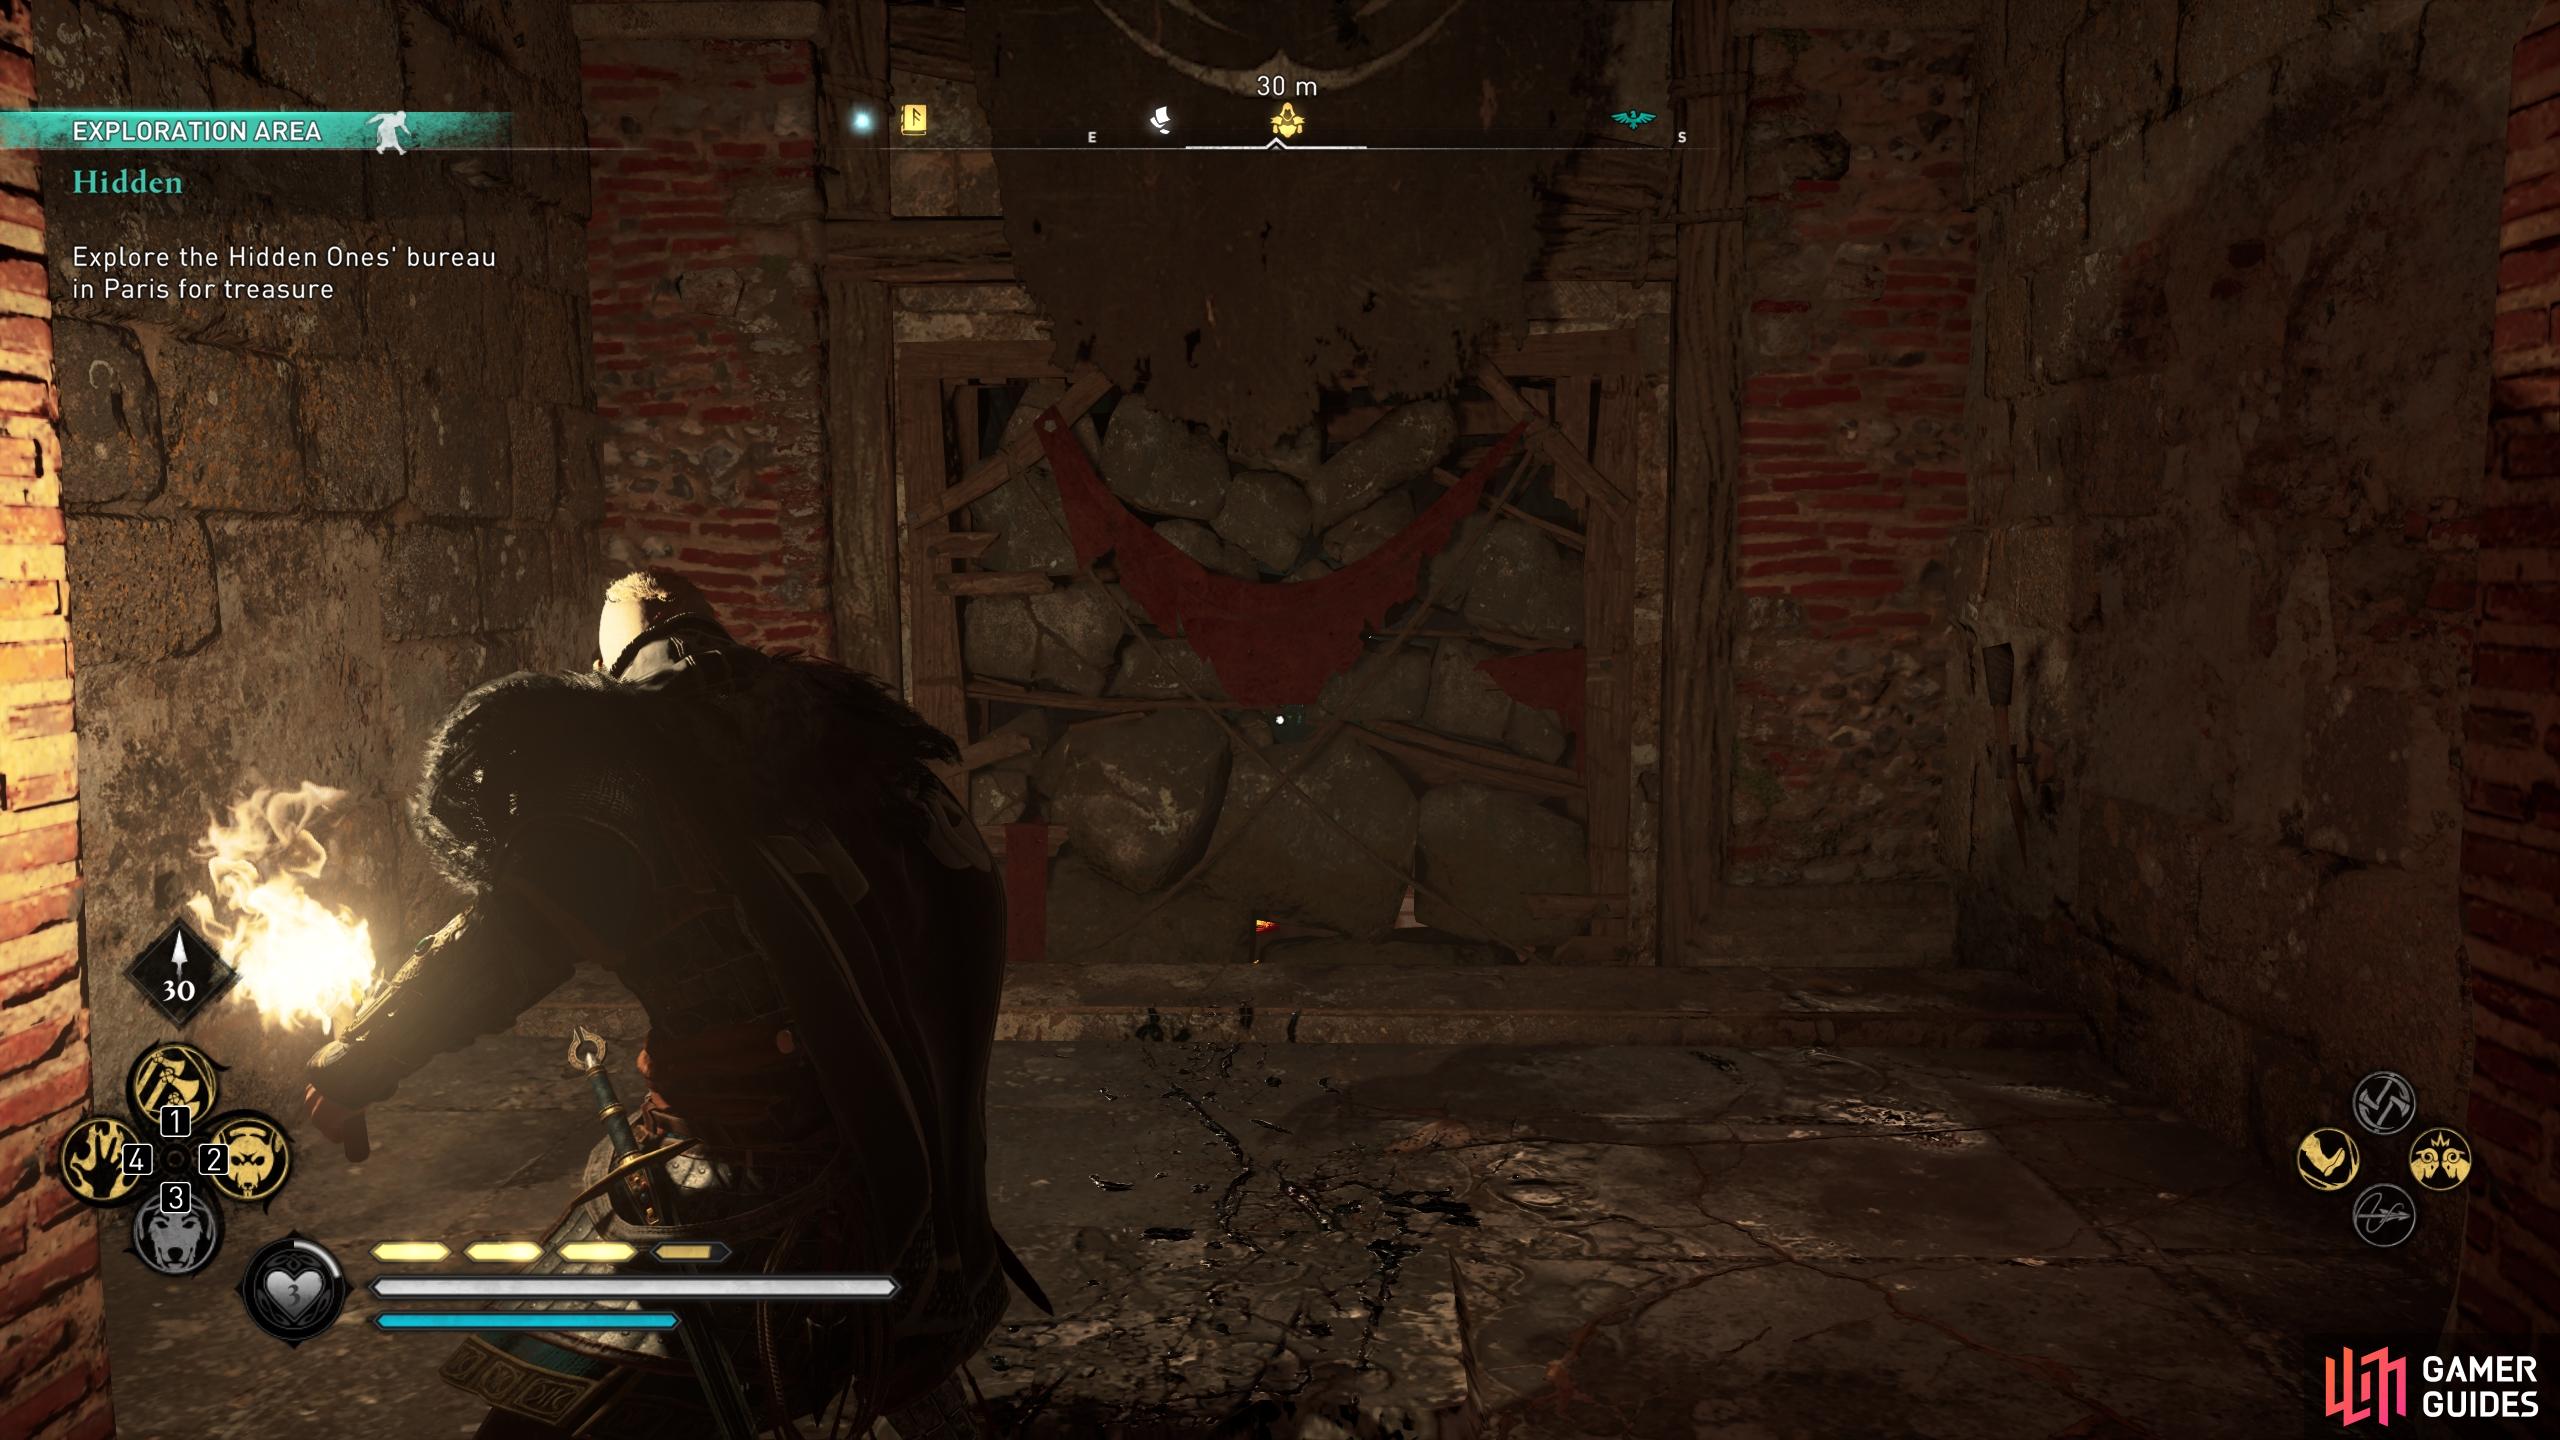
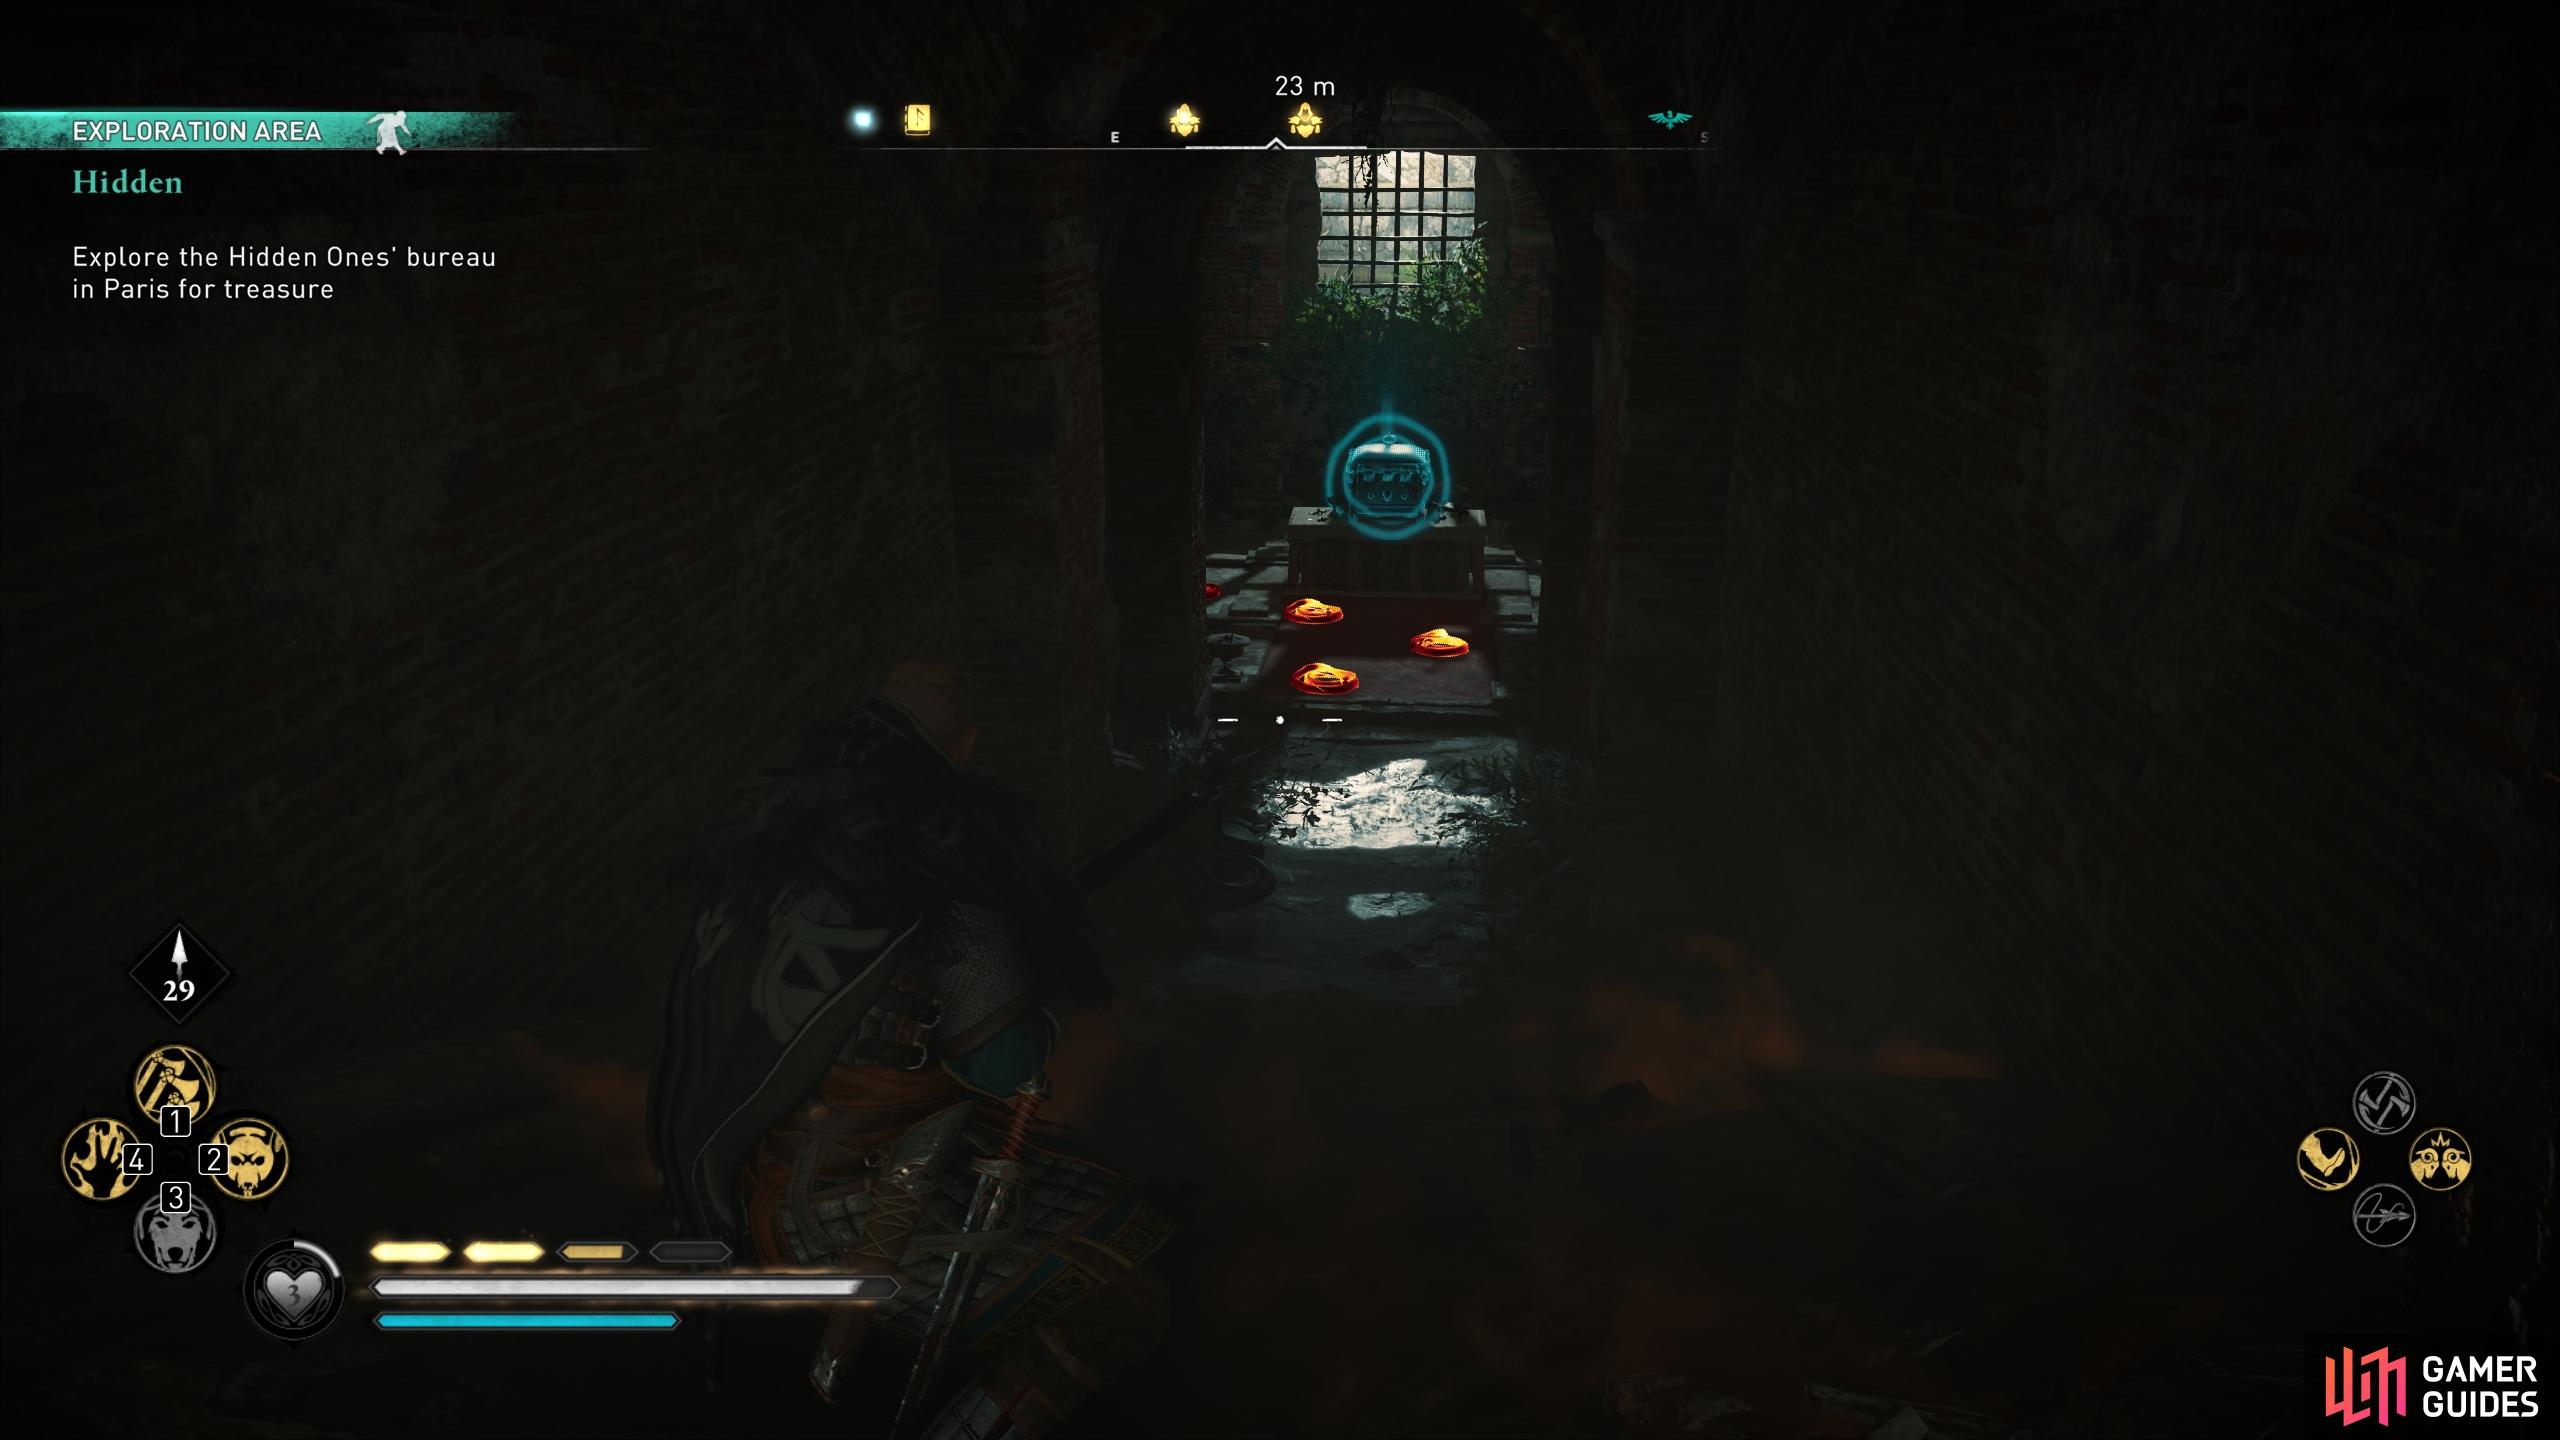
To unlock this achievement, you need to enter the Assassin Bureau in Paris. This is done at the end of the Hidden quest. How to Begin the Hidden Quest in FranciaTo begin the process of searching for any trace of the Hidden Ones in Francia, you’ll need to read a note in the form of an Agent Report. You’ll find this note in most major settlements throughout Francia, but the first place you’ll come across it as at the longhouse in Melun. As you approach the throne from the western entrance to the longhouse, use Odin’s Sight to highlight the note just in front of the central fire. Once you’ve read it, the Hidden quest will automatically begin. The Agent Report details the following: “My brother, I scouted the ruins west of the slums of Paris as you asked. Within I found an ancient door bearing a symbol much like the letter A yet strangely altered. Perhaps you know it? The door would not open. While I struggled with it I caught movement just beyond the edge of my sight. A careful search of the area revealed nothing, yet I cannot banish from my mind the image of a hooded figure. The area may already be in use. I think we must search elsewhere for our new camp site. Vive le rebellion. –P“ Where to Find the Hidden Ones Bureau in ParisAs you probably guessed, the note indicates that a Hidden Ones Bureau is likely to be found in Paris, just west of the slums. The entrance to the bureau can be found at the centre of some Roman ruins. As you approach the entrance (a hole in the ground), you’ll discover that the bureau has a name: Lutetia Bureau. You’ll find it easy enough to make it to the entrance of the bureau, but the door is locked and there is no other way inside. Once you’ve read the note on the body in front of the entrance, the quest will update and you’ll be tasked with finding three keys to open the door, each one found at three separate ruins:
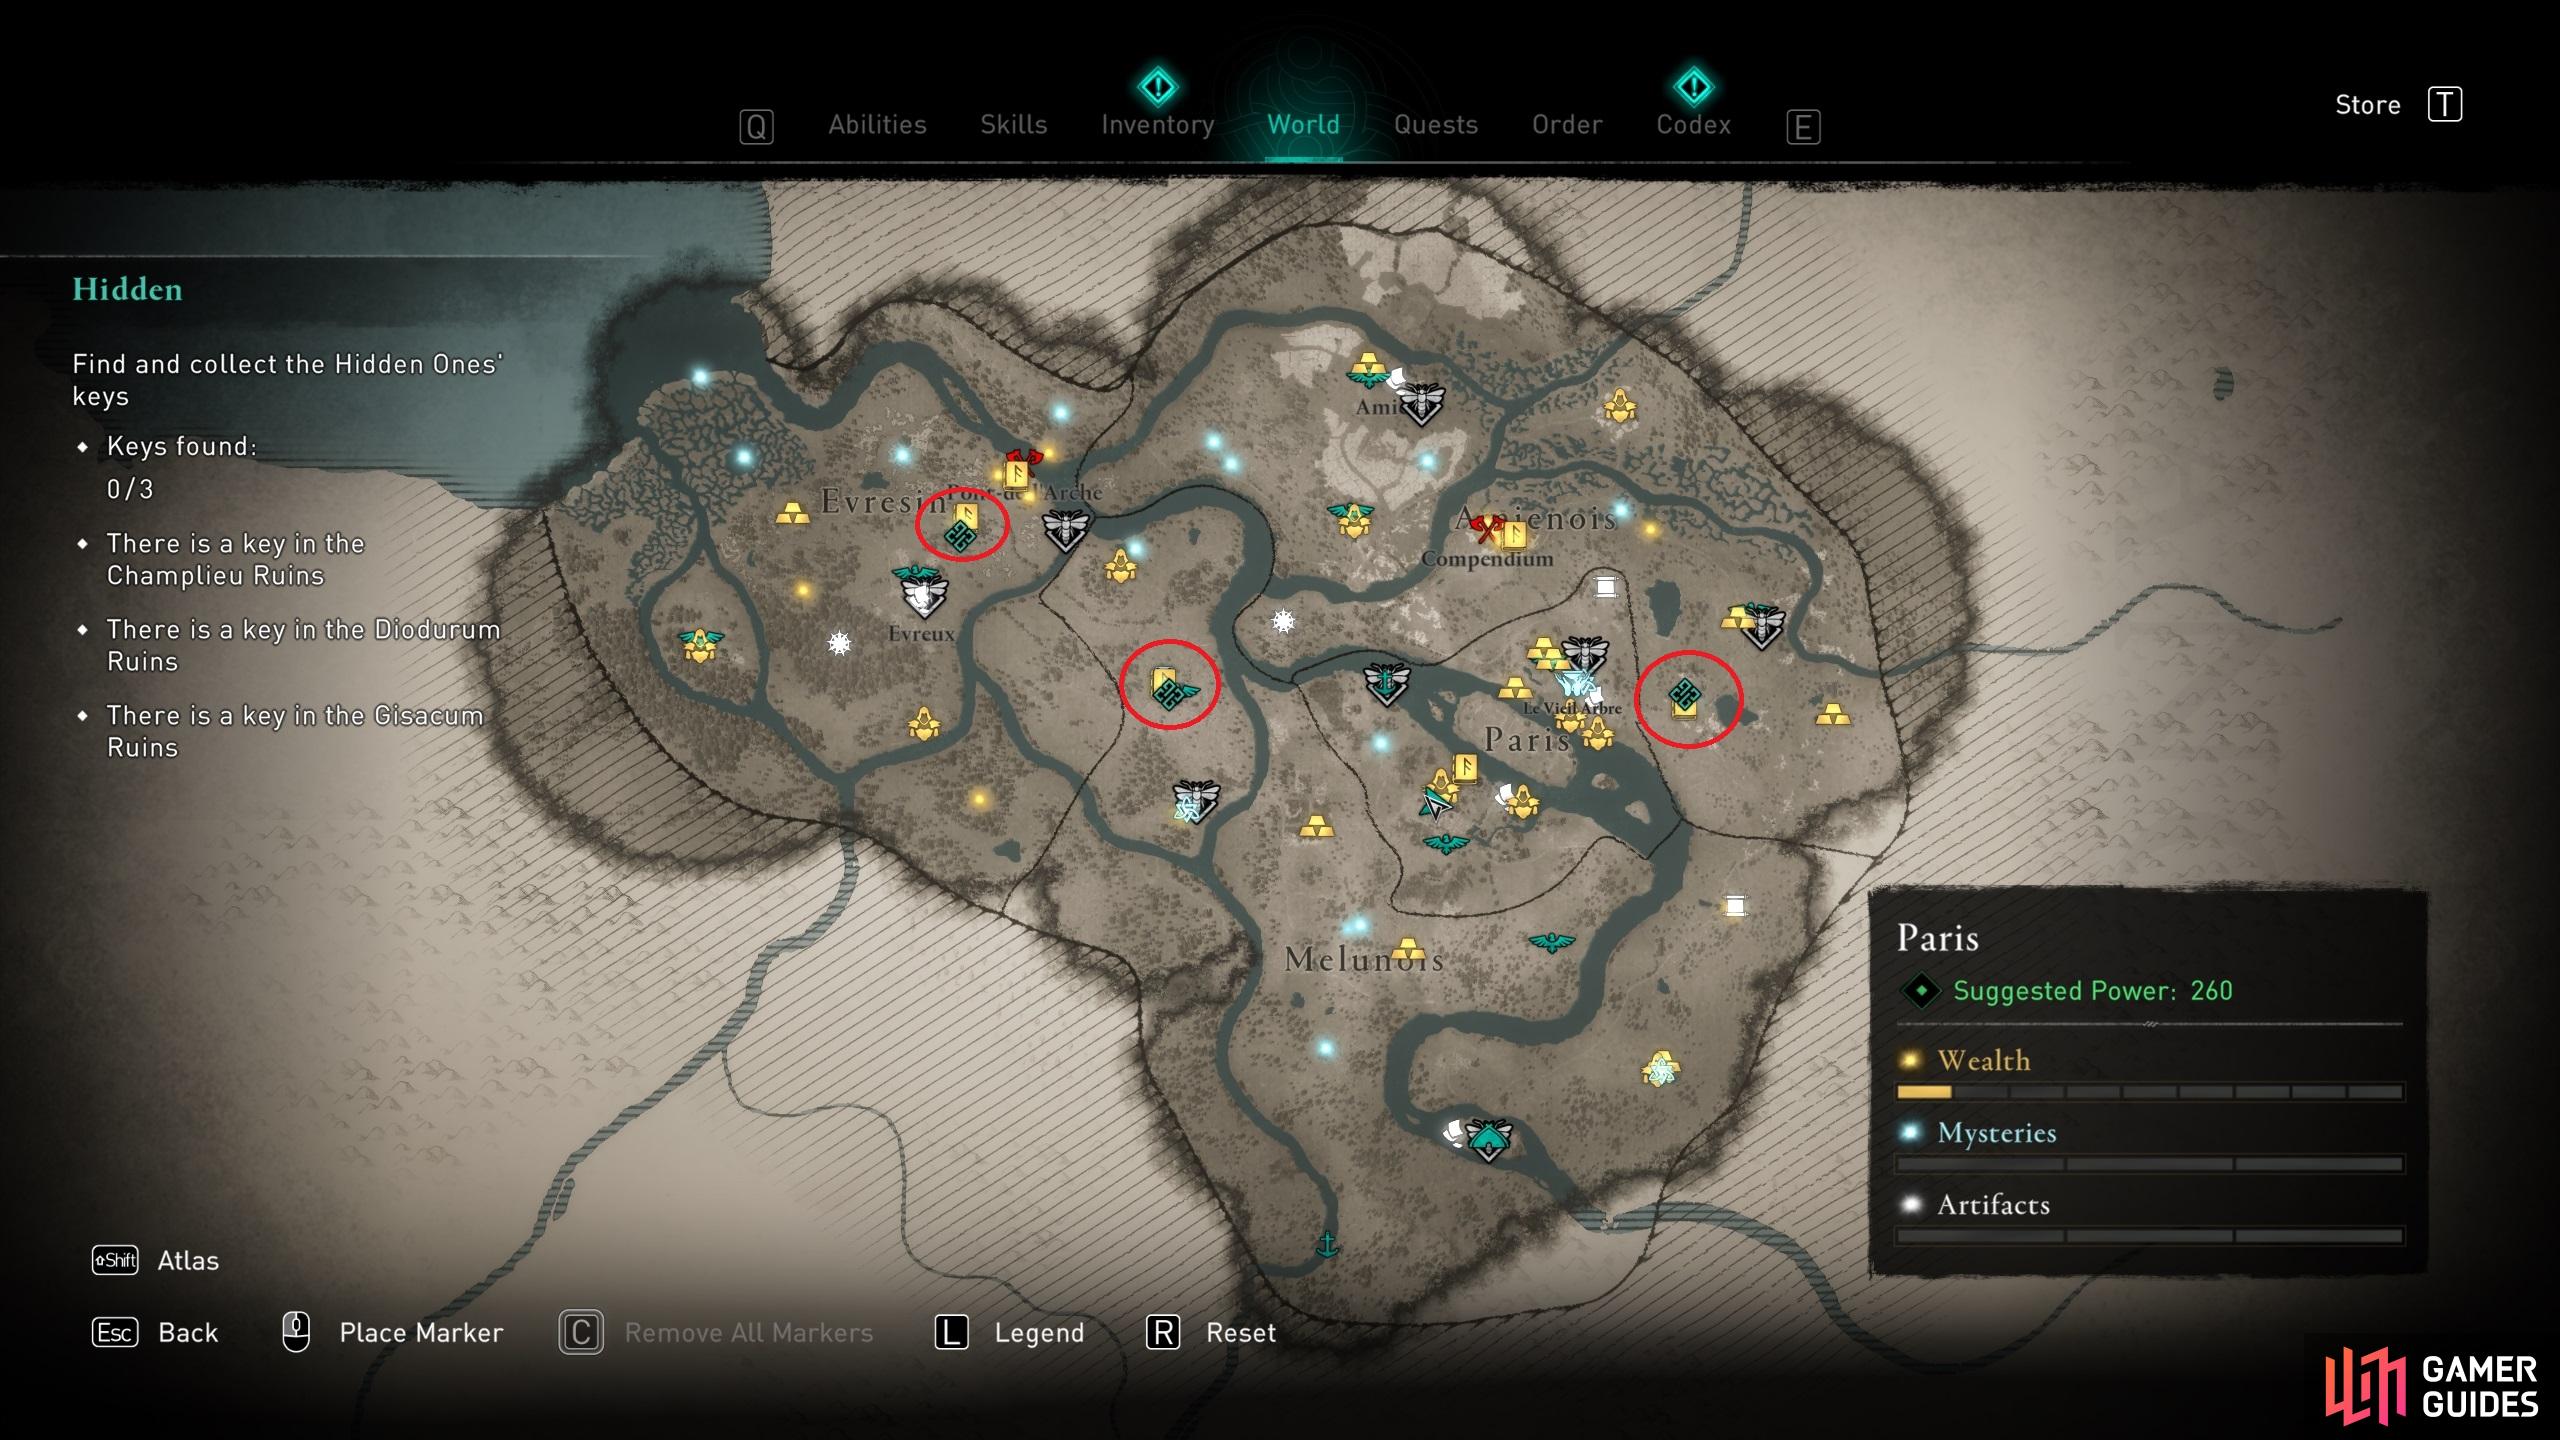
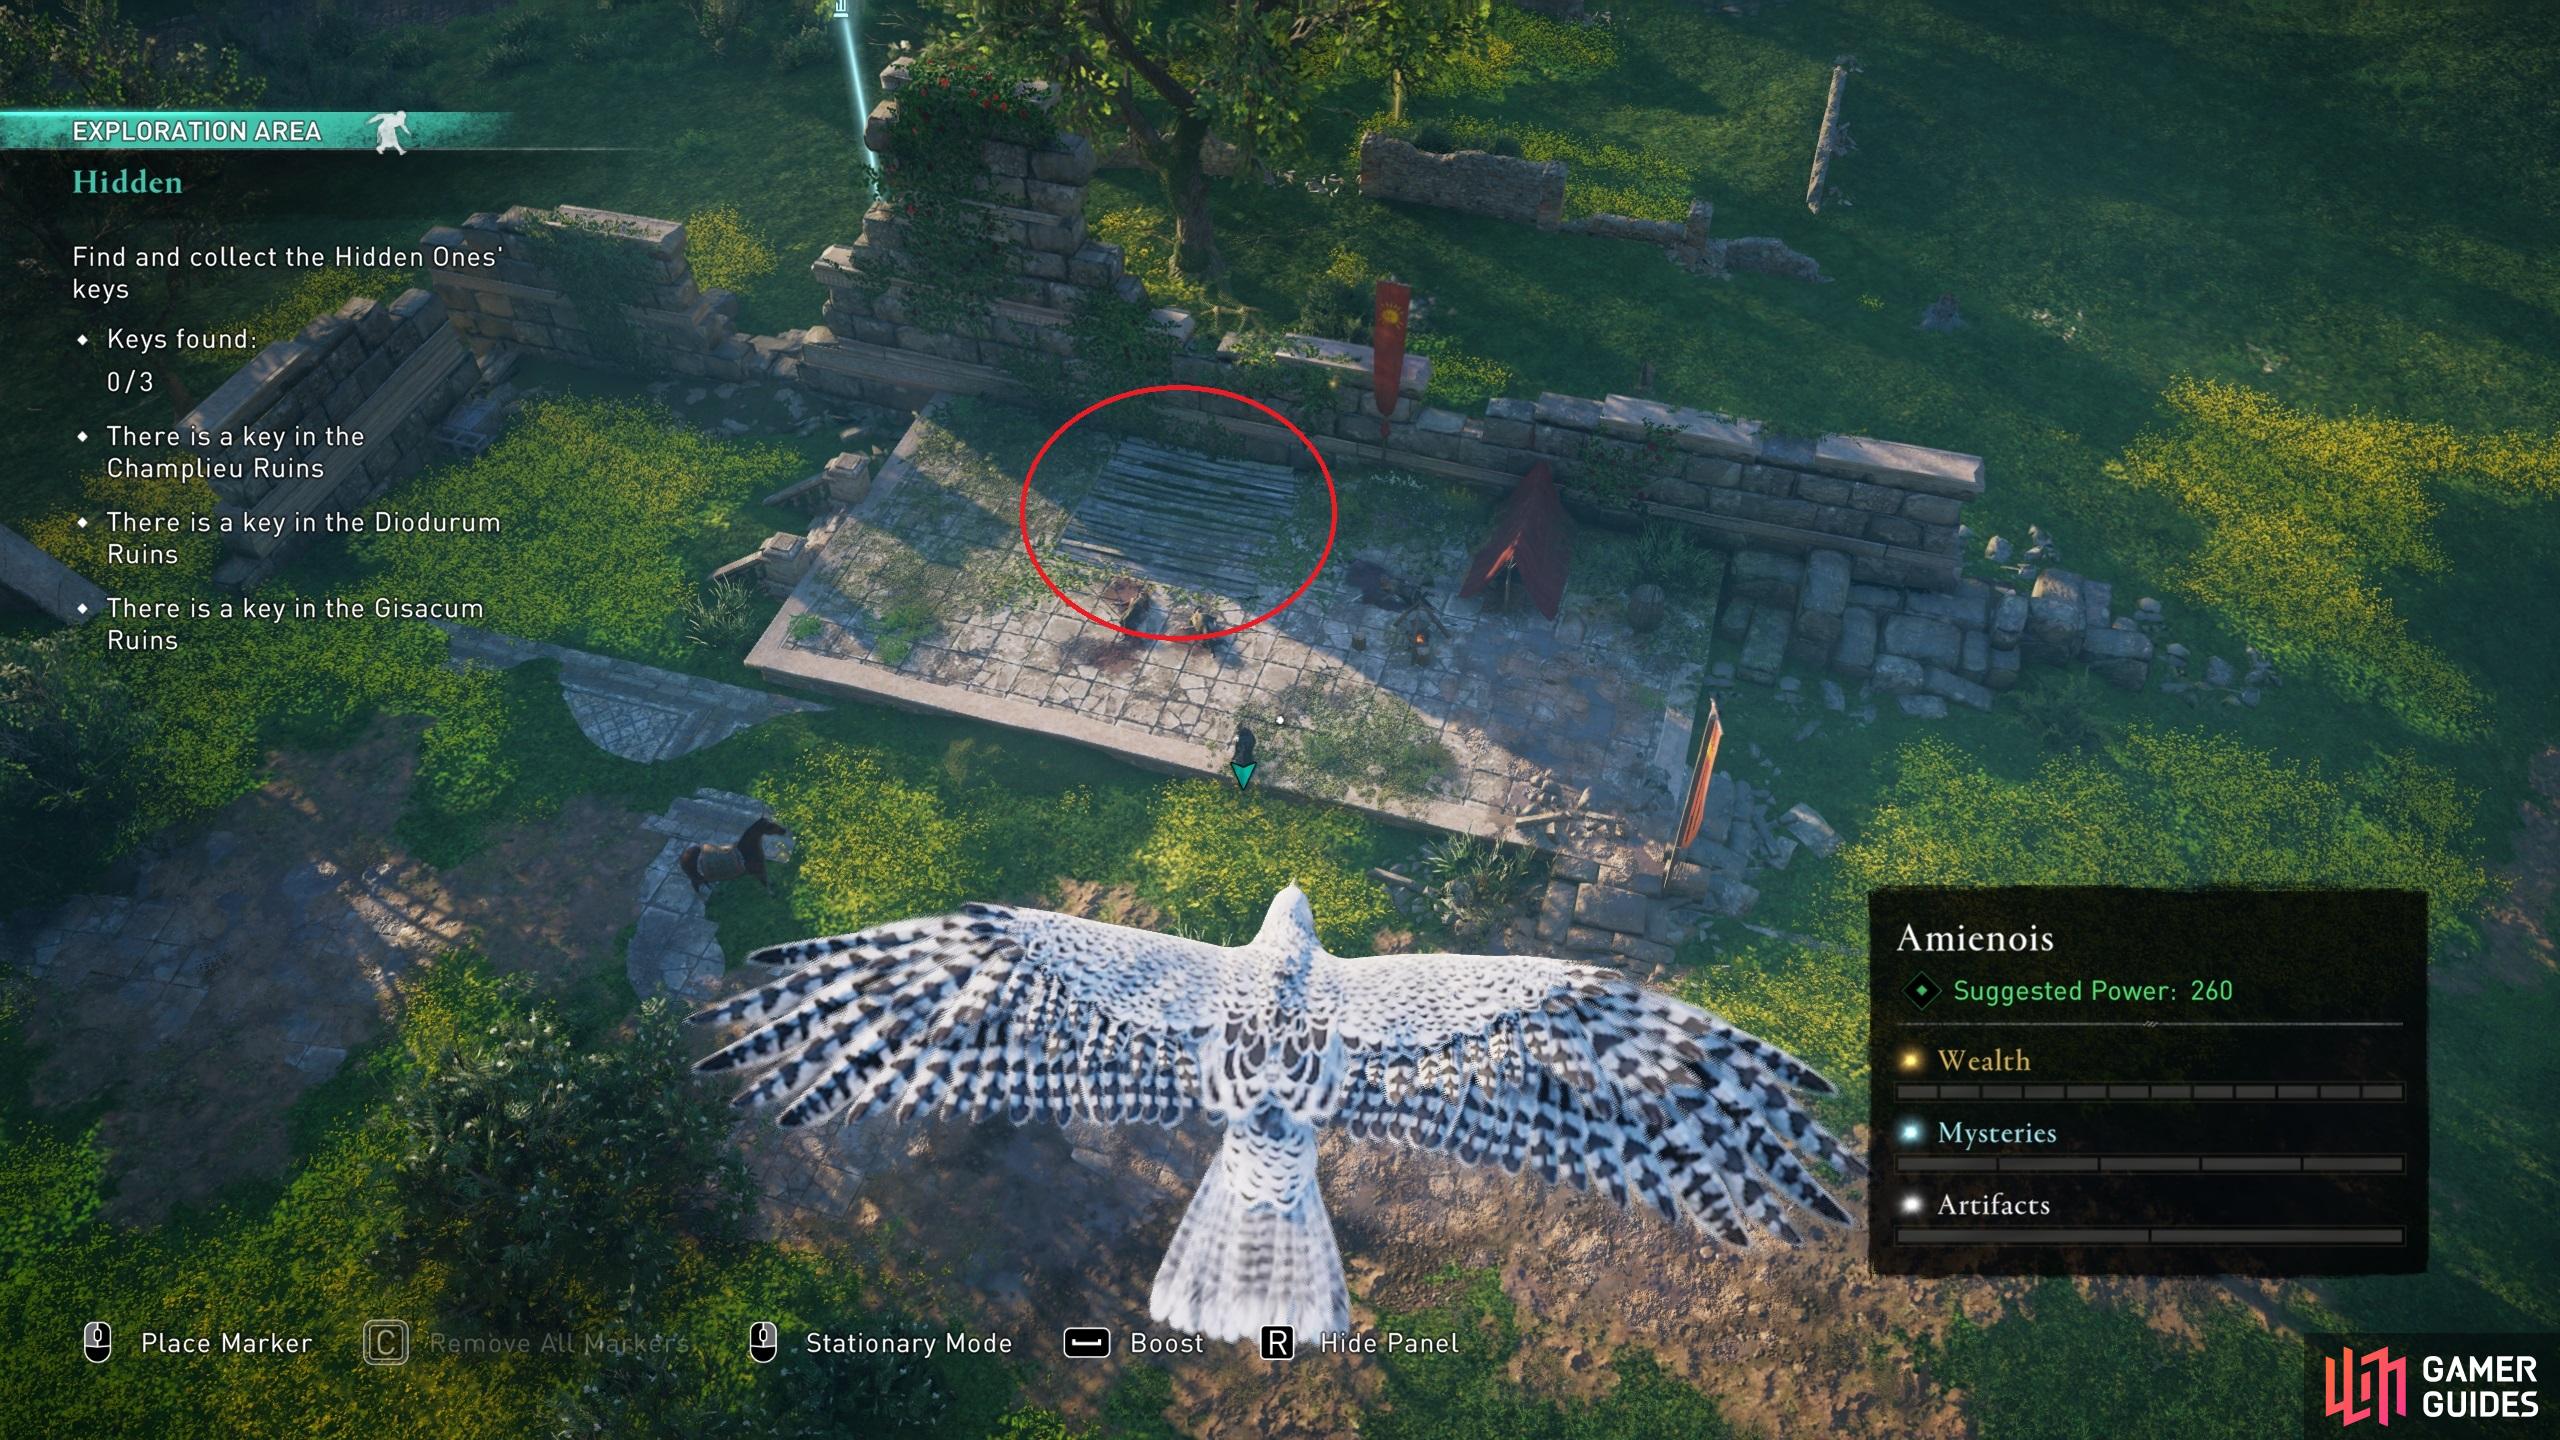
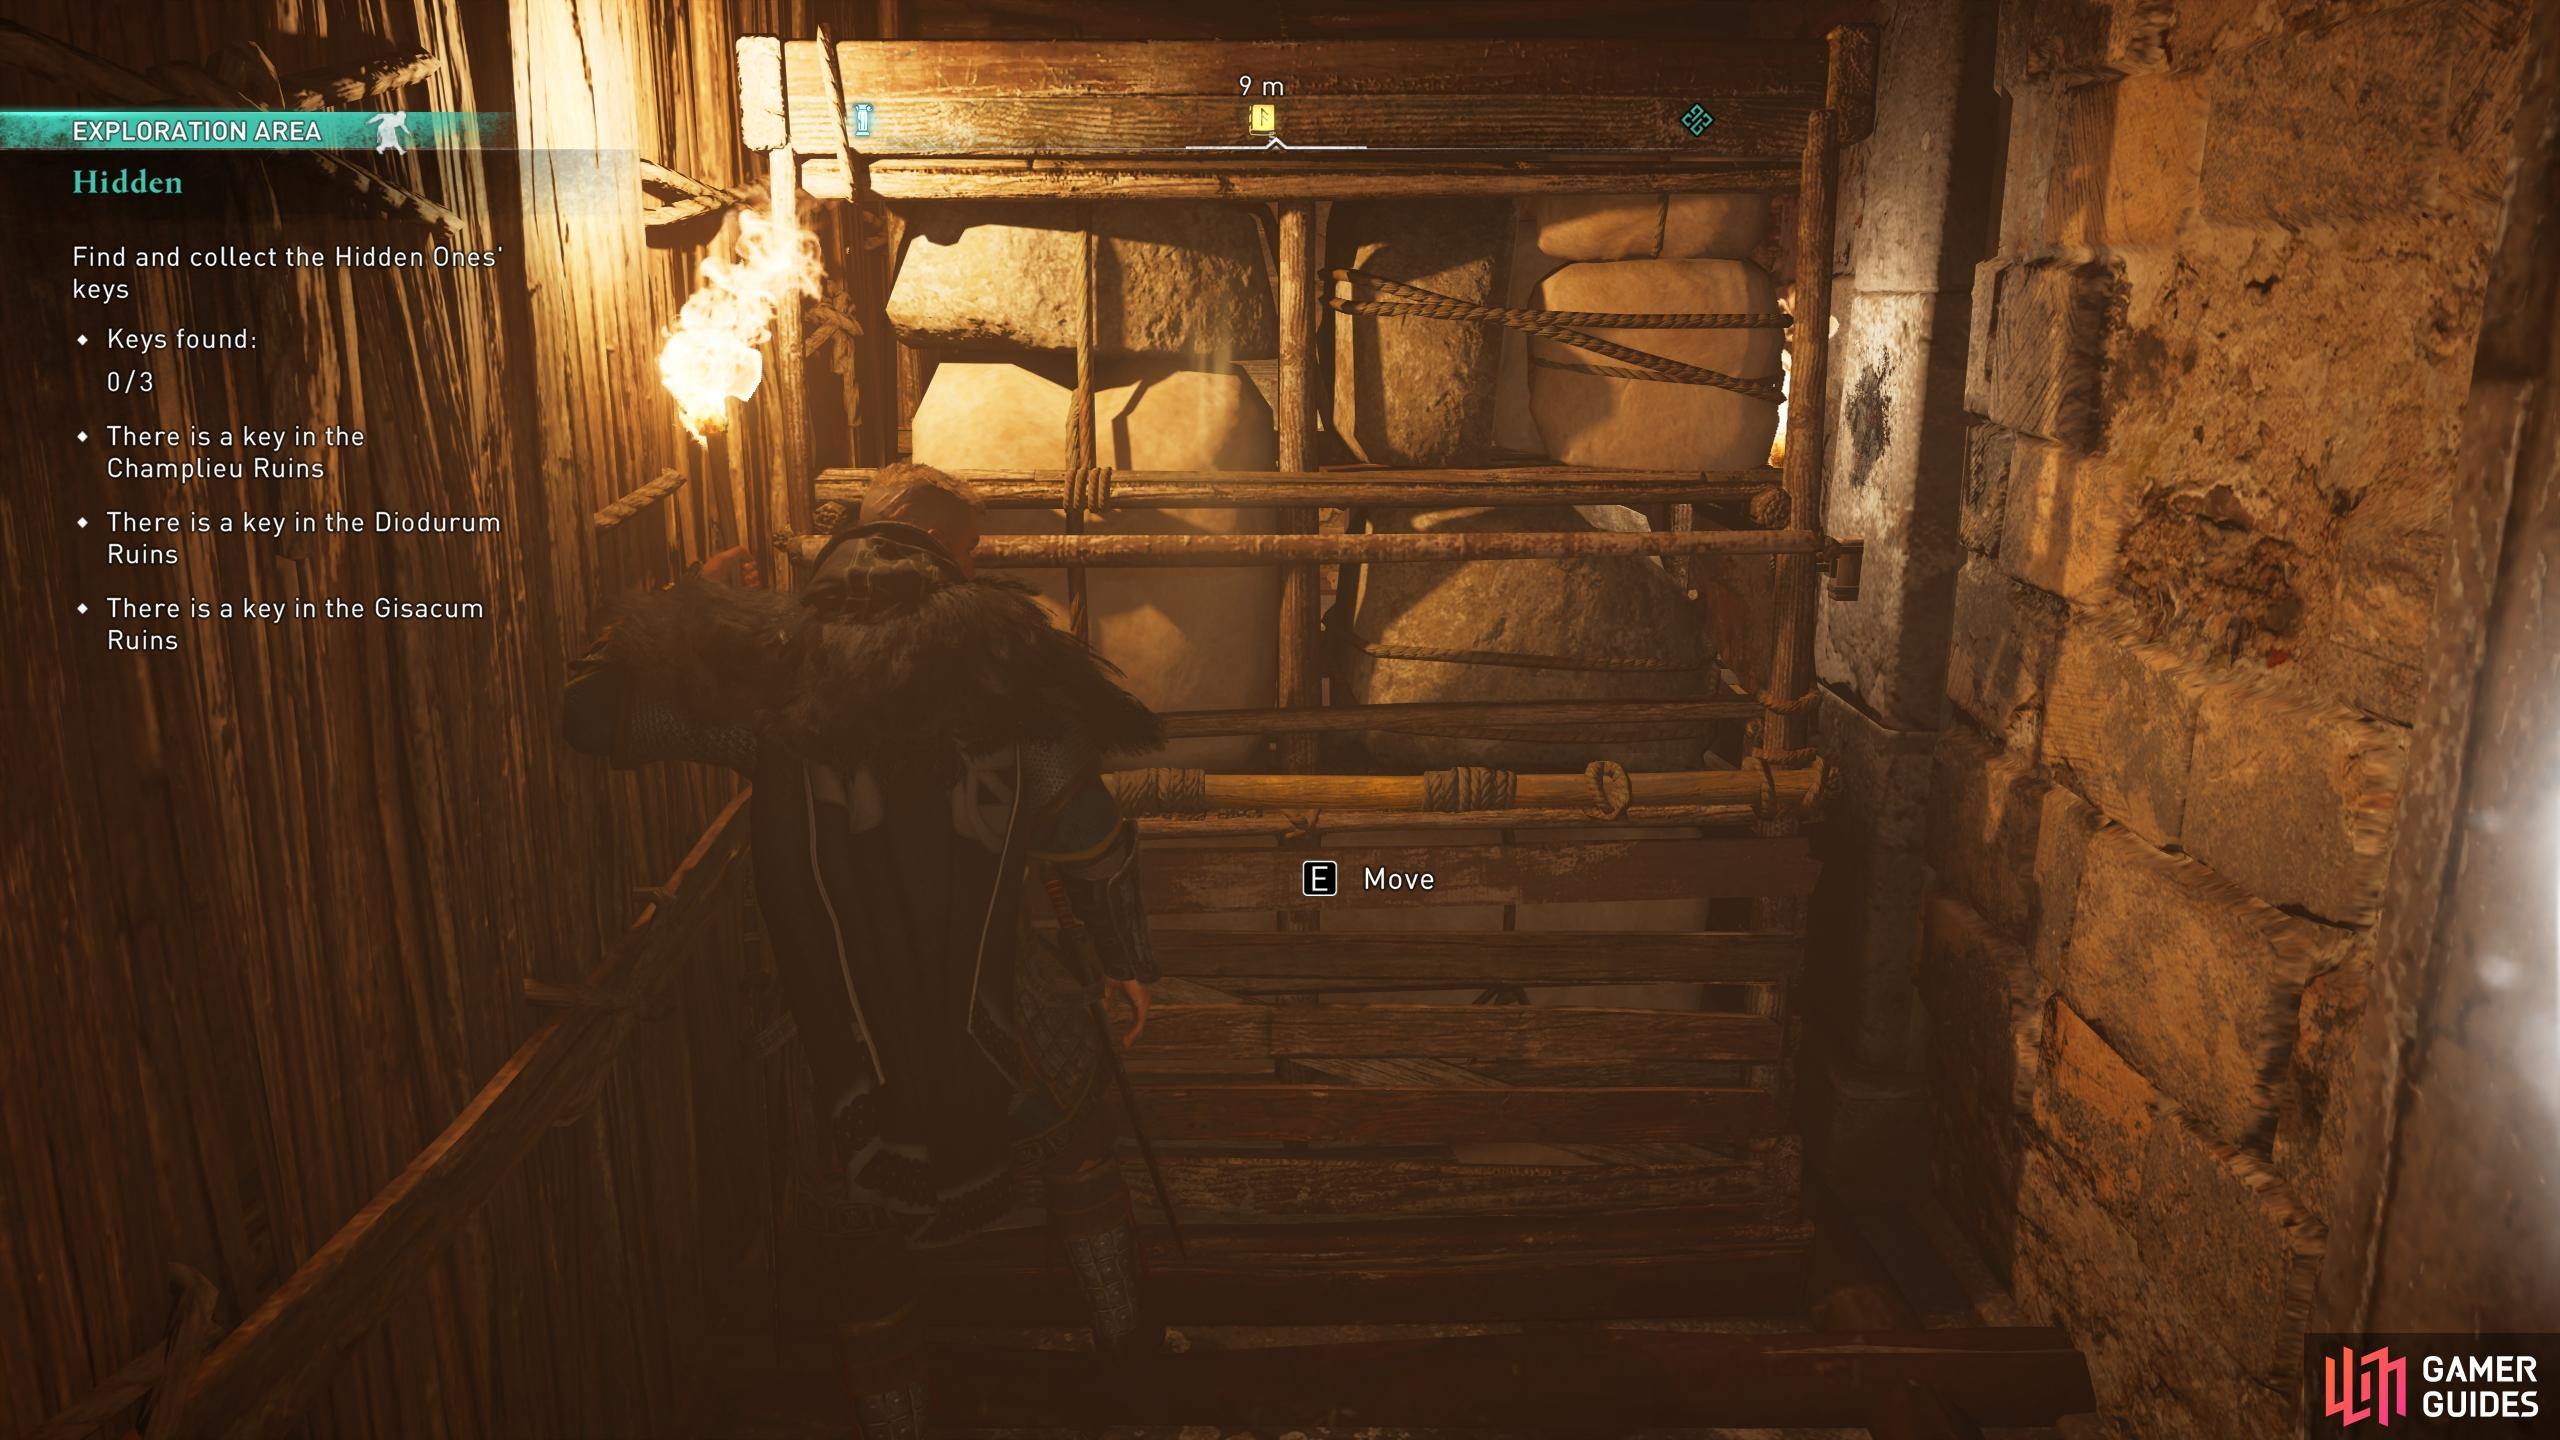
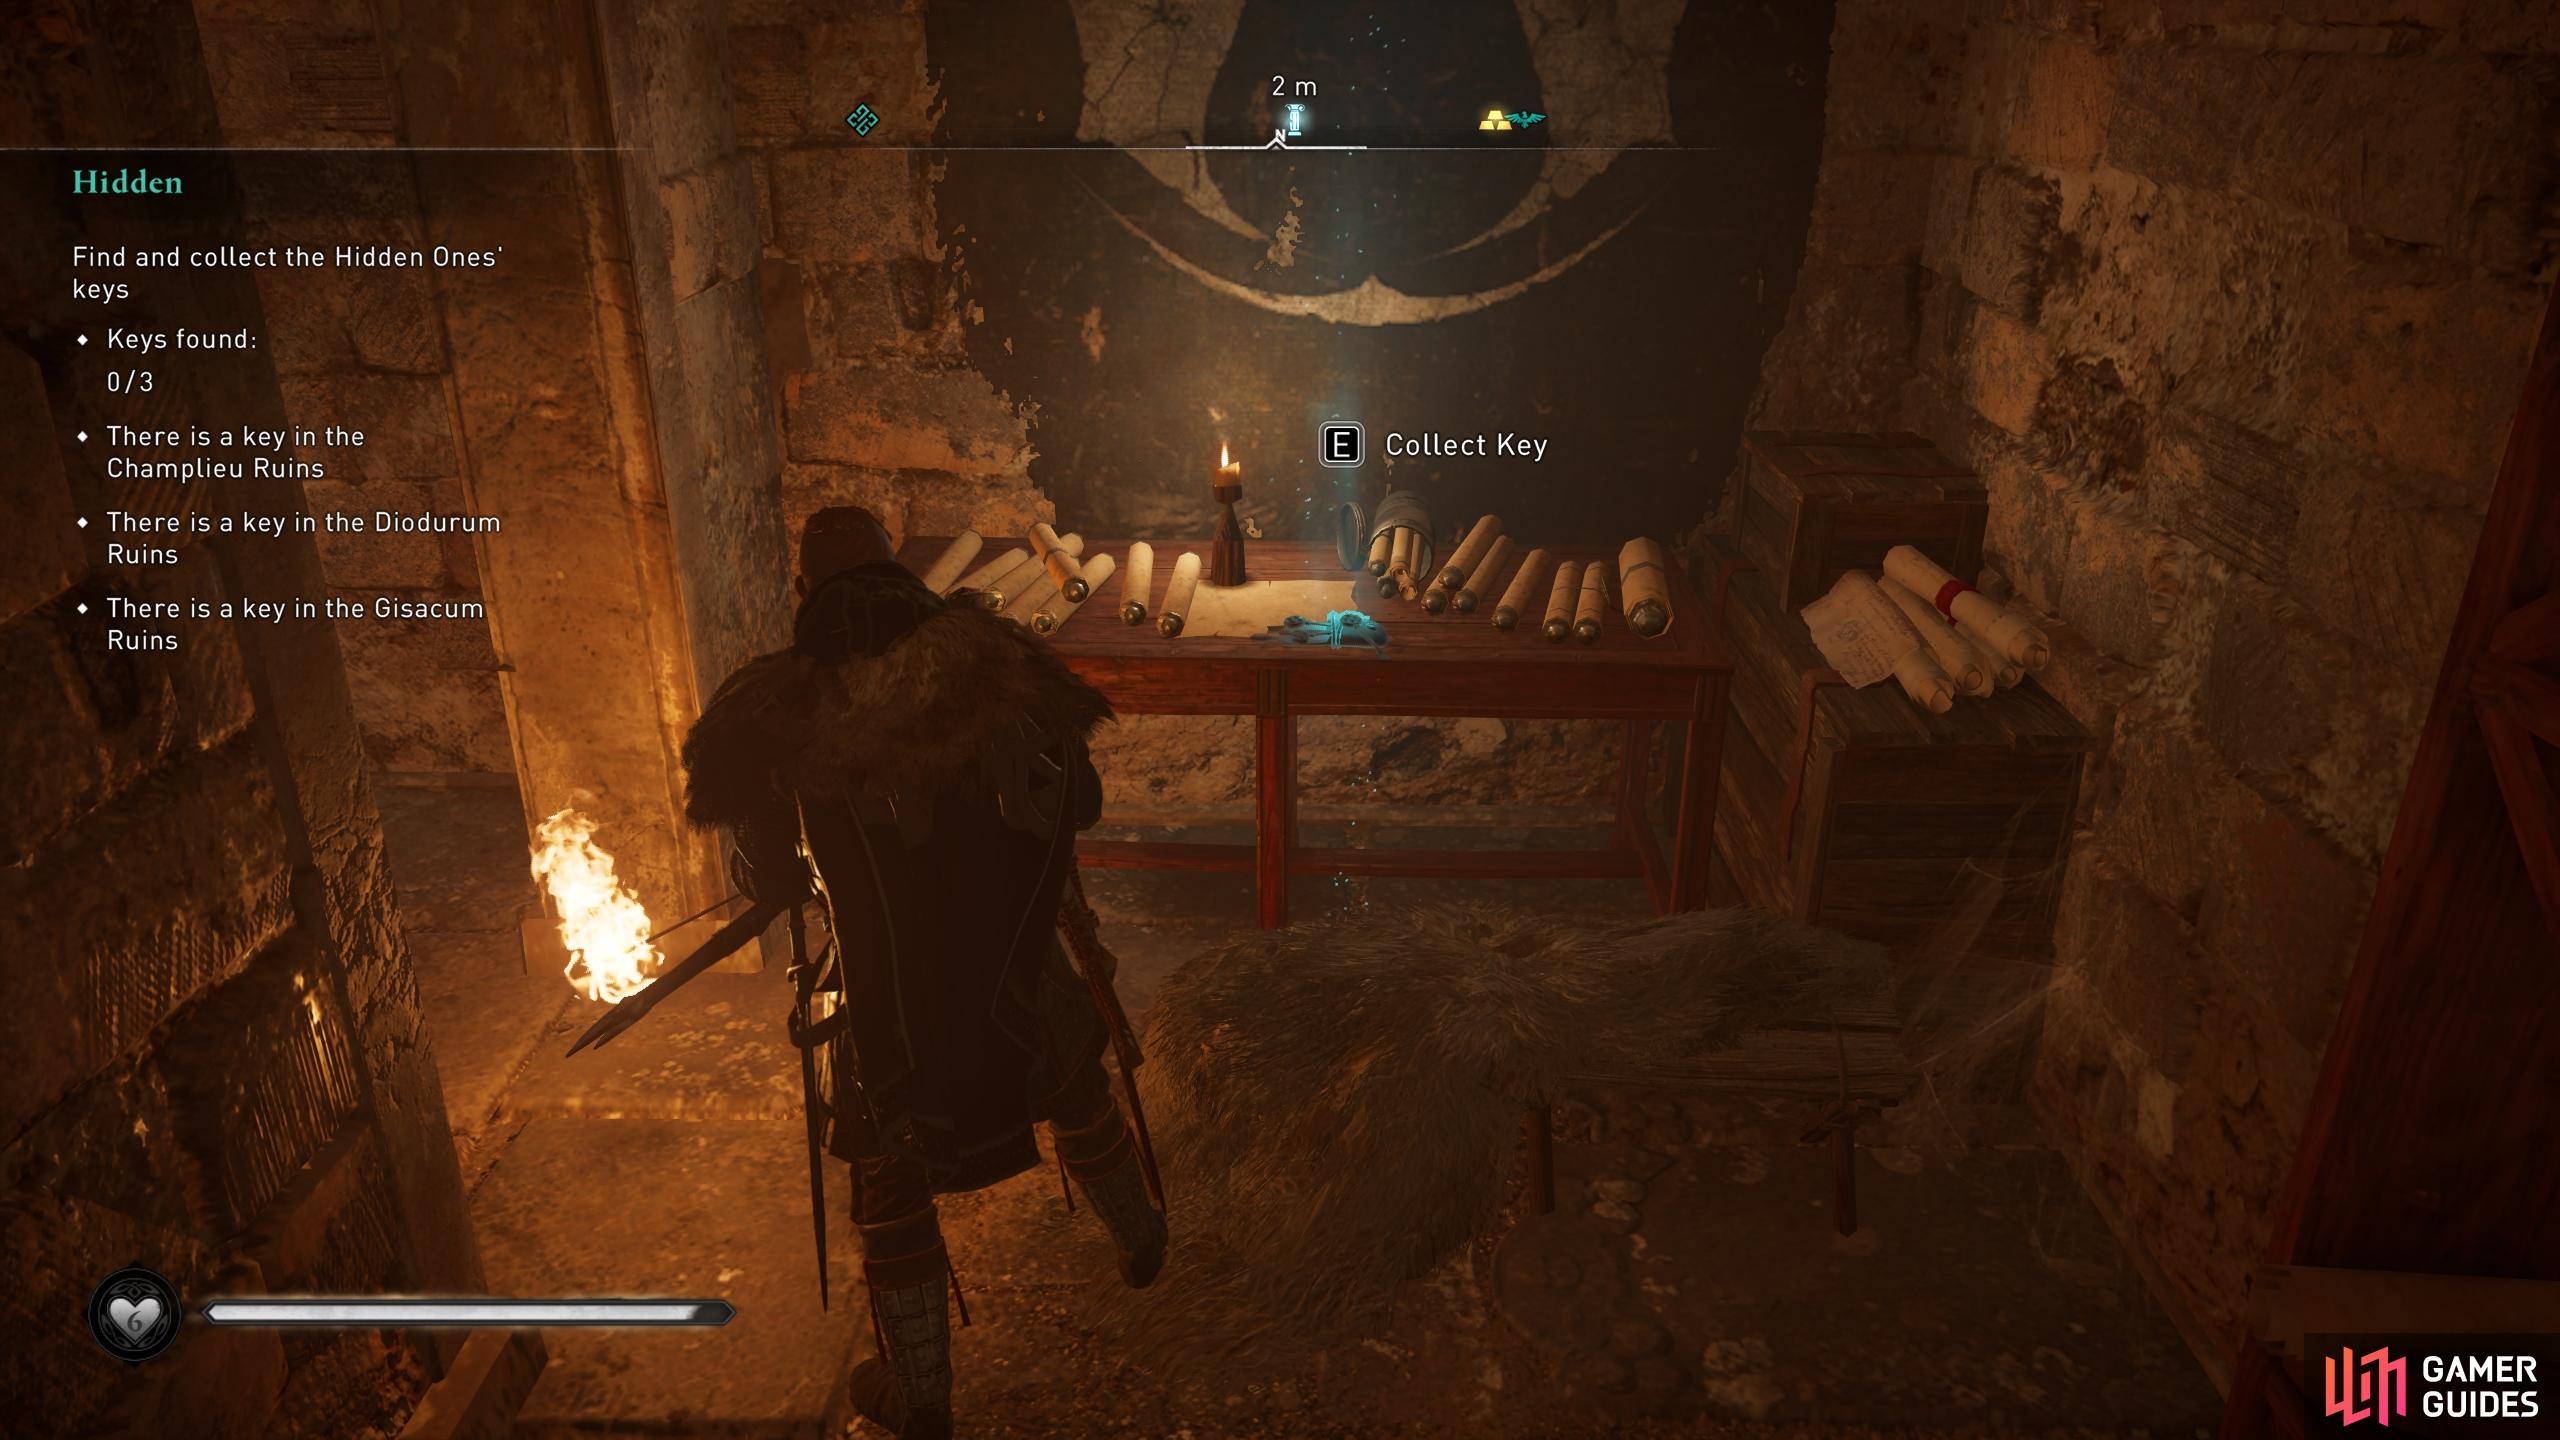
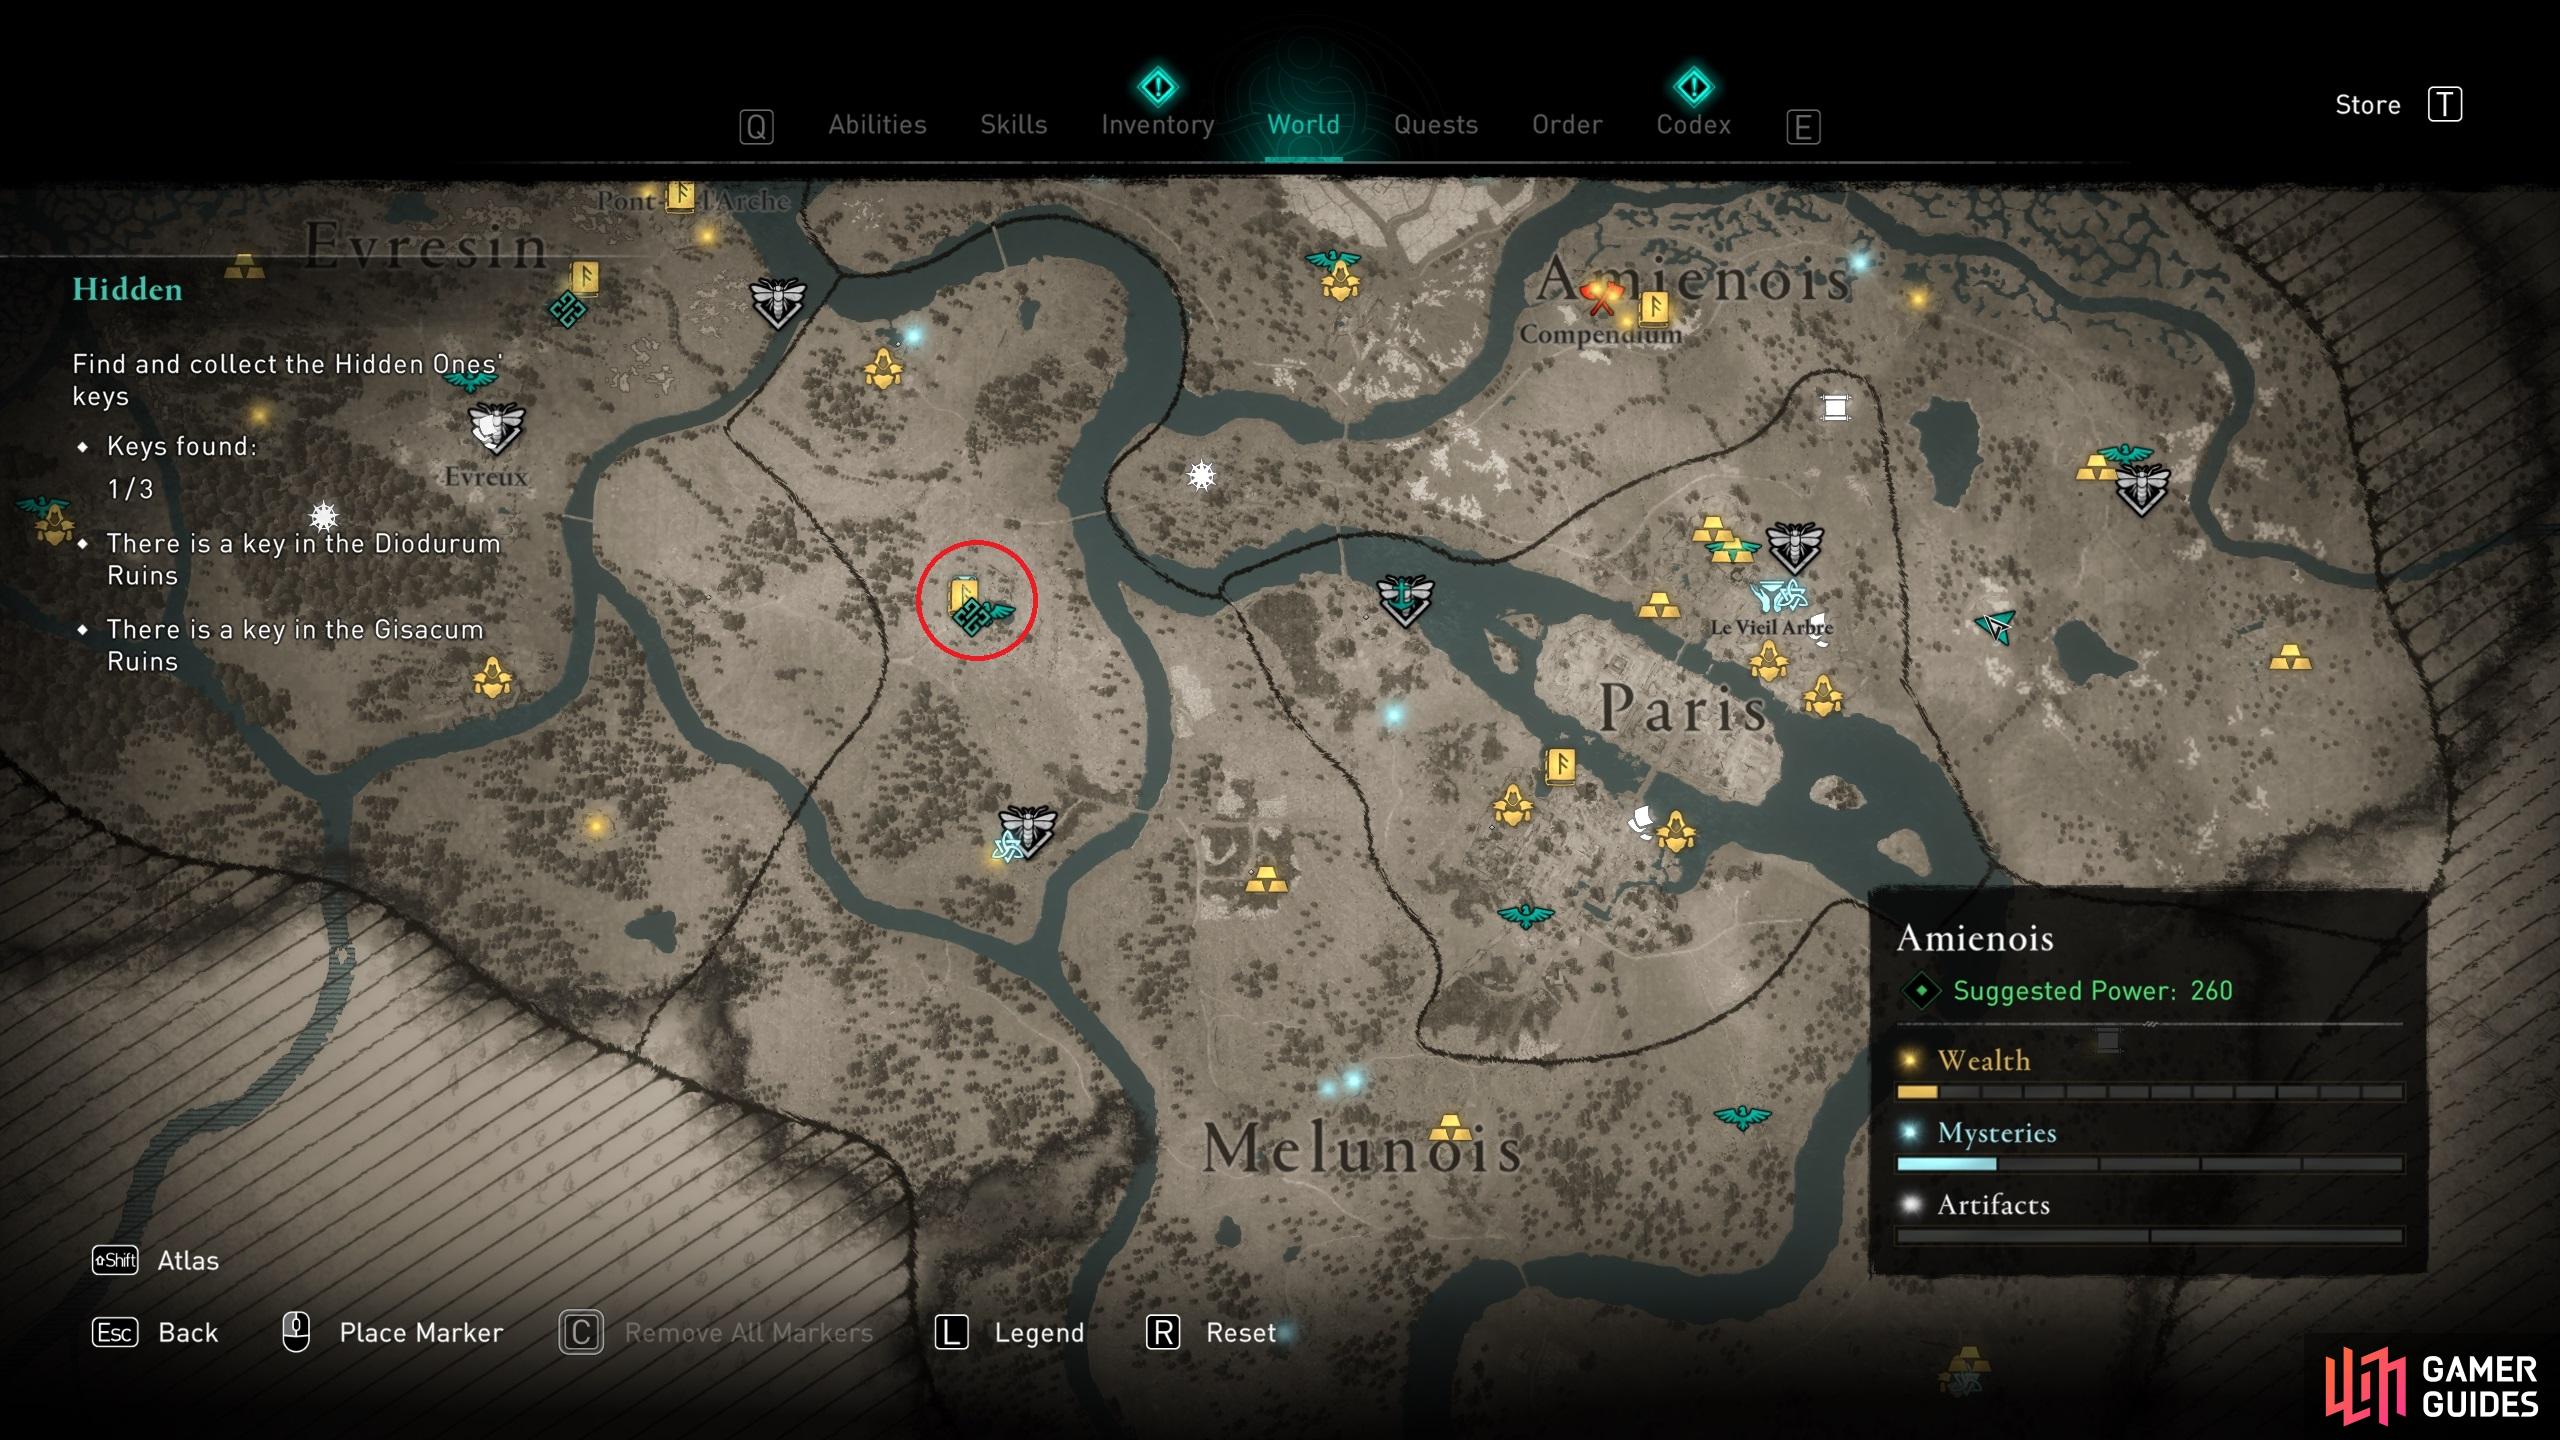
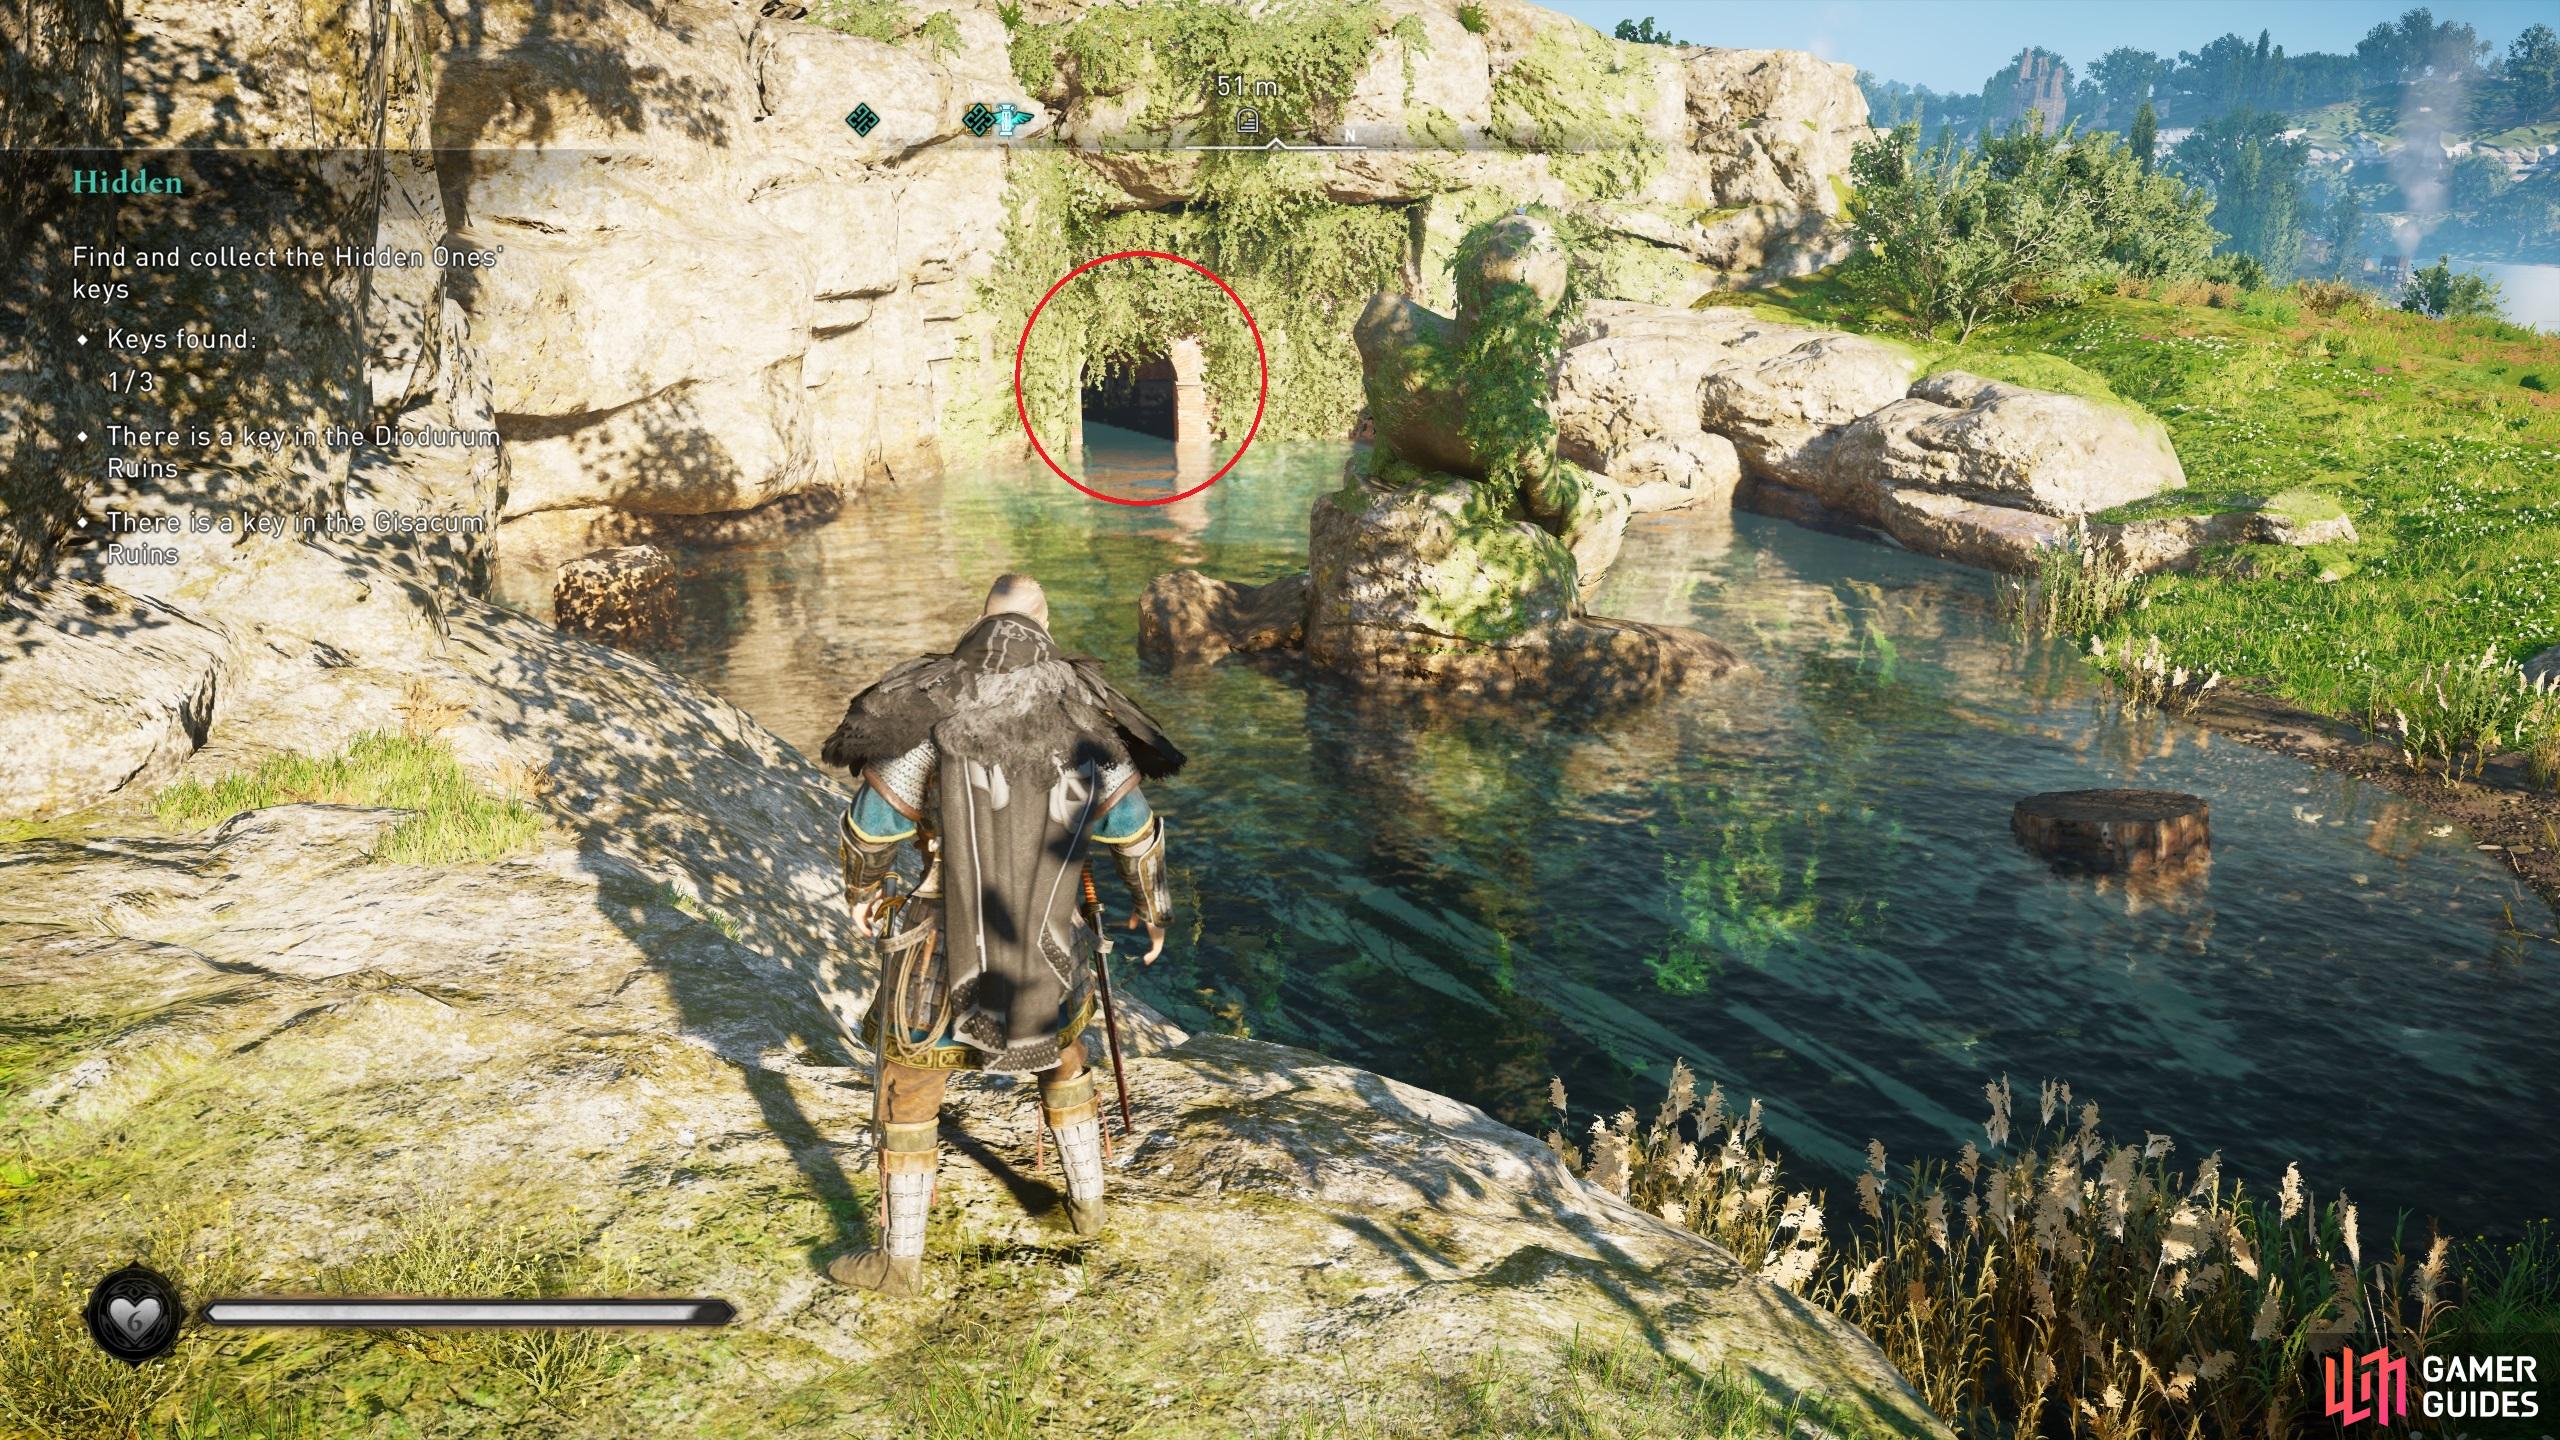
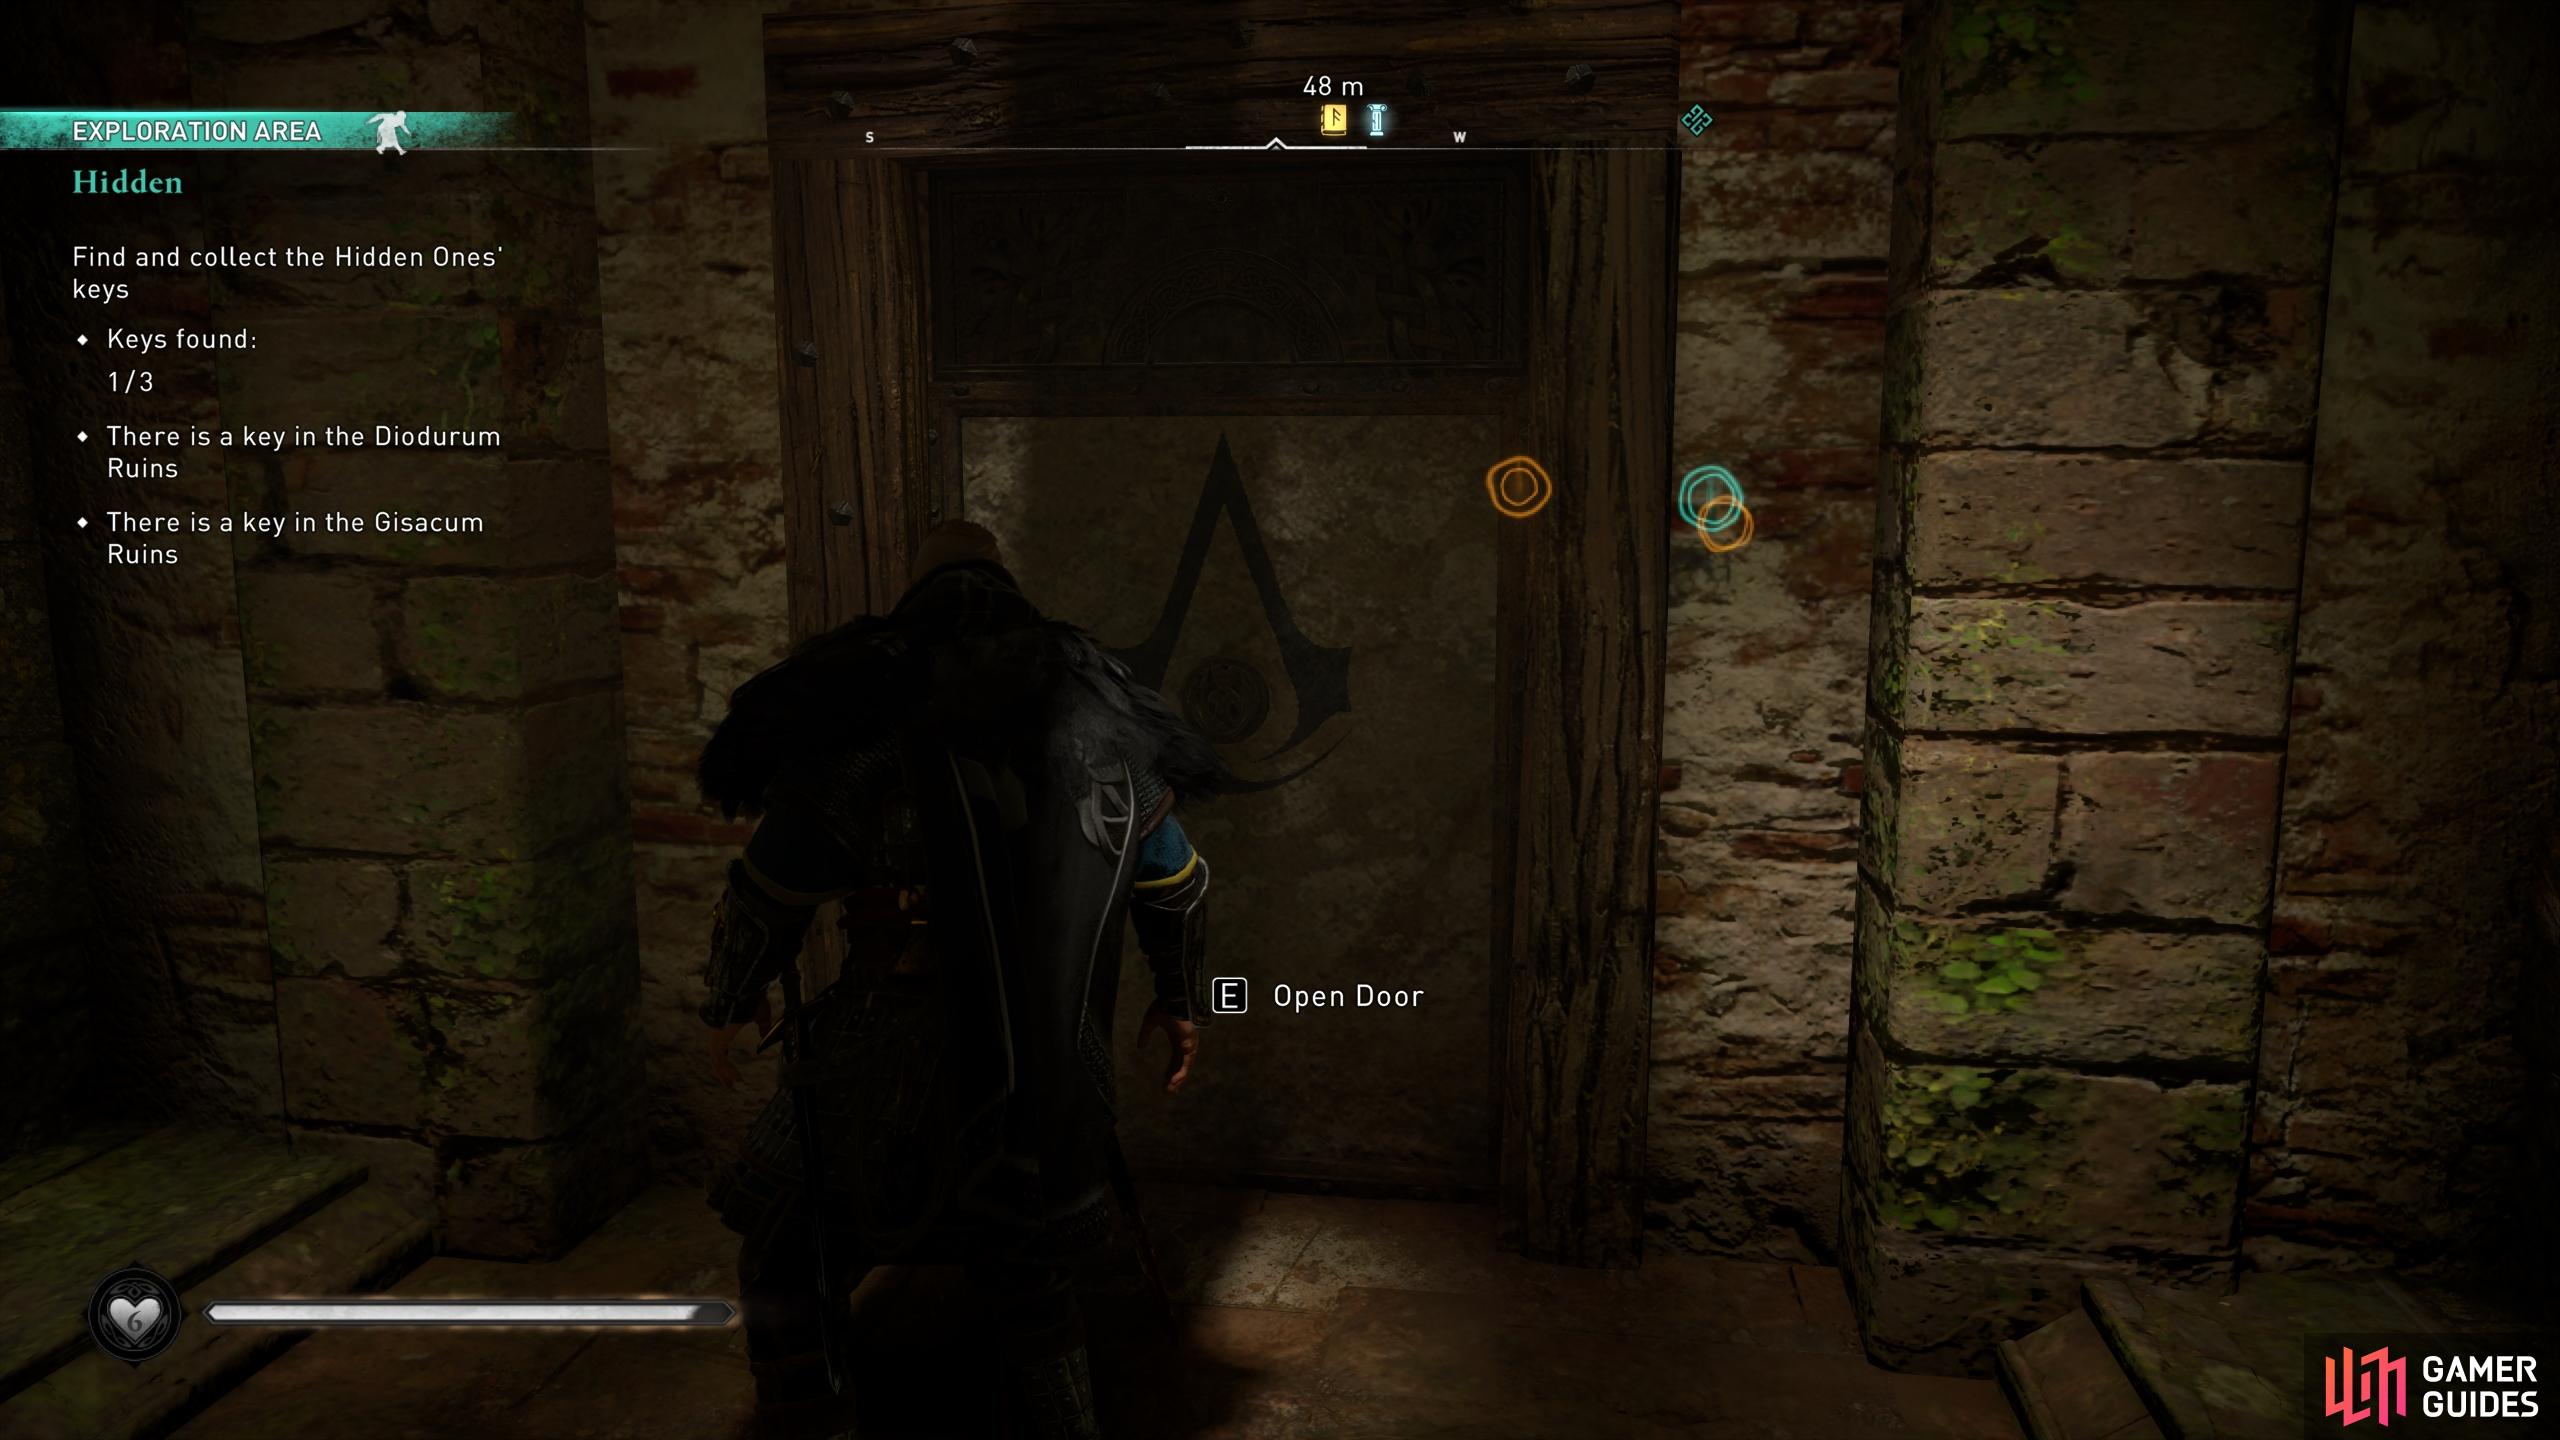
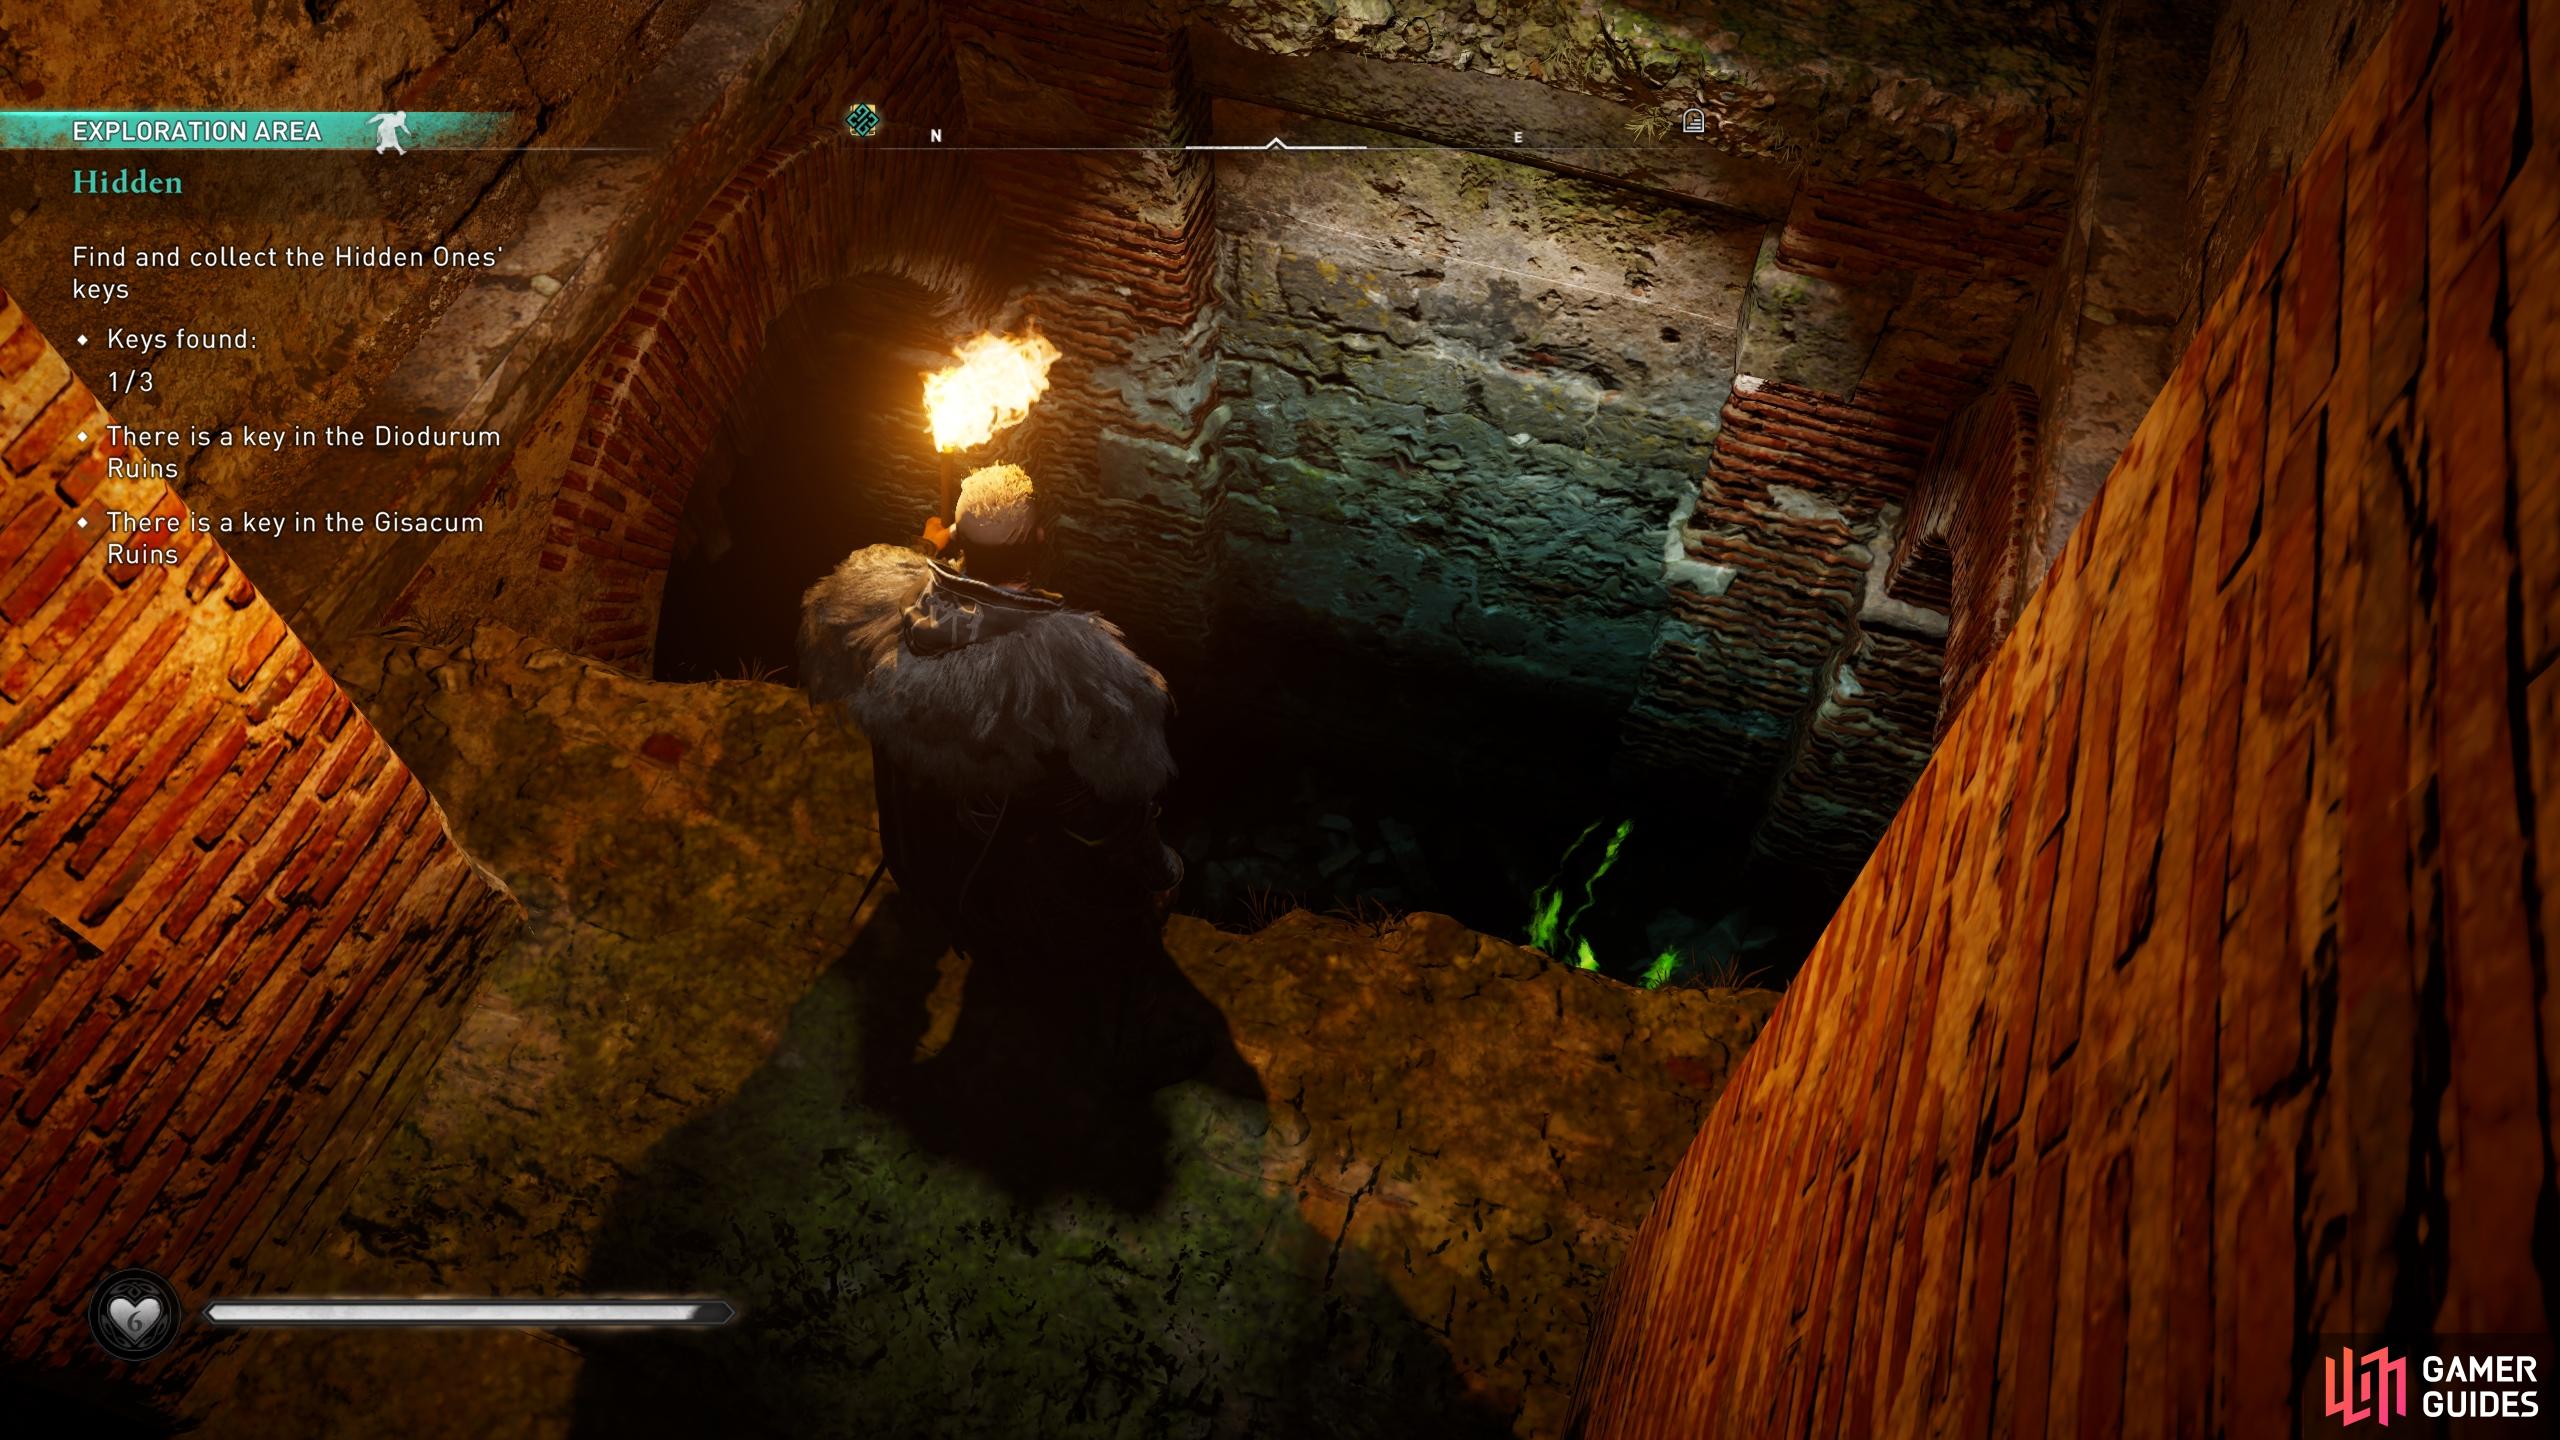
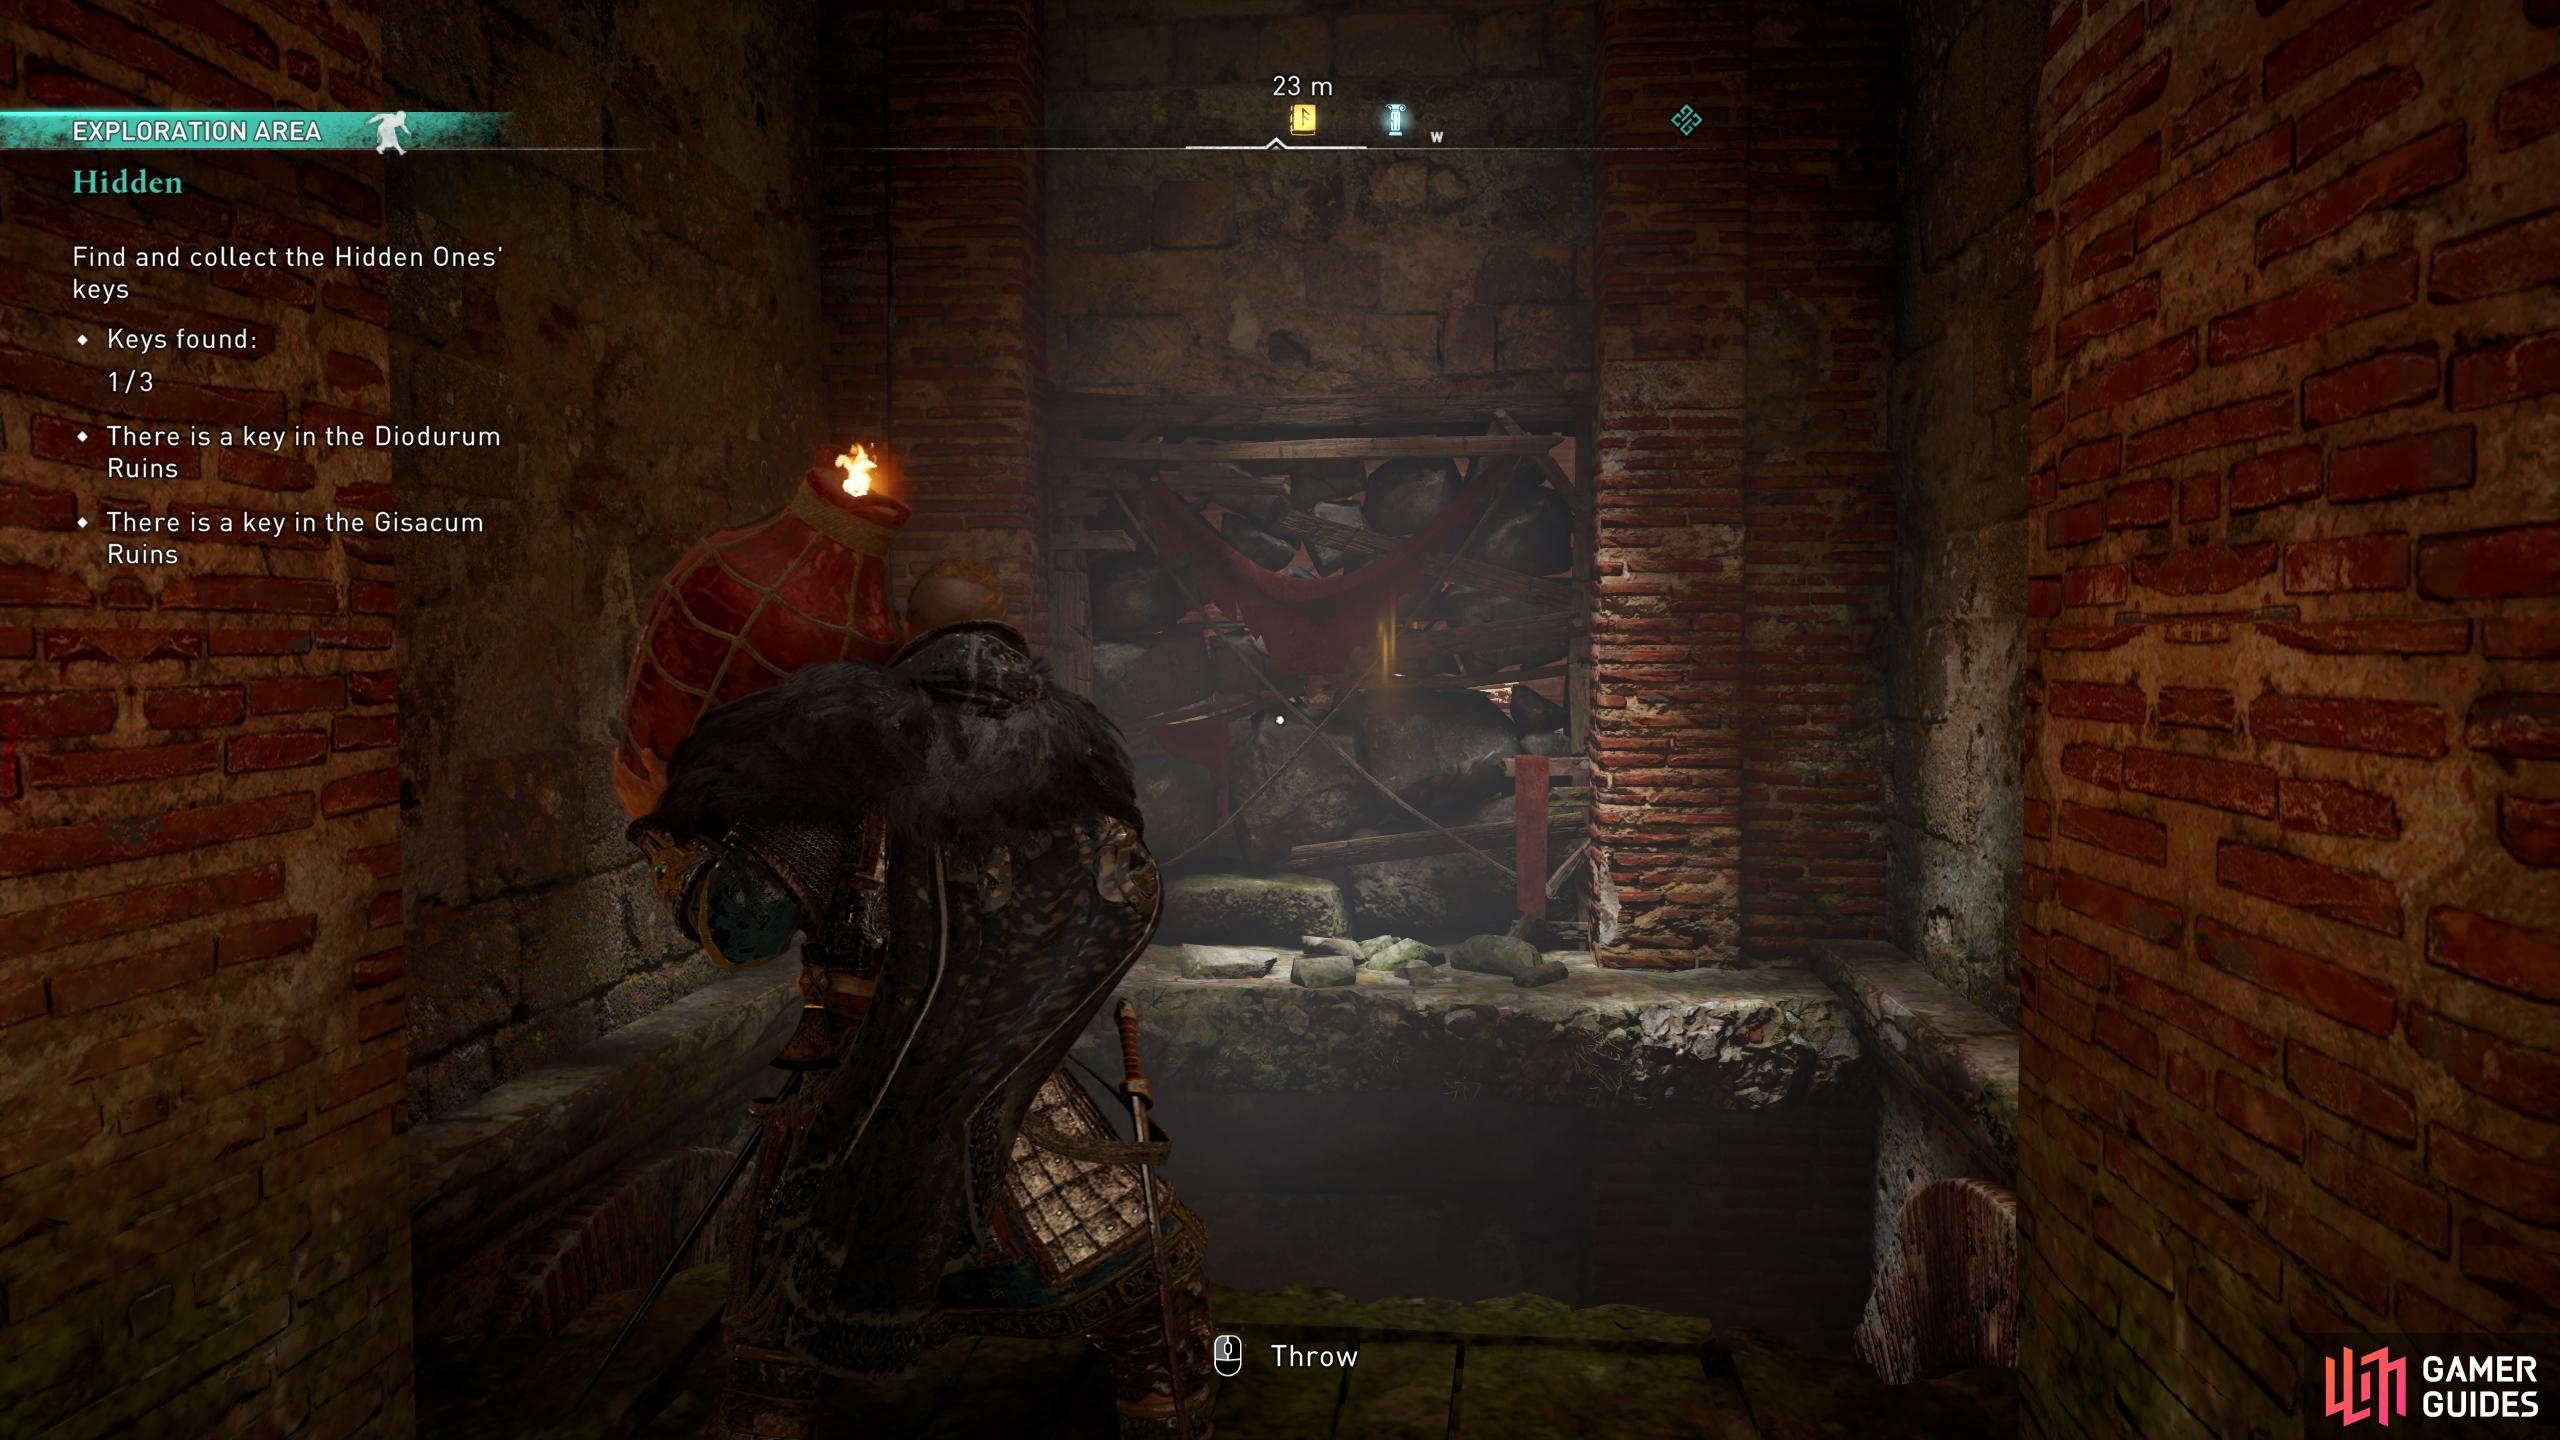
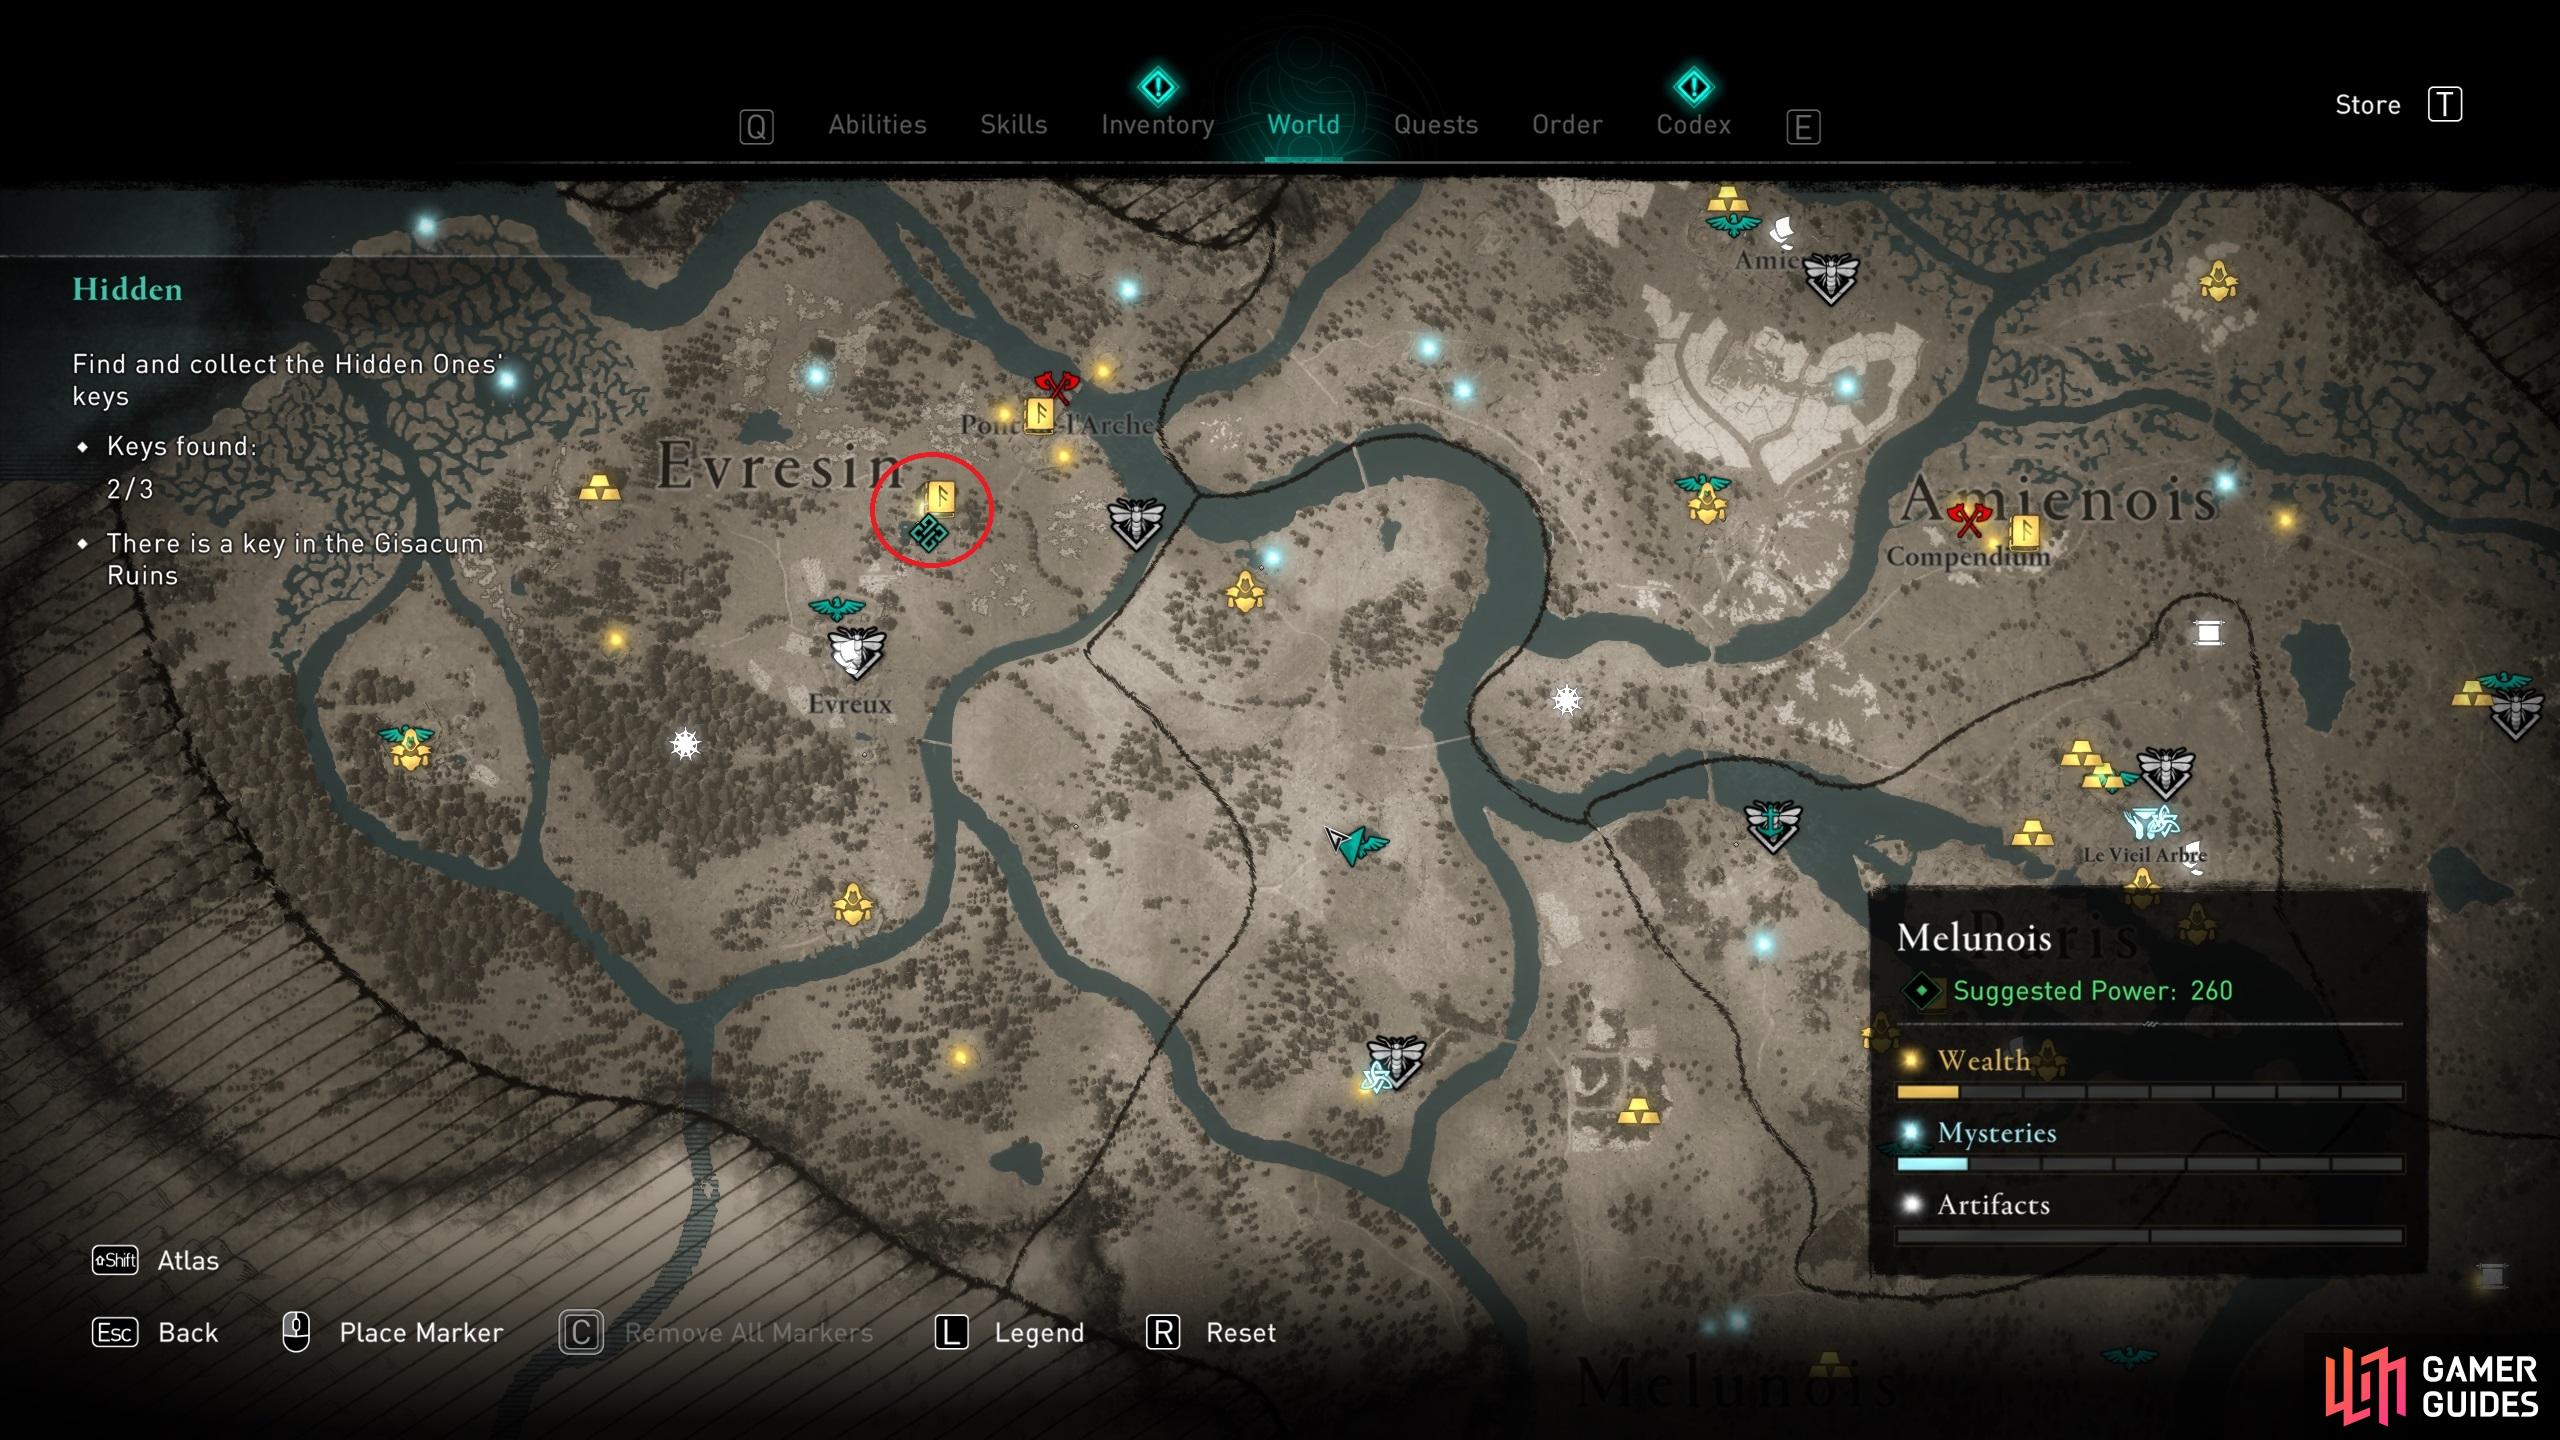
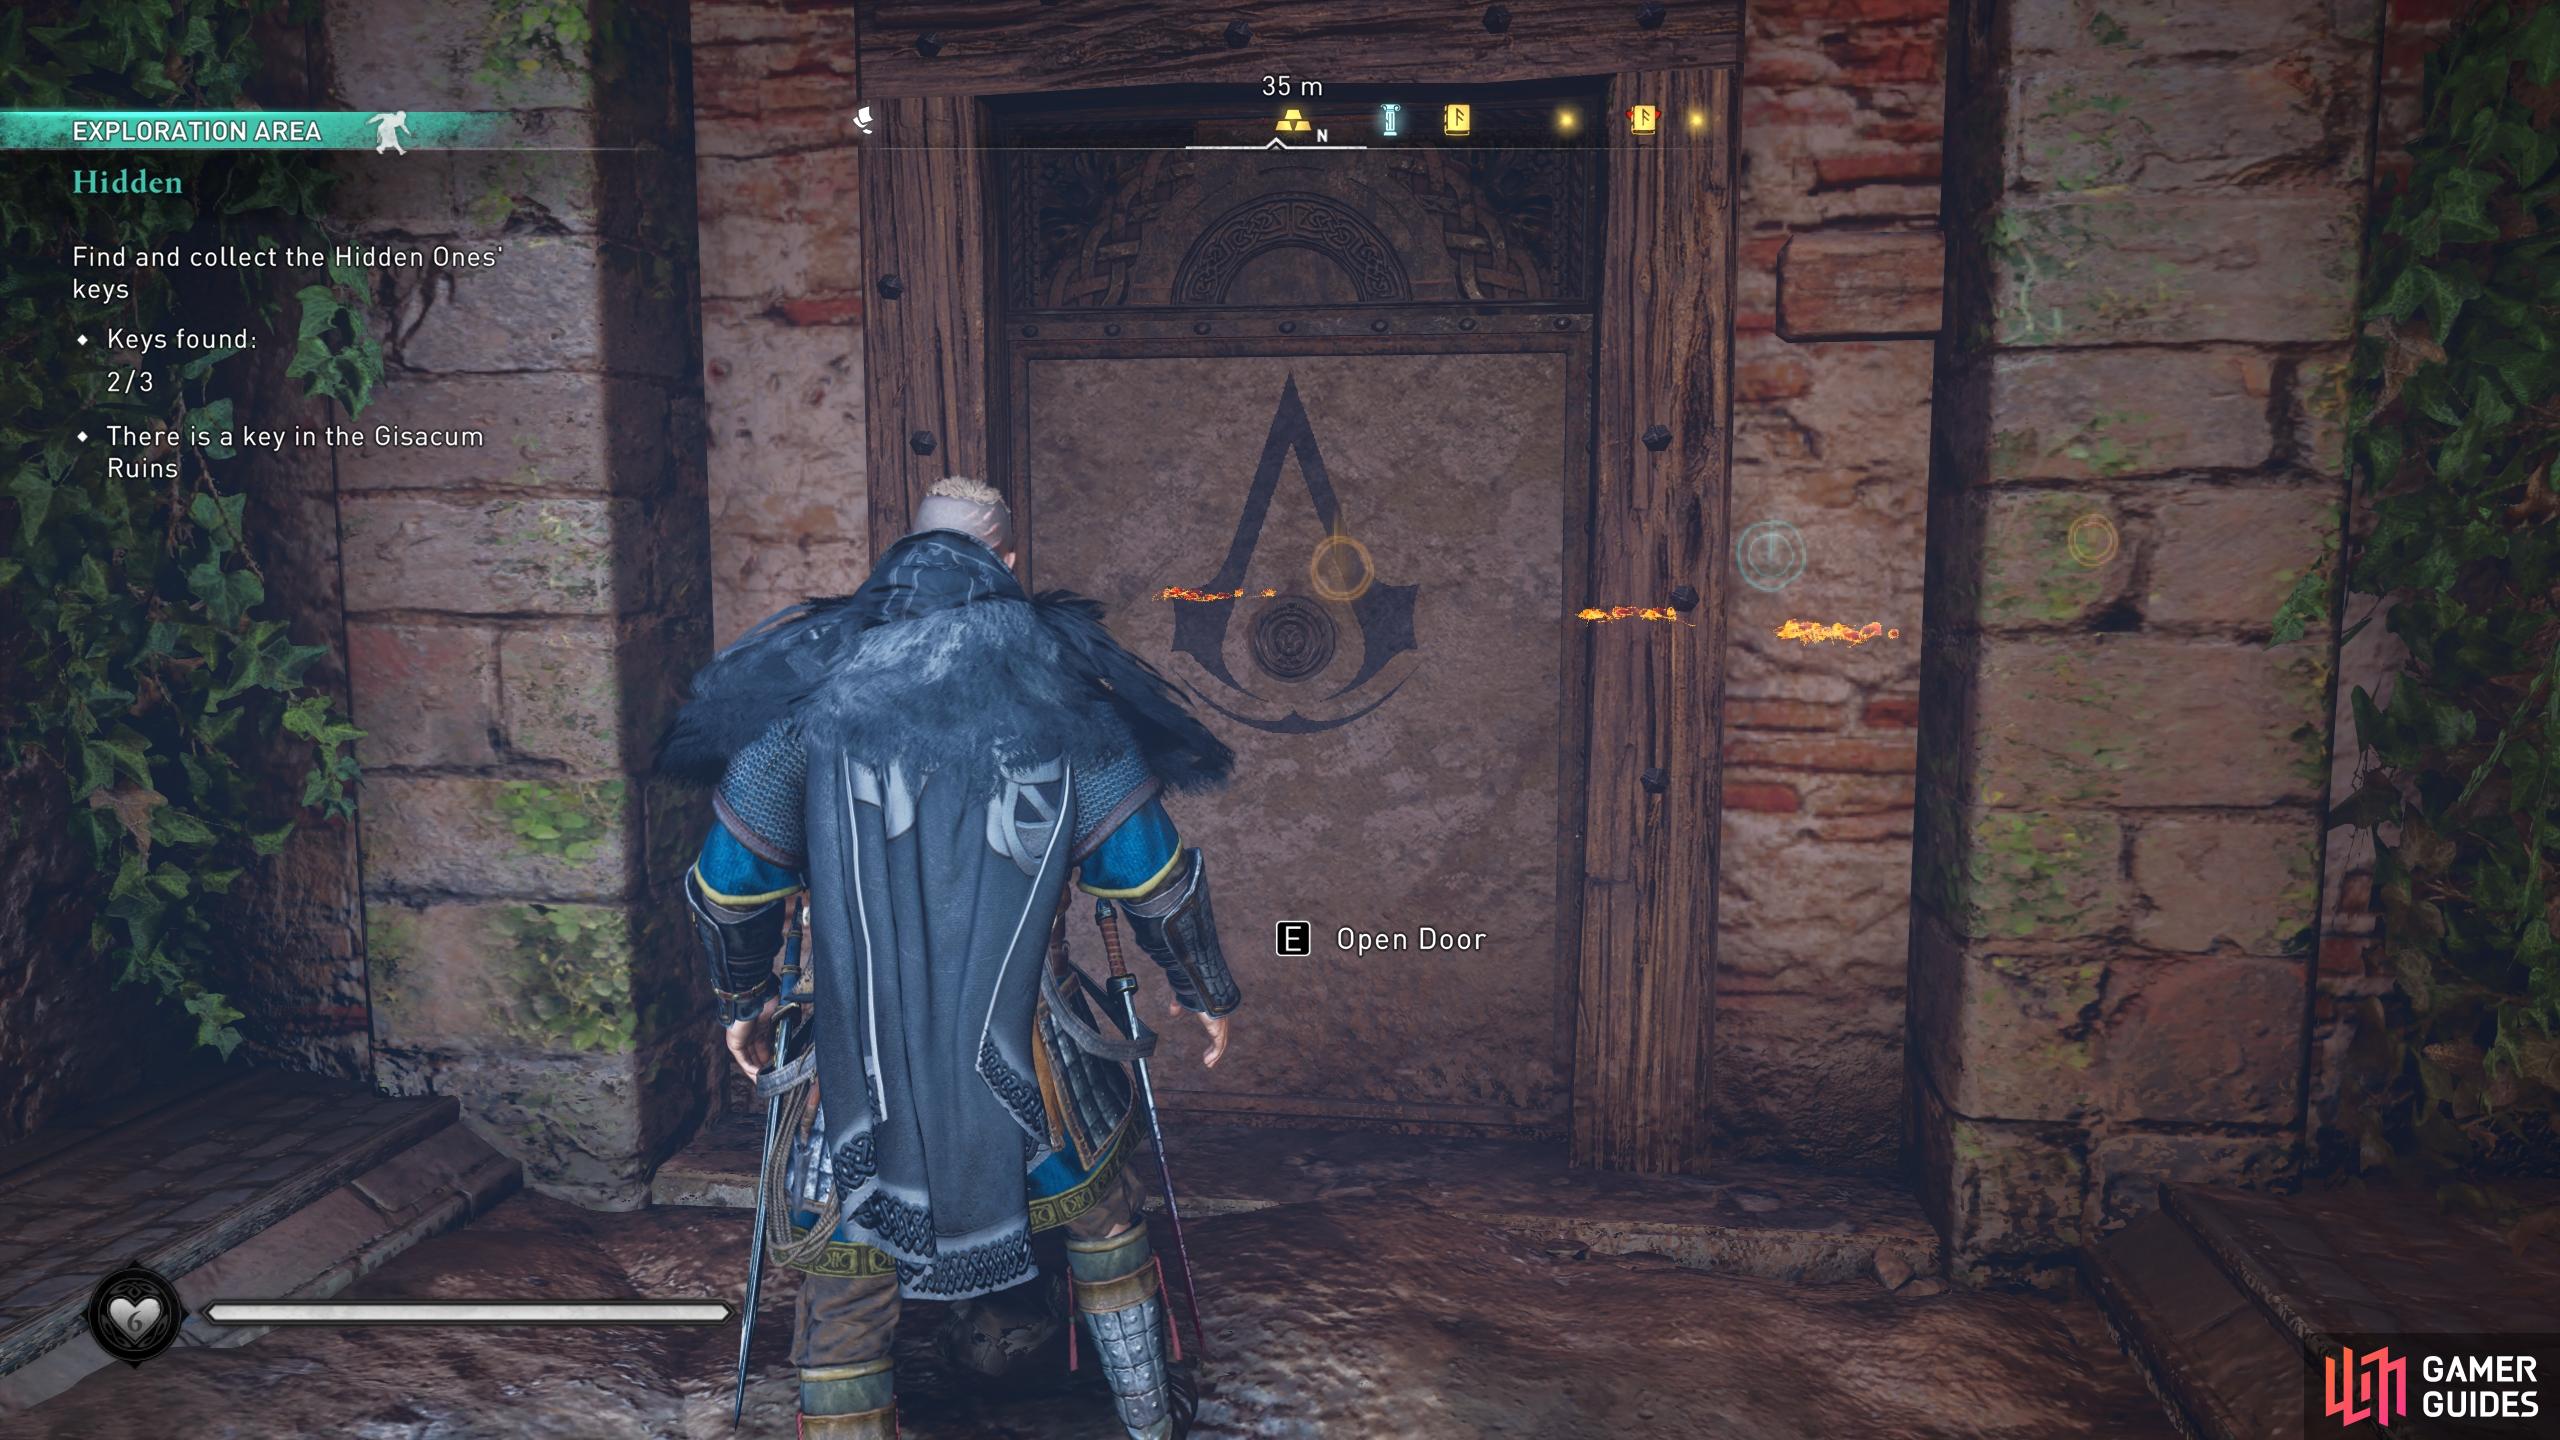
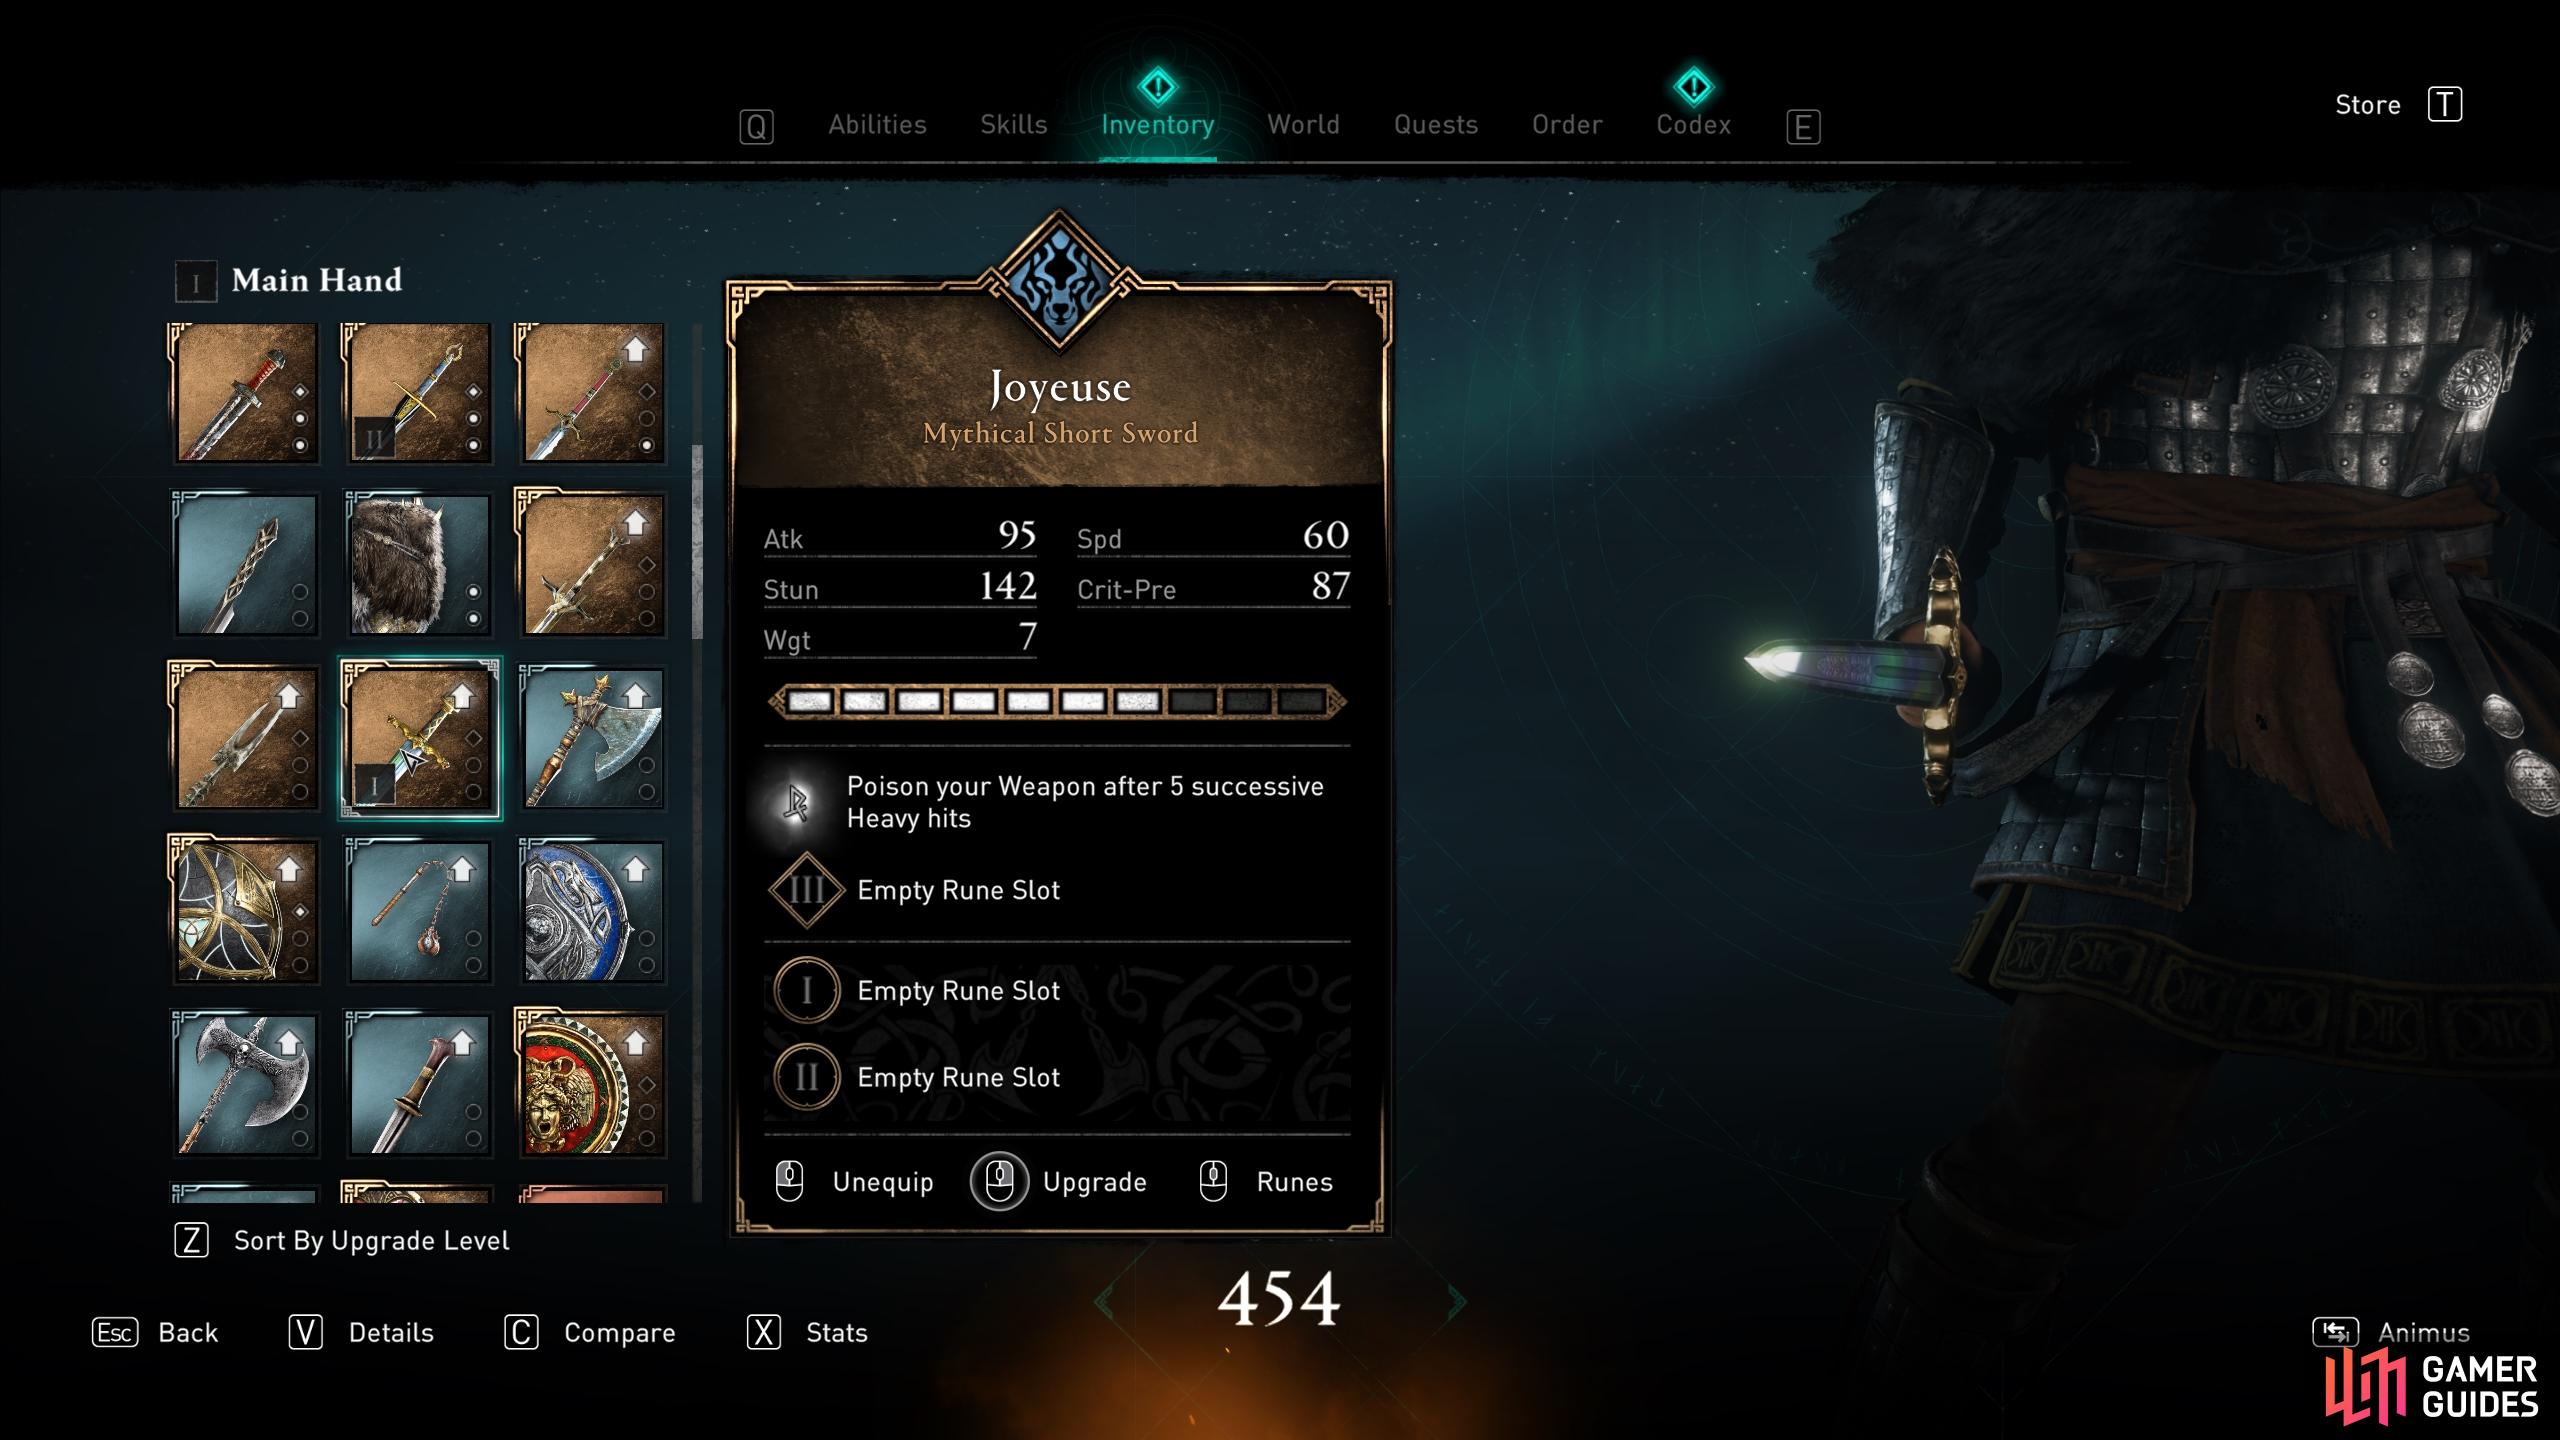
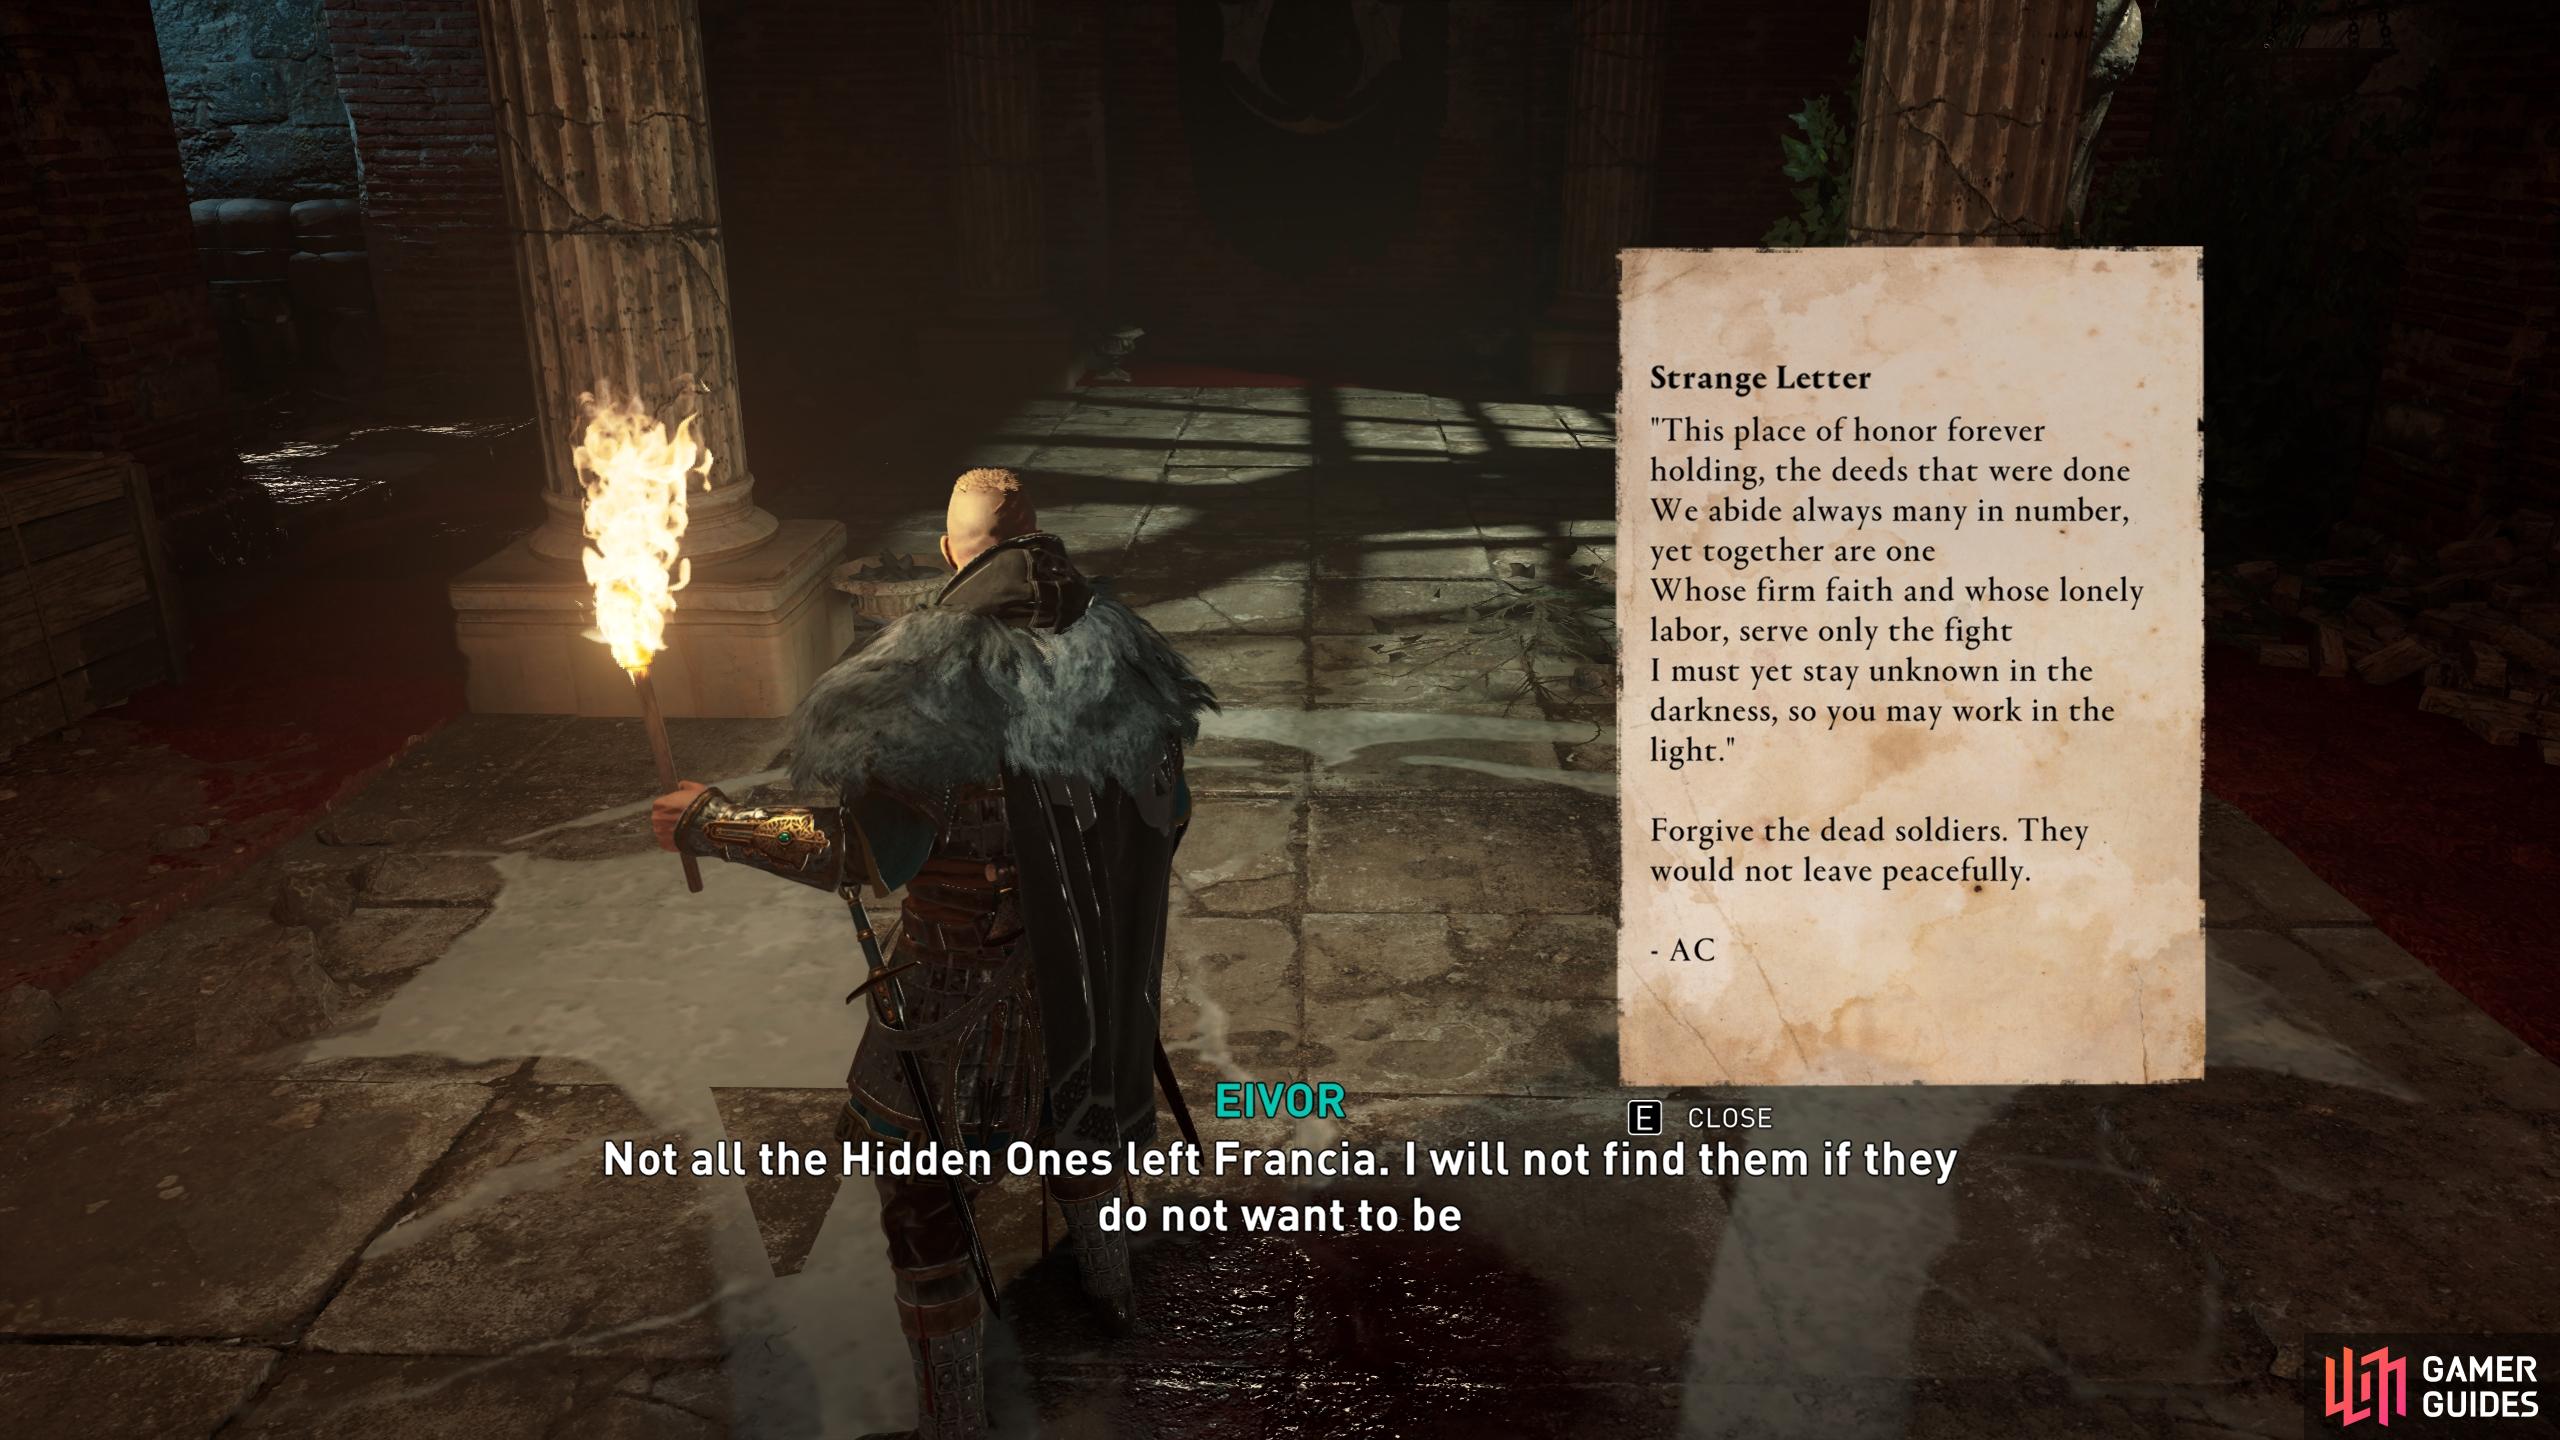
These ruins are located across the map in Francia, each of them offering a new special ability along with the key. We’ll begin with Champlieu Ruins, which is located to the northeast of Paris. (1 of 5) You’ll find the Agent Report which begins the Hidden quest at the longhouse in Melun. How to Find the Champlieu Ruins KeyAs you approach the location of Champlieu Ruins northeast of Paris, use your raven to scout the area and locate the entrance to the ruins. You’ll see a breakable wooden barrier with some dead guards around it. Shoot through the barrier and then drop down the hole to find a Hidden Ones door, which can only be opened by your Hidden Blade. Interact with the door to open it, then continue to the barricade at the southern side of the hall. To reach the Book of Knowledge, pull the barricade toward you (northward) until it passes the hole in the wall to your right (west). You can now go through the hole in the wall further north on the western wall, dispersing the rats with melee attacks as you go, until they’re all inside the sewer grate. You can now loot the nearby pots and then slide under the hole in the wall to reach the Book of Knowledge, which provides the Goule Breath special ability. Once you’ve looted the Book of Knowledge, slide back under the hole in the wall and take one of the fire pots. You may need to disperse the rats again first, since they’ll cause the fire pot to explode if they reach you while you’re holding it. If this happens don’t worry too much, as the fire pot will respawn. Take the fire pot back to the main hallway and use it to destroy the stone barricaded wall on the eastern side of the ruins. Beyond here you’ll find a hidden room containing the Champlieu Key. How to Find the Diodurum Ruins KeyWhen you reach the Diodurum Ruins (located west of Paris) and use your raven to scout it, you’ll see a breakable wooden barrier near the centre of the ruins. You won’t actually find an entrance through here, so don’t bother exploring it. Instead, go to the pond located east of the ruins, just beneath the cliff, and enter through the cave on the northern side of the pond. As you swim through you’ll eventually reach a point where you’ll need to dive under the water to proceed. You can then climb up to reach another door which can only be opened with your Hidden Blade. Interact with the door to open it, then jump down the hole on the other side, into the water below. Swim northward, then west, then south, until you’re able to resurface in a room with some fire pots and a breakable wall. Use one of the fire pots to destroy the wall, then proceed into the room with the Book of Knowledge, which provides the Golden Flame ability, and the Diodurum Key on the table at the northern wall. Once you have both the Book of Knowledge and the key, you can exit the Diodurum Ruins from the same way you entered, or by moving the barricades beyond the door to the south. How to Find the Gisacum Ruins KeyThe Gisacum Ruins are slightly different than the other two ruins, since you’ll need to avoid or kill some Frankish soldiers to get inside. As you approach the ruins, use your raven to scout them and look for the breakable wooden barrier on the ground. You can destroy this and then jump down the hole to another door which can only be opened with your Hidden Blade. You should be able to avoid the nearby Frankish soldiers relatively easily, but there aren’t too many to be concerned about if you’d rather kill them. Once you’ve interacted with the bureau door, go inside and run to the left (western wall) to find a wealth chest containing a Tungsten Ingot. You can then run to the right side of the room (eastern wall) to find the Gisacum Key in the corner. If you’re not bothered about getting the Book of Knowledge further up, you can leave at this point and return to the bureau in Paris. However, if you want the Plague of Rats special ability, you can take a fire pot from the western wall and use it to destroy the breakable barricade at the northern wall. Through here you’ll find another breakable barricade which can be destroyed with a fire pot or the Incendiary Powder Trap special ability. You’ll find the Book of Knowledge in the rubble beyond this wall. Explore the Lutetia Bureau in Paris for the Joyeuse SwordNow that you have all three keys from the - Champlieu, Diodurum, and Gisacum Ruins, you can use them to open the door at the Lutetia Bureau in Paris. When you enter this bureau you’ll find that it’s much larger than the previous three, but you’ll be looking for one piece of treasure in particular to complete the quest: the Joyeuse one-handed sword. As you first enter the bureau you’ll be able to explore the room to your west without being harassed by rats. Here you’ll find a note which details the abandonment of the bureau, in much the same way that those in England were abandoned. When you’re ready, jump down into the main chamber of the bureau and use your torch to light up the ground. You’ll find markings here in the form of the Hidden Ones symbol, pointing toward the southeastern wall. You can destroy the barricade blocking the way down to the treasure by using one of the fire pots which can be found on the level above the main chamber, or by using the Incendiary Powder Trap special ability. Once you’ve destroyed the wall, you’ll need to kill a number of snakes which surround the wealth chest. You can then loot it for the Joyeuse one-handed sword. At this point the quest will update, indicating that you should leave the bureau. As you do, you’ll notice the symbol on the ground is now lit by flames. Before you leave, take the opal at the northwestern side of the chamber, then climb up to the exit. When you reach the quest marker Eivor will comment on some footsteps, suggesting that they’re not alone. A note will be left near the door, which you can read to complete the quest. |
|||||||||||||||||||||||||||||||||||||||||||||||

|
Do What Is RightComplete the Siege of Paris campaign (The Siege of Paris). |
5.33% Very Rare | 40 | ||||||||||||||||||||||||||||||||||||||||||||
|
To unlock this achievement, you’ll need to complete all the main story quests for the Siege of Paris DLC. We’ve included a list of these below, with links to their associated guide pages.
|
|||||||||||||||||||||||||||||||||||||||||||||||

|
All Roads Lead to DublinReach the max level of Dublin Renown (Wrath of the Druids). |
6.00% Very Rare | 20 | ||||||||||||||||||||||||||||||||||||||||||||
|
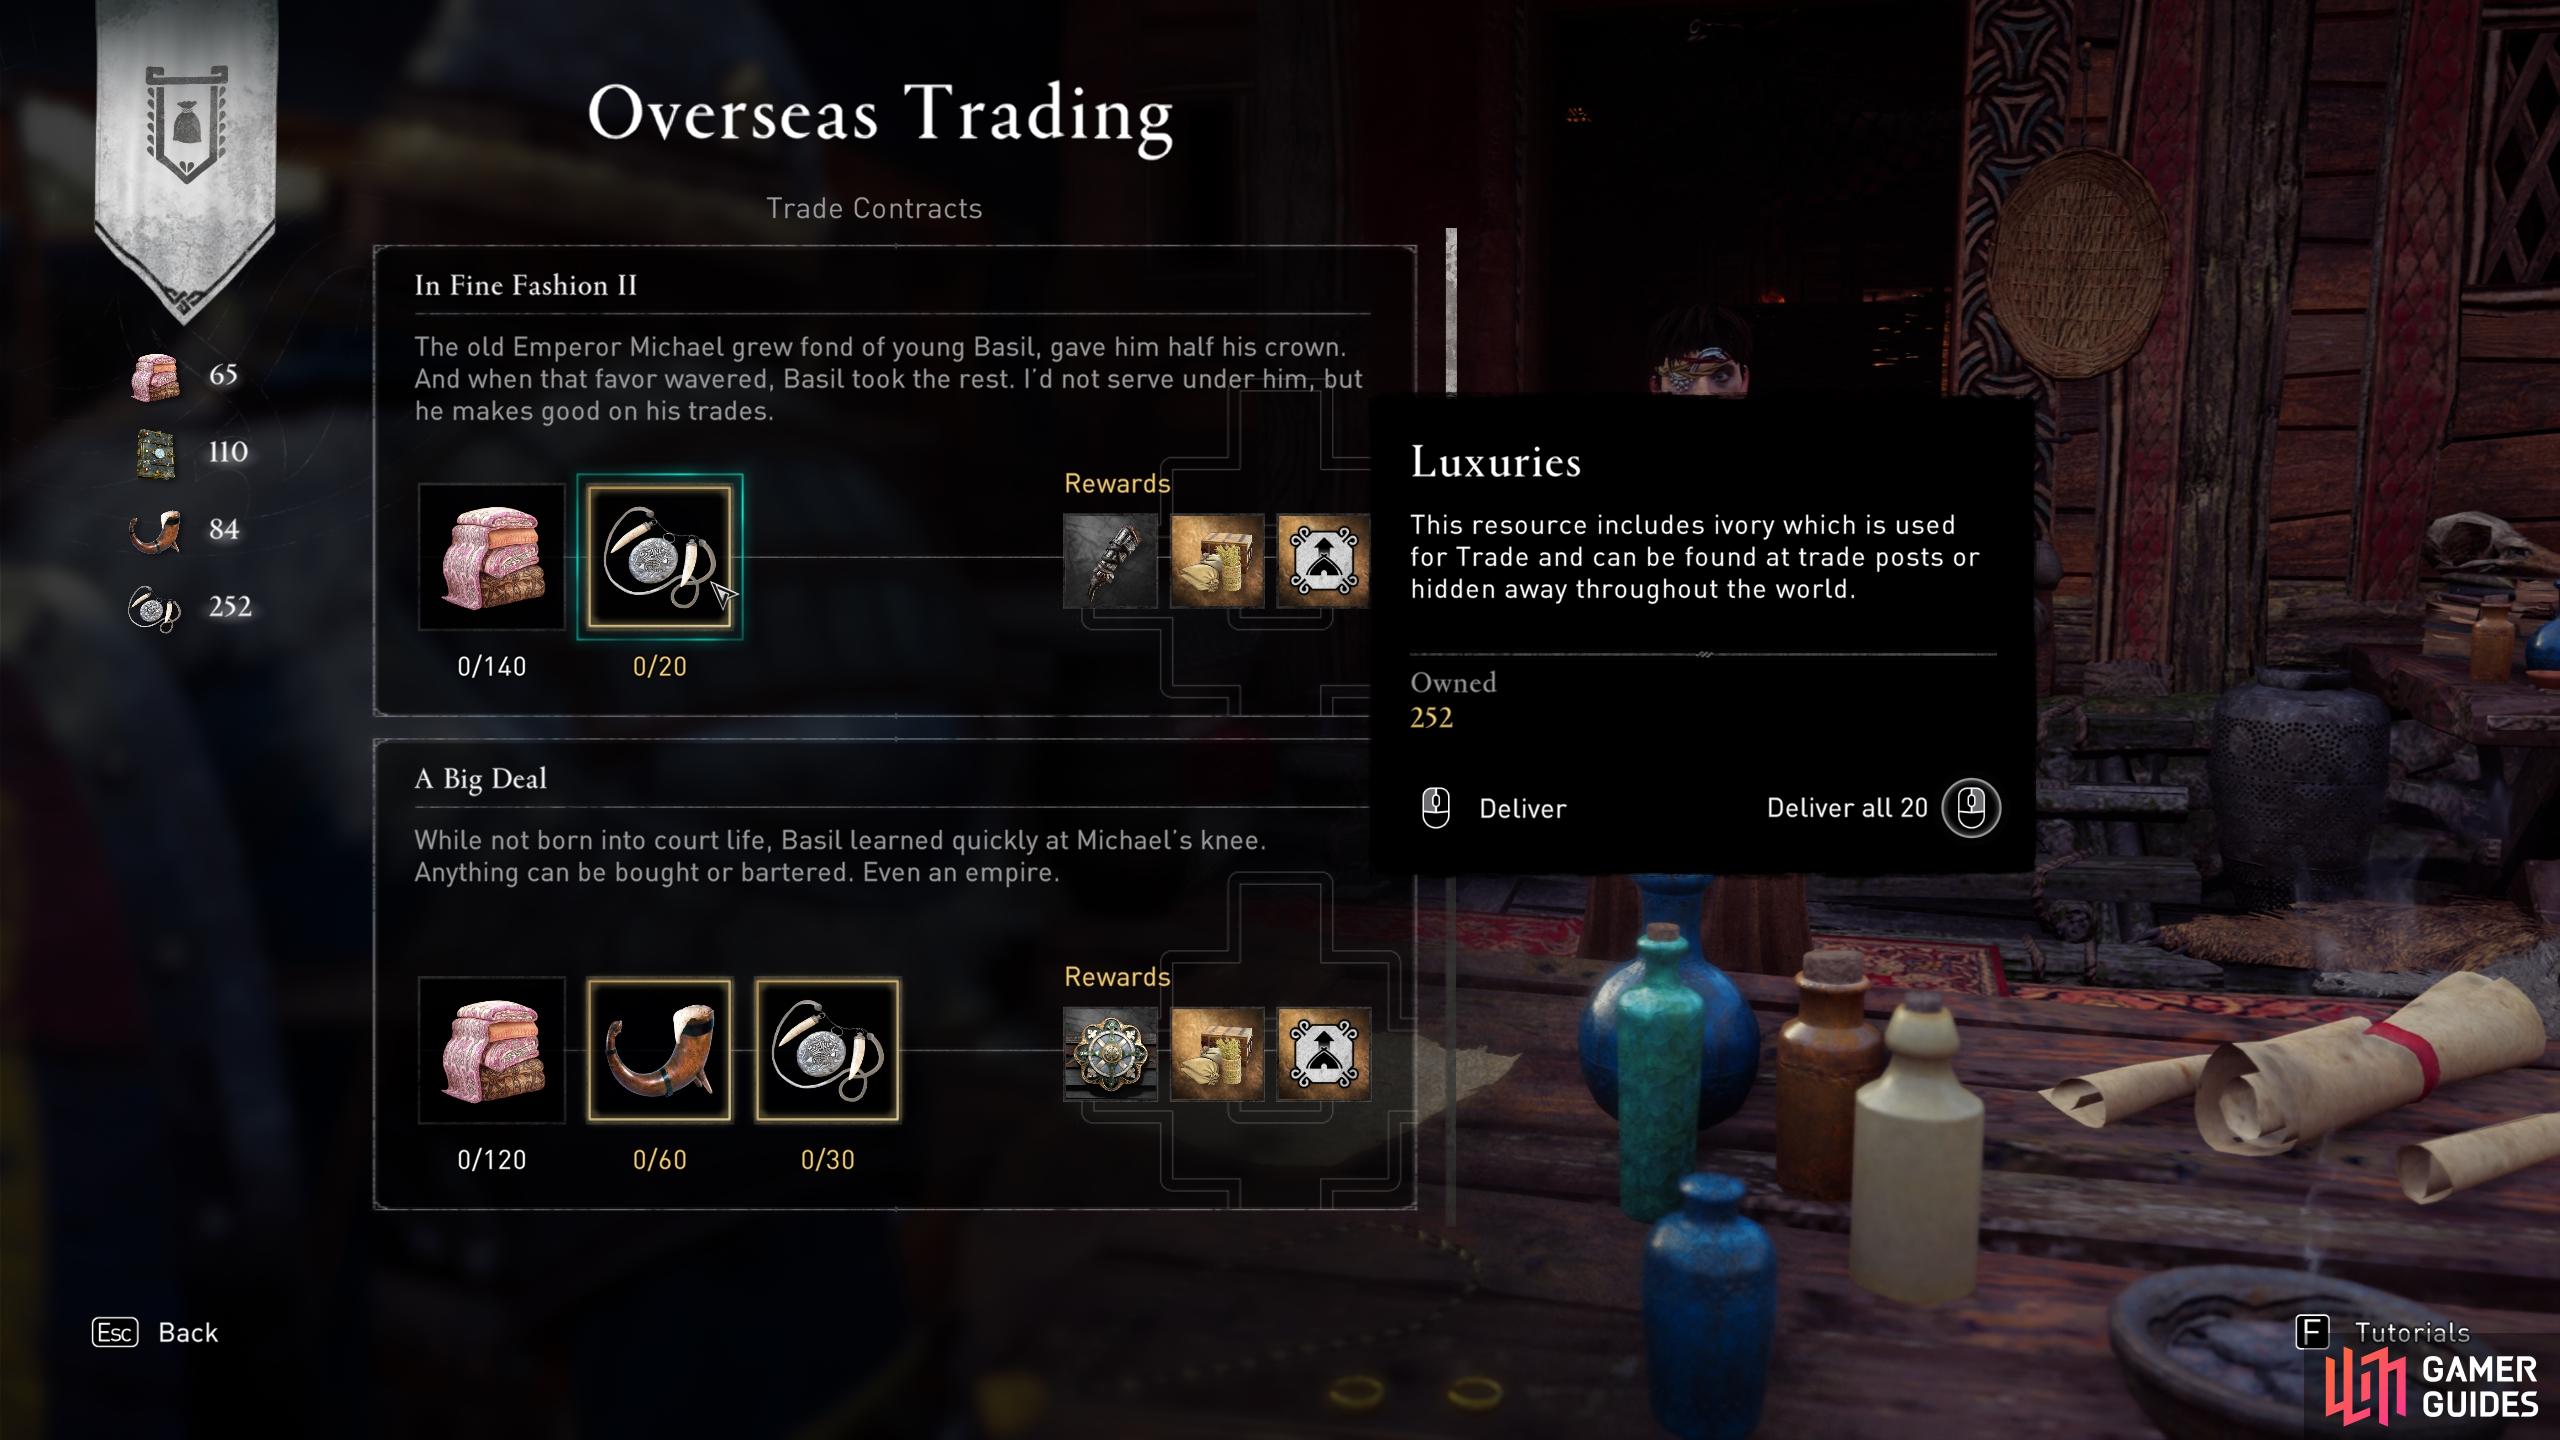
To unlock this achievement, you need to reach the max level of Dublin Renown. How to Complete Dublin’s ReachThis is an ongoing quest which you acquire as soon as you begin to earn renown for Dublin. The renown rank of Dublin can be tracked by hovering over the fast travel marker in the settlement from the world map. The renown of Dublin will increase each time that you make a trade with Azar using the four main trade items: Clothing, Texts, Delicacies, and Luxuries. To learn more about how the new Trade Post system works, see our What Are Trade Posts? page. The easiest way to increase Dublin renown is by controlling all of the Trade Posts in Ireland. You will then be able to accumulate trade items which you can use to exchange for rewards and increase Dublin renown. Aside from the initial Trade Post of Rathdown which becomes available during Rathdown Build Up, there are six other Trade Posts that you can bring under your control:
Dublin Renown Ranks & RewardsEach time you rank up Dublin’s trade renown to a new level, you’ll have access to new armor, weapons, and cosmetic schematics which will become available for trade. Each rank is associated with a specific trade region:
Once you’ve traded for all the items from a specific region, a new trade option will become available which allows you to trade 100 Clothing, Texts, Delicacies, or Luxuries in exchange for 40 silver and 50 XP each time you make the trade. (1 of 3) Trade the items you earn from Trade Posts in exchange for goods from distant lands. |
|||||||||||||||||||||||||||||||||||||||||||||||

|
Home DecorPlace an item on each settlement cosmetic spot |
6.04% Very Rare | 20 | ||||||||||||||||||||||||||||||||||||||||||||
|
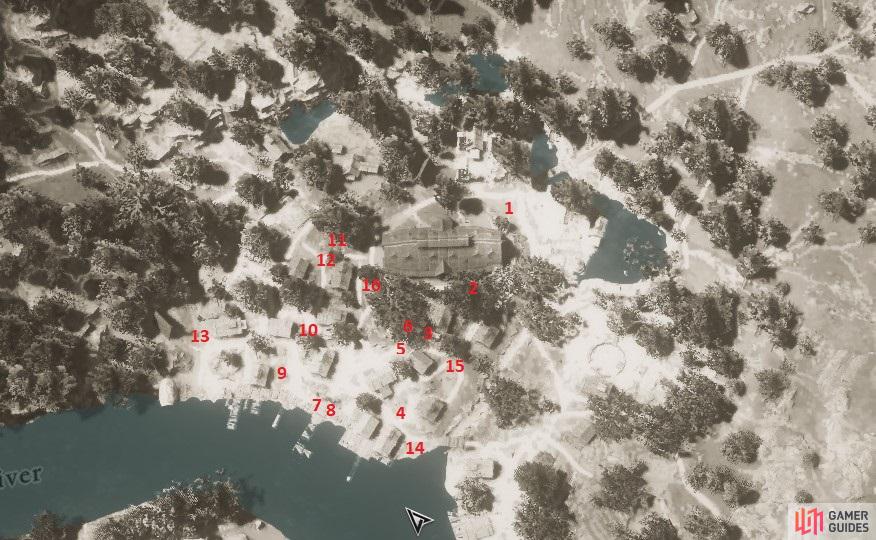
This Trophy / Achievement is obtained once you’ve placed an item on each settlement cosmetic spot in Ravensthorpe. This only includes those which were present in the base game before settlement expansions, of which there are 16 in total.
The locations of each decoration cosmetic spot, ordered in relation to the list of locations noted above. |
|||||||||||||||||||||||||||||||||||||||||||||||

|
Dawn of the DruidsCollect all the amber shards for Deirdre (Wrath of the Druids). |
6.04% Very Rare | 20 | ||||||||||||||||||||||||||||||||||||||||||||
|
To unlock this achievement, you’ll need to kill all the Children of Danu order members. You’ll receive the amber shards automatically once you kill them. We’ve listed all 10 members below, with links for where to find them and how to kill them. Where to Find Amber Shards from Children of Danu Members |
|||||||||||||||||||||||||||||||||||||||||||||||

|
All That GlittersGet your first Gold Medal in a Mastery Challenge |
6.04% Very Rare | 10 | ||||||||||||||||||||||||||||||||||||||||||||
|
To unlock this achievement, you’ll need to obtain your first gold medal in a mastery challenge. We’ve included a list of all mastery challenges below, including how to complete them with full points for the gold medals. How to Obtain Gold Medals in Mastery ChallengesSciropescire - Wenlocan Outpost
Lunden - Lolingestone Bandit Camp
Snotinghamscire - Odin Mine Hideout |
|||||||||||||||||||||||||||||||||||||||||||||||

|
Like a DruidComplete a Trial of the Morrigan (Wrath of the Druids). |
6.57% Very Rare | 20 | ||||||||||||||||||||||||||||||||||||||||||||
|
To unlock this achievement, you’ll need to complete at least one Trial of the Morrigan mysteries. There are 3 in total, located in Meath, Connacht, and Ulster. We’ve linked to each page below for your convenience. Where to Find Trial of the Morrigan Mysteries |
|||||||||||||||||||||||||||||||||||||||||||||||

|
A Picture of GraceRun through 30 breakable objects |
6.59% Very Rare | 20 | ||||||||||||||||||||||||||||||||||||||||||||
|
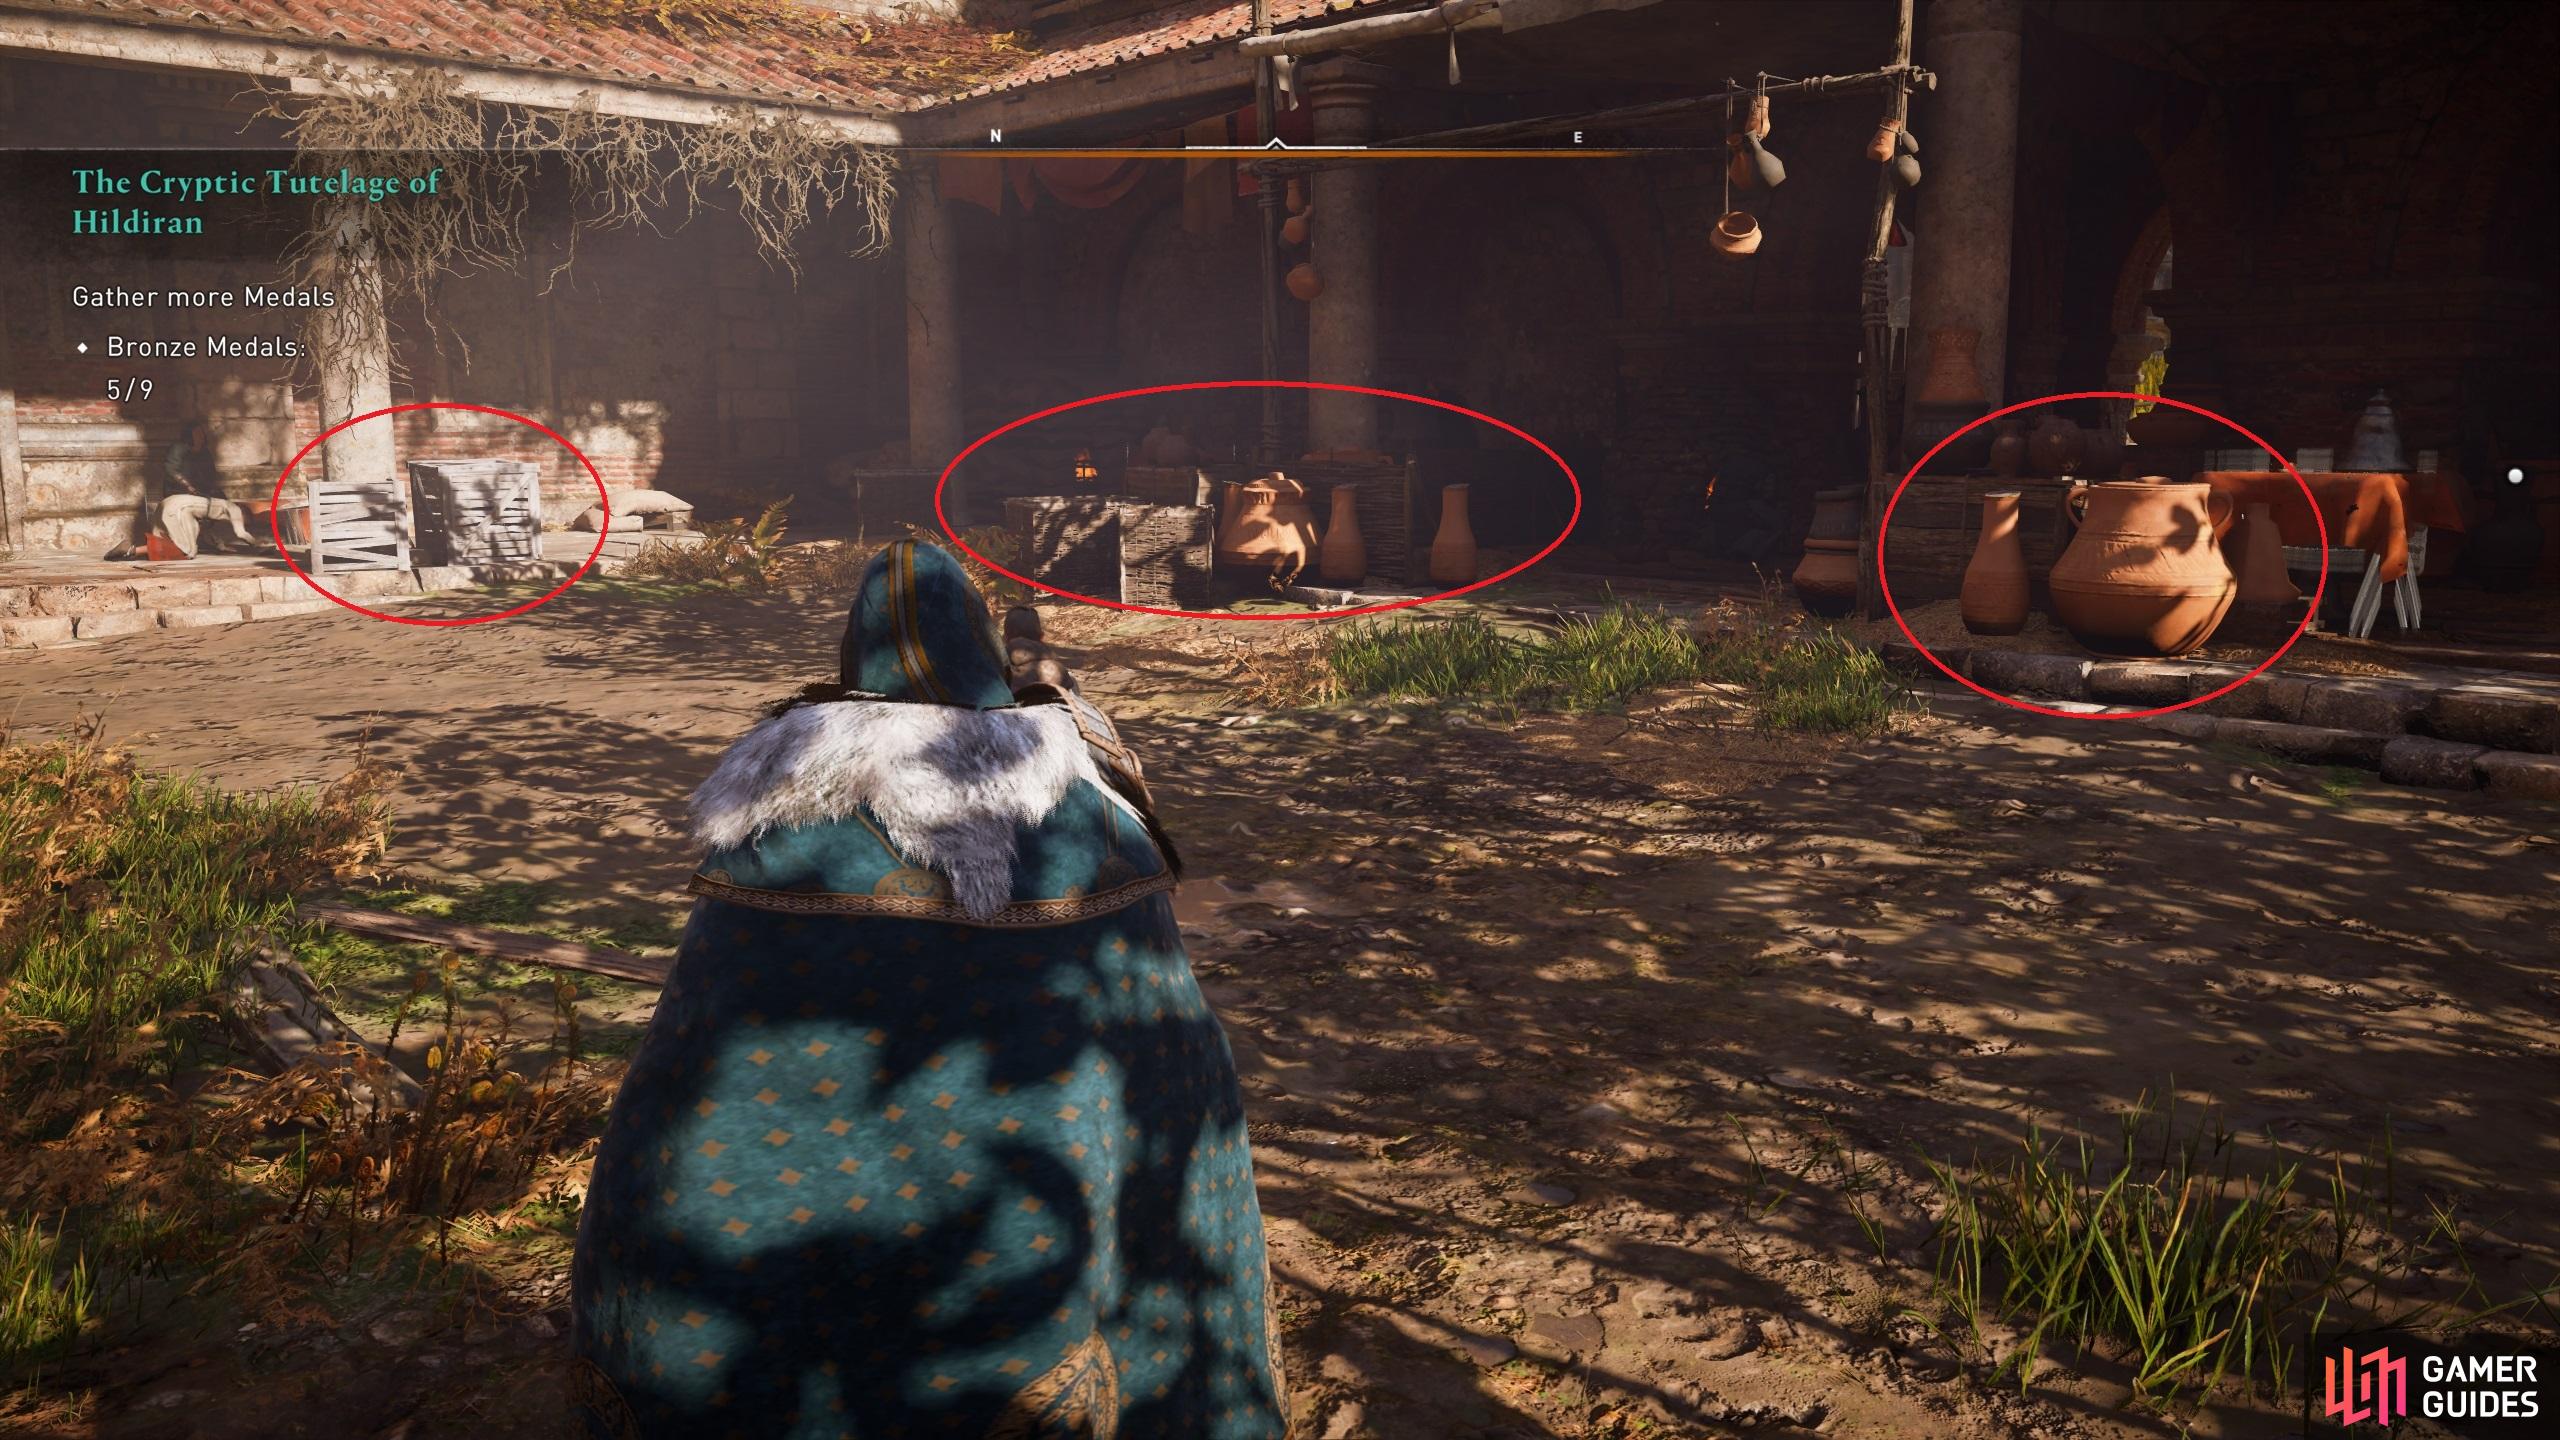
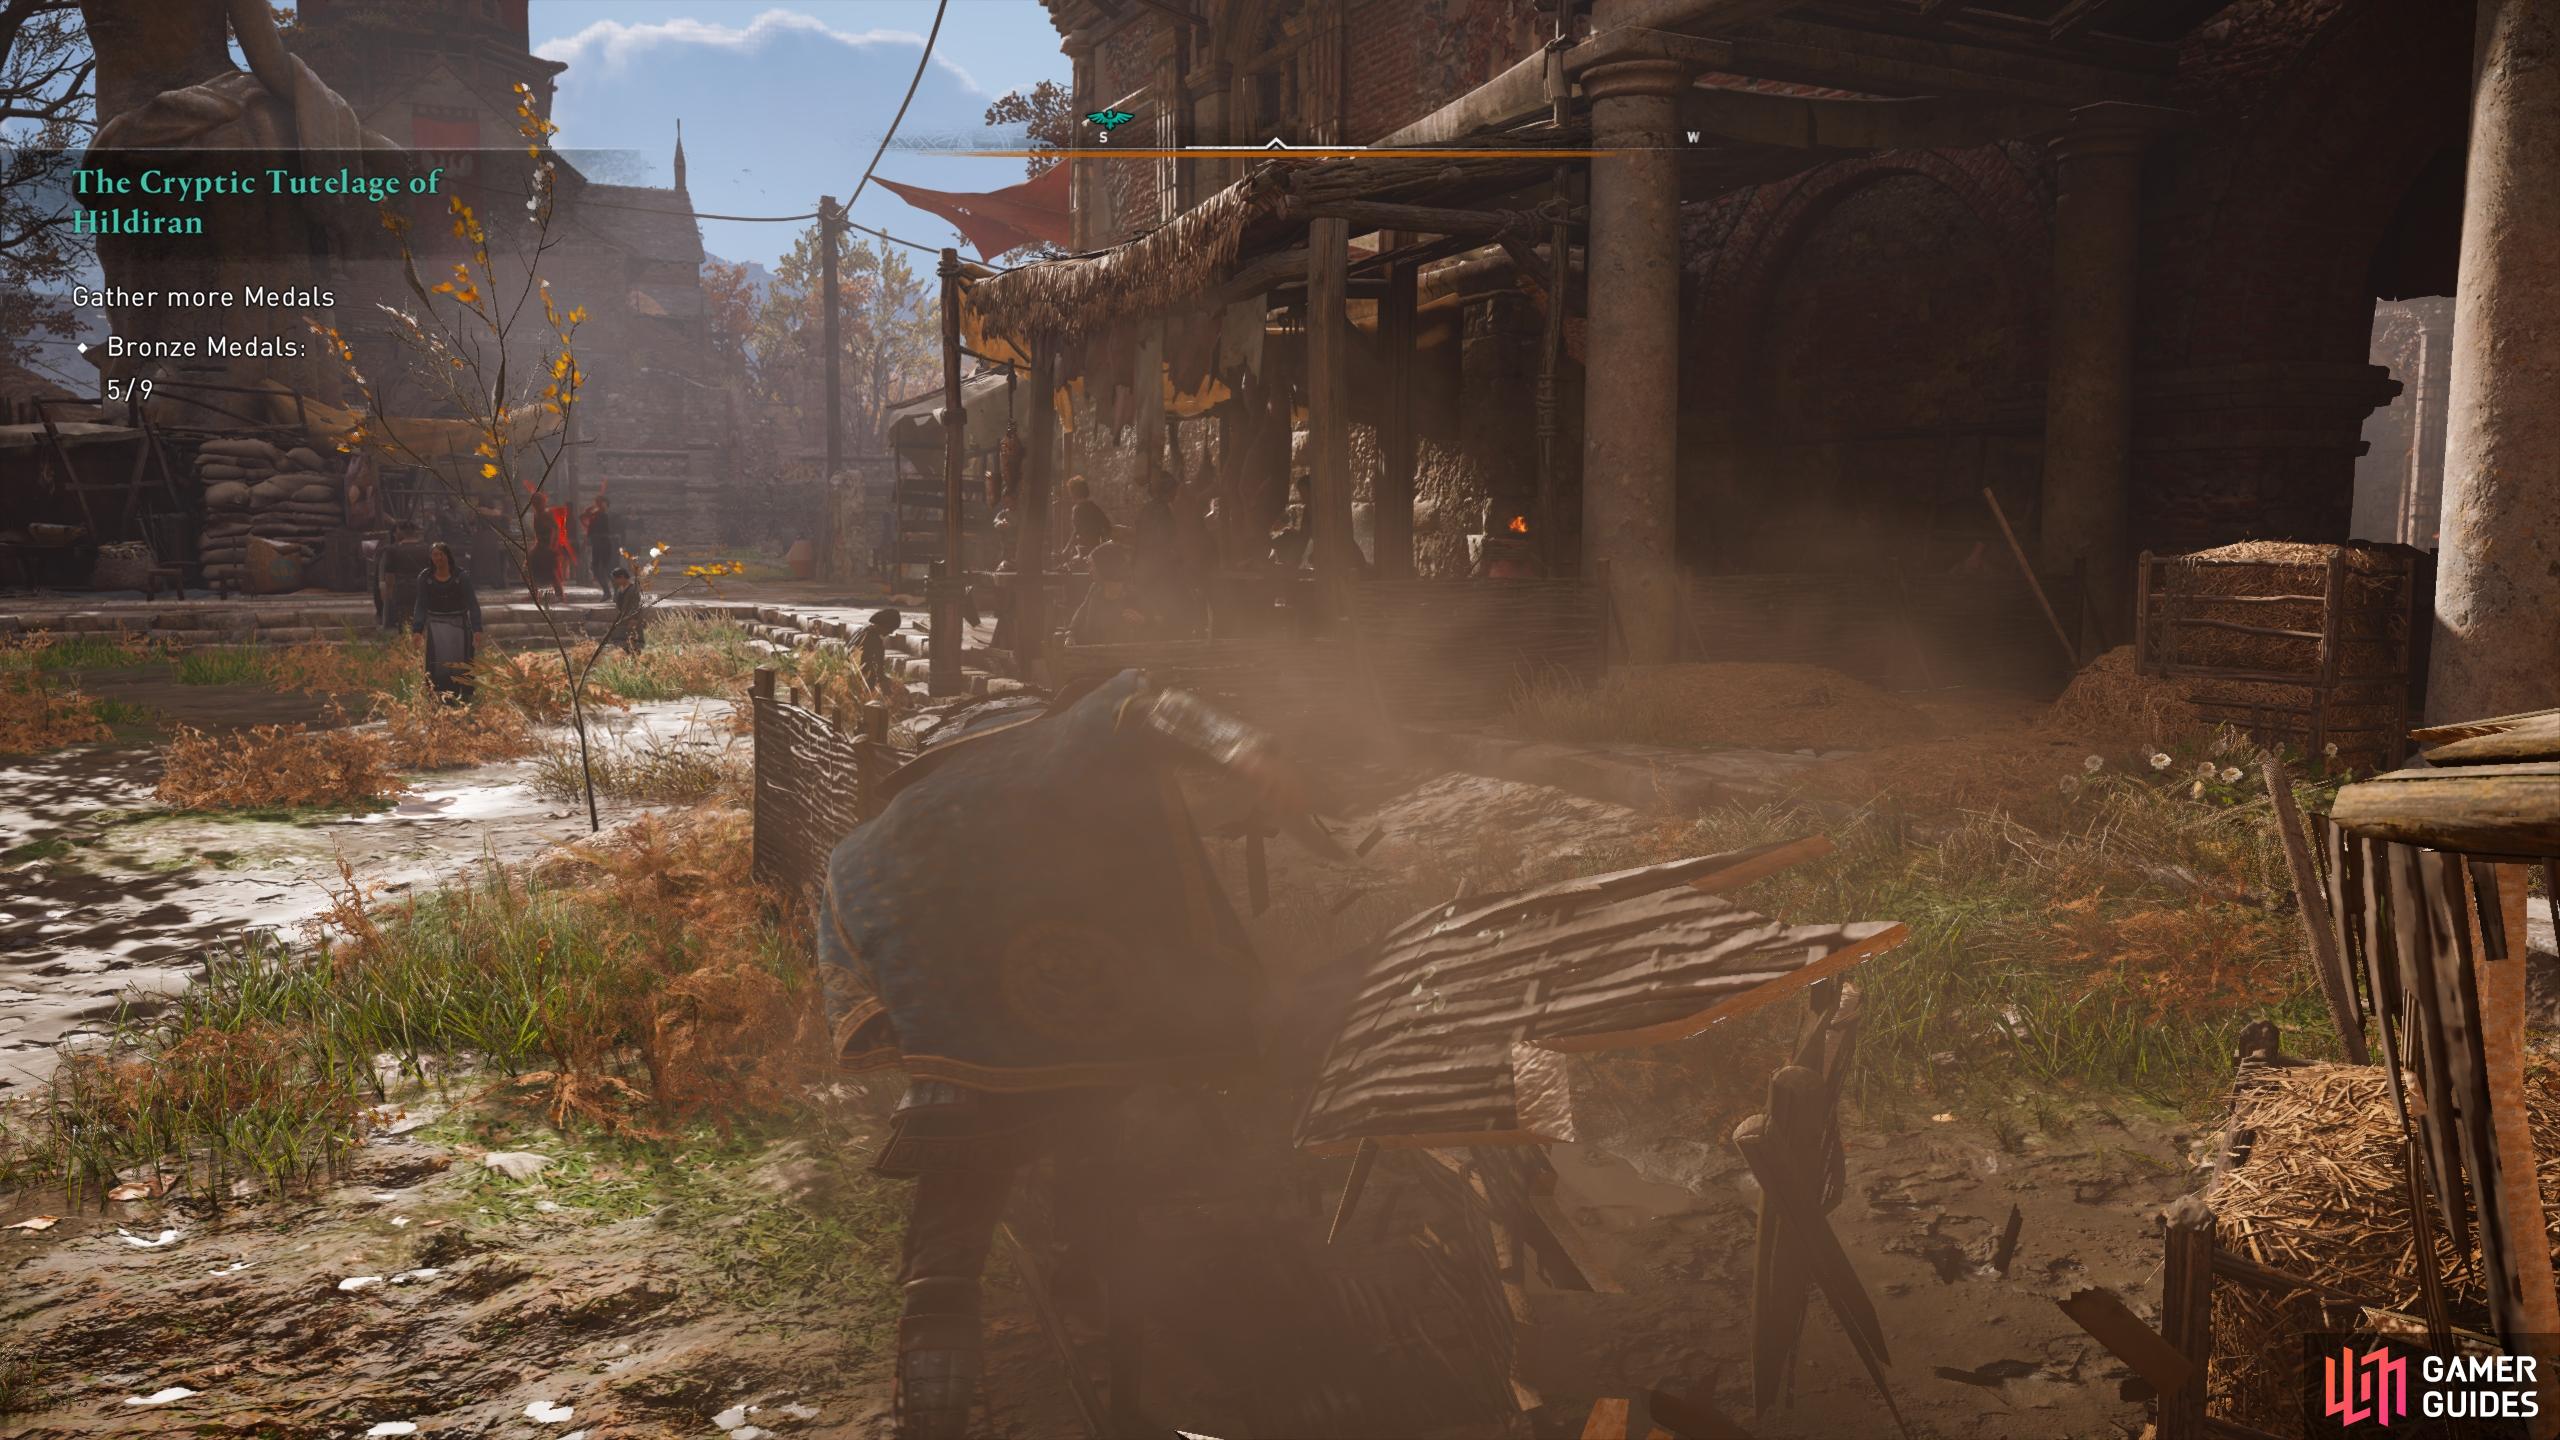
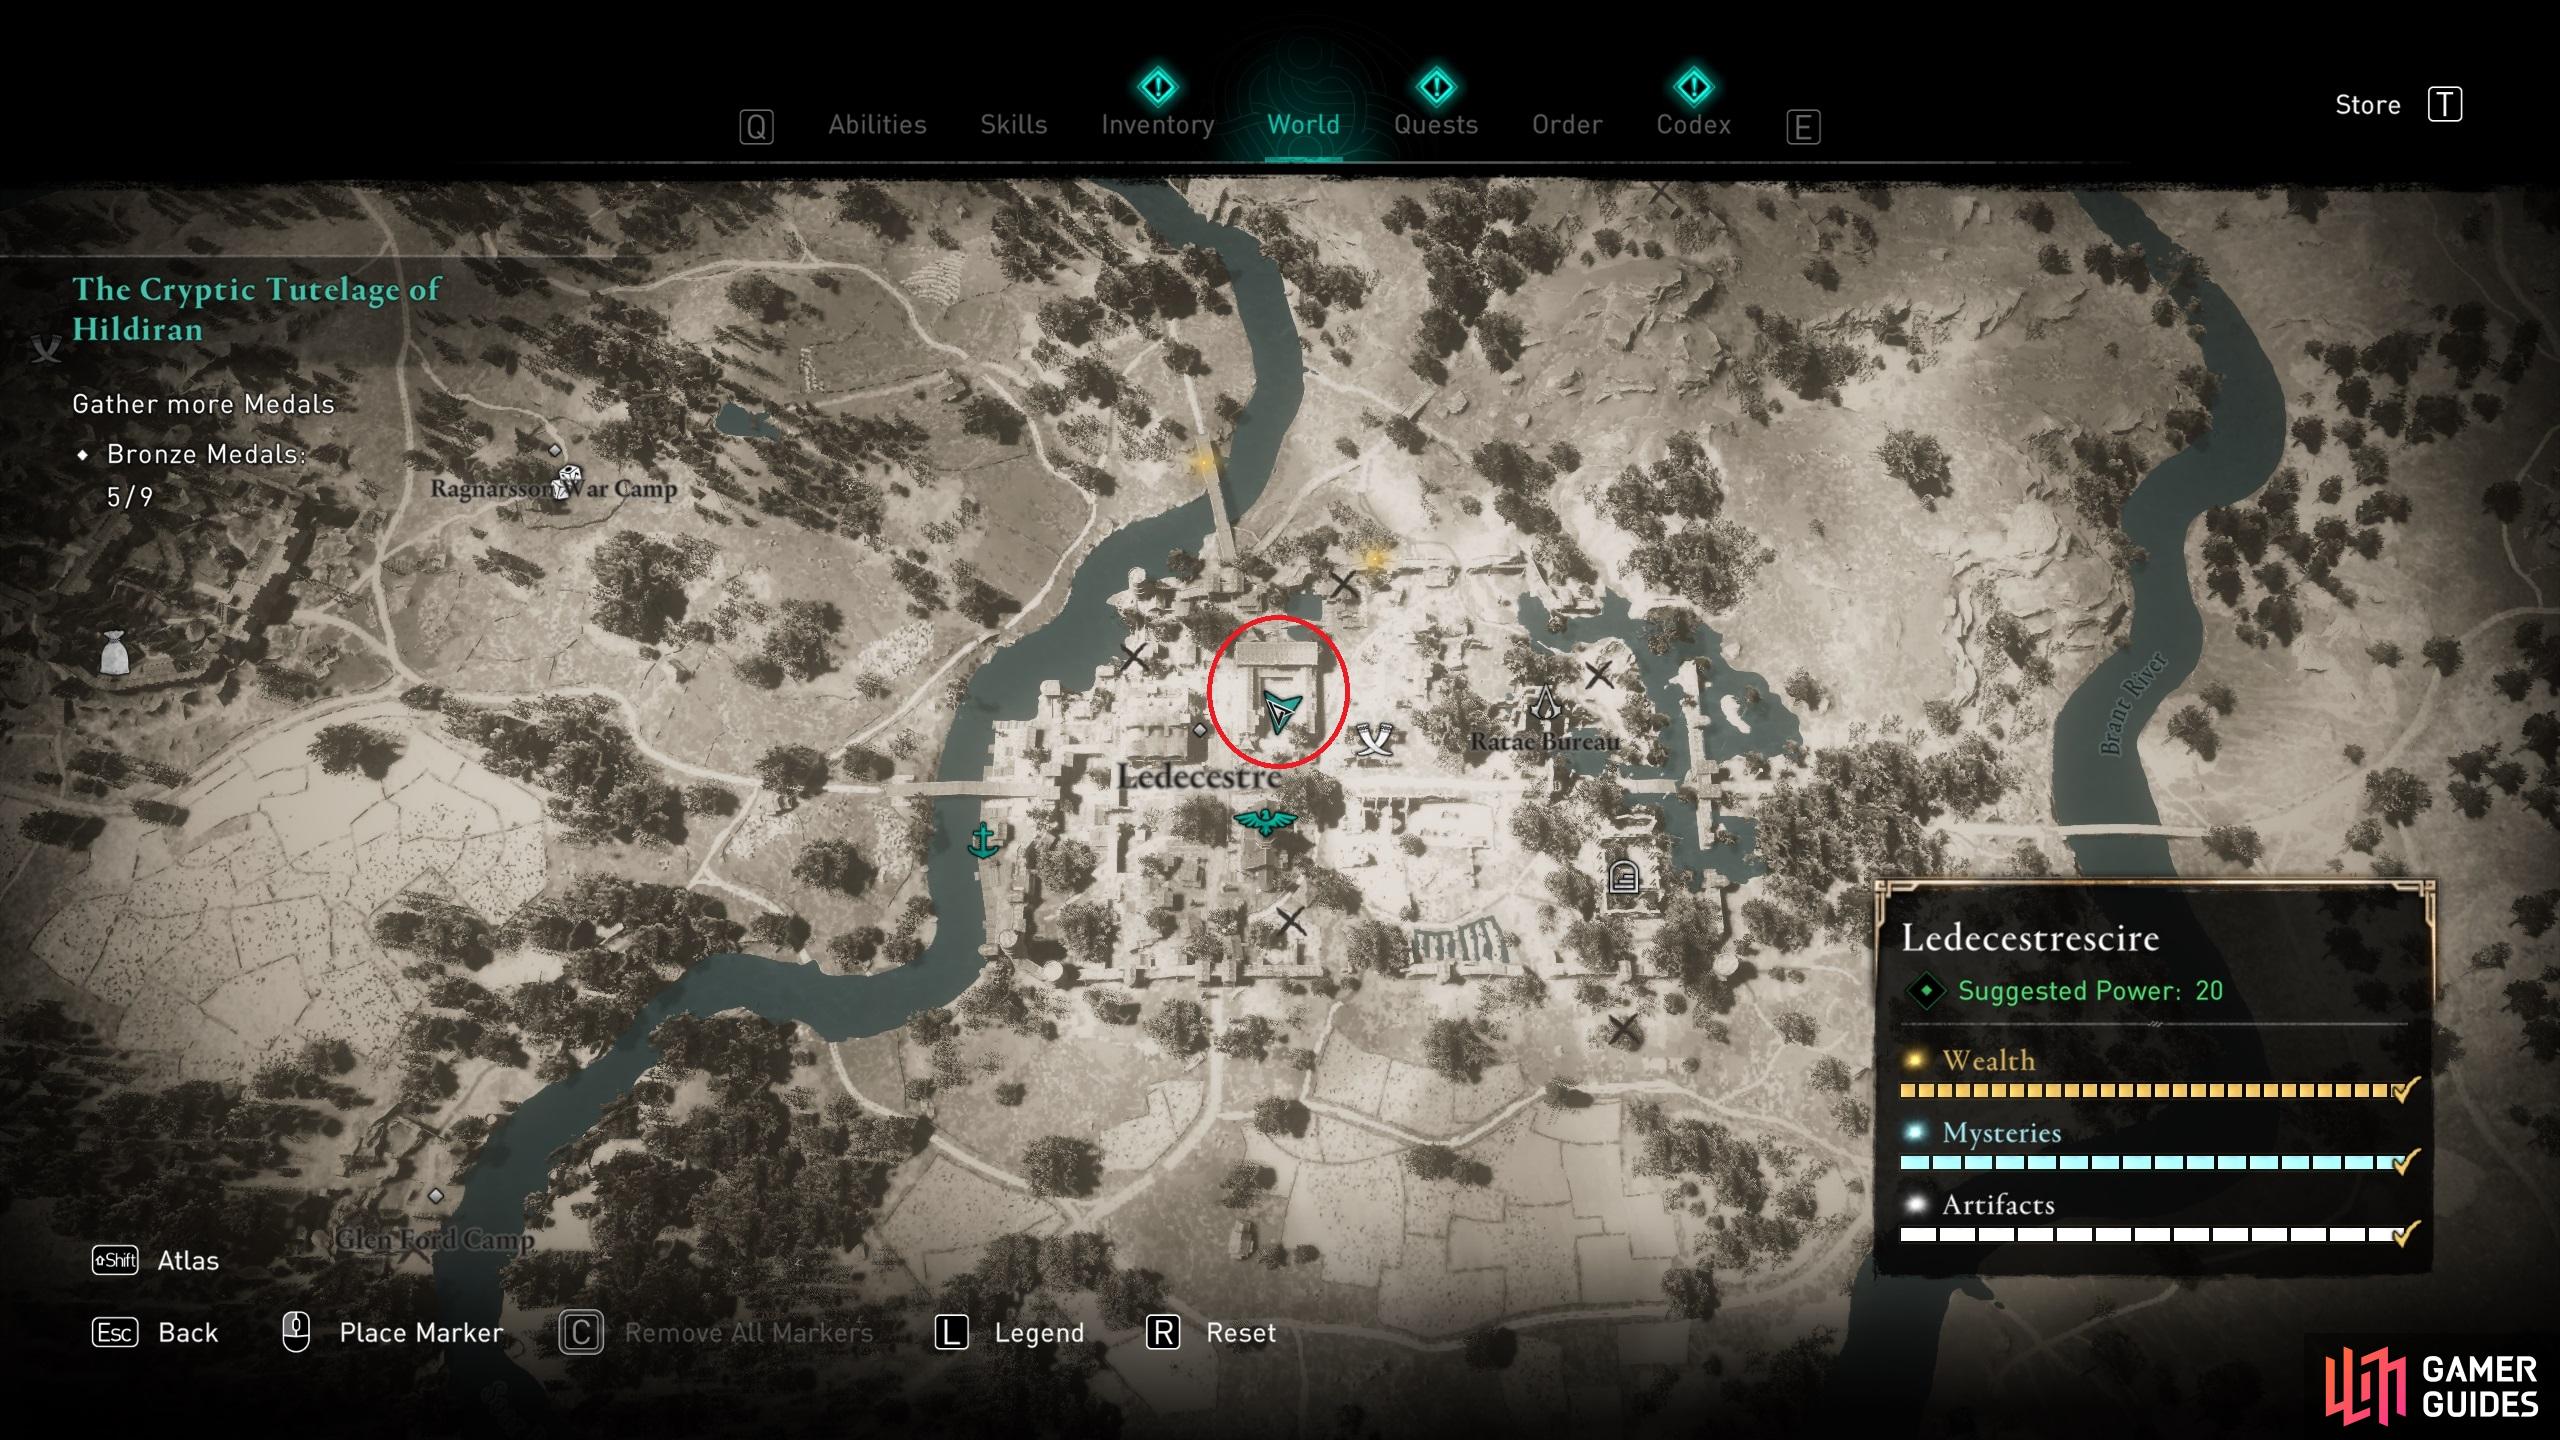
This Trophy / Achievement is obtained by running through 30 breakable objects and breaking them. To do this you’ll need the Sprint Bash skill, which is part of the Way of the Bear skill tree. You’ll find the skill near the top of the skill tree. Once you have it, all you need to do is sprint into a breakable object and destroy it. There is no time limit and there’s no requirement to break the objects consecutively. You can do this at any time throughout your playthrough. The objects which count as breakable include pots, urns, boxes and fences. You’ll find plenty of these in the marketplace of Ledecestre, as shown below. (1 of 3) You’ll find plenty of breakable objects in the form of pots, urns, boxes, and fences in the marketplace of Ledecestre. |
|||||||||||||||||||||||||||||||||||||||||||||||

|
Equine AttackAssassinate an enemy from your horse |
7.13% Very Rare | 10 | ||||||||||||||||||||||||||||||||||||||||||||
|
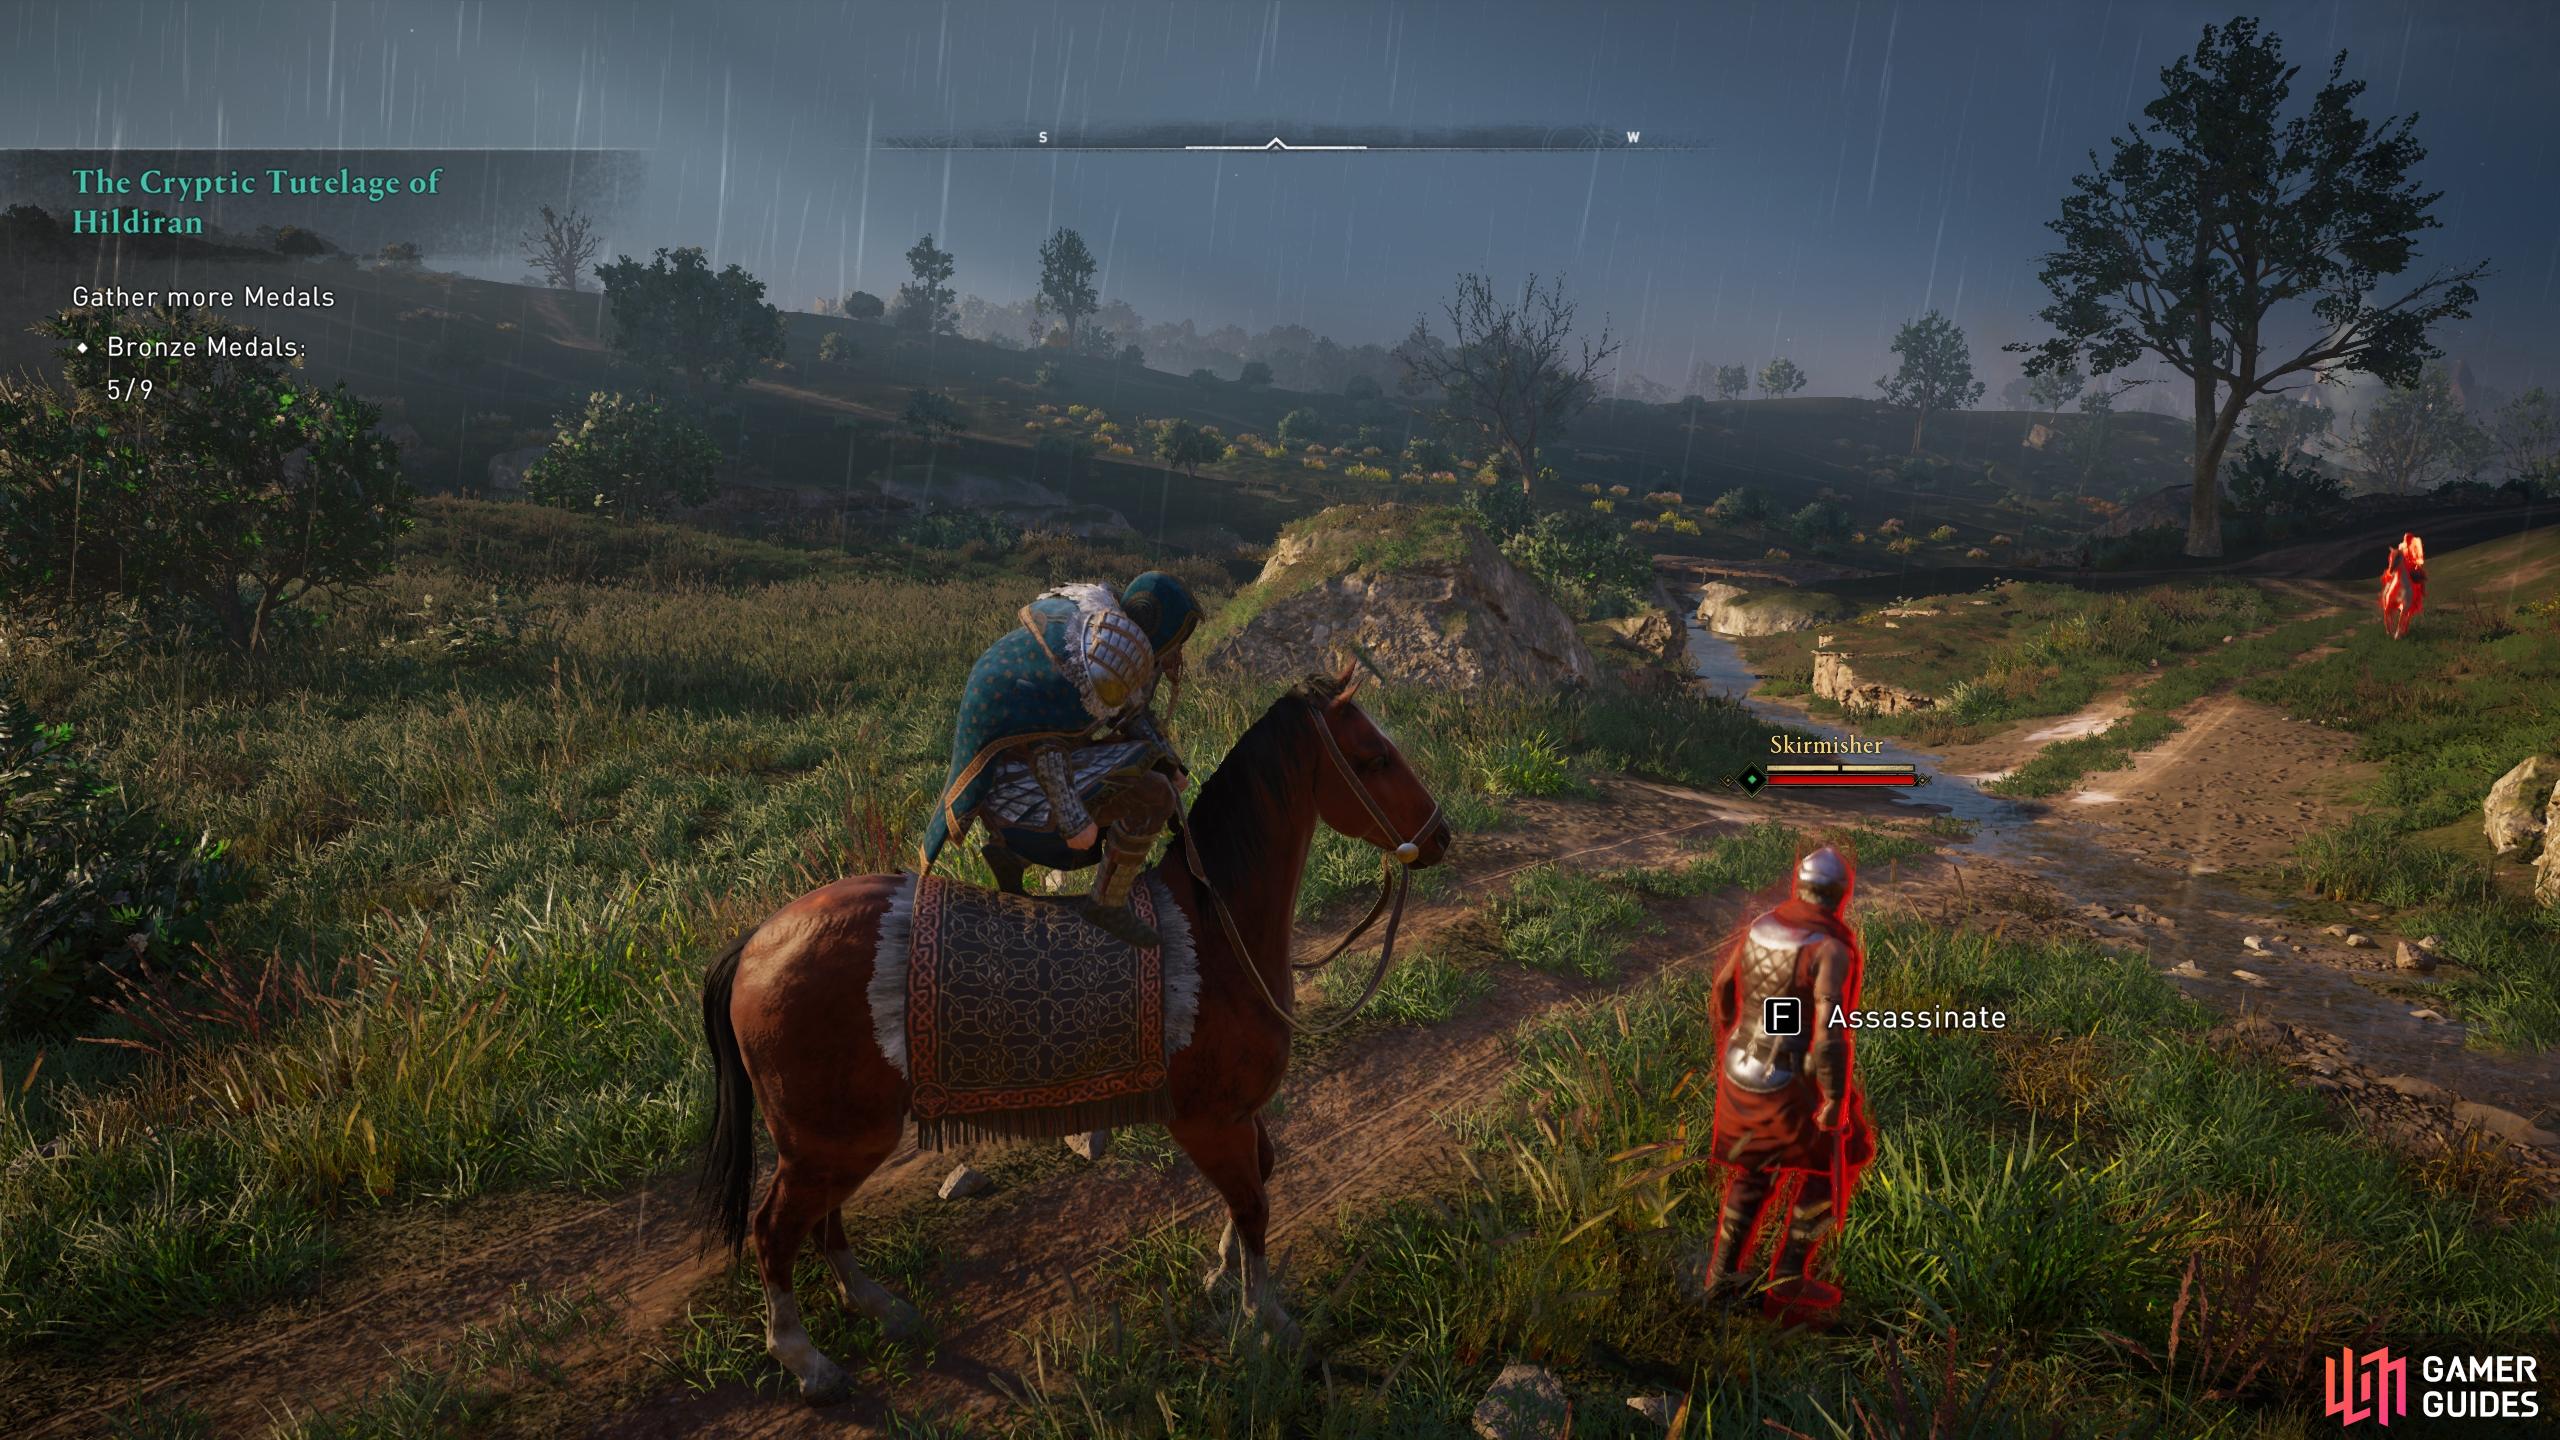
This Trophy / Achievement is obtained by assassinating an enemy from your horse. To do this, you’ll need to crouch while you’re on your horse, which will cause Eivor to balance on the saddle. From this position you can ride beside an enemy and execute an assassination before you’re seen. The easiest way to do this is to find an enemy or group of enemies patrolling through the landscape, then approaching them from behind with your cloak on to avoid detection while you get up close. You’ll need to crouch on your horse before you can assassinate an enemy from it. |
|||||||||||||||||||||||||||||||||||||||||||||||

|
Ireland's DeliveranceComplete the Wrath of the Druids campaign (Wrath of the Druids). |
7.18% Very Rare | 20 | ||||||||||||||||||||||||||||||||||||||||||||
|
To unlock this achievement, you’ll need to complete all of the main quests for the Ireland DLC, Wrath of the Druids. We’ve included each quest below for your convenience. Wrath of the Druids Main Story Quests
|
|||||||||||||||||||||||||||||||||||||||||||||||

|
Master HunterDefeat all Alpha animals |
7.75% Very Rare | 30 | ||||||||||||||||||||||||||||||||||||||||||||
|
This trophy requires that you defeat all 11 Legendary Animals (in the base game). Below you’ll find a list of all Legendary animals, location, their power levels and a link to more detailed walkthroughs of where to find them and how to defeat them.
Steinnbjorn is the strongest Legendary Animal you’ll fight. |
|||||||||||||||||||||||||||||||||||||||||||||||

|
Flying EivorGet thrown 30 meters away by a destroyer or a housecarl |
7.77% Very Rare | 20 | ||||||||||||||||||||||||||||||||||||||||||||
|
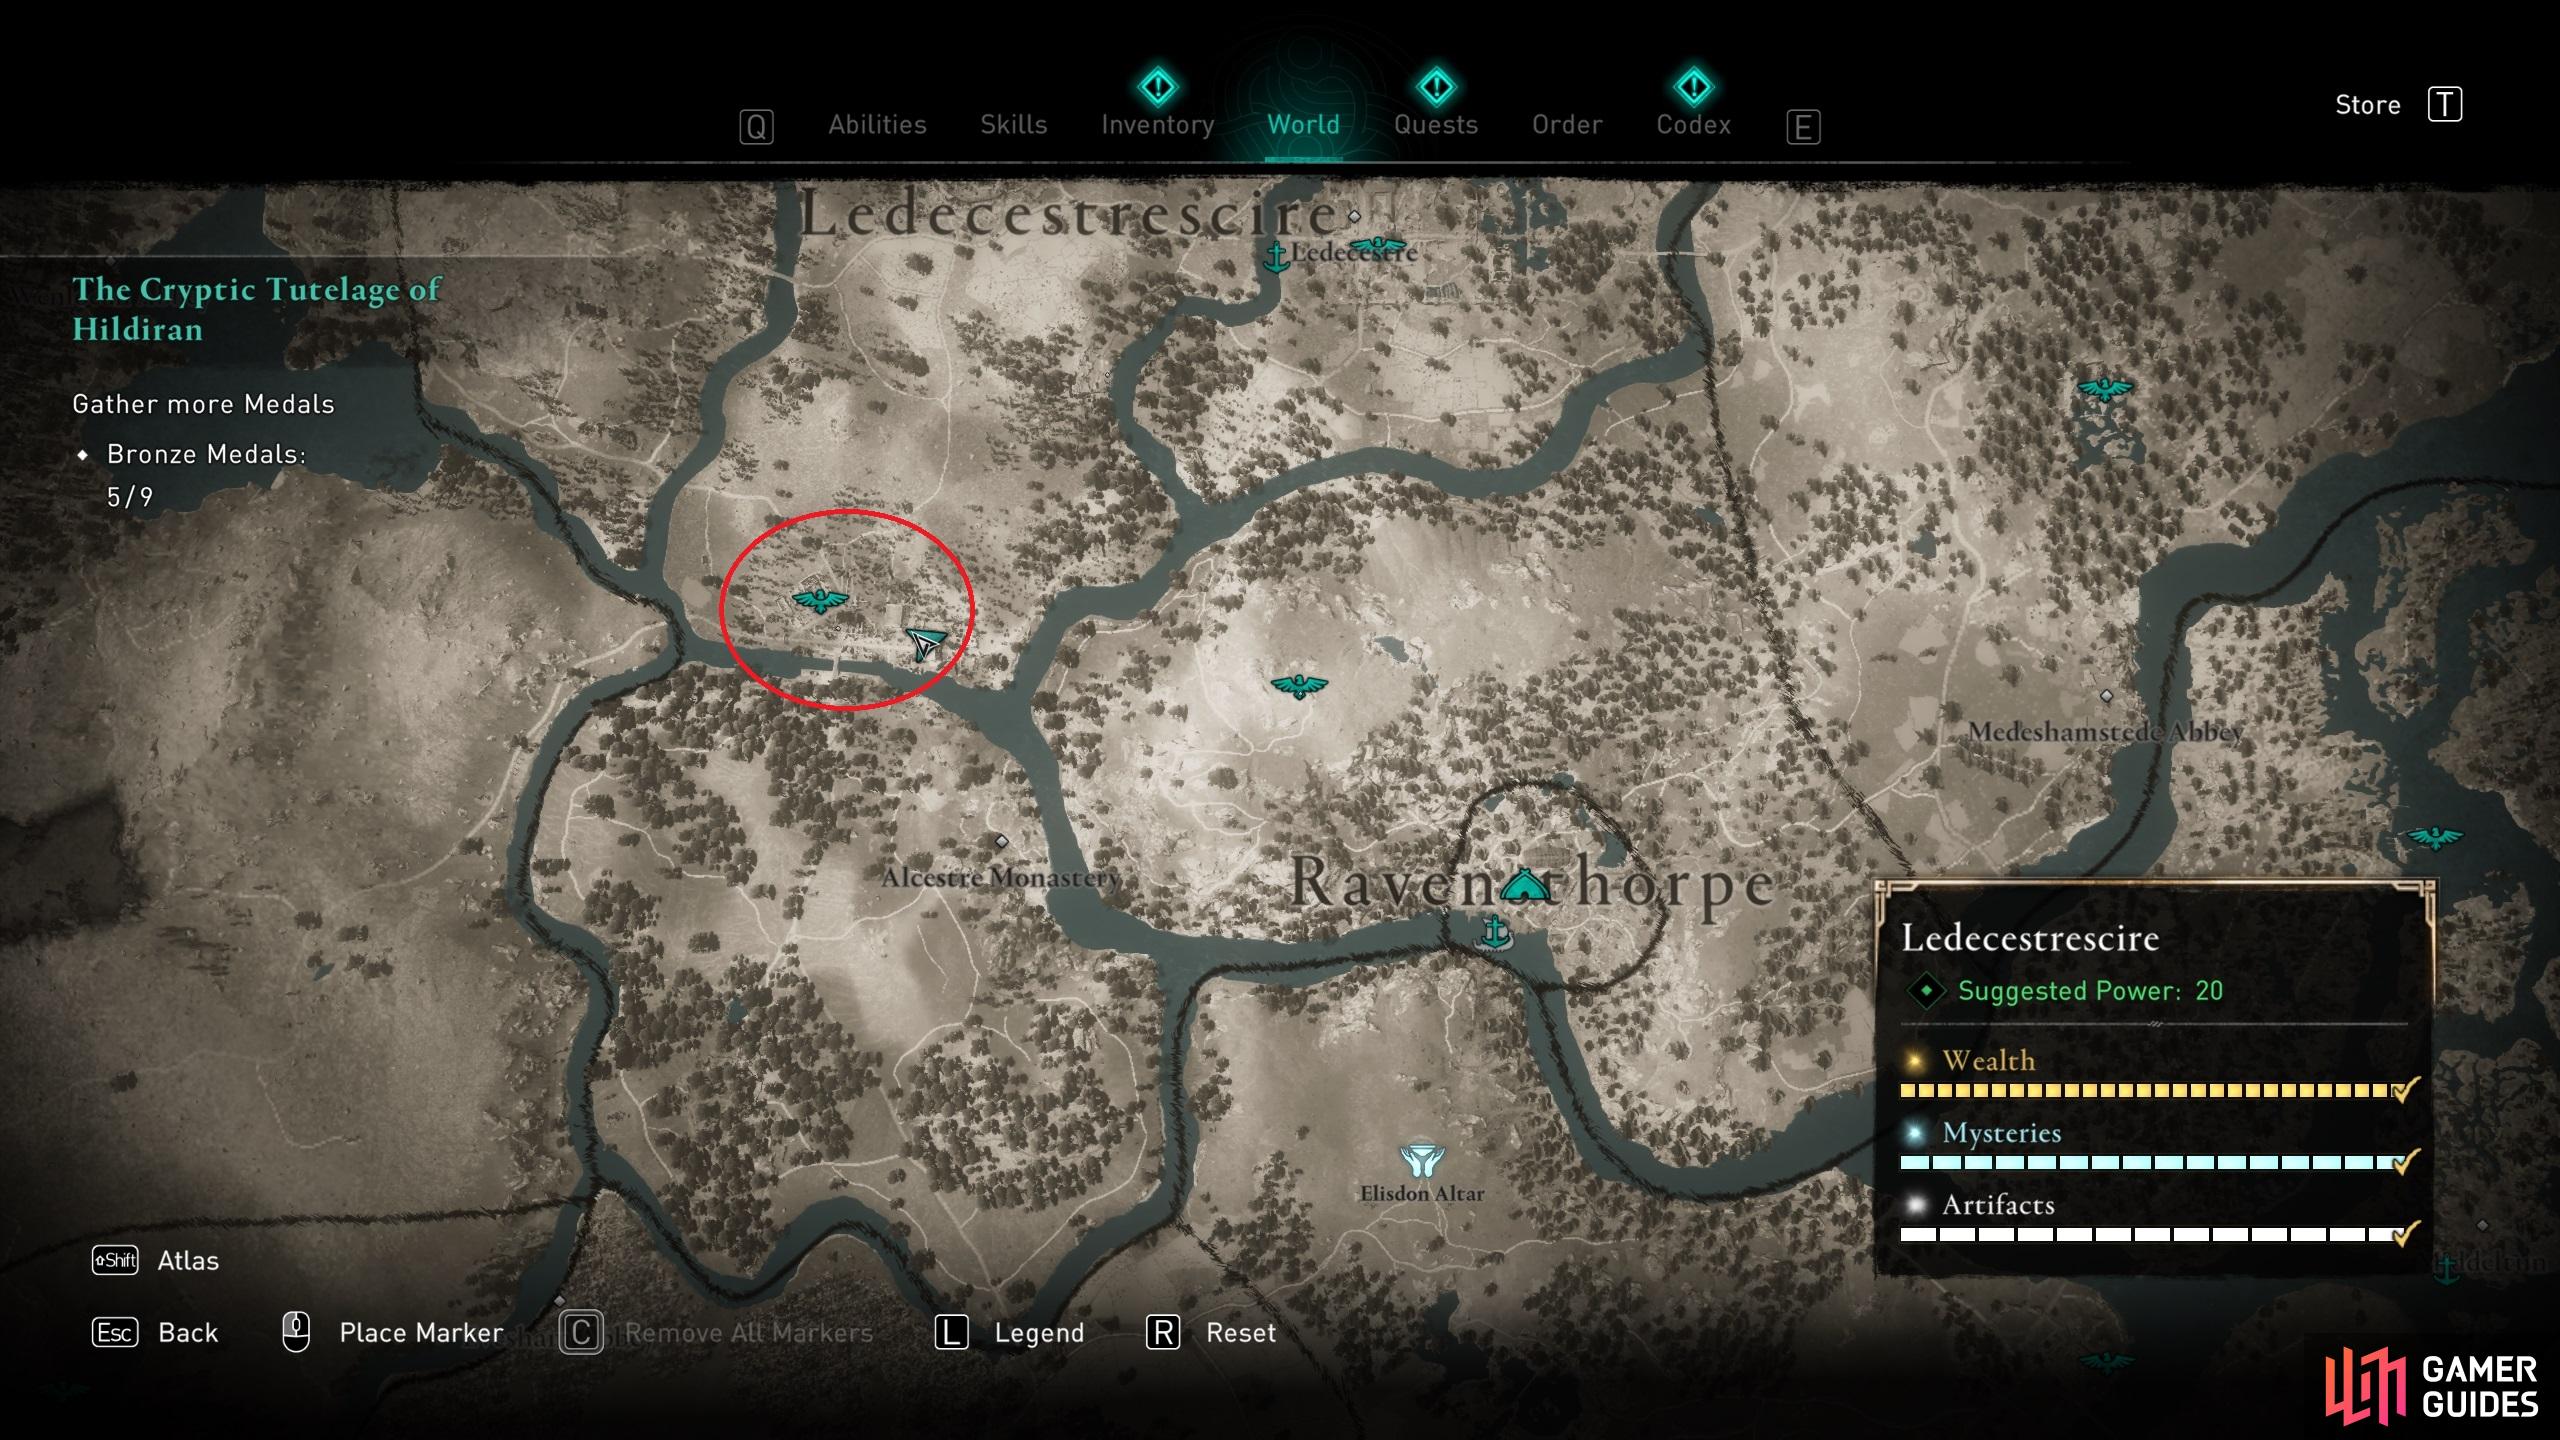
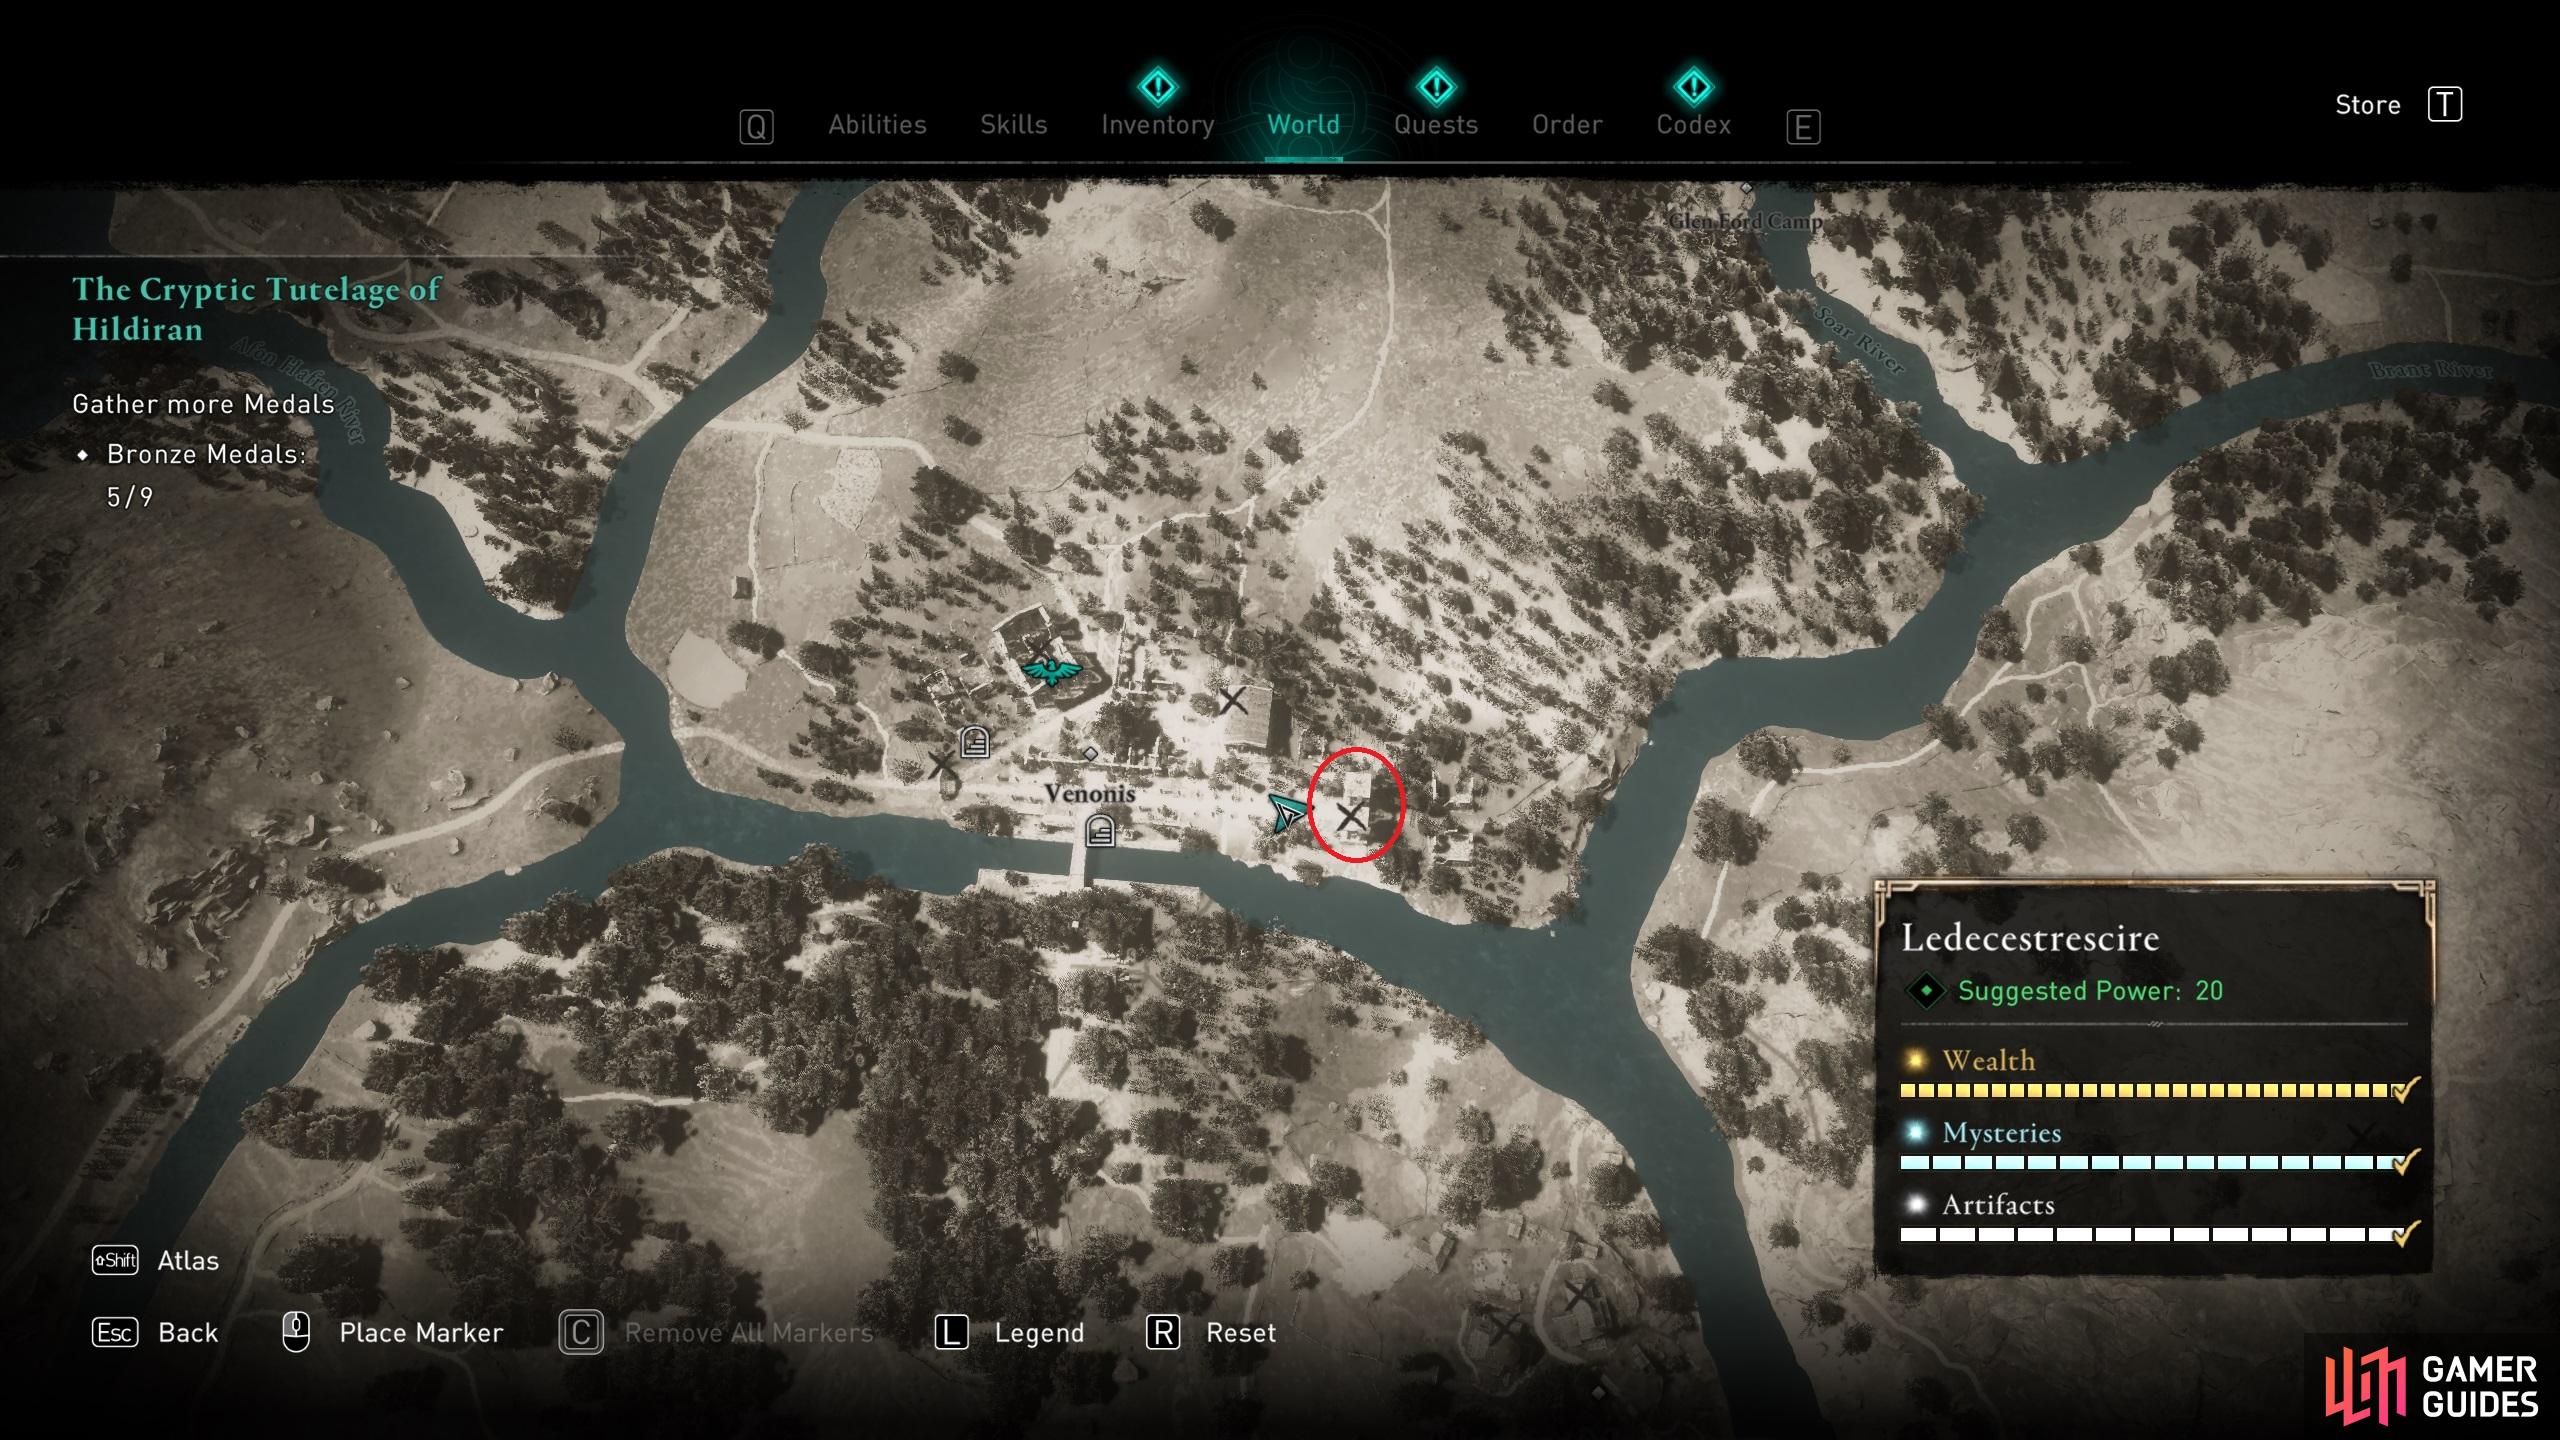
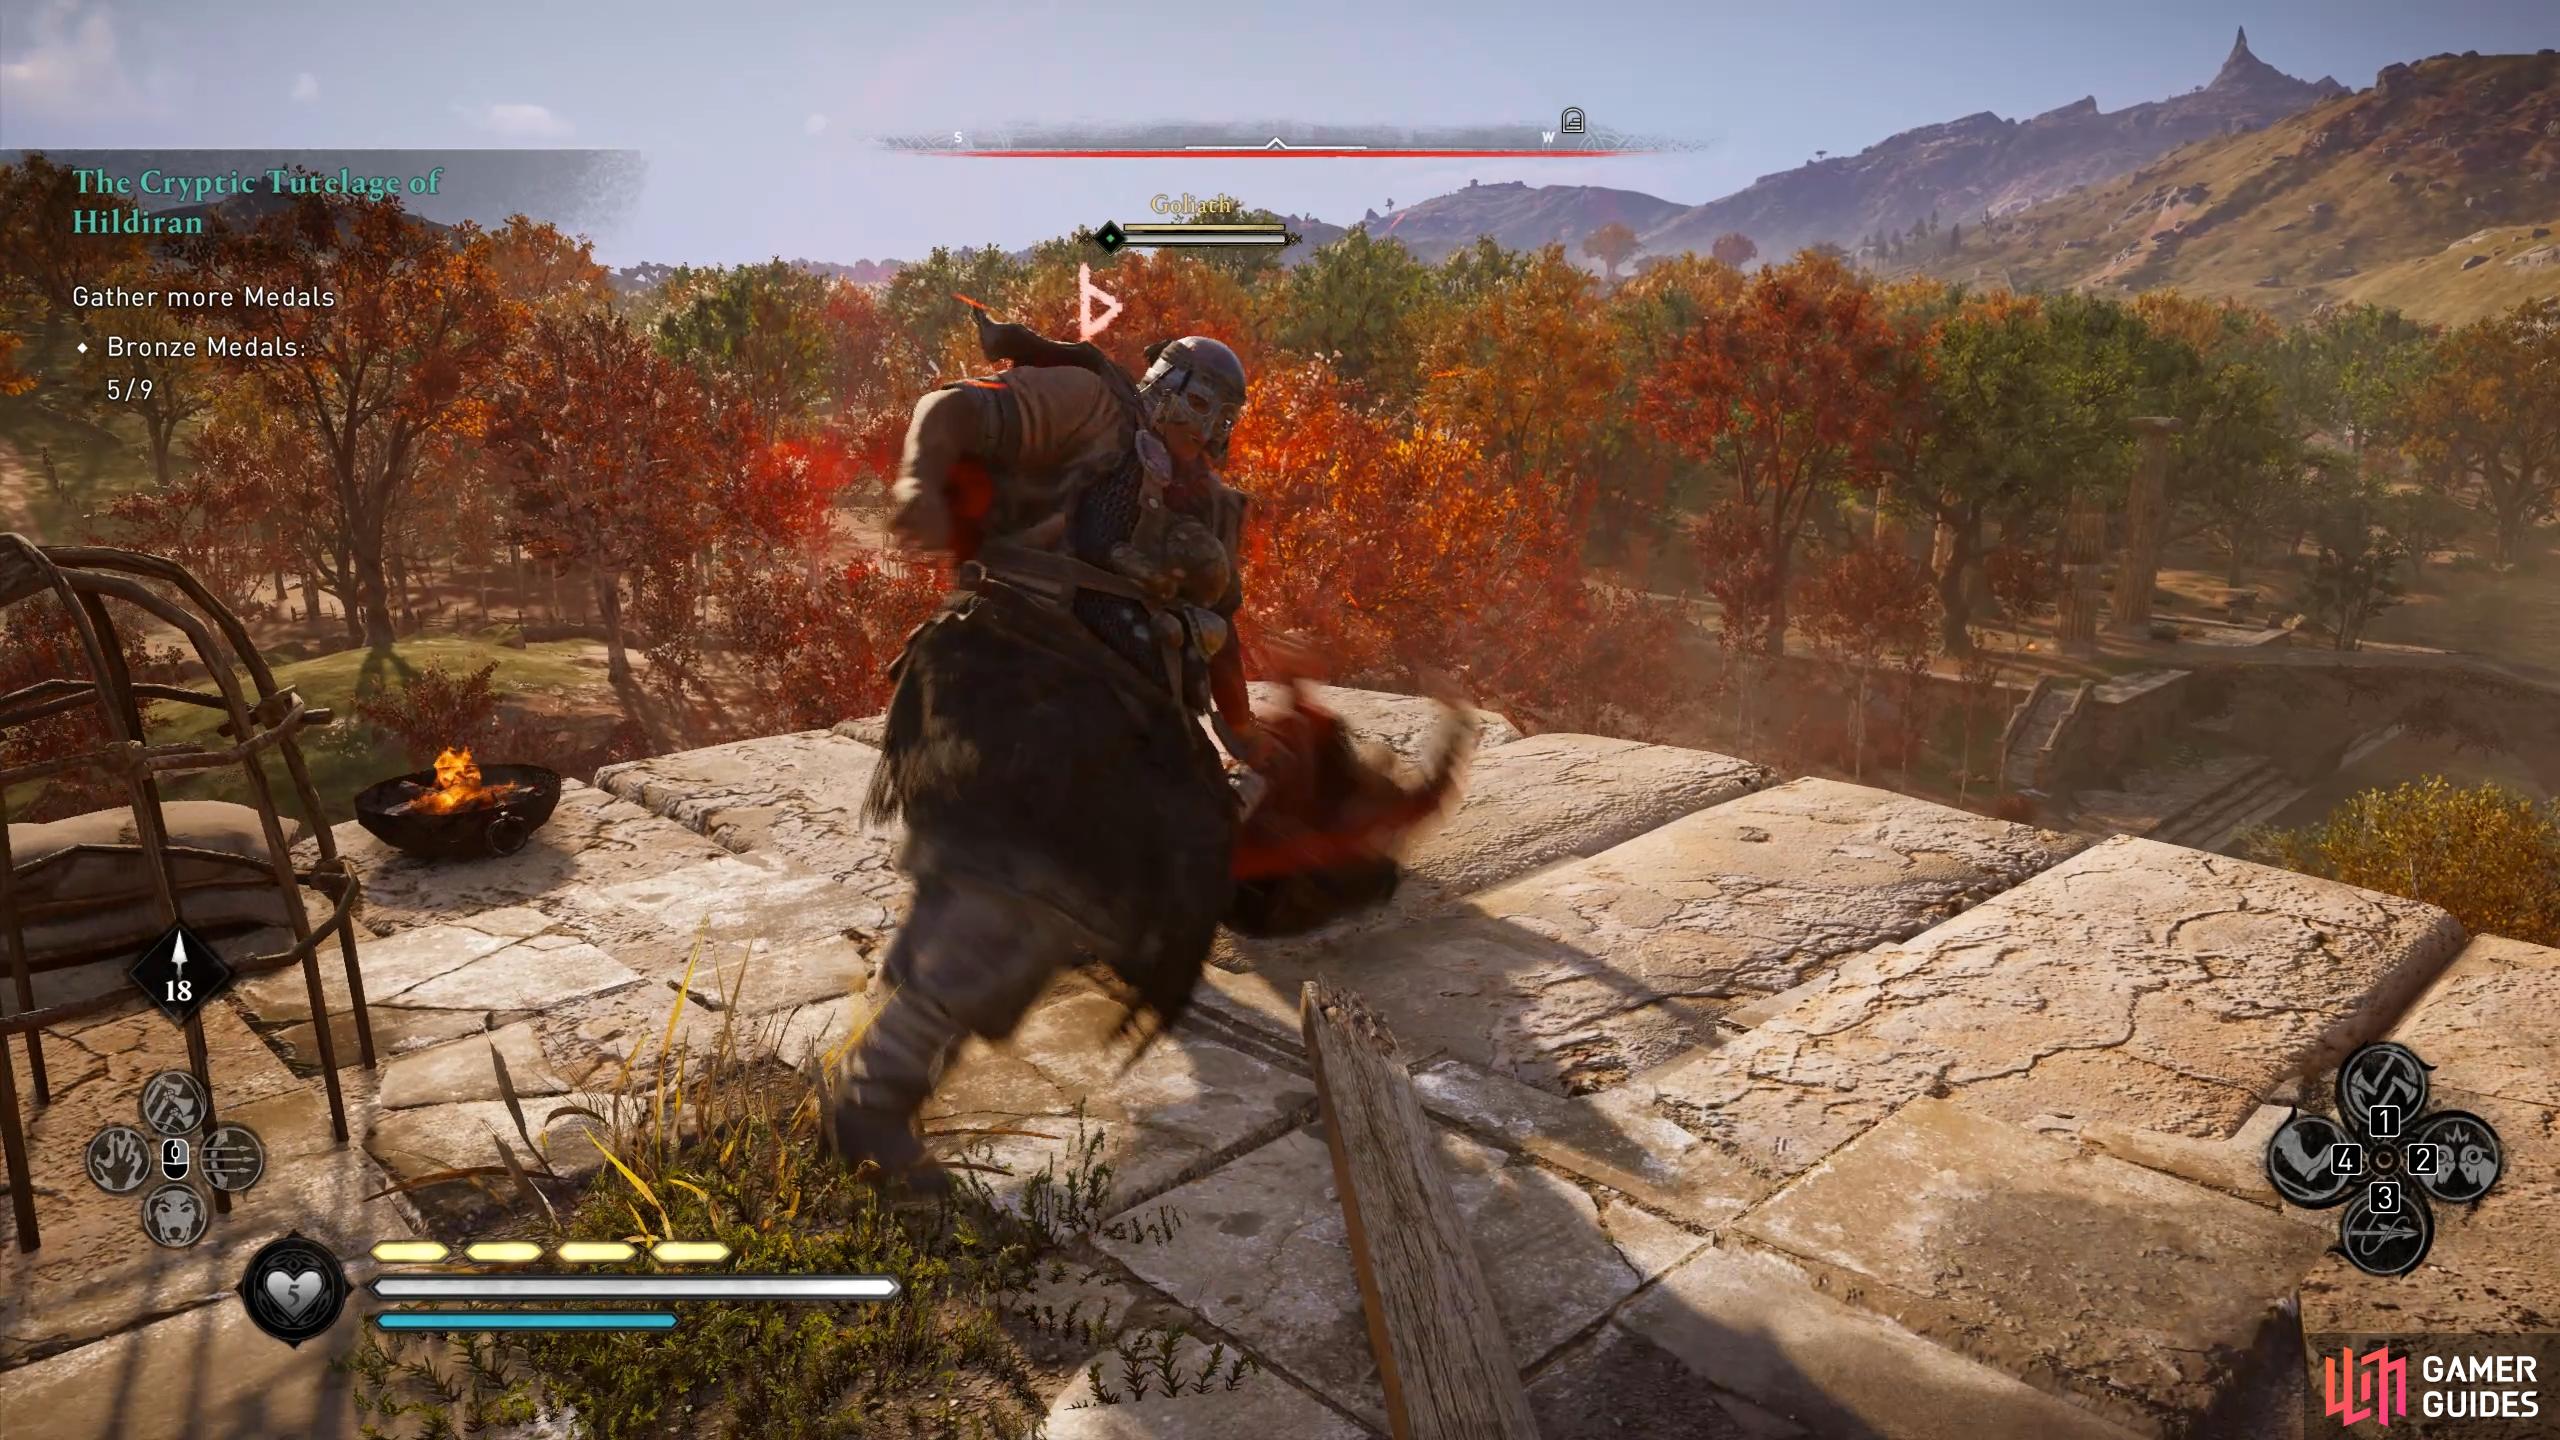
This Trophy / Achievement is obtained after being thrown 30 meters away by a destroyer or housecarl (note: this includes Goliath mobs). The best place for this is at the ruins of Venonis, located northwest of Ravensthorpe in Ledecestrescire. Here you’ll find a Goliath at the top of a ruined tower in the southeast of the ruins. You can climb to the top using the ladders, then approach the Goliath and wait for him to grab and throw you off the side of the tower. It may take a few attempts before you’re successfully thrown off the tower (as opposed to into objects or on the other side of the tower), but keep at it, stay close to the Goliath, and he’ll eventually throw you off. You should keep in mind that the Goliath has a habit of charging Eivor if you remain at a distance from him, which can sometimes result in the Goliath running off the side of the tower and killing himself… stay close to avoid this. (1 of 3) The location of Venonis, northwest of Ravensthorpe. |
|||||||||||||||||||||||||||||||||||||||||||||||

|
WorthyWield Mjolnir |
8.63% Very Rare | 30 | ||||||||||||||||||||||||||||||||||||||||||||
|
This trophy is unlocked when you obtain Mjolnir, also known as Thor’s Hammer. Before you can retrieve Mjolnir, you’ll need to defeat all of the Daughters of Lerion and all Order of the Ancient Members (including Zealots) as you need to first obtain all of the Thor’s Armor set pieces. When you have the full armor set you’ll then be able to head to a specific location and retrieve Thor’s Hammer and upon wielding it, you’ll unlock this trophy. For more information, head over to our guide on How to Get Thor’s Hammer. Mjolnir, Thor’s Hammer. |
|||||||||||||||||||||||||||||||||||||||||||||||

|
SeahorseSwim a total of 3km with the horse |
8.68% Very Rare | 10 | ||||||||||||||||||||||||||||||||||||||||||||
|
This trophy requires that you swim a total of 3km with your horse, which is quite a long distance but is a manageable achievement if done in increments. Before you can actually swim with a horse you’ll need to pay for some horse training at a Stable. Stables are found in most large settlements, and you can also build a stable in Ravensthorpe. Once you’ve paid for an “upgrade” for your horse you’ll be able to travel through water on its back! |
|||||||||||||||||||||||||||||||||||||||||||||||

|
Twinkle TwinkleRelease a firefly in your settlement |
9.45% Very Rare | 10 | ||||||||||||||||||||||||||||||||||||||||||||
|
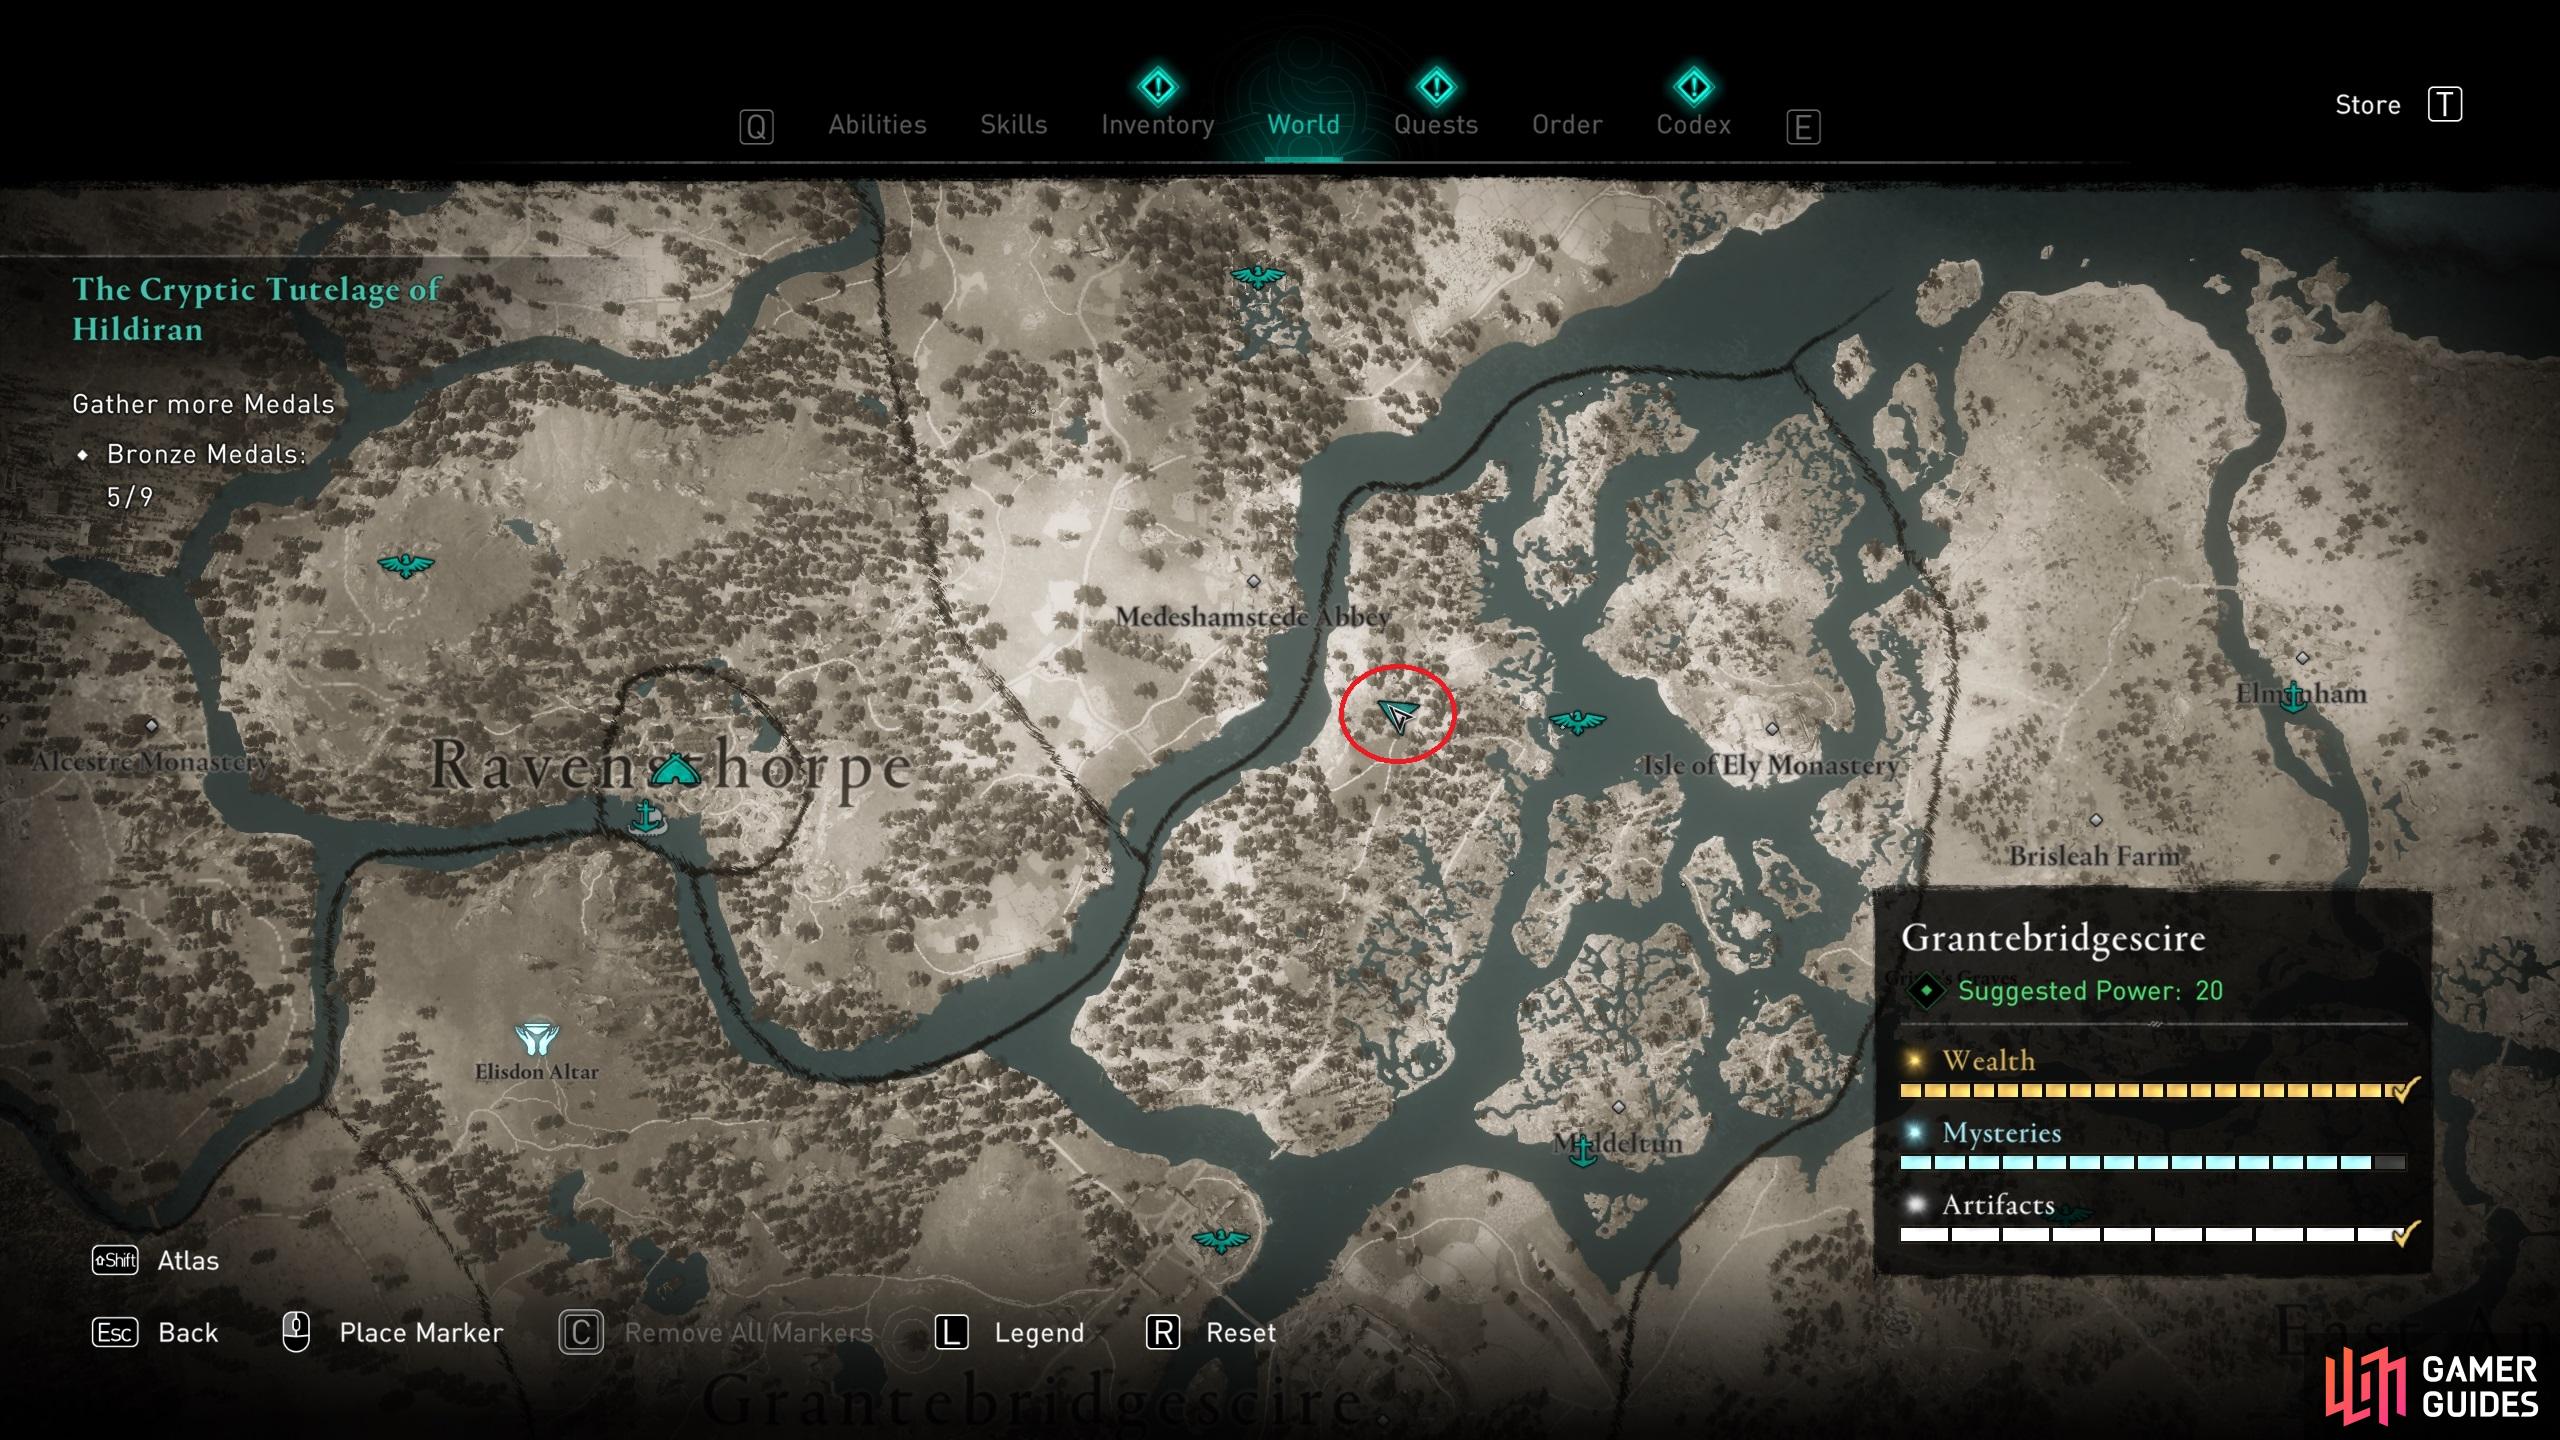
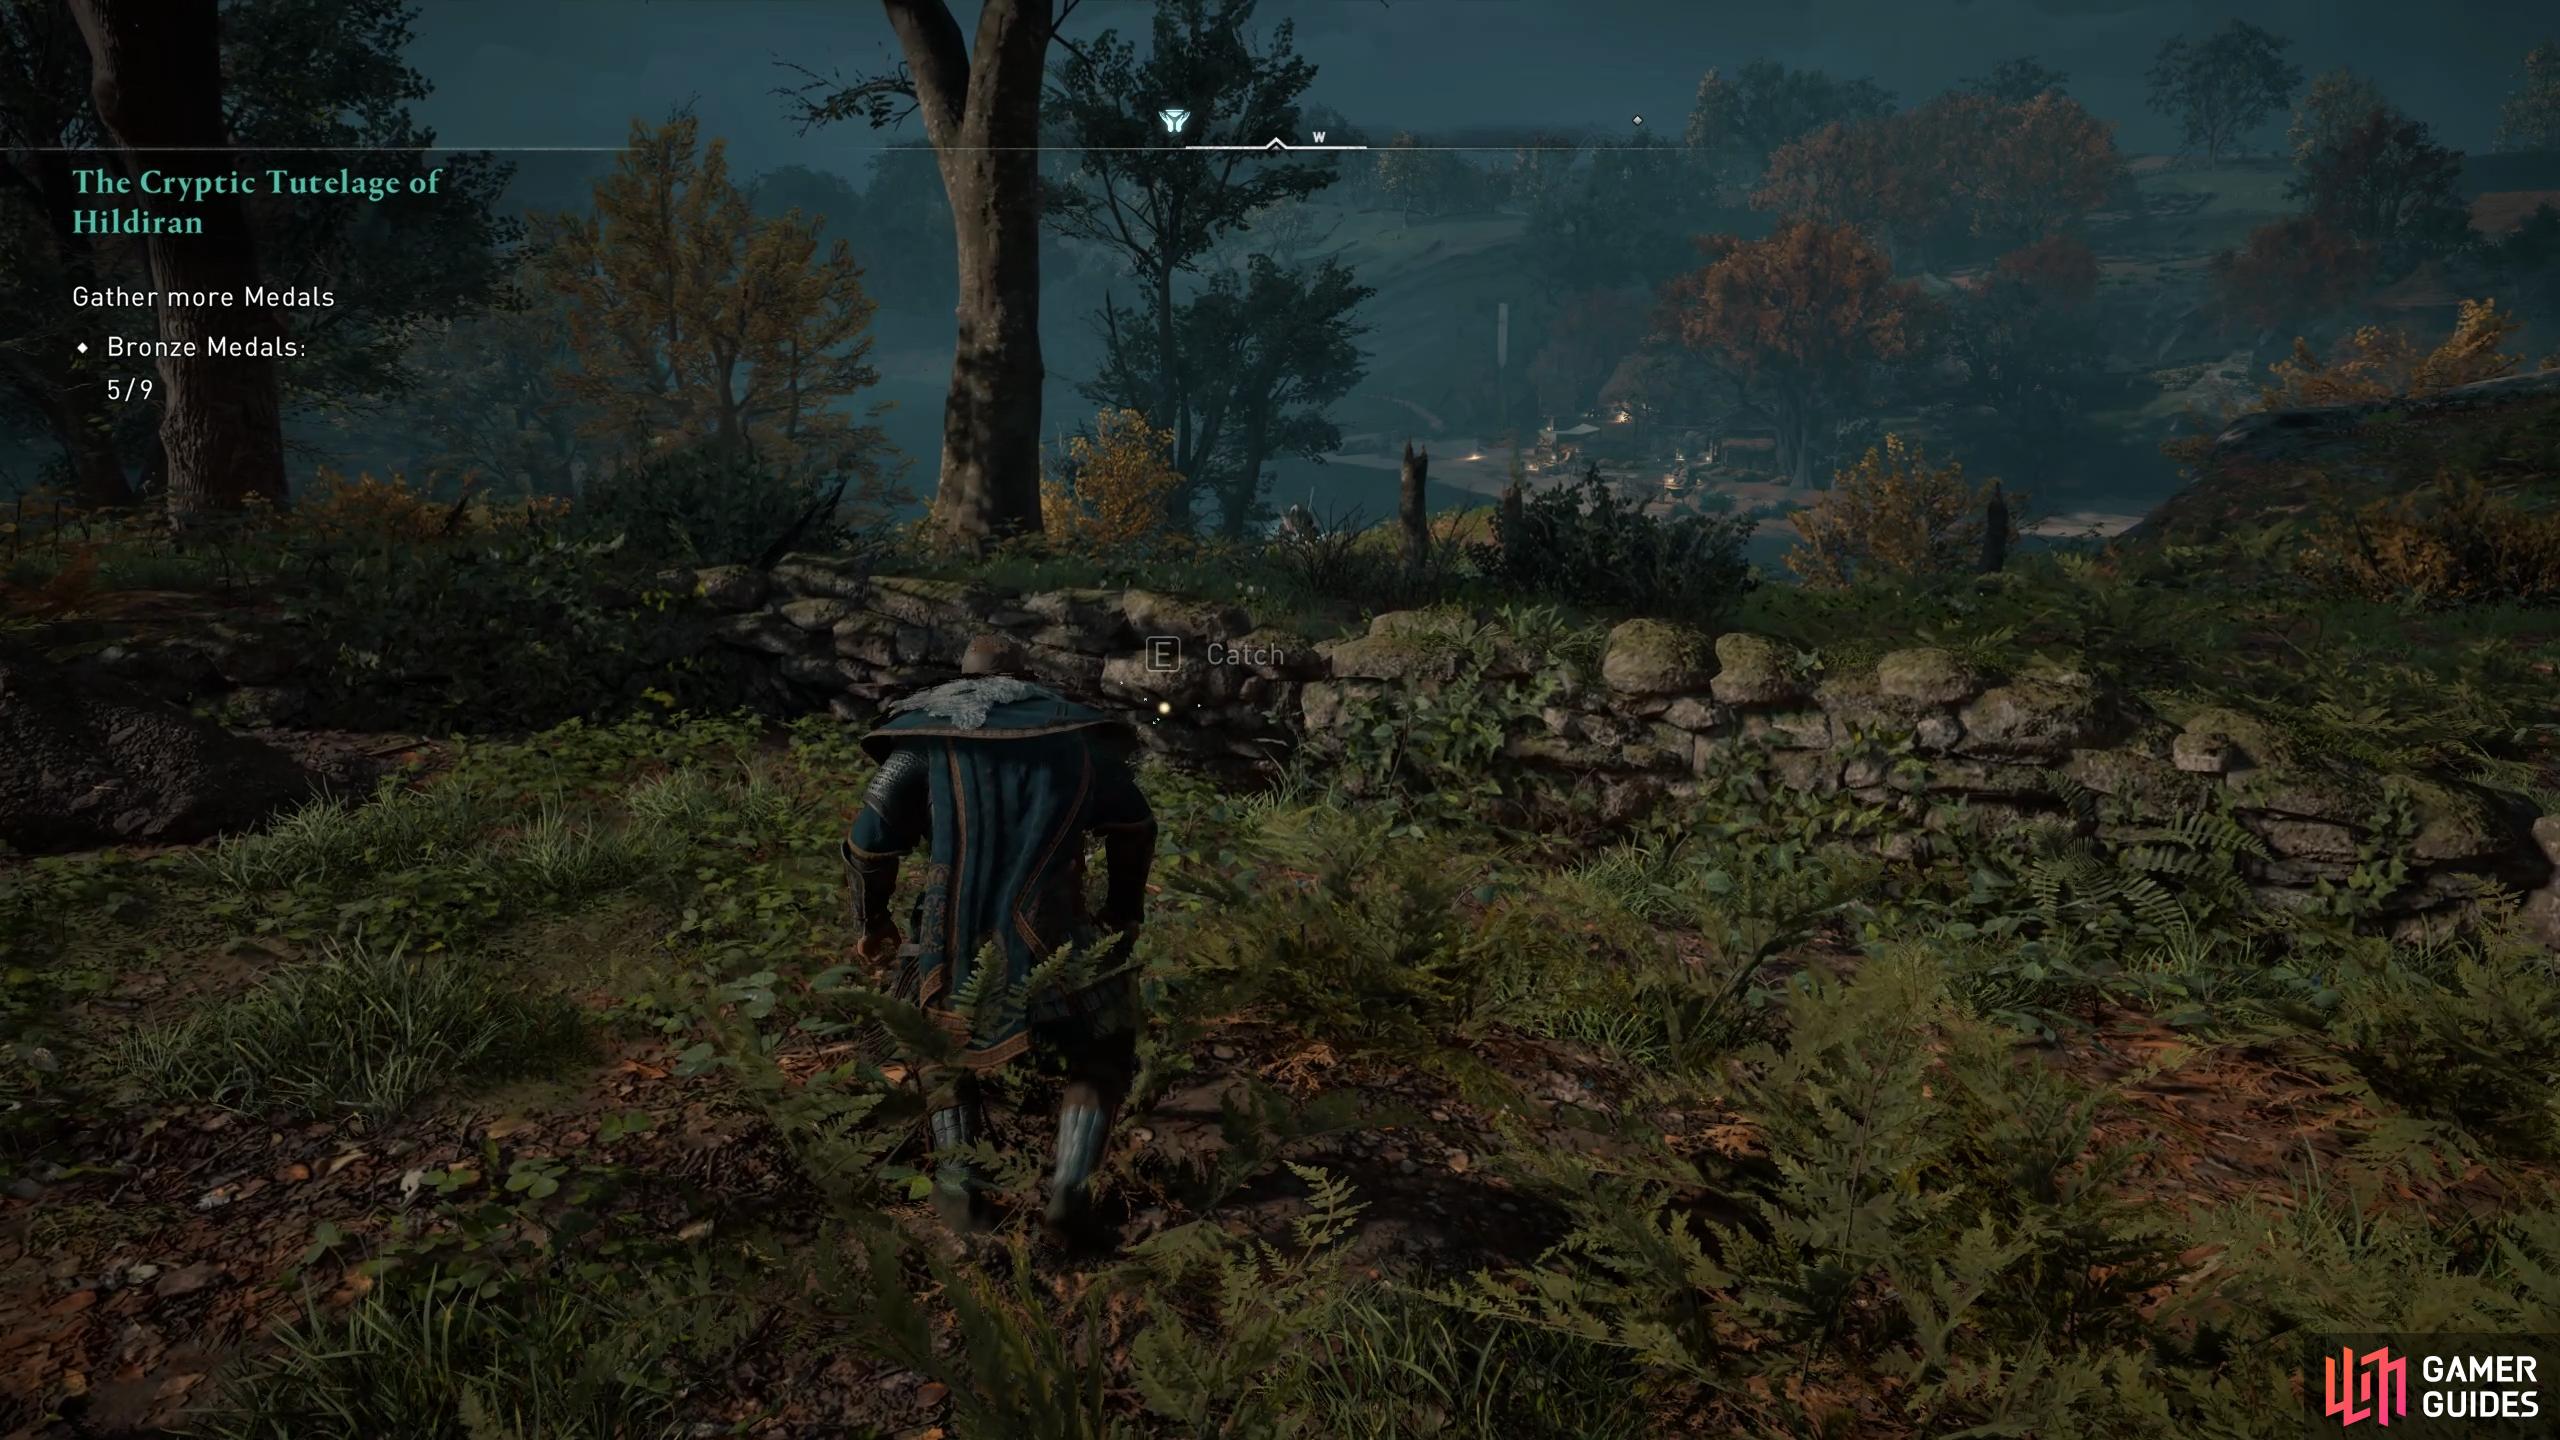
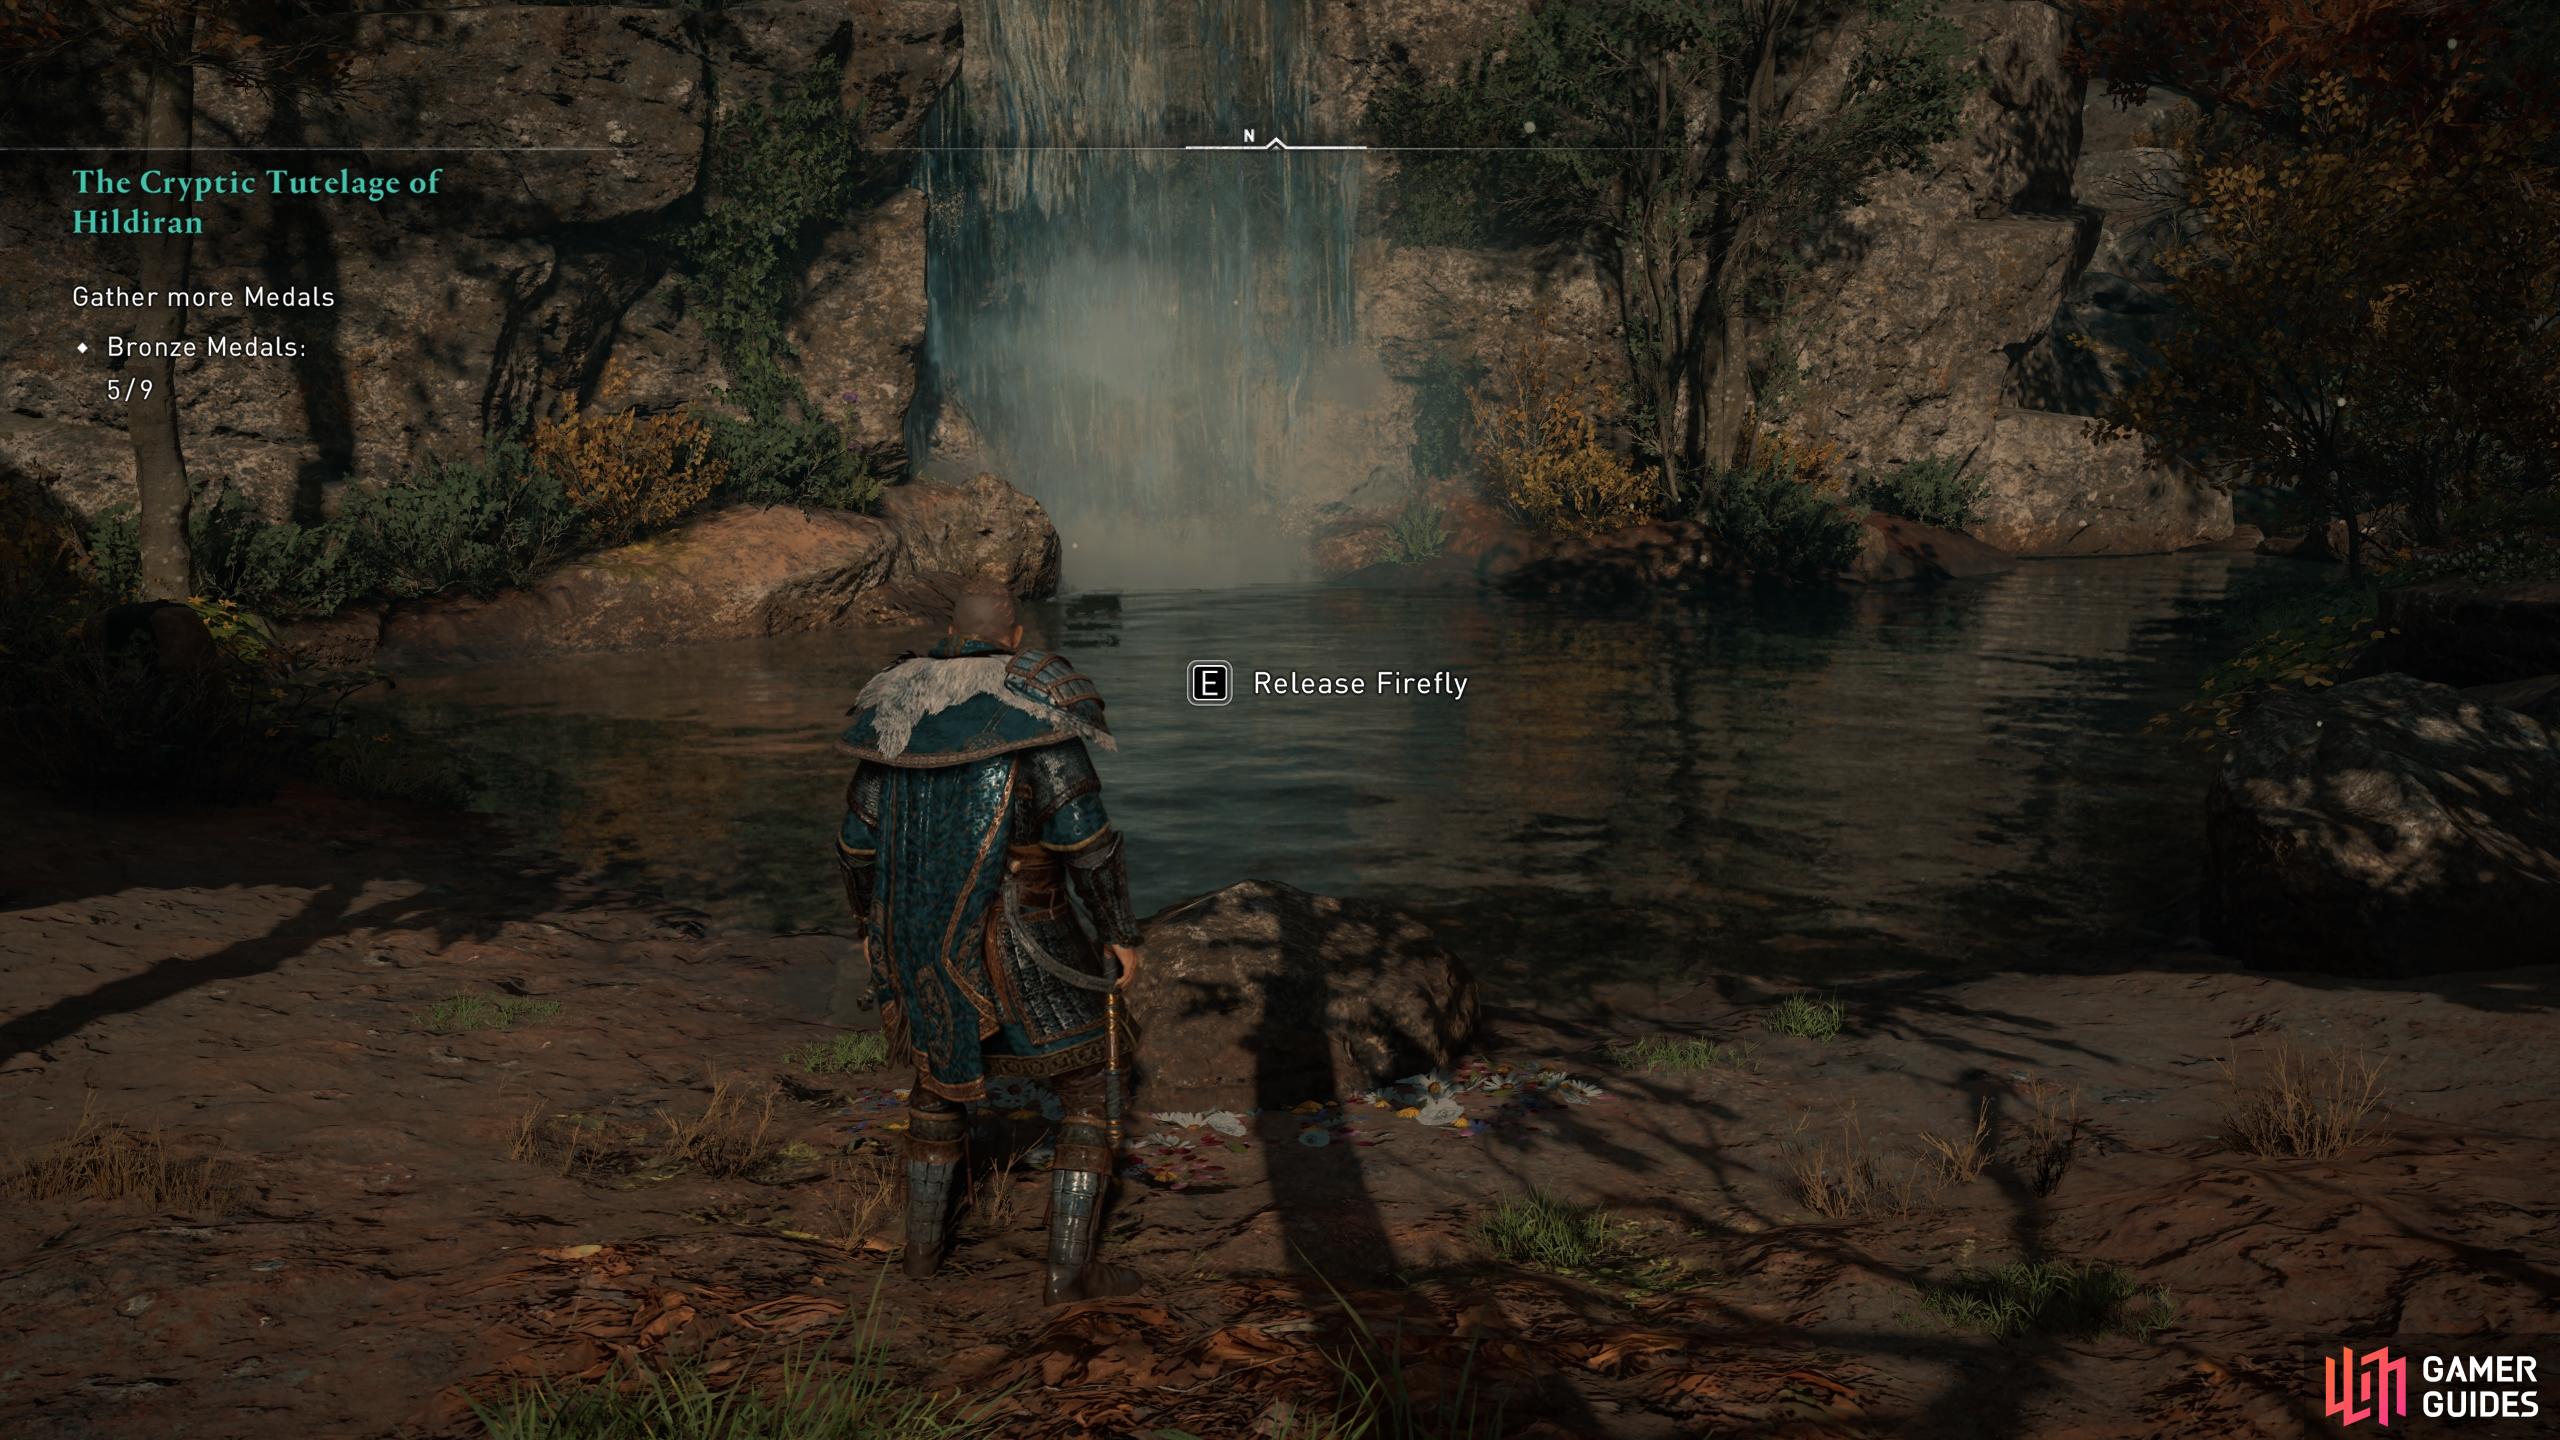
This Trophy / Achievement is obtained by releasing a firefly in your settlement at Ravensthorpe. The nearest place to find fireflies is located east of the settlement, near a small chapel just southeast of Medeshamstede Abbey. You can only see the fireflies flying around the graveyard here when it’s night time, so you may need to meditate if you arrive during the day. Look around the chapel for tiny lights (fireflies) flying through the air. Approach them and catch one to put it in your inventory. Once you have at least one firefly (you can take as many as you can catch), return to Ravensthorpe and go to the waterfall in the north of the settlement, just to the right of Valka’s Hut. You’ll find the place to release the fireflies just on the edge of the pool where the waterfall is located. (1 of 3) The location of the chapel where you’ll find fireflies in the graveyard, east of Ravensthorpe. |
|||||||||||||||||||||||||||||||||||||||||||||||

|
CaladfwlchDraw Excalibur from the Stone |
9.58% Very Rare | 30 | ||||||||||||||||||||||||||||||||||||||||||||
|
This trophy is unlocked upon finding and drawing Excalibur from the stone. Excalibur’s location and your ability to draw it from the stone is unlocked when you find all 11 Mysterious Tablets across England. Some are held by Zealots whilst others are found in caves. Below is a list of all Tablet locations:
Once you have the tablets you’ll be able to head to Myrddin’s Cave, which is located in the woods northwest of Stonehenge, or in relation to a named site on the map: directly west of Readingum Abbey. From there you’ll need to make your way through the cave before reaching the sword and the stone. Excalibur. |
|||||||||||||||||||||||||||||||||||||||||||||||

|
SpelunkerComplete one Tomb of the Fallen |
10.05% Rare | 10 | ||||||||||||||||||||||||||||||||||||||||||||
|
This Trophy / Achievement is unlocked once you complete one of the Tombs of the Fallen. The below table lists the currently available tombs that you can complete, with their location and rewards: Where to Find the Tombs of the Fallen
|
|||||||||||||||||||||||||||||||||||||||||||||||

|
Home Sweet HomeReach settlement level 6 |
10.06% Rare | 30 | ||||||||||||||||||||||||||||||||||||||||||||
|
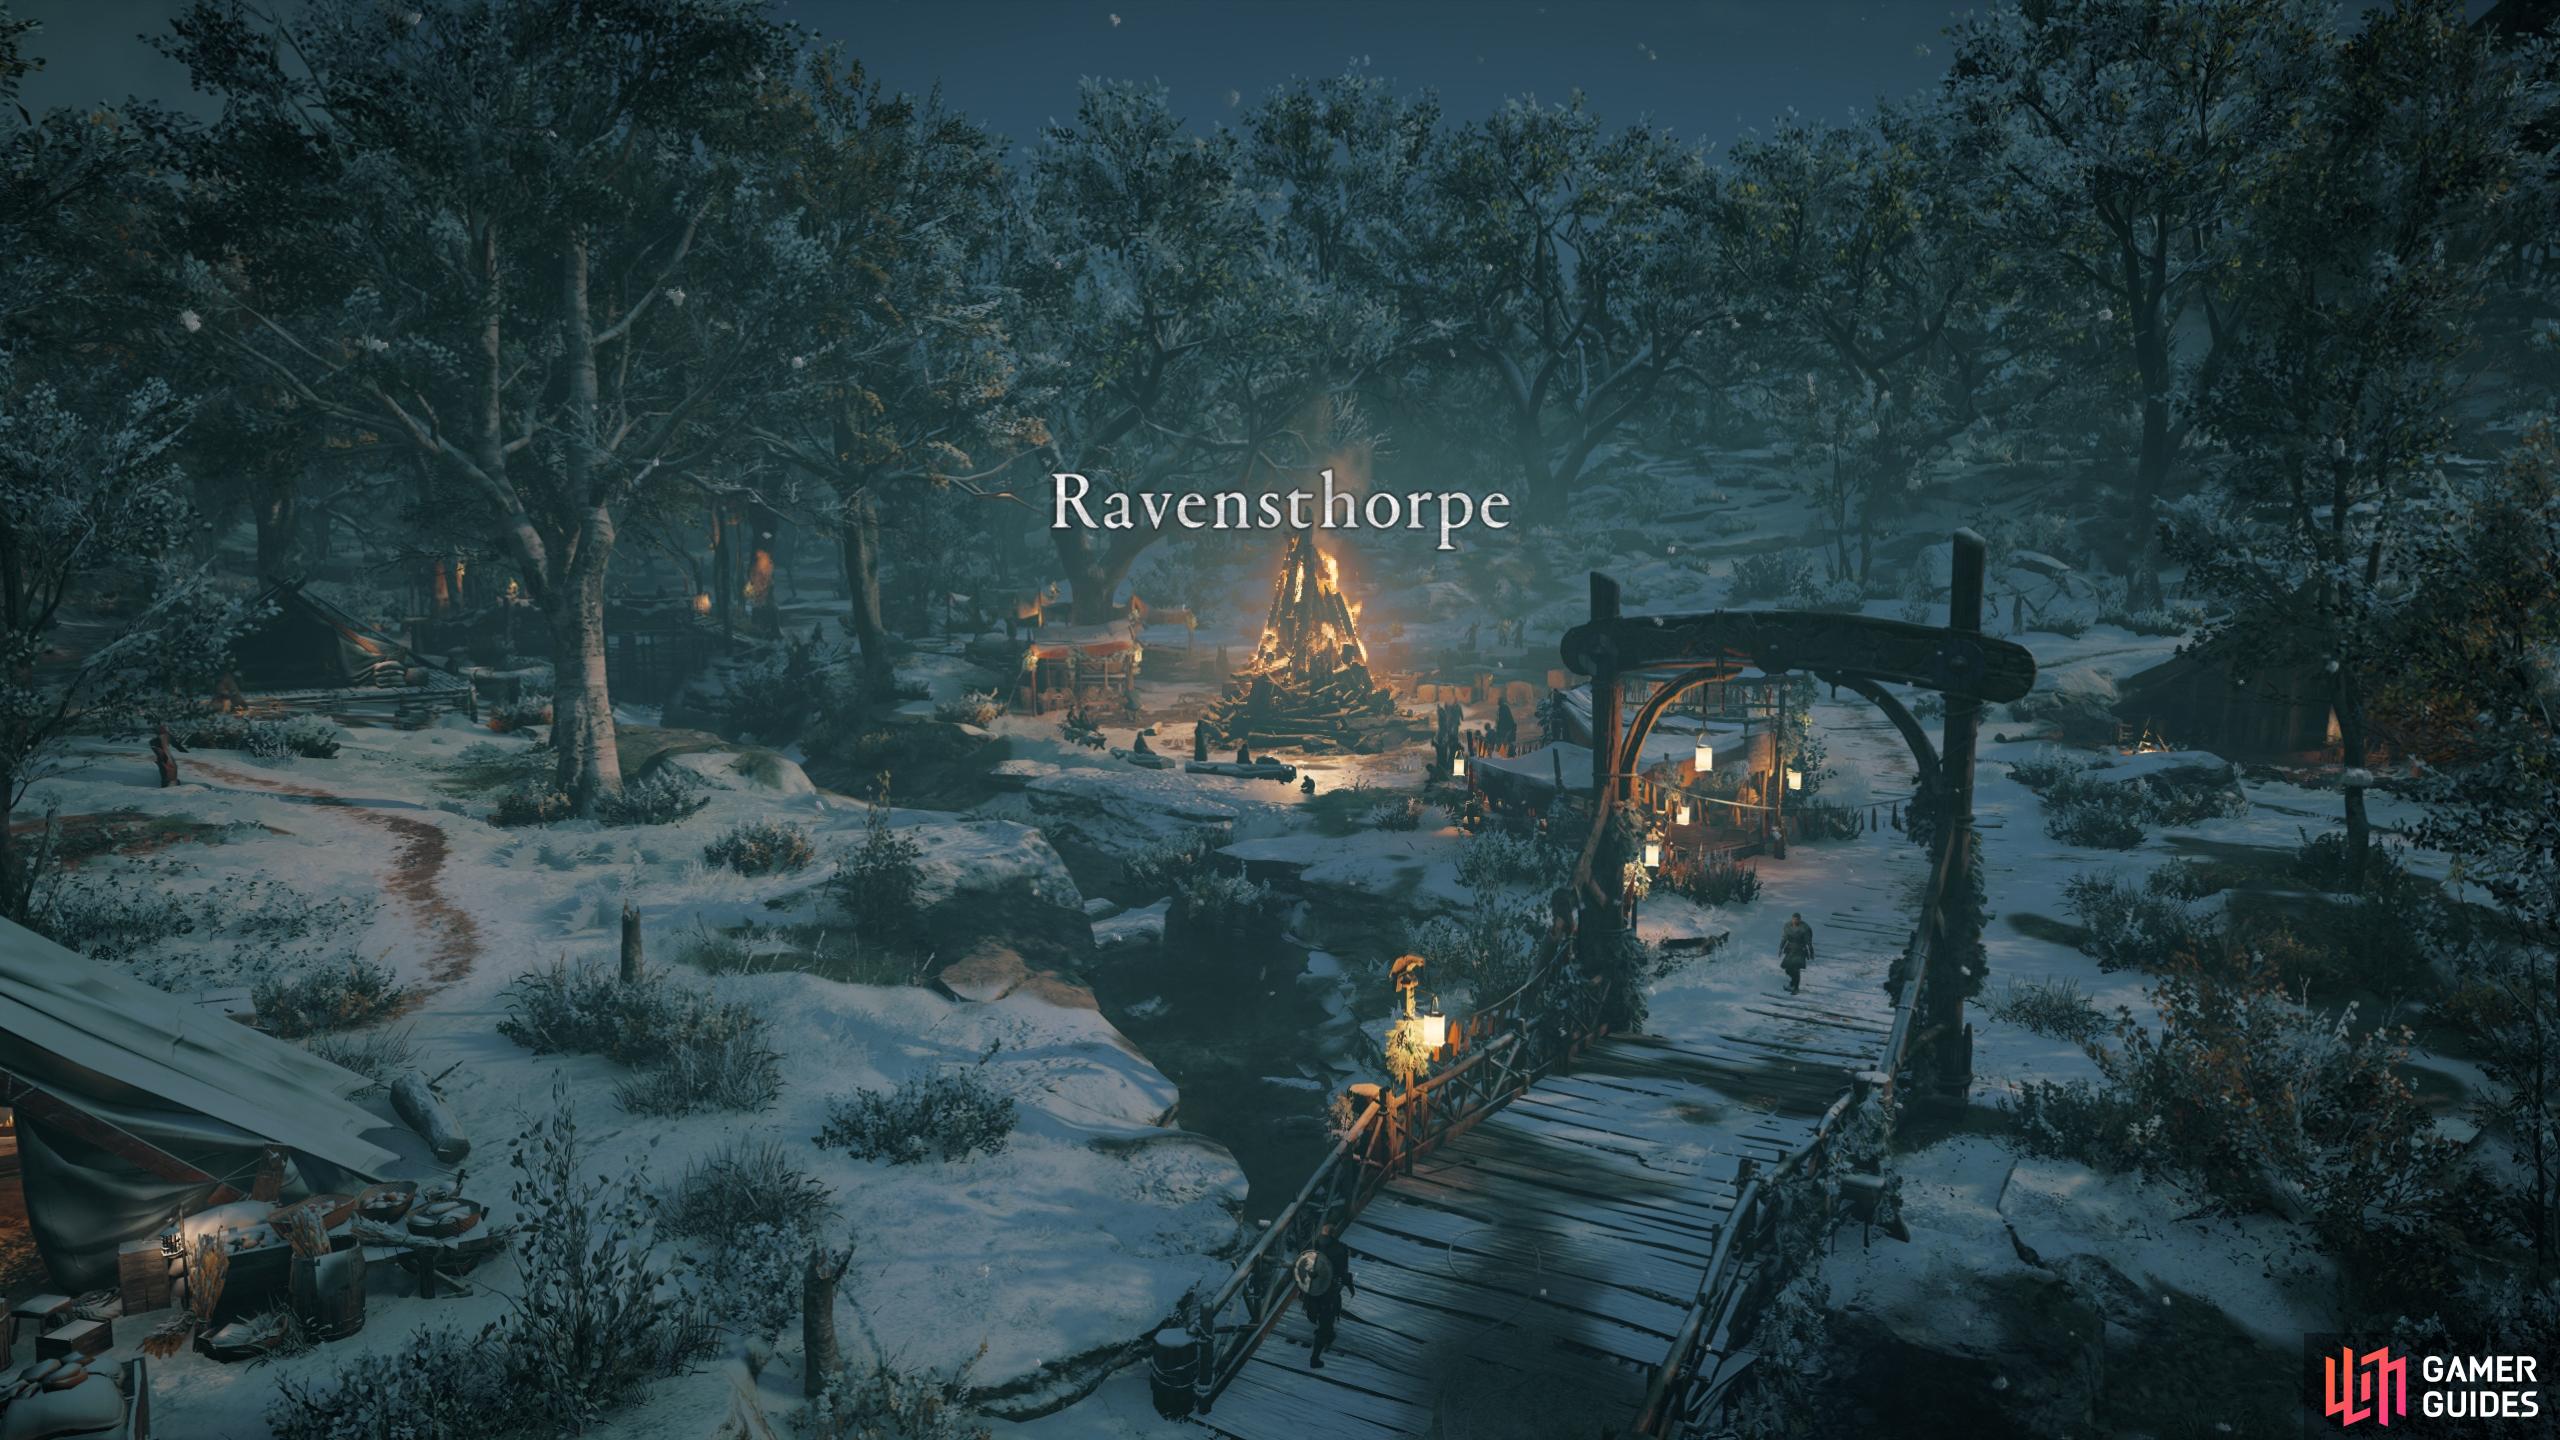
This trophy will be unlocked when you unlock Settlement Level 6, which is achieved by building all buildings in Ravensthorpe. To do this, you’ll need to complete all raiding locations that offer Raw Materials, as well as completing the storyline as completing story-arcs gives you Supplies which are needed for building the settlement buildings. You’ll also need to find smaller petty loot chests that contain Supplies, and they can be most easily found by zooming into region maps and searching for the faint glowing gold points. Supplies don’t count as wealth points so you’ll need to keep an eye out for small chests to loot in houses, monasteries and camps. As well as building every single building, some will also require upgrading. These upgrades are not very well sign-posted as they don’t show up on your map and can sometimes be a bit hidden when your settlement is full. Make sure to keep an eye out for signs outside buildings that indicate when there is an upgrade available to purchase. For example, behind the Shipyard and Hunwald and Swanburrow’s house, you might easily miss the upgrade signs as they aren’t immediately obvious. Ravensthorpe. |
|||||||||||||||||||||||||||||||||||||||||||||||

|
Not the Norse You're Looking ForSuccessfully pass close to a guard in a distrust area by blending with a group of monks |
12.17% Rare | 20 | ||||||||||||||||||||||||||||||||||||||||||||
|
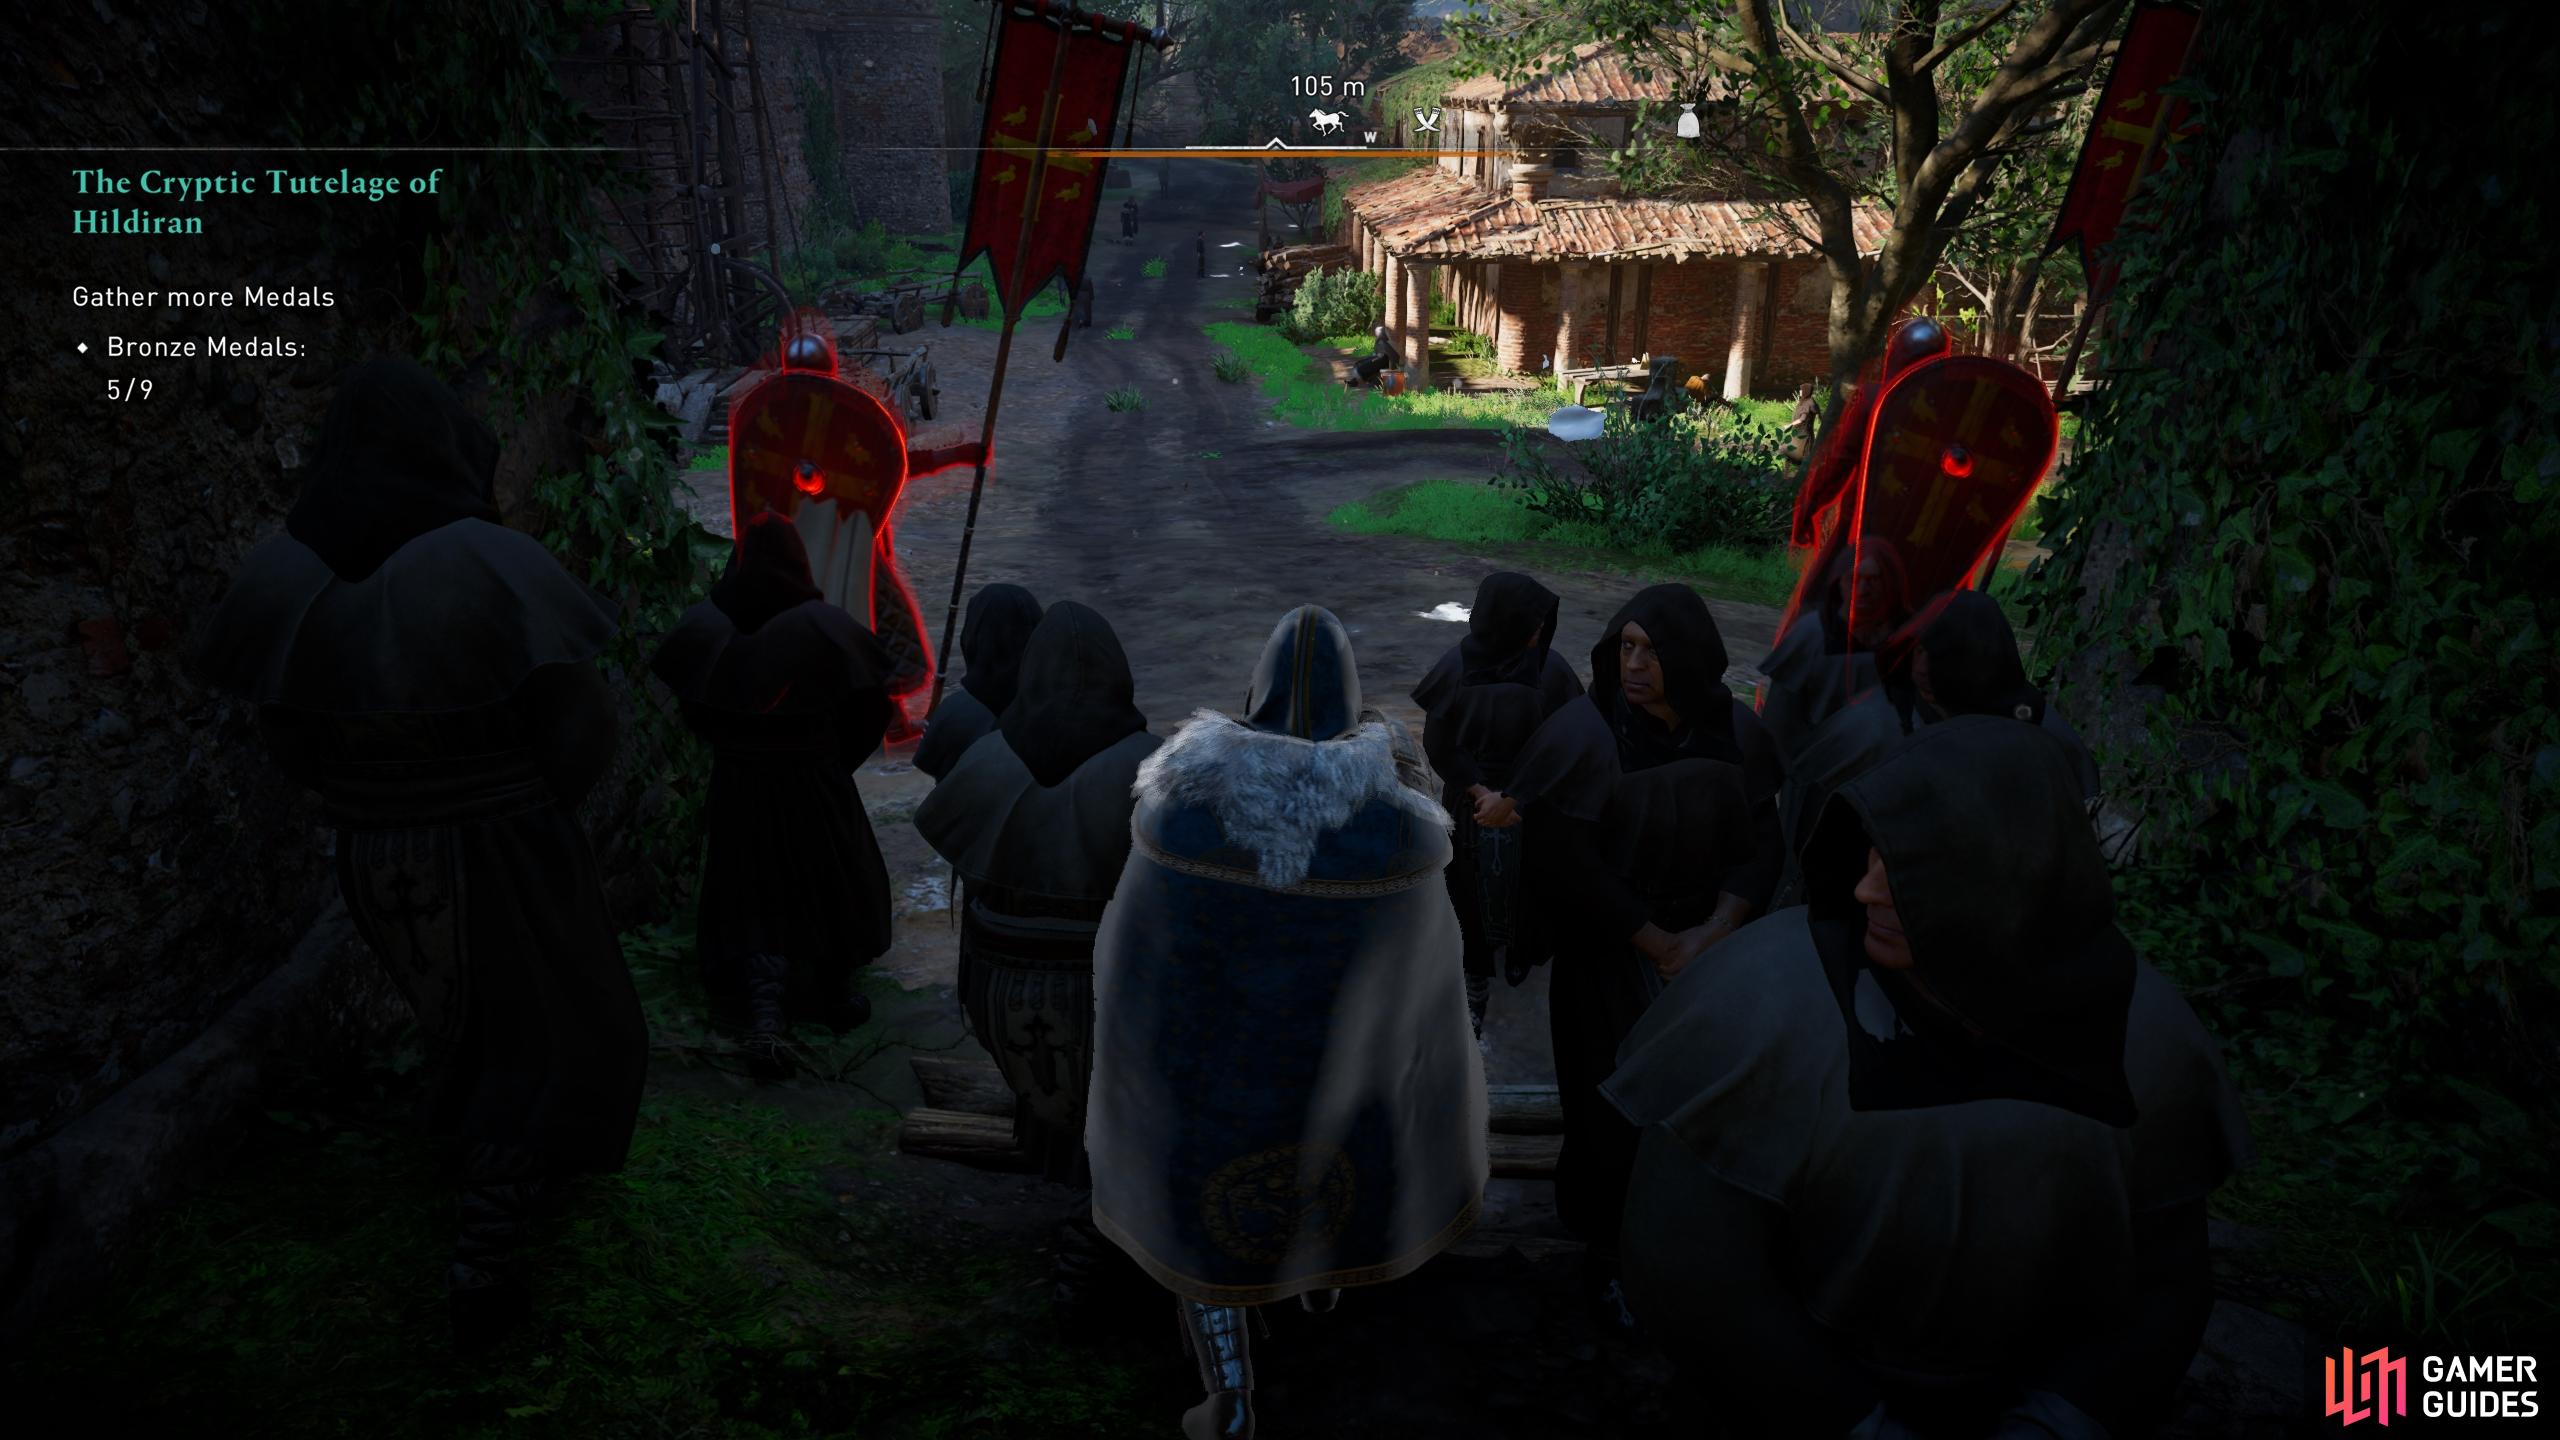
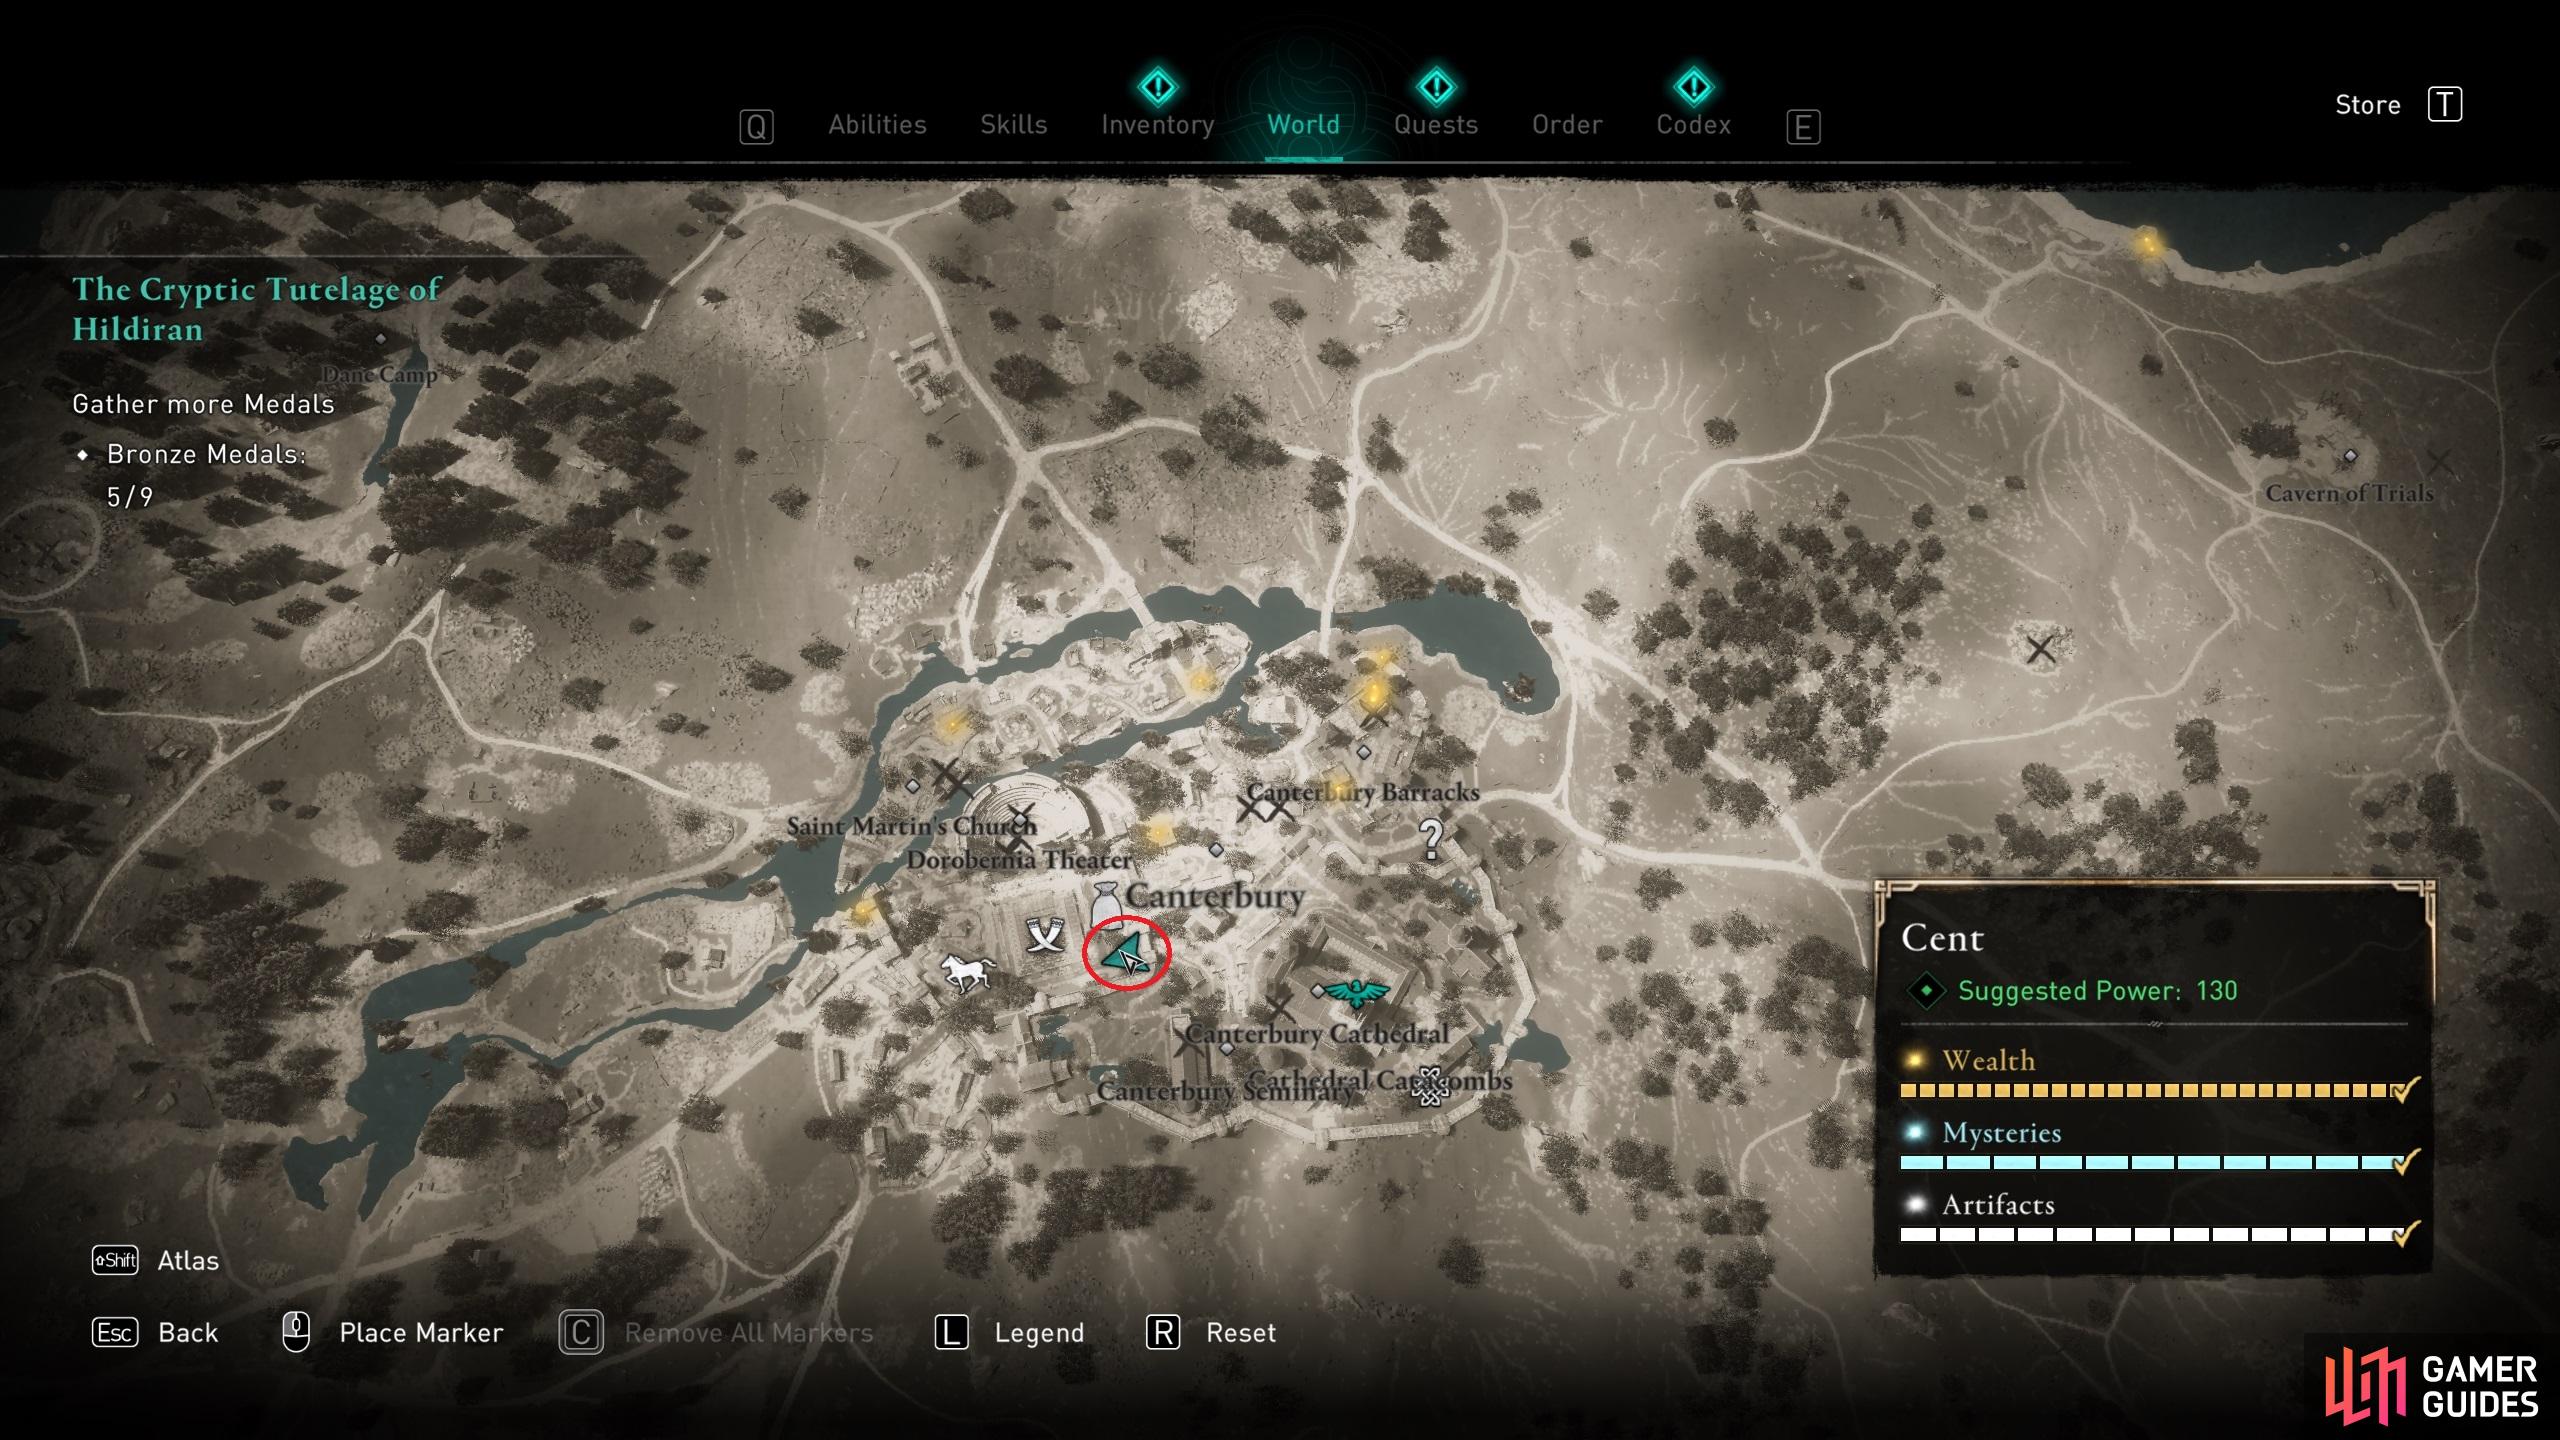
This Trophy / Achievement is obtained by passing close to a guard in a distrust area by blending in with a group of monks. One of the best and easiest places to do this is in Canterbury, Cent, in the southeasternmost point of England. Once you’re in Canterbury, make your way to the cathedral grounds and approach them from the west, directly east of the stables. You’ll come across an arched entrance guarded by two Standard Bearers. There are numerous groups of monks moving in and out of the cathedral grounds through this entrance, so all you need to do is approach them, blend in, and walk with them until you pass by a guard. You’ll need to match the pace of the monks to ensure that you don’t look out of place and break away from them. (1 of 2) Once you’ve blended in with a group of monks, walk with them as you pass the guards. Once you’ve blended in with a group of monks, walk with them as you pass the guards. (left), You’ll find the arched entrance near the centre of Canterbury, directly east of the stables. (right) |
|||||||||||||||||||||||||||||||||||||||||||||||

|
Full MasterySpend your first Mastery point |
12.93% Rare | 30 | ||||||||||||||||||||||||||||||||||||||||||||

|
Disorder of the AncientsEliminate all targets of the Order of Ancients |
14.65% Rare | 50 | ||||||||||||||||||||||||||||||||||||||||||||
|
This Trophy / Achievement is obtained once you’ve defeated all members of the Order of the Ancients. There are six categories of members including Zealots, Wardens of War, Wardens of Law, Wardens of Wealth, Wardens of Faith, and Wardens of Relics. Aside from these six, there’s also the head of the order, known as the Grand Maegester (The Father). The Zealots can be found roaming in the landscape throughout England. The Wardens will be encountered at various stages throughout the main story, however you can still kill some of them before completing the part of the story where you’ll encounter them regardless. To obtain some of the clues which lead you to the locations of Order of Ancients members, you may need to complete specific tasks such as drinking games and Orlog games, which will be indicated via quest objectives or from clues. Below is a list of all Order of the Ancients members, including links to pages which detail how and where you can find them: Zealots
Wardens of War
Wardens of Law
Wardens of Wealth
Wardens of Faith
Wardens of RelicsGrand Maegester (The Father) |
|||||||||||||||||||||||||||||||||||||||||||||||

|
Godly RewardObtain Thor's Helmet |
16.19% Rare | 30 | ||||||||||||||||||||||||||||||||||||||||||||
|
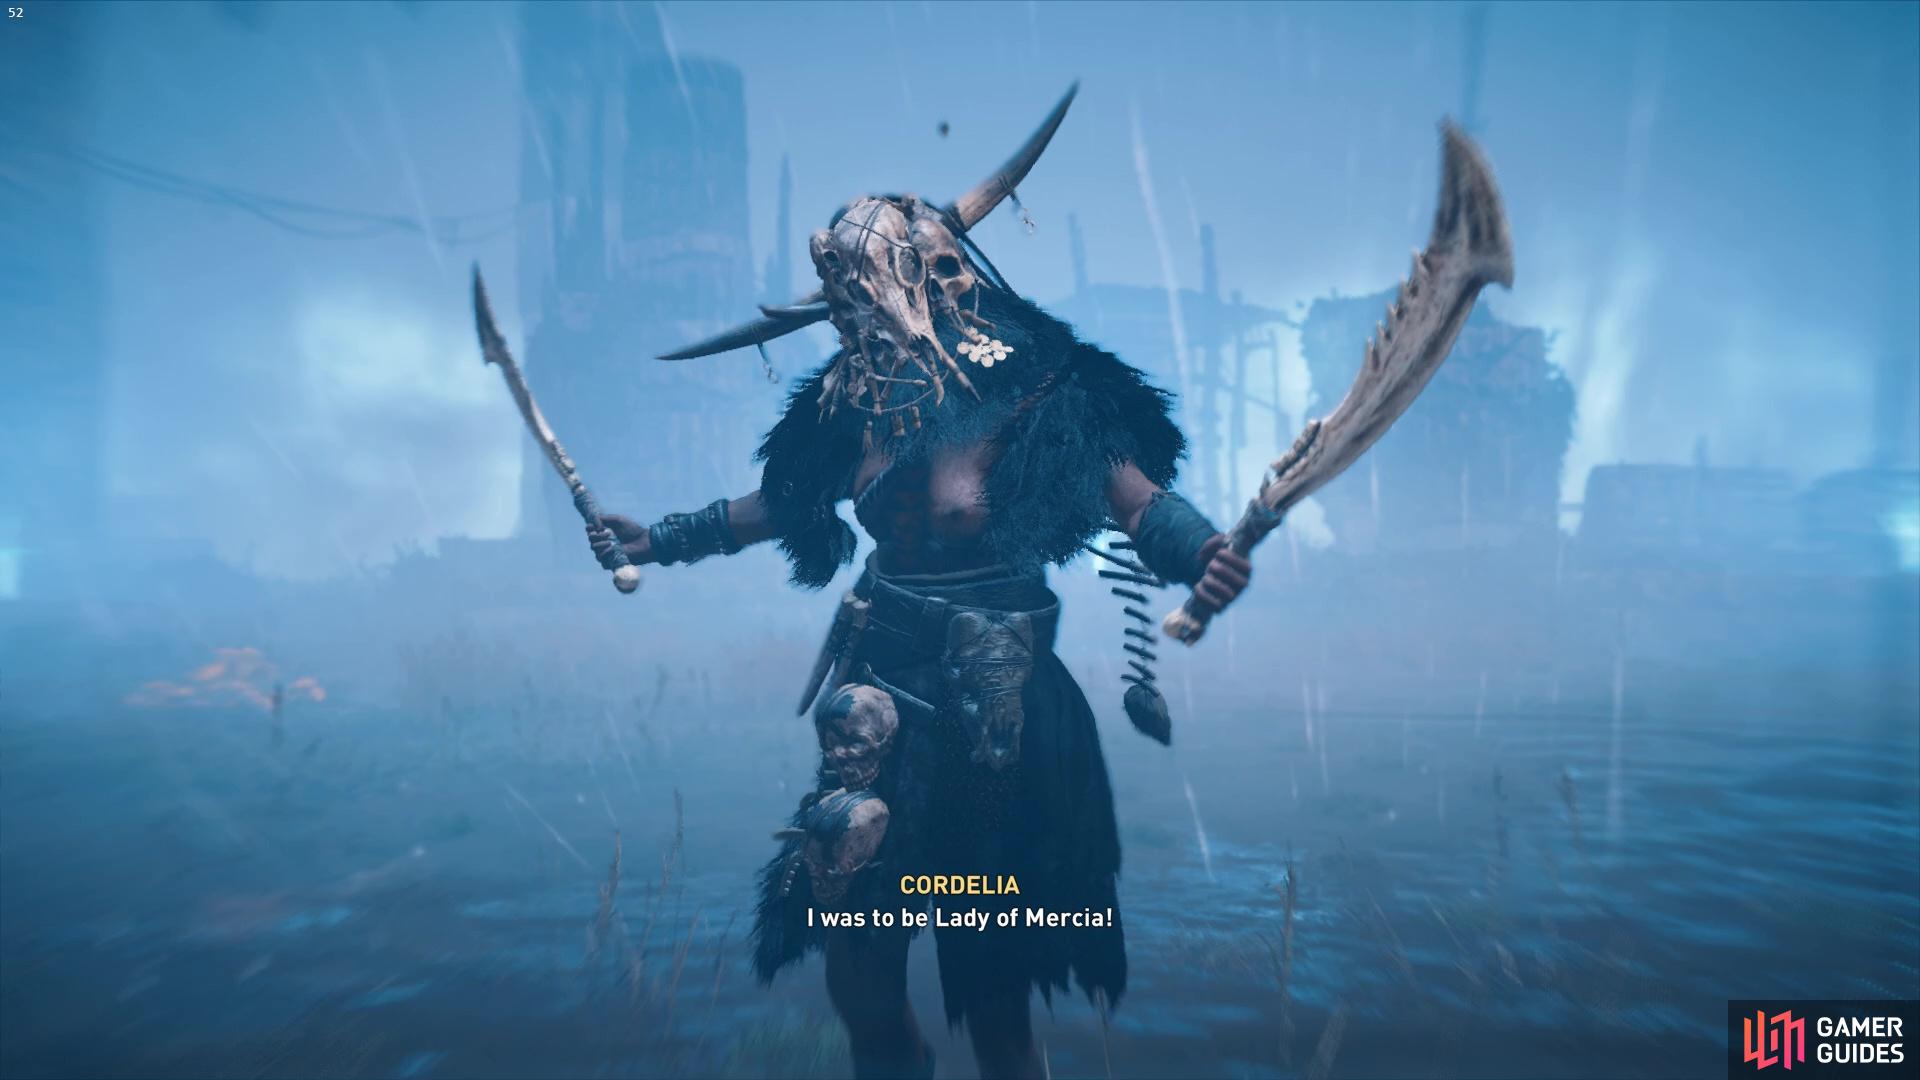
Thor’s Helmet is obtained from the Crypt of Lerion, which is only accessible once you’ve slain all Daughters of Lerion. The Crypt of Lerion is found in East Anglia, and the entrace to the crypt is unlocked by the daggers of the three daughters. The final Daughter of Lerion boss, Cordelia, is power level 340 so you may need to wait until you’re a higher level before you can unlock this trophy. Cordelia is the strongest Daughter of Lerion. |
|||||||||||||||||||||||||||||||||||||||||||||||

|
In the Footsteps of the GodsComplete the Asgard and Jotunheim quests |
17.15% Rare | 30 | ||||||||||||||||||||||||||||||||||||||||||||
|
To earn this trophy you’ll need to complete both the Asgard and Jotunheim story quests. The recommended power level for Asgard is 90 and for Jotunheim it’s 190, though both areas can be done with relative ease at lower levels. To have access to these areas you’ll first need to complete A Wise Friend. Asgard: View Above All. |
|||||||||||||||||||||||||||||||||||||||||||||||

|
DreamcatcherDestroy 10 Curse Symbols |
18.00% Rare | 20 | ||||||||||||||||||||||||||||||||||||||||||||
|
This trophy is unlocked by destroying 10 cursed symbols, which are Artifacts found across the land. Below, you’ll find a breakdown of all cursed areas in the regions that have cursed areas:
Cursed Areas are dark and often dangerous. They can only be cleansed by destroying the cursed symbols. |
|||||||||||||||||||||||||||||||||||||||||||||||

|
England SubduedComplete Hamtunscire Arc |
18.92% Rare | 30 | ||||||||||||||||||||||||||||||||||||||||||||
|
This Trophy / Achievement is obtained once you complete the Hamtunscire story arc (The Prophecies of the King), which becomes available after you’ve completed the Hordafylke story arc (In the Hall of the Slain). The Hamtunscire arc consists of the following quests: The completion of the Hamtunscire arc marks the completion of all the story arcs within England, which include:
|
|||||||||||||||||||||||||||||||||||||||||||||||

|
EquilibriumComplete 3 Cairn challenges |
19.25% Rare | 10 | ||||||||||||||||||||||||||||||||||||||||||||
|
This Trophy / Achievement is obtained by completing 3 Cairn challenges. These are the mysteries which involve stacking stones in scenic locations to create a cairn, and they’re located throughout the game world. There are 13 in total. Below is a list of all Cairns, and links to pages detailing how you can complete them:
|
|||||||||||||||||||||||||||||||||||||||||||||||

|
Silent VikingAssassinate 10 enemies in a row without triggering a conflict |
21.15% Uncommon | 10 | ||||||||||||||||||||||||||||||||||||||||||||
|
This Trophy / Achievement is obtained by assassinating 10 enemies in a row without being detected. The best way to do this is to find a camp with plenty of spaces to hide in, such as haystacks and buildings. You can then pick off your targets as you roam through a camp, hiding from the sight of enemies when you need to before picking the next target. You’ll find this process much easier once you have the Advanced Assassination (Way of the Raven) skill, which allows you to assassinate an enemy with a throwing axe immediately after an initial assassination. This means that you can kill two guards quickly to avoid detection, especially if a guard pops out when you don’t expect it. |
|||||||||||||||||||||||||||||||||||||||||||||||

|
As It Was ForetoldComplete "The Prophecy" storyline |
21.66% Uncommon | 30 | ||||||||||||||||||||||||||||||||||||||||||||
|
This Trophy / Achievement is obtained once you complete “The Prophecy” storyline, which consists of the two quests associated with the Hordafylke arc (In the Hall of the Slain) including: During A Brother’s Keeper you will need to fight Odin to proceed with the quest. You won’t be able to defeat Odin in combat, so instead you’ll need to do something unconventional: open your inventory and remove your weapon, which Odin is using to control your movements. You will then be able to run to the door and escape the fight. Once you’ve completed both quests you will obtain the trophy / achievement. |
|||||||||||||||||||||||||||||||||||||||||||||||

|
Witch HunterDefeat one Daughter of Lerion |
22.50% Uncommon | 20 | ||||||||||||||||||||||||||||||||||||||||||||
|
This Trophy / Achievement is obtained by defeating at least one of the Daughters of Lerion. There are 3 in total, as follows:
These are some of the toughest fights in the game. You’ll find detailed strategy guides by clicking on the links above. |
|||||||||||||||||||||||||||||||||||||||||||||||

|
We're in the End Game NowReach Power 280 |
22.97% Uncommon | 30 | ||||||||||||||||||||||||||||||||||||||||||||
|
This Trophy / Achievement is obtained once you reach Power Level 280. This is something that you will easily achieve as you play through the game. All you need to do is go through the main story and complete any mysteries, wealth, and artifact collectables along the way. You can also gain levels simply by killing mobs, but you’ll get much more XP from completing objectives. |
|||||||||||||||||||||||||||||||||||||||||||||||

|
The Enemy of My EnemyComplete the Wincestre Arc |
23.60% Uncommon | 20 | ||||||||||||||||||||||||||||||||||||||||||||
|
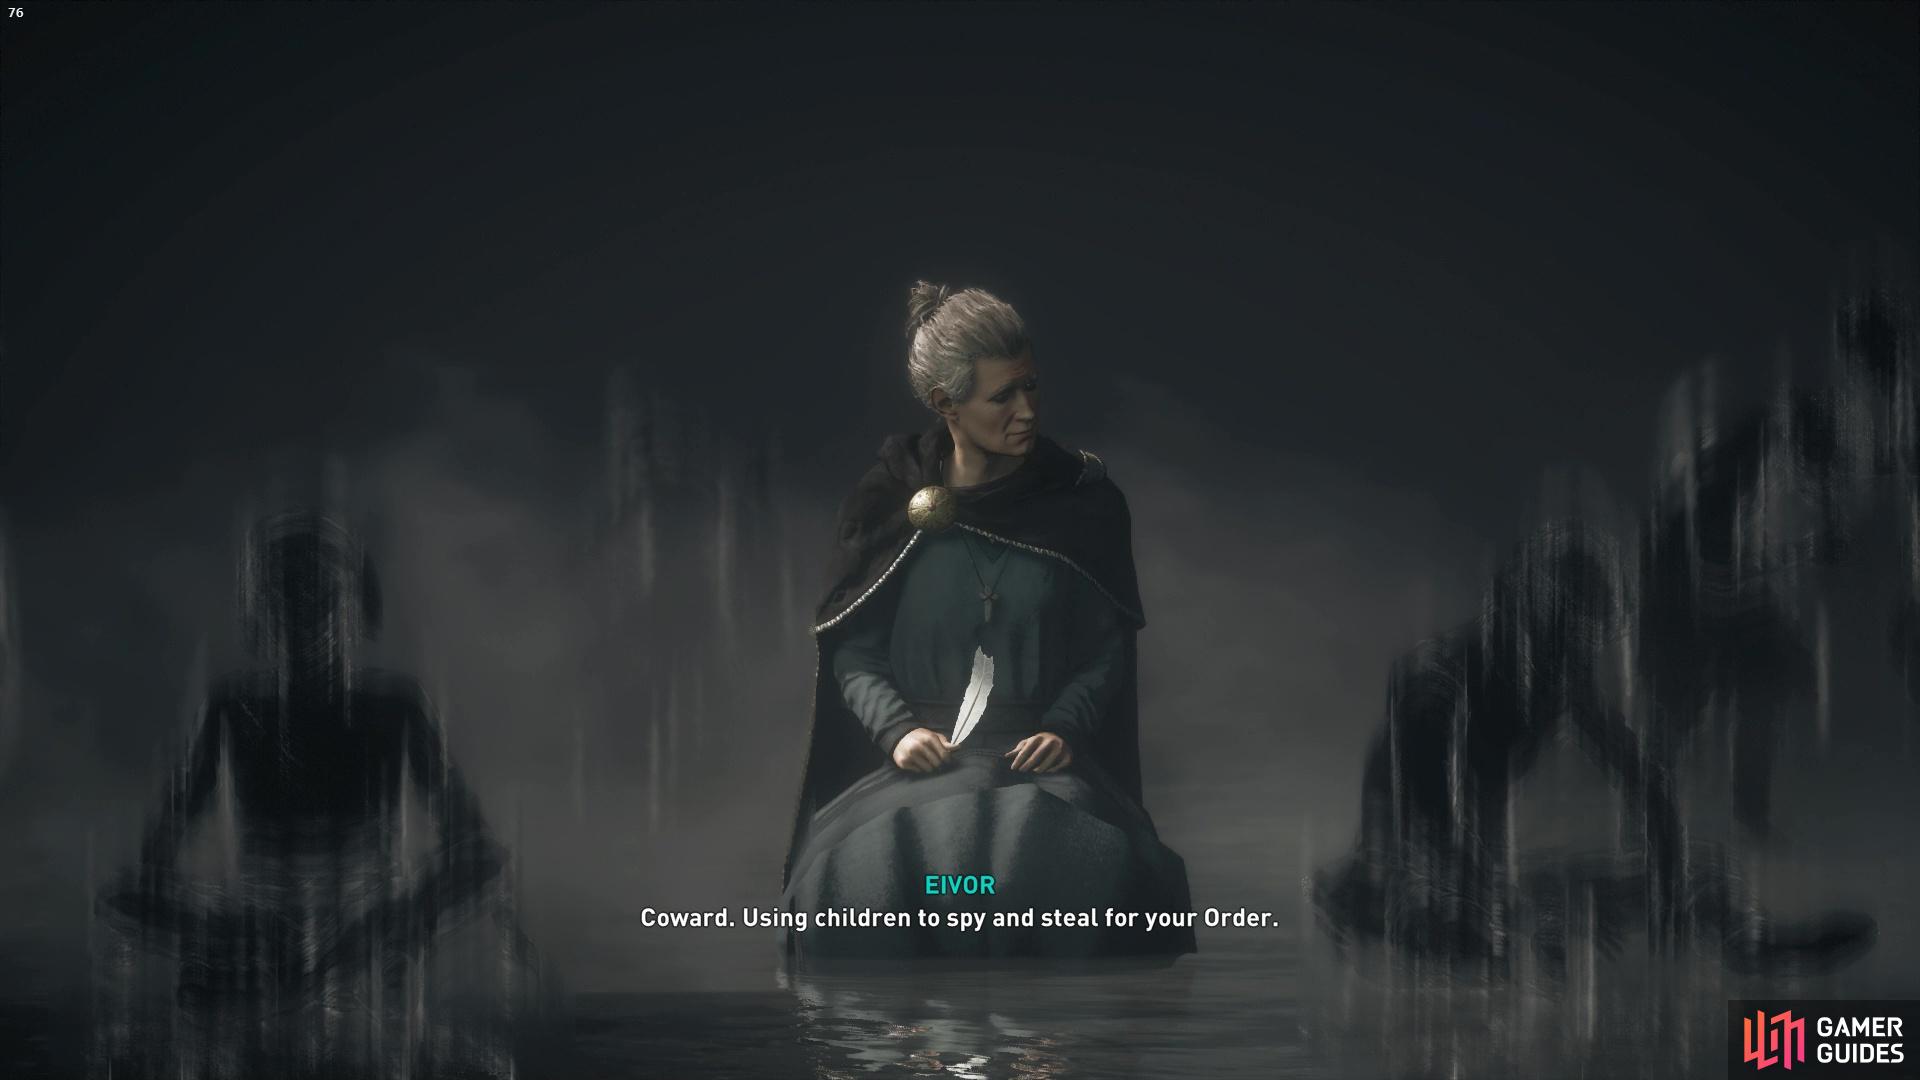
This trophy is earned by completing the Wincestre story arc. The recommended power level for this area is 250 but you’ll be able to do it at a lower level should you wish to do so. Wincestre is one of three regions that has a story-arc focused on identifying and assassinating Order of the Ancient Members, specifically Wardens of Faith in this case. The Quill cutscene. |
|||||||||||||||||||||||||||||||||||||||||||||||

|
Ultimate RefinementFully upgrade and enhance a piece of gear |
25.59% Uncommon | 30 | ||||||||||||||||||||||||||||||||||||||||||||
|
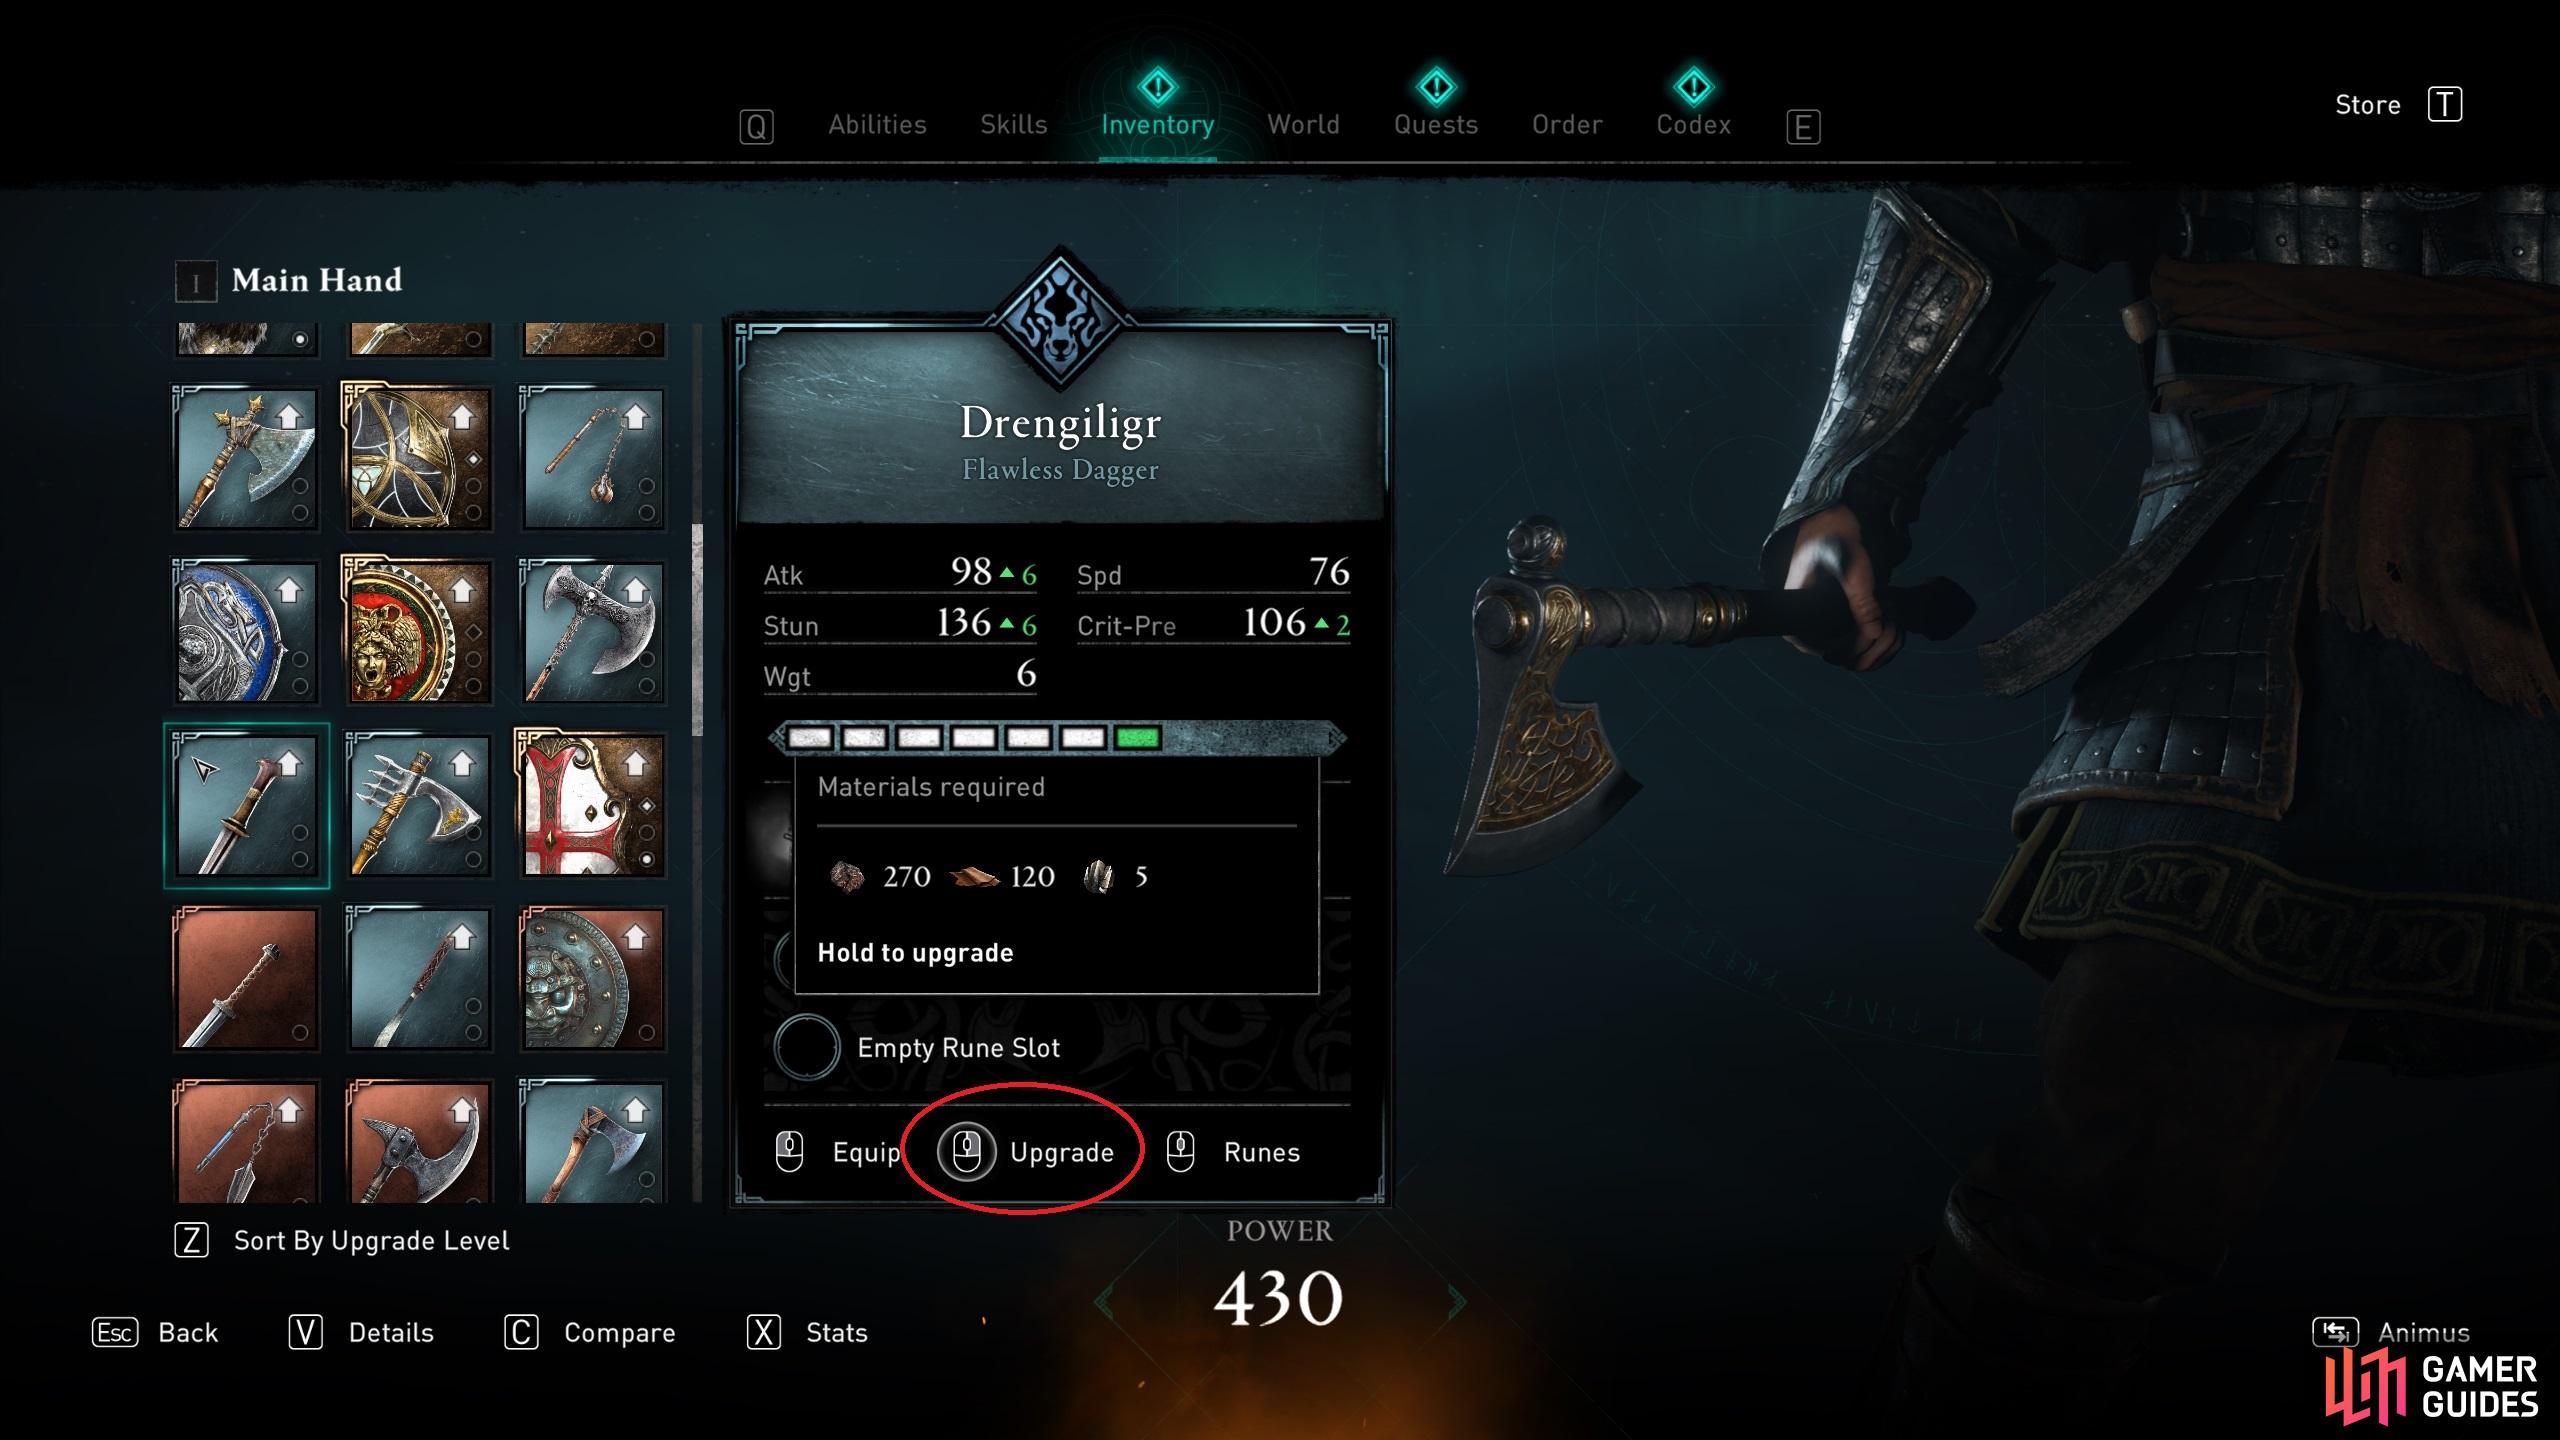
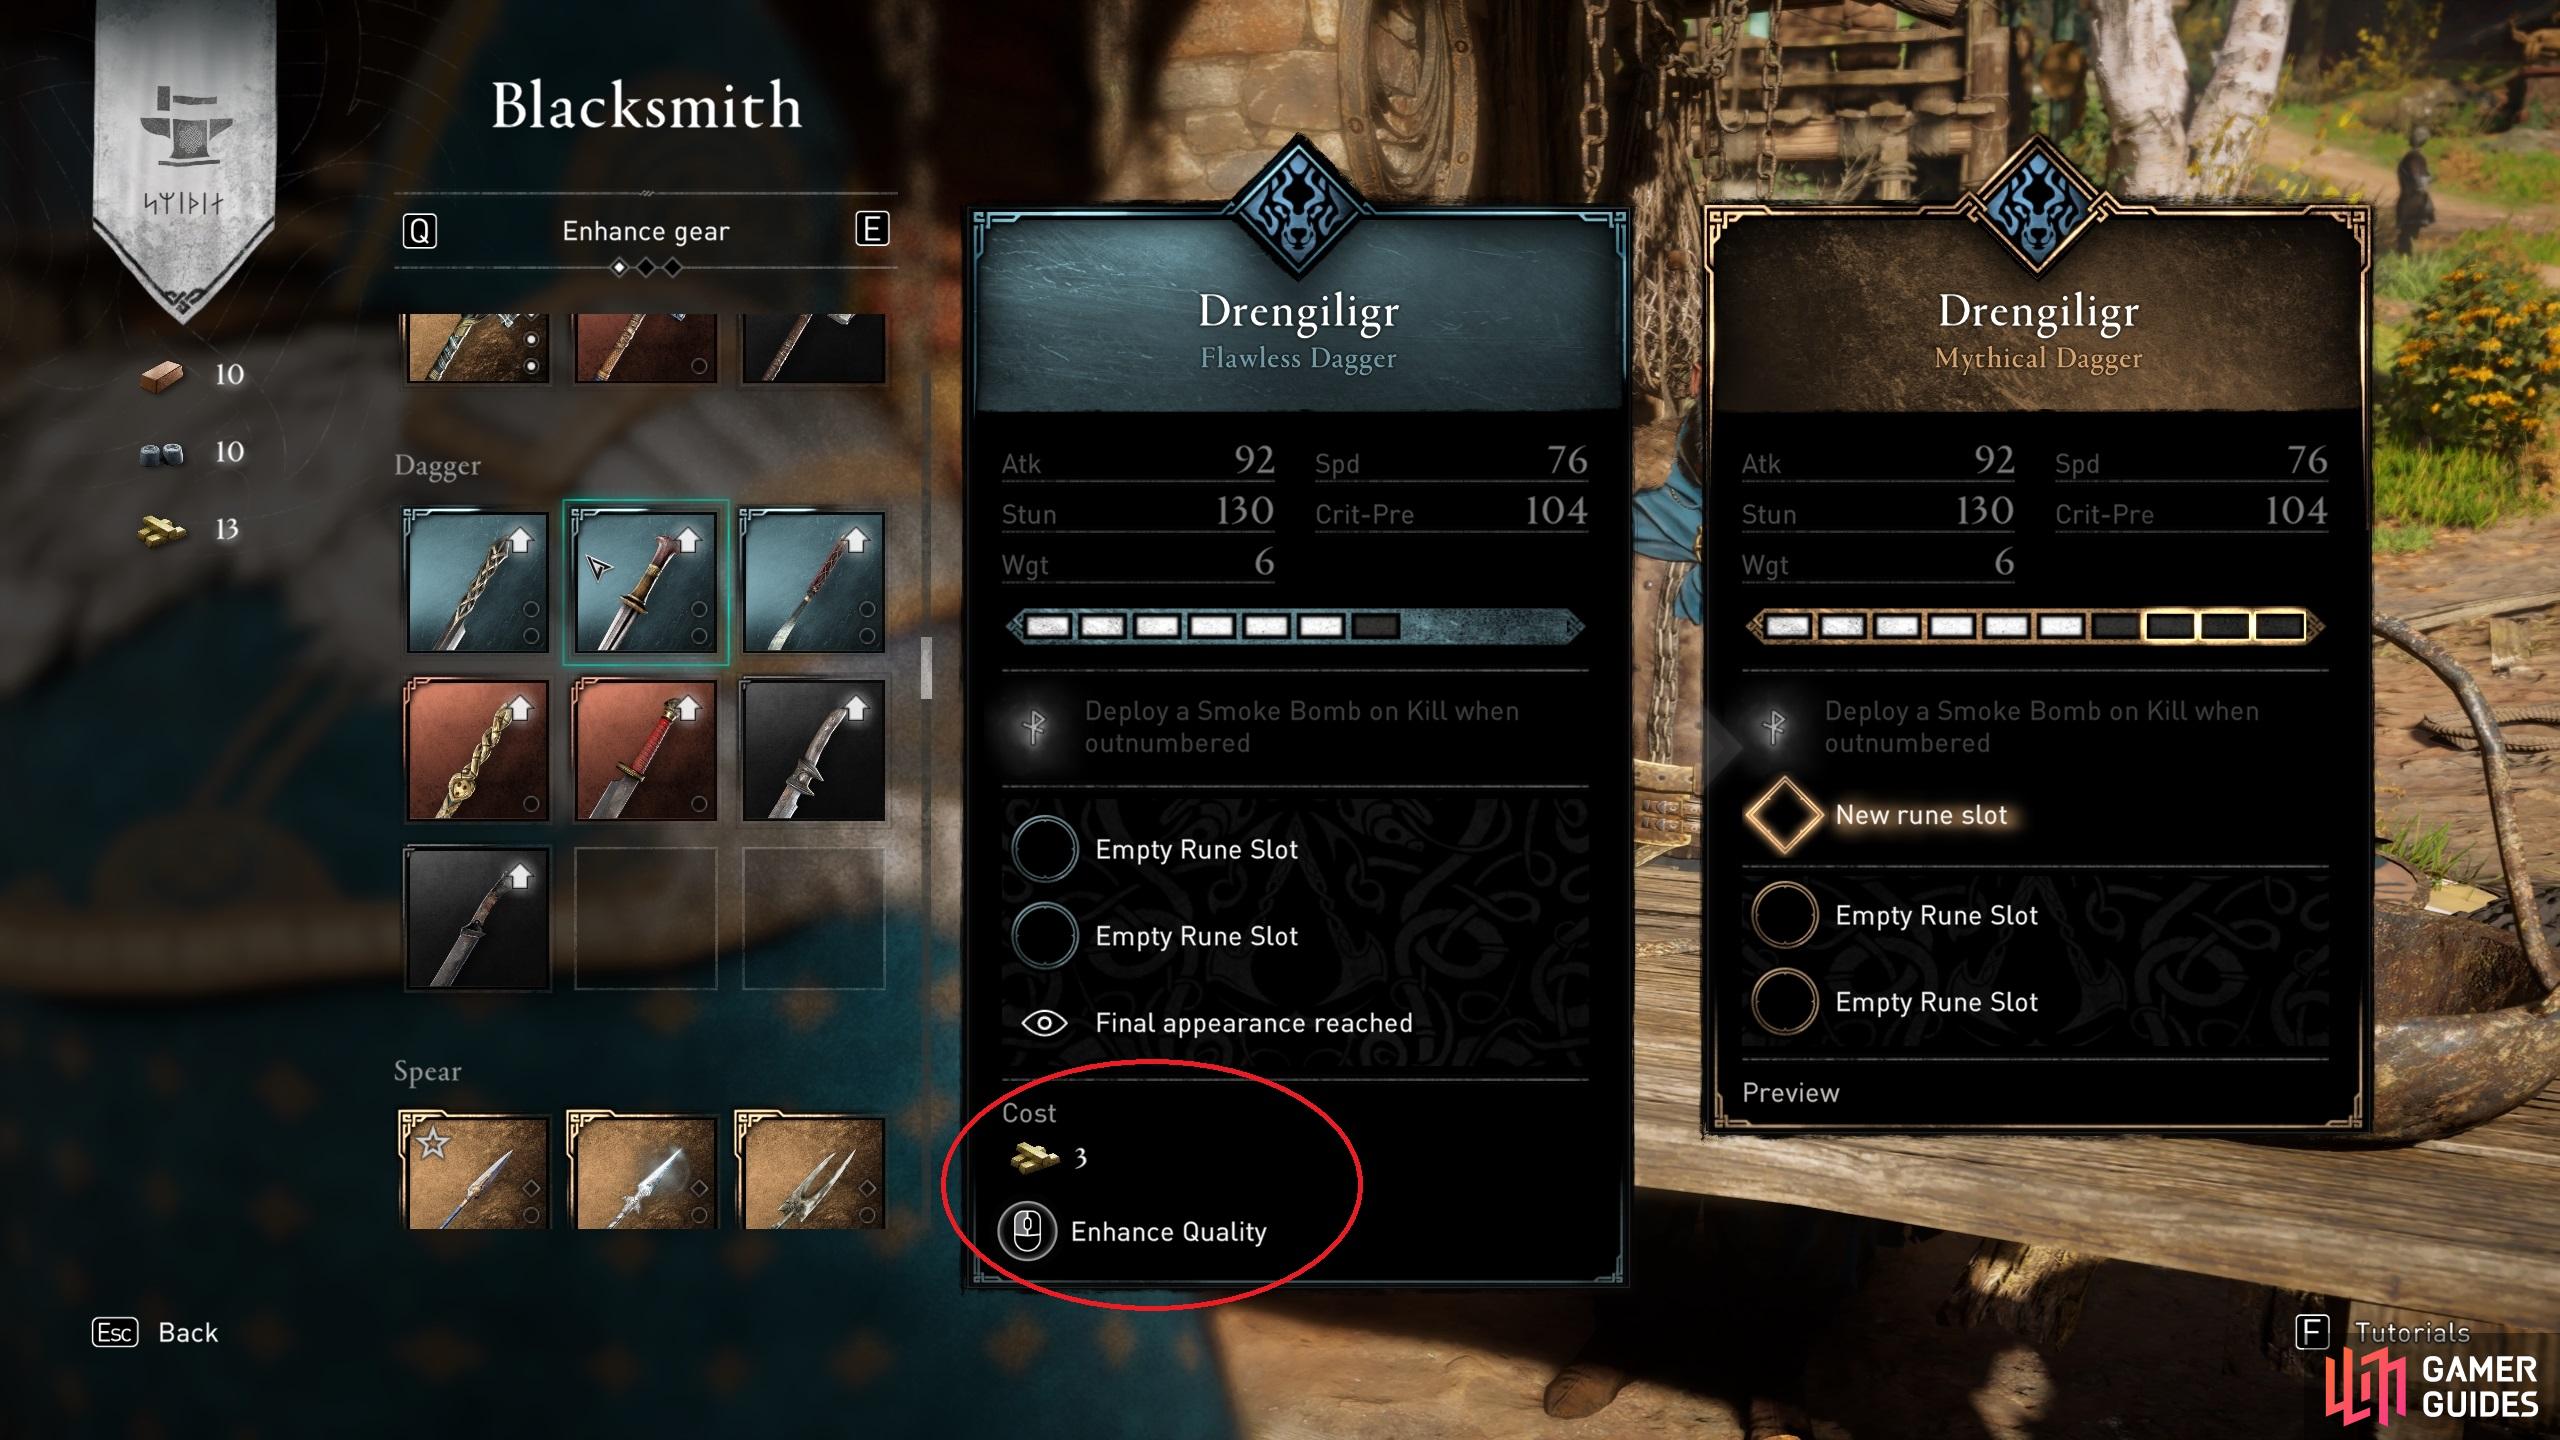
This Trophy / Achievement is obtained by fully upgrading and enhancing a piece of gear. To upgrade a piece of gear, you’ll need to open your inventory and invest a combination of Leather, Iron Ore, Titanium, and sometimes Fabric into it. This will increase the basic stats of an item such as attack damage, speed, crit chance, and stun. The more you upgrade a piece of gear, the higher the cost of materials will be. Once you’ve fully upgraded a piece of gear in accordance with the limits of its enhancement type (Fine, Superior, Flawless, and Mythical), you’ll need to enhance the gear at a blacksmith. The easiest blacksmith to find is Gunnar, who can be found at his shop near the docks at your settlement in Ravensthorpe. To enhance a piece of gear from Fine to Superior you’ll need Carbon Ingots. From Superior to Flawless you’ll need Nickel Ingots, and from Flawless to Mythical you’ll need Tungsten ingots. These can be found as collectable wealth items in every region throughout the game world. Once a piece of gear is fully enhanced to Mythical and you’ve fully upgraded it using the materials mentioned above, the trophy will unlock. (1 of 2) You can upgrade gear from your inventory using Leather, Iron Ore, Titanium, and Fabric. You can upgrade gear from your inventory using Leather, Iron Ore, Titanium, and Fabric. (left), You can enhance gear at any blacksmith using Carbon, Nickel, and Tungsten ingots. (right) |
|||||||||||||||||||||||||||||||||||||||||||||||

|
Calling in a FavorComplete the Suthsexe Arc |
28.17% Uncommon | 20 | ||||||||||||||||||||||||||||||||||||||||||||
|
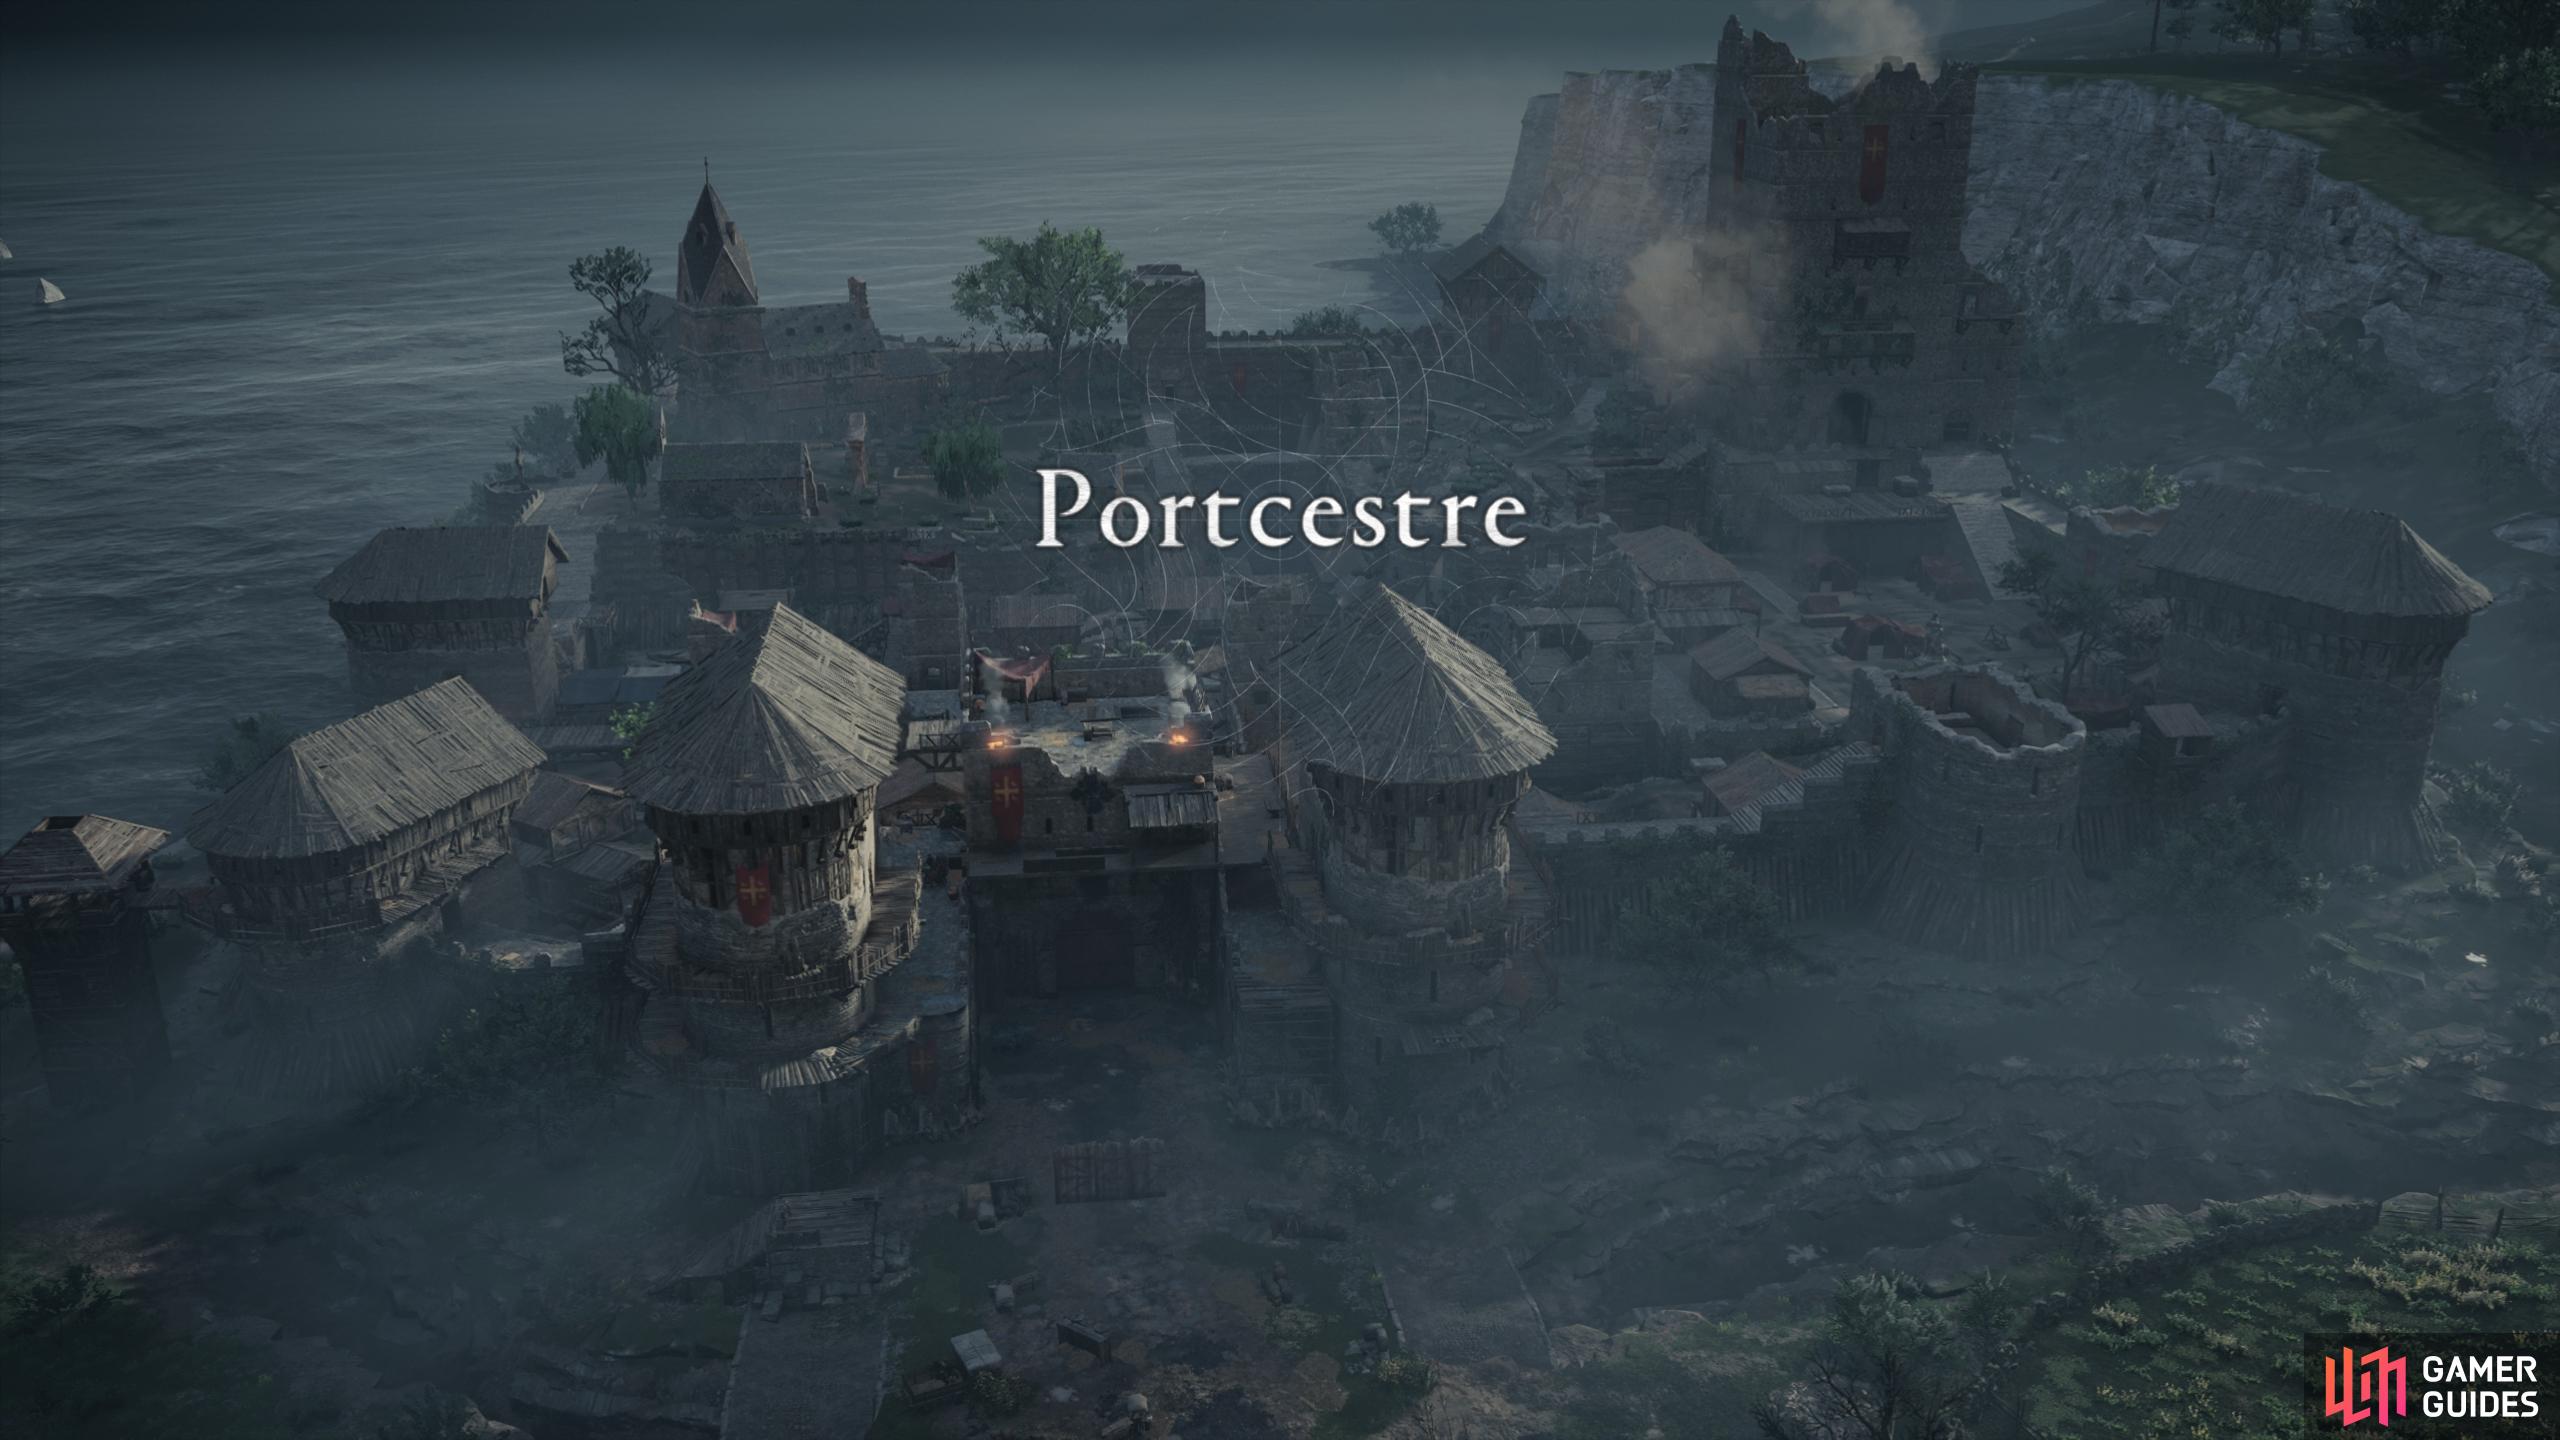
This trophy is earned by completing the Suthsexe story arc. The recommended power level for this area is 160 but you can do it at any level if you have it unlocked. The siege on Portcestre. |
|||||||||||||||||||||||||||||||||||||||||||||||

|
PioneerReach Vinland |
28.94% Uncommon | 20 | ||||||||||||||||||||||||||||||||||||||||||||
|
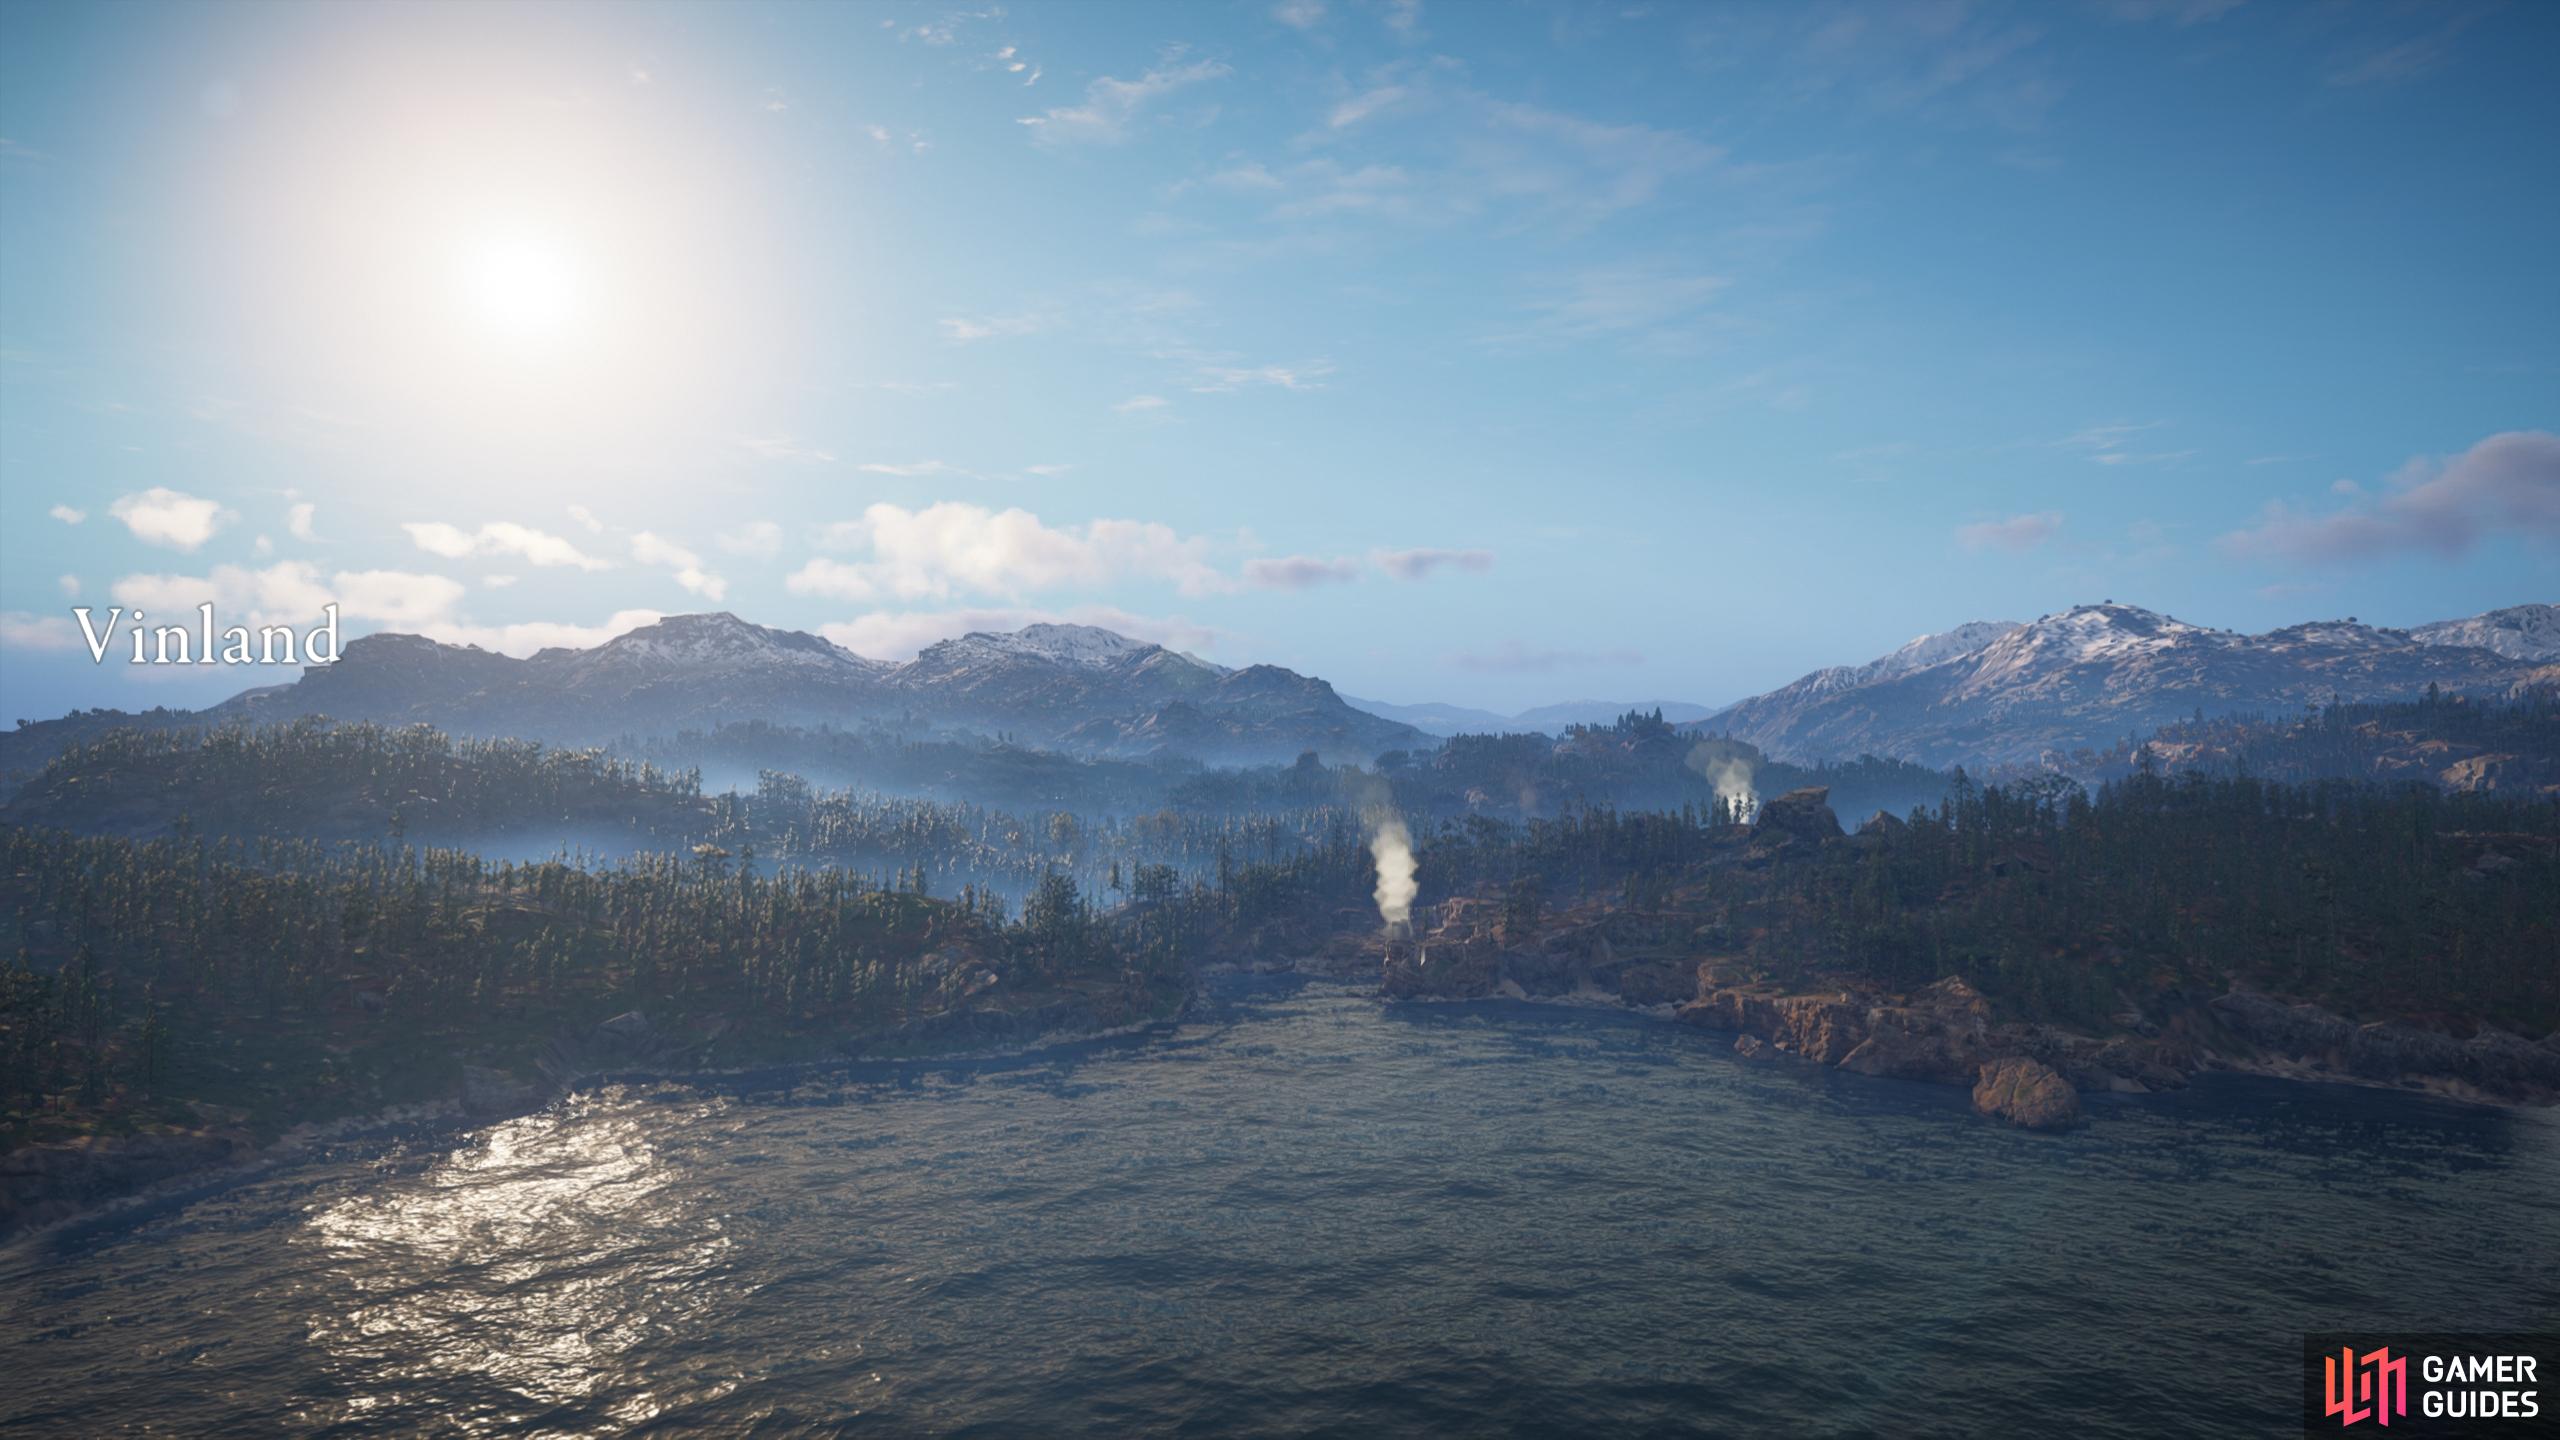
This trophy is unlocked by beginning the Vinland story-arc and reaching Vinland. To begin this quest, you’ll need to speak to Hytham and start In a Strange Land. Once you’ve taken the ship to Vinland you’ll unlock the achievement. Vinland. |
|||||||||||||||||||||||||||||||||||||||||||||||

|
Take My HandComplete the Cent Arc |
31.32% Uncommon | 10 | ||||||||||||||||||||||||||||||||||||||||||||
|
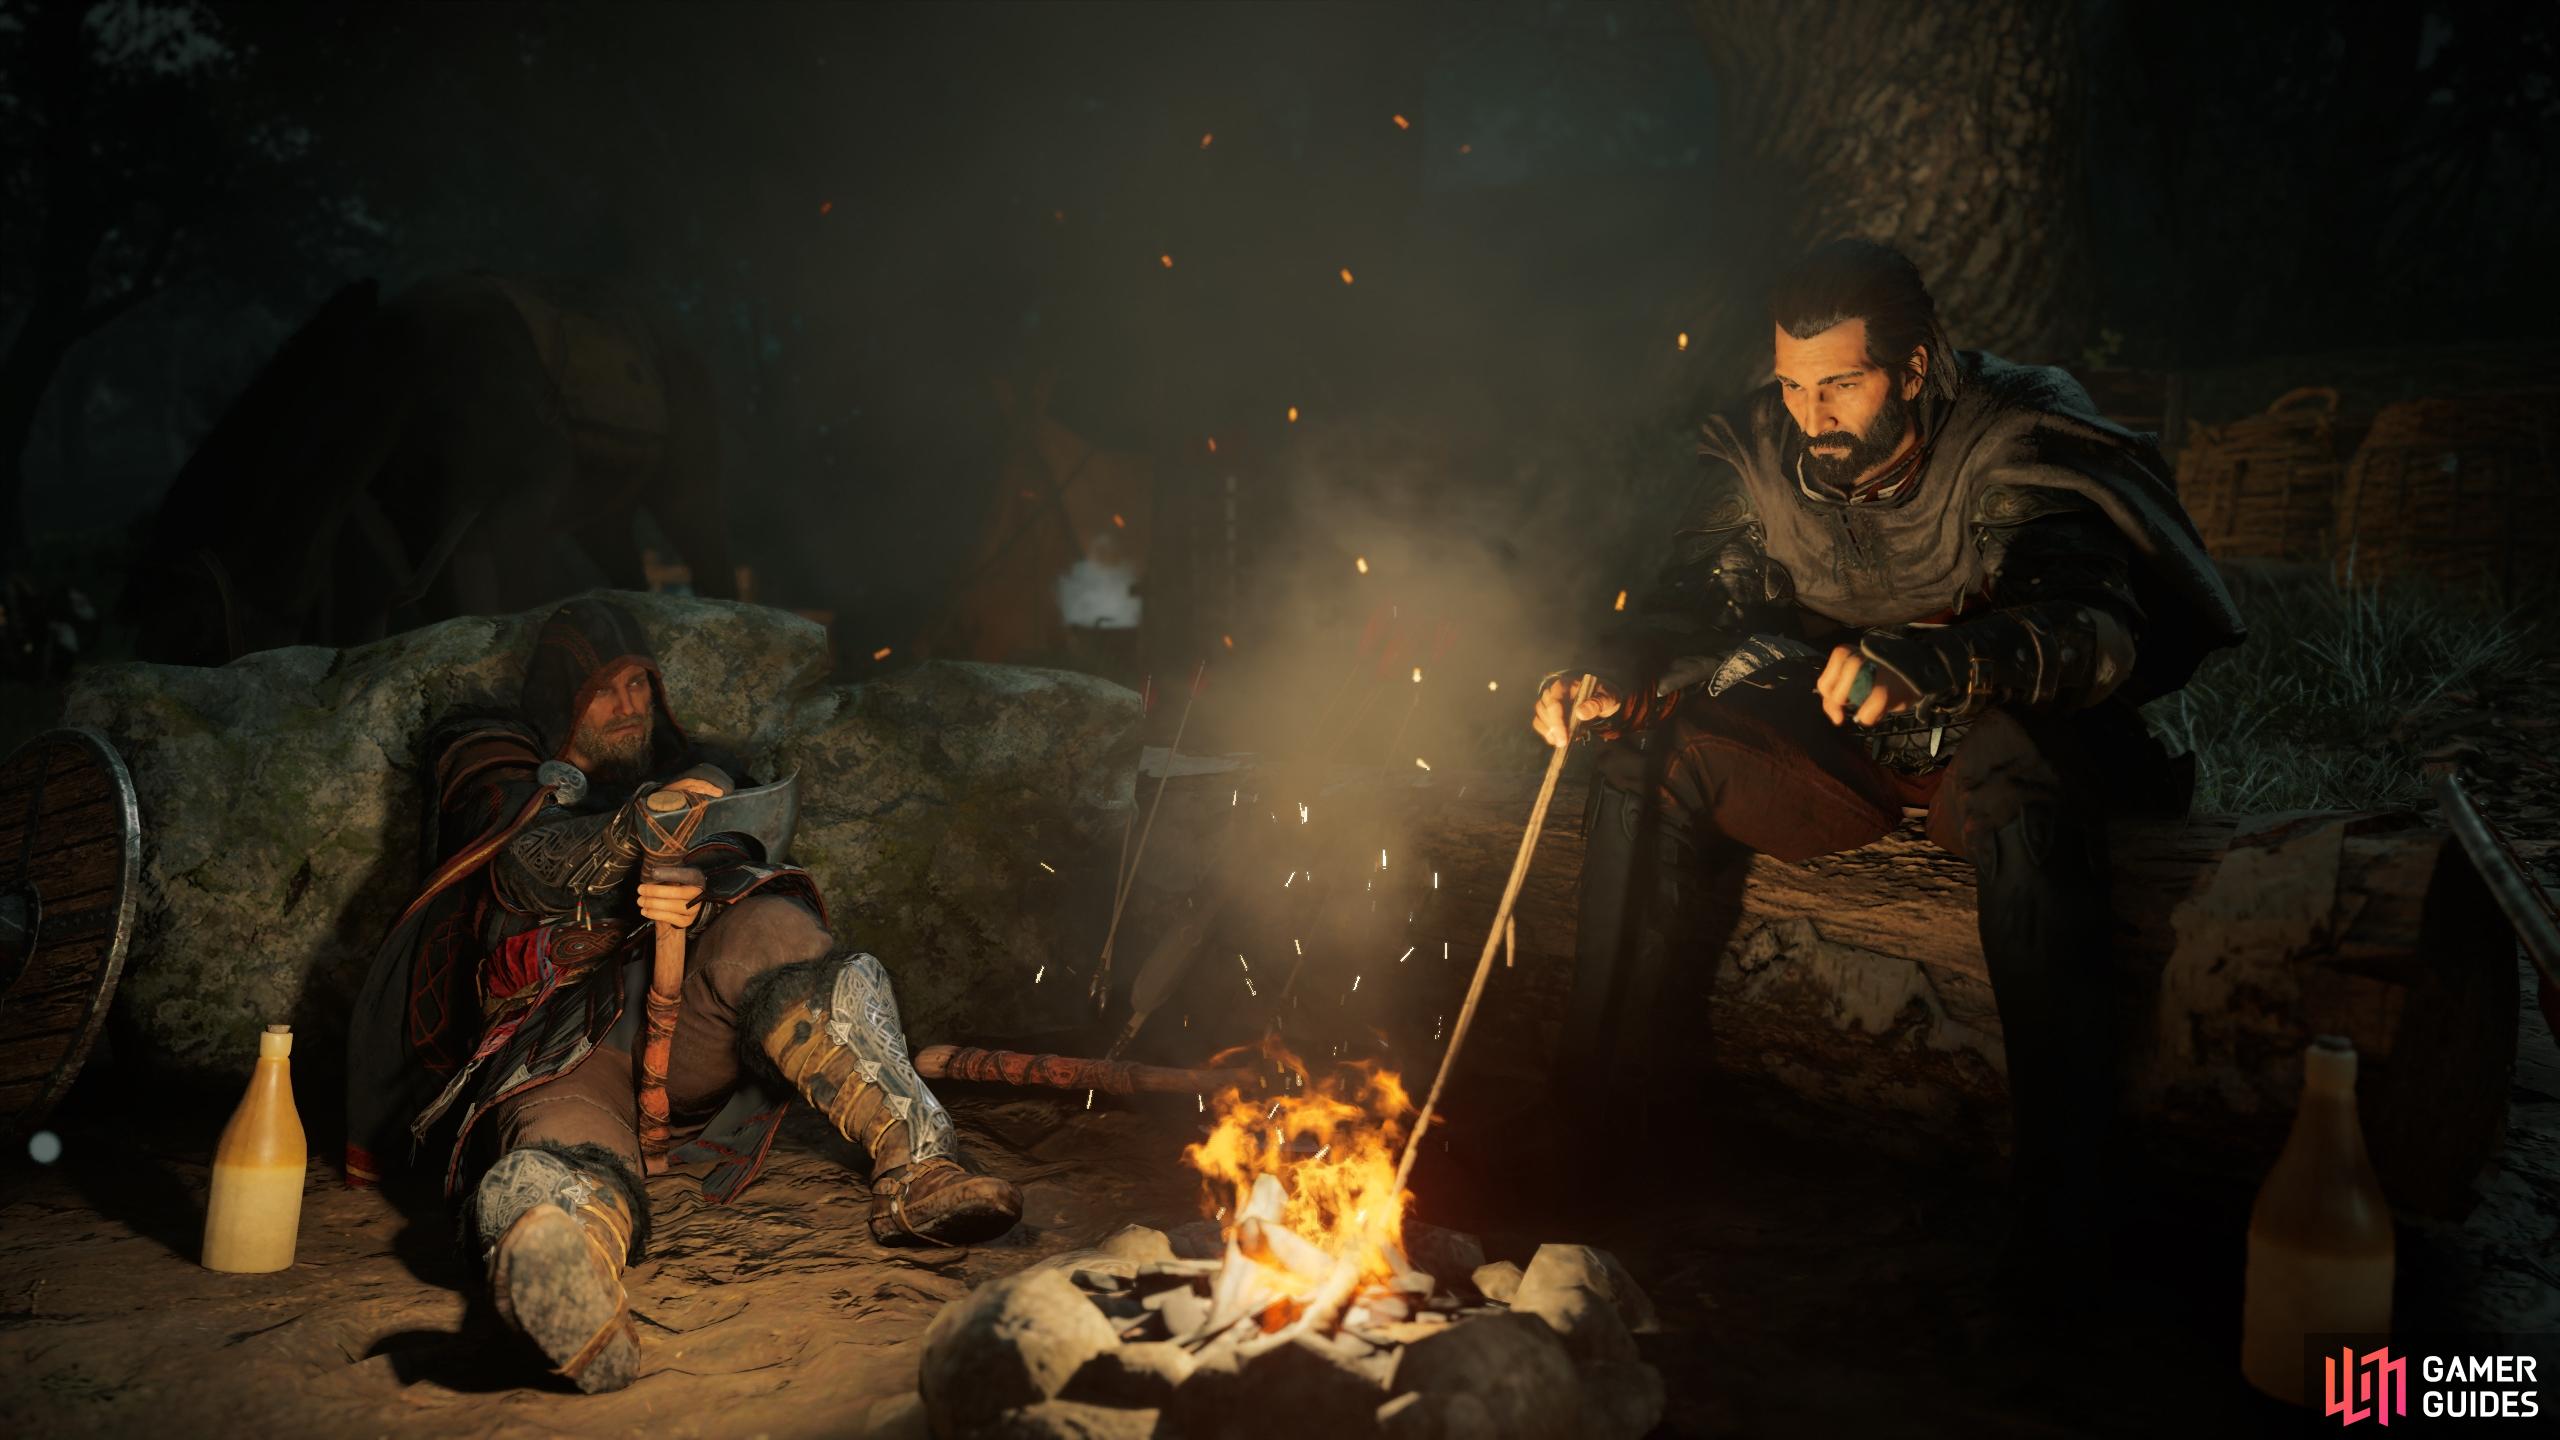
This trophy is earned by completing the Cent story arc. The recommended power level for this area is 130 but you can do it at any level if you have it unlocked. Cutscene: A talk between Basim and Eivor. |
|||||||||||||||||||||||||||||||||||||||||||||||

|
TranquilityComplete a Standing Stone puzzle |
36.26% Uncommon | 10 | ||||||||||||||||||||||||||||||||||||||||||||
|
This Trophy / Achievement is obtained by completing all of the standing stone puzzles throughout England, and one in Vinland. There are 13 standing stones in total, some of which are in the same region. Below is a list with links to pages which detail how to complete them:
|
|||||||||||||||||||||||||||||||||||||||||||||||

|
The Order Is RevealedComplete the Lunden Arc |
37.37% Uncommon | 10 | ||||||||||||||||||||||||||||||||||||||||||||
|
This trophy is earned by completing the Lunden story arc. The recommended power level for this area is 90 but you can do it at any level if you have it unlocked. Lunden is one of three regions that has a story-arc focused on identifying and assassinating Order of the Ancient Members, specifically Wardens of War in this case. Lunden story arc focuses on taking out Wardens of War. |
|||||||||||||||||||||||||||||||||||||||||||||||

|
Everyday LifeComplete 10 World Events |
38.93% Uncommon | 10 | ||||||||||||||||||||||||||||||||||||||||||||
|
This Trophy / Achievement is obtained once you’ve completed 10 World Events. This is probably one of the easiest to obtain, since there are numerous World Events located in every region throughout the game. You can complete this trophy before you leave Norway by completing all the mysteries in Rygjafylke. |
|||||||||||||||||||||||||||||||||||||||||||||||

|
The Good SaxonComplete the East Anglia Arc |
40.83% Uncommon | 10 | ||||||||||||||||||||||||||||||||||||||||||||
|
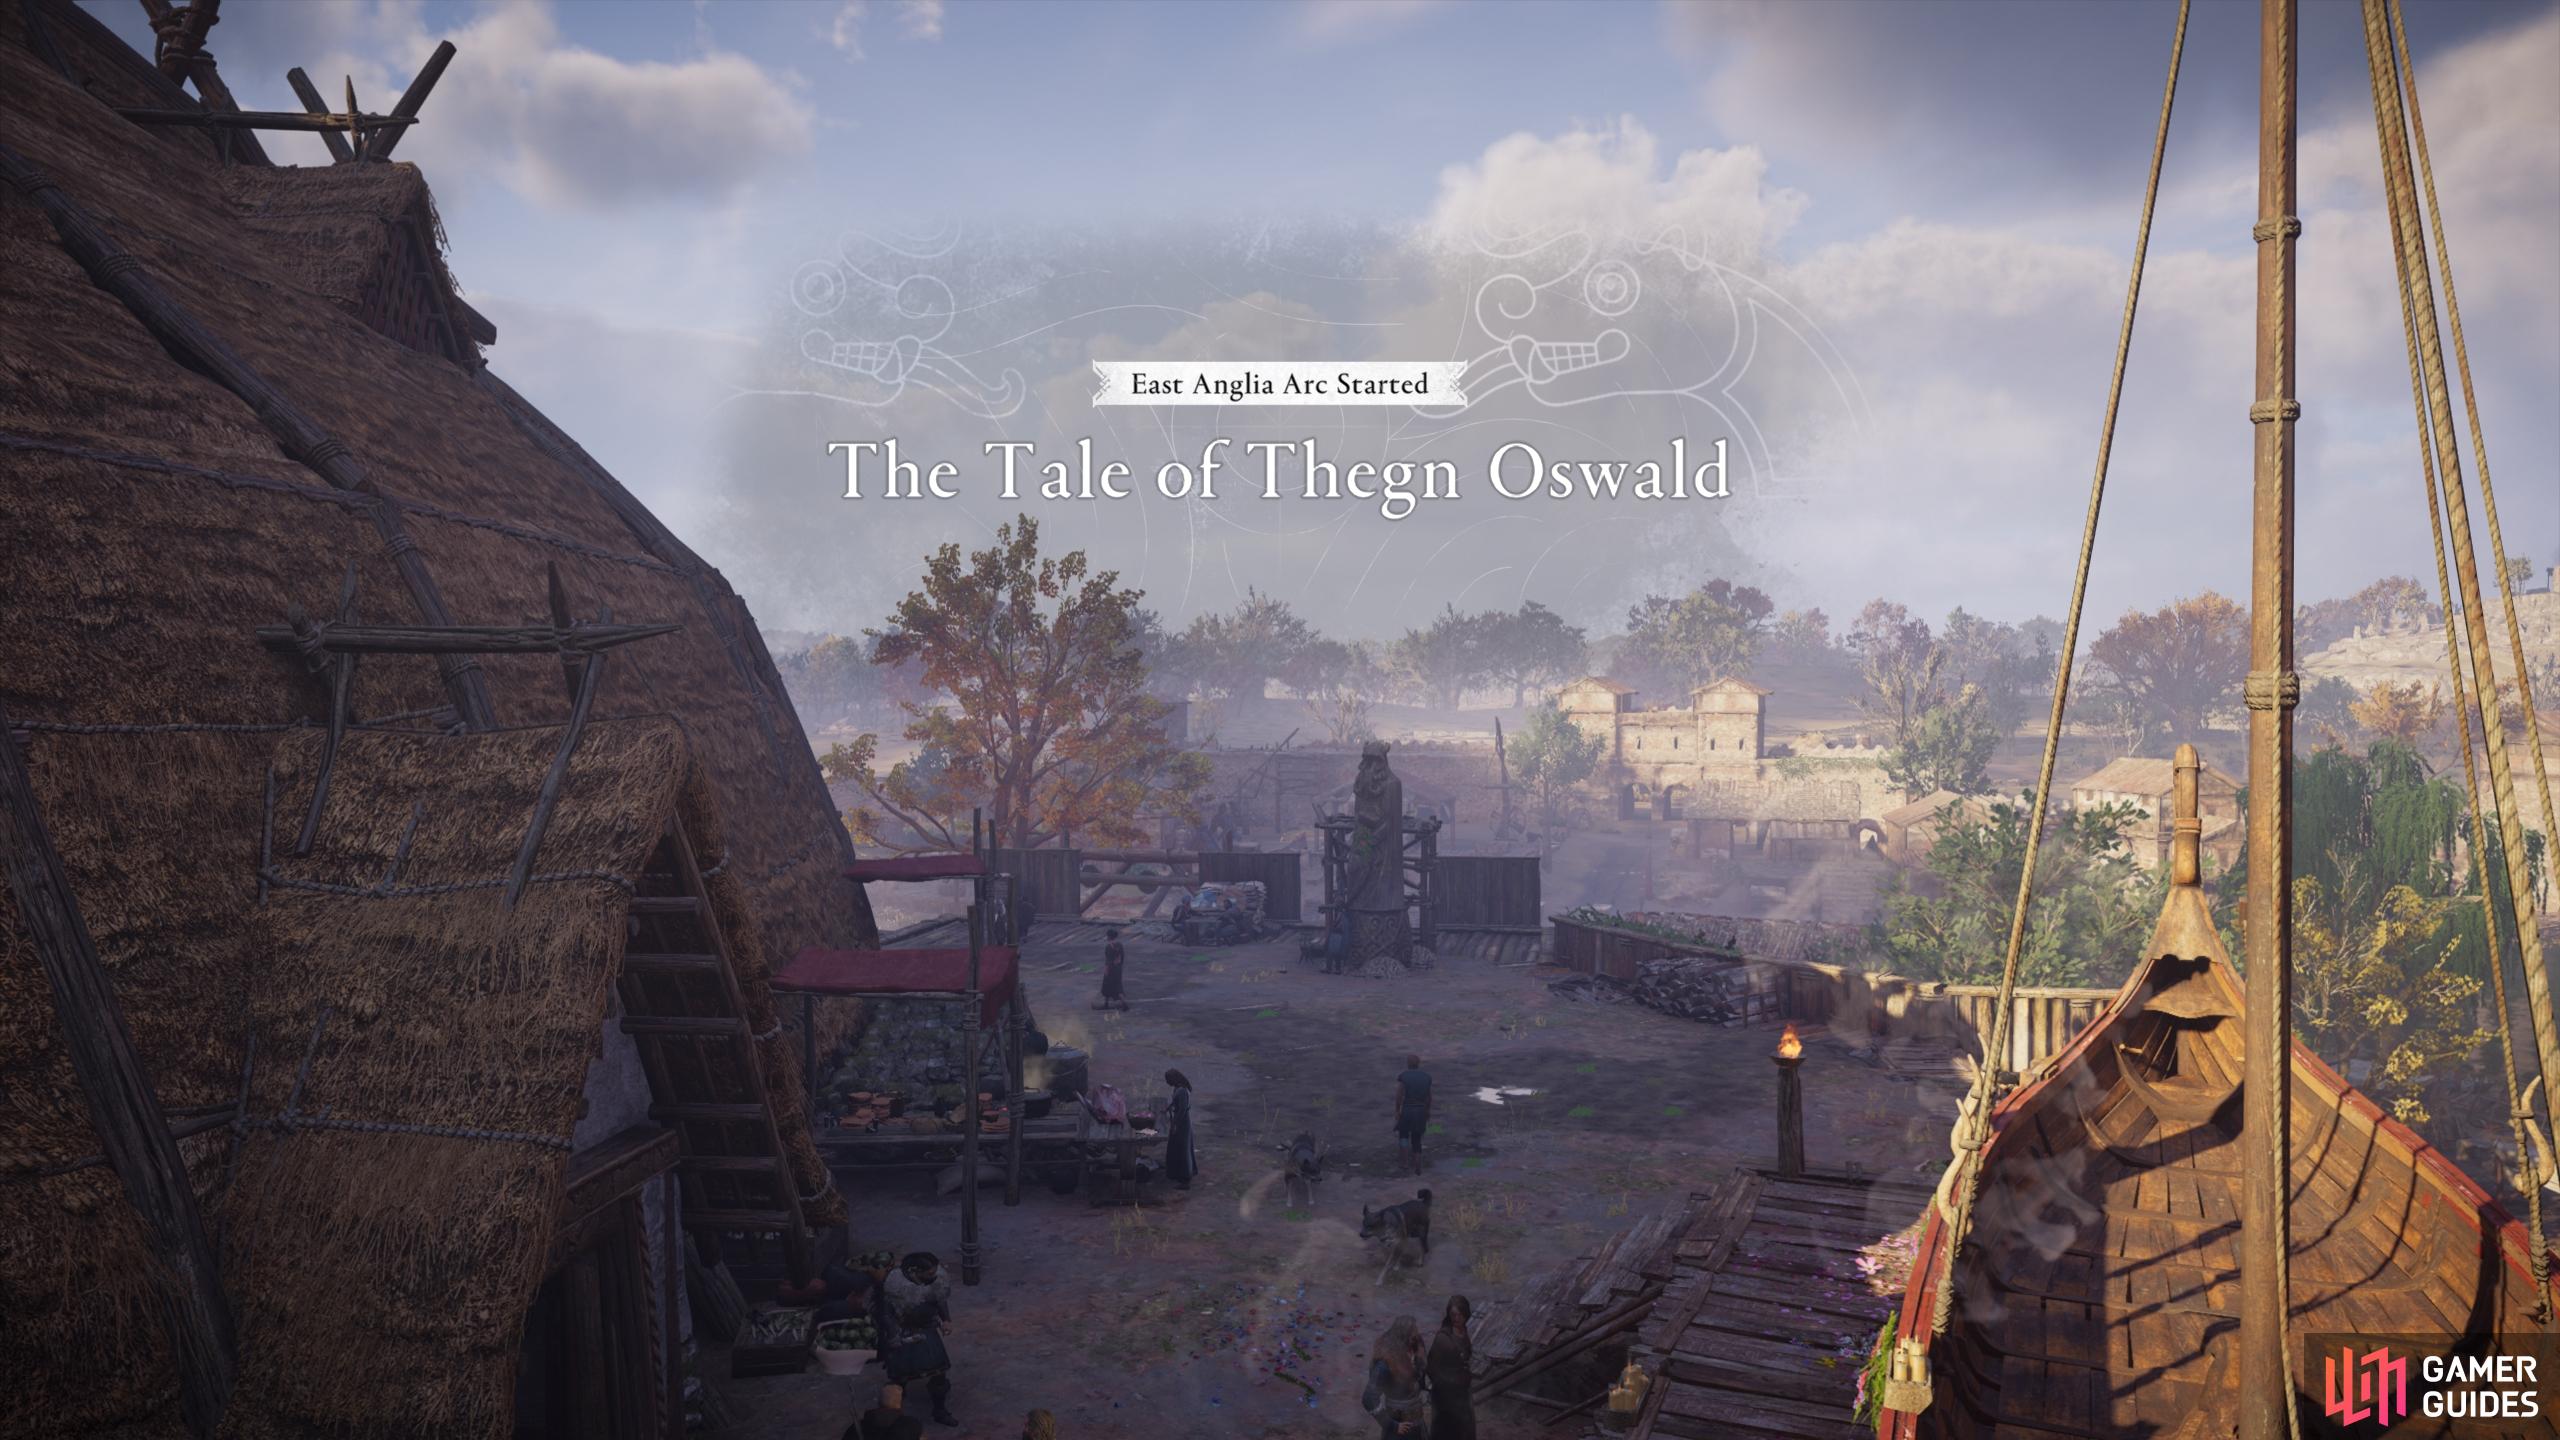
This trophy is earned by completing the East Anglia story arc. The recommended power level for this area is 55 but you can do it at any level if you have it unlocked. The Tale of Thegn Oswald. |
|||||||||||||||||||||||||||||||||||||||||||||||

|
It's Not a Bug, It's a Feature!Complete your first Animus Anomaly |
40.98% Uncommon | 10 | ||||||||||||||||||||||||||||||||||||||||||||
|
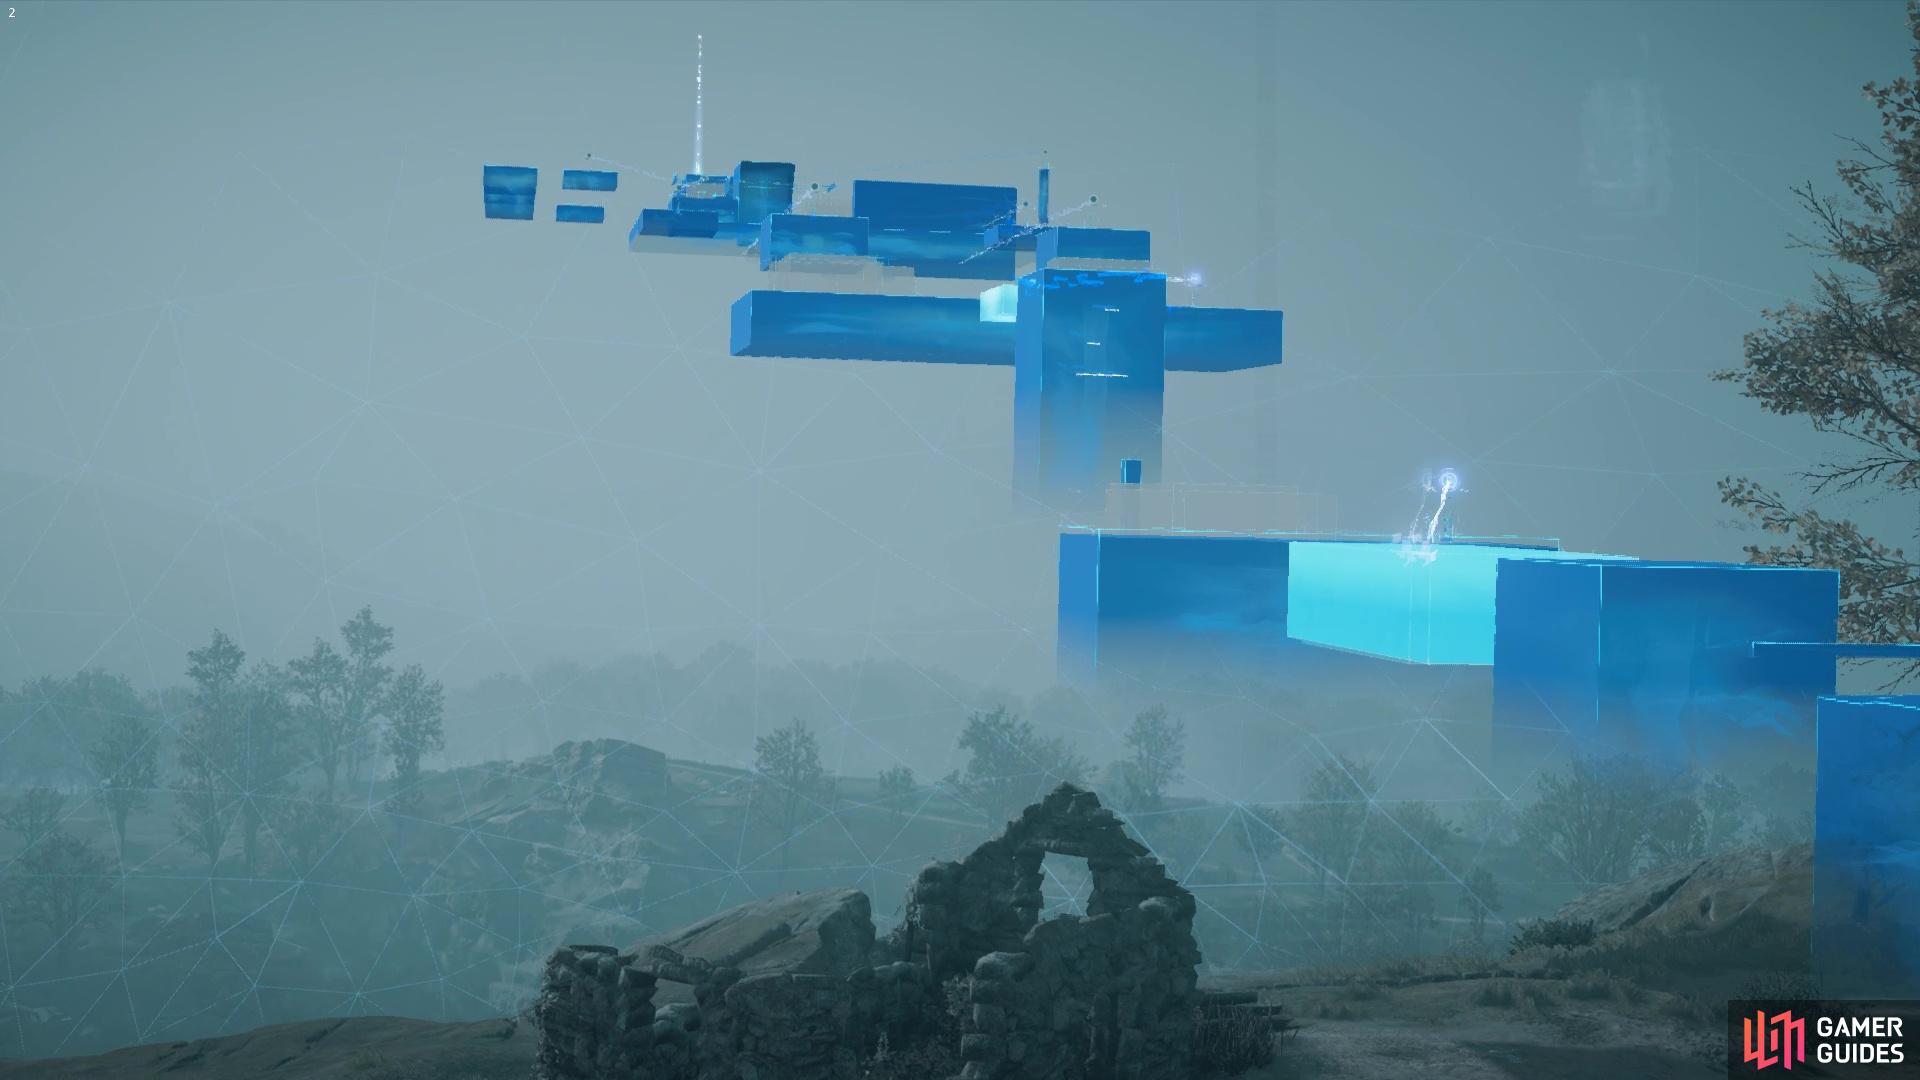
This is a straightforward trophy to acquire as all you need to do is complete your first Animus Anomaly mystery. You can start with any Anomaly mystery but the easiest to reach and the most straightforward to complete is the Kildesbig Anomaly in Ledecestrescire. Animus Anomalies are essentially parkour puzzles that you need to complete. |
|||||||||||||||||||||||||||||||||||||||||||||||

|
Face My Might!Equip 8 abilities |
45.32% Uncommon | 20 | ||||||||||||||||||||||||||||||||||||||||||||
|
This trophy is earned by equipping 8 abilities - 4 ranged abilities and 4 melee abilities. Abilities are learned from Books of Knowlegde, which are Wealth points found across the game world. To equip 8 abilties you’d need to find 8 different books of knowledge, with half of them being ranged and the other half being melee. Below, you’ll find a list of all Abilities and their Book of Knowledge locations (in the base game): Ranged Abilities
Melee Abilities
|
|||||||||||||||||||||||||||||||||||||||||||||||

|
BuilderReach settlement level 3 |
50.13% Common | 20 | ||||||||||||||||||||||||||||||||||||||||||||
|
This achievement is unlocked by reaching Settlement Level 3, which is obtained by building new buildings, shops and homes in Ravensthorpe. To build up your settlement, you will need to collect Raw Materials and supplies, which are found at Monasteries. For more information on the types of buildings you can build, head over to our Settlement Guide. Level up your settlement by building new buildings. |
|||||||||||||||||||||||||||||||||||||||||||||||

|
Hard ChoicesComplete the Grantebridgescire Arc |
51.31% Common | 10 | ||||||||||||||||||||||||||||||||||||||||||||
|
This trophy is earned by completing the Grantebridescire story arc. The recommended power level for this area is 20 and will likely be one of the first, if not the first, areas you explore in England. The Song of Soma. |
|||||||||||||||||||||||||||||||||||||||||||||||

|
It's Alive!Create a Jomsviking |
51.79% Common | 10 | ||||||||||||||||||||||||||||||||||||||||||||
|
This Trophy / Achievement is obtained by creating a Jomsviking from the Barracks building at your settlement in Ravensthorpe. You’ll need to construct the Barracks before you can create a Jomsviking, but this can be done early on with the materials from your first raid during the main quest Settling Down. |
|||||||||||||||||||||||||||||||||||||||||||||||

|
RampageComplete your first raid in England |
61.85% Common | 10 | ||||||||||||||||||||||||||||||||||||||||||||
|
This Trophy / Achievement is obtained after you’ve completed your first raid in England. This occurs during the main quest Settling Down, after raiding either Alcestre Monastery or Meldeburne. To complete the raid, you’ll need to loot all the wealth items within either of these locations, which consist of Raw Materials used to upgrade your settlement at Ravensthorpe. |
|||||||||||||||||||||||||||||||||||||||||||||||

|
To England!Leave Norway |
64.89% Common | 10 | ||||||||||||||||||||||||||||||||||||||||||||
|
This Trophy / Achievement is obtained once you leave Norway for England. This occurs as part of the main story, during The Seas of Fate. You don’t need to worry about leaving any incomplete content in Norway, you’ll be able to return whenever you want. |
|||||||||||||||||||||||||||||||||||||||||||||||

|
The Saga BeginsComplete the Prologue |
83.65% Common | 10 | ||||||||||||||||||||||||||||||||||||||||||||
|
This Trophy / Achievement is obtained once you complete the prologue. The prologue ends once you have chosen whether you’re going to be a male or female version of Eivor, just after being attacked by wolves as a child. You can change Eivor’s gender at any time by using the Animus function from the inventory tab, seen here in the bottom right of the screen. |
|||||||||||||||||||||||||||||||||||||||||||||||
