| Important Items in This Area |
|---|
| Deans Electronics |
| Duck and Cover! |
| Mercy |
| Recipe - Wasteland Omelet |
First stop on the great Deathclaw hunting expedition is Dead Wind Cavern, which was avoided earlier simply because it was too difficult, and because youd find a better excuse to explore it later. Fast-travel to Ranger Station Charlie and follow some train tracks west, south-west to reach a blocked-off train tunnel with some Viper Gunslingers wandering around to the north. Once theyre dead, continue north until you reach a cliff ledge preventing further progress. Follow it east until you find a passable slope up to the north-west. Ascend it, then continue west until you find a shack in the distance.
Harpers Shack
Approach the shack to discover Harpers Shack. Nice how you automatically know the names to all these places. Enter the structure and loot the first room for a variety of minor components, then head to the room to the south-west. In here youll find a Sunset Sarsaparilla Star Bottle Cap - which should be useless now - three Ammo Boxes, and a Varmint Rifle on a metal shelf. Not really anything stellar.
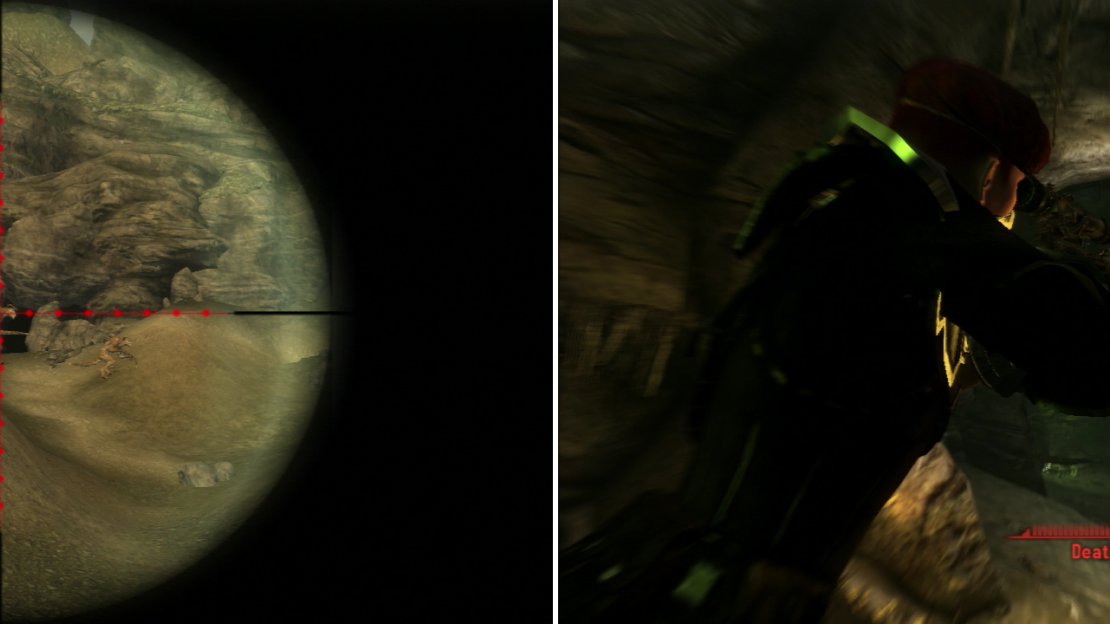
You can get a distant vantage from which you can pick off the Deathclaws outside of Dead Wind Cavern (left). The confines of the caverns ensure that closer encounters are bound to occur (right).
Dead Wind Cavern
Leave the shack and head south, south-east, ascend a small hill and turn south-west, looking uphill. You should spot a cave (if its during the day, anyways) and if you look through the scope of the Gobi, you should also spot a group of Deathclaws lurking around the entrance of the cave. Death Wind Caverns welcoming committee. Right now, you need to Gobi to live up to its moniker as the Finger of God; a sneak attack critical may kill a Deathclaw outright, and standing far enough away might buy you some time, but you really dont want Deathclaws getting up to you. Try for the resounding first strike, take shots as fast as you can from as far away as you can, and if any get close, go for VATS head-shots. With a little luck youll put all the Deathclaws down without taking a bit of damage. Tip your hat to the welcoming committee and enter the cavern.
Deathclaws, darkness and confined spaces. It might initially seem like a no win situation for you, but stealth, proximity and the Finger of God work well together. At least against solitary Deathclaws. Against groups, youll want to try to pick one off out of VATS with a sneak attack critical and save your Action Points for the charge of any survivors. From the entrance head north-west, then north-east and down a slope, picking off a pair of Deathclaws near the entrance.
Shortly the path will split, one fork going north-west and another north-east. In the murky distance to the north-east you should spot a trio of Deathclaws. If youre quick and silent, you may be able to gun them all down without being detected. If not… well, you know the drill. Do as much damage at a distance and save VATS for charging Deathclaws, just before they reach leaping distance. For all that trouble, the north-eastern path is a dead-end, but it does provide for some cheap, Deathclaw-killing opportunities. Head down the north-eastern tunnel until your way north is blocked by some pillars. Pillars you can shoot through. Pillars behind which Deathclaws stalk. You know what to do. Dont get too arrogant, though; if you do get detected, they will find their way to you. Still, its possible to pot-shot one with a sneak attack critical and wait for the [CAUTION] warning to die down. If you see [DANGER] though, turn around, because theyll be coming up behind you soon enough.
Backtrack to the south-west then go down the as-of-yet unexplored north-western fork. Turn north-east when you run out of north-west and shortly you should find a chamber to the north-west. Go down a slope to reach this chamber, where youll be forced to fight a Deathclaw Mother and three Young Deathclaws in close quarters. Focus on the mother first, as she does much, much more damage than the youngins, then explore the south-western end of the room to find a clutch of Deathclaw Eggs. Grab them if you want, this is all you need to satisfy Red Lucy, but theres more loot to be had if you brave the deeper recesses of this cave.
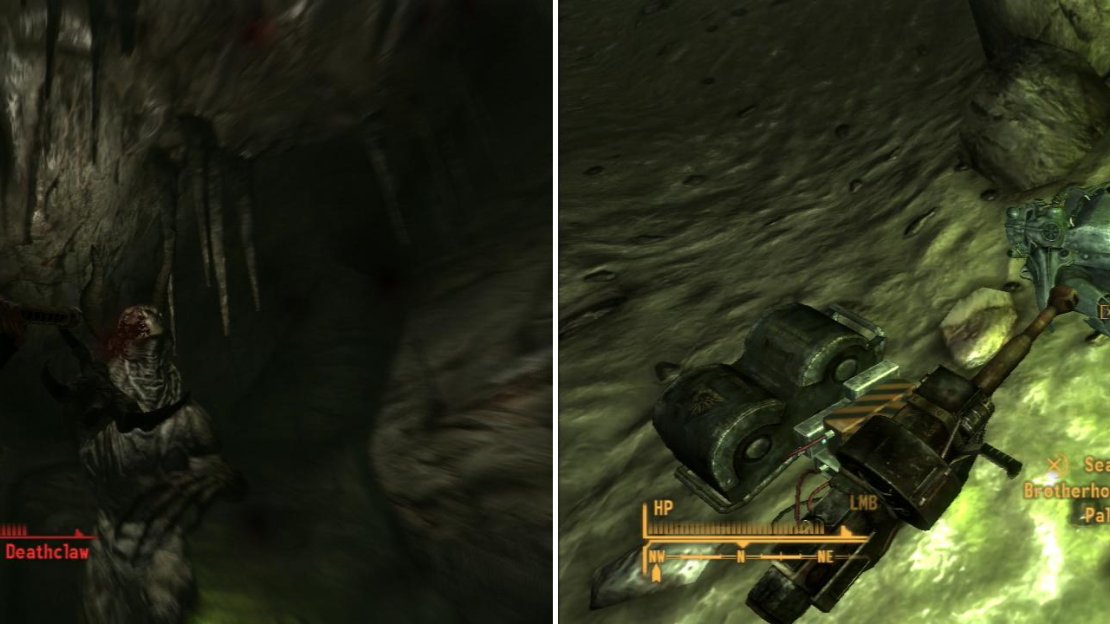
Use whatever chems you have and the best weapons you have available - only the strongest will emerge victorious from a fight with the Legendary Deathclaw (left). If you survive, you’ll be able to claim the unique Grenade Machinegun, Mercy (right).
Assuming you’re a braveling, leave the mother’s chamber and continue down the tunnel to the north-east, then turn south-east when you must and continue to the end of the tunnel. From here if you search to the south-west youll find a Duffle Bag containing a variety of loot. To the north-east is a short, winding tunnel that leads to a chamber occupied by a Legendary Deathclaw and two normal Deathclaws. Thanks to a bend before the chamber, you wont get much range and you will be detected when you shoot. The Legendary Deathclaw can kill a mid-level character with fair armor in two hits, so it absolutely has to be your first target. Theres no shame in popping whatever chems you must to win this fight; Turbo, Jet, Psycho and reading a True Crime Stories magazine. These will all improve your odds of killing it before it kills you, and surviving the wrath of its subordinates. Other than that, take aim with the Finger of God and hope for the best. If you survive, loot the chamber it was guarding to find a dead Brotherhood of Steel Paladin, near which is the unique weapon, Mercy .
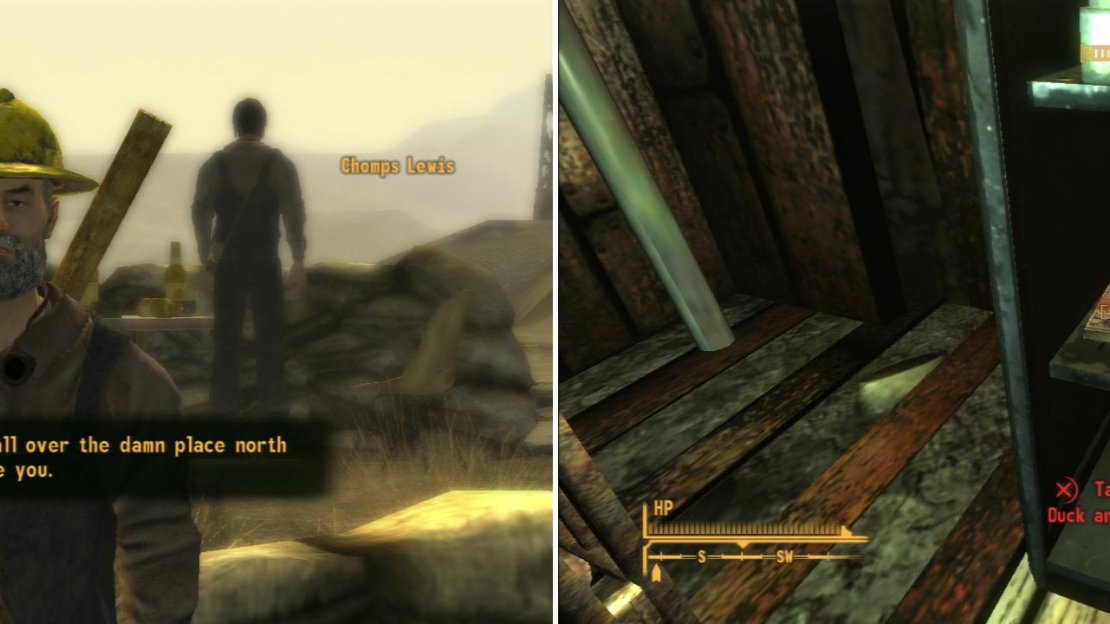
Chomps Lewis will warn you of the dangers in the quarry ahead (left). Be sure to loot the Worker Barracks for a copy of Deans Electronics and Duck and Cover! (right).
Sloan
Leave the cavern and fast-travel to a location on or near I-15 (Jean Sky Diving works well enough) and follow I-15 north-east to reach Sloan. So close to Goodsprings, yet so far neglected… oh well, thats how it goes sometimes. Follow the road through Sloan until a man named Chomps Lewis stops you and warns you about Deathclaws ahead, then question him about the infestation before ultimately offering to help. For doing so hell tell you to kill the Mother Deathclaw and the Alpha Male Deathclaw to drive the others off and gives you some medical supplies; five Stimpaks and 5 Super Stimpaks.
Before you go teach Deathclaws the value of possessing the Gobi, explore the four structures to the west of the road. They are - from the southern-most to the northern-most, the Worker Barracks, the Mining Office, the Machine Shop and the Mess Hall. Of these areas, the Worker Barracks is by far the most interesting, as within you can find a copy of Duck and Cover! on the shelf of a locker along the south-western end of the building (just under a First Aid Box, near two less interesting books) and a copy of Deans Electronics on a shelf near the door. You can also loot the two lockers (one of which is locked [Easy].
The Mining Office is less interesting, but you can still find two Trunks upstairs loaded with Caps and a Safe [Average] in an office, which tends to have considerably fewer Caps than the unlocked trunks. Security fail. The Machine Shop only contains some minor loot, making it barely worth exploring. Finally, the Mess Hall contained a Vending Machine and a Refrigerator that can be looted. Its also occupied by Jas Wilkins, who aspires to make a Deathclaw Omelet… just like her great-aunt Rose from Modoc used to. Ask for a reward and shell offer to teach you this recipe in exchange for bringing her one. Fair enough.
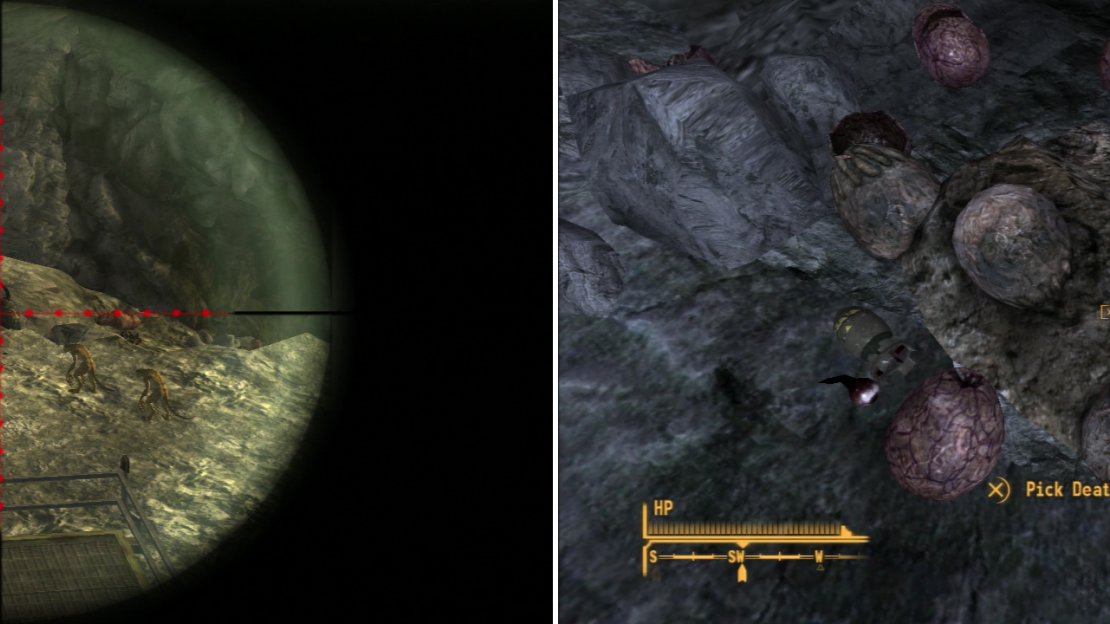
Range again is your greatest weapon… well, your greatest weapon not named “Gobi” (left). Kill the Deathclaws at Quarry Junction and search their cave for some prized Deathclaw Eggs (right).
Quarry Junction
Enough pestering the miners for now. Time to continue up I-15 to reach Quarry Junction, which is off the road to the north-west. You should start sneaking when you spot a crane in the distance, as theres a Young Deathclaw nearby chewing on the bodies of some Powder Gangers. Gobi can easily take care of this isolated youth, or even Ratslayer, for that matter. Once its dead, continue north-west into the quarry.
Stick to the south-western cliffs and keep your eyes to the north where, on the ledge to the north that surround the quarry youll find two Deathclaws. You should be fine taking them out with the Gobi, as there arent likely more that will investigate even an open conflict. Once done, continue west into the quarry, peeking into the distance with the scope of the Gobi. With any luck you should be able to take out a number of Deathclaws individually and from a great distance. Sneak attack criticals and range makes this all a cake-walk, as theres little chance the Deathclaws will detect you before you can kill them. One of the three Deathclaws lurking around down here will the be the Deathclaw Alpha Male that you need to hunt down. It doesnt require any special treatment, and once its dead youll be halfway to liberating Quarry Junction.
Continue on to reach a tower with several ramps running off of it to ground level. Mount the north-western ramp and ascend it to get a view over the area. In particular look south-west to find two Deathclaws stalking on the quarry floor and to the north-west to find another on the ledge near some mining equipment. Once theyre all dead head up the nearby dirt ramp opposite the metal ramp connected to the tower and make your way west onto another ramp which towers over the lower ground. Jump onto the more elevated chute and look out onto the low ground to the south, south-west, where youll spot a cave. More importantly is the Mother Deathclaw and four Baby Deathclaws. Snipe the Mother Deathclaw with the Gobi, then switch to Ratslayer and pick off the babies (why waste good .308 JSP rounds when 5.56mm Match rounds will suffice?)
Once theyre all dead search the cave to find a skeleton, near which is a Super Stimpak, some 5.56mm Rounds and a Light Machine Gun. Near some eggs you can find a Mini Nuke, as well as, of course, three Deathclaw Eggs. Be sure to also loot the egg clutch to get the Deathclaw Eggs that Red Lucy wants (if you didnt get them from Dead Wind Cavern), which are somehow different from the others.
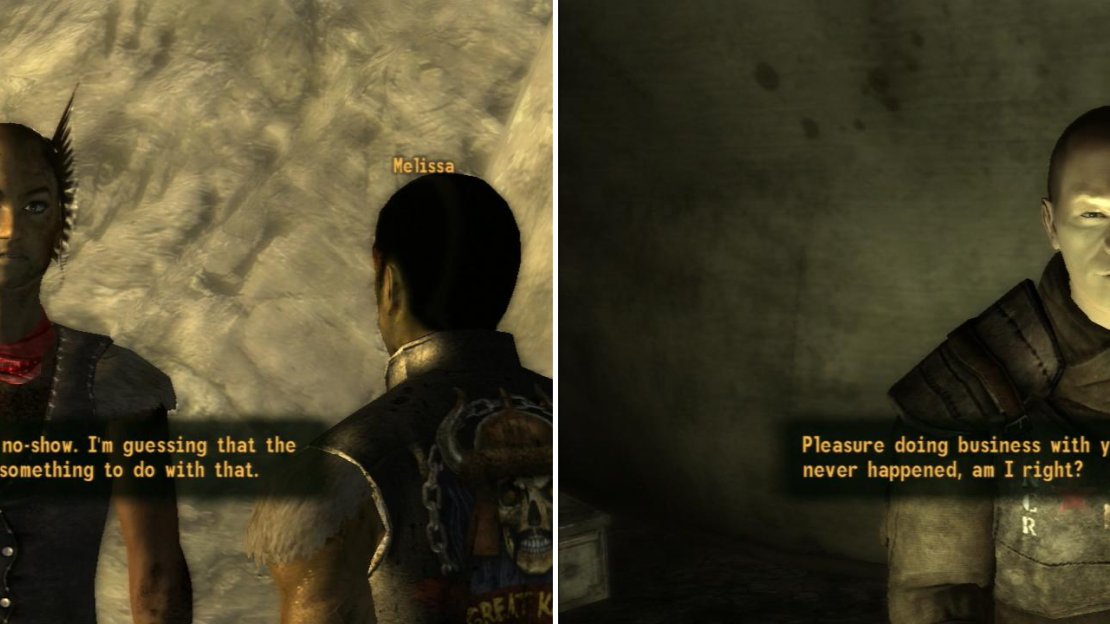
On the cliffs around Quarry Junction you’ll find Melissa and her fellow Khans, who are awaiting a package (left). Convince Tyrone to live up to his end of the bargain, or turn him in to the authorities (right).
Great Khan Encampment
Before you return back to Jas and Chomps, head west up several ramps, ascending the layers of the quarry to find the Great Khan Encampment near which youll find Melissa and several of her Great Khan buddies. As you approach shell talk to you and, if you ask, tell you about some chems shes been waiting for. Shell also tell you about Great Khan history, if you care to listen, but be sure to offer to help and pick whatever motivation you want. This will start the quest Dont Make a Beggar of Me.
Return to Sloan and enter the Mining Office build, head upstairs and search the Suitcase near the desk (even though its empty) to update Melissas quest. Once done, leave the building and tell Chomps the good news about the Deathclaws to get a reward… not a worthy reward for the work you did, but… itll have to do. Next ask him about the empty suitcase on and hell tell you the truth about the delivery. Seems the Deathclaws had nothing to do with it, the Great Khans are just working for a scumbag. Pump Chomps to learn about his relationship with Melissa and then get ready to help those honest drug dealers get their materials from the no-good Tyrone. First, though, pay Jas a visit at the Mess Hall and give her the Deathclaw Egg she wants. In return youll get a Wasteland Omelet and the note “Roses Wasteland Omelet”.
| Objective | Reward |
|---|---|
| For talking to Chomps after clearing Quarry Junction | $100 NCR x5 NCR Fame |
Sloan has been cleared, but a little fast-traveling to resolve the situation with Melissa is now in order. Fast-travel to Primm and head to the NCR garrison outside of the town, entering the NCR Tent there (not Lieutenant Hayes Tent). Inside youll find Tyrone, who will try to squeeze 300 extra Caps out of you if you want the chems. Either pay him, succeed at a [Speech 40], a [Barter 35] or a [Strength 7] check you can convince him to hand over the chems without paying… or if you have the Black Widow perk you can make an… exchange of services.
Now you have a choice with what to do with these chems. You can head over to Lieutenant Hayes and tattle on Tyrone (and optionally Chomps) for some Karma, NCR Fame, and XP. Alternatively you can return to Melissa and give her the chems. Ultimately the reward is better for giving the chems to Melissa, but youll have plenty of opportunity to earn Fame with either faction.
| Objective | Reward |
|---|---|
| For turning Tyrone in to Lieutenant Hayes | 100 XP NCR Fame |
| For giving the chems to Melissa | 100 XP 150 Caps Buffout Steady Rebound Great Khans Fame |
Time to finish up one more quest, then itll be time to head to Black Mountain. Pay Red Lucy a visit at The Thorn and give her the Deathclaw Eggs. Why do so many people want Deathclaw Eggs? Oh well. No haggling here, just a flat 2500 Caps and the unique shotgun, Dinner Bell. You have now also sufficiently impressed Red Lucy to spend some intimate time with her, if you wish… regardless of what gender you are. Red Lucy doesnt dig genders; she digs hunters. If you go sleep with her you can also loot a Gun Cabinet in her room and hack Red Lucys Terminal [Very Easy], which doesnt have much of interest on it.
| Objective | Reward |
|---|---|
| For bringing Red Lucy some Deathclaw Eggs | 500 XP 2500 Caps Dinner Bell 12 Gauge Rounds |
No Comments