
| Important Items in This Area |
|---|
| Lucky |
| Tales of a Junktown Jerky Vendor |
Primm Outskirts
Leave the Lone Wolf Radio trailer and return to the I-15 by heading east, then follow the road south to reach Primm’s outskirts. As you near the town you’ll be stopped by an NCR Trooper, who will, when questioned, tell you that Primm’s in a bad way right now. Raiders, a splinter sect of convicts (that share the same origin as - but are not affiliated with - the Powder Gangers) and NCR manpower shortages. Wonderful.
Before leaving you to your own devices, the NCR Trooper will suggest you talk to one Lieutenant Hayes. Make your way west onto another road and follow it south into a make-shift NCR camp, where you’ll find two tents. Enter “Lieutenant Hayes’ Tent” and talk to the officer to learn about the NCR’s troubles and the convicts who have taken over Primm. Simply put, the NCR isn’t going to be much help. If you want to get to Primm’s Mojave Express office and learn more about the assignment that ended with a bullet in your head, you’ll have to deal with the Convicts yourself. Before you go, consider looting the tent as well as your Sneak skill will allow, to teach the NCR a lesson for being incompetent.
Backtrack north until you find a bridge leading to Primm, which also happens to run over I-15. Cross the bridge - being wary of Frag Mines placed by the NCR as you do so - then proceed to clear out the Escaped Convicts occupying Primm. There are a few who have congregated near “The Bison Steve Hotel” and several more on the roller-coaster tracks that circle the hotel. You can climb onto these tracks by heading behind (north-east and south-west) of the hotel and climbing on a track near the ground. Once the handful of Convicts are wiped out, it’s time to start exploring the town.
First, a general layout of the town; along the far-eastern part of town is The Bison Steve Hotel, which seems to be the main point of interest in town. Along the southern end of town are some intact “Primm Houses”, which can be explored. West of The Bison Steve Hotel is the Nash Residence, and across the street to the north is the Vikki and Vance Casino. Further north, along the northern edge of town you can find Deputy Beagle’s Residence and Primm Sheriff’s Office.
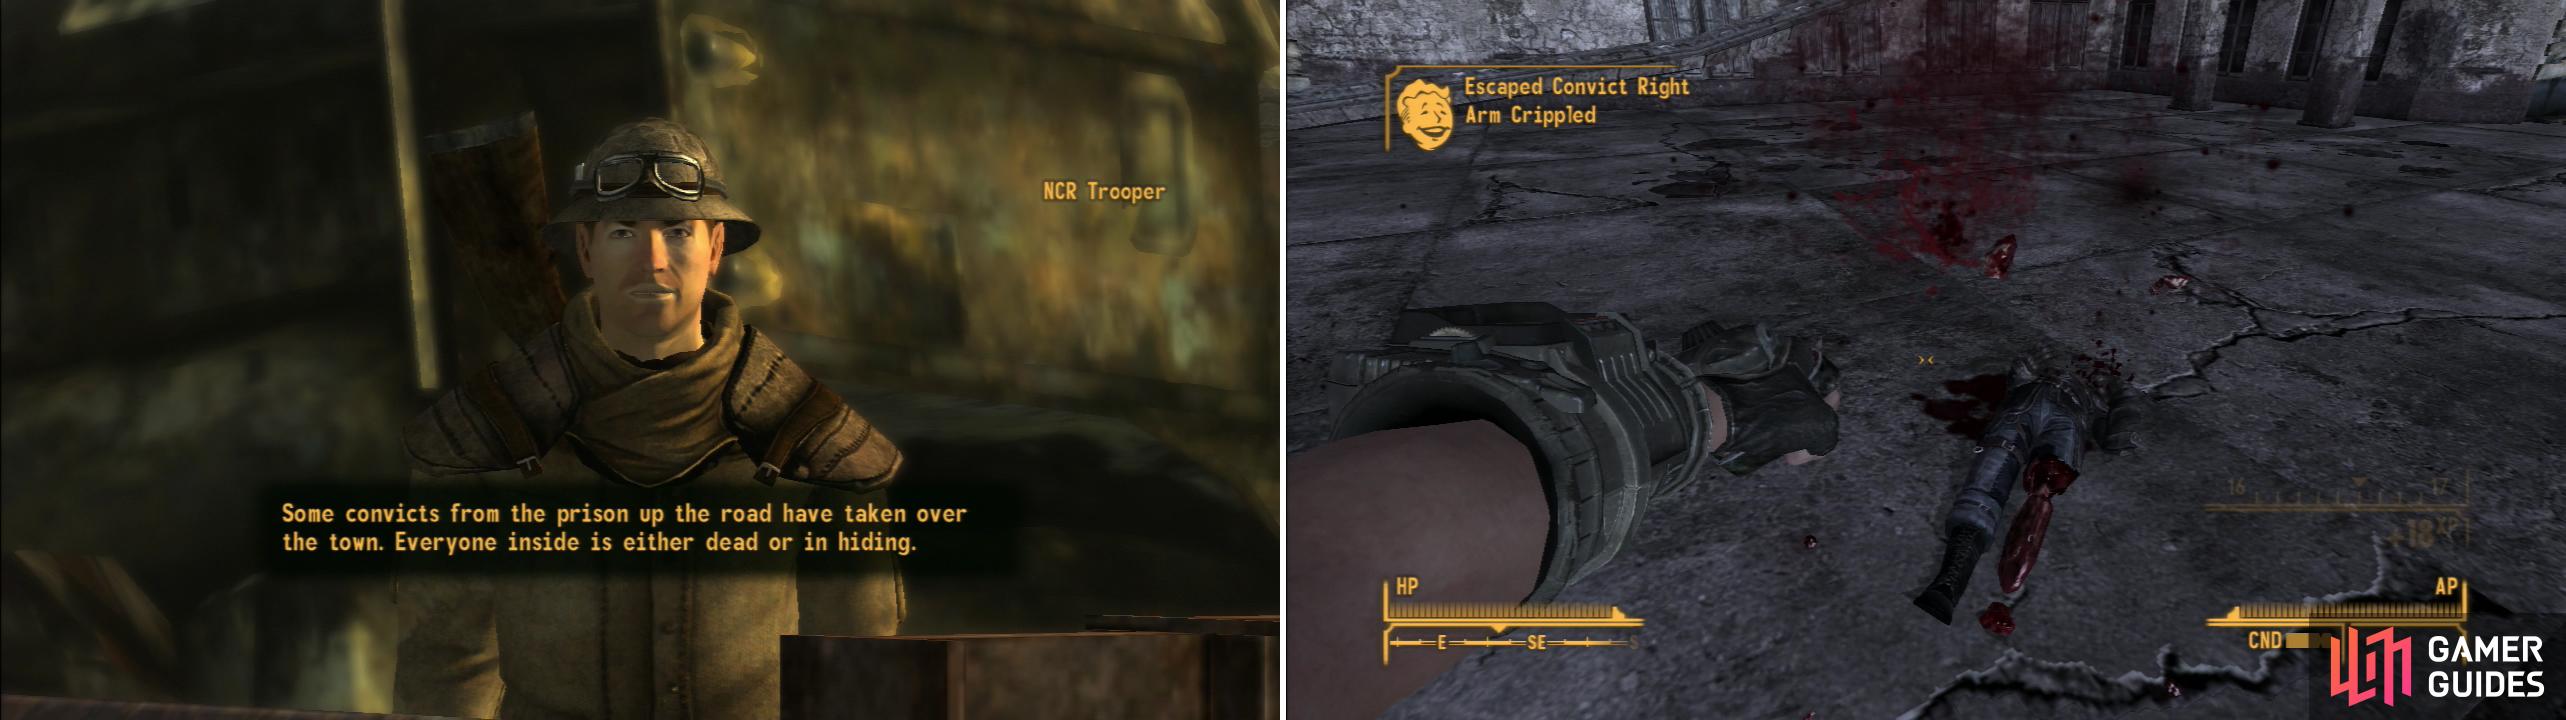
As you approach Primm, an NCR Trooper will stop you and warn you of the dangers within (left). Clear out the Escaped Convicts that hold Primm hostage (right).
Primm Houses
Most of these houses aren’t terribly interesting. There’s the odd bit of mundane loot (clothes, low-quality weapons, food) laying around if you’re willing to steal it. In the western of the two intact northern houses you can find a Wall Safe [Average] concealed by a bookshelf in a room with a skeleton on a bed.
Nash Residence
The Nash Residence also doubles as Primm’s Mojave Express office, making it of particular interest to you. Near the front door you’ll find the body of Daniel Wyand, who possesses the note “Mojave Express Order (4 of 6)”. He seems to have been carrying another novelty item, and like the Platinum Chip that was assigned to you, his delivery didn’t end well… or perhaps he just ended up back in Primm at the wrong time?
Enter the Nash Residence and examine the “Damaged Robot” on the front counter. You can repair the robot by passing an unaided [Repair 65] check, or you can pass a [Science 55] check to reduce the first check to [Repair 35]. Failing either of those two things, you can gather three pieces of Scrap Metal, two Sensor Modules and one unit of Scrap Electronics. However you do it, if you fix the robot you’ll repair the eye-bot named ED-E, who will join you if you run its . If you’re having trouble with these skill checks, there’s a copy of “Fixin’ Things” and “Programmer’s Digest” on a bedside table in the back room. Recruiting ED-E will give you the “Enhanced Sensors” perk, which will vastly increase the range at which you can detect threats. You can also use ED-E as a Reloading Bench and a Work Bench. Neat. If you ever disband ED-E, it’ll return to the Nash Residence in Primm.
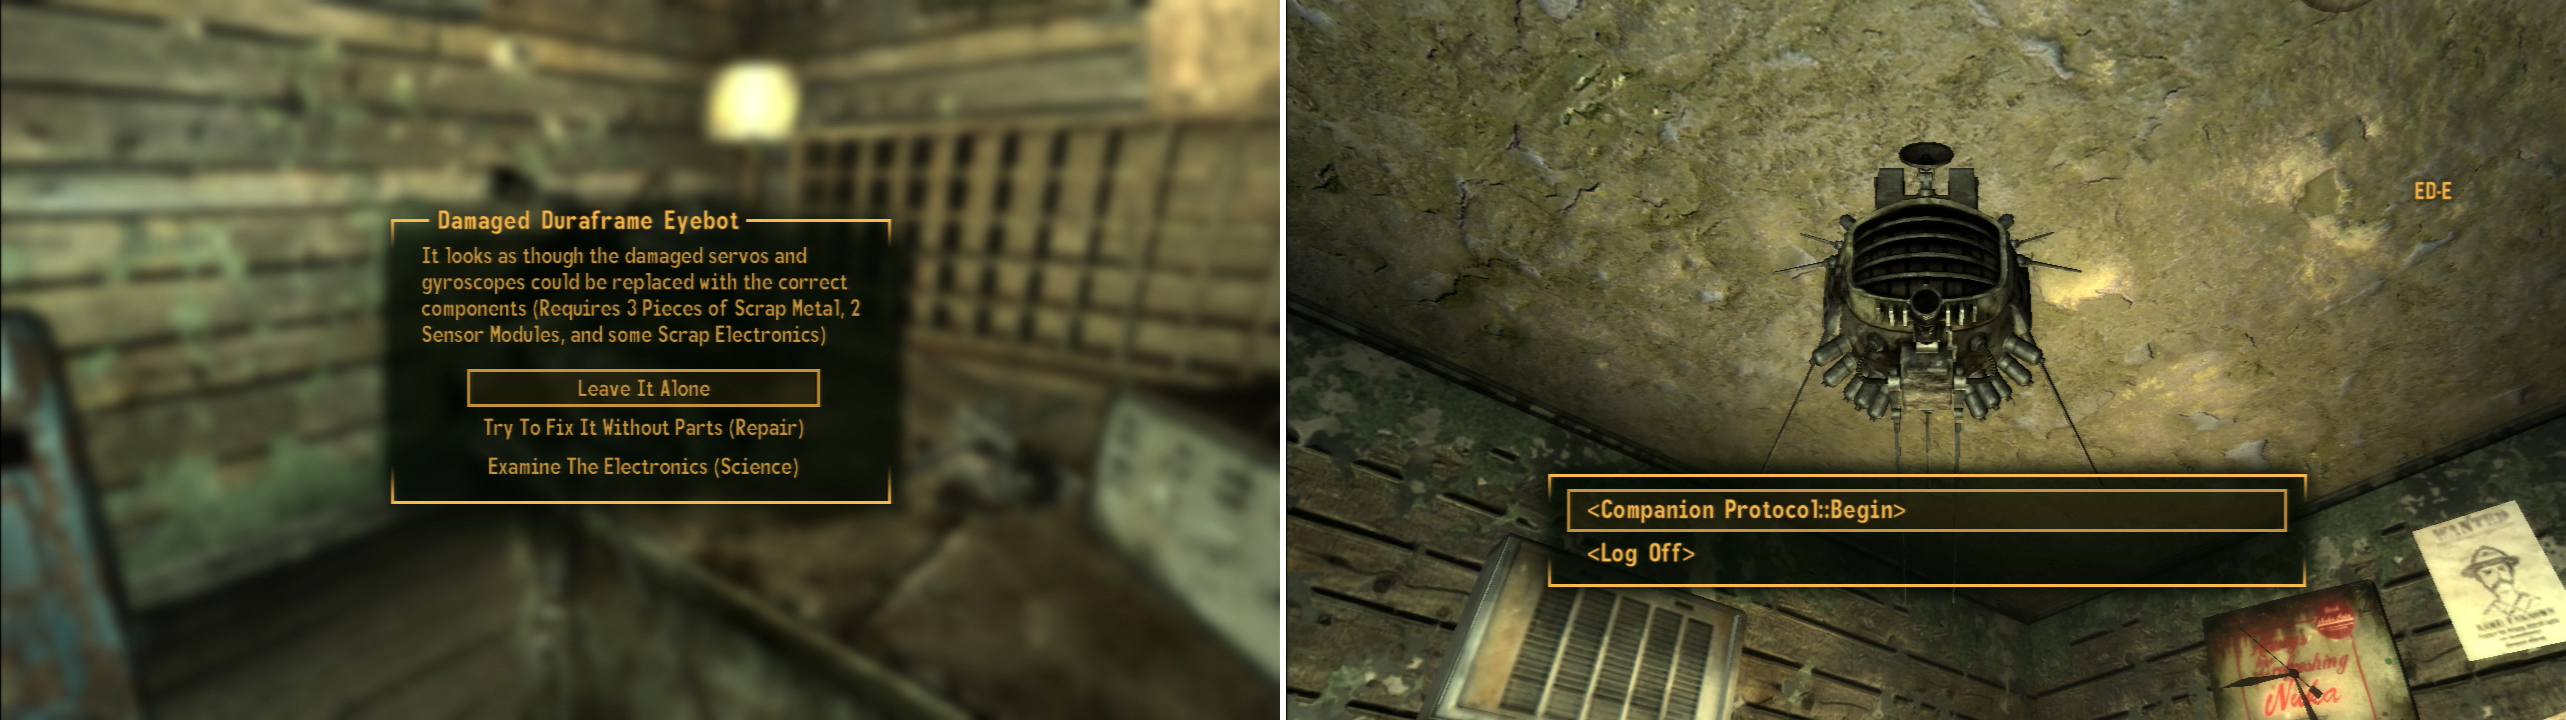
Repair the broken Eyebot in the Mojave Outpost (left) and you’ll be able to recruite your first companion; the loveable ED-E (right).


Well… that was kind of a bust. You’ll just have to find the eponymous Nash where the house got its name. Head west to find a ruined building and head upstairs to find two Ammo Boxes and a “Milsurp Review” magazine near a bed. South of the Nash Residence is a leveled building with a Safe you can loot lying face-up buried in the rubble.

There are a number of treasures you can uncover in Primm, including a safe buried amidst some ruins (left). Crime may not pay, but compared to what happens to the law… it might not be a bad shake (right).
Primm Sheriffs Office/Deputy Beagles House
Bypass the Vikki and Vance Casino and continue north to find Primm Sheriff’s Office. Inside, along the northern wall in the room you enter into you can find some .308 Rounds on and above a counter, and an Ammo Box to the west of the counter. In the room to the west you can find the very, very dead bodies of the Sheriff and his wife. Yikes. Deputy Beagle’s House has less exploded heads in it, but on the plus side you can also find a Gun Case [Very Easy] worth looting.
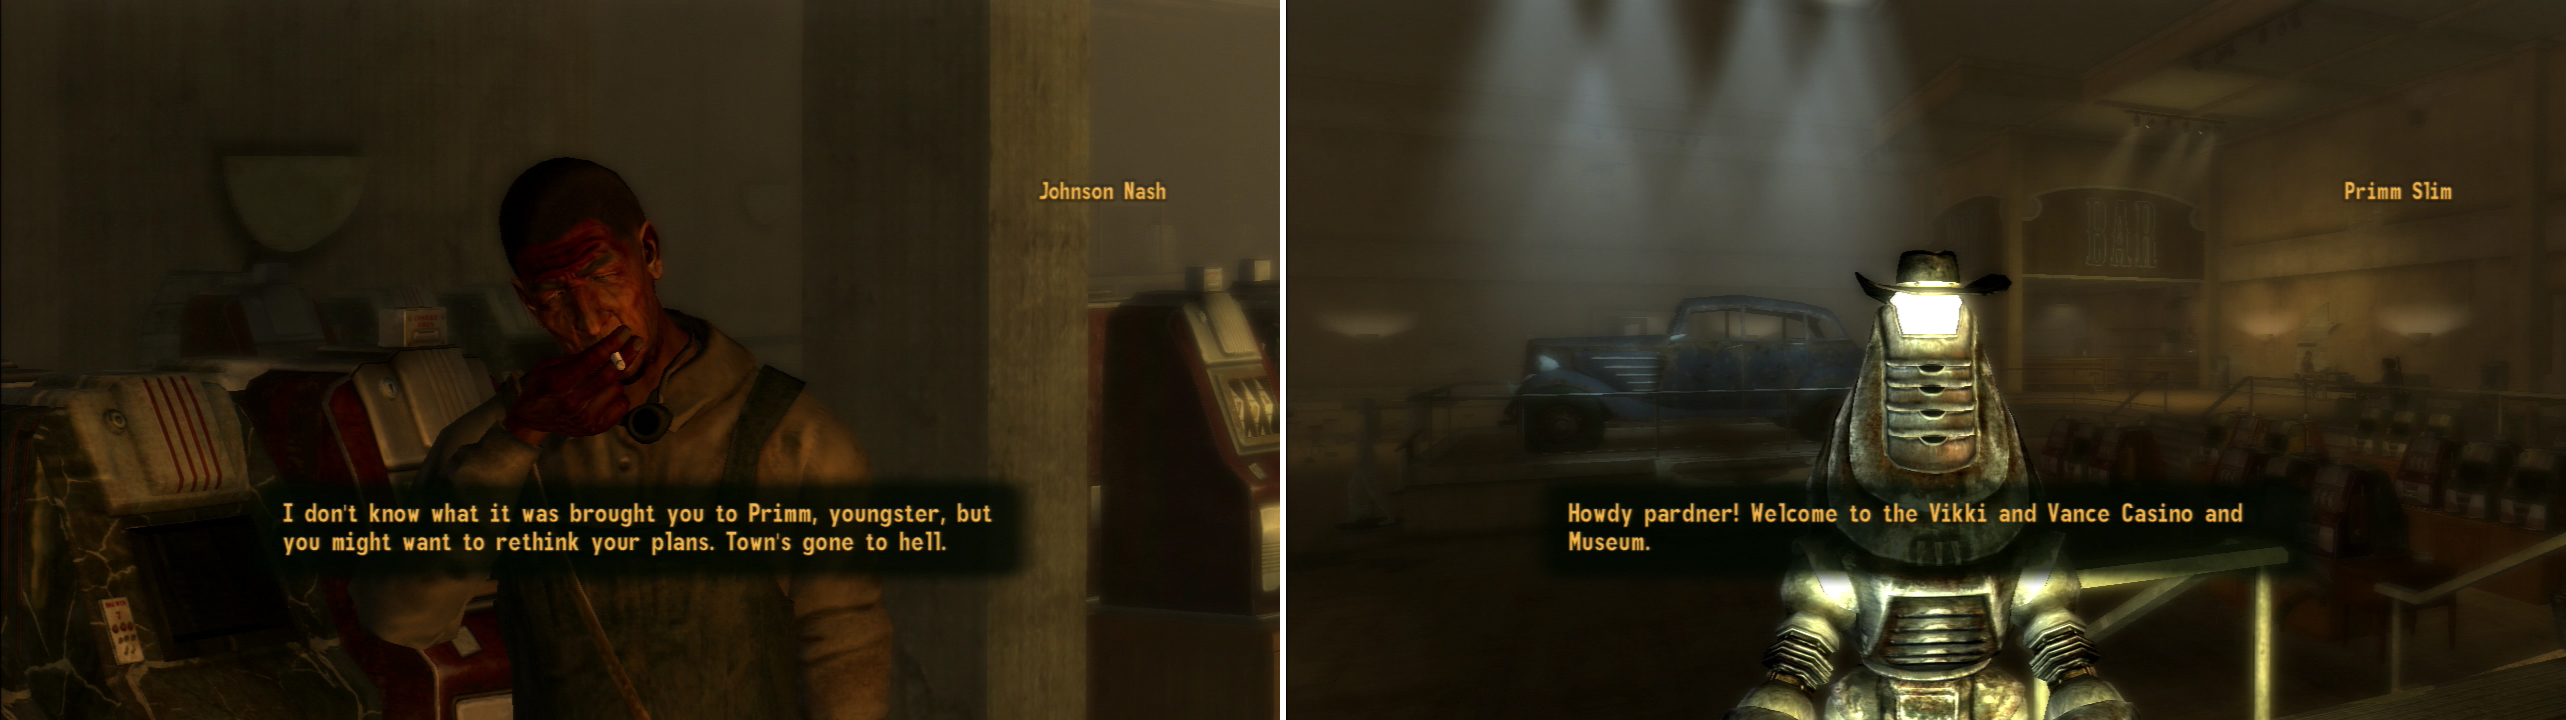
Inside the Vikki and Vance Casino you’ll meet Johnson Nash, one of Primm’s notable citizens (left). Primm Slim, the Protectron-mascot of the Vikki and Vance Casino will try to sell you on the venue’s attractions (right).
Vikki and Vance Casino
Enter the Vikki and Vance Casino to find Primm’s surviving townsfolk. When you enter you’ll be screened by Johnson Nash… hey, that last name! Tell him you’re a courier and ask about the job you were on, then tell him about the men who robbed and very nearly killed you and you’ll find out that they did indeed head this way. He’ll also tell you that a “cowboy robot” put in the delivery order (…Victor?) and that you should talk to Deputy Beagle for more information. Unfortunately, Beagle is being held hostage by the Convicts in The Bison Steve Hotel. Looks like you’ll have to liberate Primm to get the information you want. As for less important information, Nash will tell you about some mysterious courier that turned down the job you ended up getting shot over, as well as discussing Primm, Deputy Beagle’s ineffectiveness and ED-E. Less interestingly, he’ll barter and play Caravan with you.
Once you’re done with Johnson Nash, explore the rest of the casino, where you can find plenty of Primm Residents… who have little to say. Ruby Nash will offer to make you some “Ruby’s Casserole” if you give her Radscorpion Poison Glands, which are decent food items. More humorously you can talk to the propaganda robot “Primm Slim” who is wandering around to learn more about the dubious exhibit that gives the casino its name. What a tool. Do yourself a favor and listen to the desperate, grasping attempt at selling a mundane story Primm Slim tells. For your trouble you’ll get the note “Vance Gun Brochure”. Search the exhibit to find that the gun is, in fact, missing, then return to Primm Slim and tell it about the theft. If you follow up by succeeding at a [Science 50] check, you’ll get the “Primm Slim Corrupted Memory Block” note, which suggests the wayward gun has long since left Primm.
Go through some doors along the western end of the casino to find a safe you can loot, as well as a “Fixin’ Things” magazine and a “Salesman weekly” magazine on two tables. In the south-western corner of the casino, pick a locked door [Very Easy] to get into the cashier cage where you can find three locked Safes (two [Easy] and one [Hard]) to loot. In an already open safe you can also score a 9mm Submachine Gun, two doses of Jets, some 9mm Rounds and a Stimpak. There are also some 10mm Rounds on the floor. In a room on the northern side of the casino, on the floor near a roulette table, you can find a Silenced .22 Pistol.
The Bison Steve Hotel
Time to cross the street and liberate The Bison Steve Hotel… or at least to rescue Deputy Beagle. Enter via the front door and kill whatever Convicts dare to oppose you. Once done, search a counter to the south to find a Terminal [Easy] that opens a locked door [Hard]. If you get the door open you can find some loot in the room beyond, including a First Aid Box and a box of Mentats on some metal shelves, a refrigerator you can loot and a Wall Safe [Average]. In a metal locker you can also score a 9mm Pistol, some chems and some Caps.
When you’re done looting head east from the receptionist room to reach a hallway running north-south. You’re at the northern end now, and it makes sense to work your way south, exploring side-rooms along the way. In the first room to the east you can find a locked Floor Safe [Hard] behind a counter with a copy of Tales of a Junktown Jerky Vendor on top. In the safe you’ll find the gun Lucky .
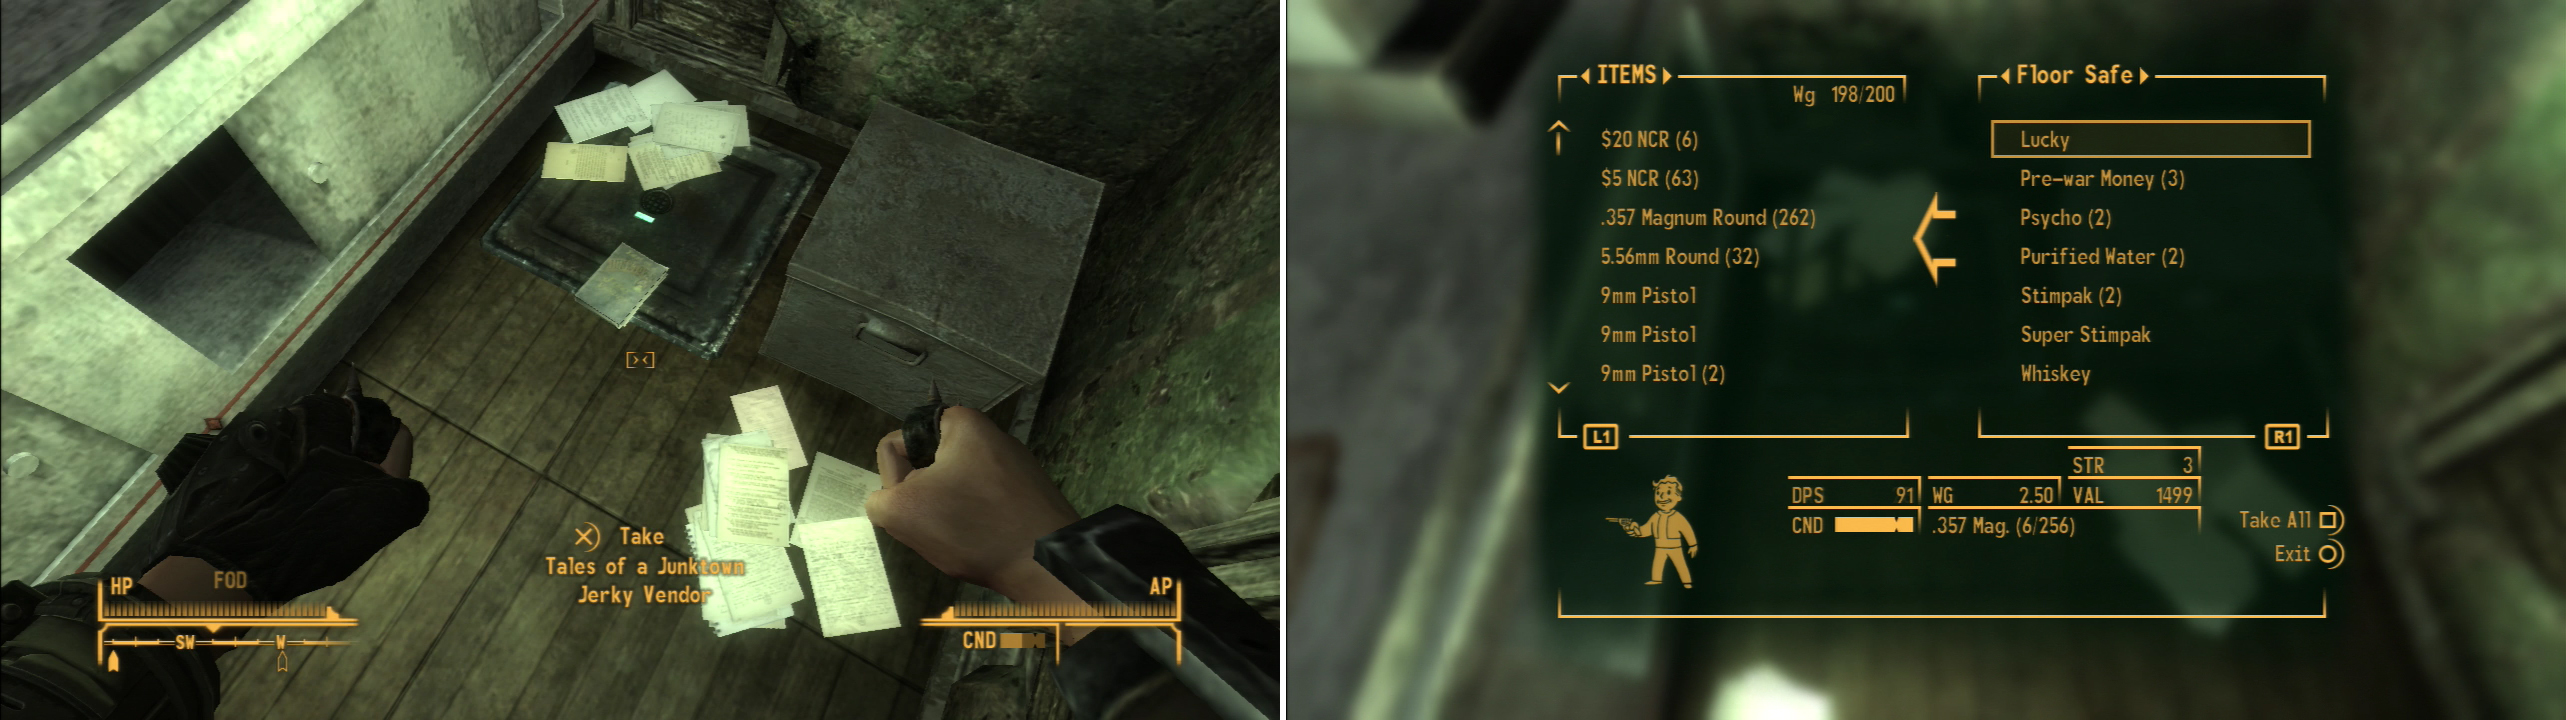
In the Bison Steve Hotel you can find a safe, atop of which is a copy of Tales of Junktown Jerky Vendor (left) and within which is the unique .357 Magnum, Lucky (right).
Return to the hallway and continue south, turning east to find a locked “Maintenance Door” [Easy], which will allow you to bypass an fight in the room to the south… but shy away from XP and loot? Across the hallway to the west you can find some stairs leading to the next level, which can wait for later.
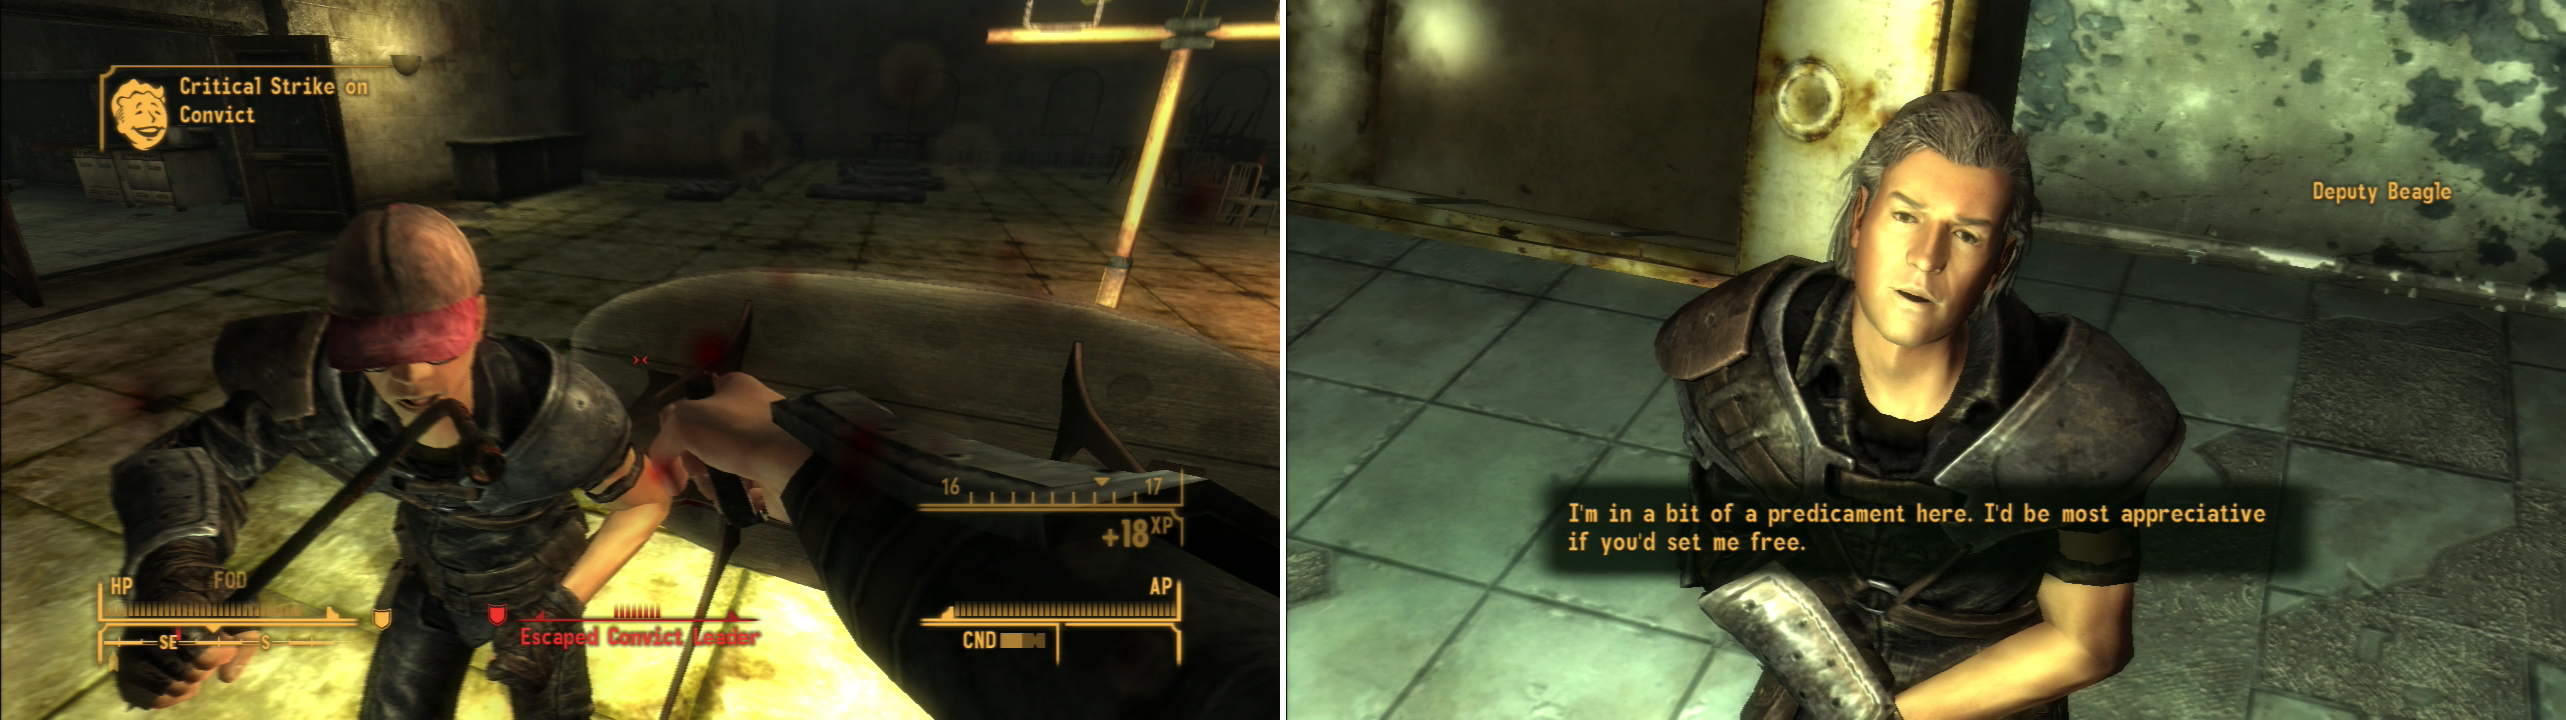
Defeat the Escaped Convicts in the Bison Steve (left) and free the dubious Deputy Beagle (right), who may know the location of the man who shot you…
Instead, continue south into a large room occupied by a half dozen Convicts, including a Convict Leader armed with an Incinerator. Dispatch, then loot the Convicts before heading into a room to the east, where you’ll find Deputy Beagle all tied up. Loot a First Aid Box, then some Refrigerators and finally snag some Purified Water before talking to bound Deputy Beagle.
If you ask him about the “man in the checkered suit” before you free him, you’ll get a chance to make a [Speech 40] check to learn what he knows. Failing that (or after that), you can always just free him, after which he’ll try to skulk off. Succeed at a [Speech 25] check to convince him to help you clear out the Convicts. He’s more a liability than a help though, but you can either take him along and talk to him again, offer to give him a letter, then take the note “Deputy Beagle’s Journal” off of him, steal said note from him, or head outside the casino after either recruiting him or letting him run off. If you read his journal or talk to him outside and ask him about the checker-suited man, you’ll also get the information you need. Best case scenario? Threaten Beagle [Speech 40] to get the information, then force him to come along with you [Speech 25], offer to give him a weapon, but instead lift his journal, then head outside and let him wander around.
In any event, once Beagle is gone and you have the information you need, head up the stairs that were avoided earlier. Once on the second floor, exit the stairwell and enter a hallway, picking your way north past an elevator. Make your way east into a more modest hallway, then turn north to reach a fork. Kill whatever pesky Convicts you find wandering about (one of which has a Worn Key on them), then explore the rooms to the west for very minor loot. In the eastern-most of the two you can jump on some rubble to reach an upper room… but you can just wait a bit to find a more accessible (if still unconventional) way to reach the upper floor.
Continue down the hallway to the east, turning south when you run out of east. In the first room… the first passable room… to the east, you’ll find a collapsed part of the upper floor that now conveniently is forming a ramp to the next level. Convenient! But still unconventional. Ascend the ramp and search the bathroom to the east to find an Armor Case and a First Aid Box [Easy]. In the lone room on the northern end of the level you can find - among other things - a locked Gun Cabinet [Average] behind a collapsed bookshelf which can be opened with the “Worn Key” one of the Convicts had on them.
Return down the collapsed-floor ramp, then to the hallway outside of the room with said ramp. Continue south, pausing only to loot another room to the east for the minor trinkets inside, then make your way south until the hallway forks again. If you go east you’ll reach a door leading to a balcony that connects to the roller coaster. Instead of going out there head west and search the first room to the south, where you can find a Gun Cabinet worth looting and a “Ransom Note” on a desk. Return to the hallway and continue west until you find a locked door to the south [Very Easy], which leads to a room littered with chems.
Now that The Bison Steve Hotel is cleared of Convicts and thoroughly looted, leave the hotel and head to the Vikki and Vance, where Deputy Beagle will have retreated if you left him to his own devices. Talk to him and he’ll bring up another issue plaguing Primm; they now find themselves in need of a new sheriff, now that the old one’s head is suffering from a slight case of explosion. This starts the quest My Kind of Town . Ask him about the job and he’ll give you two options; man named Meyers who is currently serving a stint in prison and the NCR, who would likely be open to providing protection to Primm. You can also try to rewire Primm Slim and turn it into a robo-sheriff, but ultimately this is a decision that will be postponed until all options are available to you… unless you just don’t care and want to nominate Primm Slim, in which case talk to the robot and either succeed at a [Science 30] check or sacrifice three Fission Batteries and four Conductors.
| Objective | Reward |
|---|---|
| For finding Primm a new - robotic - sheriff | 430 XP |
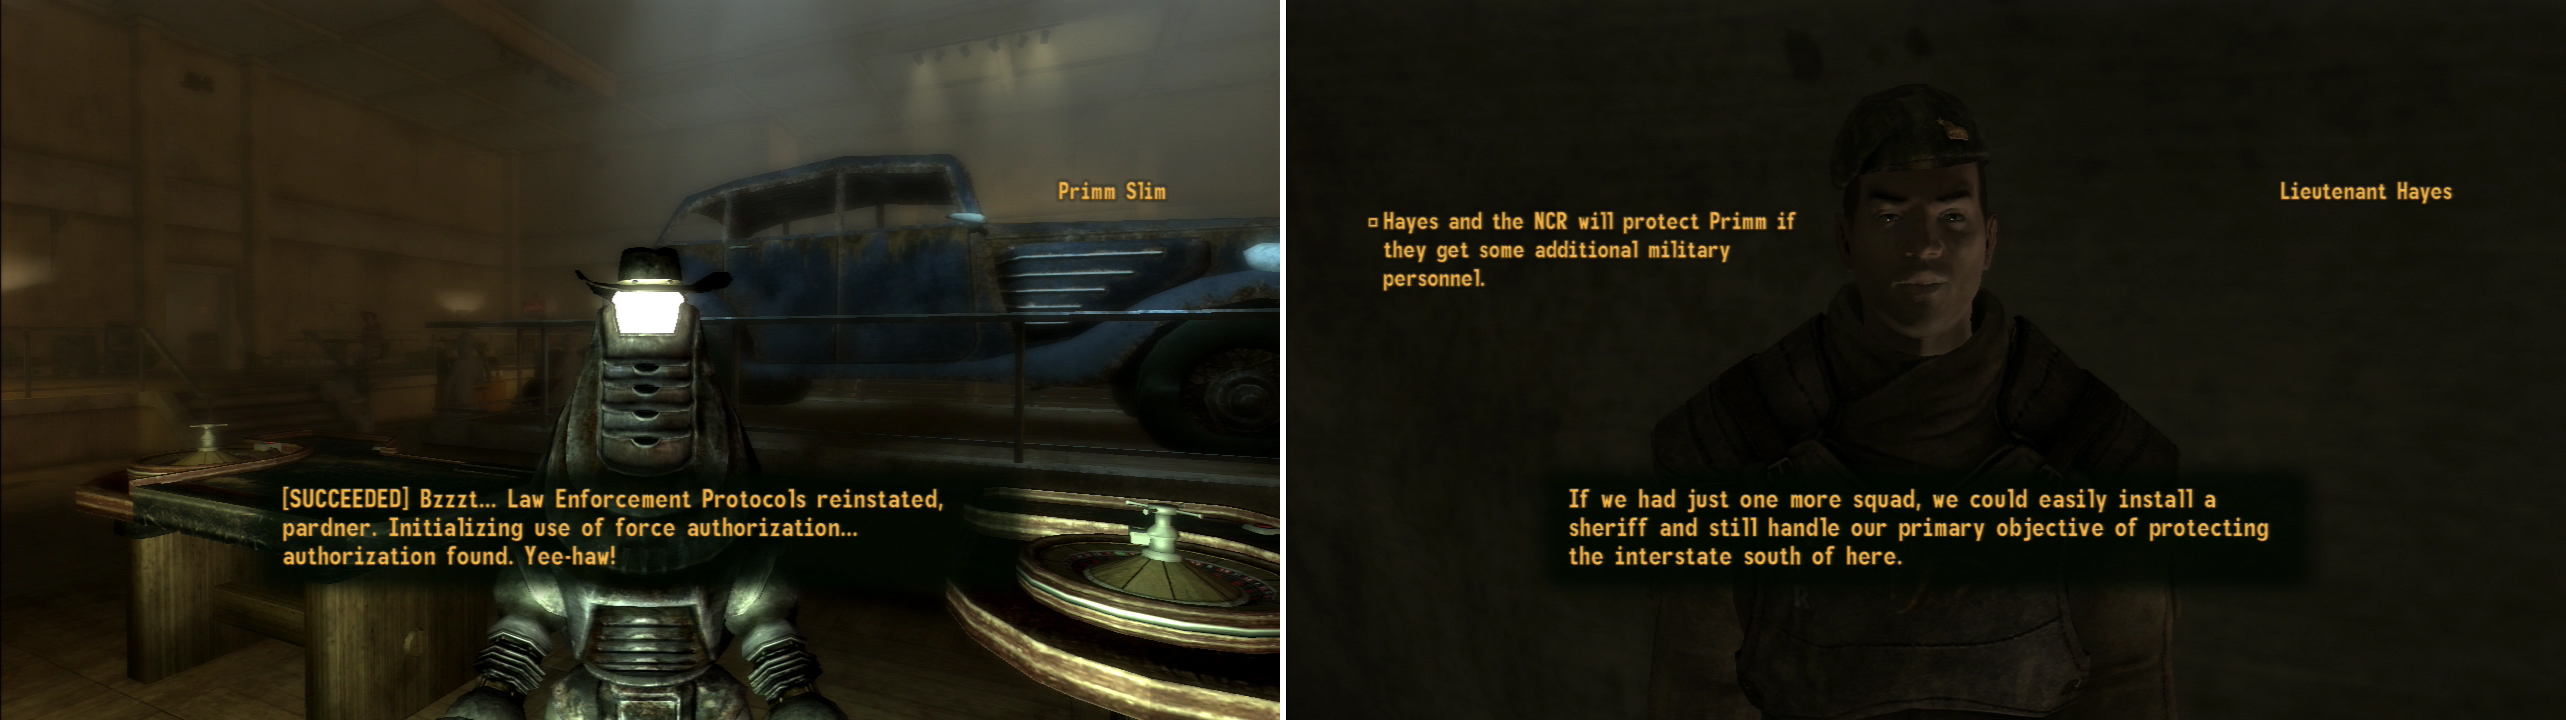
You can reprogram Primm Slim to serve as Primm’s new sheriff (left) or, for a more imperial touch, you can test the waters with the NCR (right).
If you want to fish around for a less mechanical sheriff (which will give you an excuse to head further south and deal with the Powder Gangers in NCRCF) leave Primm and return to the NCR squad camped outside of town. Talk to Lieutenant Hayes and he’ll continue to be useless; while the NCR is obviously eager enough to annex new territory and secure the interstate, they just don’t have the manpower to do it. So, in a move that only makes sense in video games, he’ll suggest that you head to the Mojave Outpost and talk to somebody named Knight. Yet another excuse to move further south…
No Comments