| Important Items in This Area |
|---|
| Nikola Tesla and You |
East of Goodsprings and north of NCRCF you’ll find the Powder Ganger Camp North area. South of the camp you’ll find a road which - if you follow it east - leads to a fenced-off area. The area enclosed by that fence is Hidden Valley, where you’ll find dust storms, Bark Scorpions and a few bunkers. There are roughly four bunkers in Hidden Valley; one to the south, one to the north, one to the east, and one to the west. Enter the western-most one. There are two ways this initial encounter with the Brotherhood of Steel can play out depending on whether you have Veronica in your party or not. The following paragraphs under “Dealing with Dobson” will assume Veronica is not in your party, and after you’re done with those continue with “The Brotherhood’s Trust” . If Veronica is in your party, start out with the paragraphs below “The Brotherhood’s Trust” heading.
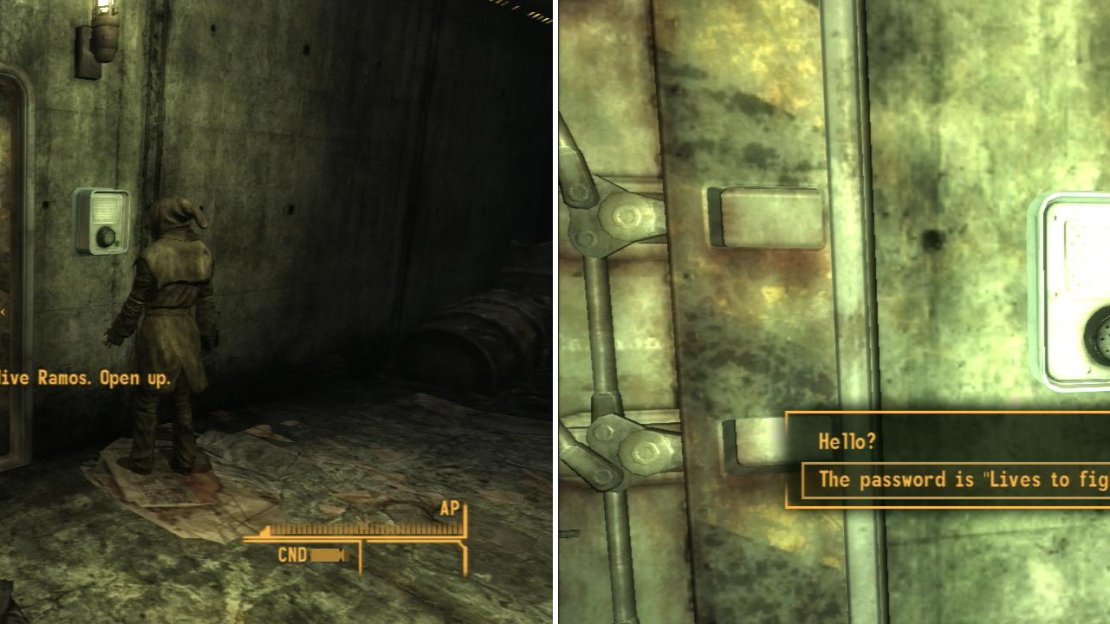
You can get into the Hidden Valley Bunker by bringing Veronica along (left) or you can use the password you found on the dead Brotherhood of Steel Paladins at the REPCONN Headquarters (right).
Dealing With Ranger Dobson
Head south-west down some stairs, through a door and into a room. Activate an Intercom near a locked door [Very Hard] and give the password “Lives to fight another day.” You will shortly be approached by three Brotherhood of Steel Paladins, who demand you surrender your gear and follow them, under pain of death. So much for them being an understanding bunch. Do what they say and you’ll be taken inside the bunker to meet with Paladin Ramos. If you answer him satisfactorily you’ll gain an audience with Elder McNamara. Alternatively, if you pick the locked door [Very Hard] you’ll be free to enter Hidden Valley Bunker L1… and will shortly encounter Paladin Ramos inside, who will escort you to Elder McNamara.
Either way, if you play ball with the Brotherhood of Steel you’ll end up stripped and charged with getting rid of a pesky NCR Ranger lurking in a nearby bunker. Oh, and they’ll be nice enough to adorn you with an explosive collar, just in case you decide to run off before you prove that you’re competent. They’re not really the best at making friends. This whole encounter starts the quest Still in the Dark . Once you’re outside the inhabited part of the Brotherhood bunker, grab your loot from the nearby crate and head outside.
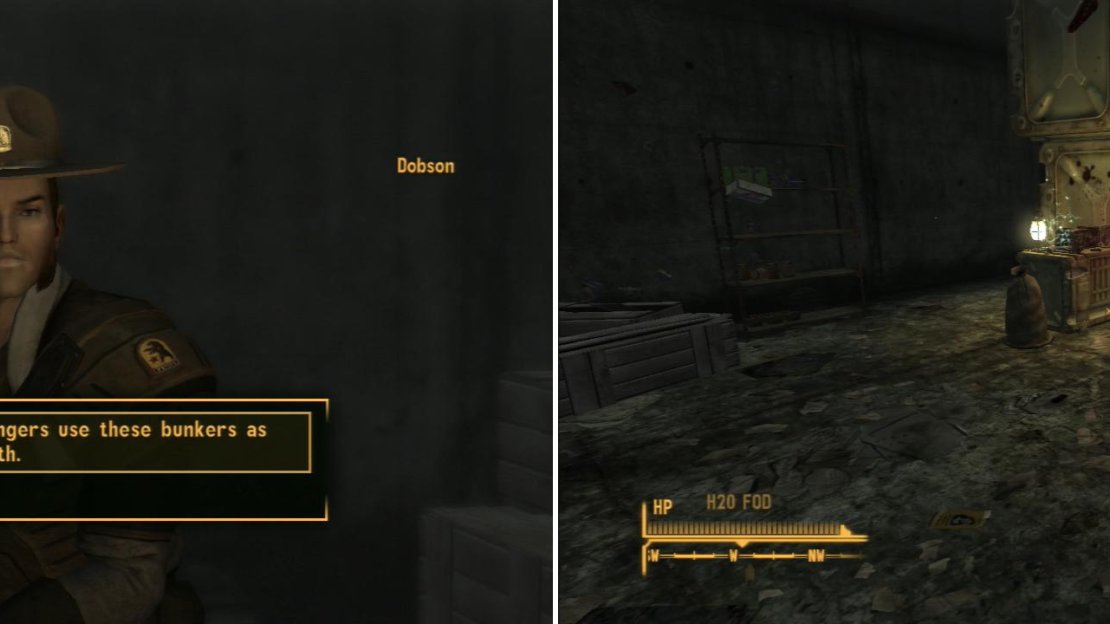
Enter the southern bunker and head downstairs. Ranger Dobson may get the drop on you and accuse you of being a Powder Ganger… all in jest, of course, but you can succeed at a [Speech 30] check and banter with him. Afterwards you can talk to him to learn about the Powder Ganger and about his activities against him. He all but says “I’m all alone, if you kill me, nobody will notice!” Succeed at a [Speech 50] check to convince him to move off or kill Ranger Dobson to remove him more messily. If dealing with the Ranger himself is too daunting, you can mess with his Ham Radio, instead. If you interact with it you’ll get two relevant options; rig it to explode or smash it. If you do either while Ranger Dobson is in the same room as you, he’ll question you about it or turn hostile (respectively). In the former case succeed at a [Speech 40] check to convince him you fixed the radio for him. If you sabotage the radio without him noticing, or rig it to explode and kill him with the resultant explosion, you’ll be rid of Dobson.
You can convince Ranger Dobson to move on (left) rig his radio to explode (right) or simply kill him.
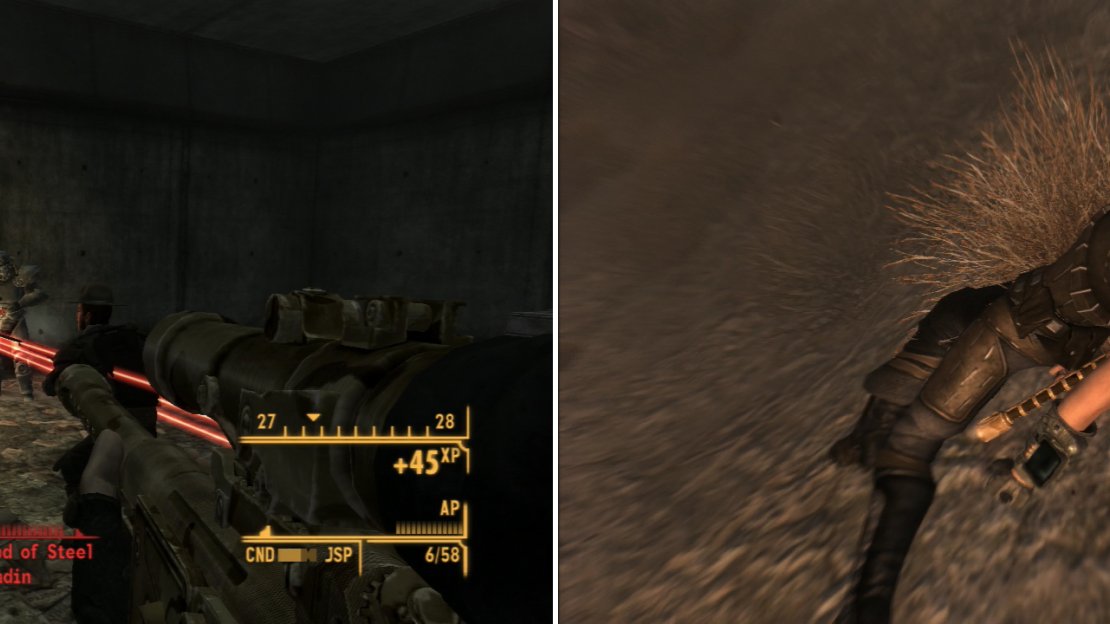
Alternatively you can tattle on the Brotherhood of Steel. He’ll remove the explosive collar for you, after which you’ll be attacked by four Brotherhood of Steel Paladins. This fails the quest Still in the Dark and will likely earn you a “Vilified” reputation from the Brotherhood of Steel, since Ranger Dobson isn’t likely to defeat them all. If you defeat the Brotherhood of Steel Paladins while keeping Dobson alive, you’ll gain NCR Fame, but at the cost of Brotherhood of Steel Infamy. Even if you avoid killing any Brotherhood Paladins, the rest of the Hidden Valley bunker will be hostile towards you, and since angering the Brotherhood of Steel is less lucrative than working for them… and it’s kind of the opposite of what the goal of this section is. Don’t worry, you’ll get other opportunities to screw the Brotherhood over later, if that’s your goal, and nothing will prevent you from going on a killing spree. For now, however, work with them and keep your mischievous desires at bay.
Once Ranger Dobson has been dealt with loot the bunker he was in. There’s plenty of food items, .308 Ammo and a Journal to molest. You can also pick a locked door [Hard] which goes nowhere, if you want the XP. Loot, then return to McNamara, who will be critical of you if you decided to kill Dobson (by radio or by other means), and will question whether it was the best course of action. This from a guy whose Paladins threatened to kill you multiple times already, and who strapped a freakin’ bomb around your neck. Rich. Succeed at a [Speech 65] check to convince him of the tactical necessity of killing Dobson, otherwise he’ll call you a brute. If you persuaded Dobson to leave, he’ll be impressed by your restraint and intelligence. However you deal with Dobson - and justify it to McNamara afterwards - he’ll decide to keep working with you and invite you to talk to him for more details. He’ll also remove that explosives collar hanging over your head (figuratively) and around your neck (literally).
If you betray the Brotherhood of Steel by tattling to Ranger Dobson, their vengeance will come swiftly (left). Alternatively, if you try to flee… well, that exploding collar is not a bluff (right).
The Brotherhoods Trust
On the other hand, if you brought Veronica with you she’ll snark into the intercom outside the bunker and get you both in. Doing this will bypass the whole messy exploding collar/Ranger Dobson business and let you talk to McNamara directly for the next phase of the quest.
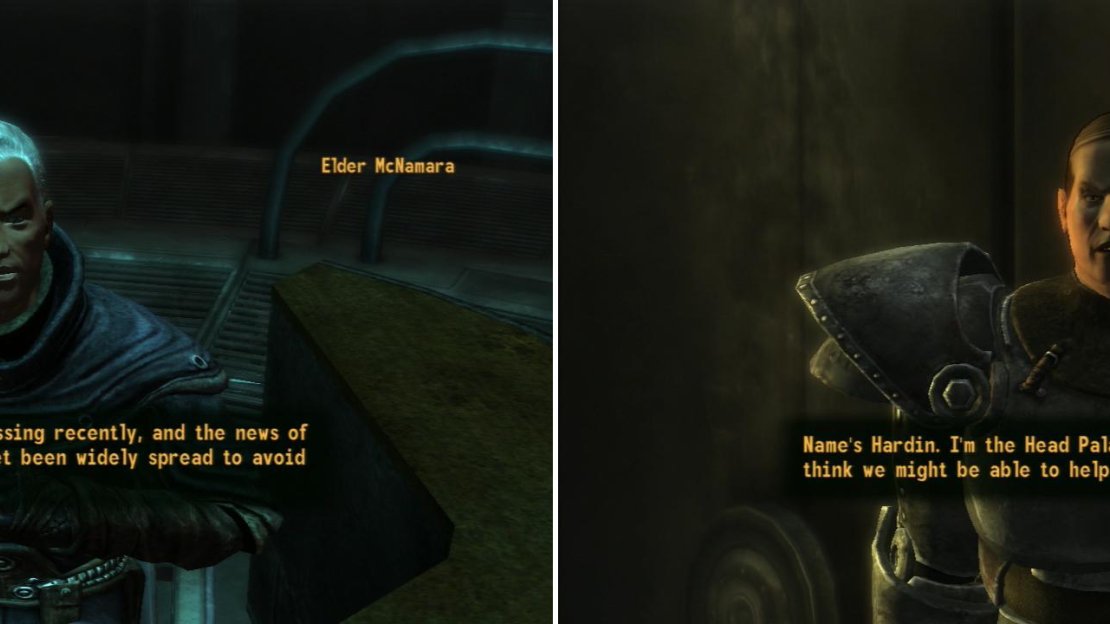
However you earned the trust of the Brotherhood of Steel (either by bringing Veronica along or by getting rid of Ranger Dobson) you should be in the same place; you’ll need to talk to Elder McNamara and ask about what work he needs an outsider so badly for. Make your way to the south-eastern corner of the first level to reach Hidden Valley Bunker L2 and talk to McNamara at his fancy desk. Turns out a few Brotherhood squads - sent out to investigate technology too tasty to pass up - never returned. He doesn’t want to cause a panic, nor does he want to risk more Brotherhood members, so it’ll be your job to locate the squads and bring them -or their holotapes - back. As you go to leave the second level of the bunker you’ll be approached by Head Paladin Hardin, who has another proposal for you; he’s not a fan of McNamara’s leadership and wants him ousted. Since he’s a hide-bound traditionalist, however, you’ll have to remove McNamara lawfully, by following precedent. Since Hardin sucks at research, he’ll need you to find the precedent he needs. Agree to help him and he’ll suggest you talk to Ramos and Ibsen. Don’t worry, you’re not committed to anything yet, so there’s no harm in accepting the offer.
After you earn the Brotherhood’s trust, Elder McNamara will ask you to perform a task beyond his means (left). Head Paladin Hardin, however, has some plans of his own he’d like you to help him with… (right).
Exploring the Hidden Valley Bunker L1
That’s all well and good, and resolving this power struggle will be your objective shortly… but for now, there’s no harm in exploring the rest of the bunker. Not only is there plenty of loot to score, but there are a few sidequests to engage in, too. Return to the entrance to the Bunker L1 and talk to Paladin Ramos in his security office. Ask him about dismissing an Elder and he’ll refer you to Scribe Ibsen. You can also talk to him about his job, the lockdown, and the HELIOS One massacre, the source of the enmity between the Brotherhood of Steel and the NCR. You can also hack his Terminal [Very Easy] to read some notes and the Turret Control Terminal [Hard], if for whatever reason you want to.
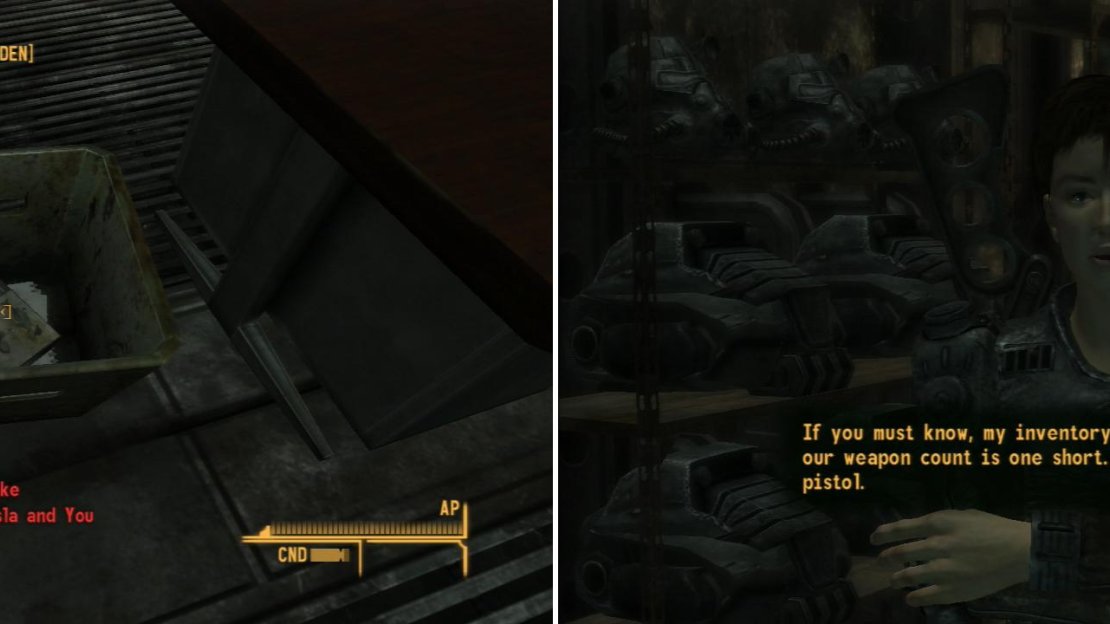
Leave Ramos’s security office and head west down some stairs, then continue west into a barracks. If you’re sneaky and don’t care about that stupid Karma thing, you can loot the Brotherhood Footlockers at the foot of each bed to score some Energy Weapon and ammo. Once you’re done looting head through a door to the south, cross the hallway, and enter a clinic opposite (south of) the barracks. In this room you’ll find Senior Scribe (Linda) Schuler, who will heal your boo-boos for a price. She’ll also bore you by complaining about the lecherous Head Scribe - a position she covets (the Head Scribe part, not the lecherous, presumably) - who she feels she’s more qualified that. Probably the patriarchy at work again. Anyways, ignore this power struggle and search a bin beside her desk, which contains a copy of Nikola Tesla and You . You can also hack her terminal [Average] and read some journal entries, if you wish.
Search a crate in Senior Scribe Schuler’s clinic to find a copy of Nikola Tesla and You (left). Knight Torres needs help finding a misplaced Laser Pistol (right).
Leave the hospital and head west, then turn south when you run out of west. Ahead of you is the shooting range, wherein the Brotherhood of Steel Paladins waste time and resources. To the west is Knight Torres who will sell you some of the Brotherhood’s technology, including ammo, various weapons and armor. You don’t have access to the best stuff she can sell, but she’s bound to have a few items you haven’t yet seen. Ask her about the problem she whined about and she’ll tell you she’s missing a Laser Pistol. If you can find this wayward item, she’ll offer to make some other supplies go missing… into your pocket. Seems kind of redundant for her, but… your gain.
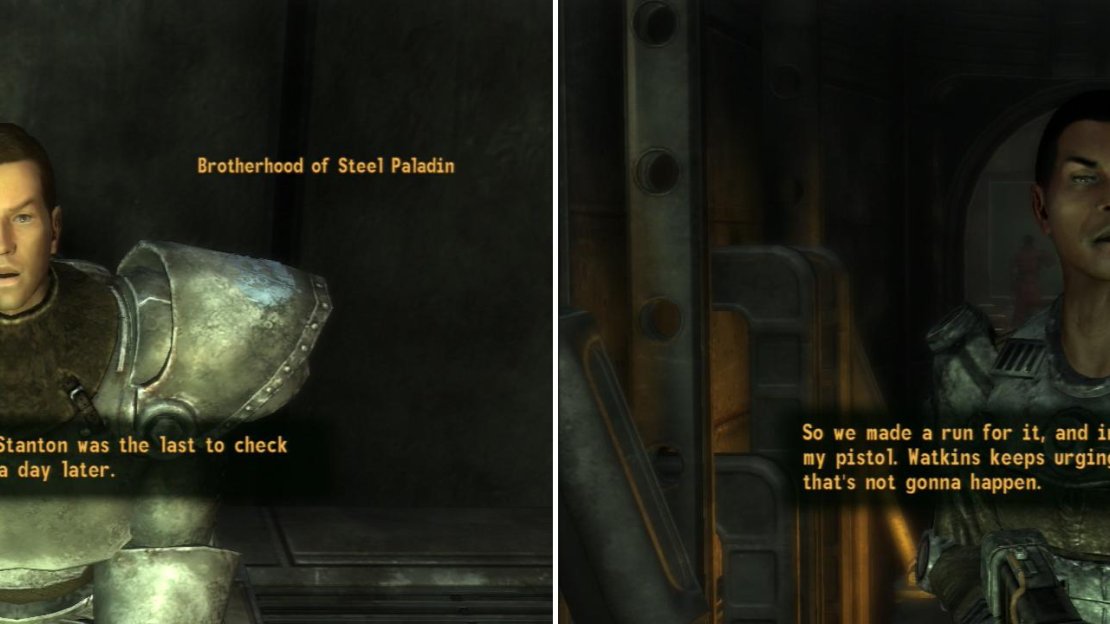
Talk to the overseeing Paladin at the shooting ranger to learn who had the Laser Pistol last (left). With this information, confront Initiate Stanton to get him to spill the beans (right).
Talk to the Brotherhood of Steel Paladin sitting at the nearby desk (at least, he should be here during the day) and ask about the missing weapon. He’ll tell you that one Initiate Stanton had the weapon last. Stanton can usually be found in one of three places; the range, a barracks along the eastern end of the level, or in a classroom along the southern end of the level. Ask him about the pistol and he’ll spill the beans; he and another initiate decided to sneak out and pick on some scorpions. When the bugs fought back, he misplaced the pistol in his frightful flight, and now needs you to go get it back for him. Something to keep in mind when we’re done with the bunker.
Now it’s time to explore… well, the rest of the level. There’s a small mess to the east, and further east there’s a less interesting barracks. Along the southern edge of the level you’ll find a classroom and some bathrooms. If you descend some stairs you can find another loot-worthy barracks under the first one and in a small room to the east you’ll find a Terminal [Average] belonging to Lorenzo, which discusses some superior gear created by Poseidon and some difficulties the Brotherhood of Steel is facing.
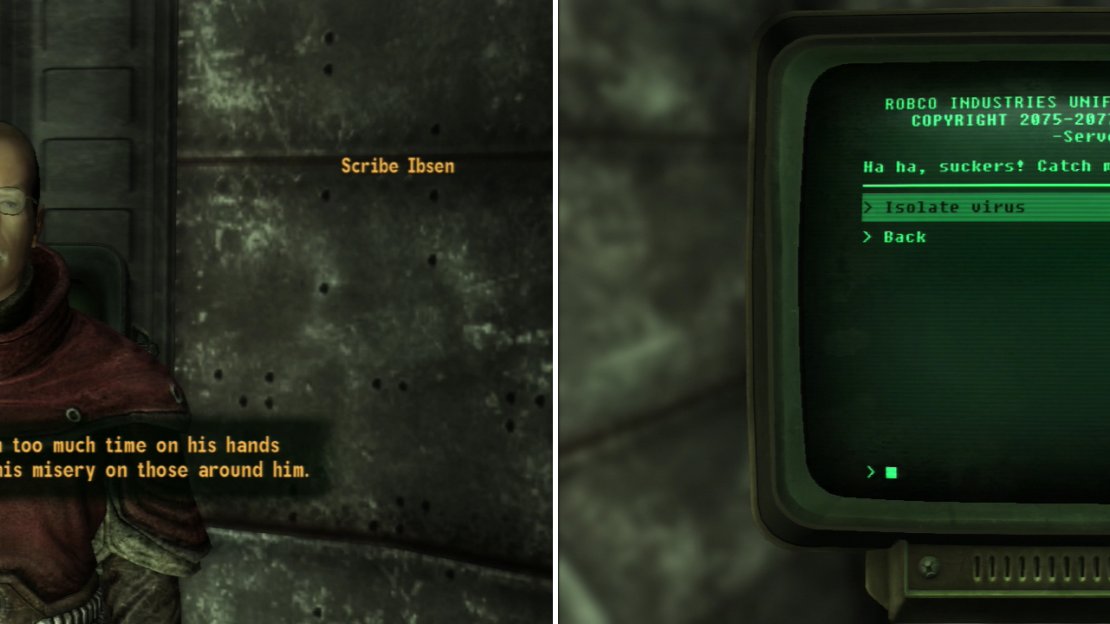
Talk to Scribe Ibsen to learn that even the Brotherhood suffers from the scourge of computer viruses (left). Quickly access the terminals and isolate the virus on the infected terminals (right). Get all three parts locked down and you’ll be good to go.
Hidden Valley Bunker L2
Make your way to the Hidden Valley Bunker L2. From the entrance to the level head east to find a room full of terminals… gibberish-filled terminals. Talk to Scribe Ibsen and he’ll tell you that the Brotherhood contracted some malware from one of the discs found in the wastes, and they’ve so far been incapable to get rid of it. Offer to help and he’ll tell you how to deal with the virus; the virus is causing the terminals to display gibberish, but on some terminals it’ll have taunting text. Find three of these legible terminals within one minute to isolate the virus so it can be purged. Search as many of the fourteen terminals as you can in sixty seconds, isolate the virus on three of them, and do it in sixty seconds. Just requires luck and patience… or, if you succeed at a [Science 70] check you can suggest partitioning the virus as you find it, which will essentially keep your progress between attempts.
Once all three are isolated or partitioned, talk to Scribe Ibsen again and he’ll grant you access to the datastore. Access one of the terminals (any one, it doesn’t matter which) and pick the entry “Elder Dismissal Incidents”, then read the various incidents for the precedent Hardin wants. Return to Paladin Ramos and ask him about the “Chain that Binds” and he’ll give you access to the datastore. Return back to the terminal room and access the datastore again, this time picking the entry “Chain that Binds”. After reading this entry you can find Hardin, usually in his room east of where McNamara’s office is. Tell him all you know and he’ll tell you to go find evidence of McNamara skipping a link in the Chain that Binds. At this point both McNamara and Hardin’s ambitions have the same pre-requisite; obtaining the holotapes from the missing Brotherhood patrols.
That’ll be handled shortly, but first… let’s finish up exploring the Hidden Valley Bunker. Loot Hardin’s room to score a Super Sledge, a Plasma Rifle, a Plasma Pistol and some T-45d Power Armor. Once all those goodies are yours head back to the beginning of the level and make your way to the terminal room. From here continue east into a hallway, which quickly turns south, then leads to a fork. At the fork if you continue south you’ll reach the VR simulation room where you’ll find Apprentice Watkins, Stanton’s unrepentant partner in crime. Perverted old Head Scribe Taggart is here, too, although he has little to say, and quite an attitude with which to say it.
Return to the hallway and explore the eastern fork this time to find a workshop, in which you’ll find Senior Knight Lorenzo, the man who wants to molest our ED-E. If you brought the Eyebot with you and want to let the Brotherhood of Steel examine it, talk to Lorenzo and he’ll offer to upgrade its armor in exchange for rummaging around in its data logs. After about three days ED-E will be returned to Primm with brand new shiny armor which improves its Damage Threshold from 8 to 20 and ends ED-E My Love. If you want to let the Followers tinker around with ED-E, just don’t bother Lorenzo.
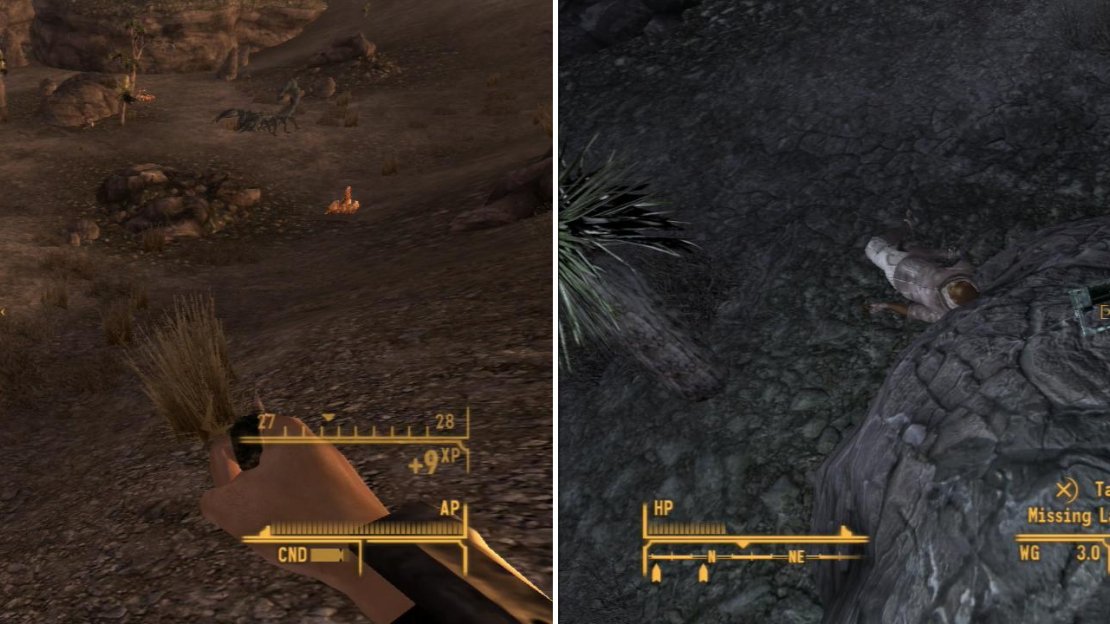
In Scorpion Gulch you’ll find… what else? Scorpions (left). On a rock you’ll find the misplaced Laser Pistol (right).
Scorpion Gulch
That’s all for the bunker… for now, anyways. There’s still the matter of recovering the lost Laser Pistol for Knight Torres which will give you the excuse to explore some areas near Hidden Valley and move one step closer to clearing out the middle of the map. Leave the bunker and head to the south-eastern end of Hidden Valley where you’ll find a hole in the fence. Beyond this is a mountain pass that leads south-east, then east to a scorpion-filled valley aptly named Scorpion Gulch. Along the way you can find the body of a Dead Prospector which is worth looting.
Kill the Giant Radscorpions, Bark Scorpions and Bark Scorpion Hunters (careful, as the latter continuously respawn) then search a rock along the eastern end of the gulch. This rock is next to two trees and has a dead Wastelander along the northern end of the rock. On top of the stone you’ll find the Missing Laser Pistol you’re after. If you head east down a long mountain pass crawling with respawning scorpions you’ll reach the south-western edge of the El Dorado Dry Lakes, just west of HELIOS One, in fact.
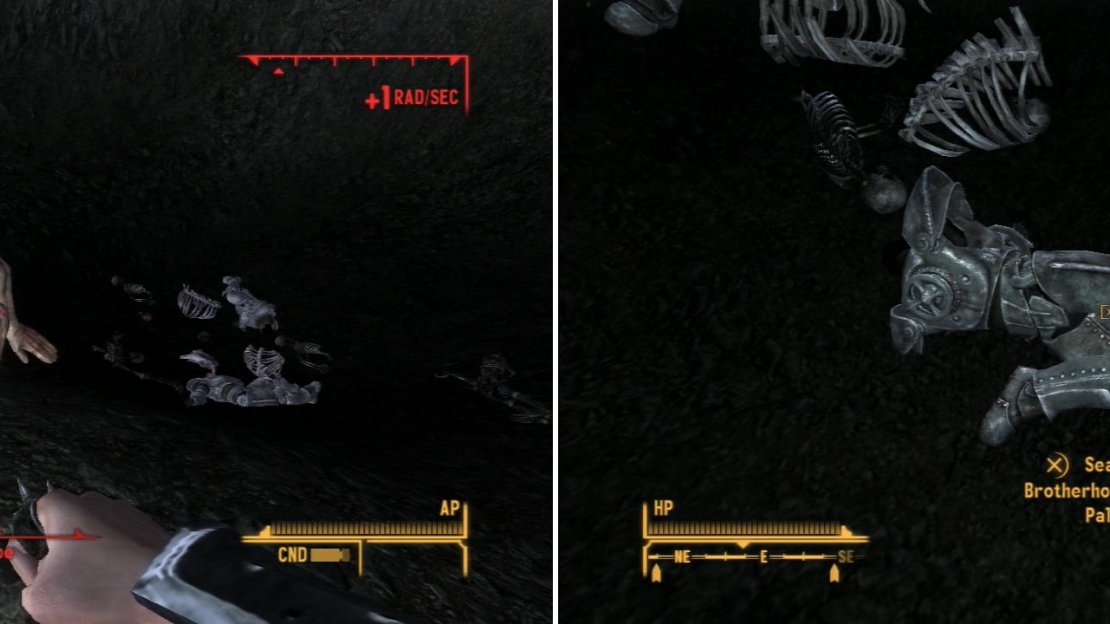
From Scorpion Gulch turn west, north-west and look uphill to see two paths leading out of Scorpion Gulch. The more western-facing path leads back the way you came to Hidden Valley, while the north-most one leads into the unexplored. Head north, north-west uphill, turning north-east to follow the path. When the path splits, continue north-east, as the north-western route leads back Hidden Valley. Continue east, then north to follow the track; when you start seeing Centaurs you’ll know you’re going the right way. Eventually you should stumble upon a highly irradiated crater crawling with Centaurs and Evolved Centaurs, including the unique specimen named Moe. Kill them all, pop a Rad-X, then head into the crater to find the bodies of two dead Brotherhood of Steel Paladins. Another one of the missing patrols, be sure to loot their bodies for their excellent gear and the “Brotherhood of Steel Mission Holotape” you’re after. Two down, one to go. To the north, north-west you can find a gate leading to the upper reaches of Black Mountain, which will be a place of interest soon enough… but not just yet.
Return to Hidden Valley and give the Laser Pistol to a very grateful Knight Torres. Your reward includes a Tri-Beam Laser Rifle and some Brotherhood of Steel Fame.
| Objective | Reward |
|---|---|
| For recovering the missing Laser Pistol) | 100 XP Tri-Beam Laser Rifle Brotherhood of Steel Fame |
Time to head off to find the third and final Brotherhood squad… or at least their holotapes. The next destination is in the north-eastern corner of the map, and you know what that means… it’s a good excuse to explore everything from the Grub n’ Gulp Rest Stop to the destination, right? Sure is, but to avoid getting too off-track a few of the more busy locations will be avoided. Well… maybe not avoided, but they won’t be explored just yet. No harm in discovering the map markers, after all.
In a crater between Hidden Valley and Black Mountain, you can find the Centaur, Moe, and its pack (left). It seems that one of the Centaur’s victims includes one of the Brotherhood squads you’re looking for (right).
No Comments