| Important Items in This Area |
|---|
| Lying, Congressional Style |
Black Mountain is the next Brotherhood task, but… well, you know how this guide goes. To the north-east of the Hidden Valley map marker you’ll find Black Mountain, but the intended quest course to follow I-15 north-east past Sloan. Since you have yet to explore Sloan yet, and you’re now more than capable of doing so, that’s the course this guide will take. Of course, there’s also the quest Bleed Me Dry that can be resolved at Quarry Junction (past Sloan). So… eggs first, then Sloan, then Black Mountain. That’s the order of operations.
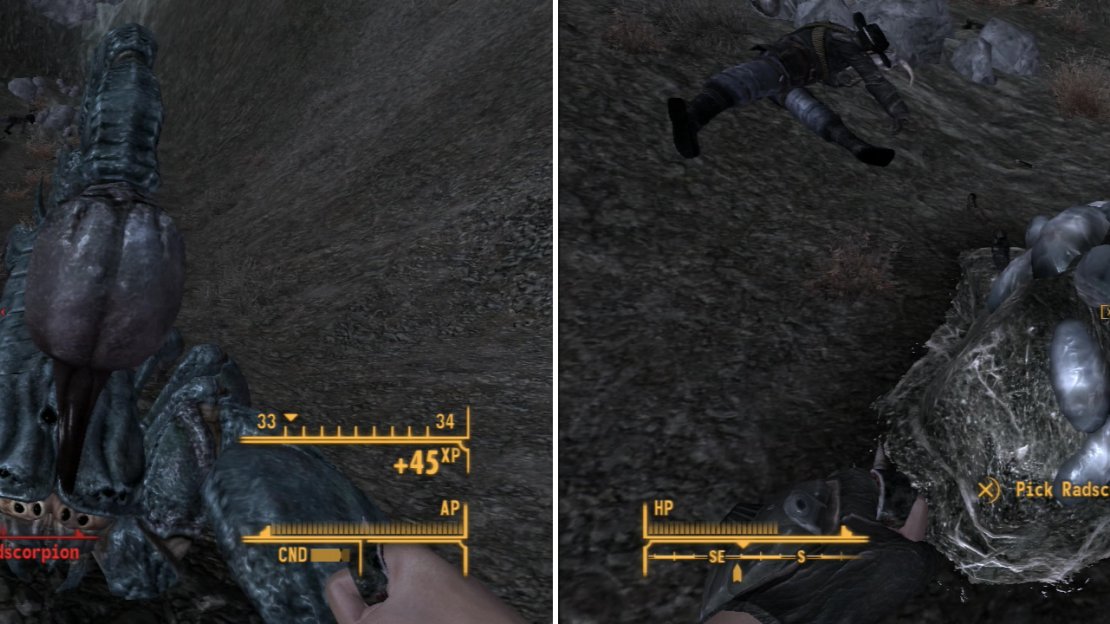
First up are some Radscorpion eggs. Fast-travel to Goodsprings Cemetery and head east, north-east, descending a cliff face as you go. Follow the quest marker (assuming you have it tracked) to find some hills with cubbies in them, within one of which you’ll find the body of a Mercenary and the Radscorpion Eggs you’re looking for. Return to Red Lucy and give her the eggs for another reward (you can haggle for more with a successful [Barter 60] check), then ask for a third task.
| Objective | Reward |
|---|---|
| For bringing Red Lucy some Radscorpion Eggs | 150 XP 300 or 400 Caps |
Fight your way through a nest of Giant Radscorpions (left) and steal their tasty eggs for Red Lucy (right).
Lucky Jim Mine
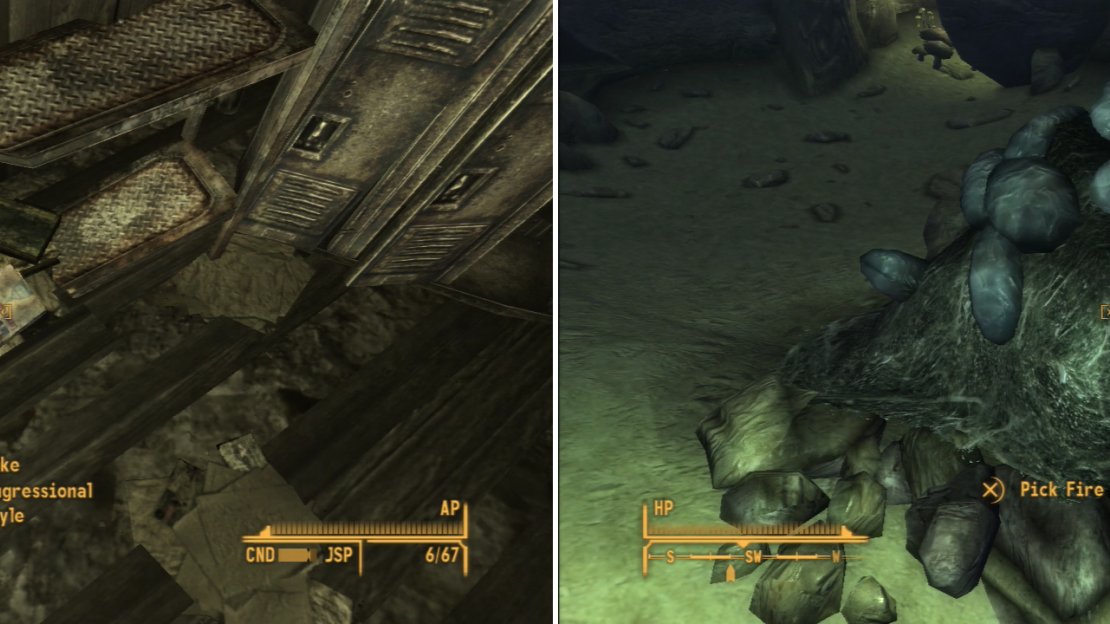
Fast-travel to Ranger Station Echo and head north into the hills to find the Lucky Jim Mine House. There’s also plenty of Fire Geckos in these hills, which is probably an encouraging sign, right? Pick your way across the rough terrain and enter the Lucky Jim Mine House. Inside you’ll find some assorted garbage and a copy of Lying, Congressional Style on the bottom shelf of a metal shelf.
Bootjack Cavern
That’s all well and good and all, who can pass up a skill book? But that’s not the point of this little trip. Fast-travel back to Ranger Station Echo, as the destination you’re looking for, while west of the Lucky Jim Min, is easier to reach by heading north-west from Ranger Station Echo. The area you’re looking for is the unmarked Bootjack Cavern, which is east and a little north of the Wrecked Highwayman. Again, there’s plenty of Fire Geckos around, but it’s nothing more than a little sport for the Finger of God.
Enter the cavern and head south to reach a larger tunnel crawling with Fire Geckos. Head south-east, killing lizards as you go. This route is ultimately a dead end, but you can find a Dead Prospector with some minor loot on it. Alternatively, head west then turn south, killing more Geckos as you spot them. Continue west until you spot a narrower passage to the south, which opens into a larger chamber. Butcher the reptiles, loot a Dead Prospector to the north, then nab the Fire Gecko Eggs lying to the north. Once they’re in your possession, return to Red Lucy and drop this latest batch of eggs off and succeed at a [Barter 70] check to squeeze more Caps out of her. Once done, pick up the fourth egg hunt; to obtain Night Stalker Eggs. Oh boy…
| Objective | Reward |
|---|---|
| For bringing Red Lucy some Fire Gecko Eggs | 200 XP 500 or 700 Caps |
Grab the copy of Lying, Congressional Style from within the Lucky Jim Mine House (left). Within the Fire Gecko-infested Bootjack Cavern you’ll find some Fire Gecko Eggs (right).
Brotherhood of Steel Safehouse
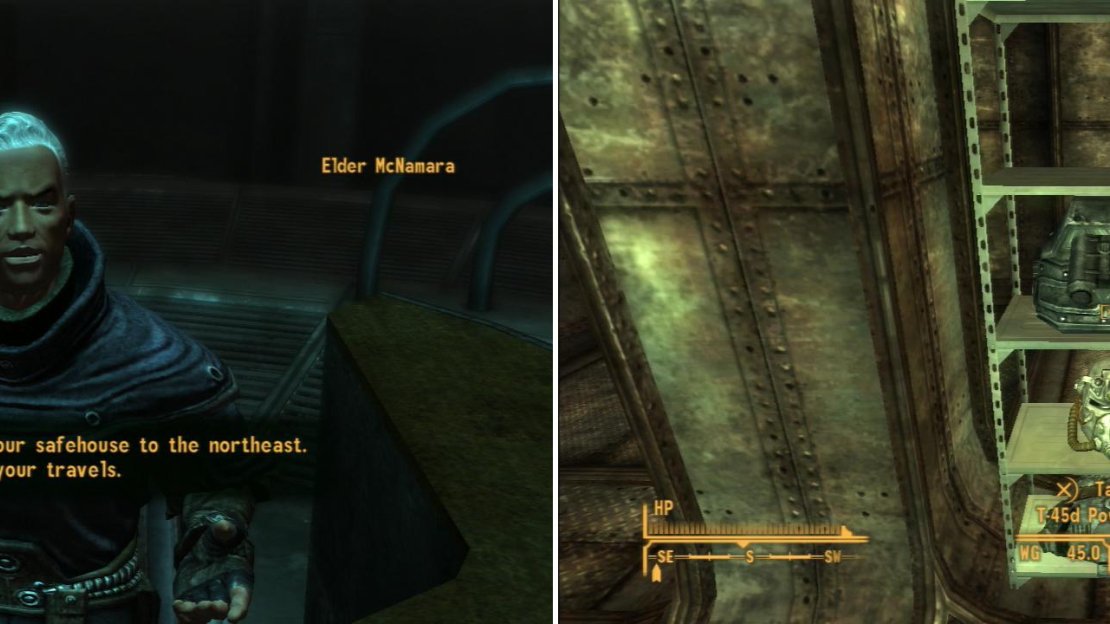
The Nighstalker Eggs can be found east of the Brotherhood of Steel Safehouse, which you might as well get around to exploring, now that it’s on the way and you have a key and all. Fast-travel to Raul’s Shack and follow the cliffs east, being wary of Deathclaws as you go. Eventually you’ll find a small shack that hides a cistern leading to the actual underground bunker. In the bunker you’ll find a Workbench, Reloading Bench, cots to sleep on, a water fountain for your H20 needs, and plenty of Footlockers and Lockers to store stuff in. The place even has a collection of obligatorily awesome loot, including a Tesla Cannon, a Gatling Laser, T-45d Power Armor, a T-54d Power Helmet, T-51b Power Armor, a T-51b Power Helmet, Recon Armor, a Recon Helmet, a Minigun, a Missile Launcher, and some ammo for these weapons. Whew.
After you join the Brotherhood, talk to the Elder to get the Safehouse Key (left). Inside you’ll find a wealth of Power Armor and heavy weapons (right).
Gypsum Train Yard
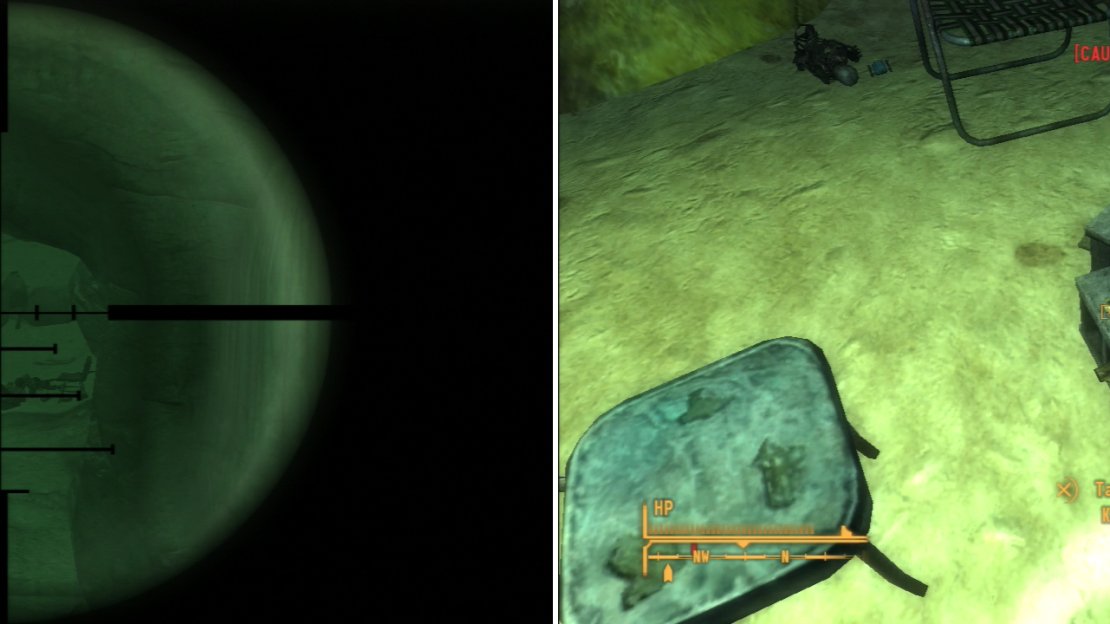
While you’re on a detour, why not a little detour to flavor that detour? Seriously, you’re already here, might as well clear out another area. If you travel south-west from the Brotherhood of Steel Safehouse you’ll spot a building and some mining equipment to the west. Tread cautiously, however, as the area is crawling with Deathclaws… Blind Deathclaws, but experience may have taught you not to gain too much confidence from the “blind” part. IF you circle around to the western end of Gypsum Train Yard you can ascend a hill onto which a large piece of mining equipment is built. Jump onto the huge metal bin and you’ll have found yourself a fine sniping spot from which to fire down at the Deathclaws below, a tactic against which they have no answer. Once they’re dead enter the Gypsum Quarry Office, where you’ll find some Giant Ants. Other than the bugs, there’s not much to see in here; just some egg clutches you can loot for Ant bits and a First Aid Box.
From an elevated vantage point you can snipe many of the Nightstalkers dwelling in Bloodborne Cave (left). Grab the Worn Key from near the campfire to bypass a difficult lock (right).
Bloodborne Cave
Backtrack to the Brotherhood of Steel Safehouse and from there follow the cliffs to the east, south-east, then north-east, as the cliffs change directions. Eventually you’ll stumble across Bloodborne Cave… Be cautious, however, as there are likely Cazadores near the entrance to the cave.
From the entrance head north-east until the path splits, at which point head down a slope to the north-west. It’ll eventually end in a ledge over-looking a tunnel to the north-west, which is crawling with Night Stalkers, including a Legendary Night Stalker. A clever courier could potentially snipe them all, something which Ratslayer excels at. Once they’re dead, drop off the ledge and make your way to the tunnel to the north-west. At a campsite, search around to find a Hunting Revolver, a Hunting Shotgun, and some ammo for them. Be sure to grab a Key off a cinder block to the south-west then continue west to find the Nightstalker Eggs you’re searching for hidden behind a rock.
A locked gate isn’t the only obstacle you’ll have to face, a Grenade Bouquet is a more lethal barrier (left). Navigate locks and traps, however, and you can obtain a massive load of Caps (right).
From the pillaged egg clutch head north, north-west into a tunnel, which you should follow uphill. Make your way north-east along the linear path until it bends sharply to the south-east, at which point you’ll find the body of a Recruit Legionary. Continue south-east, then south-west to find a small chamber occupied by Night Stalkers, then head south-east through the chamber to find another tunnel. Continue south-east down the tunnel until you spot a locked gate [Very Hard] which can be opened by the Key you found earlier. Pick the lock or unlock it with the Key, then disarm a Tripwire inside, which is rigged to a Grenade Bouquet. Once past the gate and trap search the area beyond to find a 12.7mm Submachine Gun, some 12.7mm Rounds, a First Aid Box, some Purified Water and a Trunk [Average]… a trunk with a staggering amount of currency inside. Seriously. Over 8,000 Caps worth of money.
Once that’s looted continue south-east, then south-west to reach a small chamber. From here go south-west up a ramp to return to the exit. Once outside you may encounter more Night Stalkers if you didn’t find them on the way in. Exterminate the rest of this pack of snake-dogs, then return to The Throne, where Red Lucy awaits news of your latest conquest. Pass a [Barter 80] check to earn a little extra incentive, then accept to go hunt more eggs… Cazador Eggs.
| Objective | Reward |
|---|---|
| For bringing Red Lucy some Night Stalker Eggs | 300 XP 700 or 1000 Caps Hunting Revolver 45-70 Gov’t x9 |
Chances Map
Oh boy. Cazadores. This egg hunt will take you to the currently unexplored west-central part of the map, so you might as well explore some new areas along the way. You know, getting map markers for future exploration and checking places off the proverbial “to-do” list and all that. Fast-travel to the South Vegas Ruins West Entrance, kill any Fiends that may have respawned, then head south-west past the Poseidon Gas Station. South-west of here you’ll find the Chance’s Map map marker, which uses junk to mark out key locations on the Mojave. It makes sense when viewed from the south, anyways.
Nopah Cave
From Chance’s Map head south-east to find Nopah Cave nestled in some hills. Kill any Fire Geckos lurking outside then head inside, travel down a passage to the west, down a slope, and into a more open part of the cavern. If you head north you’ll find a chamber occupied by several Fire Geckos and little else. To the south-west is a smaller chamber that has even more Fire Geckos in it. Ratslayer, a good Sneak score, and some distance are all you need to make short work of these critters. Once they’re all dead, search the chamber they occupied to find a very dead Super Mutant Master with some choice loot on its corpse, including a Fat Man.
Great Khan Armory
Leave Nopah Cave and head west to find a highway - the remains of route 160 - and follow them south. Eventually you should find a stone monument marking Red Rock Canyon. Head west from this monument to find a road, which you should follow west until it leads past a ruined house. Search around the northern side of the house to find a cellar door leading to the Great Khan Armory. It’s not marked on the map, and it’s occupied by two Great Khans (who should be neutral towards you if you resolved the situation at Boulder City peacefully), but if you’re sneaky and willing to trade some Karma for loot you can search nine Ammo Boxes and three Gun Cabinets.
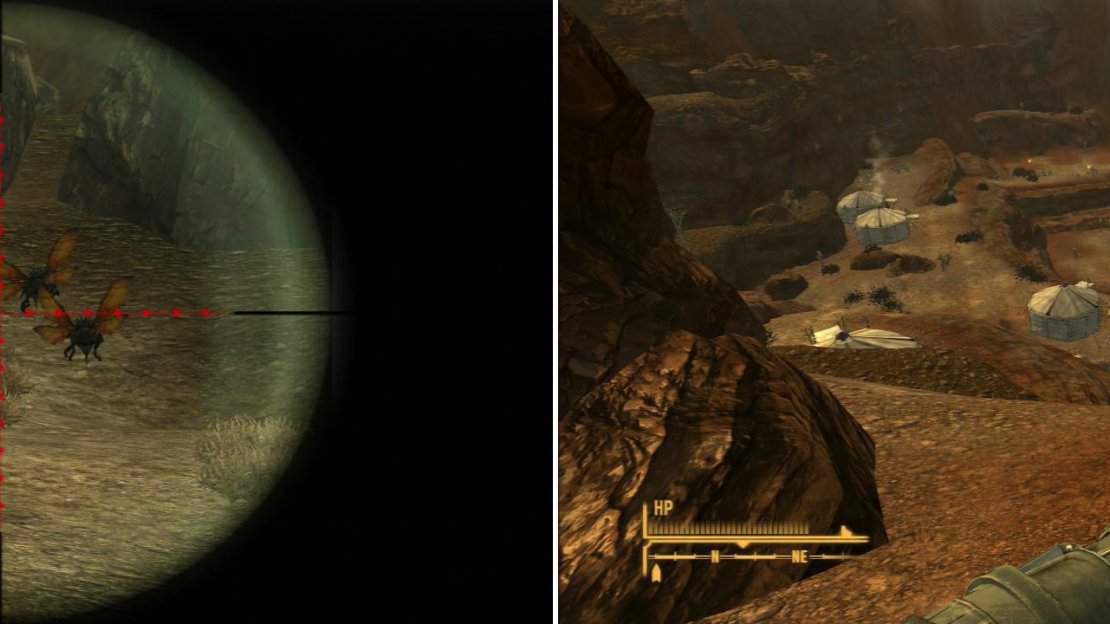
The mountains between Spring Mt. Ranch State Park and Red Rock Canyon are crawling with Cazadores (left). Make your way through the mountain pass near Spring Mt. Ranch State Park to reach Red Rock Canyon
Spring Mt. Ranch State Park
From the Great Khan Armory head south-west to find Spring Mt. Ranch State Park. Not much to see here, however lovely it may once have been, it’s now just ruined fences, roaming Bighorners (this is in fact one of the areas suggested for Bighorner grinding at the beginning of the game, if that sort of thing struck your fancy), and an irradiated pond with Giant Mantises lurking around it. Speaking of this pond, locate it (the vegetation around it gives it away, but it’s just west of the map marker for this area) and circle around to the western side where, also to the west you’ll find a pass leading into the mountains. You’ll probably get your first taste of Cazadores at the mouth of the pass, so be cautious.
Follow a trail through the mountains to the west, then south-west, but keep your eyes to the north-west until you find a route in that direction. Head north-west between some rocks when you can and follow the linear path through the mountains north-west, then north. Along the way you’ll have to eradicate a handful of Cazadores - good practice for the upcoming fight - before eventually reaching Red Rock Canyon; the home of the Great Khans.
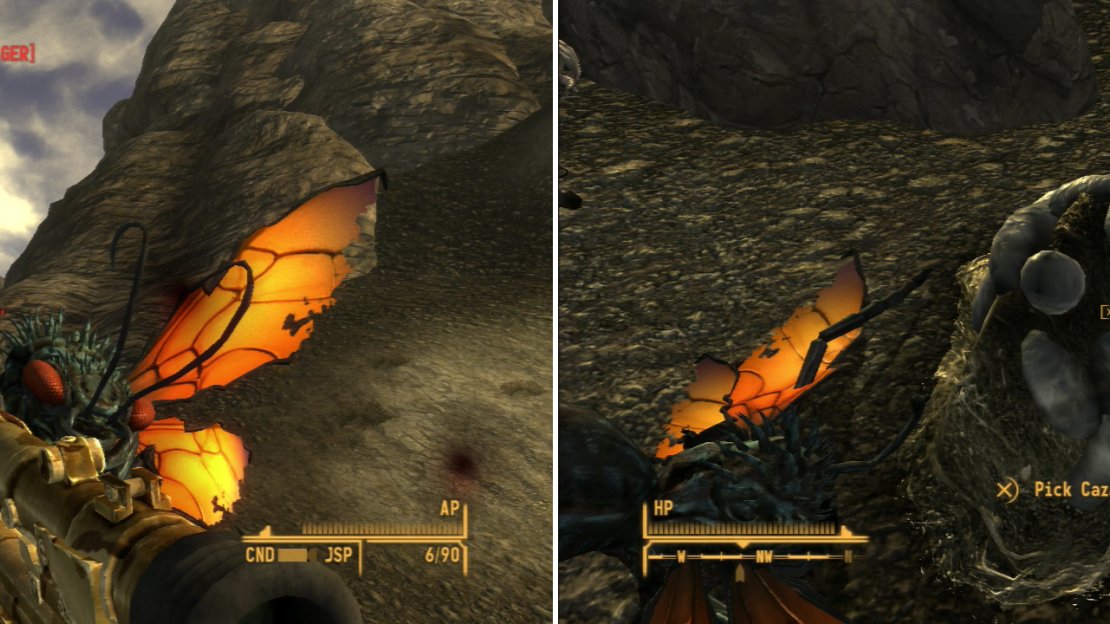
If you let Cazadores get this close, you let them get too close (left). Swat the flying pests aside and grab their eggs (right).
Discover the map marker (if you already didn’t during the quest Flags of Our Foul-Ups ), but don’t bother doing anything questy right now. You’re just passing through. Exit the canyon by taking a steep slope to the west. It looks like you shouldn’t be able to climb it, but you can. Follow the winding mountain pass, dispatching Cazadores as you go. It sounds simple, and most of the time you’ll encounter groups of three or four Cazadores at most. The terrain, however, works against you; there are few edges to climb to provide safety while you snipe, and there are many hills and twists in the pass that force you closer to the Cazadores than is ideal. In many cases, the silence of Ratslayer may be preferable to the power of the Gobi. Sneak attack critical and whatever precious range you can get are your best friends… oh, save saving constantly and waiting for the poison to wear off between fights.
Eventually you’ll find a cubby where the Cazadores have built their nest. Exterminate them and steal their eggs, then return to Red Lucy. This time you’ll need to pass a [Barter 90] to haggle for more Caps. Finally pick up the last egg hunt mission; to recover some Deathclaw Eggs from either Quarry Junction or Dead Wind Cavern. It’s a fine excuse to explore both places, and of course, there’s no reason you shouldn’t pass through Sloan en route to Quarry Junction. Take a deep breath, make sure the Finger of God is in good shape, and have plenty of .308 JSP Rounds ready. Time to go hunting Deathclaws.
| Objective | Reward |
|---|---|
| For bringing Red Lucy some Cazador Eggs | 400 XP 1000 or 1500 Caps |
No Comments