| Important Items in This Area |
|---|
| Snow Globe - Goodsprings |
Back in the Saddle
Once you’re back in Goodsprings return to Doc Mitchell’s house, which will be your starting point for this section. That’s right… just proceed like the New Vegas Medical Clinic run never happened… From Doc Mitchell’s house head north-east across a road to find two buildings; the Goodsprings General Store, and to the east of it, your current destination, the Prospector Saloon. Head inside the Saloon and talk to a woman named Sunny Smiles. Ask her about how to get to Primm and she’ll give you the map marker for the city, and some advice. If you ask about work she’ll mention a safe in an old school-house and give you a Locksmith’s Reader magazine and three Bobby Pins, along with the Goodsprings Schoolhouse Safe note. You can also get the map marker for Sloan from her and learn about the conflict between the NCR and Caesar’s Legion if you keep talking to her. Ultimately, however, ask her to teach you some survival skills and she’ll agree to meet up behind the saloon.
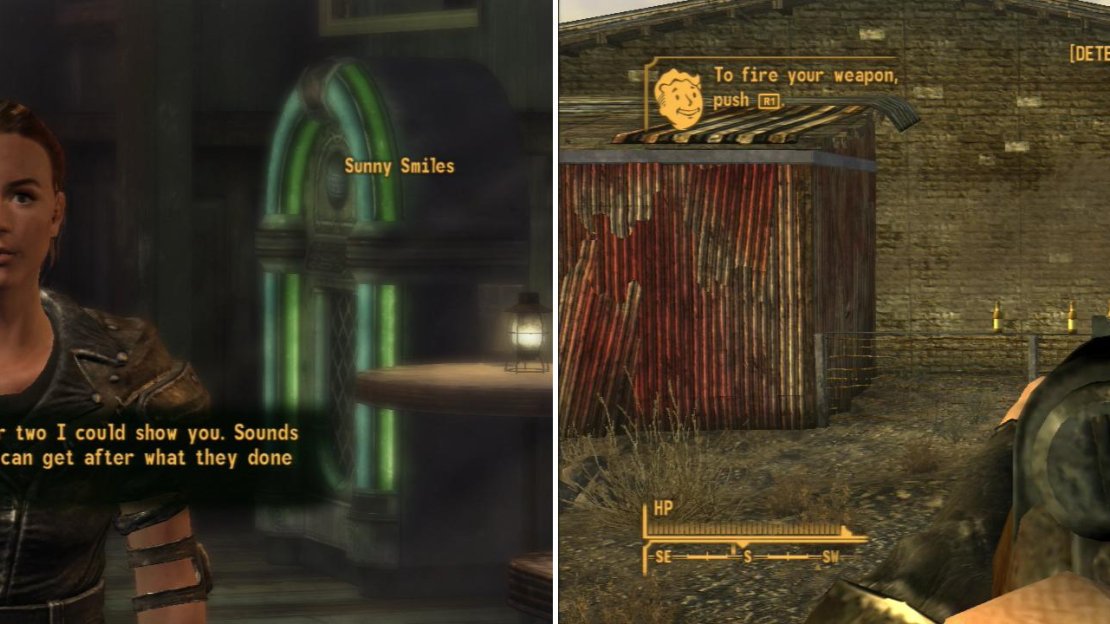
Follow her out back and she’ll give you a Varmint Rifle and 30 rounds of 5.56 ammo, then instruct you to shoot some bottles. Aim with [L1] (PS3 or [L2] (Xbox 360) and shoot with [R1] (PS3), [R2] (Xbox 360), then crouch by pressing down on the [Left Analog Stick] to stabilize your shots and [Square]/[X] (PS3)/(Xbox 360) reloads your gun. After you display basic competence, she’ll invite you to come help her clear out some Geckos from the water supply. You can choose the end the tutorial here, but if you follow her, you’ll at least learn where the springs are, which is a good source of water in Hardcore Mode, and healing in any event.
Talk to Sunny Smiles in the Prospector Saloon (left) and she’ll take you out back for a bit of target practice (right).
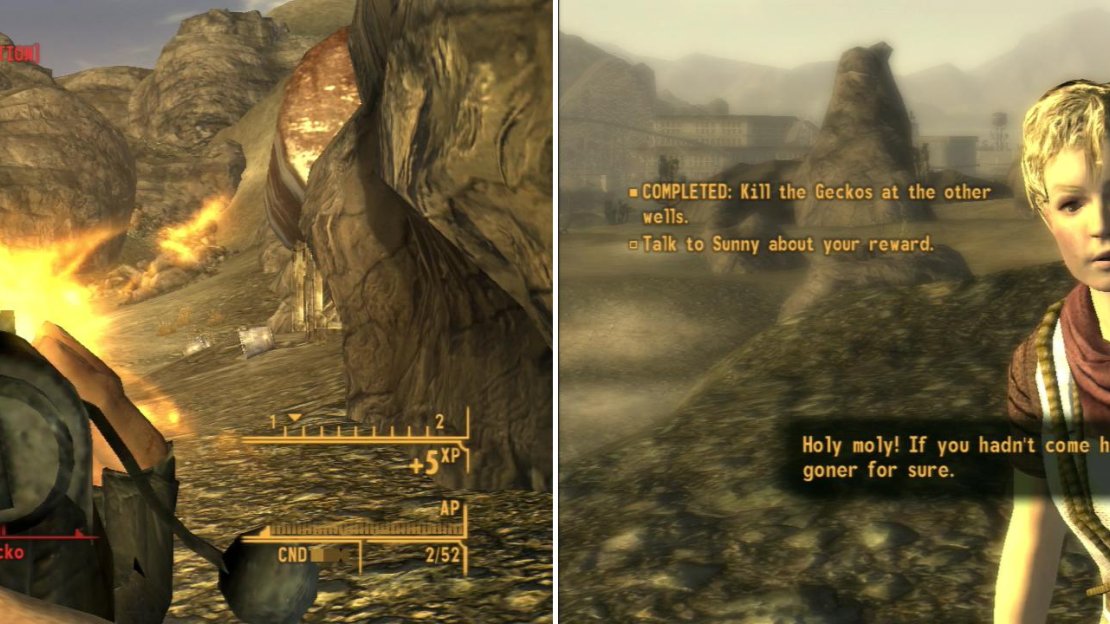
Make your way south, letting Sunny lead. Eventually she’ll talk to you about Geckos and suggest you try and sneak up on them. Move around the rock and try to snipe a pair of Geckos. If you stay back, they shouldn’t detect you even if you miss or fail to kill them in one shot. If they do, however, let them approach you and Sunny so she can help out. When they’re dead, she’ll ask if you want to keep helping her and give you 60 rounds of 5.56 ammo if you agree.
Sunny will run south/south-east to the second well, where you will have to deal with a trio of Geckos, this time without the benefit of stealth. Let her handle them or help her out, as you wish, then follow her to the third well, where a Goodsprings Settler is being attacked by two Geckos. If you manage to save her, she’ll give you three bottles of Purified Water and your reputation in Goodsprings will improve. In any event, once the Geckos are dead Sunny will reward you and offer you another round of training; this time in living off the land. Accept it to start the quest By a Campfire on the Trail or decline to move onto other, more pressing matters.
| Objective | Reward |
|---|---|
| For helping Sunny clear the wells | 50 XP 50 Caps Goodsprings Fame |
Accompany Sunny Smiles to the Goodsprings Source, where you’ll get to try your aim on more mobile targets (left). If you’re quick you can save a Goodsprings Settler in peril (right).
By a Campfire on the Trail
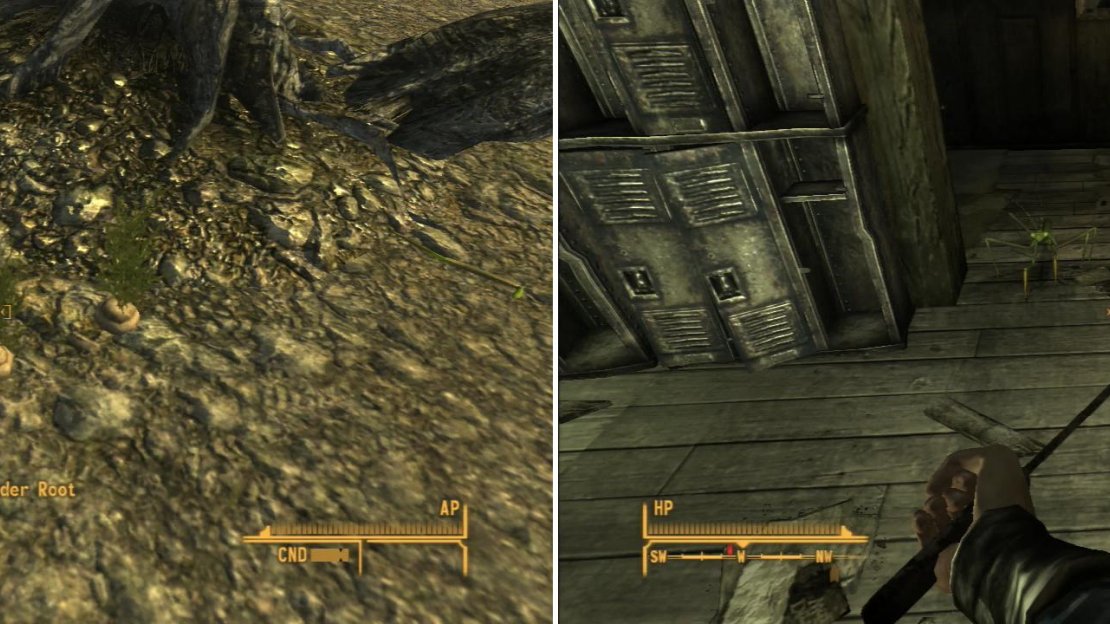
Your goal now, if you accepted this quest, if to find a Broc Flower and a Xander Root, items that were in Fallout 2, now lovingly restored to the Fallout universe by Obsidian. The Xander Roots can be found near the Goodsprings Schoolhouse along the south-western edge of town, three of them, in fact, hanging out near a long-dead tree… or the stump of it, anyways. You’ll have to fight some Giant Mantis Nymphs for your prize, however, which, to pervert a saying, is easier done than said, really.
While you’re here, you might as well explore the school. Head inside and dispatch five puny Giant Mantis Nymphs, then search the south-western corner of the school to find a safe [Easy] and a terminal [Easy]. Hacking the computer merely unlocks the safe, but you can do both (hack the terminal, then leave without unlocking the safe) to maximize your XP gain, if that’s your thing. More importantly, it’s time to discuss both hacking and picking locks.
You can find some Xander Roots outside of the Goodsprings Schoolhouse (left). The schoolhouse will make a fine place to stash loot… if you can clear out the Giant Mantises who are infesting the interior (right).
Lockpicking :
To unlock objects in Fallout: New Vegas you must rotate the bobby pin up to 180° around the top and sides of the screen. Do this by guessing the right spot to apply torque, which turns the lock. If the bobby pin is in the right spot, the lock will turn from vertical to horizontal, and the lock will open. If not, the lock will click and damage the Bobby Pin. The further the lock turns, the closer the bobby pin is to the right spot. If the Bobby Pin takes too much damage during your attempt, it’ll break. Run out of Bobby Pins, and you can’t pick the lock until you get more. The more difficult the lock, the higher Lockpick score you need to be able to even attempt to open it, and the smaller the sweet spot for the Bobby Pin is, and the more damage said Bobby Pin will take when you guess incorrectly. In summary, guess a spot to place the Bobby Pin, apply torque, and if it doesn’t unlock, move your Bobby Pin an amount based on how much progress you got before stress was put on the Bobby Pin. You’ll get the hang of it.
When picking locks, your goal is to find the sweet spot that allows you to rotate the lock without putting pressure on the Bobbypin (left). When the lock turns horizontal, it will open (right).
Hacking :
Hacking is really quite simple, you pick a word, and if any of the letters in that word match the letter placement on the actual password, it’ll tell you. Say you pick the word “CONTENT”, and you’re informed that 1/7 of the letters are correct… well, that doesn’t help you out too much, but even that should eliminate a few words. Say you also had the word “BARRENS” in the list as a possible password-from the information you got earlier by selecting “CONTENTS”, you know “BARRENS” isn’t a possible answer. You should try to select common prefixes or suffixes when password hunting. If you pick a word that ends in “-TION”, and you don’t get at least four correct letters, you can safely eliminate all words ending in “-TION”… then again, finding a really uncommon word with no suffixes/prefixes can help, too. If you pick a word and get zero correct letters, you can eliminate every other password that shares a letter placement.
After using up your initial guesses, don’t fret-you still have options. Throughout the garbled nonsense between possible passwords you’ll often find brackets. When two such brackets on the same line enclose around random symbols, you’ll be able to highlight them. Selecting them will do one of two things-eliminate a dud password, or, less commonly, replenish your guesses. So, the routine is simple-guess passwords that might give you a good clue, when you hit one guess, search for enclosed brackets on the same line: (), [] or {}.
If you’re ever nearly out of guesses and you don’t have any more brackets to use, just give up and log out. The password will change, but you’ll get all your guesses back. It’s better to try again than it is to get locked out of a computer for good. And of course, there’s always save/load. Never get locked out of a computer!
You’ll need a Lockpick or Science score of 25 or higher to even attempt to pick the locked safe or hack the terminal, respectively. If you’re following the guide’s suggested build, however, that won’t be a problem at all. If you don’t have those stats, reading the Locksmith’s Reader magazine Sunny gave you will temporarily boost your Lockpick skill by ten. There’s also a Programmer’s Digest magazine on the counter near the footlocker, and another Bobby Pin on the edge of the counter near the terminal. If that’s not enough, yet another Programmer’s Digest sits on a counter to the north-east, and in the closet to the west you can find another pair of Bobby Pins on some metal shelves. There’s also a Lad’s Life magazine and a Meeting People magazine on the floor near the desks, too, for what that’s worth… Anyways, however you do it, get inside the safe to score some useful goodies.
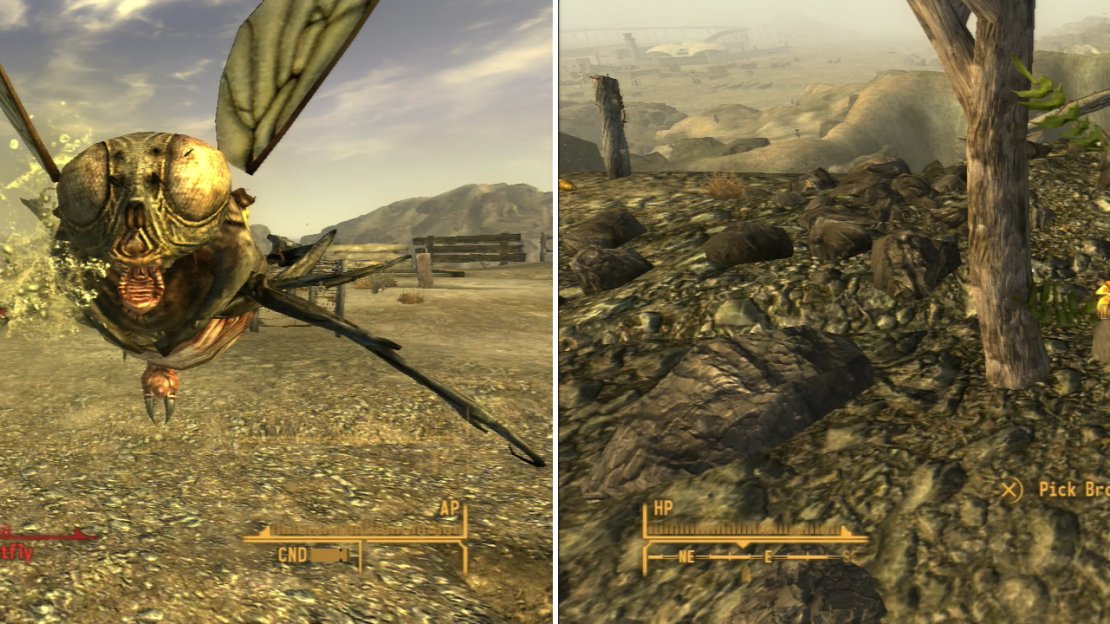
Kill the Bloatflies floating around Goodsprinsg Cemetery (left) then search around for a Broc Flower (right).
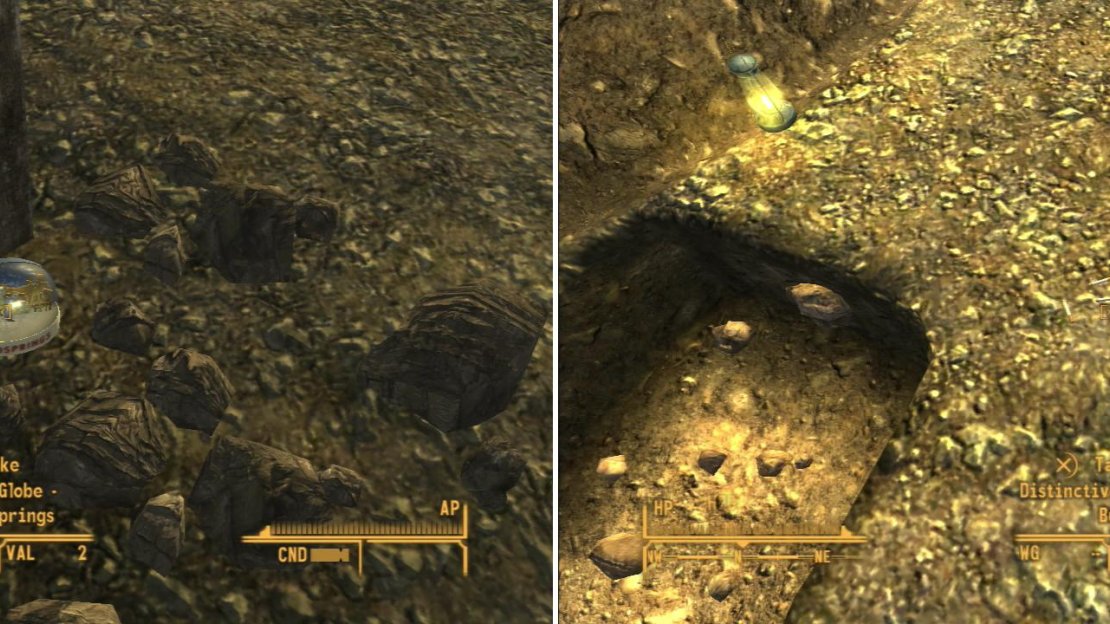
Once the Xander Roots are yours, head back through town to the Prospector Saloon, then continue up a hill to the north-east of the saloon. Just follow the water tower looming in the distance to discover Goodsprings Cemetery, where you were recently persuaded to take a dirt nap not too long ago. Infesting the cemetery are several Bloatflies, which honestly aren’t worth the ammo to kill. If you have the Ultimate Edition, give that Broad Machete a whirl and save yourself some ammo, then search around for an open grave. Your grave. Just north-east of your grave you’ll find several Distinctive Cigarette Butts on the ground. These items will help you with a main quest much, much, much later on in the game. Once those are yours (you only need one) head north-west from your grave to find a humble, rock-covered grave with the Snow Globe - Goodsprings on top of it. Once this nifty little collectible is in your possession, head south-east past your grave to find a Broc Flower growing near a small - but living - tree.
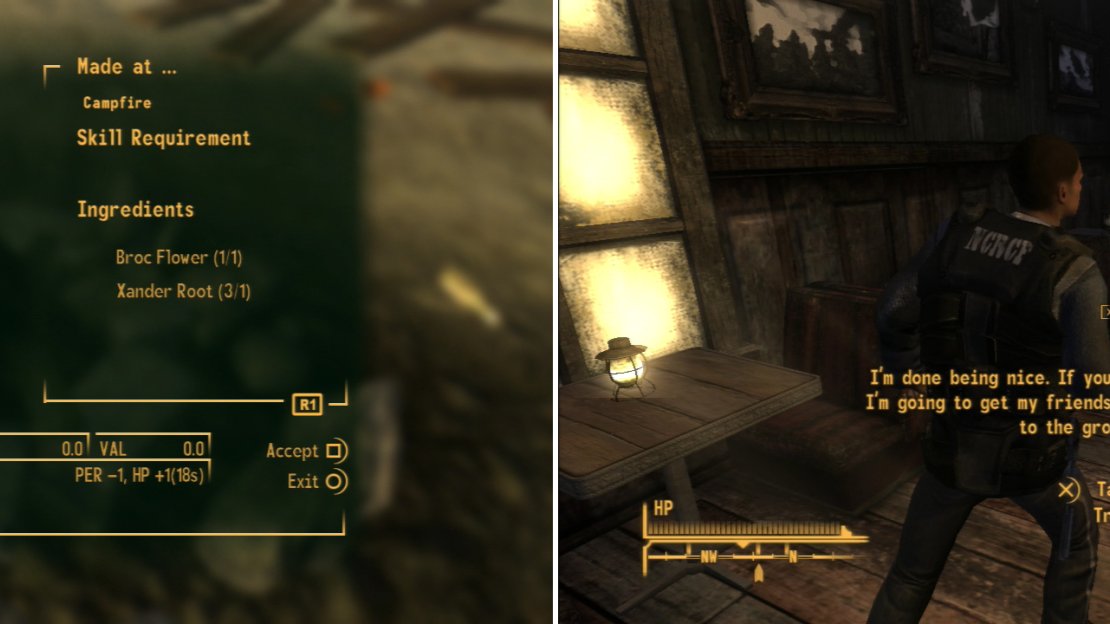
Pick it, then head back south to the Goodsprings Source, fast-traveling if you discovered the map marker earlier (you should have, near the third well). Continue south to find the campsite and talk to Sunny, who will instruct you to make some Healing Powder at the nearby campfire. Do so, then she’ll tell you about other crafting stations before asking you to talk to Trudy back at the Prospector Saloon.
Near a grave you can find the Snow Globe - Goodsprings (left), and near your own grave you’ll find some Distinctive Cigarettes (right)… possibly belonging to the man who shot you?
Trouble Brewing in Goodsprings
Return to the Prospector Saloon to find a man named Joe Cobb threatening the proprietor. When he leaves, talk to her to complete your current quest and ask about her troubles to begin Ghost Town Gunfight. During the conversation you’ll learn about the Powder Gangers, a group of NCR convicts that recently escaped from prison and now prowl the Mojave. She’ll also explain the game’s reputation system rather bluntly; people you help tend to like you more, people you kill… not so much
With the Broc Flower and Xander Root handy, craft some Healing Powder (left). After Sunny Smiles is done teaching you, go visit Trudy at the Prospector Saloon, only to find out that there’s more trouble brewing in Goodsprings (right).
Ask about the people who succeeded in putting you in an early grave and she’ll tell you about her broken radio, Quarry Junction, and the likely course your assailants took in their quest to return to New Vegas. Once you’ve exhausted her dialogue options, repair her radio (Repair 20+ required) then talk to her again to get a reward, which you can increase with a successful [Barter 20] check. Before you leave, visit her office and hack a computer [Easy], which can be used to open a Floor Safe [Hard] under a metal shelf, which can be looted for some goodies.
| Objective | Reward |
|---|---|
| For talking to Trudy | 50 XP |
| For repairing the radio | 10 XP Caps 50 - 75 Goosprings Fame |
The tutorial is now over and there’s troubling brewing in Goodsprings; the Powder Gangers are looking for this Ringo character, and the people of Goodsprings are understandably on edge about these unpredictable criminals lurking near town. If only there was a neutral busy-body that could shift the odds one way or the other…

No Comments