
| Important Items in This Area |
|---|
| Dean’s Electronics |
| Paladin Toaster |
You’re now done with HELIOS One, and hopefully you either got a Big Book of Science and an “Accepted” reputation out of the affair, or Euclid’s C-Finder and the ability to call down down sunny death. You also should have taken ED-E along with you and triggered both of the robot’s stored dialogue recordings, which you’ve had three chances to do by now. If that’s the case, you’ll eventually be contacted - through ED-E - by a member of the Brotherhood of Steel called Lorenzo, who tries to get you in contact with a Brotherhood patrol at REPCONN Headquarters. Even if you haven’t done this yet, your goal is Boulder City, and a good staging point from which you can reach either REPCONN Headquarters or Boulder City is the 188 Trading Post. So… that’s the next goal, and of course various other locations along the way will be covered.
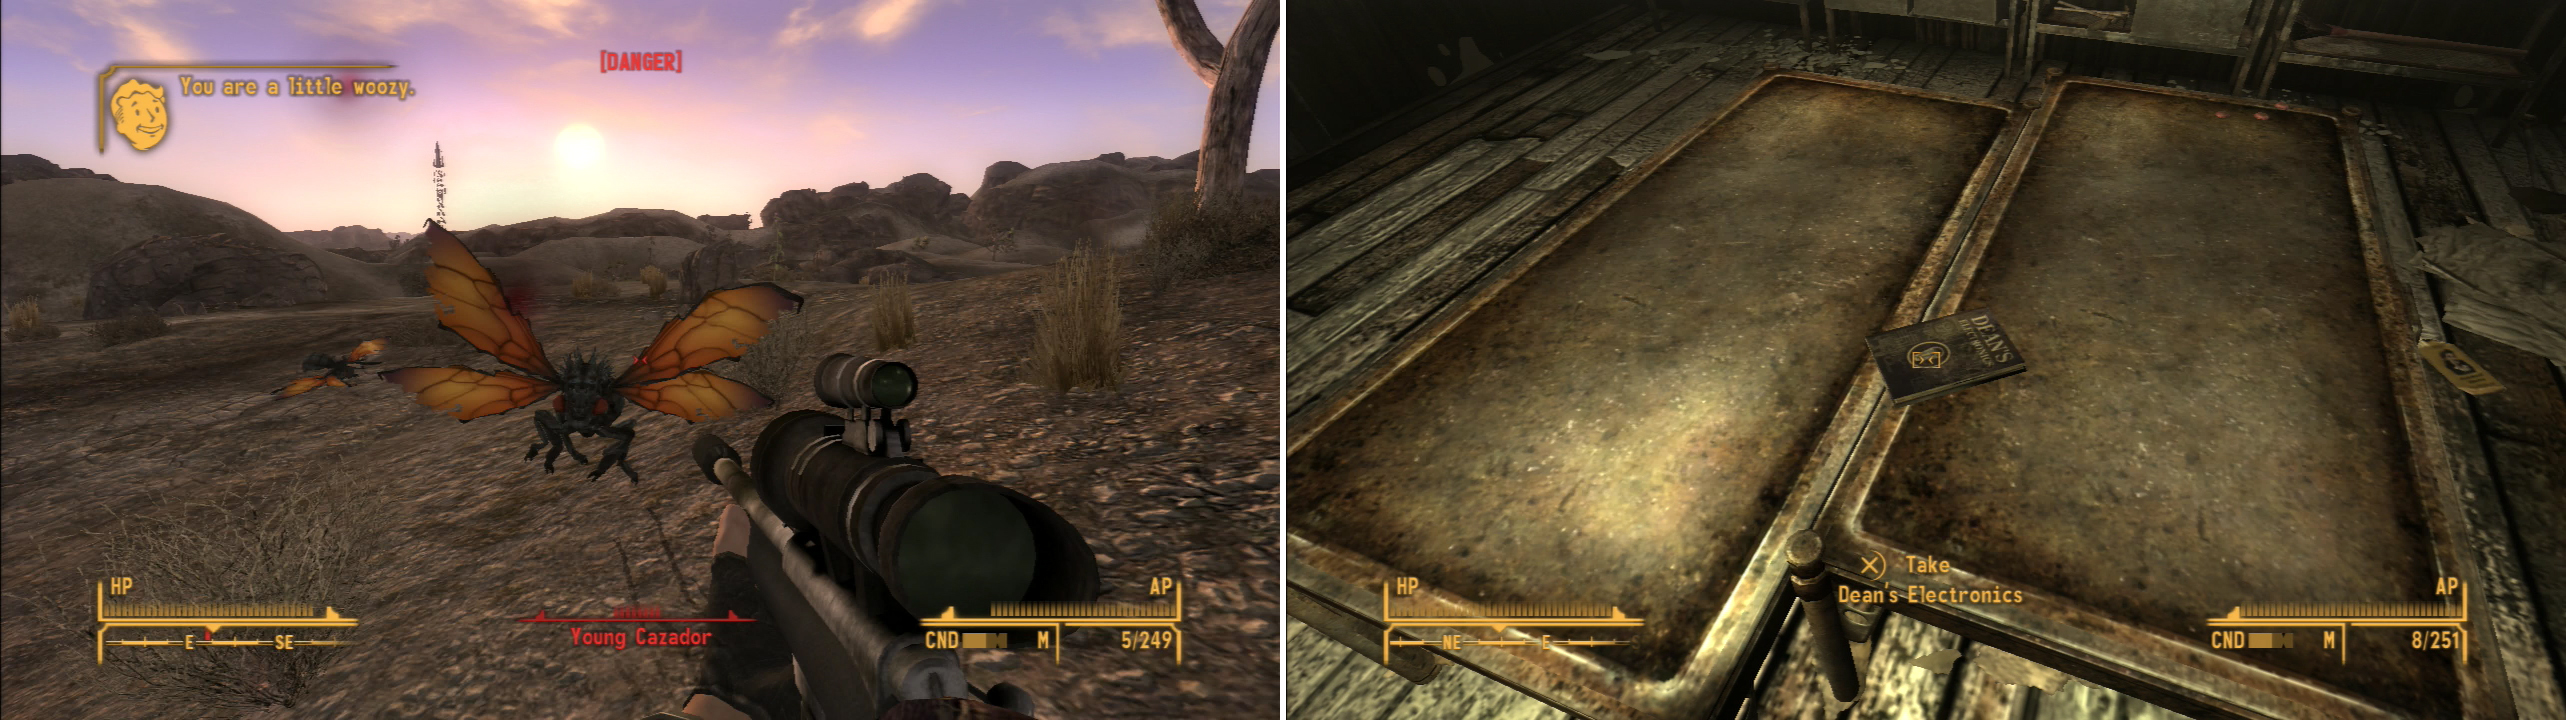
Around the Southern Nevada Wind Farm you’ll face a new menace; Cazadores (left). If you can defeat them, find a copy of Dean’s Electronics in the Wind Farm Maintenance Shack (right).
Southern Nevada Wind Farm
South-east of HELIOS One and east of the Gibson Scrap Yard is the Southern Nevada Wind Farm. A series of wind turbines stand on various hills east of route 95, which mark the area… but proceed with caution, as fast-moving, yellow-orange winged creatures stalk the hills near the wind farm. Clearly visible at a distance, these colorful wasp-like creatures are Cazadores, creatures so dangerous that they have their own memes about them. Cazadores are bad news; they’re fast, they deal hefty damage, and are armed with virulent poison that’s even worse than their initial attack… and they tend to attack in swarms. Fortunately, they’re not terribly sturdy, but you definitely want to try and snipe them at a distance, thin their numbers, and avoid close contact. Another stroke of luck is that the Cazadores here are weaker, young versions, so they’re good training for what will become a staple nuisance. Find some high-ground at a safe distance with a good view of the Young Cazadores and snipe them with Ratslayer, resorting to VATS if one sniffs you out and closes the distance.
When the bugs are all dead advance on the location they were prowling around to find the Wind Farm Maintenance Shack. Inside you can find some mundane materials lying around like Scrap Metal, Conductors and Turpentine. More interestingly, on two tables in the middle of the room you’ll find a copy of Dean’s Electronics . In the corner of the same tables you’ll find three Bottle Caps, one of which is a Sunset Sarsaparilla Star Bottle Cap.
El Dorado Gas & Service
From the Southern Nevada Wind Farm head north through the hills to reunite with route 95 at or near the El Dorado Gas & Service station. Outside of the station you can find a few Garbage Cans to loot and some Bedrolls to rest on. Inside the gas station you’ll find slightly better loot, including some food lying around, a Gun Cabinet worth searching, a Sunset Sarsaparilla Crate, and a Sunset Sarsaparilla Star Bottle Cap near a Cash Register. Behind the counter are three Sacks and two Ammo Boxes worth looting as well.
Cazador Nest
Sick of Cazadores yet? If so, avoid the next area, because there’s more of them. The name of the place should tip of you off what you’re dealing with. If you head north-east from the El Dorado Gas & Service station you’ll reach the Cazador Nest, a shallow cave in which the mutated wasps have made their lair. The same tricks work here; try to get on high ground and snipe from a distance. This time, however, the Young Cazadores will be joined by full-grown versions, which are much the same… just more sturdy and more dangerous. If you circle around the nest and approach from the north you can reach the ledges over the cave itself, which is hard for the Cazadores to reach. From here you should be able to snipe them with Ratslayer with relative ease. Once they’re squashed, loot the cave to find an Adventurer’s Pack, and Explosives Crate and a .44 Magnum Revolver near a skeleton.
Ranger Station Delta
From the Cazador Nest head east to find Ranger Station Delta, which lies near the Colorado River, and just north of Camp Forlorn Hope, the NCR’s base camp nearest the captured town of Nelson. It’s a place that is best to avoid until later, as the NCR and Caesar’s Legion have locked horns, and you’ll have to pick a side when you go there. At Ranger Station Delta you can find Comm Officer Scheffer, who has little of interest to say. In the tent she’s in you can find a Gun Case [Average] under a table and an Ammo Box on a metal shelf.
South-east of the tent is a ruined house, along the south-eastern end of this house you can find a cellar door [Average]. Pick the lock and head into the cellar to find the rest of the NCR Rangers lurking around Ranger Station Delta. Down here you can find a First Aid Box and a Machete on a table to the south-west, a few Crates to loot, and in the north-western corner you can find a Gun Cabinet [Average], a First Aid Box [Easy] and an Ammo Box [Easy].
El Dorado Dry Lake
Boulder City is to the north-west and Hoover Dam is to the north, but for now, ignore them both and fast-travel back to the El Dorado Gas & Service station. From here head north-west into the lowland deserts to discover the El Dorado Dry Lake, which is now home to swarms of Fire Ants. If you played Fallout 3, you’ll know that Fire Ants in Fallout don’t sting… they actually breath fire. These ones are less dangerous than their Fallout 3 counterparts, but keep away from them nonetheless, just to be safe. If you can kill Cazadores, you can easily handle Fire Ants, and without nearly as much caution… just sneak around and pop them with the generous range provided by Ratslayer. Other than bugs to smash, however, there’s not much of interest here to see.
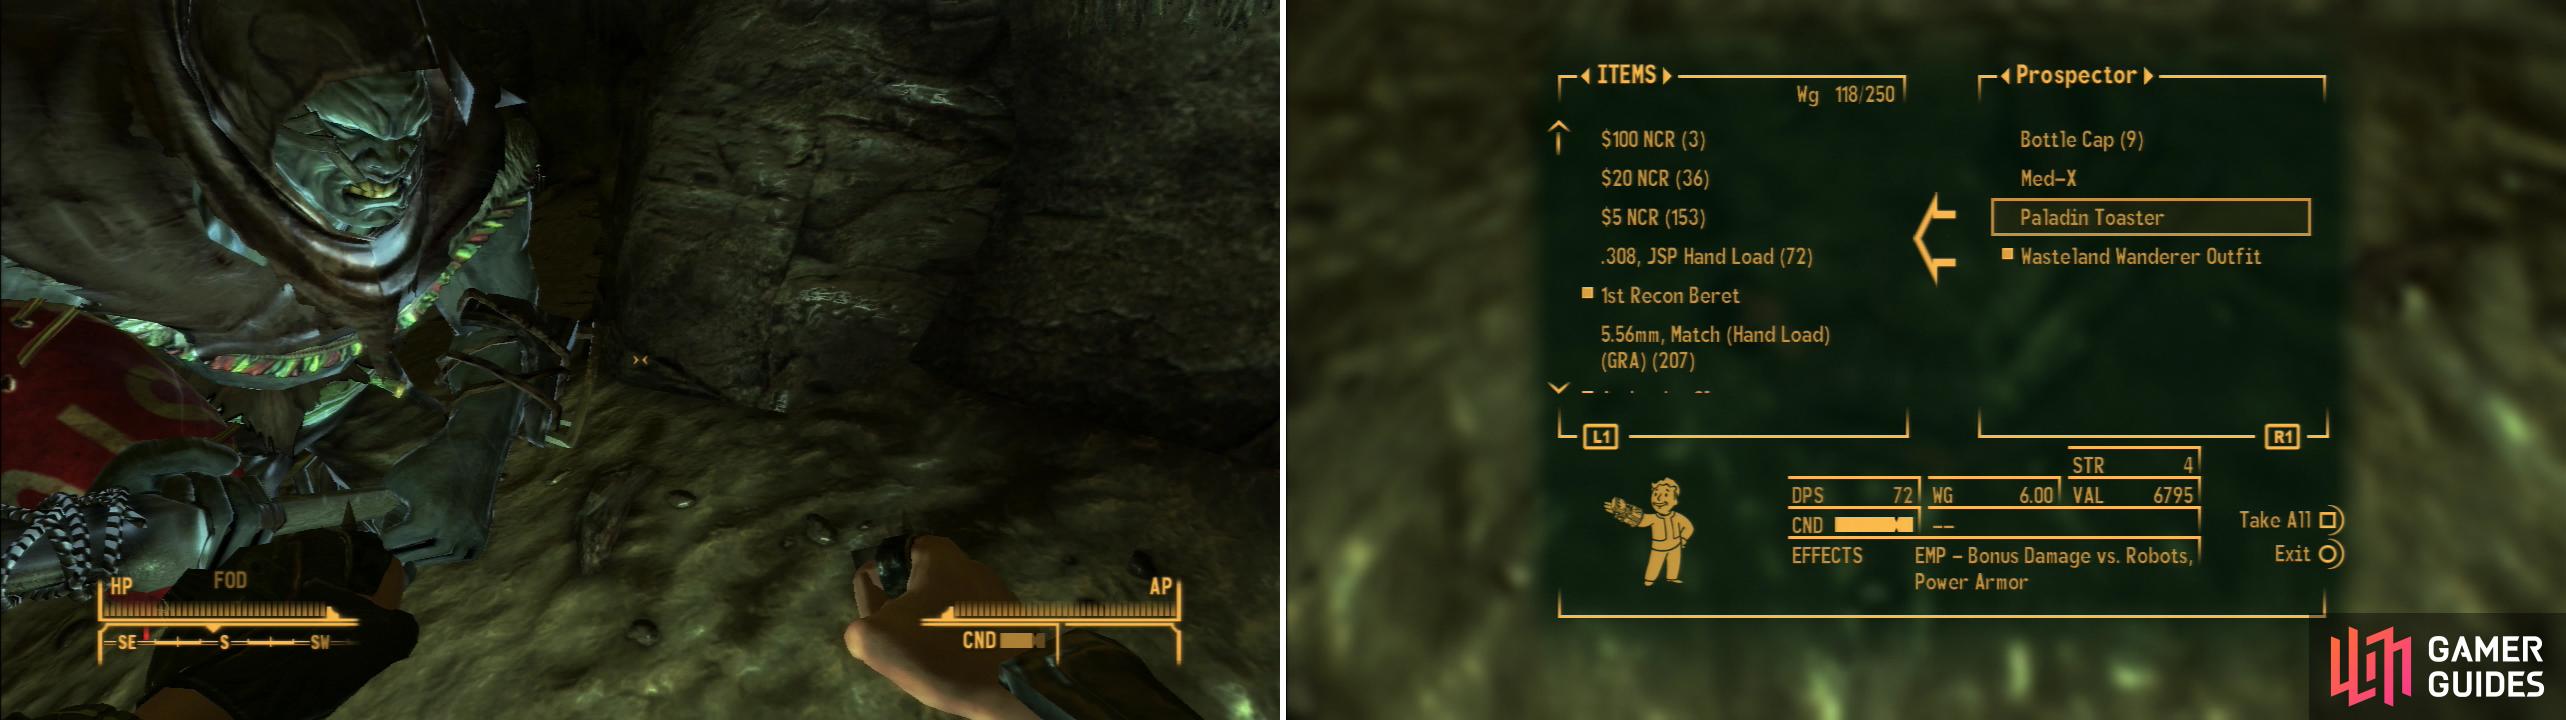
Nightkin stalk the darkness of Black Rock Cavern (left). Inside, you can find the Paladin Toaster on a dead Prospector (right).
Black Rock Cavern
From the El Dorado Dry Lake map marker head south-west to find Black Rock Cavern, which is north-west of HELIOS One. In this rather short cave you’ll find several Nightkin, who have apparently displaced the Coyotes who previously laired here. Dispatch the Nightkin by whatever means you must (Gobi, if necessary), then find the body of a dead Prospector in the north-eastern end of the cave, whereon you can find the Paladin Toaster .
El Dorado Substation/Vault 11
Leave Black Rock Cavern and follow the nearby cliffs to the north, north-east to find the El Dorado Substation, a fenced in area with several locked [Average] gates south of a Power Substation. The area is patrolled some some NCR Troopers, one of whom will tell you to stay out of the enclosure and the Power Substation. If you break those orders, the NCR Troopers will turn hostile and attack. The point of this area? Well… pretty much just to discover it. North-east of here you’ll find Vault 11, another area you just want to discover right now… not because there’s not more to do here, but because there’s simply no reason to do it yet. You’ll come back here when you get an excuse to do so, but until then… well, head east from the El Dorado Substation until you clear the hills to the north, then follow them north until you find a passage to the west, at the end of which is Vault 11. Once that’s been discovered continue north to re-link with route 95 at the 188 Trading Post.

Alexander is a representative of the Gun Runners, making him a great source for weaponry… if you can talk him into doing business with you (left). You can also find Veronica, the black sheep of the Brotherhood of Steel (right).
188 Trading Post
Ideally you’ll have come here during the New Vegas Medical Clinic run, in which case you’ll be familiar with the Arms Dealer here… but just in case, everything will be covered as if you’re here for the first time. The 188 Trading Post consists of several merchants doing business on the overpass and underpass where routes 95 and 93 meet:
- In the underpass you can find a young boy called “The Forecaster”, who sells… well, thoughts. Talk to him and listen to him talk about his mental problems and he’ll offer to sell you his perceptive insights for 100 Caps… per topic. There are three such topics you can pay him to forecast, those being “me”, “everywhere” and “here”. Not very specific.
- North of The Forecaster you can find Alexander, a taciturn Gun Runner who is picky about his clientele. Ask him about the Gun Runners until he tells you, then try to buy from him. After he rejects you, succeed at a [Guns 40] skill check and he’ll decide that you know your stuff enough to be worth dealing with. He sells a wide variety of weapons, weapon mods, ammo crafting components and ammunition… excluding Energy Weapons for reasons he’ll explain if you ask about the Gun Runners.
- Make your way up to the overpass to find an Arms Merchant, a former NCR soldier who has plenty of weapons to sell… even if her selection isn’t as diverse as Alexander’s. On the plus side, she’s easier to deal with than Alexander, for what that’s worth.
- Across the bridge (east of) the Arms Dealer you’ll find a another store - the 188 Slop and Shop - run by Samuel and his daughter Michelle. They sell primarily food items, and Samuel will repair your gear, should you need it.
Finally, there’s Veronica. She stands near the 188 Slop and Shop, and is just about the only named character here who isn’t selling anything… and yet she’s the most interesting character at the 188. Talk to the friendly lady and she’ll try to be cute by telling you about the “hole in the ground” she comes from. After telling you about her mundane errand she’ll ask you about the Brotherhood of Steel. Play along and don’t say “They’re enemies of the NCR. If you know where there are you should turn them in.” or “Yeah. I know to shoot them on sight.” and ask you where you’re going, then offer to tag along, regardless of where you say you’re heading. After you accept her company she’ll admit to her affiliation with the Brotherhood of Steel, after which you’ll get a chance to give her the boot.
Veronica enjoys mixing things up in melee combat and is very proficient with both the Unarmed and Energy Weapons skills, like any member of the Brotherhood of Steel should be. She’s also got a fair bit of Hit Points, making her a decent tank. She’ll also give you the Scribe Assistant perk while she’s in your party, which will allow you to talk to her, whereupon she’ll act as a Workbench for you. Not… by like, being a Workbench, but… you know. You can craft things if you talk to her. Best of all, she’ll make it much easier to get in contact with the Brotherhood of Steel, and will make their initial reaction to you much friendlier. If you disband her at any point, she’ll return to the 188 Trading Post, and as you may already suspect, if your reputation is too low with the Brotherhood of Steel, she won’t remain loyal.
In any event, from the 188 Trading Post you’re in a prime position to continue on with the main story by heading to Boulder City (which will be covered shortly in the “Boulder City” section of the guide). Once you’re done with that, it’ll be time to take a break from chasing the checker-suited man and complete some side-quests which have already started to pop up… namely deal with the Brotherhood of Steel. This is mostly to finish up all the non NCR and Legion areas in the middle of the map (roughly between Goodsprings and Novac) which were too dangerous for a low-level Courier without a Gobi, neither of which should apply to you anymore. The Brotherhood quests will, in turn, branch out to more and more quests, which will give us enough reasons to explore most of everything around New Vegas, which will be saved for as long as possible.
You need to wait a least 5 ingame days between the first ED log message and the second. If you didn't get the second from Ignacio, just wait 5 days and talk to him again.
After that, you need to way at least 2 ingame days for Lorenzo to contact you.