Suggested Level: 31
Sailing to Alexandria
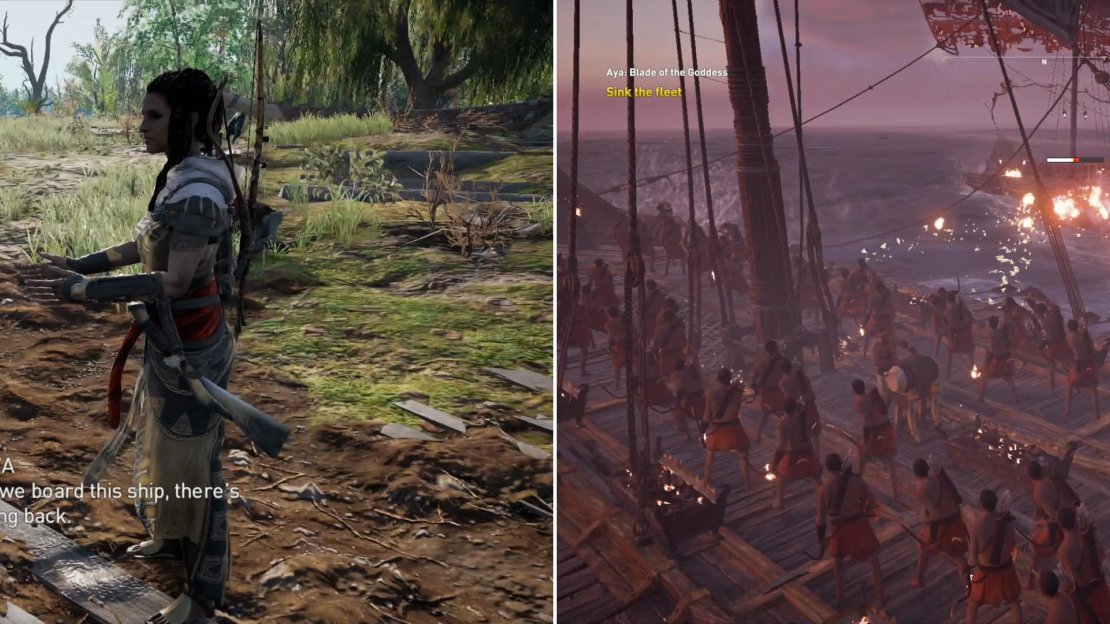
When you’re ready to move on, talk to Aya on the beach where Pompey and his men were massacred and she’ll give you one final warning of the lengthy stretch of contiguous main story that lies ahead.
Agree to sail off to Alexandria and you’ll find yourself on Phoxidas’s trireme for another bit of ship-battle gameplay. After some chatter you’ll find yourself in control of the ship. Again, the controls are simple enough, holding [L1] or [LB] will cause you to brace against an attack, and if you time your brace to occur just before an enemy attack lands you’ll often be able to counter-attack immediately afterwards by releasing [L1] or [LB]. Bracing all but negates any incoming damage, and you shouldn’t be ashamed of abusing it.
As for offense, hold [L2] or [LT] to aim your archers, while [R2] or [RT] will fire your arrows if you’re aiming. When you’re not aiming, holding [R2] or [RT] will cause you to move in the direction the bow of the ship is facing. [Triangle] or [Y] will deploy firebombs, and when you’re in position, hold [X] or [A] to move at ramming speed, and hopefully ram enemy ships for big damage.
New to this particular section are catapults, which can be aimed by holding down [R1] or [RB], while [Square] or [X] will fire the catapult when aiming. Note that the catapult, while dealing massive damage, has a minimum operational range and takes a while to recharge, so use it wisely and against distant opponents.
Heed Aya’s advice well - once you continue, you’ll be stuck doing main quests for a bit (left). When you do move on, practice your naval combat skills (right).
Kill the first two enemy triremes opposing you, which should be little more than a refresher on how to conduct yourself in naval battles, then sail west towards the next quest marker, where you’ll need to fight off four enemy triremes. More of the same, really, just keep in mind that after every encounter your ship will be full repaired, so you don’t really need to hold back.
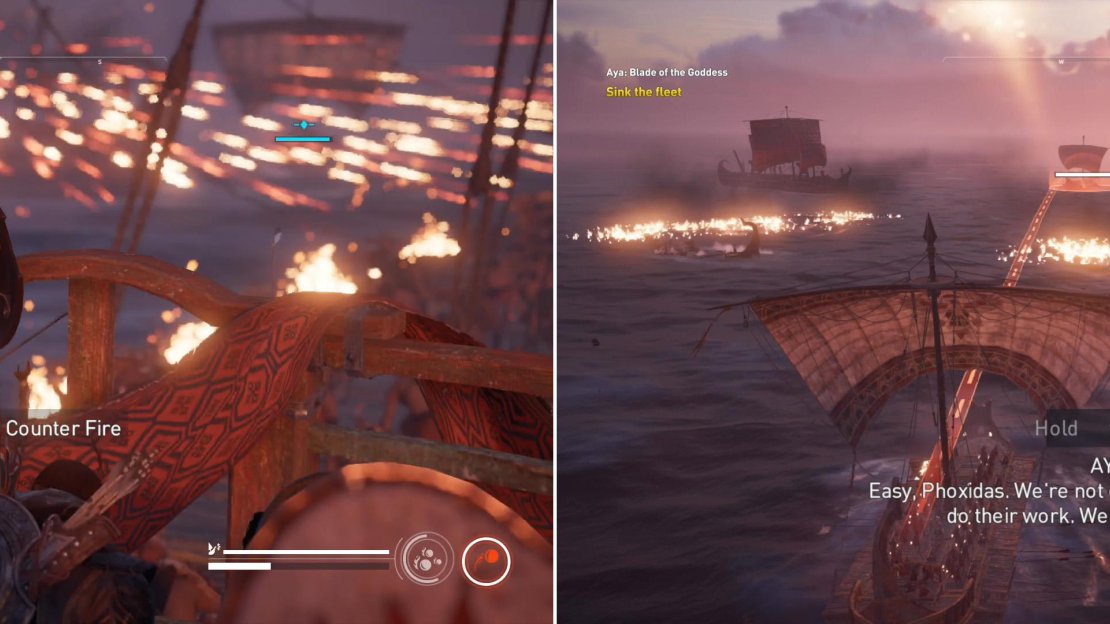
After the second naval battle is over, an ambush will cost you some allies and you’ll be forced to face off against a pair of triremes and an octareme. The Octareme is a massive enemy ship, capable of firing painful arrow volley’s and firebombs, certain to win in a slug-fest, but you have something it doesn’t - the magical ability to brace and negate all damage! Abuse it during this fight, as you can’t take too much direct abuse from the Octareme. Keep your distance if you can, and use your catapult against it when it’s charged.
Be sure to brace against the Octareme’s attacks to negate its heavy damage (left) and use your catapult to deal significant damage (right).
Despite this, however, your first endeavor should be to clear the fiery waters near where you start so you can maneuver more freely, after which focus your attention on the triremes (aside from the aforementioned bracing for attacks and catapult volleys against the octareme), as they’ll complicate matters and distract you from the real threat. They’re relatively easy to fell, especially if you can get within ramming or firebomb range. Failing that, don’t be afraid to play defensive, whittle enemies down with arrows if necessary, and brace every time you see something nasty coming from the octareme. And yes, you can even brace to negate ramming damage from the octareme, which… whatever, just take it.
Bug in a Rug
After the battle, Phoxidas will send you off to carry out your mission while he finishes off the remnants of the Ptolemaic fleet. When you arrive you’ll find that you’re now controlling Aya - and you will be for quite a while going forward. Apollodorus, Bayek, Aya and Cleopatra will discuss some of the unique difficulties they face and come to a conclusion that avoids conflict in favor of subterfuge. All you have to do is follow Apollodorus through the city, culminating in one of history’s famous encounters.
What Gaia Seals, Aya Unlocks
Watch some scenes, after which you’ll find yourself in control of Aya again, chatting with Cleopatra who wastes little itme assigning more menial labor. Seems Cleopatra wants to impress her new lover by showing off the tomb of the man he emulated so much - Alexander the Great. Unfortunately, an earthquake sealed the entrance years ago, so it’s going to take a bit more than simple knocking on the front door; some subterfuge will be required, and who better to go skulking about for alternate ways to enter a tomb than a pair of Medjays?
Before you go skulking off, there are some things to note about Aya. She controls much like Bayek, save that she cannot access Senu, nor any other menus save for the “Quest” menu, which is presently limited to the quest “ Aya: Blade of the Goddess “. She can use Overpower attacks, sneak, assassinate, use bows and melee weapons, but the latter of these are limited to a light bow, a hunter bow and dual swords. She has no access to any tools besides a torch, and she cannot level up or change gear. Simply put, she’s a fairly nerfed Bayek.
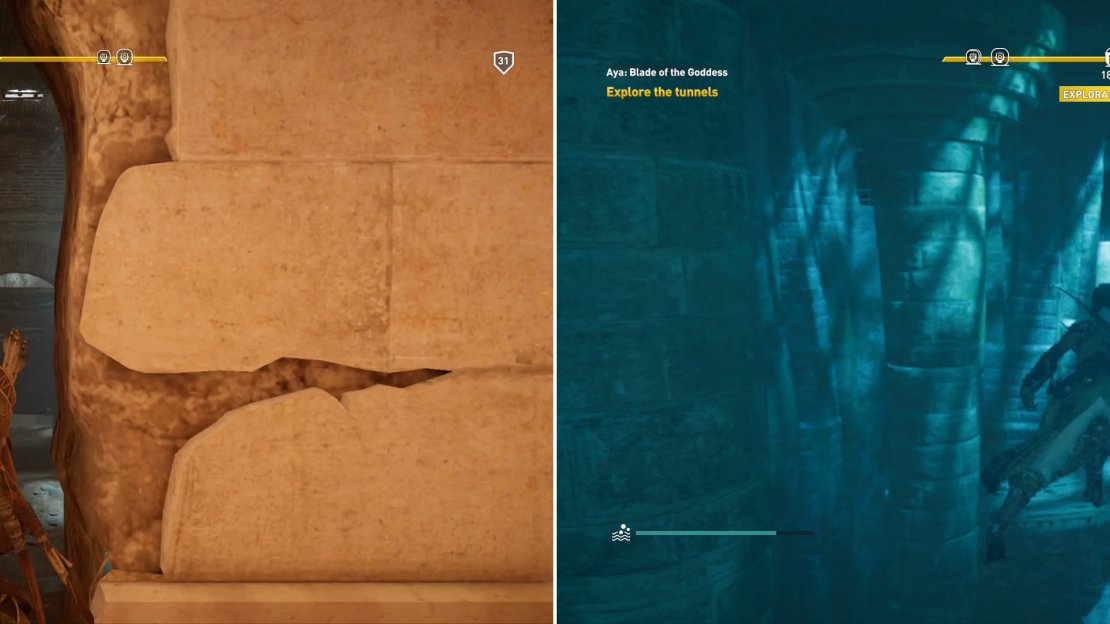
Break a hole in the wall and squeeze through a crack (left) to reach the tunnels running under Alexandria (left). Swim through a large chamber to reach a hole in the wall (right).
Head east and enter the tomb, then turn north or south to find stairs leading down, where you’ll find some Romans have already attempted to force their way into the tomb. The Romans aren’t likely to be bested in brute force, and a quick investigation of their efforts reinforce the notion, so instead search a wall to the south, then strike the wall a few times to open up a crack in the wall which you can squeeze through. As you do so, Bayek will join your search. Why you can’t just play as him if he’s going to accompany Aya everywhere is a fair question, but… oh well.
Make your way south down a ramp and slide under a wooden wall, descend another ramp and smash some urns, then slide under a stone wall. Continue west and dive off a ledge to reach the water below, then dive underwater and swim through a hole in the wall to the west to reach a large chamber beyond. Ascend as you continue to swim west and swim through another hole along the western wall - the center of three, the other two being blocked by grates. Once out of the large chamber, turn north and swim through an arch, then surface and keep swimming north until you reach dry land… or rather, water shallow enough to stand in.
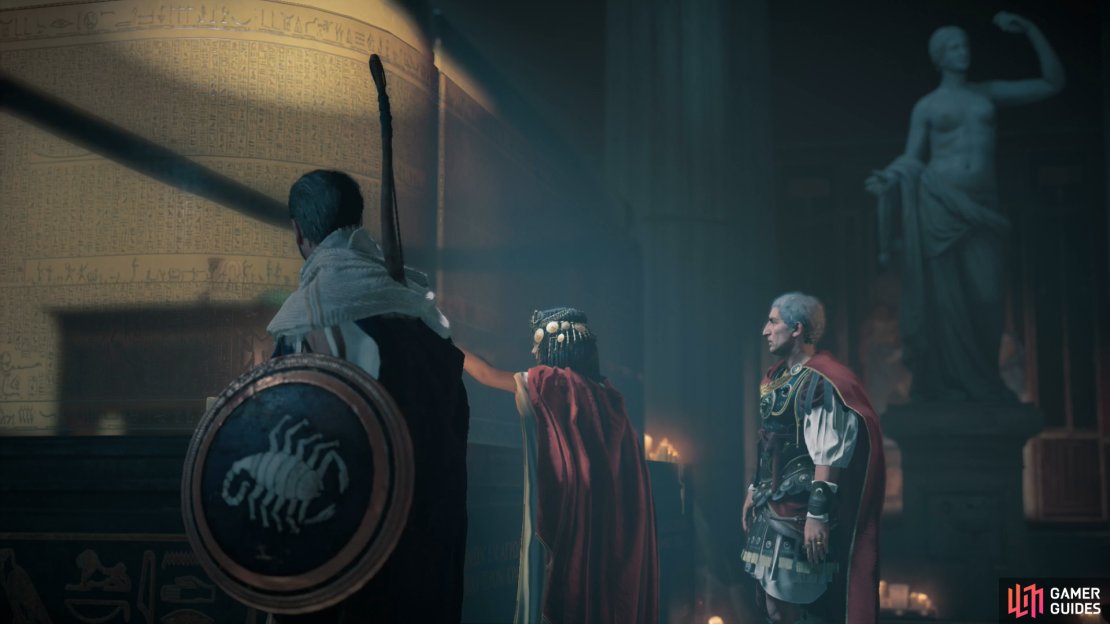
Turn down a hallway to the east and climb over a wall, then continue east until you reach another wall you can climb to the north. After climbing this wall continue north and squeeze through a cleft in the wall, beyond which is the tomb of Alexander the Great. Loot various containers scattered throughout the tomb, go examine various paintings to hear Bayek and Aya’s commentary, if you wish, then head upstairs to the east when you’re done and open the tomb up to those waiting above. Watch some scenes that follow and word will come of Ptolemy making a very, very poor political move, which Bayek and Aya are dispatched to resolve.
Ptolemys Provocation
Leave the tomb and once outside continue west until you hit a statue, at which turn south to reach Alexandria’s main street. From here, head southeast through the city to return to the Akra Garrison again, where you’ll find the usual assortment of enemies. Aya doesn’t have the benefit of Senu to mark enemies, but then again, she vastly out-levels the enemies here, so even if you do get spotted, they shouldn’t prove any trouble for you.
Fight your way through Ptolemy’s men (left) then grab the Roman emissary (right).
As you approach the building where the emissaries are being kept you’ll find Bayek causing trouble out in the open. Help him kill off the soldiers (you can probably run past, but clearing the area will be helpful shortly), then enter the aforementioned building, where you’ll find them on the third floor, likely along with another guard or two. Once you’re no longer in combat, talk to the surviving emissary, who has seen better days. Fortunately, he’s still capable of relaying his story, identifying The Scorpion in the process, and speaking of Septimius’s plans.
After he’s no longer capable of speaking, pick him up and head downstairs. If you diligently killed the guards on your way here, your task should be as simple as walking out of the fort, summoning your mount, putting the emissary on the beast and riding back to Caesar… or rather, to the quest marker near a crowd protesting the Romans. When you arrive at the appointed spot, some scenes will play out, and Bayek and Aya, as usual, will both end up with their own tasks to complete.
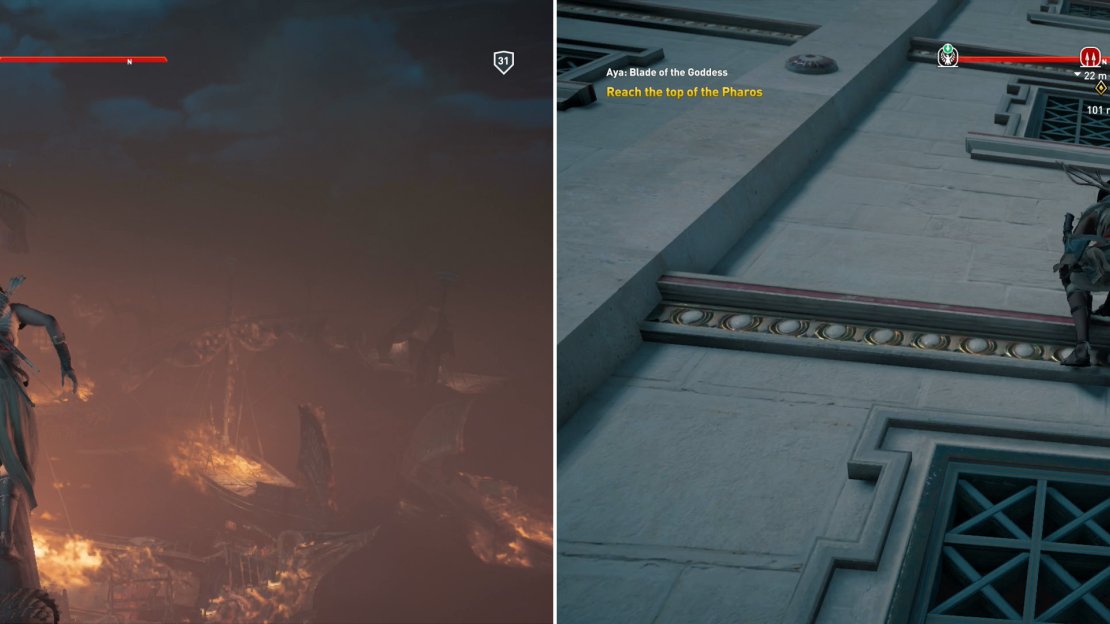
Cross over the masts of a burning fleet (left), then climb the Pharos (right).
The Pharos Signal
When you’re back in control of Aya, make your way onto a nearby branch and from there leap across the masts of several burning ships, until a little dispute with gravity puts you in the harbor of Alexandria. Swim west to reach the island the Pharos is on, climb onto dry land, then scale the wall of the fort around Pharos to bypass the soldiers fighting below.
Your goal now is to scale the Pharos, which isn’t as straight-forward as most fast travel points. You’ll have to use decorative circular ornaments, windows, and the odd bit of woodwork sticking out of the tower to climb up and around the structure. Often your progress will be impeded by sheer distance between grips, forcing you to find open windows through which to enter and continue up the tower more conventionally.
Start by climbing the eastern face of the tower, using two seated pharaoh statues to swing around the corner to the southern end of the structure, which should lead you to one such open window. Kill the guards inside as you ascend, but be wary - Aya isn’t as sturdy or as offensively capable as Bayek… which kind of proves some of the comments the soldiers make correct. When you find your way barred by a door, climb out a nearby window to reach another open window above, which you’ll have a little help getting into…
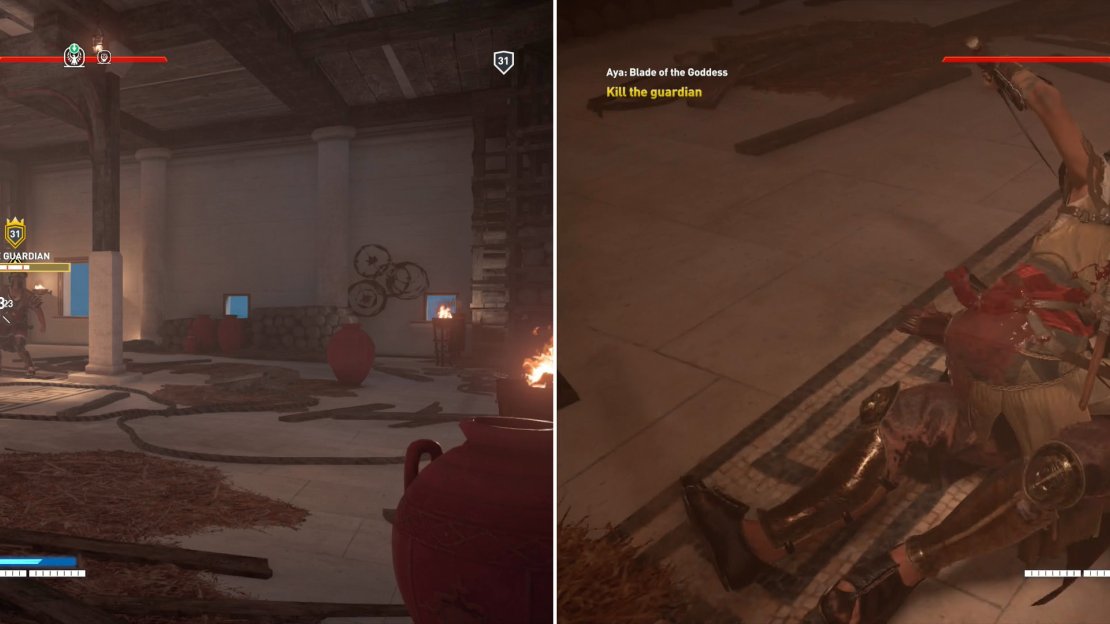
The Guardian has no answer for ranged attacks (left), which you can use to charge your Overpower attacks (right).
Boss - The Guardian
After The Guardian (level 31) helps Aya into the tower, he’ll make some rather rude remarks and a proper brawl will begin. He’s a large, slow brute with a heavy blunt weapon, and is capable of performing several attacks, including an overhead strike (sometimes appended with a lunge) and a whirlwind attack. His weakness are his speed (Aya can usually get in a few hits and safely dodge away between his attacks) and his lack of any ranged option, which make it laughably easy to charge your Overpower with ranged attacks, after which it can be unleashed for big damage.
Once The Guardian fails at his duty open the door in the northeastern corner of the room, head upstairs, then climb to the top of the Pharos and interact with the beacon to complete your task. This unceremoniously ends the quest “ Aya: Blade of the Goddess “ and begins “ The Battle of the Nile“ .

No Comments