Suggested Level: 28
The Siwan Huntress
You may have lost your intel on The Crocodile, but you know he uses gladiators to do his dirty work, and they may know more about The Crocodile. In any event, it’s the only feasible lead you have at the moment, so you’ll need to head to the arena in Krokodilopolis, which can be found on the city’s western-most island, west of the Temple of Sobek.
When you arrive in front of the arena, you’ll find yourself in an investigation area. Use your Animus Pulse to mark targets, then talk to a conservative old woman, check out two sets of scrolls to also ogle some statues, talk to a seated man to learn about the Gallic brothers represented in the nearby statues, and finally talk to a man named Felix Martialis near the door to the arena. He’ll rudely rebuff Bayek before another man nearby interjects, but Felix ultimately doesn’t care. Looks like you’ll need to prove yourself worthy as a warrior to get inside the arena, and fortunately the two men spoke of some Siwan huntress who can be found in town… As Bayek himself says, Siwa is a small place. Maybe he knows her?
Head to the southern end of Krokodilopolis to reach a search area and use Senu to sniff out this Siwan huntress, who can be found on the southeastern most island of Krokodilopolis, near an obelisk. Locate her, head there, then talk to the Siwan huntress praying at the obelisk to witness a scene. Bayek will be greeted warmly by this Siwan huntress - Kensa - who will insist on drinks, and in the following morning she promises to get you into the arena.
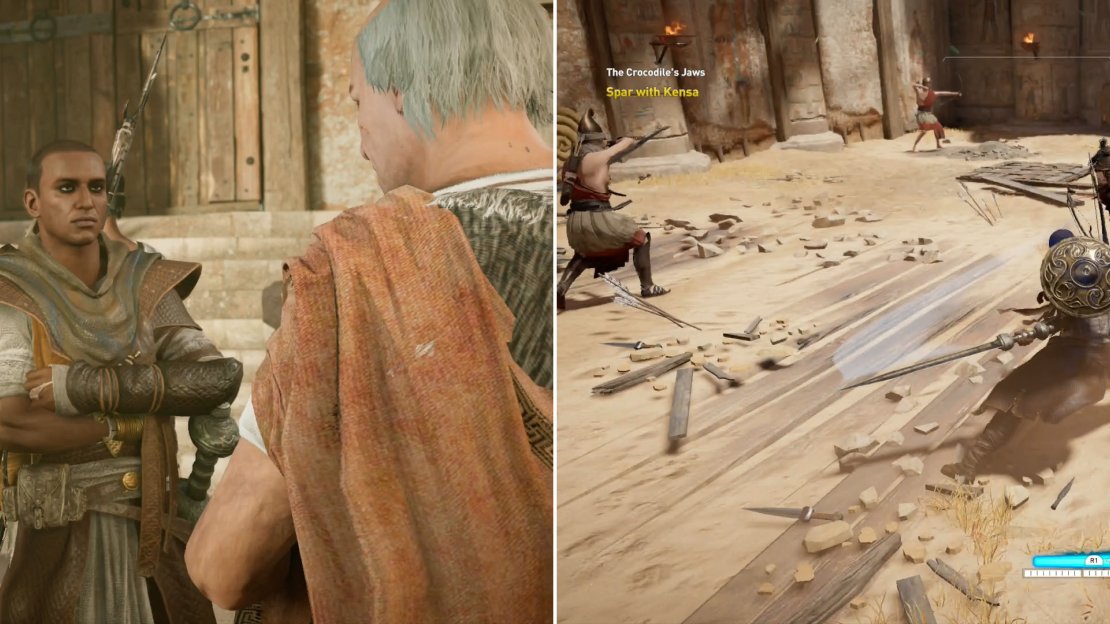
Find Kensa and she’ll put in a good word for you (left), then defeat her to prove your worth (right).
Proving Your Worth
When you’re back in control, return to the arena and talk to Felix again, and Kensa will fulfill her promise to get you into the arena as her partner. Shortly afterwards, you’ll find yourself in the arena, learning the general rules of the place… namely that you won’t get to pick your own weapons for arena bouts, and bows - at least for you - are out of the question. Before you get on with the bloody spectacle, you’ll have to prove your worth for Felix. Kensa’s word will get you in the door, but to get on the sand itself, you’ll need to spar with Kensa herself. Just use a charged strong attack to break her guard, then hit her a few times and repeat if necessary.
After that you’ll have a tense encounter with the Gallic brothers, then you’ll find yourself in the arena, where you can talk to other fighters and arena staff before your first fight. Talk to Felix to get on with things, who will pit you against several groups of “novices”. The first round is against a handful of sword-armed weaklings, after which you’ll face some swordsmen and spearmen. For the third wave, two of your foes will have shields. It’s not a tough fight, and Kensa can hold her own, so as long as you use your Overpower attacks when charged and have a rudimentary understanding of combat, you should be fine.
Defeat your foes and you’ll find yourself talking to Felix again, where Bayek and Kensa both try to politics their way into a fight with the Gallic brothers. No such luck yet, however, and for your impetuousness, Felix promises to add lions to the next fight. Lovely. After the chat, Bayek remembers his primary goal and resolves to ask around to see if any of them know anything about The Crocodile. Talk to Kensa, then talk to Felix to begin the next match.
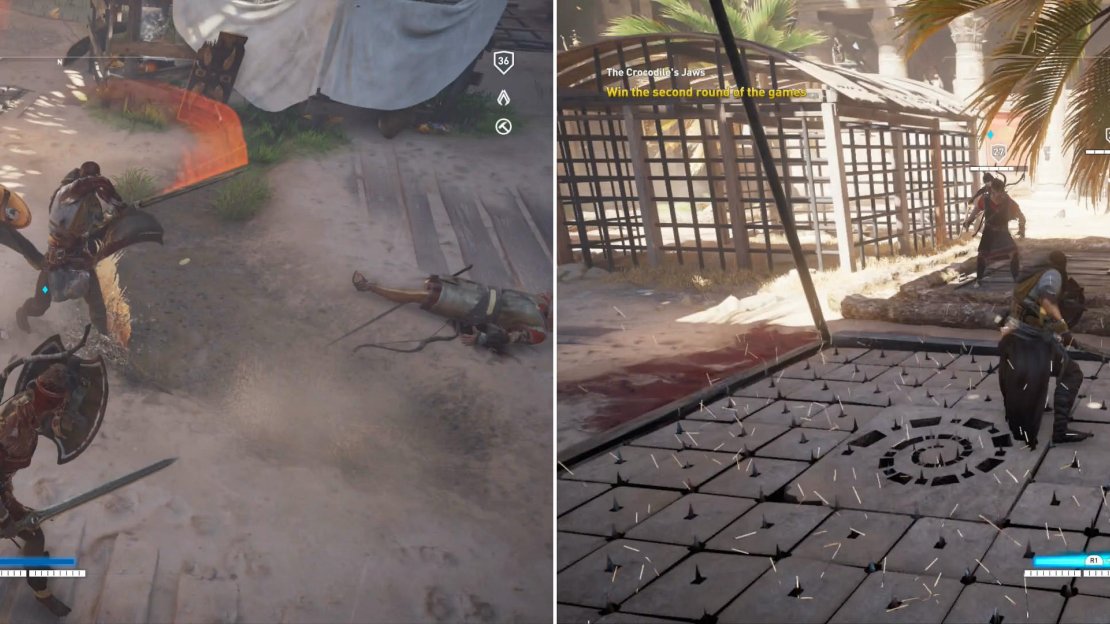
Kensa and Bayek will need to fight through waves of enemies (left). The enemies are threat enough, but the arena is also littered with traps (right).
The first round starts off slow, but be wary of environmental hazards, which can be found around the arena in the form of spinning, spiked wheels, fire patches and spike traps. As enemies become more difficult, you’ll find yourself needing mobility more, and these hazards will play an ever-increasing role in battles. There is, as Felix promised, a lion, but it starts out caged. For the second round, however, your enemies include a brute, who is keen on freeing the lion… which just as merrily attacks you as it does the foe. For the third round, an uncaged lion will join the fray, along with two shield-and-spear armed warriors and another brute.
Escape the arena with your life and talk to Felix again to find out that Kensa apparently got herself an odd-job outside of the arena, leaving you to fight alone this time. Felix’s vague - yet oddly threatening - words leave Bayek worried about Kensa. He should worry more about himself, however, as the third fight includes more hazards then ever, although there are fewer foes to make up for Kensa’s absense. The first round includes two shieldless swordsmen and a brute, the second includes a tower shield and axe-bearing brute, while the most troublesome foe in the third round is an elite soldier… sword, shield, fond of power attacks. Use the hazards and your Overpower attacks to your advantage, and eliminate the weaker enemies before facing off with the stronger ones (especially so you have time to charge your heavy attacks up) and you’ll be fine.
When Bayek is victorious, he’ll return to the prepartion area, and ultimately end up talk to Kensa. She reveals little of her errand, unfortunately, and there’s no time to really press her for information, as the Gallic brothers await you in the next round. Talk to Felix and he’ll give you rather disappointing orders concerning fatalities, after which Kensa will boast about the glory and riches you have yet to win. Interact with the door to begin the bout.
The Gallic Brothers
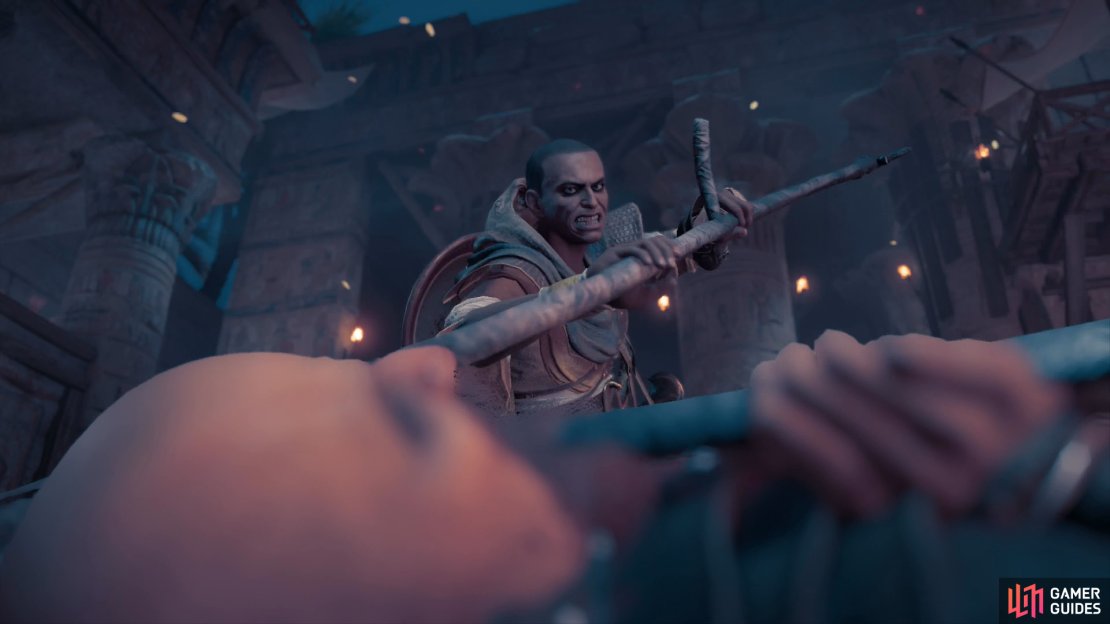
The Gallic brothers are nowhere near as fearsome as they’ve been built up to be. Sure, they have different weapons and attack patterns than any foe you’ve faced so far, and attacking them with light attacks can result in you getting parried and stunned, but they do relatively little damage, and have one fatal flaw: they are not equally fast nor aggressive.
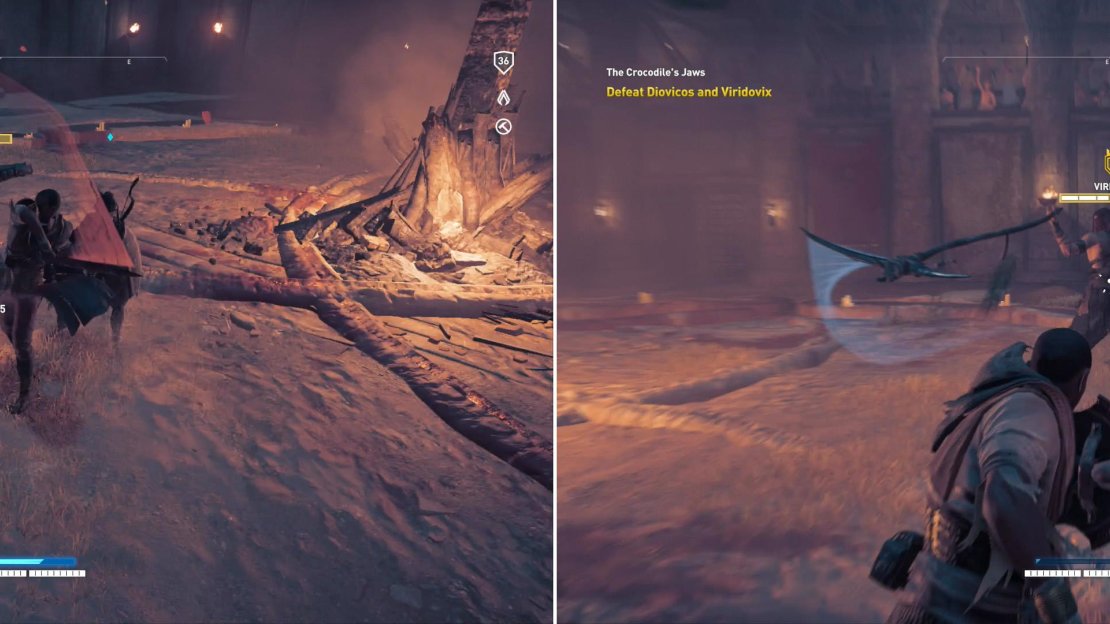
Diovicos can be lured from his brother, where he’s susceptible to hit-and-run heavy attacks (left). Viridovix is slower than his brother, but has superior attack range (right).
Viridovix weilds a scythe, and as such has great range and attack radius, but he walks and attacks relatively slowly. Diovicos, on the other hand, resorts to his fists, and is capable of moving and attacking quickly at short range, but this also leaves him vulnerable, as he can be lured away from his brother. To prevent blocking, always use charged power attacks, lure Diovicos to you, and whittle him down.
Defeating either of them with an Overpower attack will earn you the trophy/achievement “Fatality”, so when one is sufficiently injured, try to finish him off. The damage inflicted by such an attack will vary depending on whether you have the Overpower Ultra ability, and if you have the Overpower Chain Throw ability, it’ll let you score a free Overpower attack on the surviving brother, as well.
Once one of the Gallic brothers has been defeated, the other shouldn’t be hard to take care of in similar fashion. Viridovix is just not a fast enough foe to be of much trouble if you stay away while charging your heavy attack. Wait for him to attack Kensa, walk up, hit him with a charged attack, and retreat, recharging the next one.
After they both fall, Bayek will attempt to extract information from them, this time being successful in his endeavor, but Kensa will complain about Bayek’s lack of faith and ulterior motives. In any event, after this phase of the quest is over, the quest “ The Lure of Glory “ (Suggested Level 35) will begin, should you thirst for more blood.
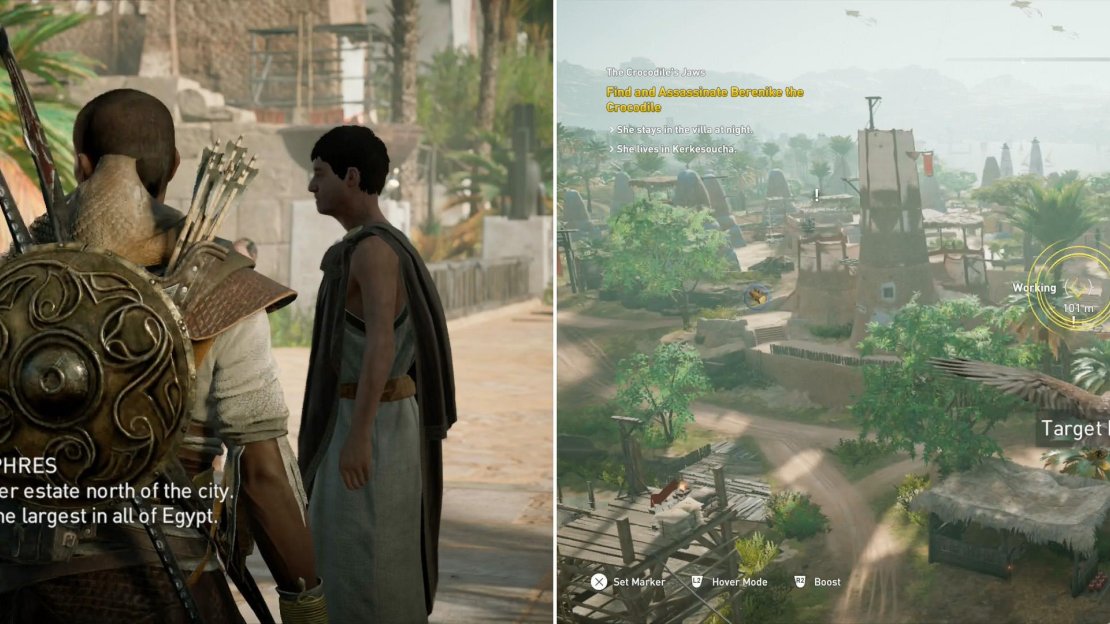
Talk to Hotephres and he’ll put a location to the name the Gallic Brothers gave you (left). Use Senu to find your prey (right).
Kerkesoucha Granary
The Crocodile has been exposed as Berenike, an elderly Greek woman, but before Bayek makes any moves, he’ll need to return to Hotephres, who might know more about her - and how to kill her. Fortunatley, for whatever reason Hotephres will be waiting for Bayek outside the arena. Talk to him and he’ll tell you that Berenike is a wealthy land-owner and cultural figurehead of the region, and she can mostly likely be found on her immense villa, the Kerkesoucha Granary, which lies to the north of Krokodilopolis.
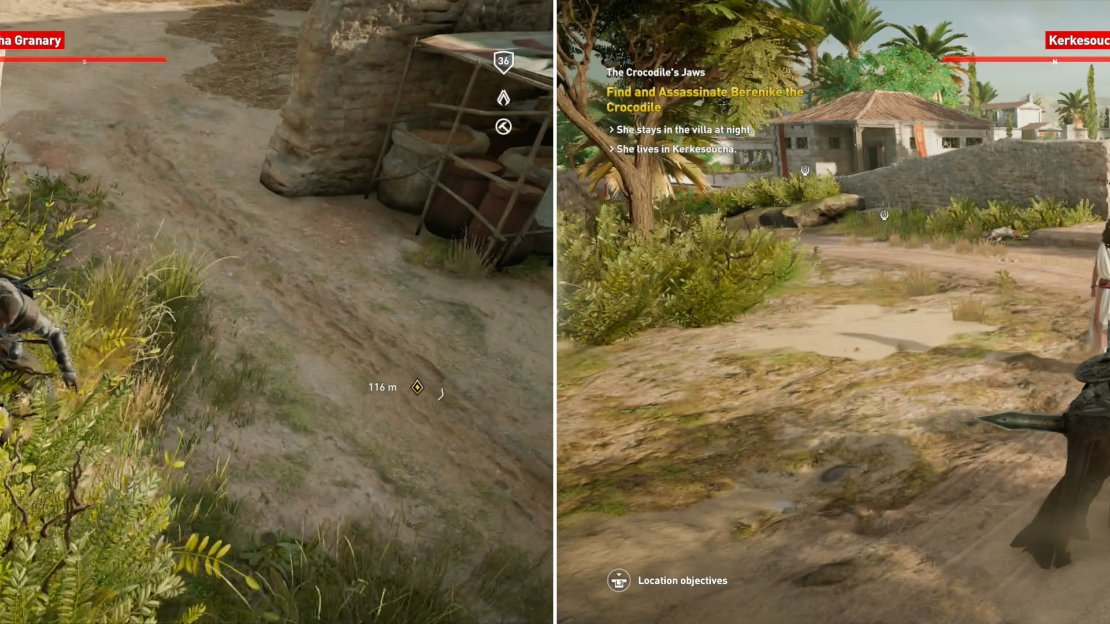
Head over to the Kerkesoucha Granary and use Senu to locate Berenike, then spot as many of her soldiers (levels 27-28) as you can, including two captains (level 29) and a commander (level 30). This enemy fort is the largest you’ve faced since Nikiou Fort, and exceeds both it and the Akra Garrison in sheer size. This size comes with one fatal weakness, however - relatively low enemy density. There are few useful walls to use to gain a height advantage, but the fort is replete with foliage to hide in, making perhaps the easiest major enemy stronghold you’ve had to conquer, yet. It’s no exaggeration to say you can probably kill most, if not all of the soldiers in here by sticking to the bushes and whistling them to their doom. As usual, the more of them you spotted with Senu, the better. Try to also locate the treasure (for future looting) and the alarm brazier, which can be found near the south-center of the granary grounds, on a short tower near a larger tower.
There’s ample foliage in the estate for you to hide in, making it a trivial manner to dispatch the guards (left). When her attendants are gone, close in on and eliminate the Crocodile (right).
The only potentially difficult bit has to do with how busy the adjacent roads are. There could be several enemy transports traveling around the area, moving around and ocassionaly stopping inside the Kerkesoucha Granary. They’ll artificially inflate the fort’s numbers, and could be quite troublesome. If you want to eliminate this problem, it’s not too difficult to simply ambush them outside the restricted zone away from the Kerkesoucha Granary and thus prevent any nasty surprises.
Speaking of nasty surprises, Berenike stays in the villa at night, and wanders her property by day, and when you draw close you’ll see her addressing her newest bodyguard, who will then follow her around. You don’t technically have to kill this bodyguard, if sentimentality stays your hand. Just wait for Berenike to expose herself to danger, then assassinate her.
| Reward: For completing the quest “The Crocodile’s Jaws” |
|---|
| 3,500 XP, Hyperion |
After killing The Crocodile, you’ll find yourself torn from your adventure as Bayek and forced to the mundane world of Layla Hassan, who gets a rude awakening in the form of Deanna Gray screaming at her. Apparently her activities have finally drawn the attention of Abstergo, who sent four agents with… less than friendly intent.
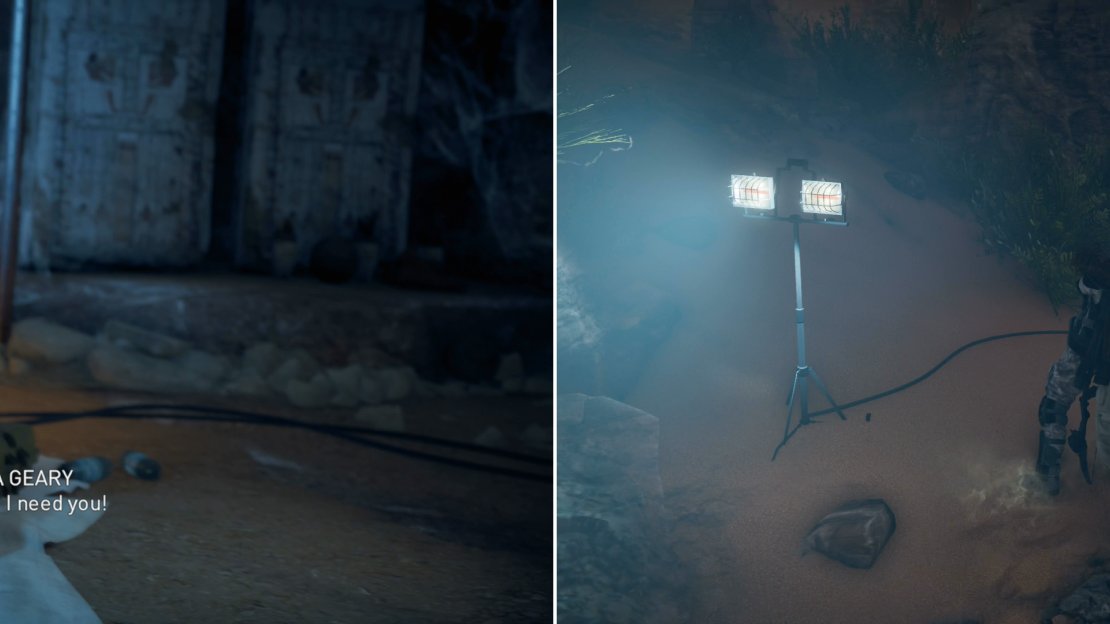
After killing the Crocodile you’ll be pulled out of the Animus (left). Use Layla’s newfound skills to eliminate the Abstergo squad (right).
Fortunately, Layla has apparently learned a few things from her time in the Animus, as she’s now capable of sneaking and assassinating foes much like Bayek. Hide behind a screen and wait for one Abstergo grunt to come down into your cave and start examining things, making him an easy target for you. Once he’s been smote, sneak outside and use the bushes to neutralize the other three Abstergo agents, following which Layla will hear how Deanna is faring.
Angry, Layla will boast about her accomplishments and promise to take them to the grave with her… after seeing out the end of Bayek’s quest. Mercifully this will allow you to return to ancient Egypt, where the quest “ The Crocodile’s Jaws “ will have ended, and two new quests, “ Shadya’s Rest “ (Suggested Level: 30) and “ Way of the Gabiniani “ (Suggested Level 31), which task you with checking on Shadya and reporting your victories to Apollodorus and Cleopatra, respectively.
There are also quite a few sidequests around Krokodilopolis left to finish, and in adjacent areas. It might not be a bad idea to finish some of them off before continuing with the main story. If that’s agreeable to you, those quests will be covered in the Questing Southern Egypt section of the guide, which will include quests for the Faiyum Oasis, Uab Nome, Atef-Pehu Nome and back in Memphis, where you should be capable of completing “Mortem Romanum” now. After that, of course, points of interest will be discussed, finishing up most of the content in the southern and eastern ends of Egypt. When you’re done with that it’ll be time to head up to Herakleion Nome, which has its own side quests and main quests as covered in Chapter 9 - The Scorpion . If you can’t be bothered with any of this optiona side-content, however, you can always skip ahead to “Way of the Gabiniani” .
Before any of that, however, you might as well return to the Kerkesoucha Granary (Bayek should be just south of it after completing “ The Crocodile’s Jaws “), where you still have treasure to loot. Kill any guards that have respawned, then head to the barracks in the center of the granary, just north of the large tower and the alarm brazier. On the ground floor you can find a small white chest on a table, while upstairs you’ll find a large red chest in the western corner, behind the stairs.
For the last two bits of treasure you’ll need to head northwest to reach the villa. Head to the northwestern end of the sumptuous estate, where you’ll hear a Greek Orator on a balcony shouting the glories of Berenike’s benevolance. In the room east here here you can find a small table behind a screen, on which is a package you can plunder. Do so, head back onto the balcony, then turn south and go through a doorway to find a red chest.
| Reward: For completing the Kerkesoucha Granary |
|---|
| 1,500 XP |



No Comments