Suggested Level: 5
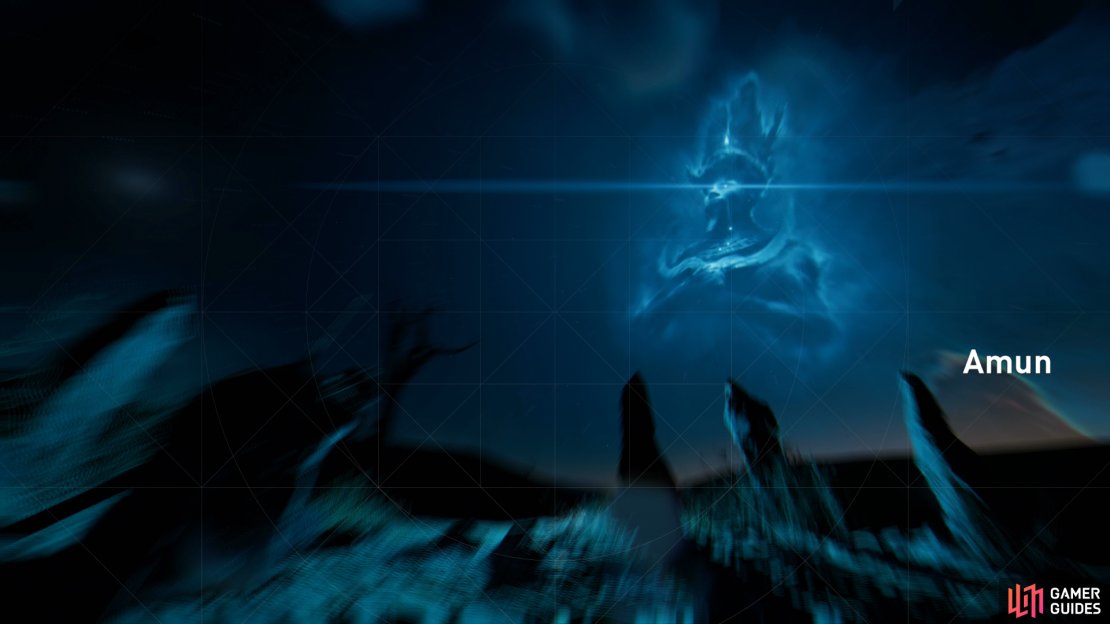
This quest will begin when you first interact with any Stone Circle, presumably starting with the Amun Stone Circle south of Siwa (see below). The whole goal of this minigame (and hence, the majority of this quest) is to align a specific constellation with the stars in the sky. The stars in the sky are roughly segregated based on what constellations they represent, and when you match a pair, an artistic rendering of that constellation will permanently appear in the sky for all future Stone Circle puzzles, serving as a reference for future attempts and generally making it easier to solve later puzzles. Failing that, however, if you leave the cursor idle enough you’ll see sparkles indicating the direction of the correct constellation, and you’ll hear whispering when you’re close, albeit perhaps misaligned. If none of that seems to be helping, however, note that the constellations are roughly aligned in three rings which loop around.
Solving the Stone Circles isn’t nearly the most difficult part of this quest, however - reaching them all is. They’re scattered throughout the desert regions of Egypt, mostly in the center and south of the map, in the following provinces
| Area | Stone Circles | Level |
|---|---|---|
| Amun Strone Circle | Siwa | 1 - 5 |
| Divine Lion Stone Circle | Iment Nome | 6 - 8 |
| Serqet Stone Circle | Iment Nome | 6 - 8 |
| Hathor Stone Circle | Ka-Khem Nome | 17 - 20 |
| Pisces Stone Circle | Faiyum | 24 - 29 |
| Taweret Stone Circle | Faiyum | 24 - 29 |
| Horus Stone Circle | Uab Nome | 29 - 33 |
| The Scales Stone Circle | Uab Nome | 29 - 33 |
| The Great Twins Stone Circle | White Desert Oasis | 36 - 40 |
| Apis Stone Circle | Isolated Desert | 37 - 40 |
| Goat Fish Stone Circle | Isolated Desert | 37 - 40 |
| Osiris Stone Circle | Qattara Depression | 37 - 40 |
Amun Stone Circle
This stone circle is possibly the most difficult one to solve… assuming it’s your first. The first one will always be the most difficult, as with the others you have the benefit of already-solved constellations to guide you. You’ll find this Stone Circle point of interest in the desert south of Siwa.
| Reward (For completing the Amun Stone Circle) |
|---|
| 150 XP |
Divine Lion Stone Circle
You’ll find this Stone Circle northeast of the fast travel point, which itself is along the southern end of the Iment Nome area. The star formation you are given will find its match in the sky up and to the left of the Horus constellation.
| Reward (For completing the Divine Lion Stone Circle) |
|---|
| 300 XP |
Serqet Stone Circle
Search deep in the desert west, northwest of Yamu to find this Stone Circle. You’ll find the solution in the sky just to the left of the Divine Lion constellation. After you complete this Stone Circle, turn south, southwest to find a tree, near which is some Silica.
| Reward (For completing the Serqet Stone Circle) |
|---|
| 150 XP |
Hathor Stone Circle
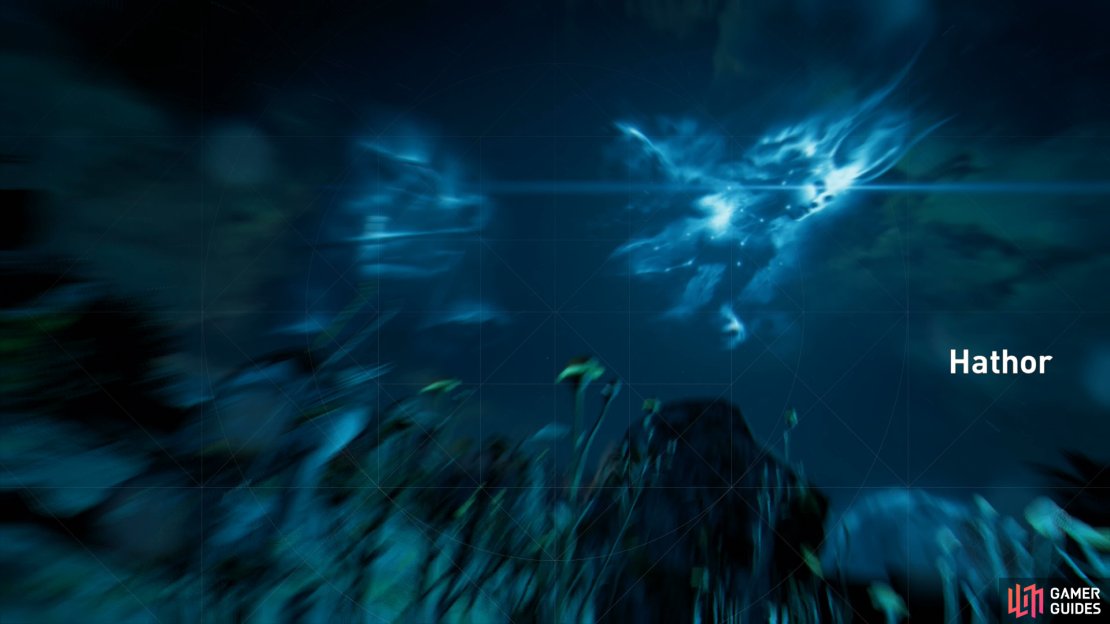
This Stone Circle point of interest can be found on the island northeast of Letopolis, just southeast of the fast travel point there. Head to the eastern coast of this island to find the Hathor Stone Circle, interact with it, then move the stars just above the Divine Lion constellation to find their matching marks in the sky.
| Reward (For completing the Hathor Stone Circle) |
|---|
| 300 XP |
Pisces Stone Circle
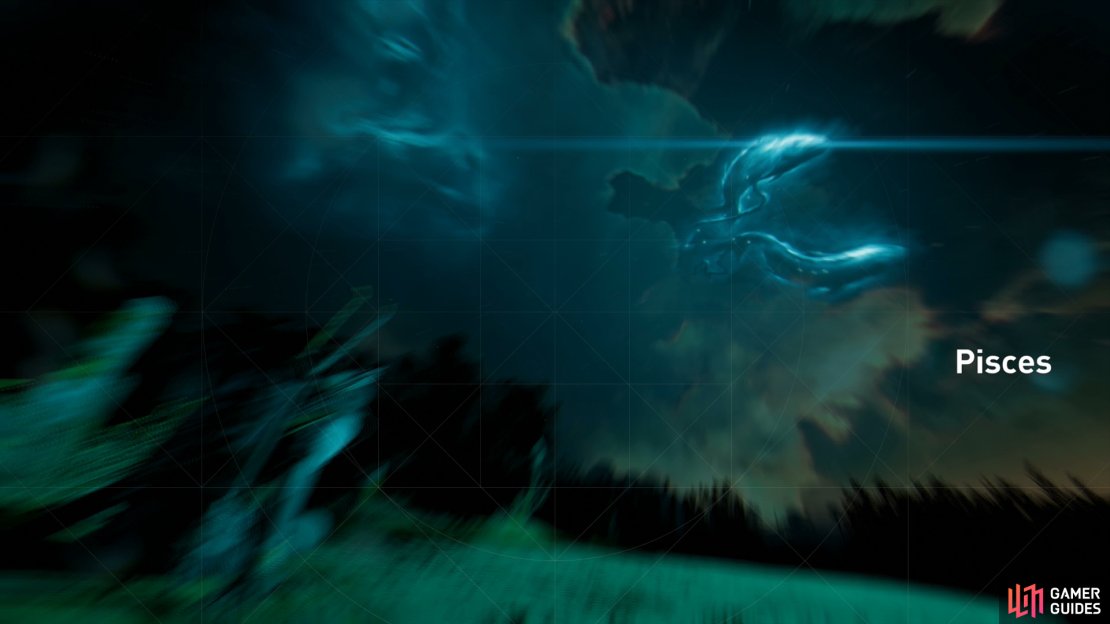
Along the western end of Lake Moeris, in the tributary connecting the lake to the Nile, you’ll find this Stone Circle point of interest, just east and slightly north of Philadelphia, or west and slightly north of Kerke, if you prefer. This is another distinctive constellation, the series of stars which look like a triangle with a circle on one end. You’ll find it in the sky to the right of the Amun constellation, or below and to the left of Serqet.
| Reward (For completing the Pisces Stone Circle) |
|---|
| 300 XP |
Taweret Stone Circle
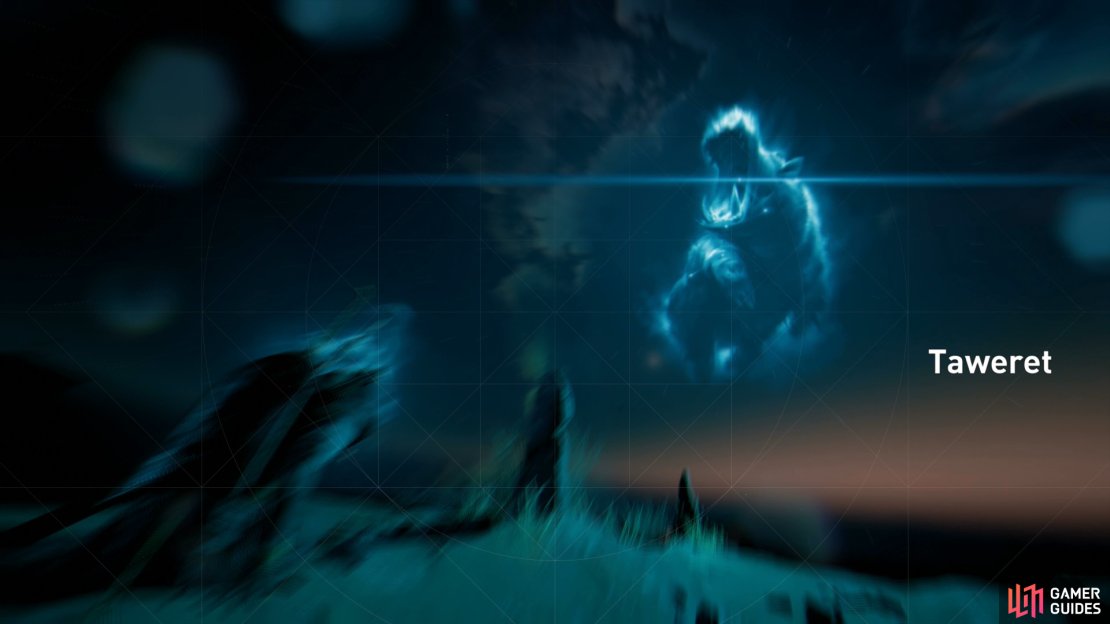
On the western coast of Lake Moeris, southwest of Soknopaiou Nesos, you’ll find this Stone Circle, between a Hippopotamus Lair and the Abandoned Fishing Village point of interest. This zig-zag-shaped constellation can be found in the sky above the Amun constellation.
| Reward (For completing the Taweret Stone Circle) |
|---|
| 450 XP |
Horus Stone Circle
Just northwest of the only fast travel point in the Uab Nome province, just south from a Hippotamus Lair near the coast, or southeast of the Dioryx Megale Wharf point of interest along the coast. The solution to this one is pretty easy if you’ve solved a few others, just search a bit up from and to the left of the Serqet Stone Circle solution (the scorpion).
| Reward (For completing the Horus Stone Circle) |
|---|
| 450 XP |
The Scales Stone Circle
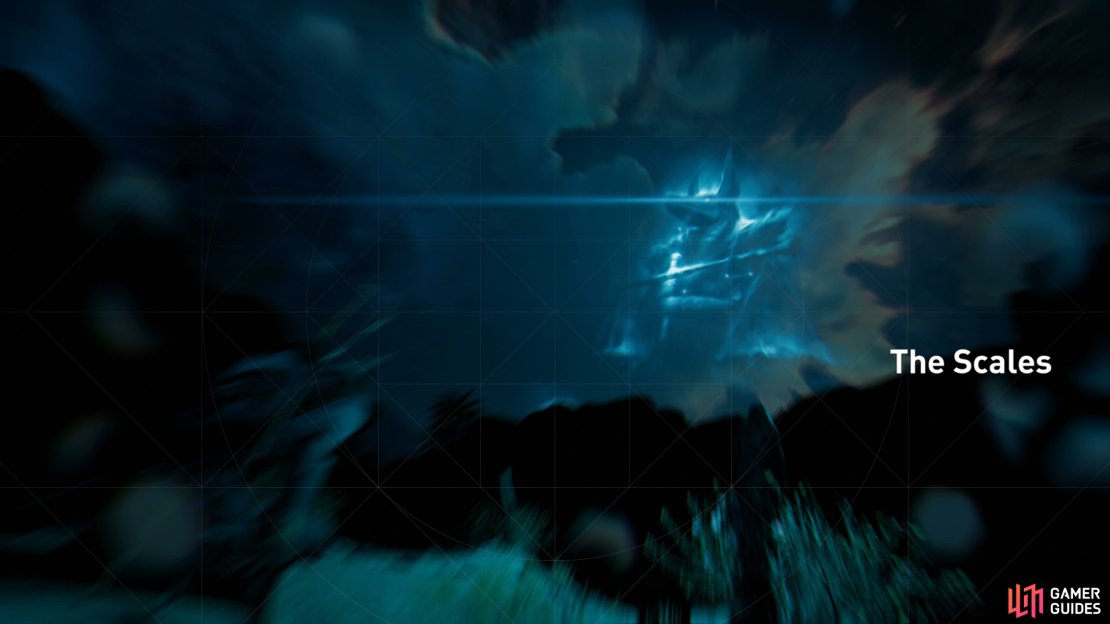
You’ll find this Stone Circle point of interest east, southeast of the Senehem Depths point of interest, near a small stream connecting to the Nile. The constellation you’re looking for is above and between the Serqet constellation and the Divine Lion constellation.
| Reward (For completing The Scale Stone Circle) |
|---|
| 450 XP |
The Great Twins Stone Circle
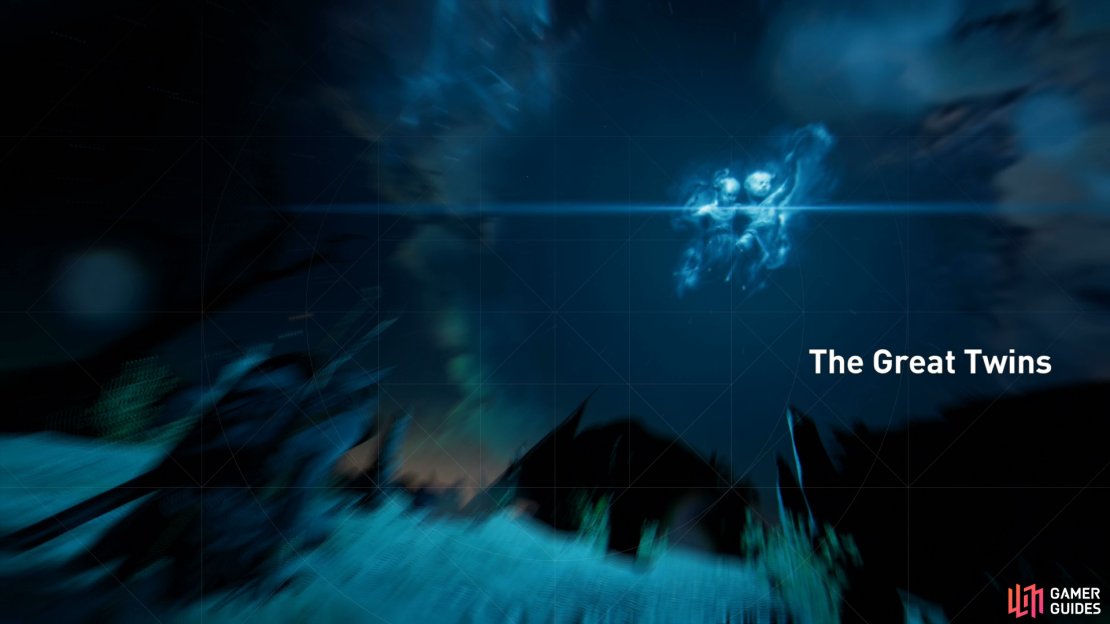
This Stone Circle poitn of interest can be found on an island in the body of water in the White Desert Oasis area (from which the province presumably derives its name), southwest of the fast travel point along the northern end of the lake. This rather distinctive constellation - appearing as two humans holding hands - can find its matching stars up and left of the Amun constellation, or down and right of the Divine Lion constellation.
| Reward (For completing The Great Twins Stone Circle) |
|---|
| 450 XP |
Osiris Stone Circle
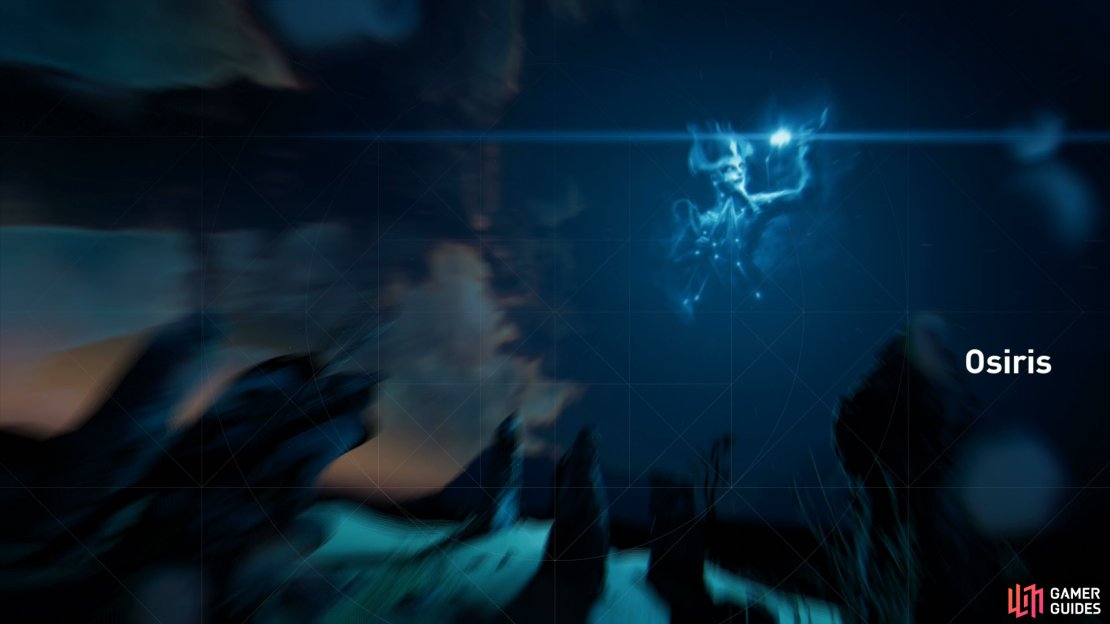
You’ll find this Stone Circle point of interst west of center of the Qattara Depression, or, when fully zoomed out, right under the “A” in the “Qattara Depression” text on your map. Approach the Stone Circle and match the shape you’re given with the stars in the sky, which can be found below and to the left of the Divine Lion constellation.
| Reward (For completing the Osiris Stone Circle) |
|---|
| 450 XP |
Goat Fish Stone Circle
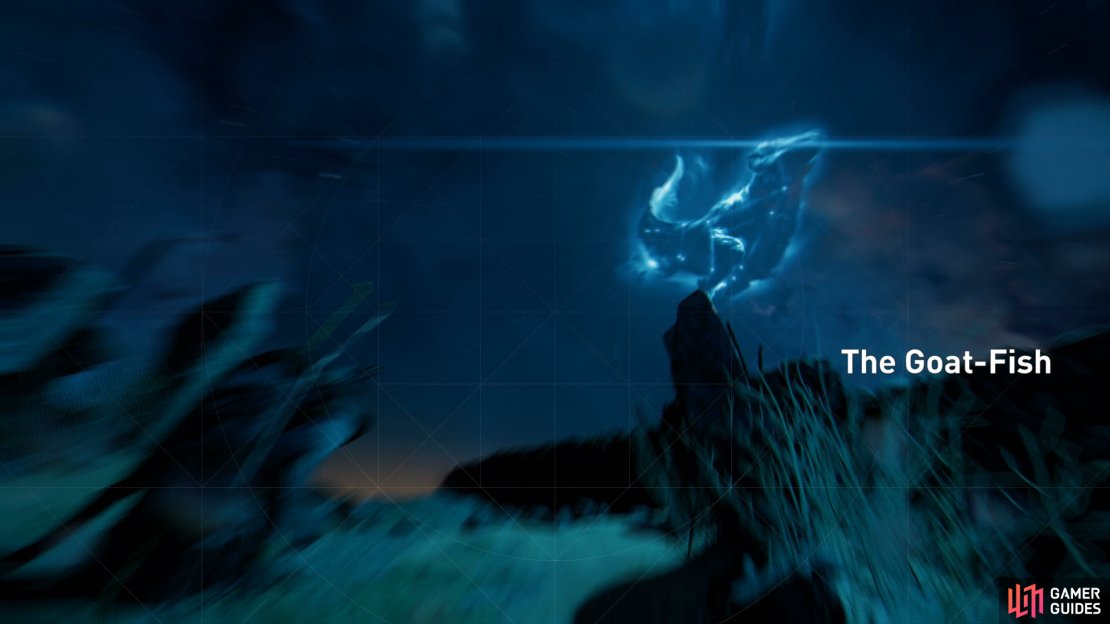
In the northwestern corner of the Isolated Desert province you’ll find this Stone Circle Point of interest. Scale the cliffs to reach it, then align the stars you’ve given the with constellation in the sky by moving it left of the Serqet constellation.
| Reward (For completing the Goat Fish Stone Circle) |
|---|
| 450 XP |
Apis Stone Circle
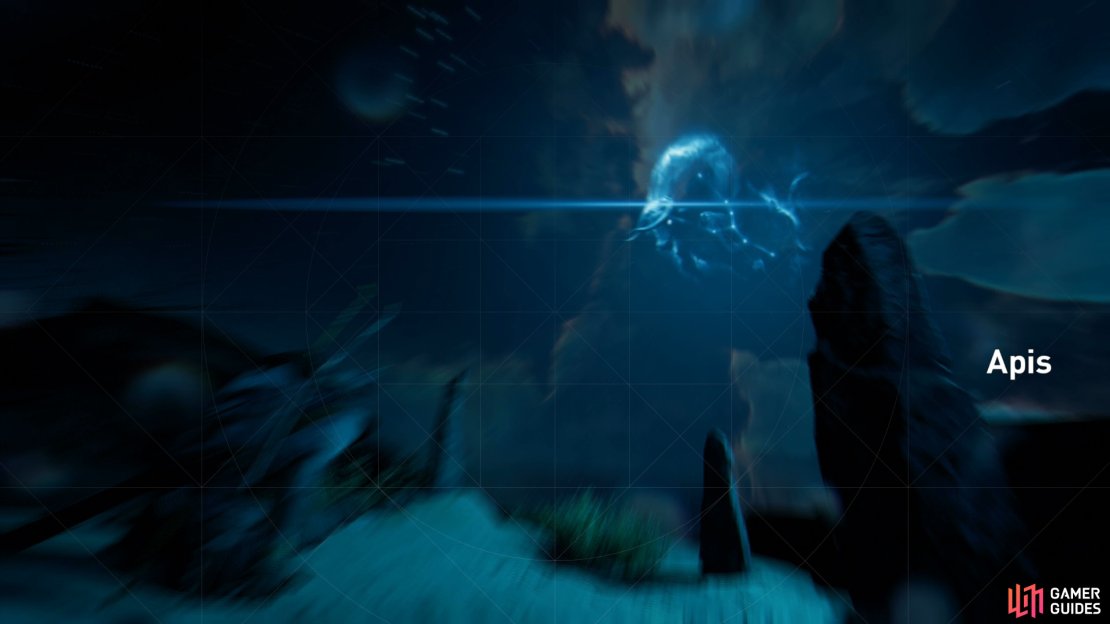
Locate this Stone Circle in the southeastern corner of the Isolated Desert province, between Karanis to the south and Remetch Ra to the north. Climb the cliffs to reach the Apis Stone Circle, then search the sky below and to the right of the Divine Lion to find the matching Y-shaped constellation.
| Reward (For completing the Apis Stone Circle) |
|---|
| 450 XP |
After you’ve solved all twelve Stone Circles, Bayek will resolve to return to the Horus Stone Circle south of Siwa, do so and head to the indicated area near the Stone Circle to hear Khemu’s voice. Witness some scenes note that Khemu mentions the Sphinx quite explicitly… but in any event, this quest is over.
| Reward (For completing the quest “Bayek’s Promise”) |
|---|
| 3,000 XP |
Sphinx Passageway
You’ve solved all twelve Stone Circles… but what’s next? Well, there’s a special treasure you can claim if you have solved all the Stone Circles, but you also need to have collected fifty pieces of Silica from various tombs across Egypt. Even if you activate the various precursor vaults that sometimes can be found in the depths of such tombs, you should be able to acquire more than enough, if you’re diligent. Once you’ve met those two conditions (solved all twelve Stone Circles and have fifty pieces of Silica) return to the Great Sphinx fast travel point.
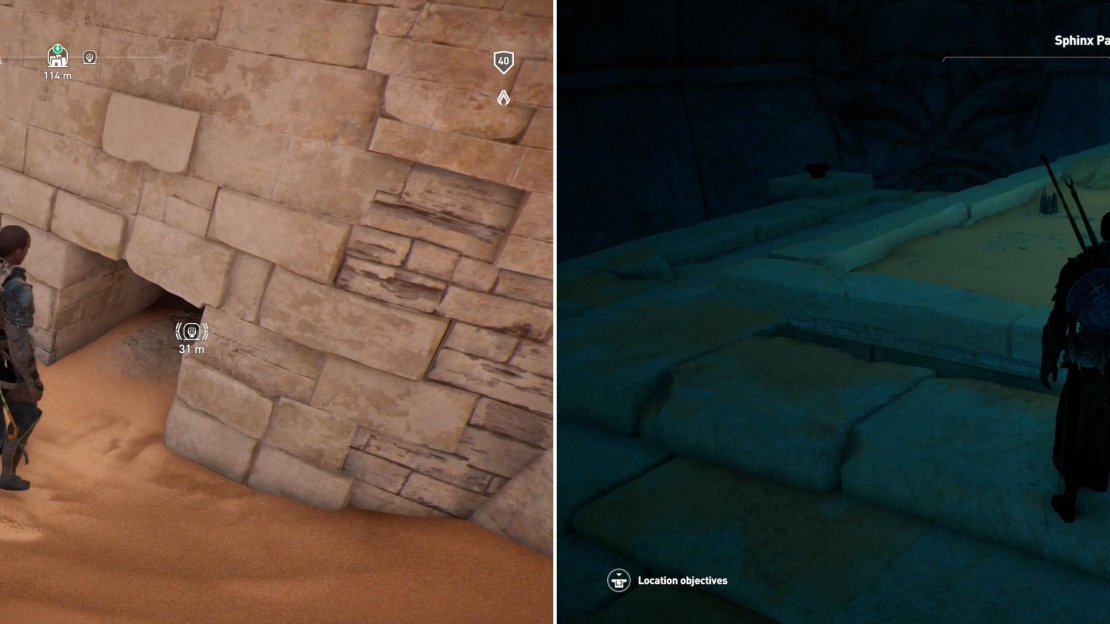
From this fast travel point head west to reach the sphinx itself. Along the western end of the sphinx you’ll find the Sphinx Passageway point of interest, which you can crawl into to reach the interior of the sphinx. Do so and drop down a ledge to the east and continue down a passage to the east to reach a room with a pillaged sarcophagus in it. Find a hole in the wall along the northeastern corner of the chamber, slide under it, then leap a gap to the east to find a doorway to the south, wherein you’ll find two red chests, one large, one small.
Find the secret entrance at the back of the sphinx (left) then descend until you reach a large chamber with a crude map of the stone circles (right).
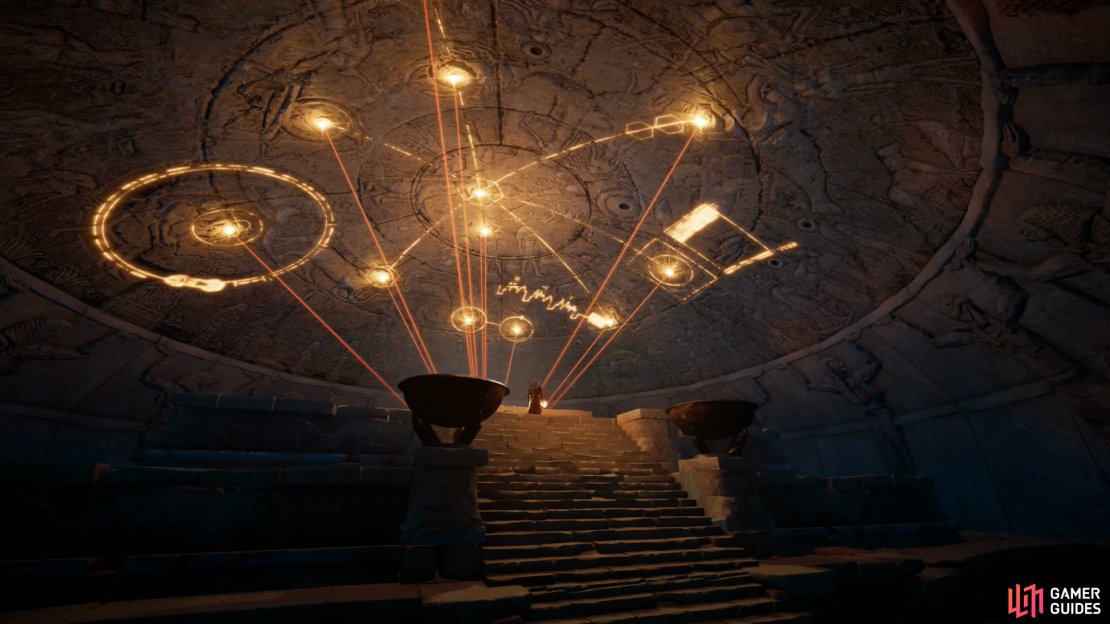
Loot the chests, leave the room, turn west and drop down the hole you jumped over earlier, then head down as passageway to the east to a chamber with some crumbling Egyptian hieroglyphics. Turn south when you can, pass a pillar, then turn west and head through a sphinx-lined room to reach a large chamber, the ceiling of which is lit up with the constellations you solved earlier. Continue west past the stepped structure dominating the center of the chamber (atop which is a crude map showing the locations of the Stone Circles) and proceed through a doorway to the west. In the room beyond you’ll find a white chest - the last treasure you need to complete this area, and if you climb the walls you’ll eventually be able to return to where you entered the sphinx.
| Reward (For completing the Sphinx Passageway) |
|---|
| 300 XP |
Eesfet Oon-mAa Poo
Assuming you didn’t come here with insufficient Silica, don’t leave the Sphinx Passageway. Instead, return to the room with the constellations on the ceiling and make your way to the eastern edge of the crude map showing the locations of the Stone Circles and interact with it. If you’ve completed all the Stone Circles, the map will raise up and reveal a passageway leading deeper into the earth. Slide down a slope and continue downhill to the west to reach a massive chamber, in the process discovering the Eesfet Oon-m’Aa Poo location.
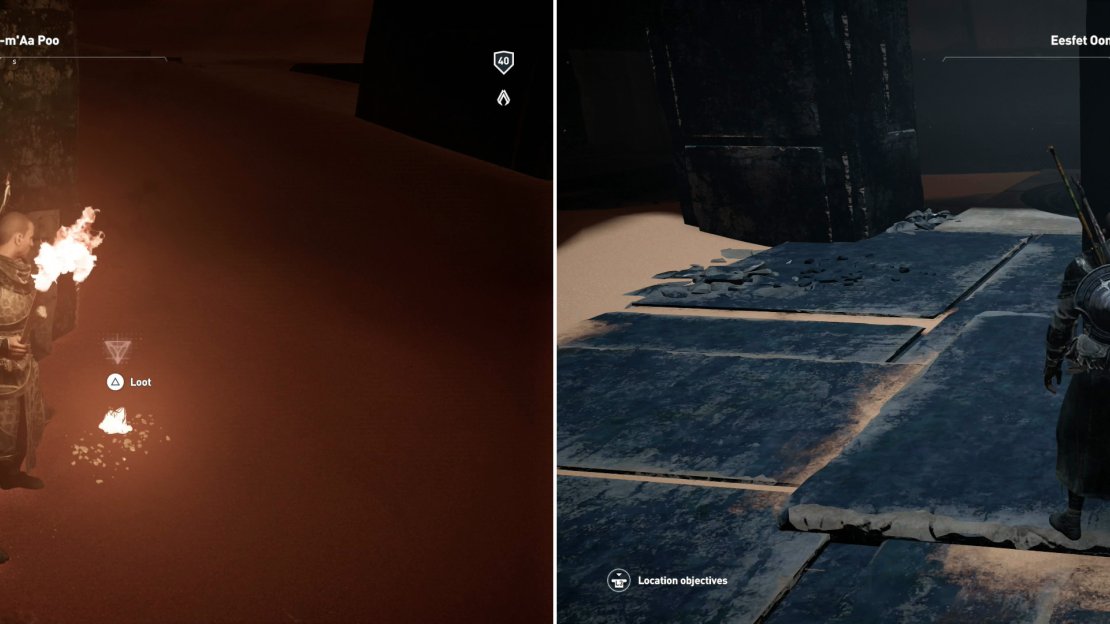
Don’t neglect to pick up Silica near the ancient device (left) as you’ll need a whopping fifty hunks of it to activate the device here (right).
Upon entering the chamber, immediately turn south and search behind some dark stone objects to find two hunks of Silica lying on the sand. Can’t hurt to have more, right? Of course not. On that note, turn north and search amongst the rocks to find another chunk of Silica , then make your way west around the massive inhuman structure in the center of the chamber to find a fourth and final piece of Silica .
If you have fifty bits of Silica in your inventory, make your way up to the seemingly alien device in the center of the chamber and deposit the Silica, in return for which you’ll obtain the Isu Armor . It’s legendary-quality, it glows, and it looks neat… but otherwise, it’s just a cosmetic way to show off that you plundered many tombs and solved all the Stone Puzzles.
| Reward (For completing Eesfet Oon-m’Aa Poo) |
|---|
| 300 XP, Isu Armor |


No Comments