Check the southeast corner of the first room for a Red Lavender and then choose to either explore the east or west path:
Eastern Path
Wind Rush through the bars to the east and follow the path to a set of stairs leading down. Head north and Wind Rush through the bars to the west for a Grape Gel and then head east and take the north path to a silver door, which you can open.
Check the northwest wall of the room to use Lailah’s map action to remove a hidden wall with the Sesame Bavarois and then backtrack and continue east.
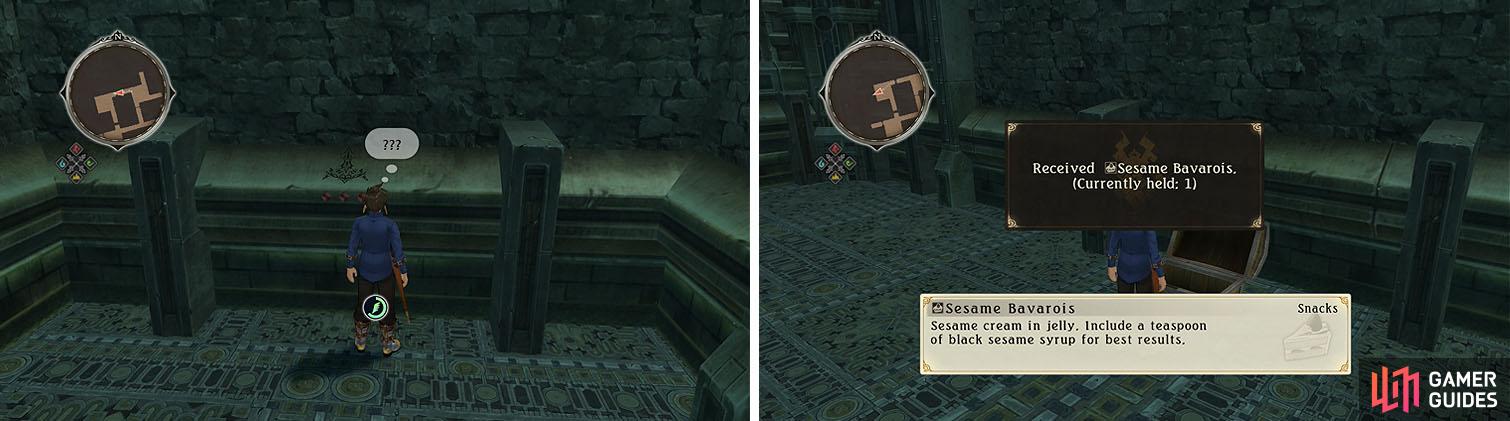
Remove the wall with Silver Flame to find a chest with the Sesame Bavarois.
When you reach the next split head east and take the first southern path to another wall that can be removed with Lailah’s map action to reveal a Dexterity Decor and then check the southeast path area of this level for a Red Verbena . You can now backtrack north and head west to a wall that can be removed with Mikleo’s map action to reach the nearby stairs.
Make your way north to a split and head west to a room where the southern wall can be removed with Zaveid’s map action to find a Holy Bottle and then backtrack and continue east.
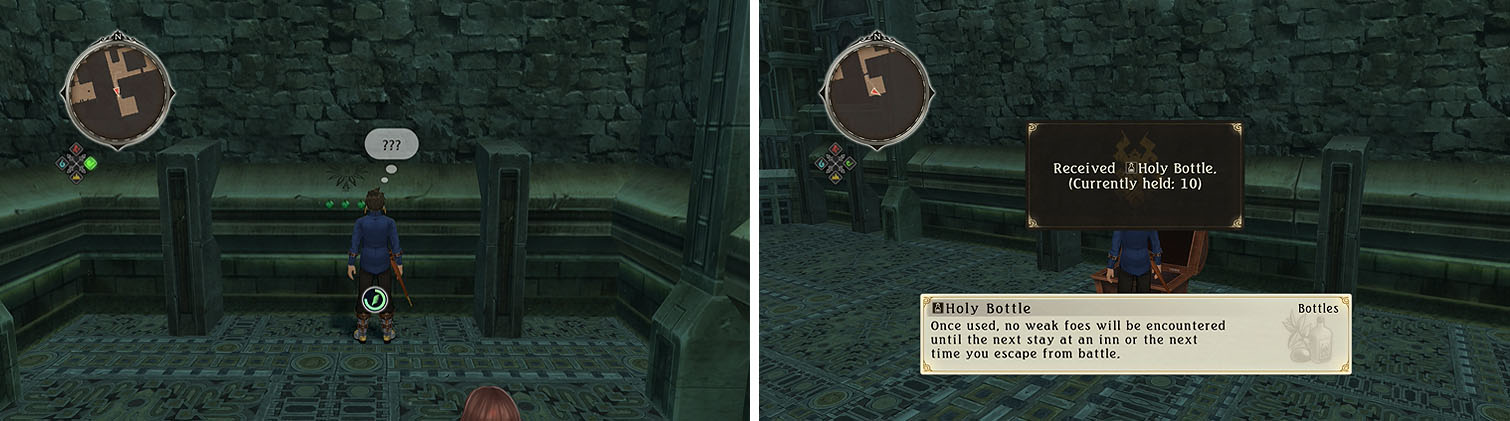
Remove the wall with Wind Rush to find a chest with a Holy Bottle.
Take the northeast path to some Mini Piercings and then take the northwest path all the way north to a wall that can be removed with Mikleo’s map action for a Brunnhilde . You can now follow the path to the save, which is where the east and western paths from the entrance meet.
Western Path
Wind Rush through the bars to the west and follow the path to a set of stairs leading down. Follow the path to a split and take the eastern path to a Hourglass and then return to the split. Head north and use Edna’s map action to remove the wall for a Cheesecake and then return to the split again and continue west.
Check the small gap as you head west for a Symphonic Sheet and continue south, taking the second eastern path to remove another wall with Edna’s map action for a Palmier . Head back to the north, take the eastern path to a room, head south, and then head east and use Mikleo’s map action to reach the stairs.
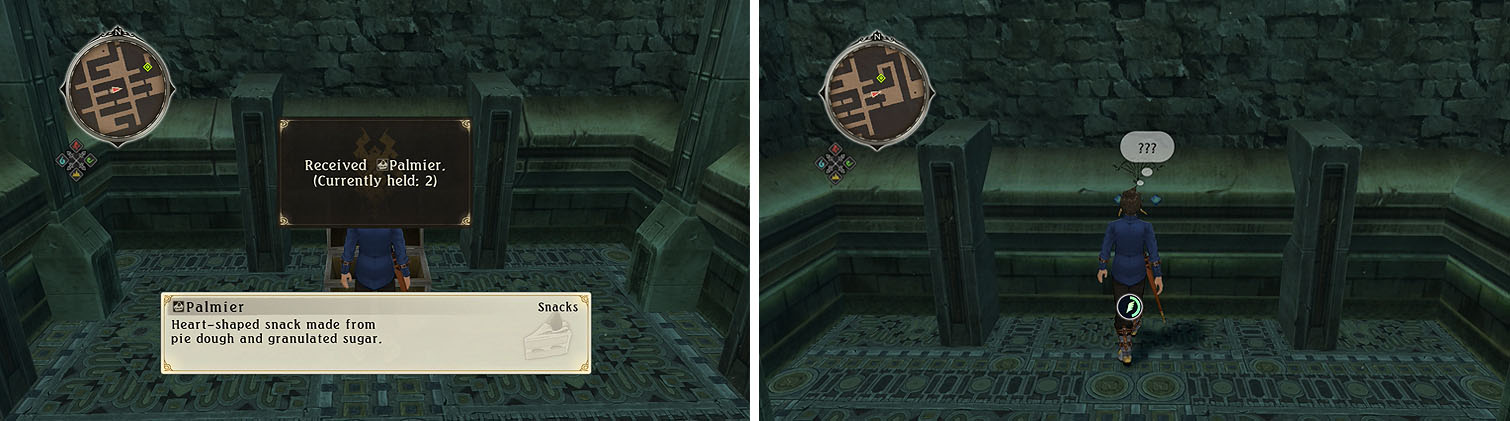
Grab the Palmier and head east to a hidden wall that can be removed to continue.
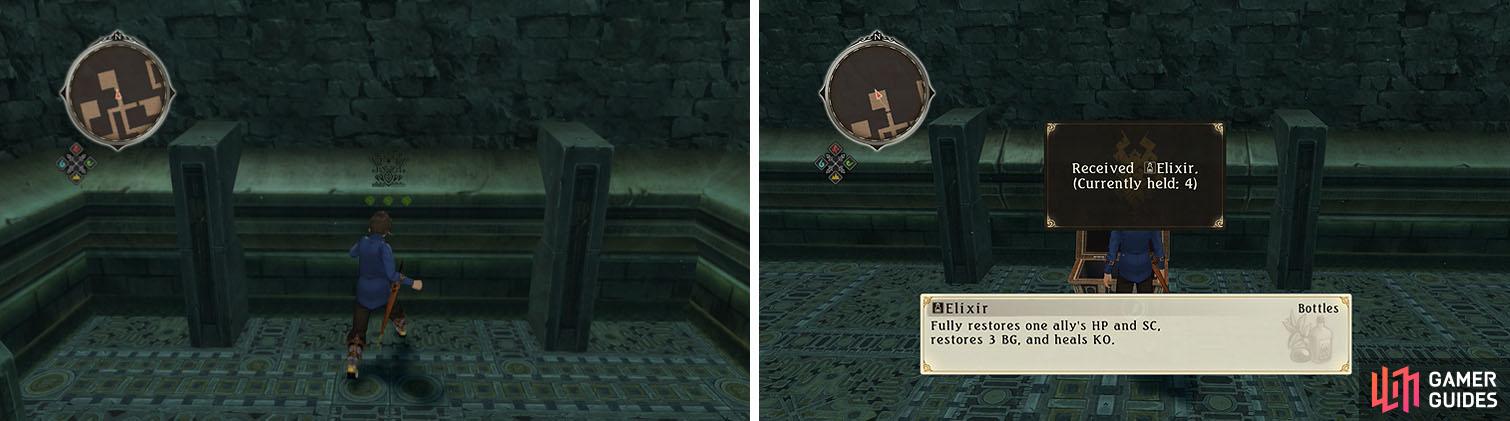
Make your way north to a split and head east to a room where the southern wall can be removed with Zaveid’s map action to find a Dark Bottle and then backtrack and continue west. Take the northwest path to a Jasper Soul and then take the northeast path all the way north to a wall that can be removed with Edna’s map action for an Elixir .
You can now follow the path to the save, which is where the east and western paths from the entrance meet.
Remove the wall with Giant’s Strength to reach a chest with an Elixir.
The door to the south is currently locked, so head north and use Lailah’s map action to remove the wall and then Wind Rush through the bars to the east for the Summer Vacation armor.
Ignore the western bars for now and continue north to a chest with the Gold Key , FINALLY, and then use Lailah’s map action on the north wall to open your first gold chest with a Topaz Sword . You can now take the east or west path, using the correct map action to remove the walls, and check the western side of the area where the paths meet to find the Normin Voyd .
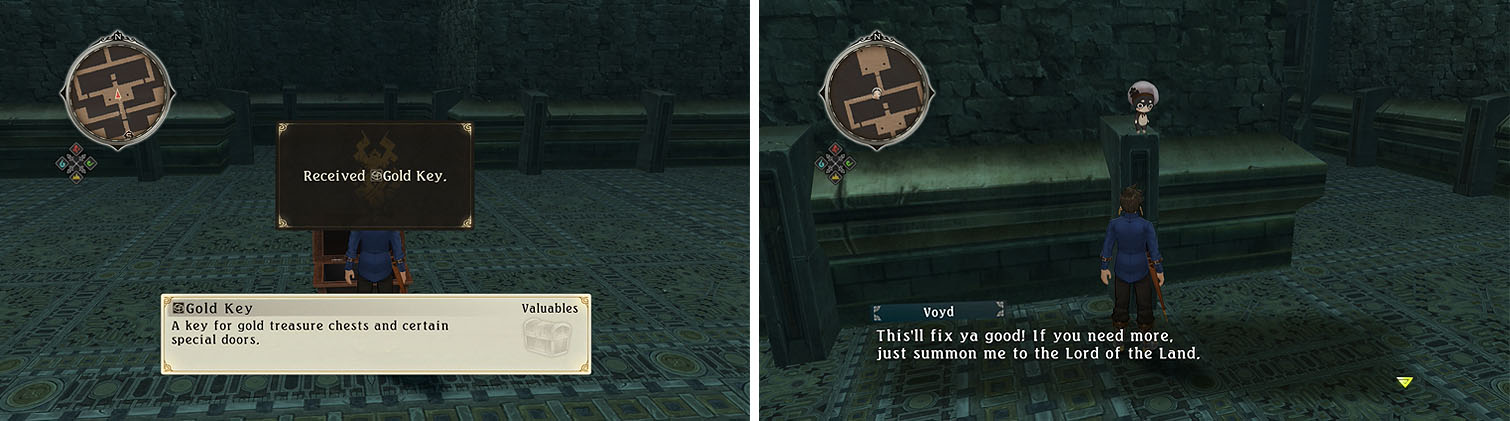
Afetr obtaining the Gold Key and then remove the walls to find the normin Voyd.
Boss: Naught
| HP | Category | Weakness | Resistance |
|---|---|---|---|
| 16,405 | Undead | None | Neutral |
| Drops: **Anomalous Orb** |
As an undead the Naught is best fought with status ailment on your weapons to prevent it from regenerating health, but this isn’t really necessary.
Focus on the boss’ category weakness by hitting it with Sorey’s Phantasm Flash martial or Runic Circle hidden artes to allow your party to exploit it for a Power Hits combo, while preventing the Naught from casting any spells.
While the boss doesn’t attack much, cause he’s rigid and slow, when he does attack you’ll take a beating and possibly even die. To prevent this from happening you should back up and guard when recovering SC or attack from range by armatizing with Mikleo and using his Shattered Deluge attack.
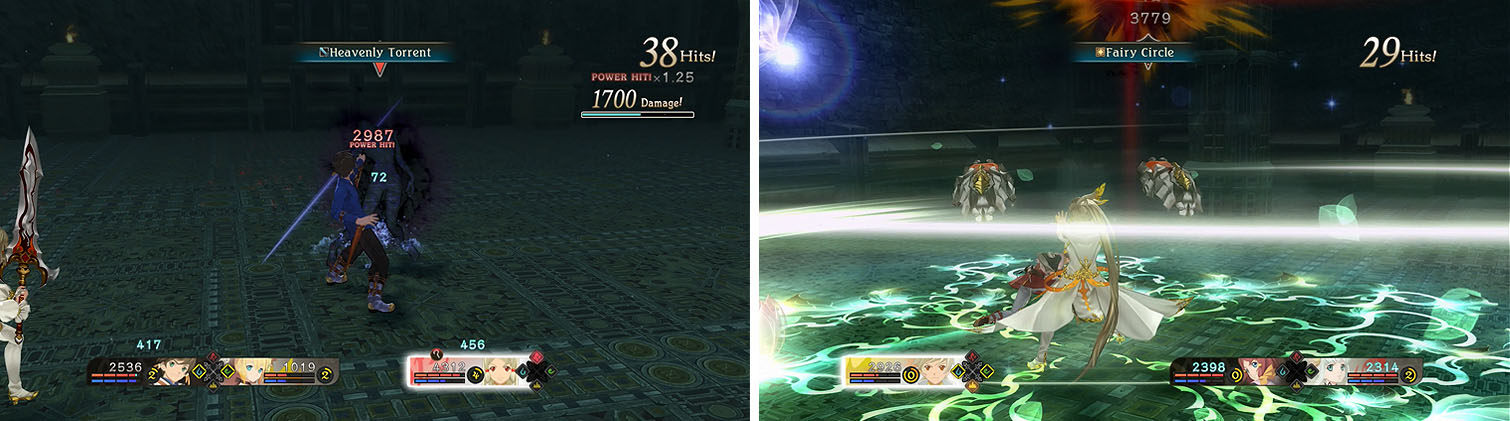
Focus on attacking the Naught’s weakness (left) and back up to heal with the Blast Gauge if needed (right).
Backtrack toward the save and Wind Rush through the western bars this time to reach a chest with 20000 gald and then continue south to the gold door, which you can now open with the corresponding key.
Here you’ll find six chests with 10000 gald = 60000 gald and can then check the tombs for the Metallic Funerary Mirror , followed by the Reflection of the Mirror skit. You can now exit the ruins or return to the entrance and take the other path through the ruins, since they are one-way paths.
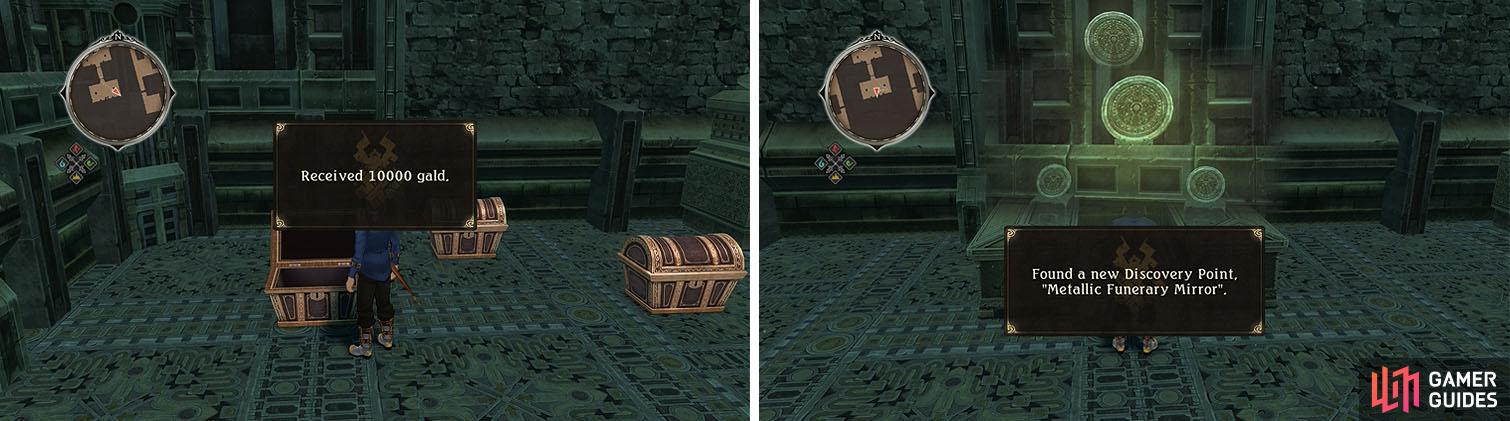
With the Gold Key you can now collect all the gold chests to the south of the save (left). Don’t miss the discovery and skit as well (right).
No Comments