
The Cerim Crucible Trial in No Rest for the Wicked is an endgame activity that pits you against difficult enemies across several random floors. Once you clear the floors, you’ll battle against the ultimate boss, the Echo Knight. Read on to find out the best way to deal with every enemy in the Crucible Trials.
If you’re looking to find tips on a specific enemy, click one of the links below to jump straight to it:
Shield Knight
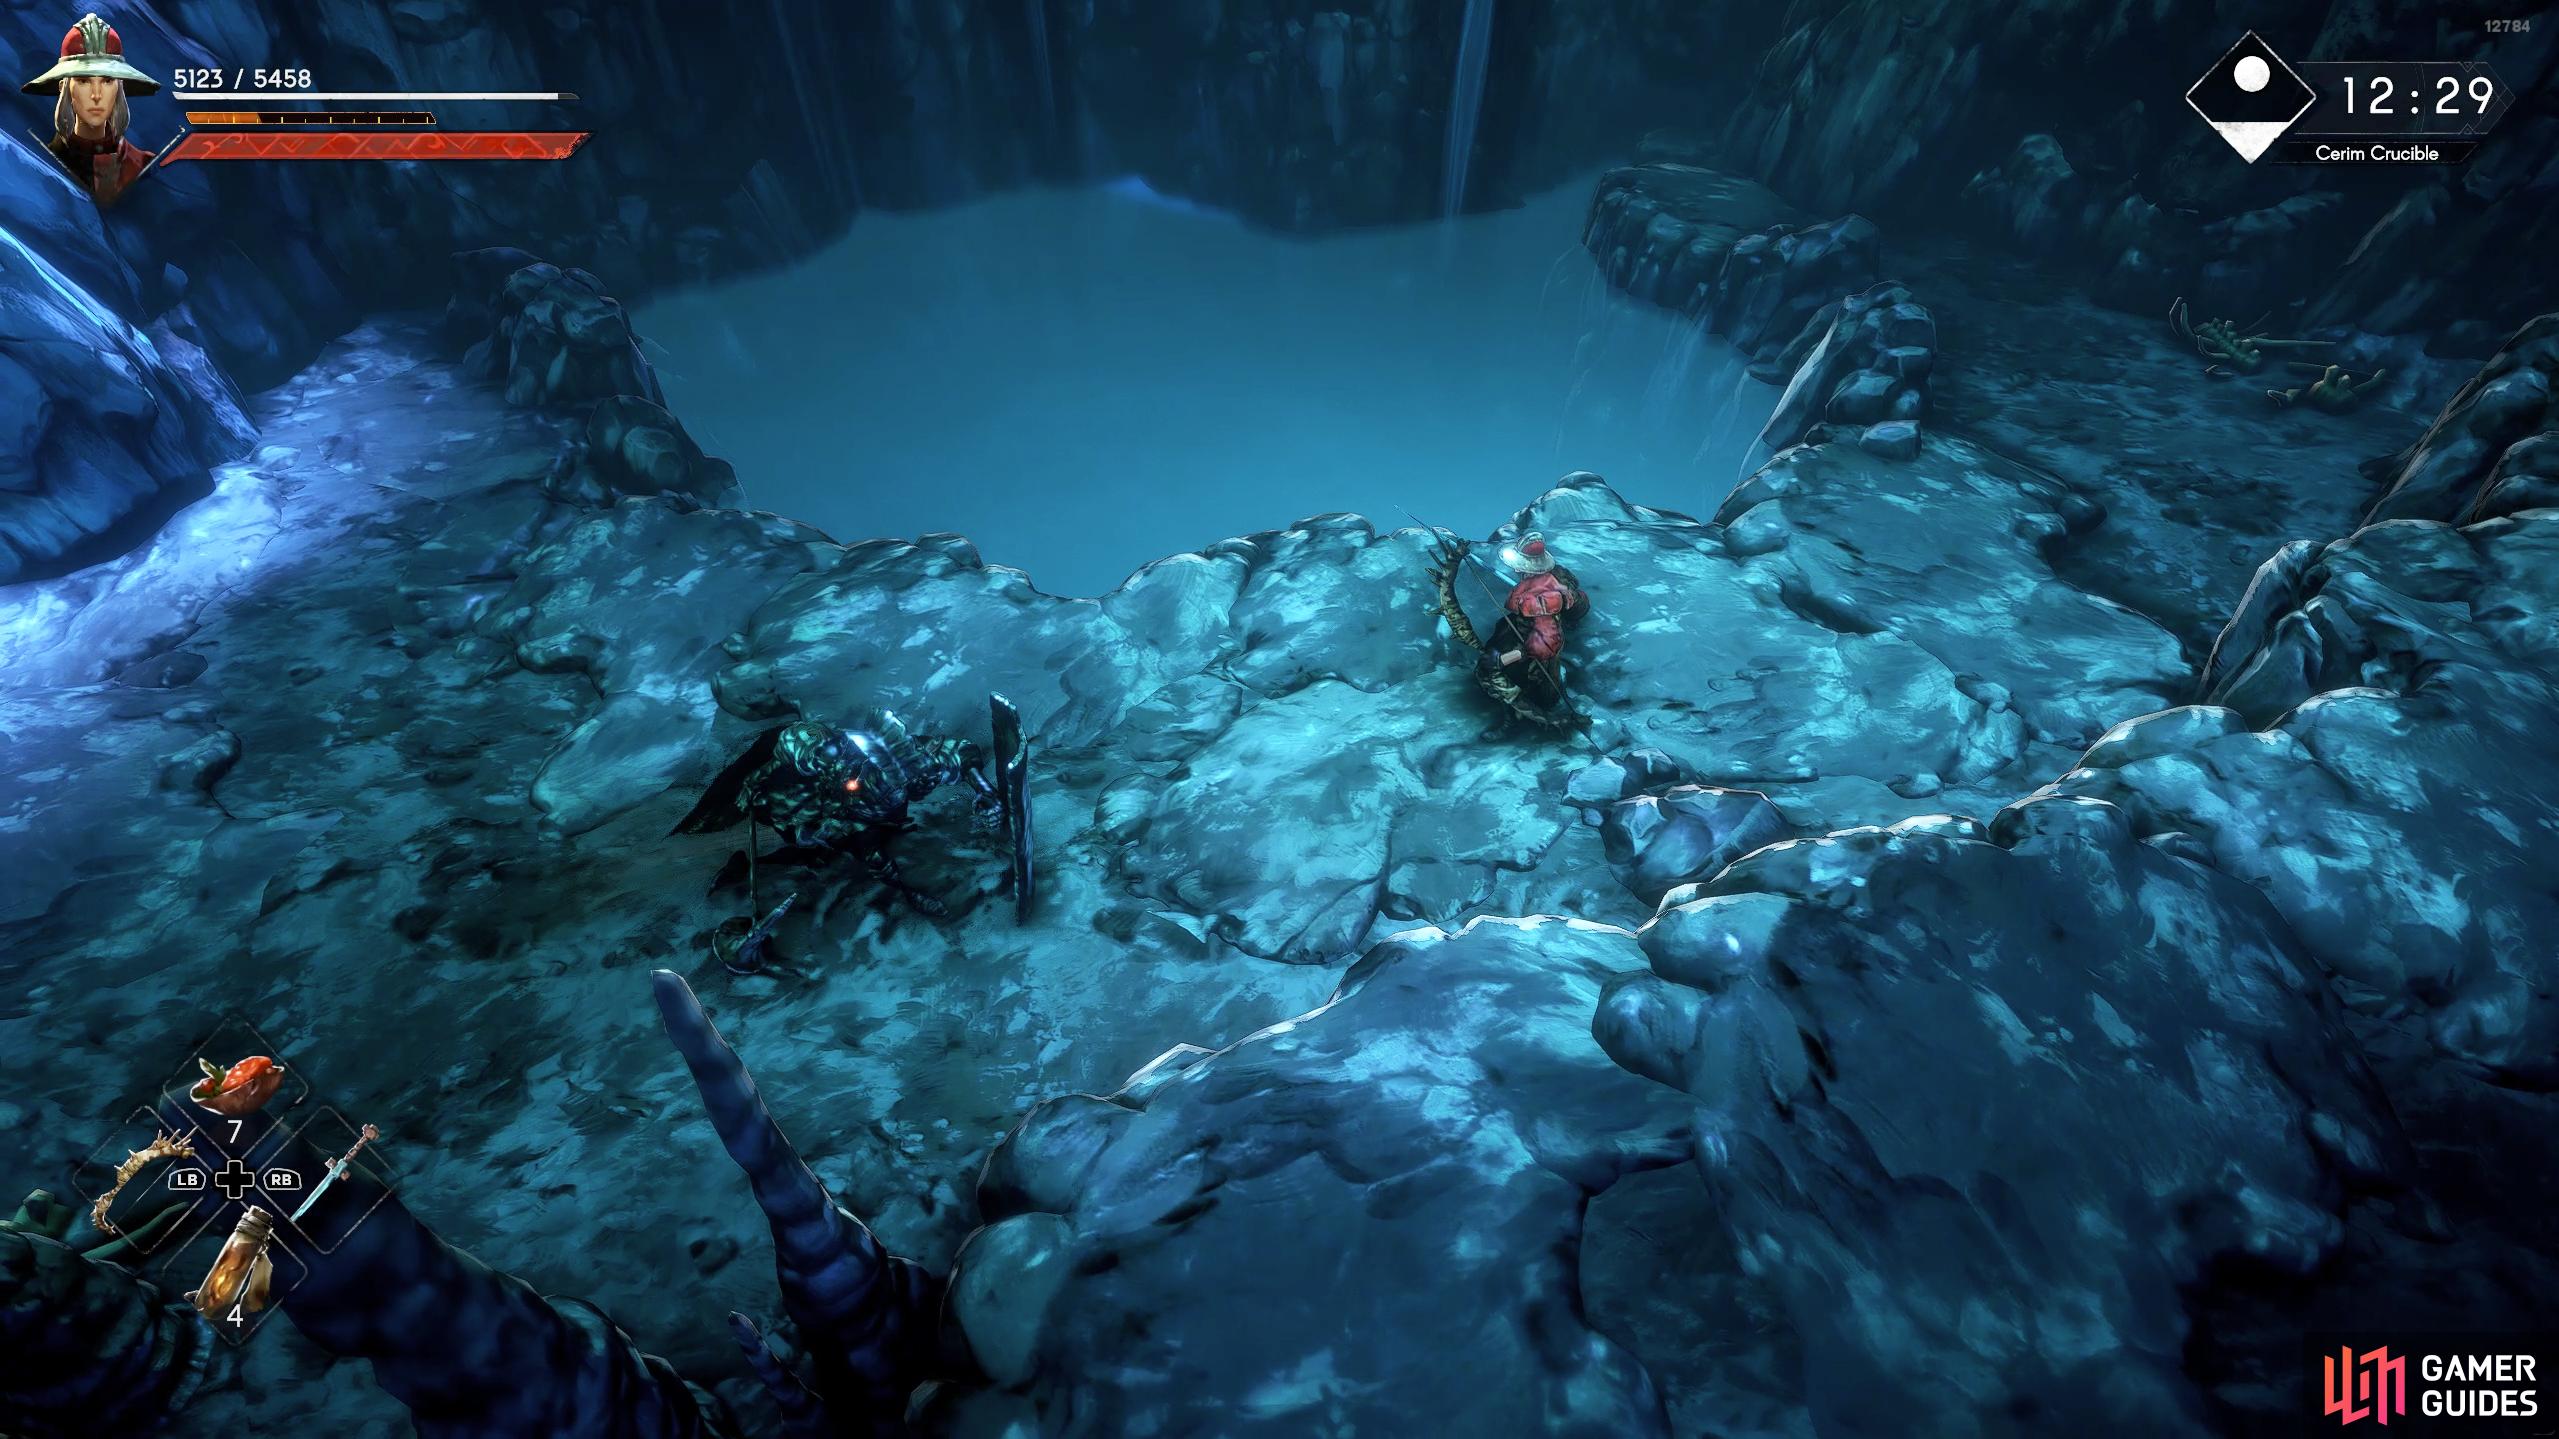
The Shield Knight likes to parry your attacks with its greatshield. When it’s not parrying, it’ll be charging at you with said shield.
The Shield Knight is clad in heavy armor while wielding a Greatshield and a Warhammer. This enemy has a tendency to charge at you while behind their shield in an attempt to knock you over, and then finish the attack with a hard hit with their Warhammer. Aside from their shield charge, they will regularly parry your attack when they have their shield up, or the second attack when they’re open. This will leave you open for a counter-attack for significant damage. Outside these unique attacks, they share skills with the other Knights, with the worst ones being an orb of magic exploding under your feet dealing plague damage or a shockwave attack that covers a wide area. Finally, they will regularly perform three-hit combos with their Warhammer. Sometimes you’ll encounter these knights whose weapons will be enchanted with an element. Let’s take a look at how you can deal with their attacks and defeat them:
| Attack | Description | Counter |
|---|---|---|
| Parry | The Knight will stand behind its large shield hoping you will attack it. If you do, it’ll parry the attack, leaving you open. | Not much you can do here apart from waiting for them to drop the shield and attack you. |
| Shield Charge | The Knight will charge at you while hiding behind its shield in an attempt to knock you over. | Wait for the Knight to get close, roll past them, and quickly attack them once. |
| Plague Orb | The Knight will raise its Warhammer before casting a plague orb underneath you that will immediately explode. | When you see the Knight raise its hammer, repeatedly roll until you see the explosion go off. This can go off pretty quickly, so roll as soon as you see them raise their hammer. |
| Shockwave | The Knight will twist around and raise the hammer by its shoulders before it produces a wide sweeping attack that unleashes a shockwave in a line. | Wait for the Knight to unleash the attack and roll toward the Knight. |
| Warhammer Combo | This will be either a two or three-hit combo attack with the Warhammer. | As this doesn’t have much range, you can simply back away or roll through the attacks and reply with an attack of your own. |
Pillory Witch
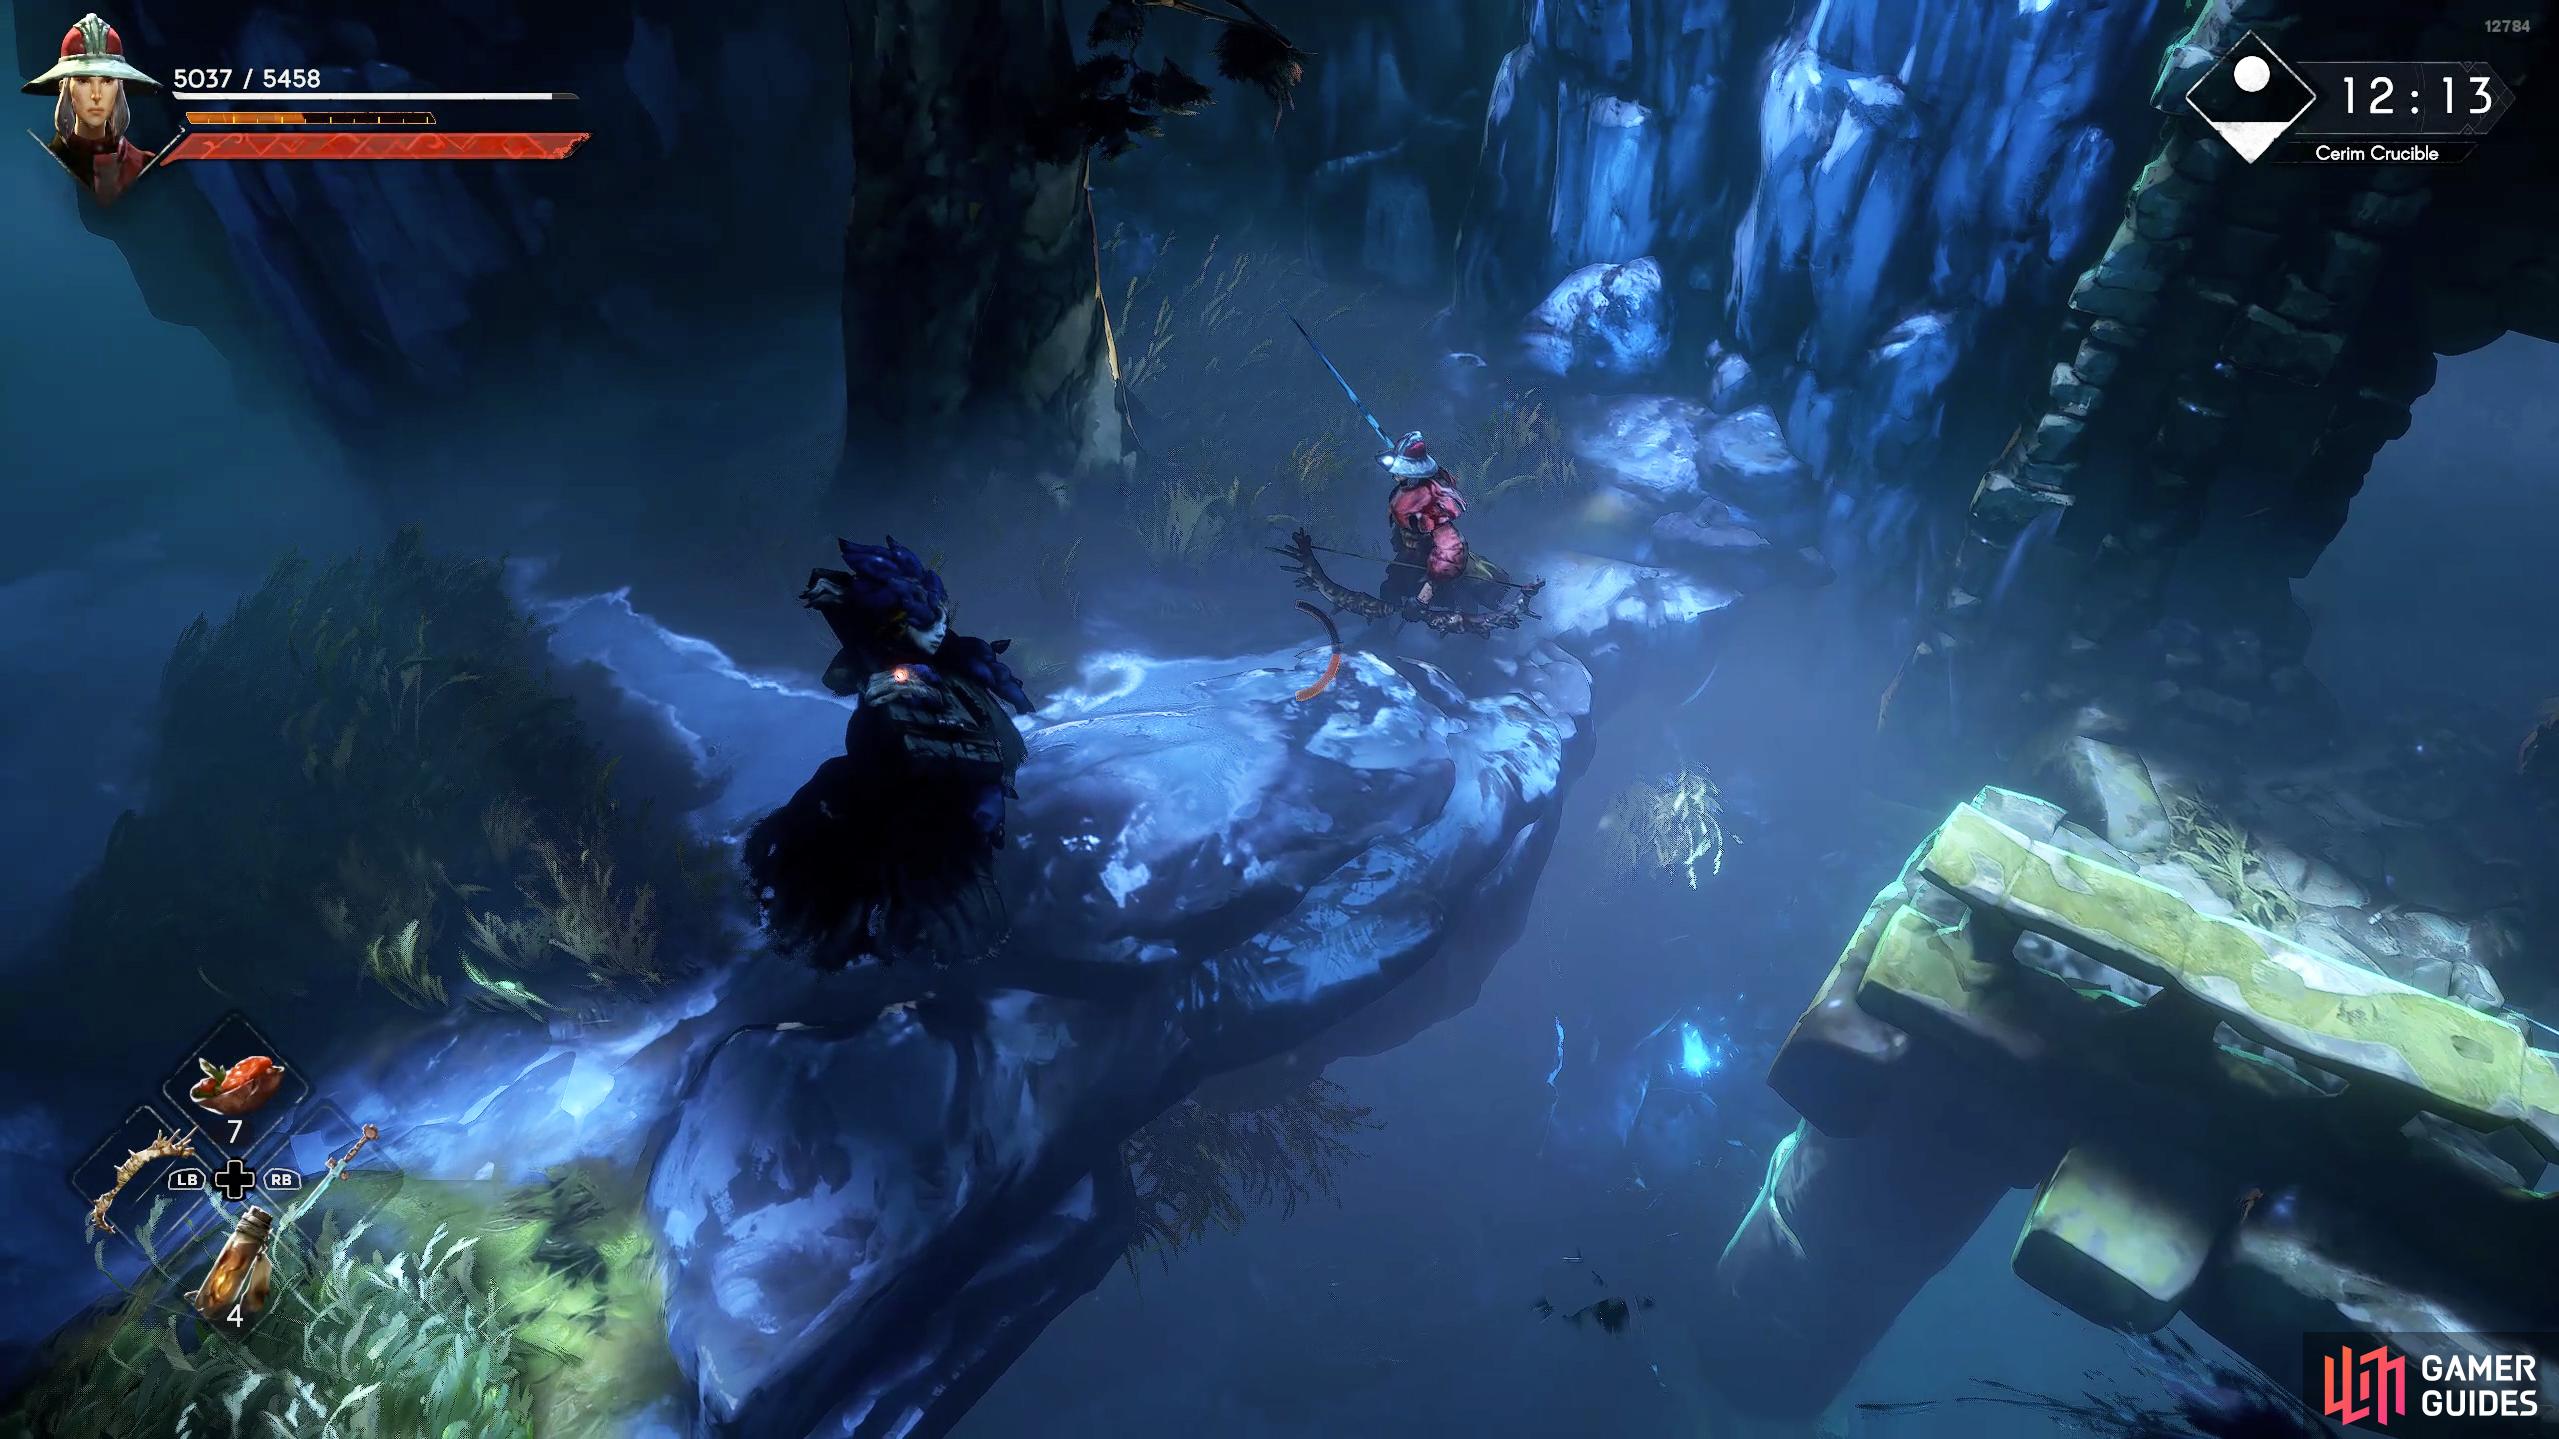
The Pillory Witch is the frustrating enemy who teleports away to unleash fireballs at you.
The Pillory Witch is exactly what the name suggests. It is a Witch/Sorcerer who has a pillory on its head. The Witch will do what most fantasy Witches do, cast fireballs. These are easily avoided by simply moving to either side of the projectile as it comes toward you. The second attack in its arsenal is a fire shockwave attack that travels along the ground in a line toward you. It can cast this three times in a row, so don’t rush in after the first attack. Finally, there will be a couple of melee attacks using the pillory. For the first melee attack, it will lunge toward you and perform an upward swing, knocking you to the ground, while the second attack will be a spin attack. It predominantly uses the second attack if you’re in its face, repeatedly attacking it. Finally, the Witch has a blink skill that allows it to teleport a short distance away from harm. This skill is particularly frustrating when you want to rid the enemy quickly.
| Attack | Description | Counter |
|---|---|---|
| Fireball | The Witch will hurl multiple fireballs from range in your direction. | This attack should only hit you if it uses it while you’re in its face. For the most part, you can simply move/roll to either side to avoid it. |
| Fire Shockwave | The Witch will unleash up to three shockwaves that cause burning damage in a line in front of itself. | This is slightly harder to avoid as the Witch has a tendency to use it while you’re in front of it. |
| Pillory Lunge | The Witch will lower the pillory to the ground briefly while pulling back slightly before lunging at you with an upward swing that can knock you down. | This attack can catch you off-guard as it’ll come at you quickly. Fortunately, it won’t keep you down for long, and you can dodge any follow-up attack. To avoid the attack, a simple roll will suffice, but you’ll need quick reactions. |
| Pillory Spin | The Witch will twist to the side before it spins around to hit you with its pillory. | The Witch loves to use this attack when you repeatedly attack it at close range. Try not to use too many attacks when you close the distance. If you do, get ready to roll. |
| Blink | The Witch will regularly blink a short distance away whenever you close the distance. It will normally follow this up with a fireball. | As this doesn’t have much range, you can simply back away or roll through the attacks and reply with an attack of your own. |
Great Sword Knight
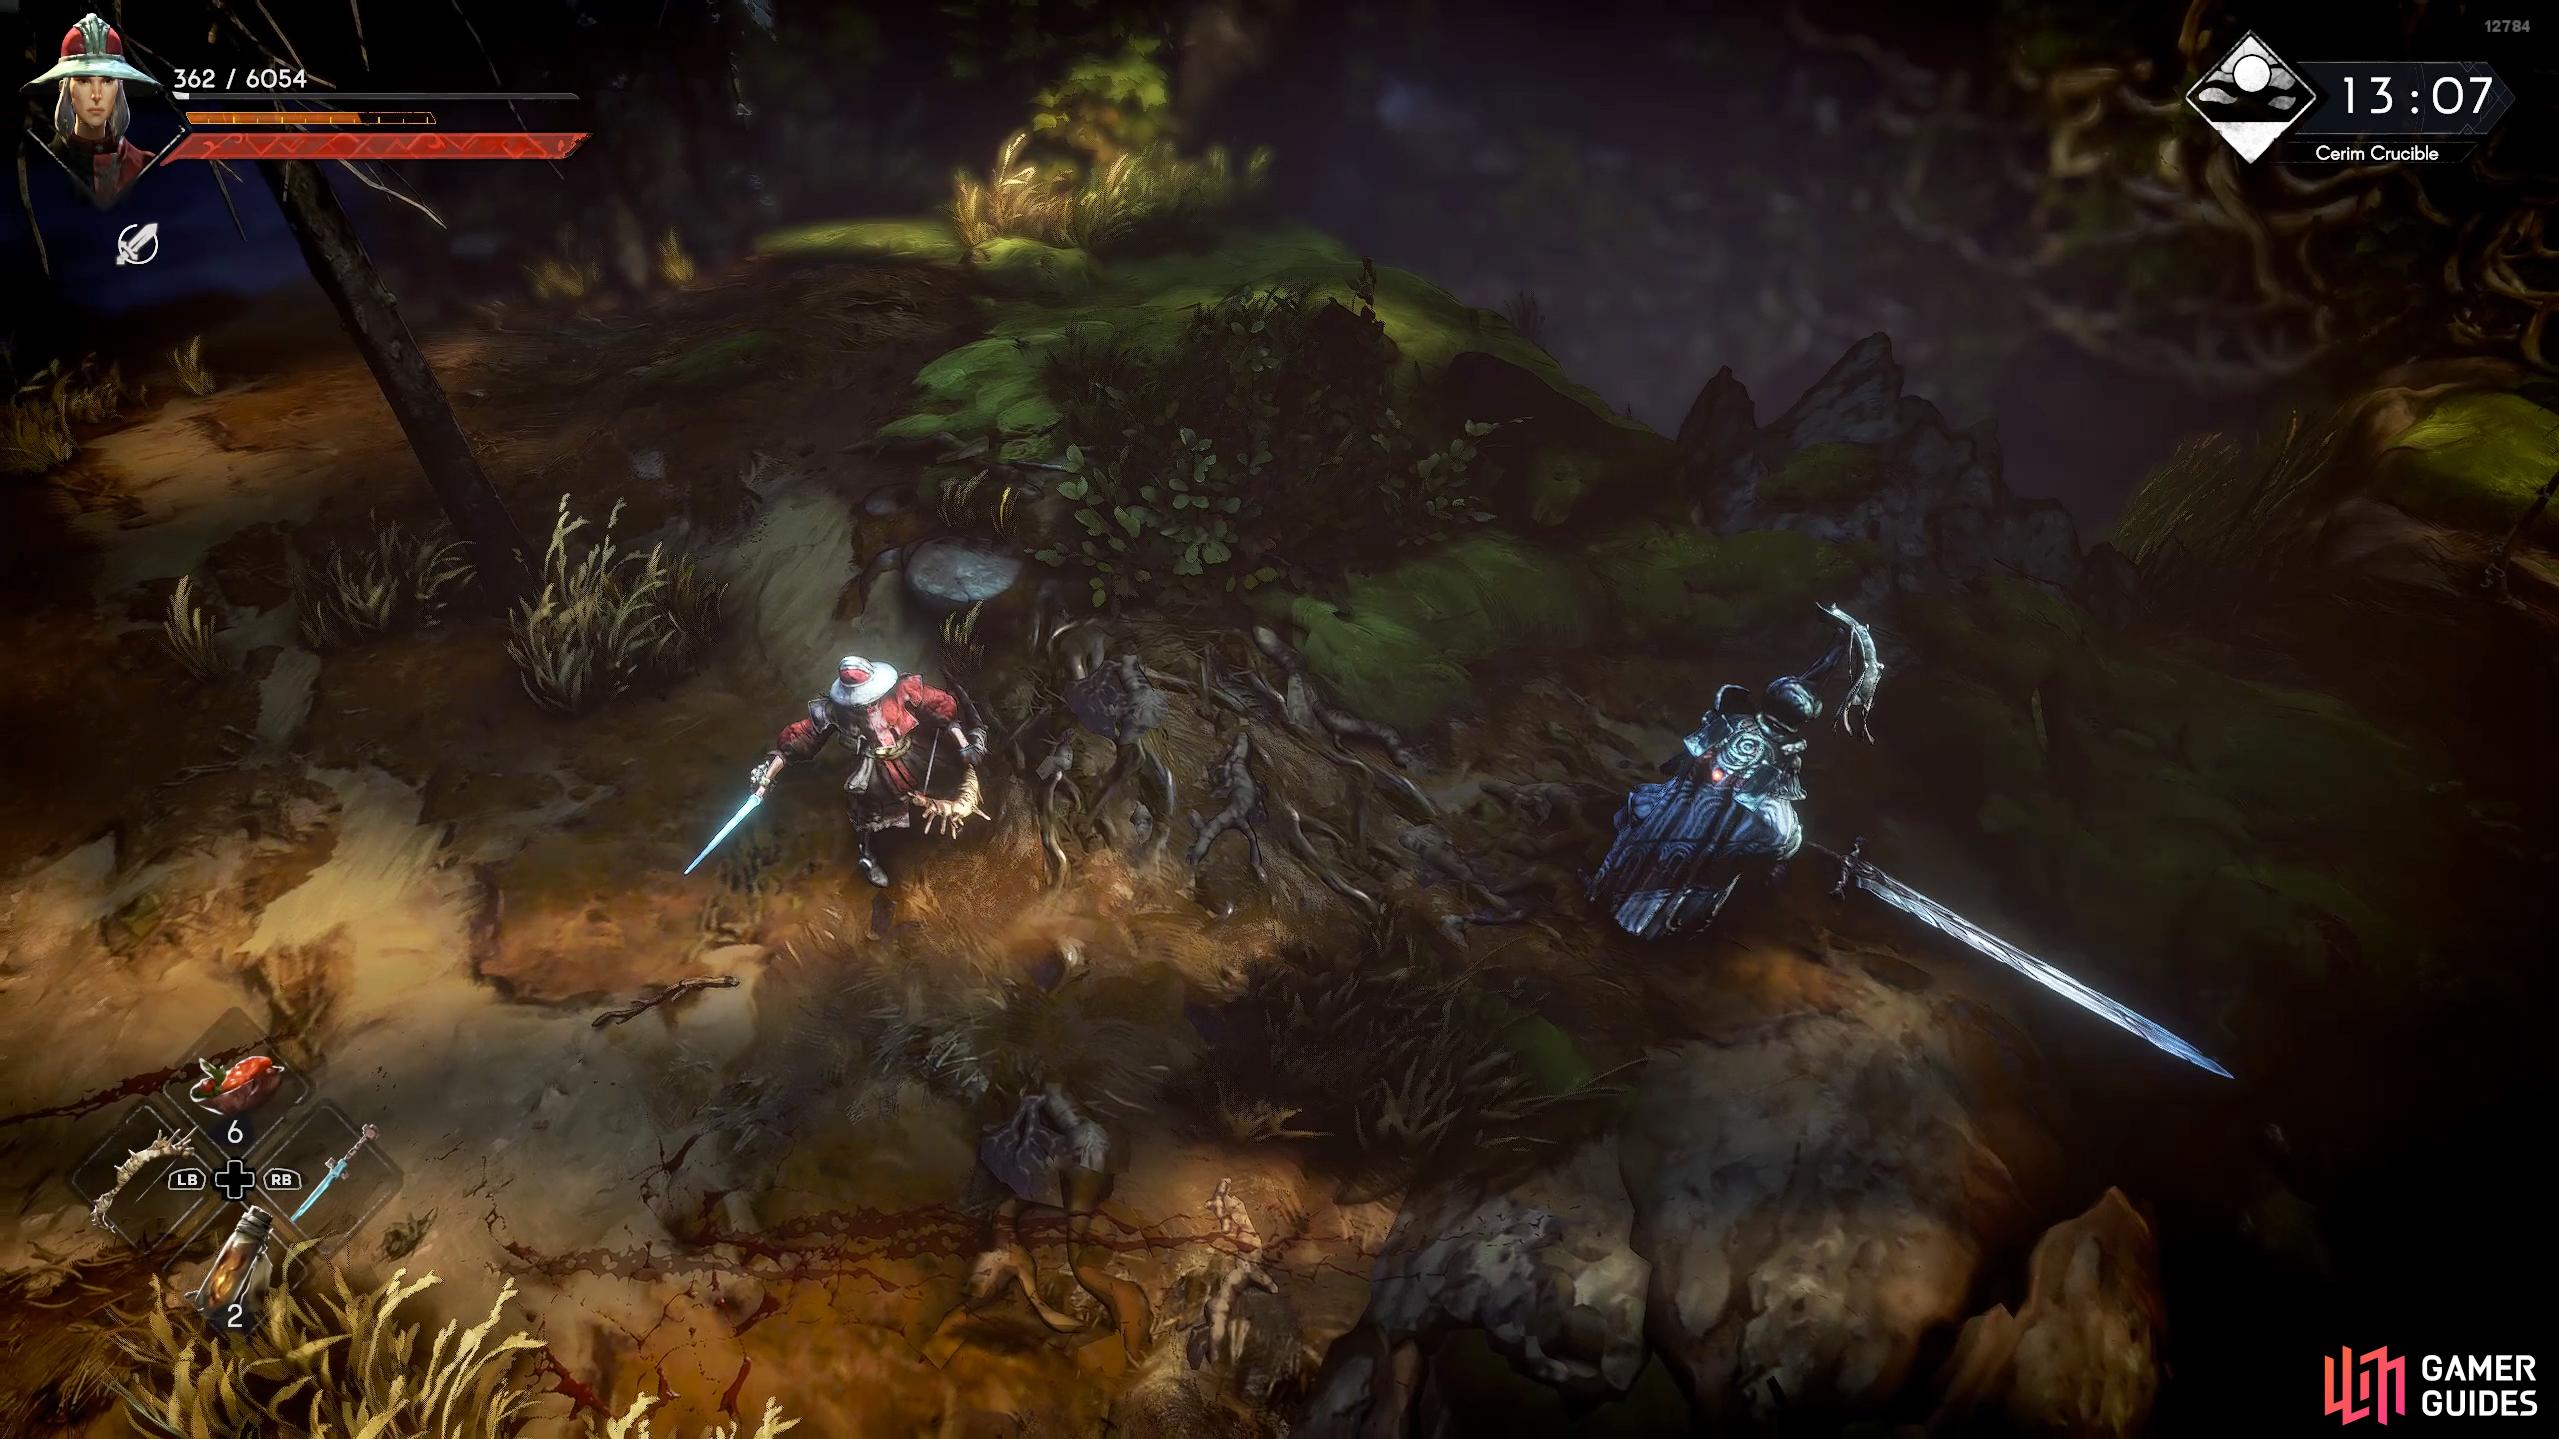
The Great Sword Knight is capable of quick multi-hit combos as well as a charging stab attack.
The Great Sword Knight is a Knight that has, can you guess? A Great Sword. It has the same skills that all the other Knights have (plague orb and shockwave) but its general attacks will be different. The main attacks you’ll need to watch out for are its charging lunge and wide-sweeping slashes. Although it has a Great Sword, its attacks are fairly quick, and it likes to chain together attacks. The easiest way to deal with this enemy is to roll through its attacks and attack it a couple of times when it stops for a second. Alternatively, wait for the charging stab attack, sprint up to its back, and backstab it. You have to be quick to do this, though.
| Attack | Description | Counter |
|---|---|---|
| Charging Stab | The Knight will briefly crouch while lowering the sword to its mid-section before it charges at you with the sword leading the charge. It will briefly stop for a second as it attempts to lift the sword back up to its shoulder. | This attack covers a lot of distance, but you can easily avoid the attack by rolling into it. If you quickly run behind the Knight, you can backstab it for most, if not all of its health. |
| Plague Orb | The Knight will raise its Great Sword before casting a plague orb underneath you that will immediately explode. | When you see the Knight raise its Axe, repeatedly roll until you see the explosion go off. This can go off pretty quickly, so roll as soon as you see them raise their Axe. |
| Shockwave | The Knight will twist around and raise the Great Sword by its shoulders before it produces a wide sweeping attack that unleashes a shockwave in a line. | Wait for the Knight to unleash the attack and roll toward the Knight. |
| Sword Combo 1 | This is a three-hit combo. The Knight will lean back with the sword near the ground before it performs a wide horizontal slash, followed by an upward swing, and finishing with a downward strike. Note that the Knight can change directions mid-swing. | The easiest way to avoid the attack is to back away from the Knight, but you can roll through each attack, and then punish the Knight with a few of your own. |
| Sword Combo 2 | This will be a four-hit combo attack. The Knight will stand side on to you while it holds the sword upward by its side before it unleashes an upward swing from its left side (your right), another from the opposite side, a horizontal slash, and finally one more upward swing. | The first three attacks will come at you surprisingly quickly, but the last hit will have a slight delay. Similar to the first combo, the easiest method to avoid the attack is to get some distance, but you can dodge through each attack by rolling toward the Knight and then punishing it with your attacks. |
Axe Knight
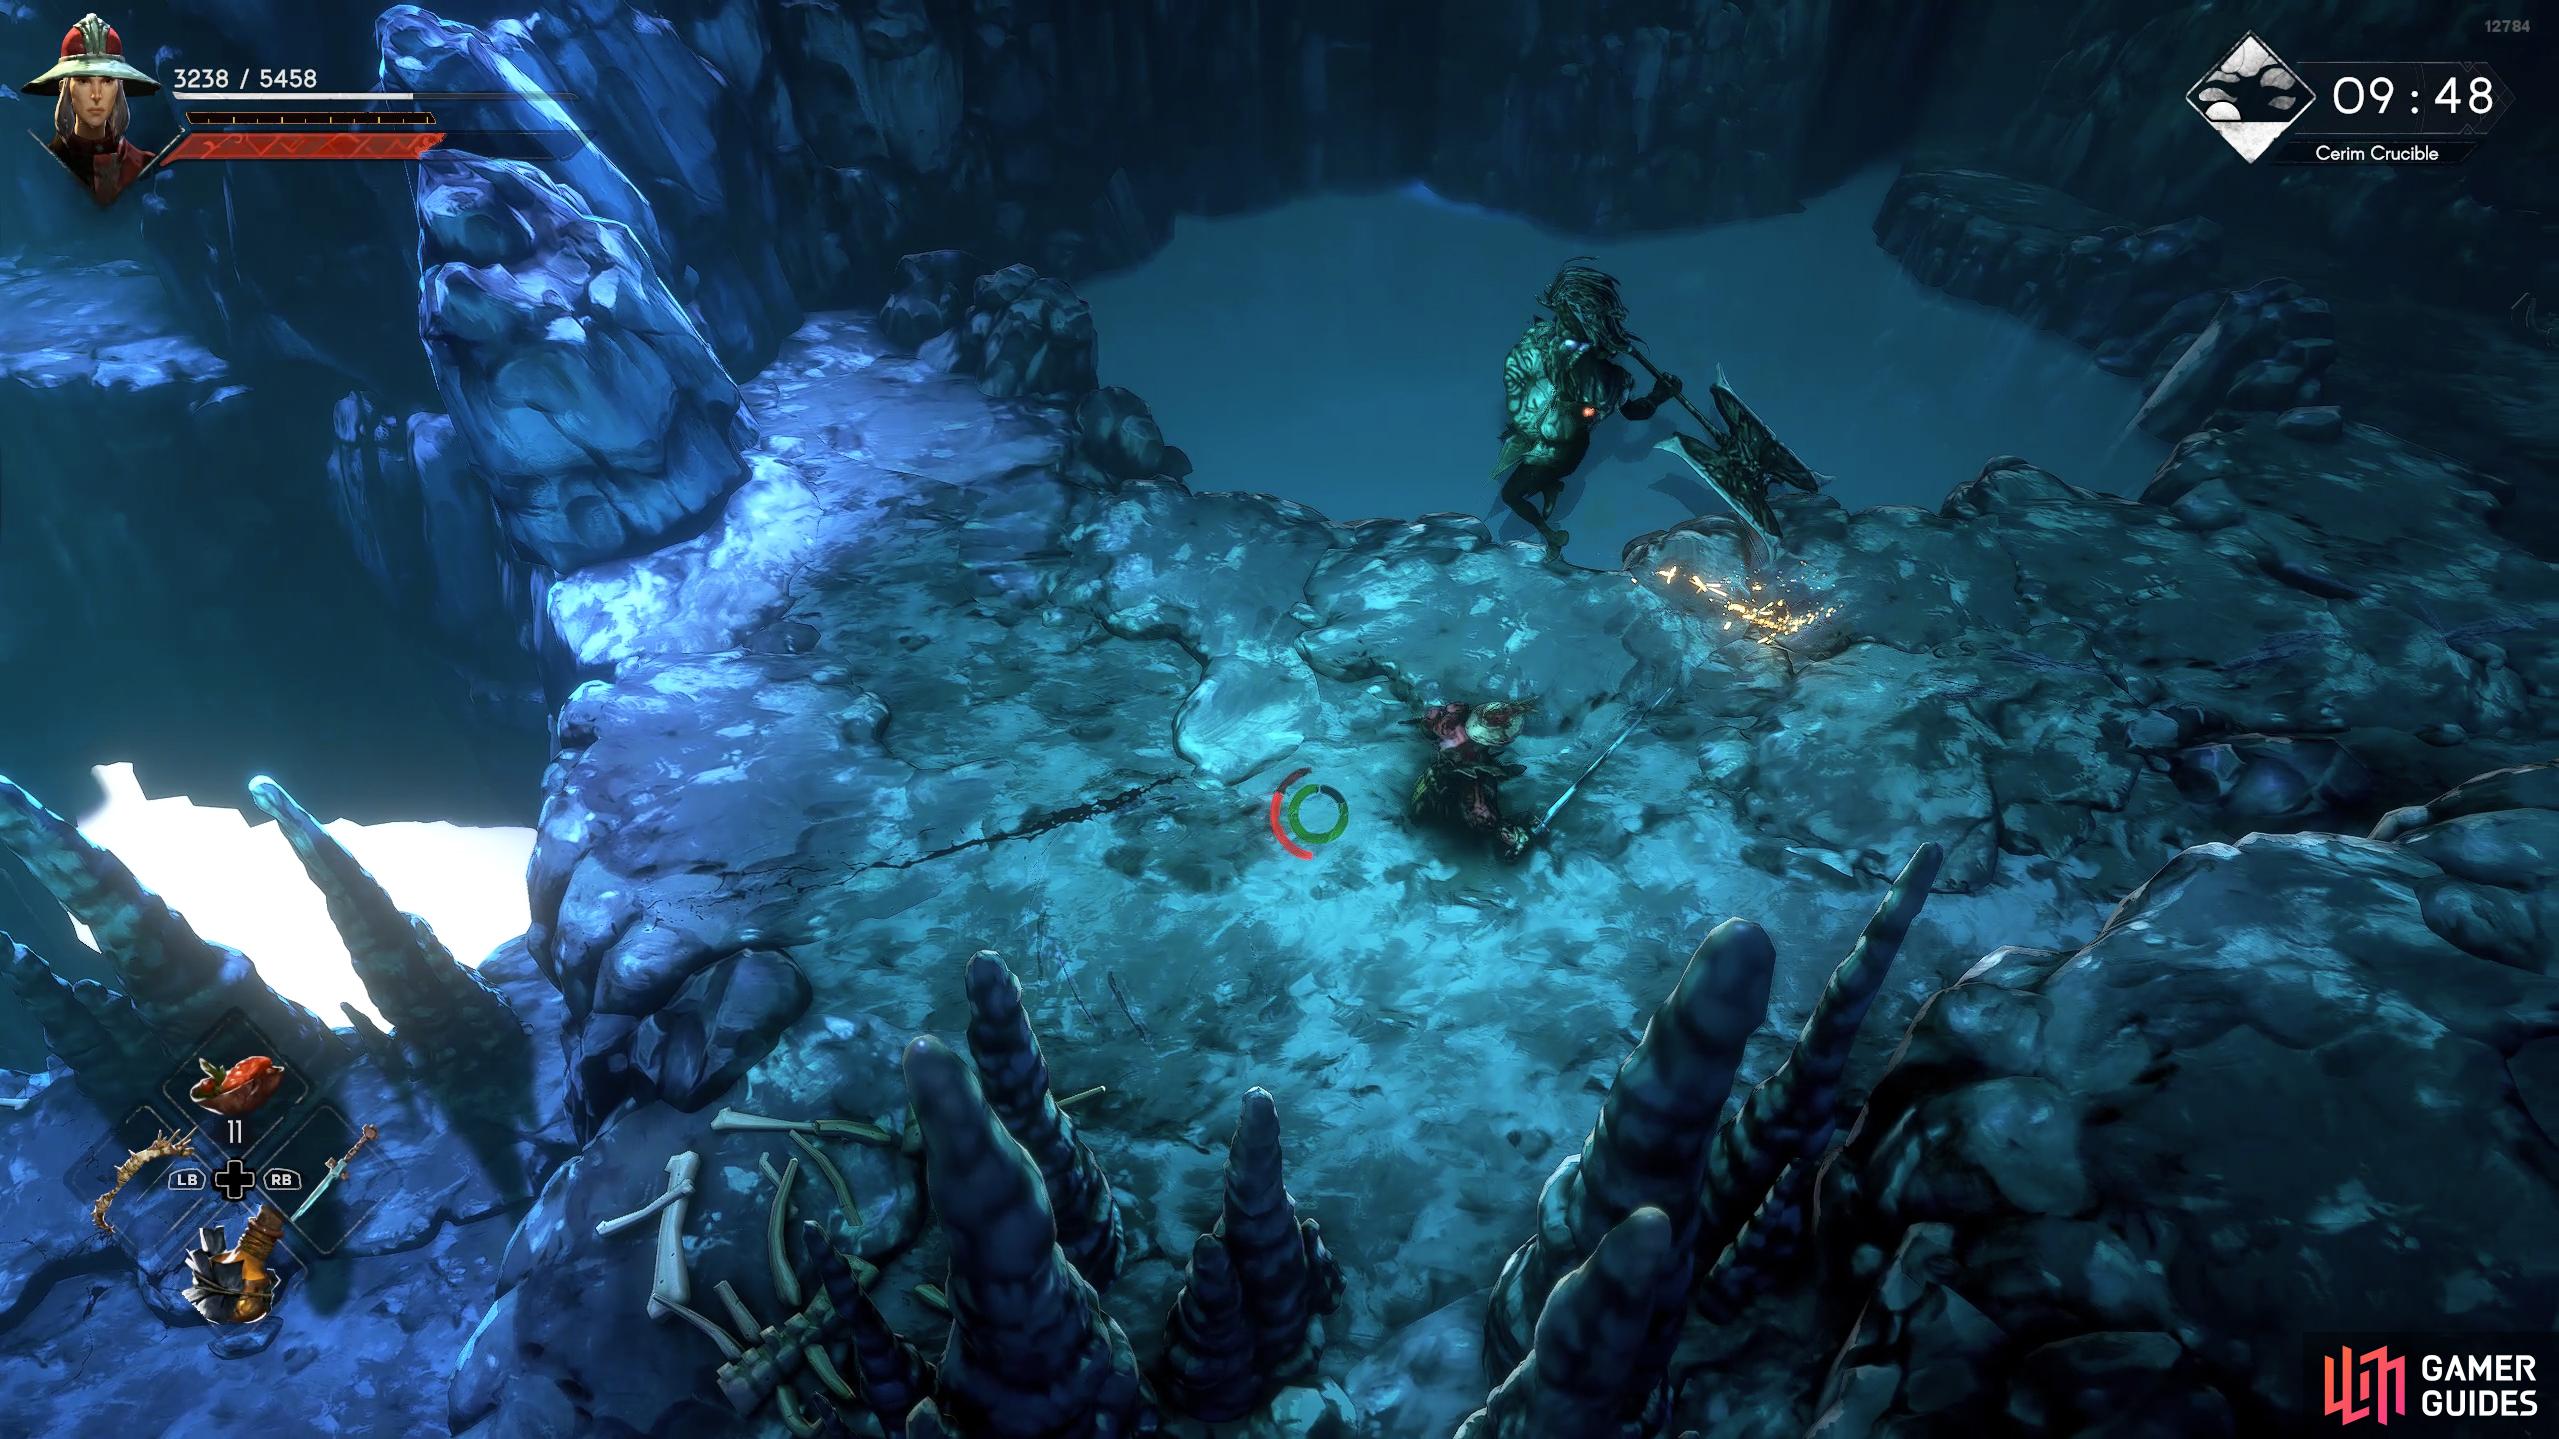
The Axe Knight covers a lot of distance with its leaping slam attacks.
We call this enemy an “Axe” Knight, but we’re not really sure what this weapon is. It’s a double-sided blade that resembles an axe, but the Knight swings it like a sword. Like the rest of the Knights, it will be heavily armored and will have access to the plague orb and shockwave skills. The difference between this Knight and the others is it likes to leap at you, slam down its axe, and follow it up with another strike that can change directions mid-swing. This is arguably the easiest Knight to deal with, although, it will deal a lot of damage if it hits you with any of its attacks.
| Attack | Description | Counter |
|---|---|---|
| Parry | The Knight will stand behind its large shield, hoping you will attack it. If you do, it’ll parry the attack, leaving you open. | Not much you can do here apart from waiting for them to drop the shield and attack you. |
| Leap | The Knight will briefly crouch while it charges up the attack before it leaps in the air and performs a downward strike. It will immediately follow this up with another downward strike that can change direction mid-swing. | Don’t underestimate the distance the Knight can cover with this attack. Wait for the Knight to get close to you while leaping and roll toward the strike, and then immediately turn around and roll toward the follow-up attack. You can punish the Knight after this attack. |
| Plague Orb | The Knight will raise its Axe before casting a plague orb underneath you that will immediately explode. | When you see the Knight raise its Axe, repeatedly roll until you see the explosion go off. This can go off pretty quickly, so roll as soon as you see them raise their Axe. |
| Shockwave | The Knight will twist around and raise the Axe by its shoulders before it produces a wide sweeping attack that unleashes a shockwave in a line. | Wait for the Knight to unleash the attack and roll toward the Knight. |
| Axe Combo | This will be a three-hit combo attack with the Axe. The Knight will perform two wide horizontal swings and finish with a downward strike. | This is a really easy attack to avoid. Simply back up while it performs the attacks and roll toward the Knight on the third attack to either attack or backstab it. |
We are still tinkering with the Cerim Trials and will update this page after we’ve made more progress.

 Sign up
No Comments