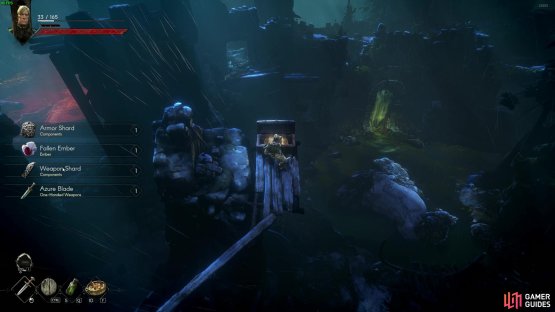
Fallen Embers in No Rest for the Wicked are an item that is used to enter the end game crucible. In the early game, it’s very hard to tell what they do, and it borderline seems useless. However, if you intend to farm end-game gear, you will need to make sure you have a stockpile of Fallen Embers to grind the Crucible feature. This guide will help you acquire Fallen Embers via various farming locations.
Fallen Ember Farms
Fallen Embers are typically acquired through the following means:
- Random drop item players find in chests. You ideally need to farm areas with a high quantity of chests in them
- The other tactic is to purchase them from generic vendors in Sacrament
(1 of 2) Players can find Fallen Embers in No Rest for the Wicked randomly by looting both large and small chests.
Players can find Fallen Embers in No Rest for the Wicked randomly by looting both large and small chests. (left), Remember to smash crates, barrels and other props to get a random chance at acquiring Fallen Embers. (right)
Let’s get the simple one out of the way. In Sacrament, players can find vendors that sell goods. The generic vendor may sell Fallen Embers, especially if you upgrade the vendors to stock more items. It is fairly random though what stock they have though.
As for chest farming locations, we recommend the following areas for smashable items and chest density:
- Mariner’s Keep
- Nameless Pass
- The Black Trench
So far, the best place to farm Fallen Embers that we’ve noticed is in Mariners Keep. The area is fairly small, has lots of breakables, and many chests along the ramparts, indoor parts of the keep, and on the grounds. The mobs are not too dense either. You can either choose to run here from Sacrament, which shouldn’t take too long. Or, you can start new realms and play through the tutorial and Mariner’s Keep fast on your buffed character. You should easily speed run the game doing so. Don’t forget to open the Storage Room and the Western Bridge Key for more lootables around Mariner’s Keep too.
The other area we recommend exploring is around the Nameless Pass. There’s plenty of loot and chests around the wilderness area, and then there are a lot of chests around the quarry, among lootable you can do crane parkour and loot the chests around the platforms, rocky bits and caves. It’s a bit more tedious but can be worth it if you’re desperate. There’s also the Old Cottage Key for a large chest you can loot for potential Fallen Embers.
The final suggestion we have is to go to The Black Trench. The Black Trench is part of the Rats and Raiders questline, so you need to complete that quest. This area has lots of chests to parkour around and loot, alongside smashables. However, the area is very dangerous, and something you should consider before entering. But, its density of chests and breakables make it an opportunity if you’re willing to brave it.
This concludes the methods we are aware of to get Fallen Embers and gain access to the Crucible. Good luck farming your tickets to enter and take on the Echo Knight boss, and farming those unique legendary weapons and gear.


No Comments